Team CJ restoration
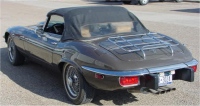
| 1974
E Type roadster (VG)
Team CJ restoration |
|
|
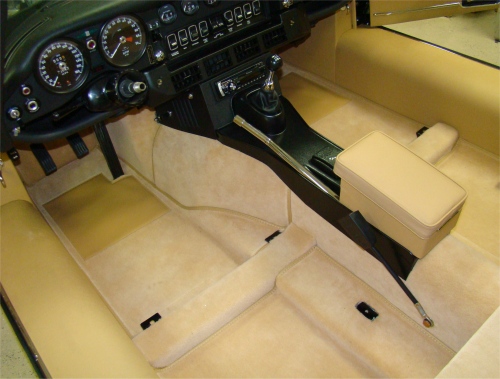
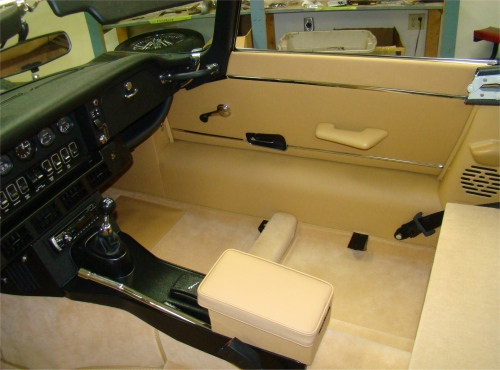
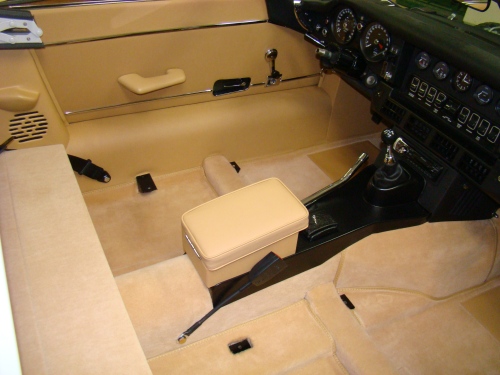
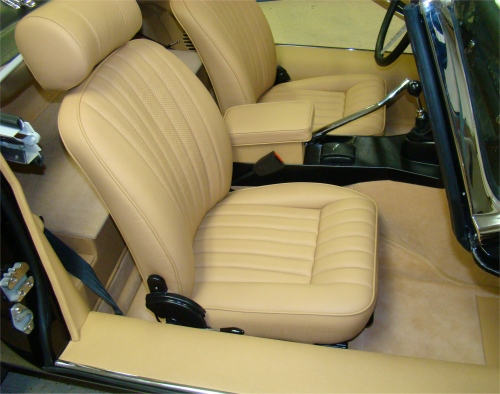
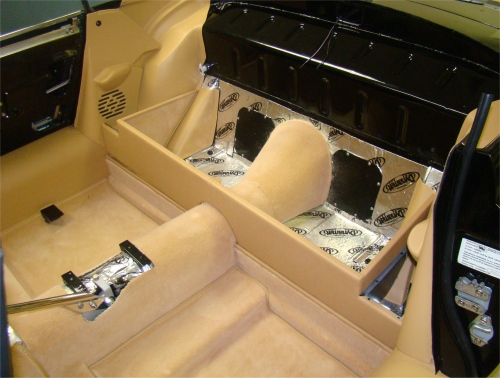
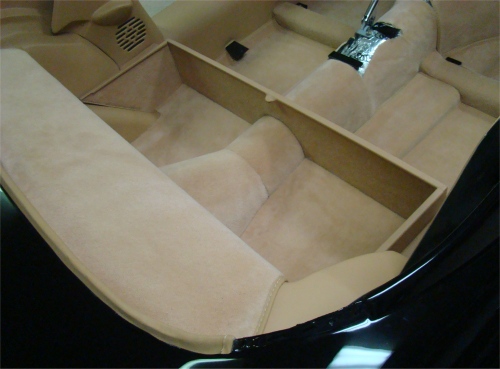
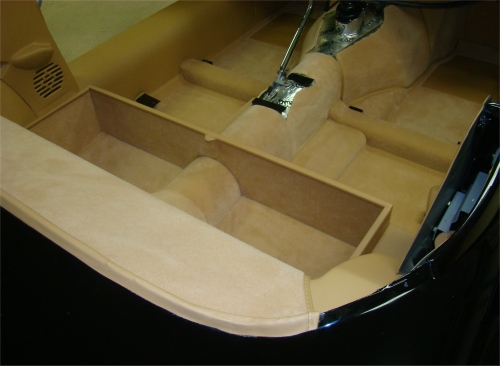
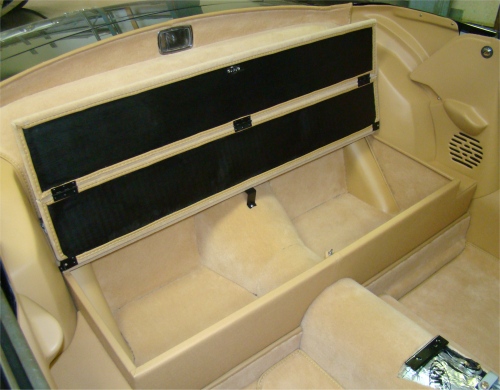
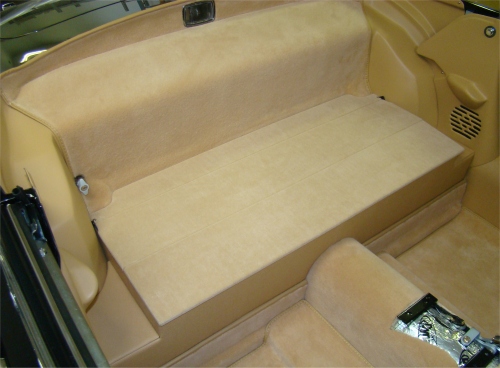
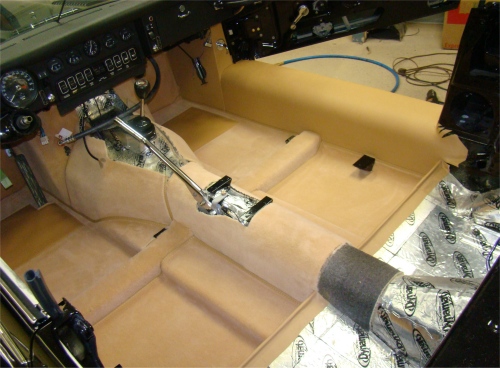
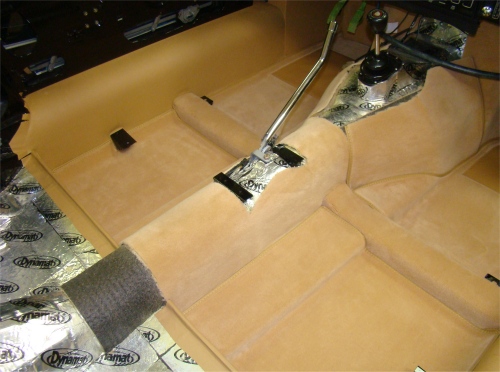
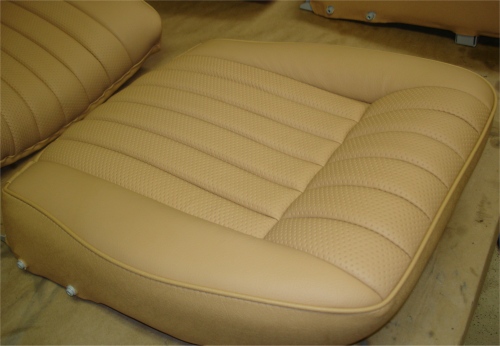
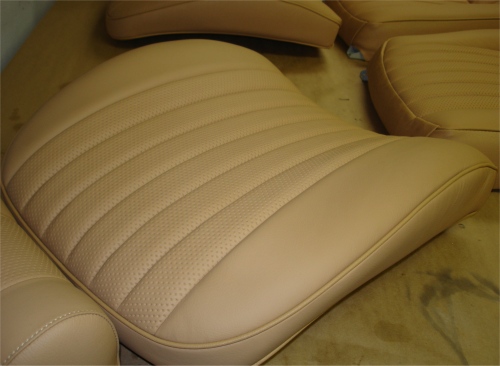
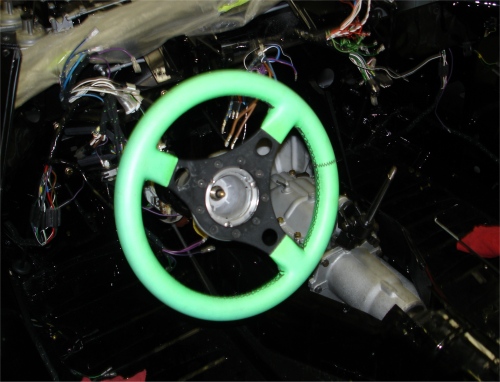
Interior installation now completed.
 |
 |
 |
|
and not too modern looking |
|
|
 |
 |
 |
|
last thing to go into place |
|
 |
 |
 |
|
|
|
|
 |
 |
 |
|
|
|
|
 |
 |
 |
|
|
We have now finished road testing your car and all that remains is to install the new interior and convertible top.
 |
 |
 |
 |
 |
|
Your seats have now been restored and retrimmed.
 |
 |
 |
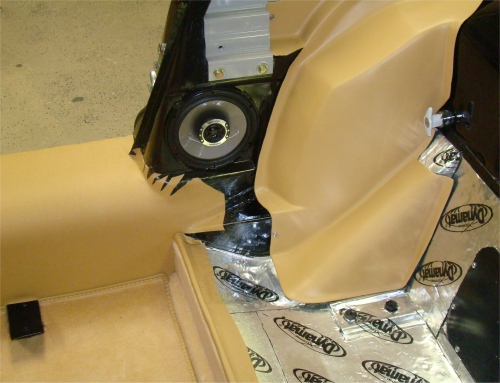
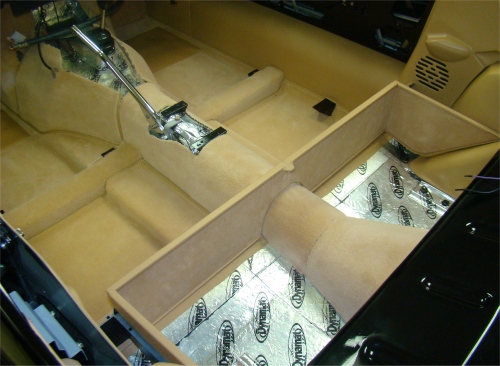
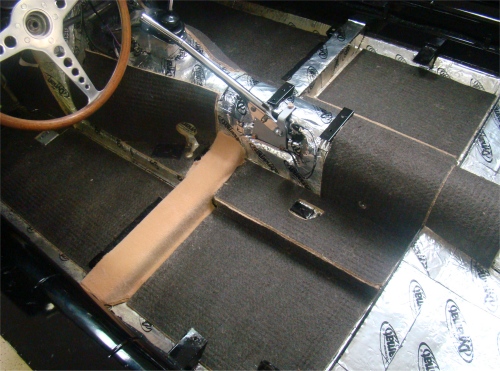
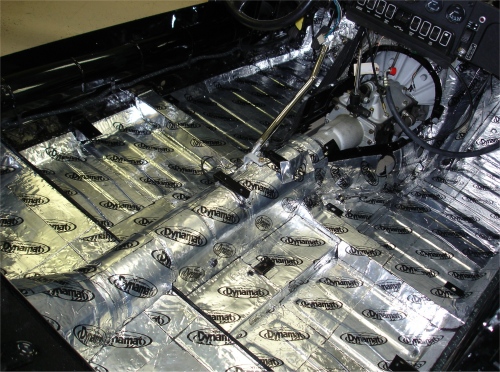
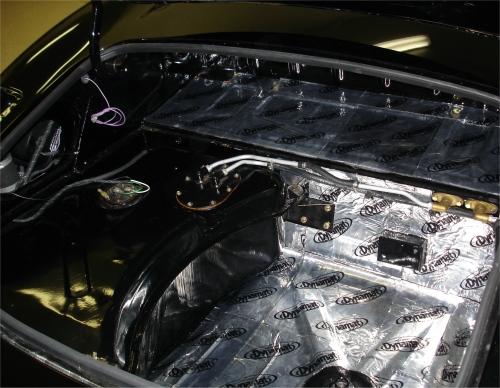
Installing the Dynamat. Your car is next in line to have its new interior installed.
 |
 |
 |
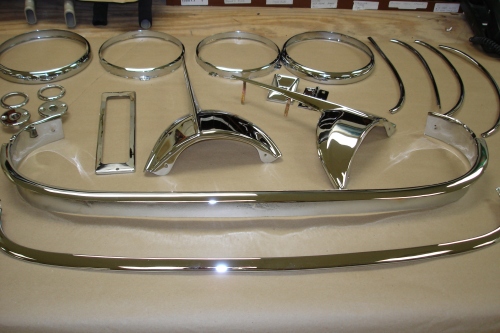
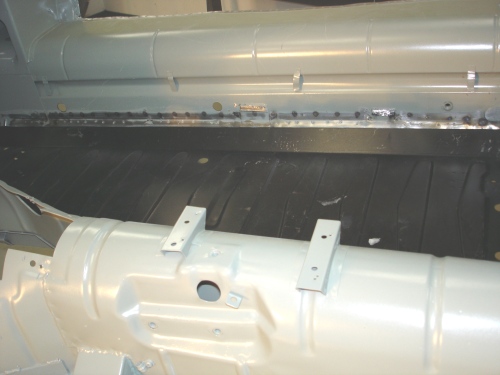
We now have all your chrome back from the platers and have been making final preparations to fire up he engine fo the first time.
 |
 |
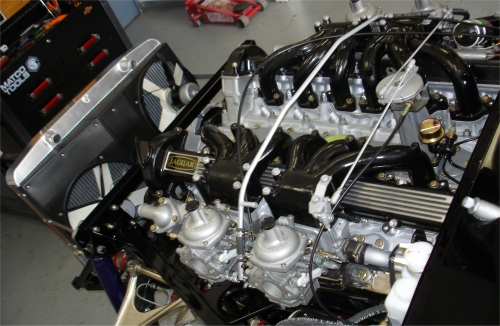
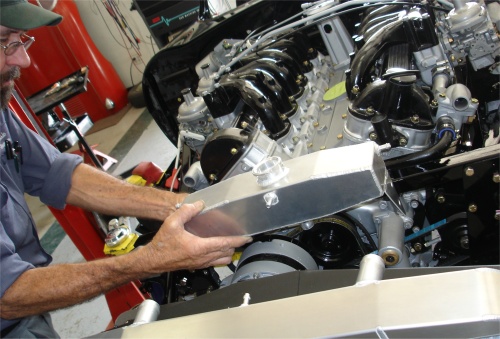
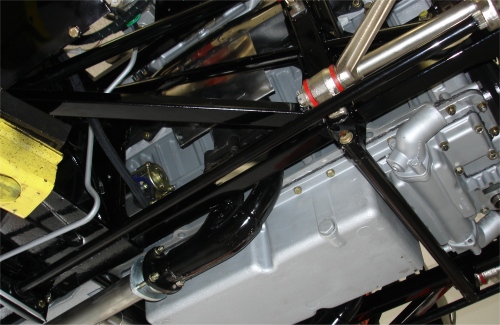
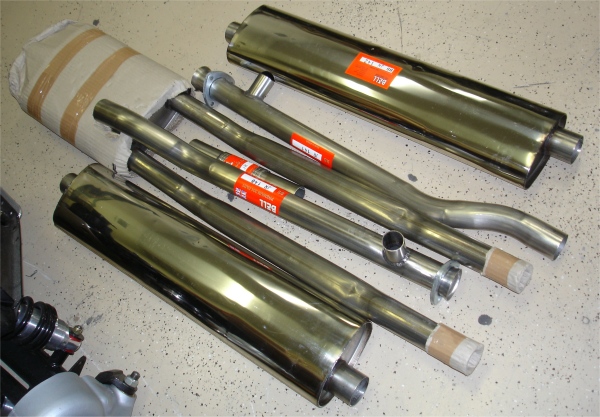
The following pictures show the installation of your uprated cooling system and the new stainless steel exhaust, etc.
 |
 |
 |
|
|
|
alloy expansion tank |
|
|
|
|
 |
 |
 |
|
|
|
|
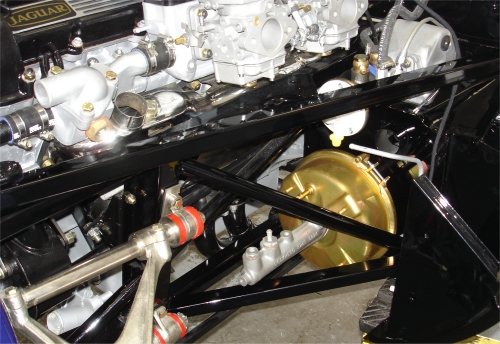
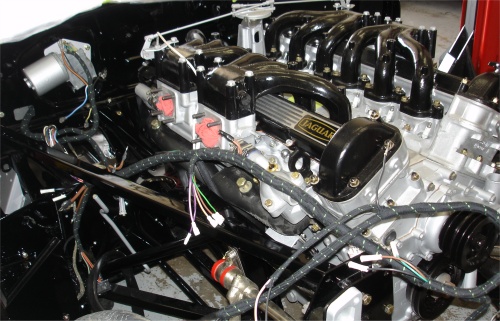
Engine bay slowly filling up....
 |
 |
 |
|
|
|
|
 |
 |
|
|
|
temporary.... |
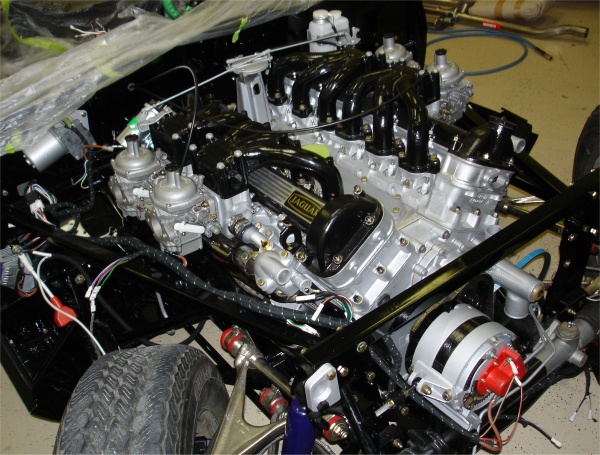
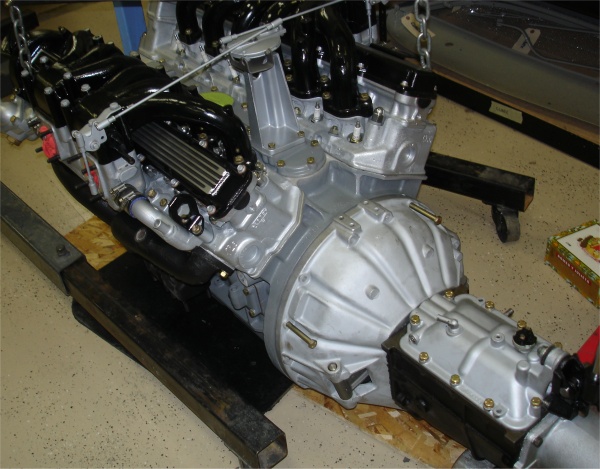
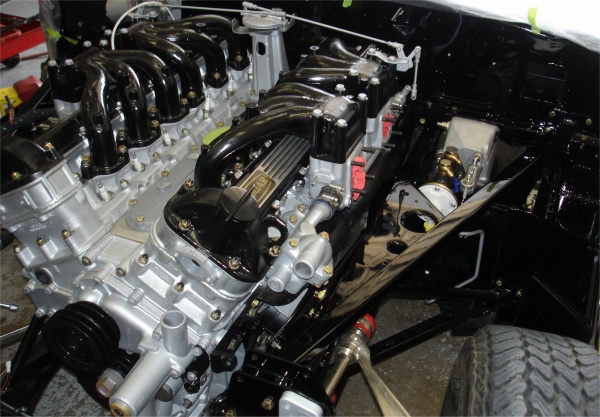
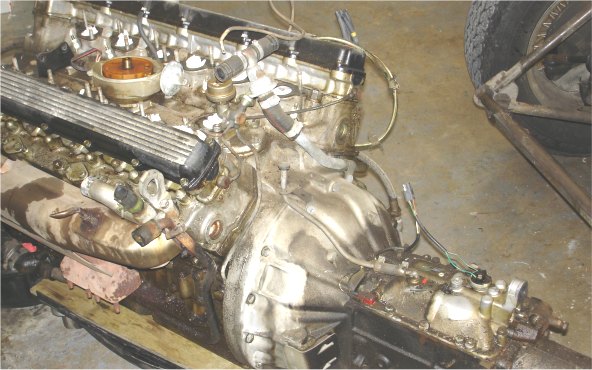
Engine and transmission now safely installed.....
 |
 |
 |
 |
Preparing to install the rebuilt engine and drivetrain....
 |
 |
 |
|
|
with transmission |
upgraded |
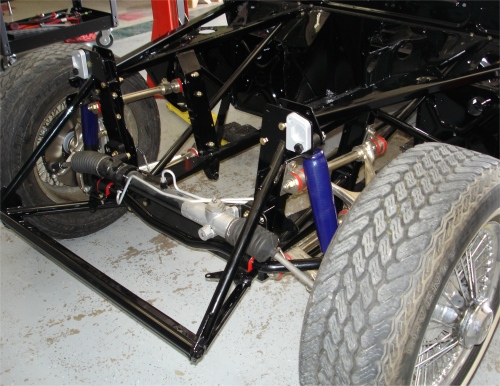
I am pleased to report that your car is now back on its wheels. We hope to be installing the rebuilt engine and the rest of the drivetrain over the course of the coming week.
 |
 |
 |
 |
 |
 |
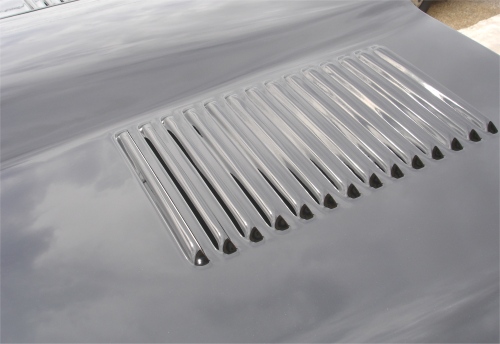
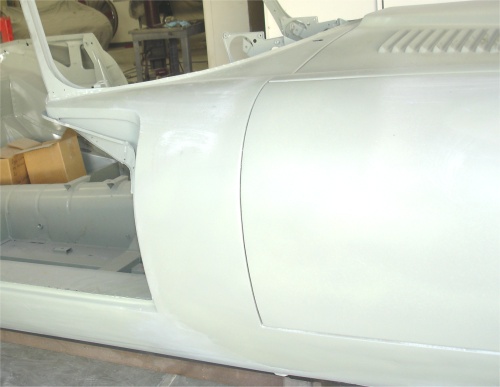
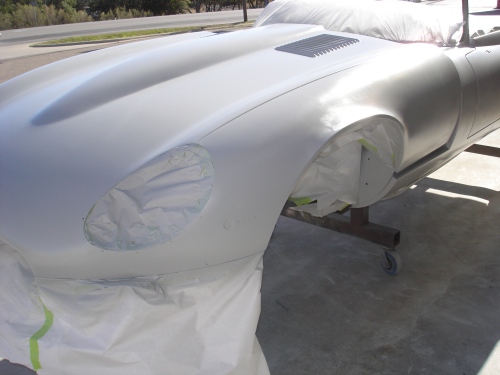
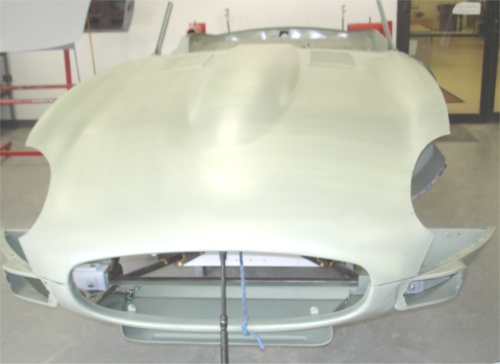
As you can see, we now have the bonnet painted and have the carb rebuild well underway.
 |
 |
 |
 |
 |
 |
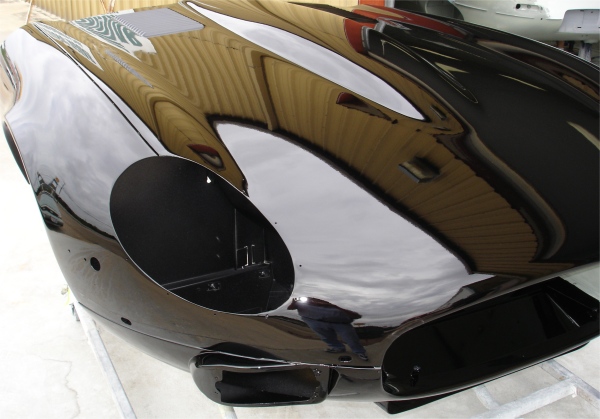
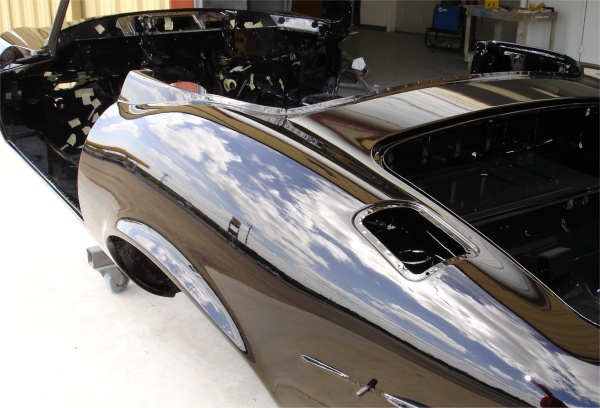
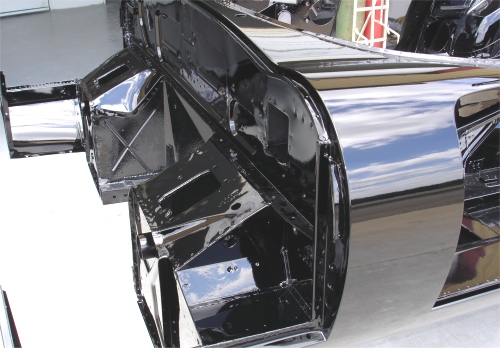
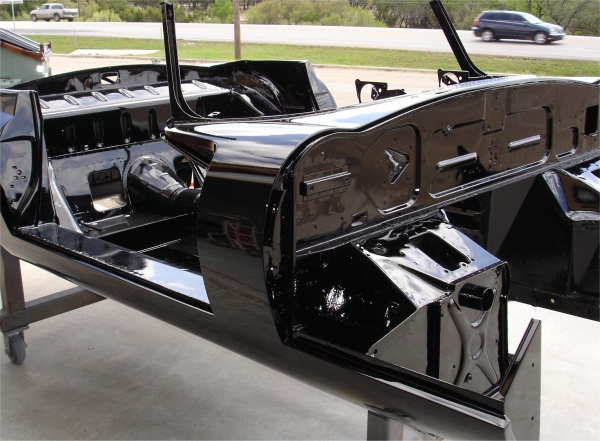
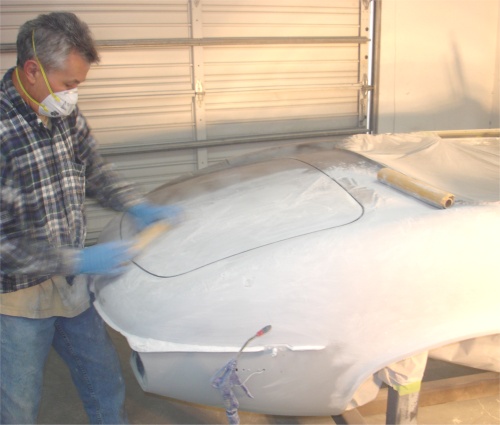
Time to paint the body....
 |
 |
 |
 |
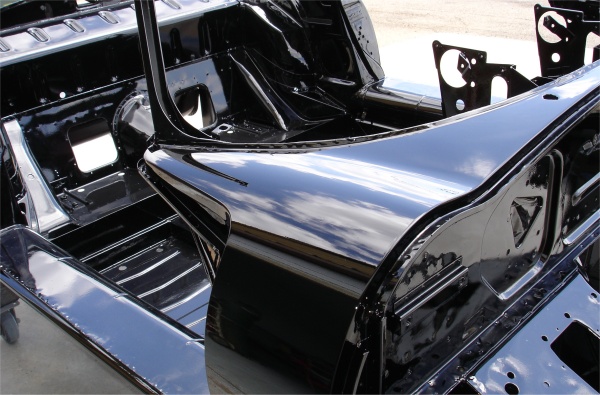
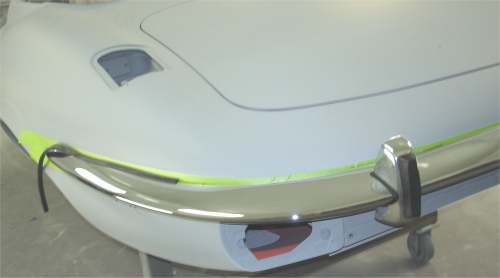
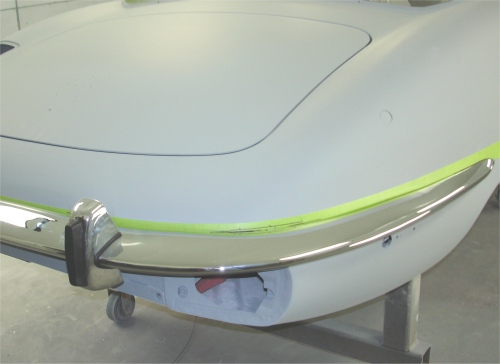
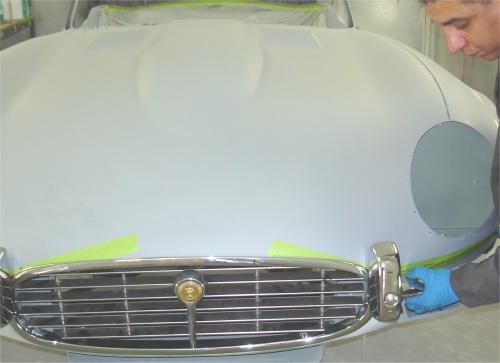
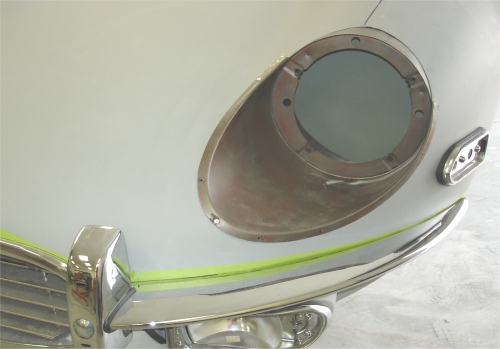
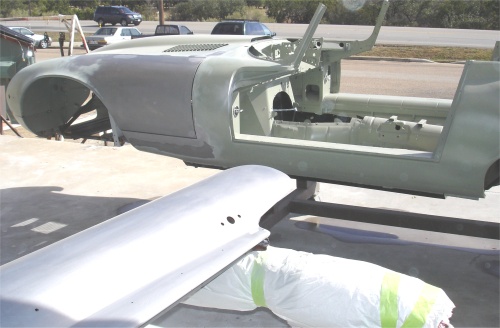
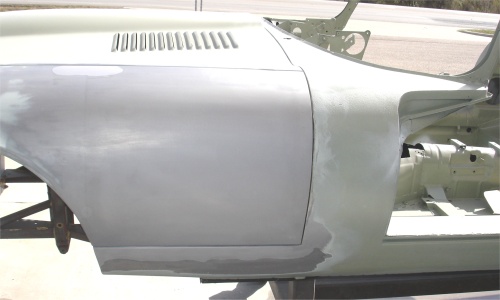
Your car has now been primed and we have been trial fitting (and grinding on!) all the chrome and brightwork. We are scheduled to be painting the car towards the back end of next week.
 |
 |
 |
 |
||
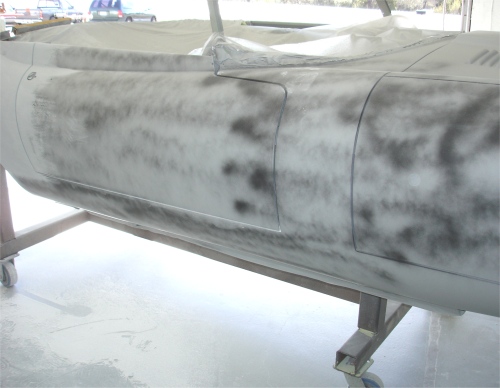
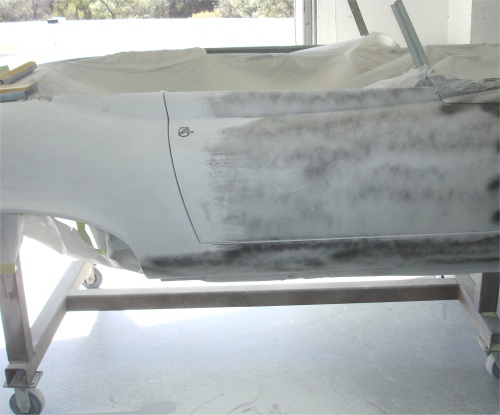
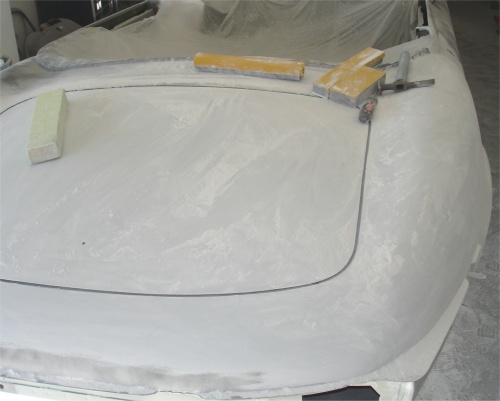
With the bodywork completed, we have now applied the Slick Sand and have begun the final blocking stage. Over the next few days, the car will be blocked with 120 then 180 grit paper. It will then be primed with high build primer and sanded with 400 then 600, at which point it will be ready for paint.
 |
 |
 |
|
been completed |
|
etching primer |
|
|
|
|
 |
 |
 |
|
|
sunshine |
|
|
|
|
|
 |
 |
 |
|
surrounding quarter panels |
for the blocking stage |
|
 |
 |
|
|
|
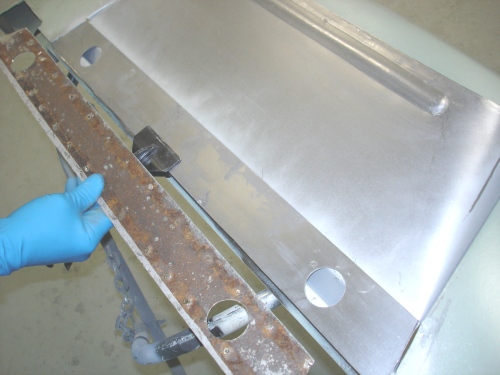
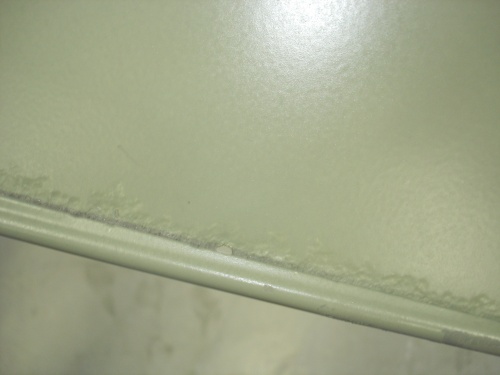
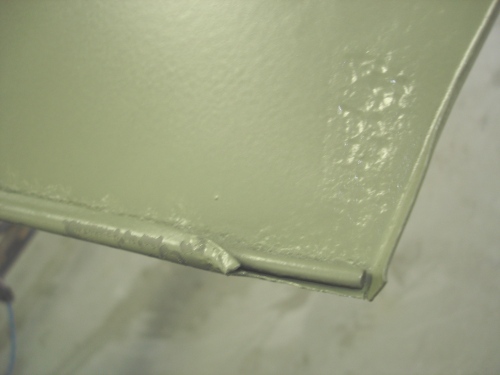
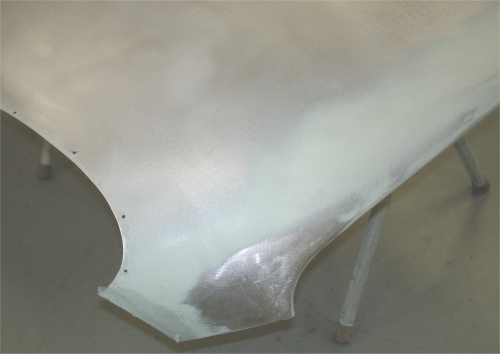
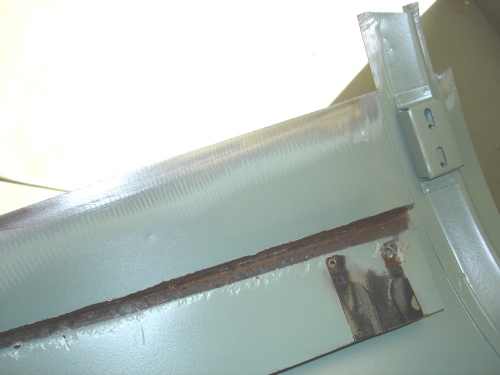
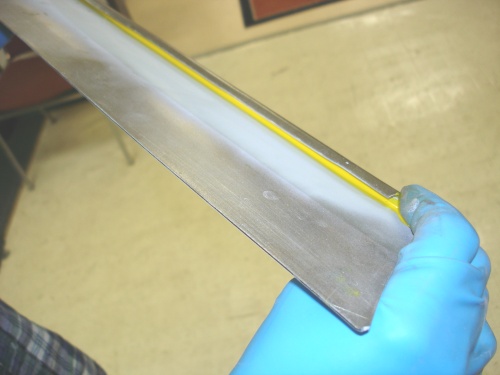
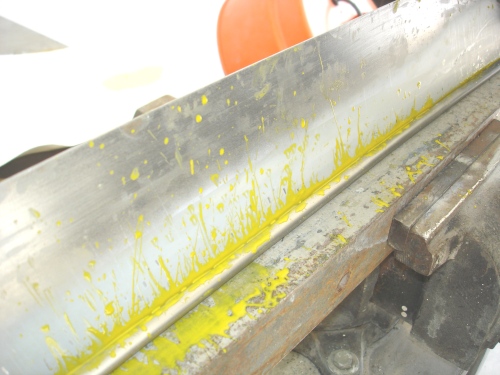
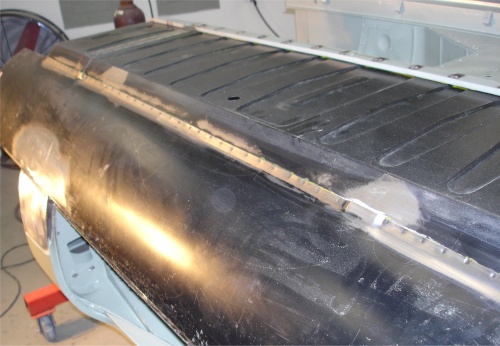
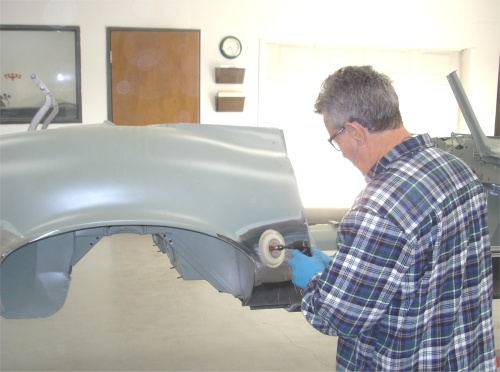
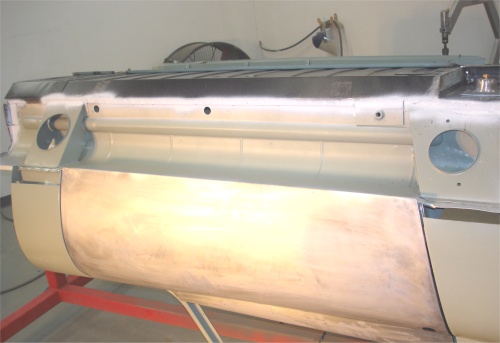
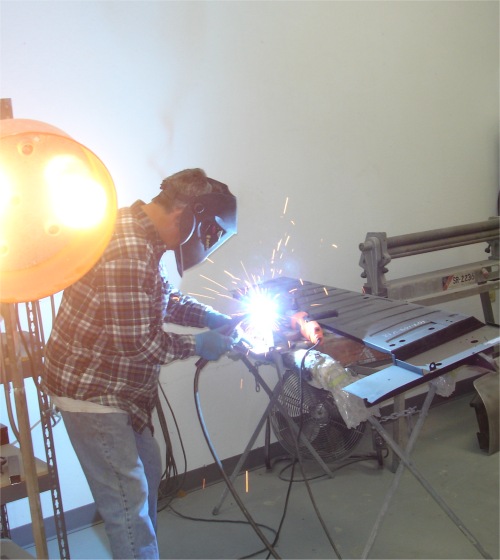
The following photographs show Lawrence fabricating various panels and restoring/re-assembling your bonnet.
 |
 |
 |
|
|
|
is holding up |
 |
 |
 |
|
rust issues |
have been welded up |
|
 |
 |
 |
|
cut away and replaced |
used during re-beading |
time soon! |
 |
 |
 |
|
bonnet |
||
 |
 |
 |
|
in the CJ Workshop |
||
 |
 |
|
|
the RH wing |
|
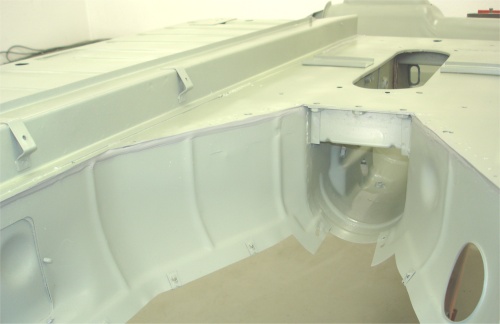
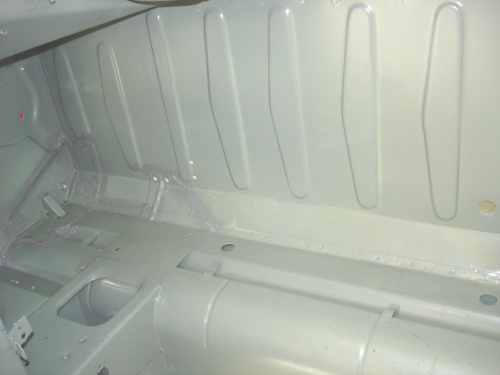
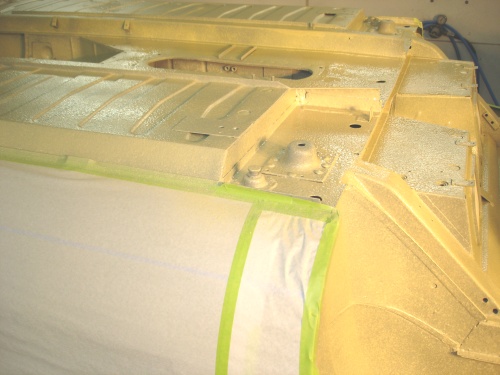
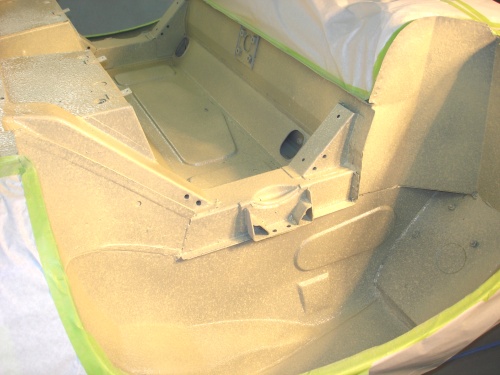
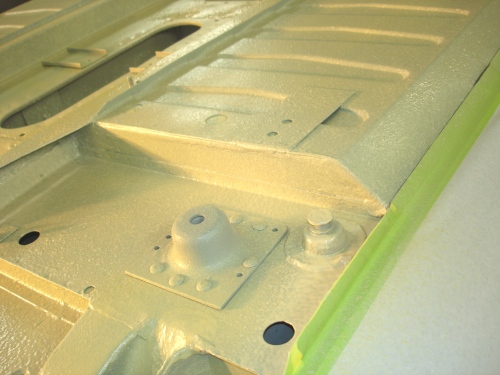
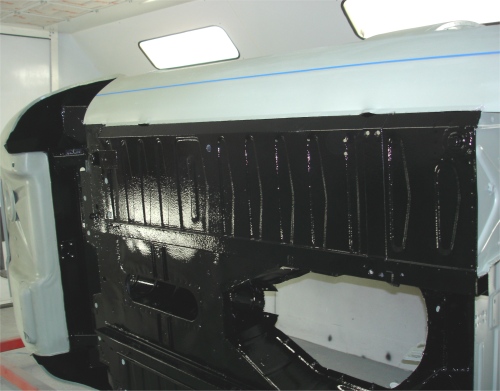
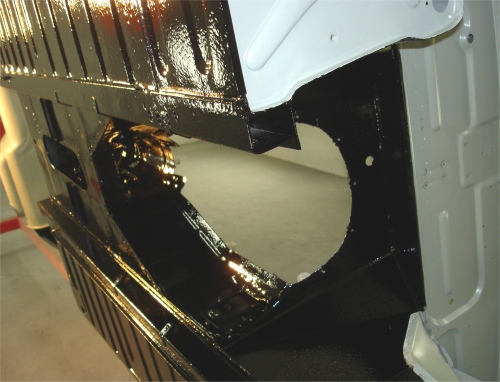
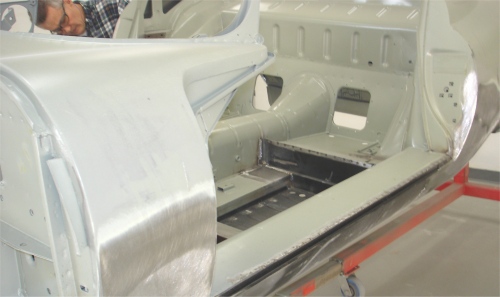
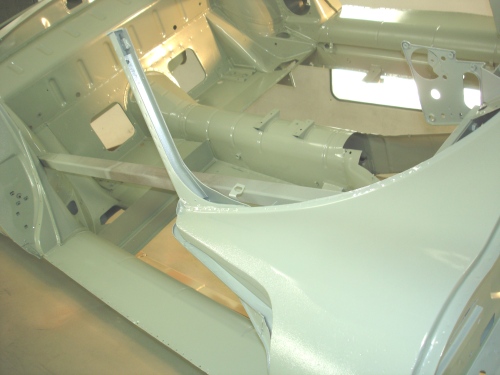
As you can see, we have rock guarded and painted the underside of the car which has now been removed from the rotisserie and placed on one of the frame jigs.
 |
 |
 |
|
tub in etching primer |
|
|
 |
 |
 |
|
|
||
 |
 |
 |
|
|
||
 |
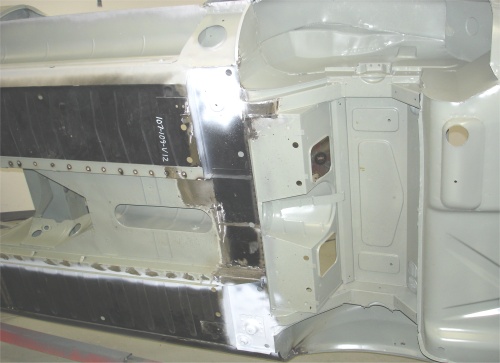
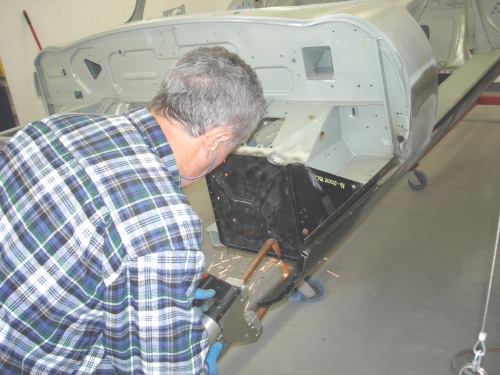
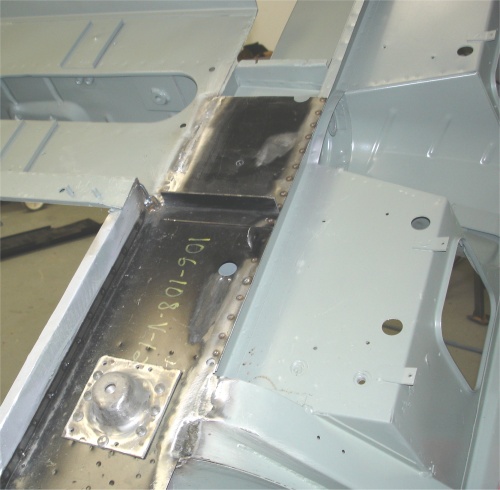
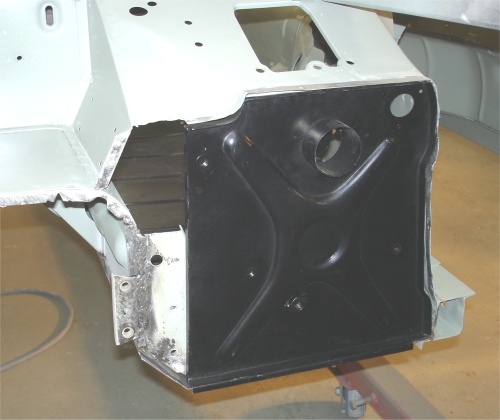
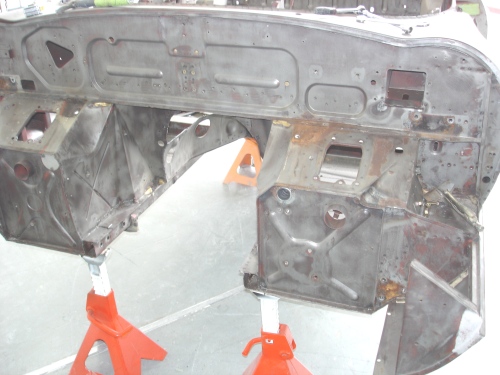
Both floors have now been installed, as well as the new outer sills and the fabricated rear bulkhead panel. Lawrence has now turn his attention to the firewall before tackling the bonnet. Please let us know whether you would like to keep the boot mounted luggage rack.
 |
 |
 |
|
welded in place |
been installed |
|
 |
 |
 |
|
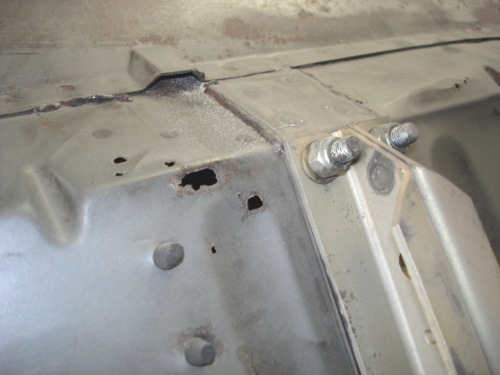
and spot welded in place |
||
 |
 |
 |
|
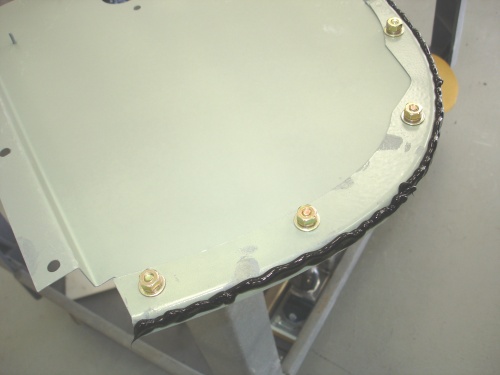
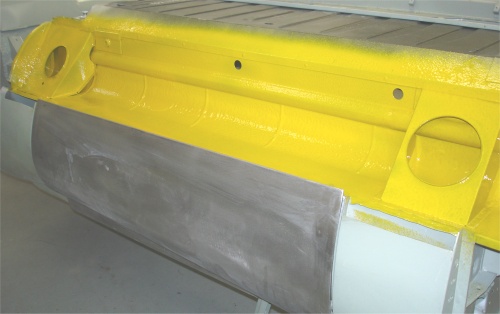
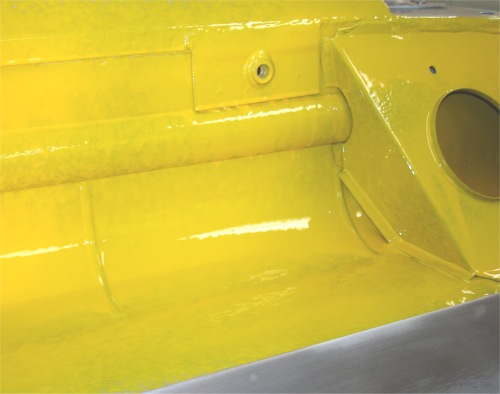
applying lead body solder |
|
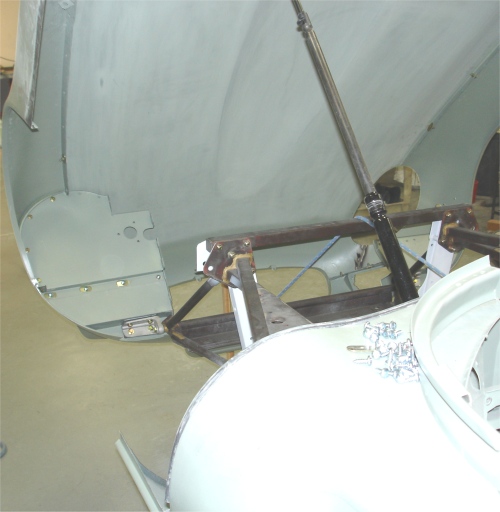
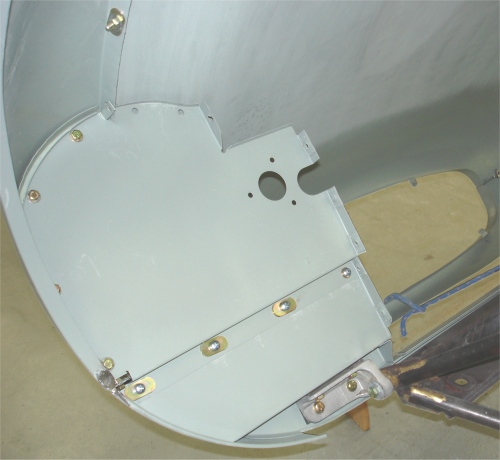
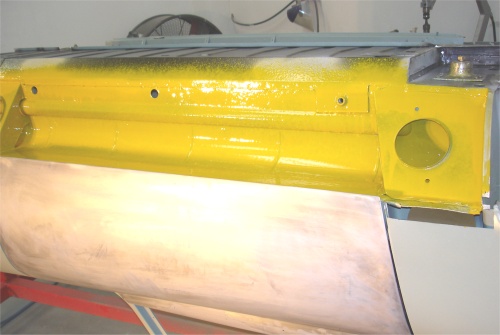
firewall panel |
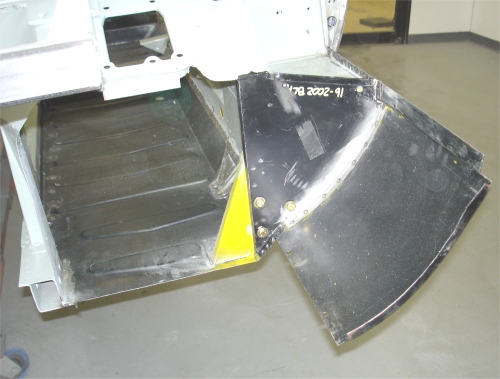
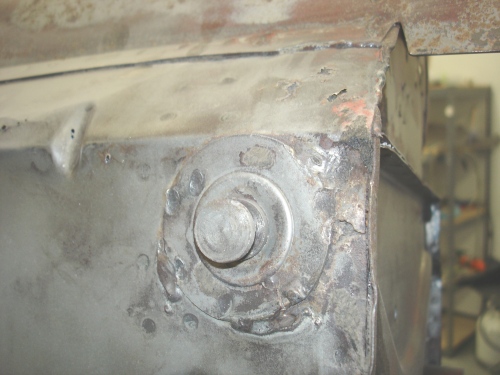
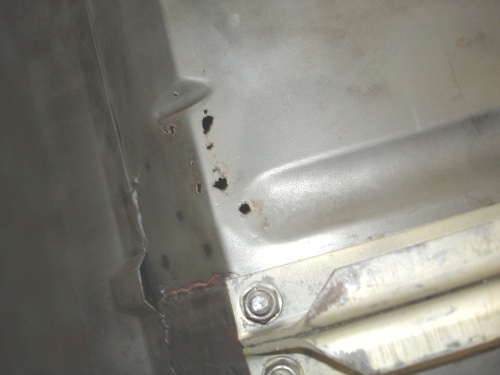
The sheet metal replacement has begun...
 |
 |
 |
|
been spot welded in place |
|
kick panels |
|
|
|
|
 |
 |
 |
|
installing the outer sills |
|
with Wurth Body Wax |
|
|
|
|
 |
||
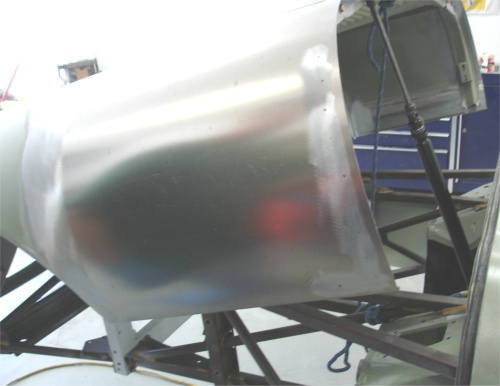
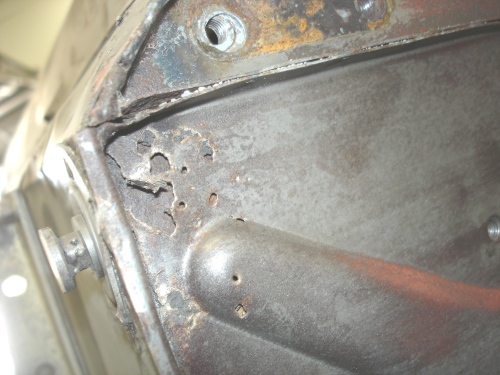
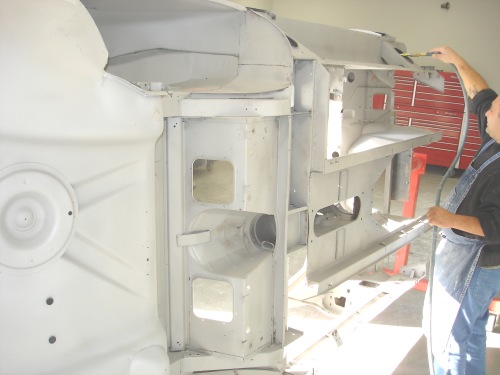
It is now time to get the body restoration underway in earnest. After the initial blasting, Lawrence cut away all the bad sheet metal and thenwe blasted the newly exposed areas again, before sealing with BASF etching primer. Th tub will receive new floors and sills, but really isn't in bad shape compared to some we have seen.
 |
 |
 |
|
|
wasn't too bad |
|
|
|
|
|
 |
 |
 |
|
|
|
|
|
|
|
|
 |
 |
 |
|
|
|
|
|
|
|
|
 |
 |
 |
|
corroded panels |
blowing the tub off prior to priming |
excellent anti-corrosive |
|
|
|
|
 |
 |
 |
|
|
|
find out if you want to keep the bootlid luggage rack |
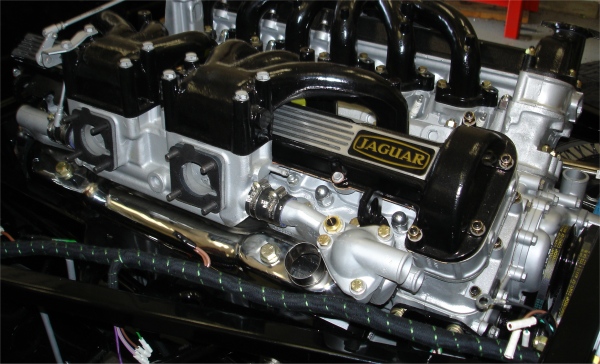
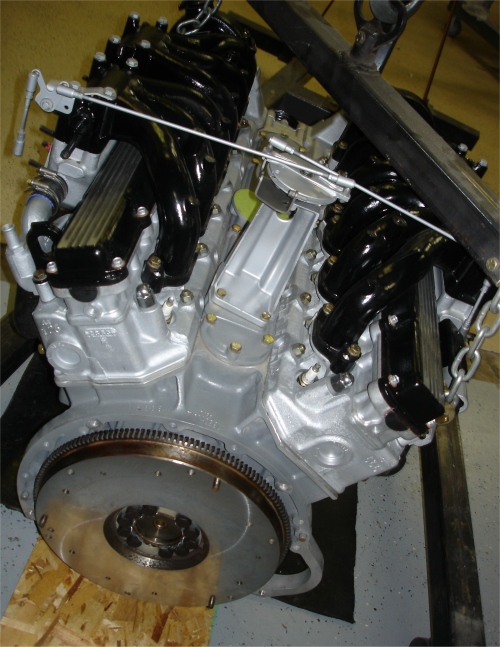
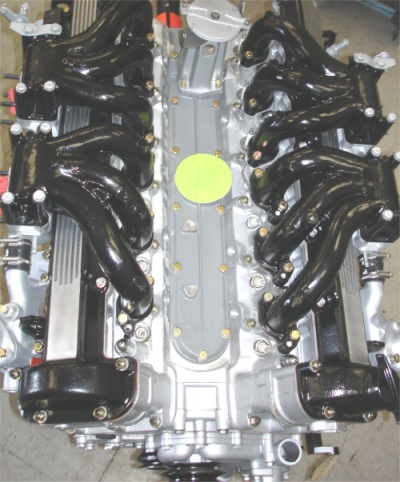
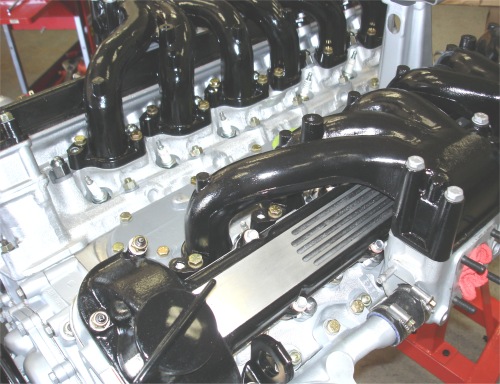
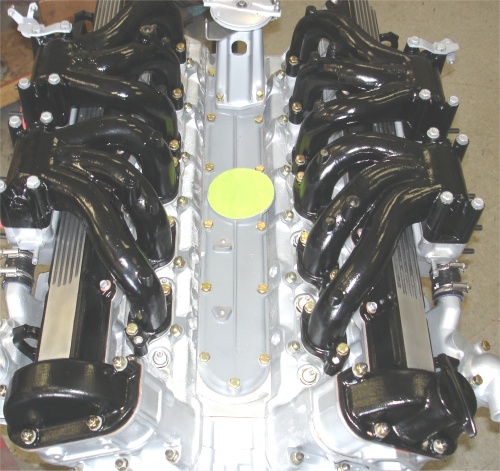
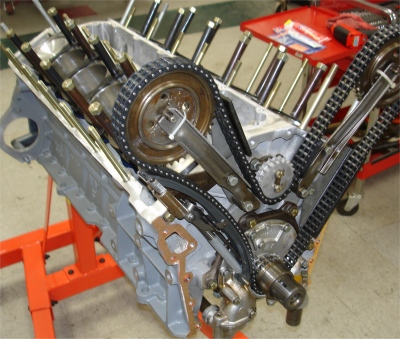
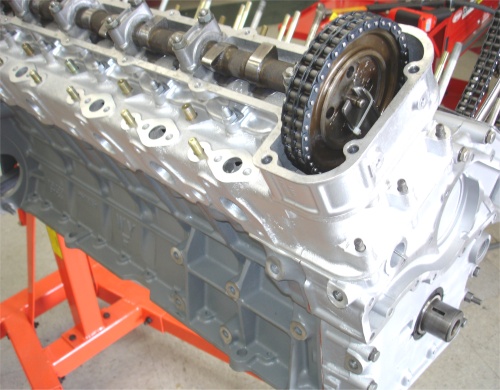
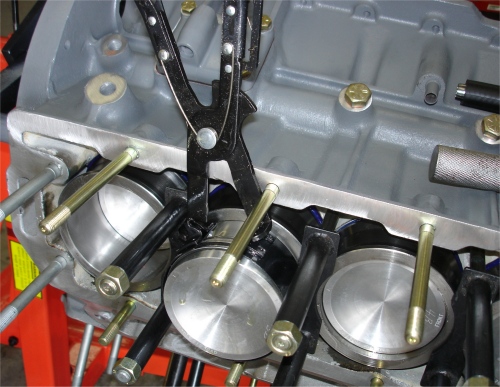
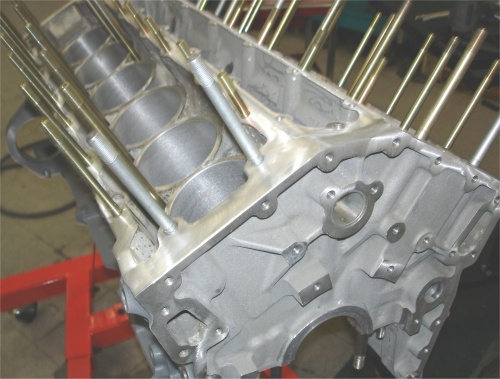
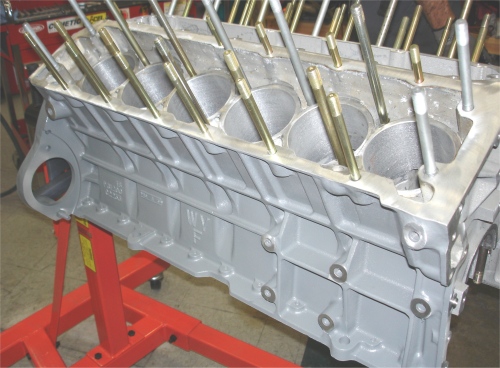
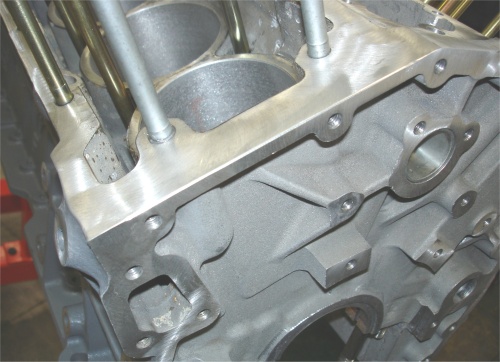
Putting the finishing touches to your rebuilt engine....
 |
 |
 |
 |
 |
 |
 |
 |
 |
 |
|
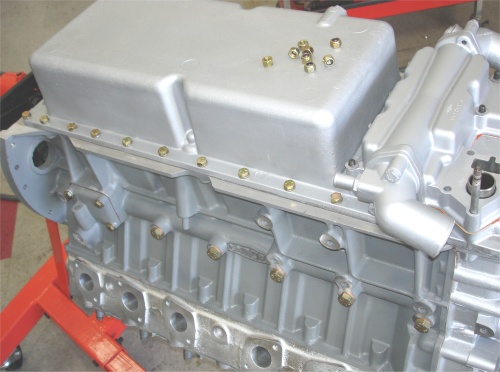
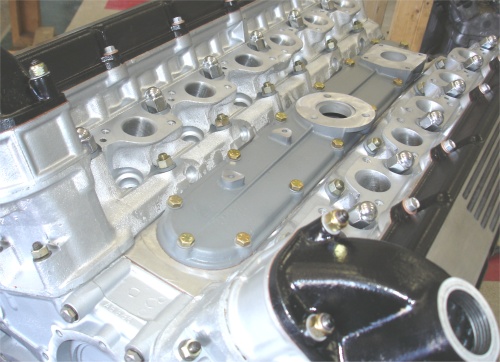
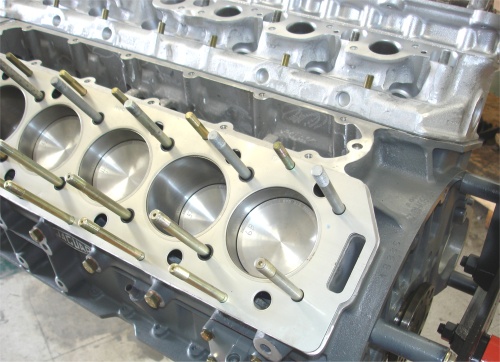
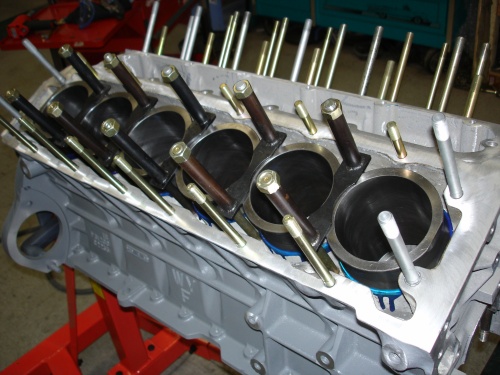
Installing your pistons.....on Monday we will assemble and install the cylinder heads.
 |
 |
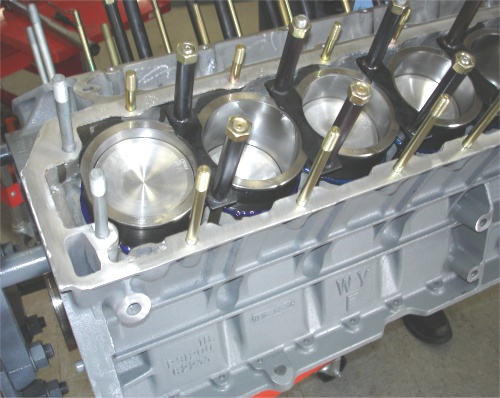 |
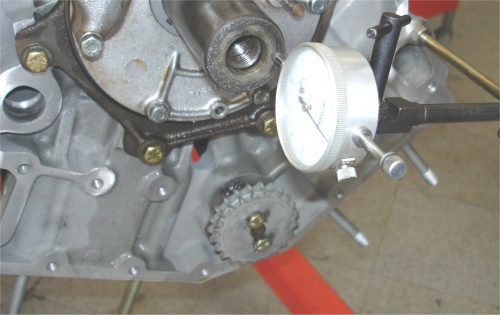
It is now time to start reassembling your engine.......
 |
 |
 |
|
|
||
 |
 |
 |
|
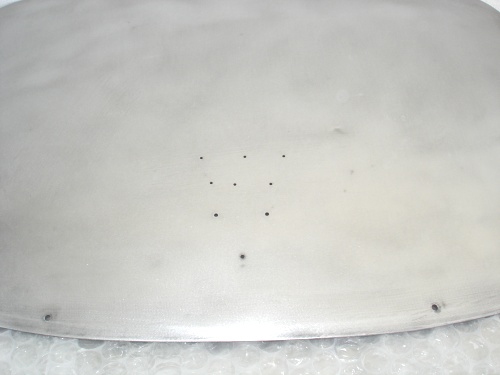
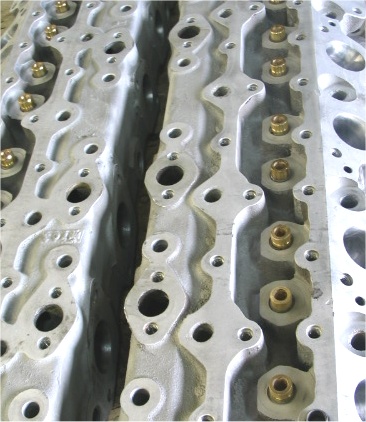
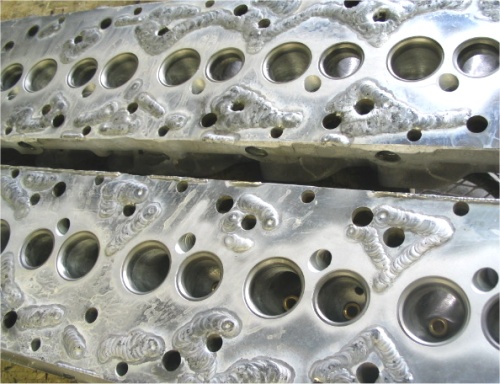
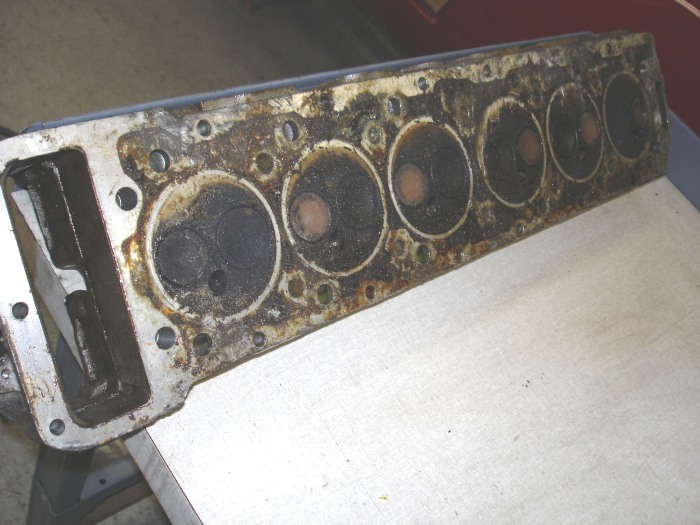
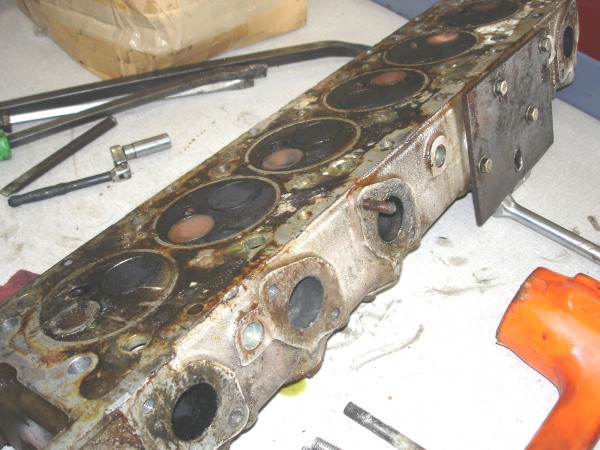
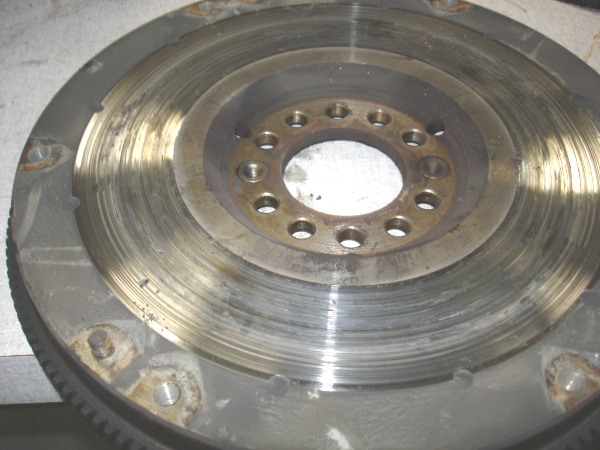
Gasket surface being welded up |
resurfaced |
|
 |
 |
|
|
|
|
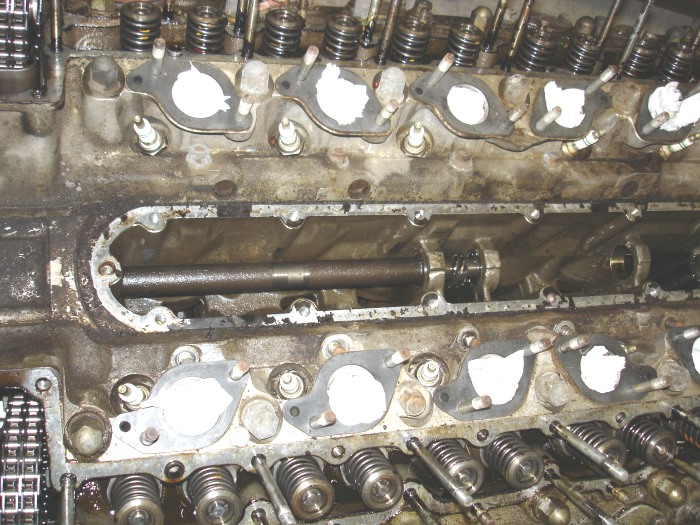
I thought you might be interested to see some of the work in progress on your cylinder heads. As you can see, they needed some pretty extensive welding!
 |
 |
 |
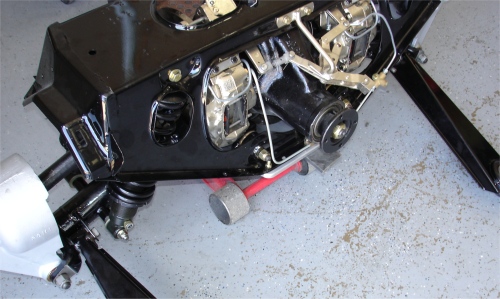
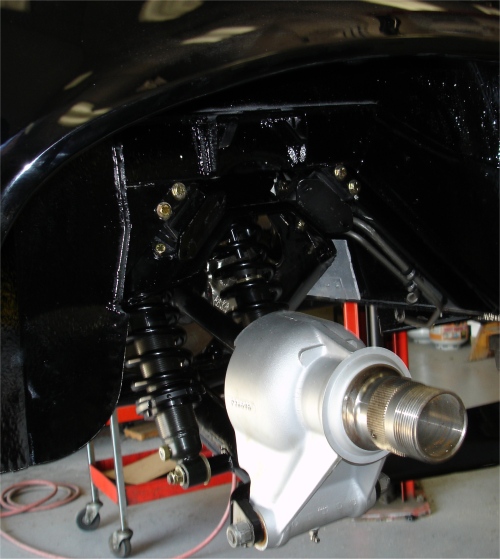
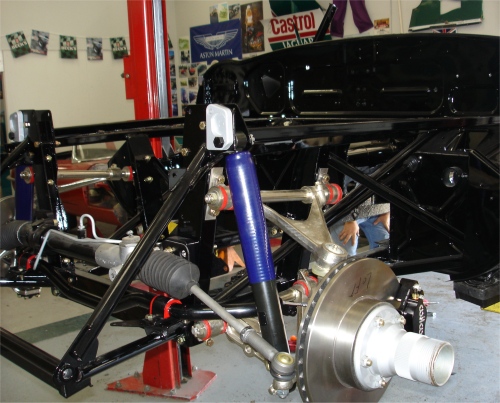
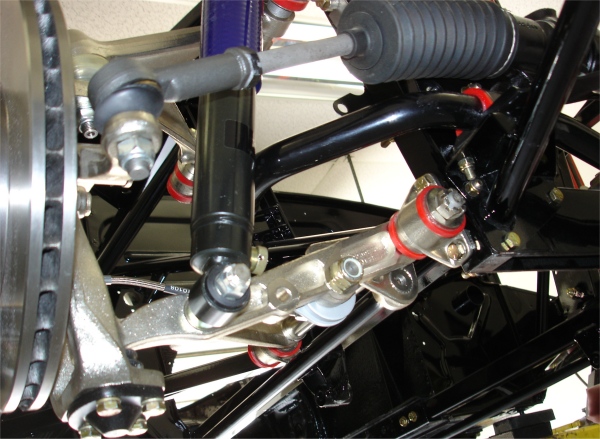
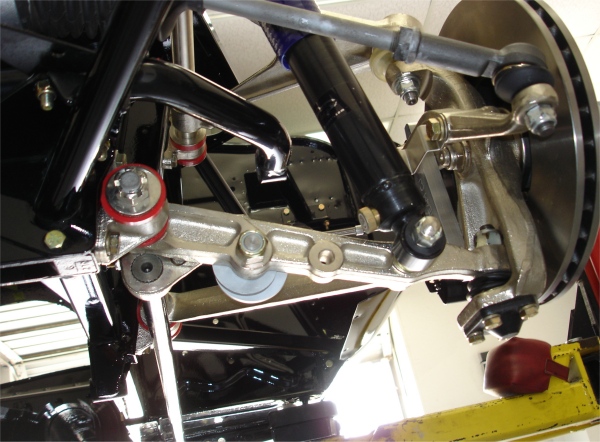
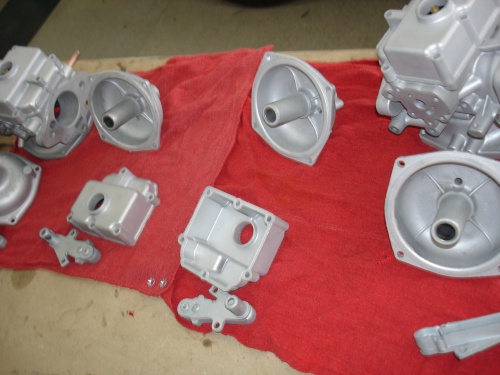
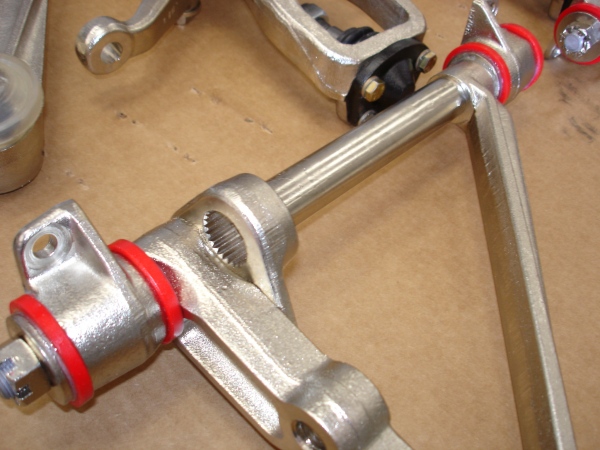
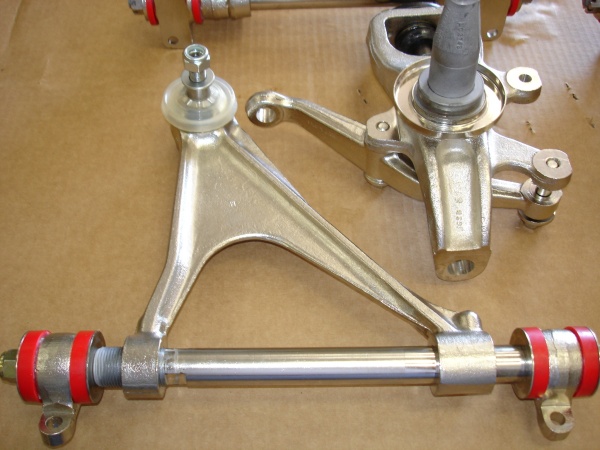
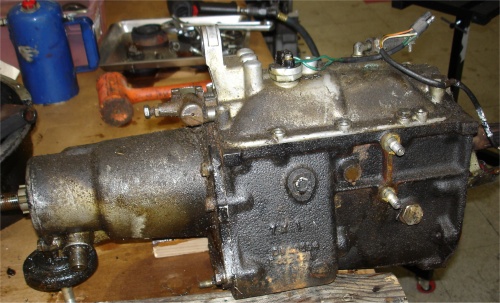
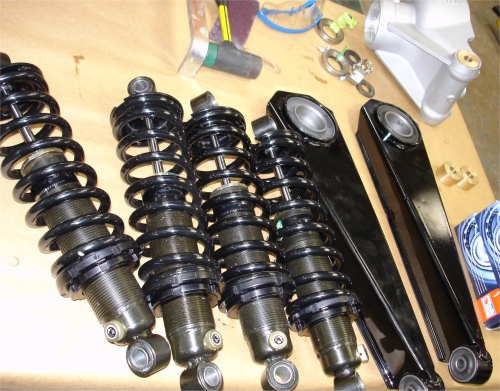
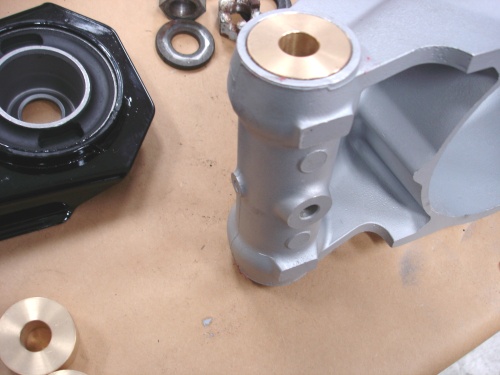
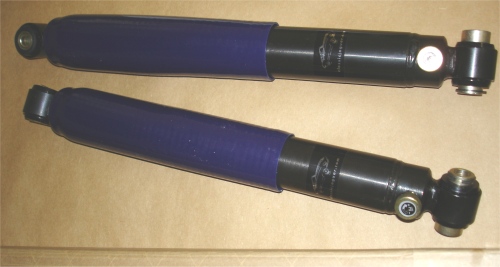
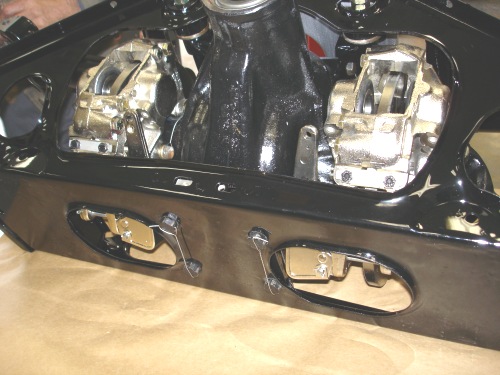
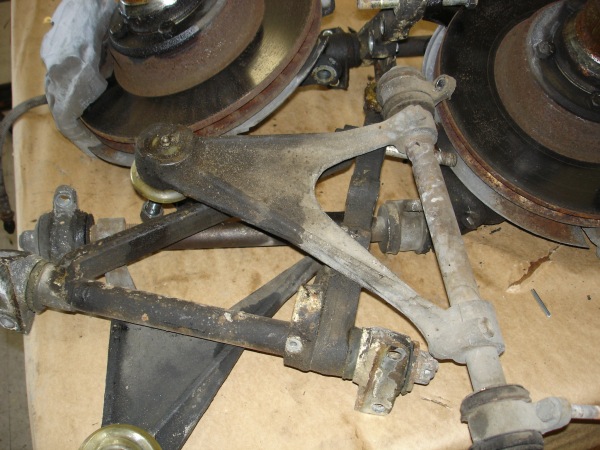
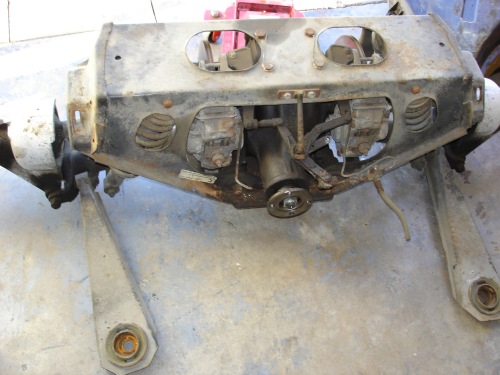
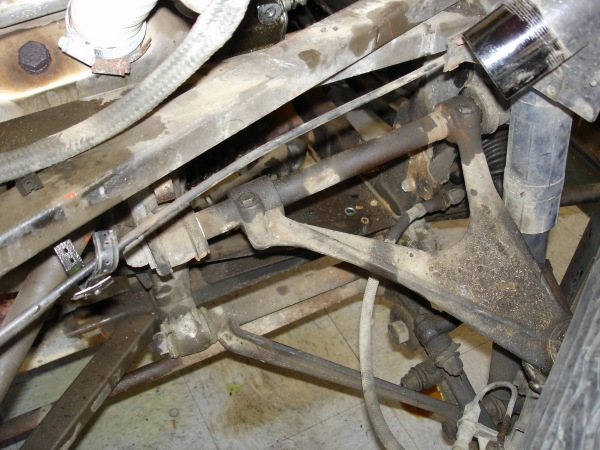
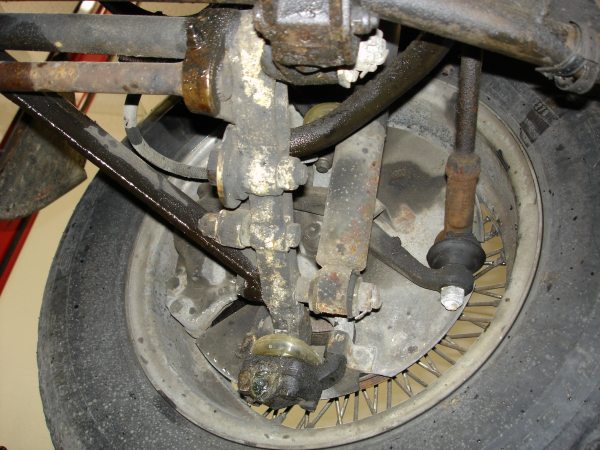
Your front suspension has been rebuilt and your transmission is being rebuilt at the present time.
 |
 |
 |
 |
||
 |
 |
 |
|
and springs |
bronze bushings installed |
and installed |
 |
 |
|
|
|
|
A couple of photographs for Barry and the guys at Turbine Services.......more tomorrow, I promise!
 |
 |
 |
 |
 |
 |
|
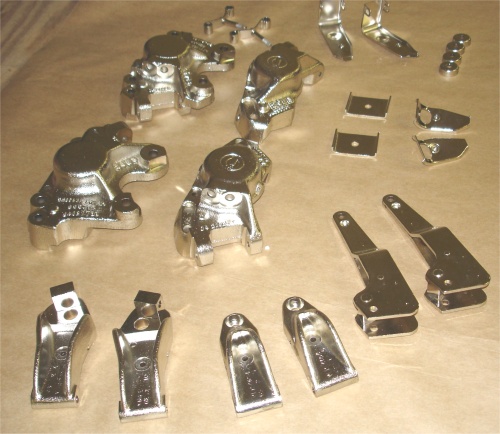
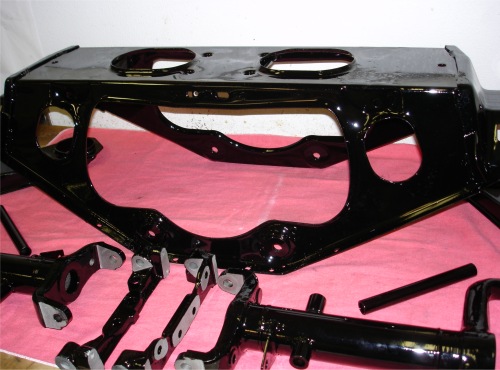
beautifully powder coated |
|
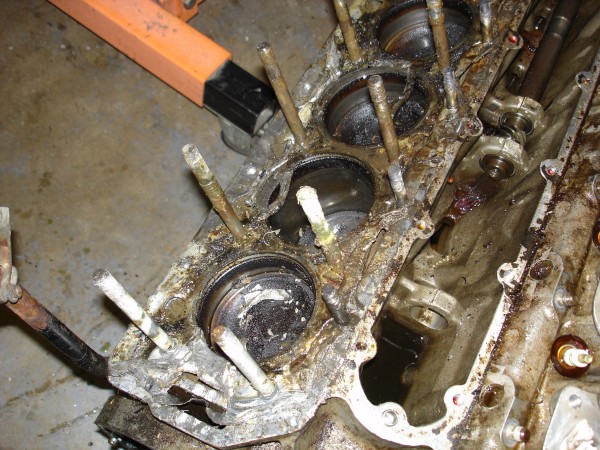
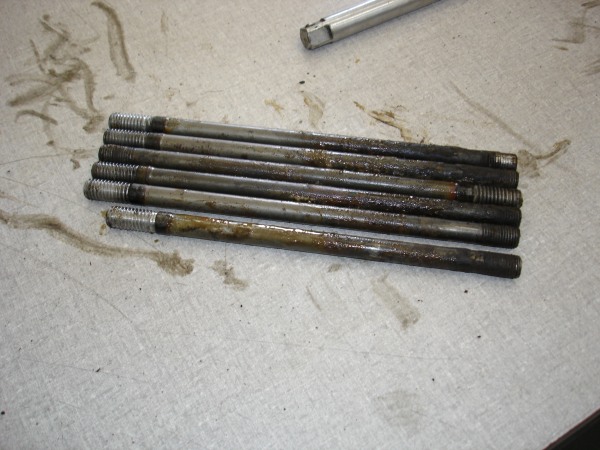
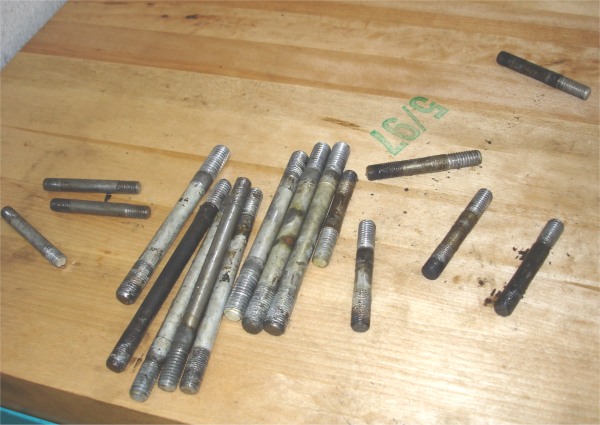
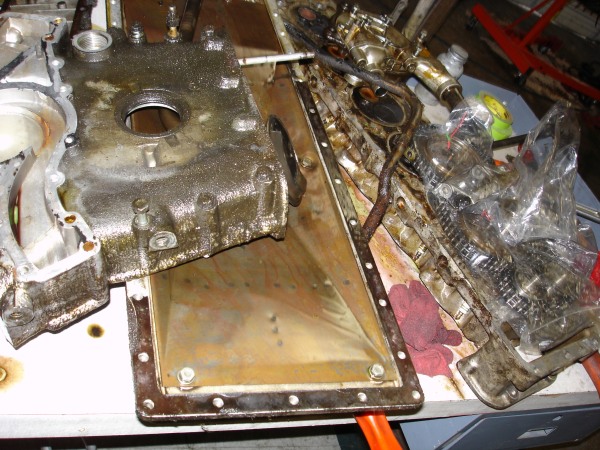
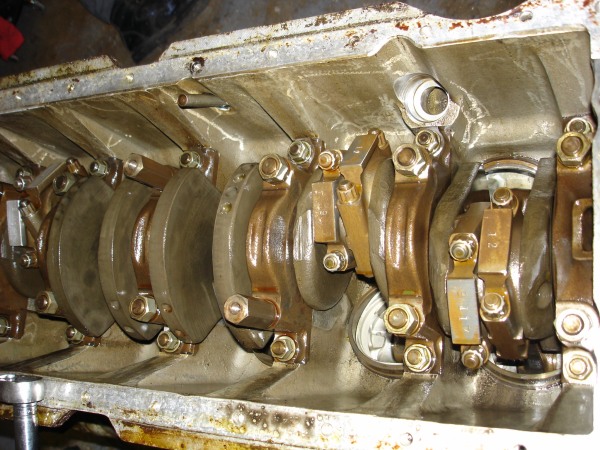
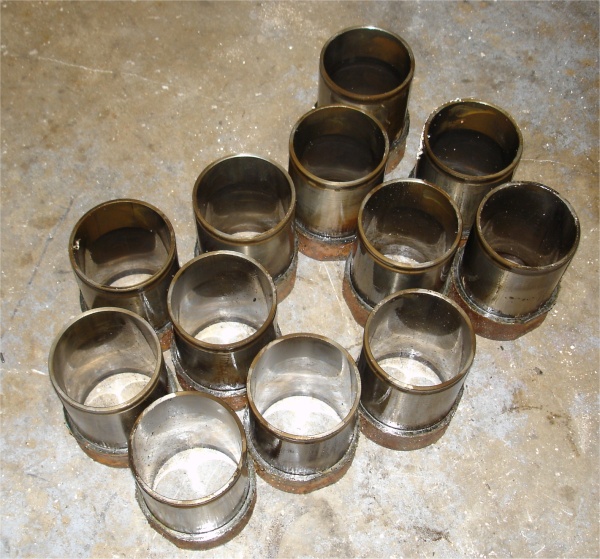
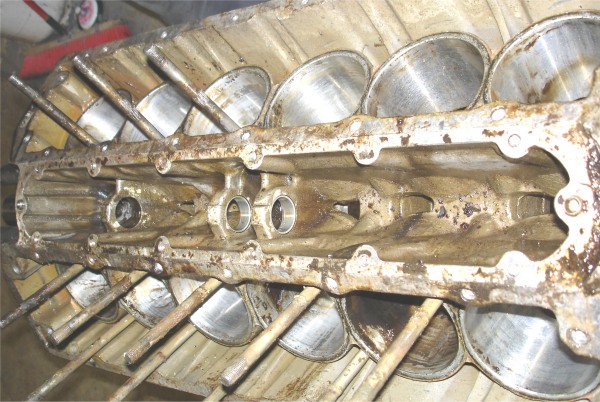
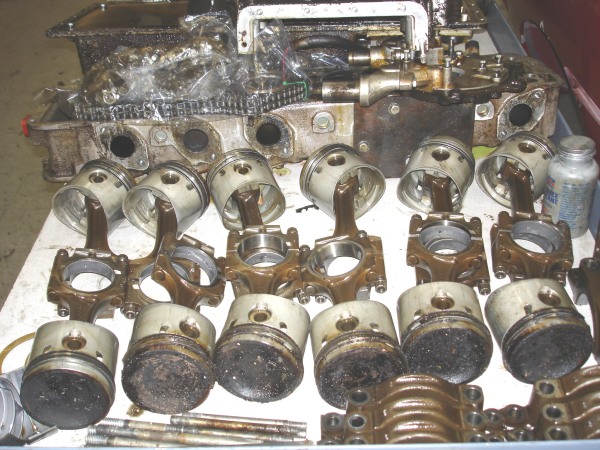
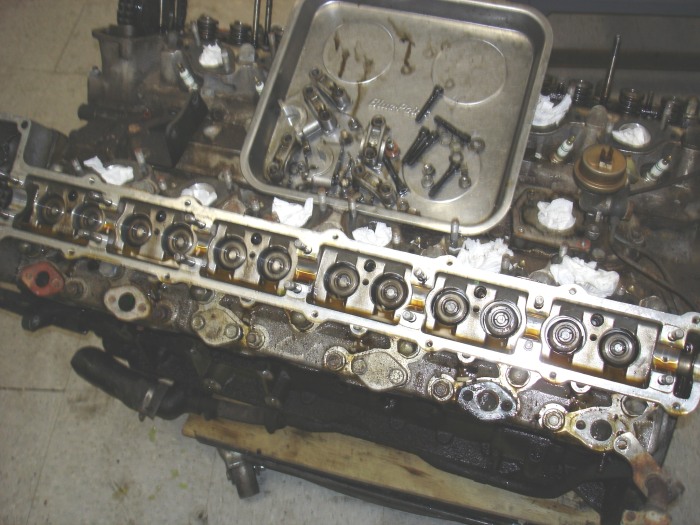
I am pleased to report that we now have your engine fully disassembled, other than the few remaining badly corroded head studs. We broke two stud extractor tools (so far!) and have to wait for replacement tools before we can remove the last few studs. This engine was an absolute bear to take apart. It fought us every step of the way!
 |
 |
 |
|
of the heads off... |
very badly corroded |
|
 |
 |
 |
|
|
replaced as a matter of course |
|
 |
 |
 |
|
from the block! |
||
 |
 |
 |
 |
 |
 |
 |
||
|
|
|
|
 |
 |
|
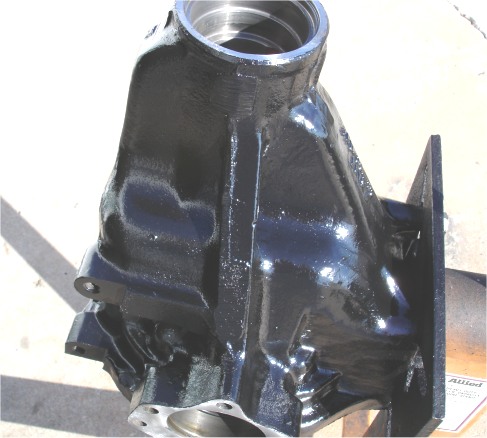
coating |
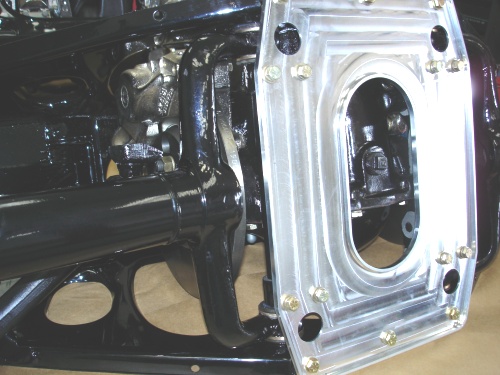
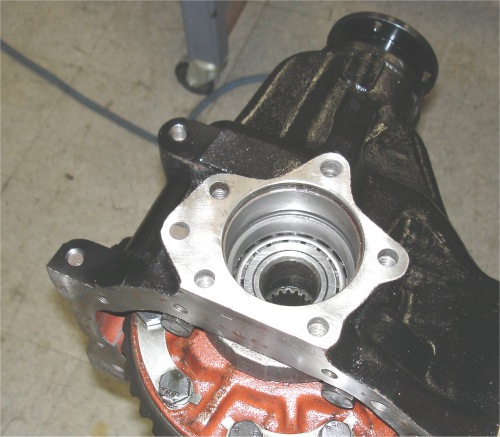
differential casing |
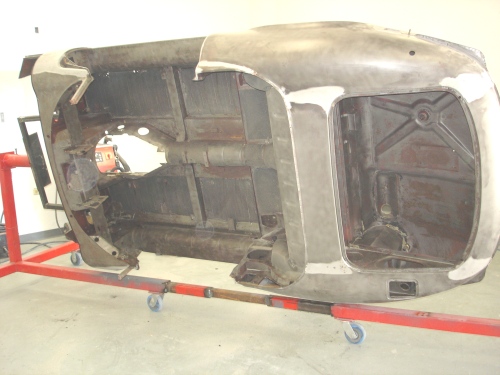
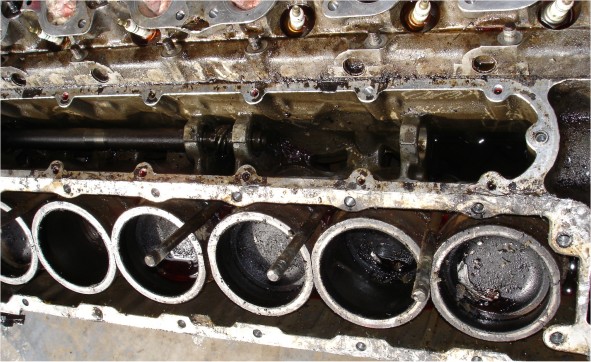
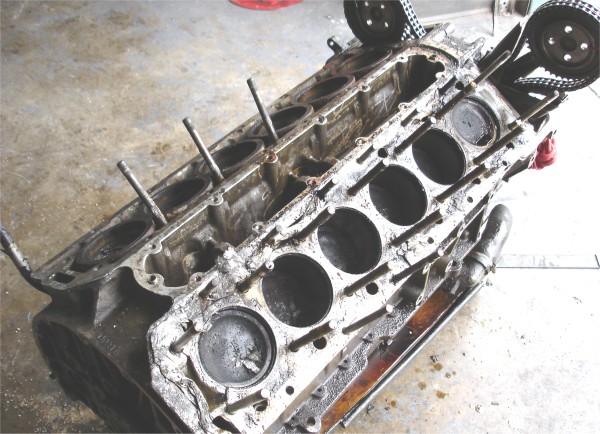
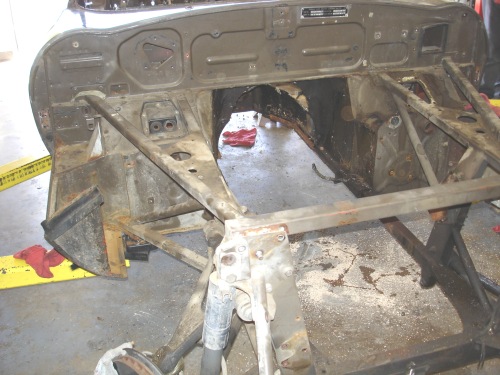
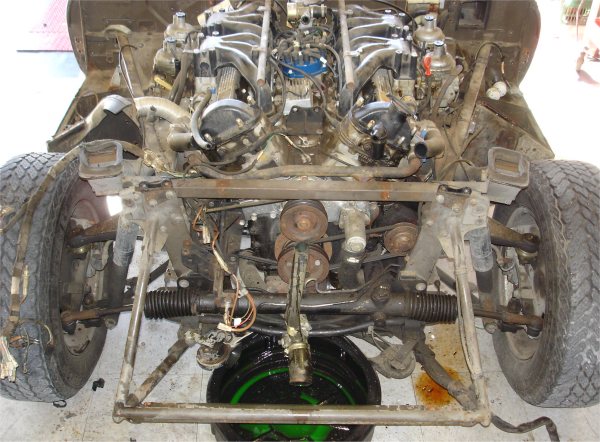
As you can see, the car is now completely stripped out and has been placed on a rotisserie jig ready for plastic media blasting. We have started to disassemble the engine, although at the time or writing, the heads are stuck firm.
 |
 |
 |
 |
 |
 |
 |
 |
 |
 |
 |
 |
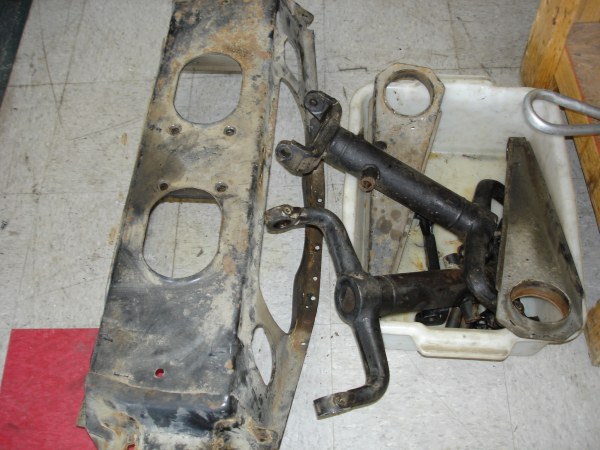
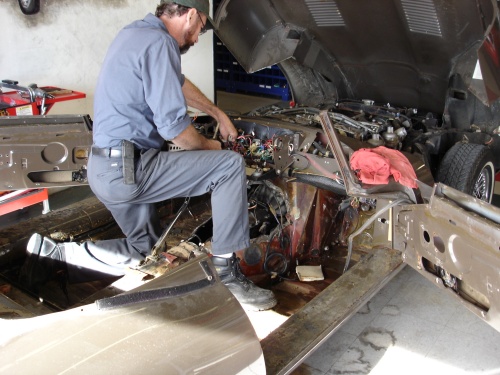
By the end of today (12/13/04) the car will be ready to go on the jig and be sent out for plastic media blasting.
 |
 |
 |
|
|
very sold indeed |
|
 |
 |
 |
|
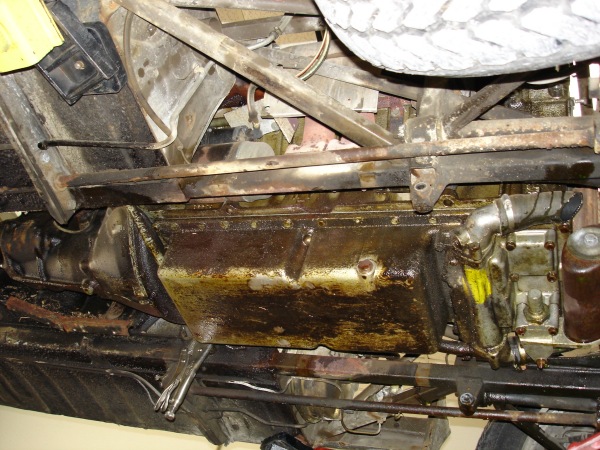
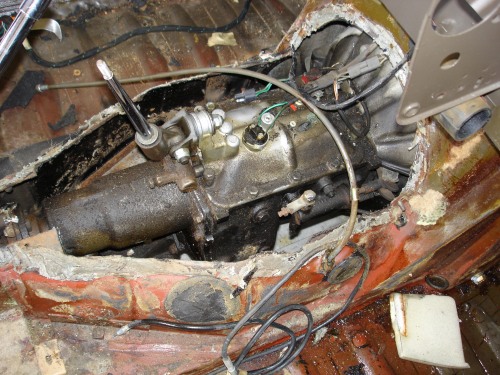
major leaker! |
|
|
 |
 |
 |
|
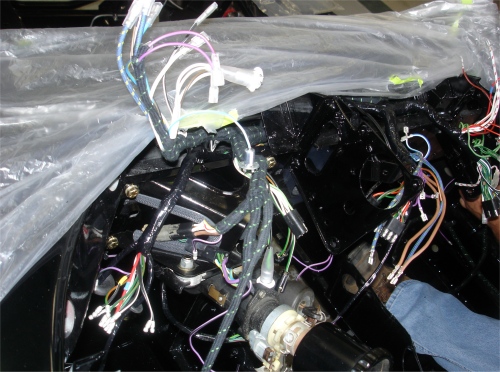
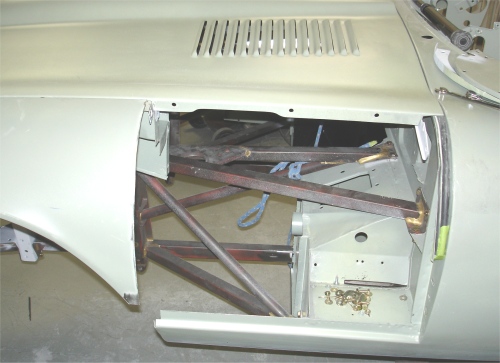
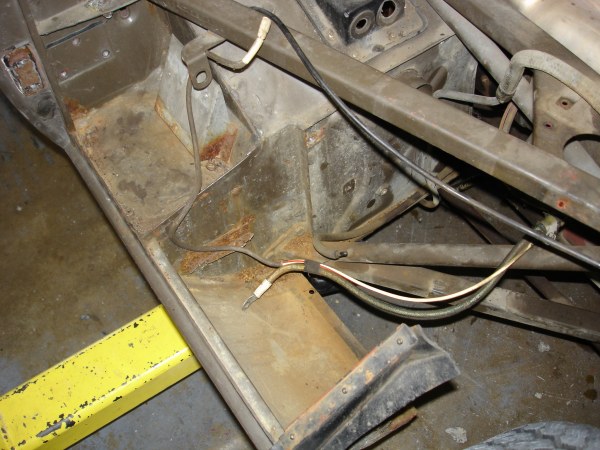
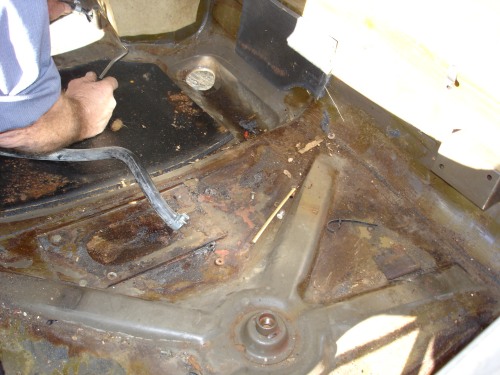
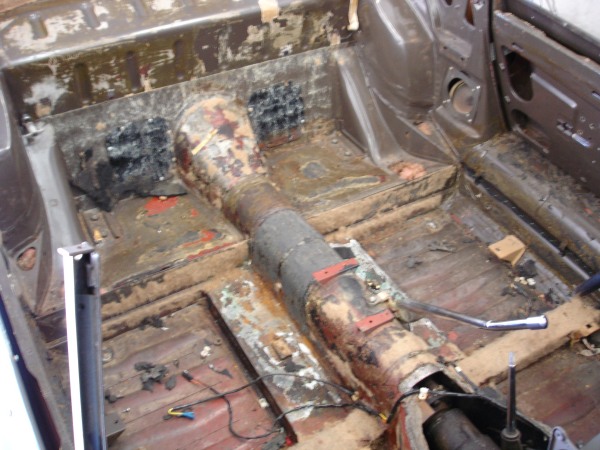
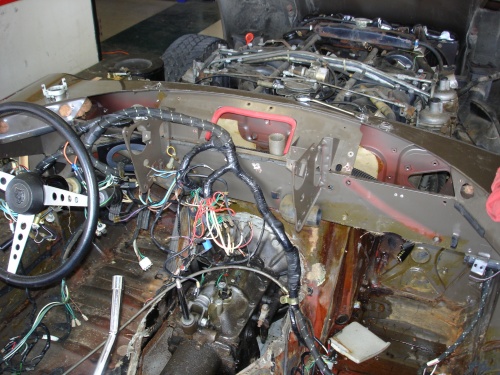
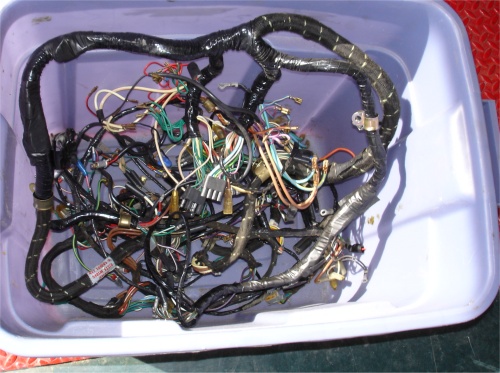
stripping ou t the engine bay |
|
|
 |
||
As you can see, your car is slowly coming apart and the restoration is well underway. Before we started the disassembly we carried out some basic tests of the engine - including compression and mechanical oil pressure tests. I am afraid the results were not very encouraging, with compression readings all over the place. One cylinder was down to 40 psi...
|
|
|
|
|
|
|
|
|
|
|
|
|
|
|
|
|
|
|
|
|
|
|
|
|
|
|
|
|
|
|
|
|
|
|
 |
 |
 |
|
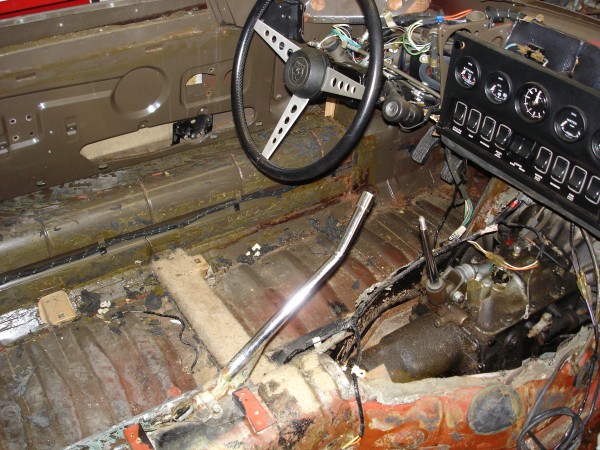
behind the dash |
a pretty sound bodyshell |
|
 |
 |
 |
|
the boot |
|
|
 |
 |
 |
|
|
|
|
 |
 |
|
|
got bent! |
later today |