| 1972
V12 E Type roadster (TM)
Total CJ restoration |
|
| 1972
V12 E Type roadster (TM)
Total CJ restoration |
|
|
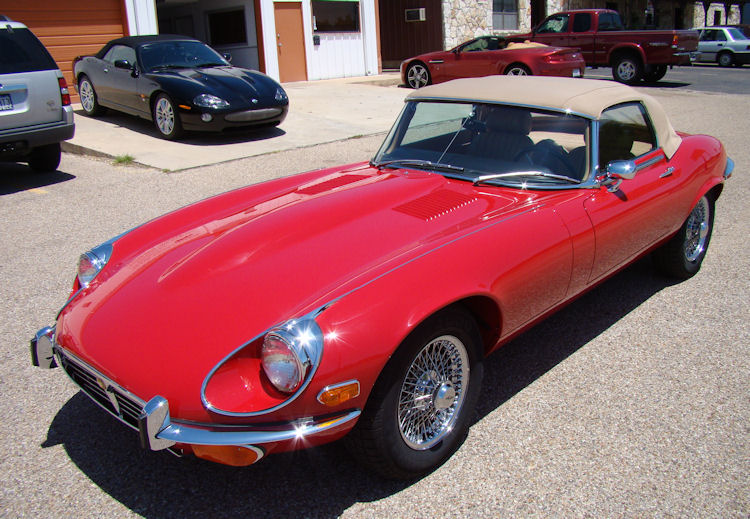
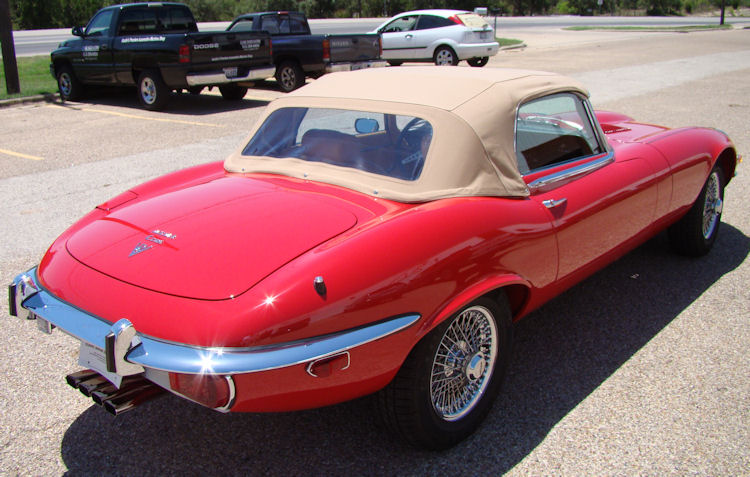
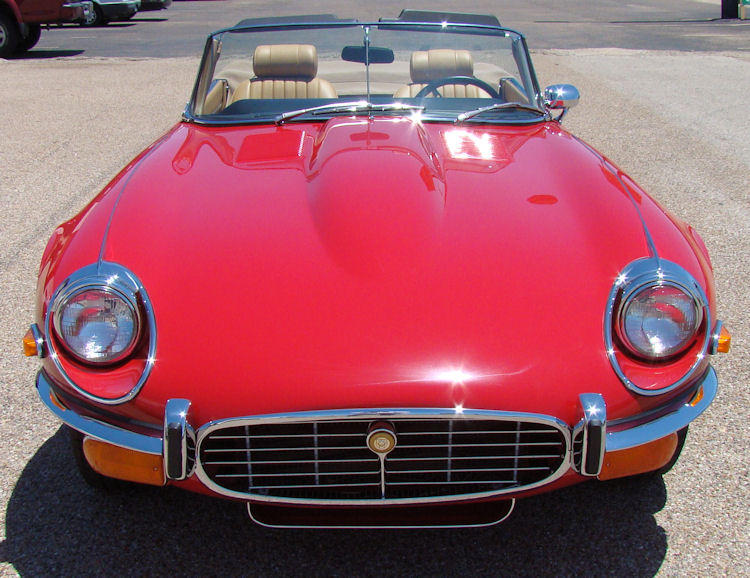
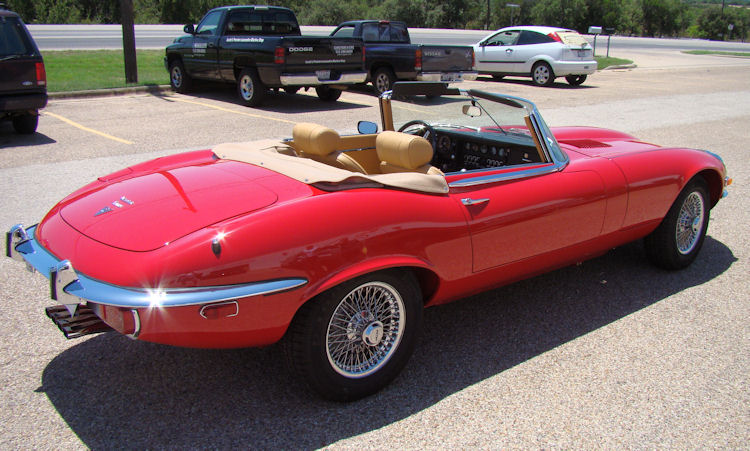
Update report - August 7, 2009
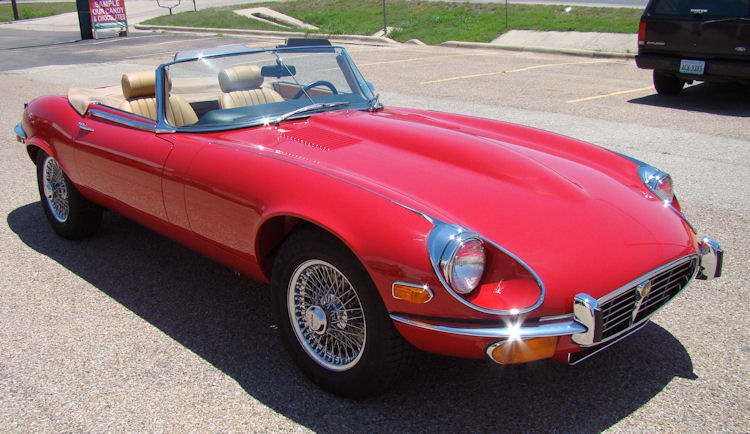
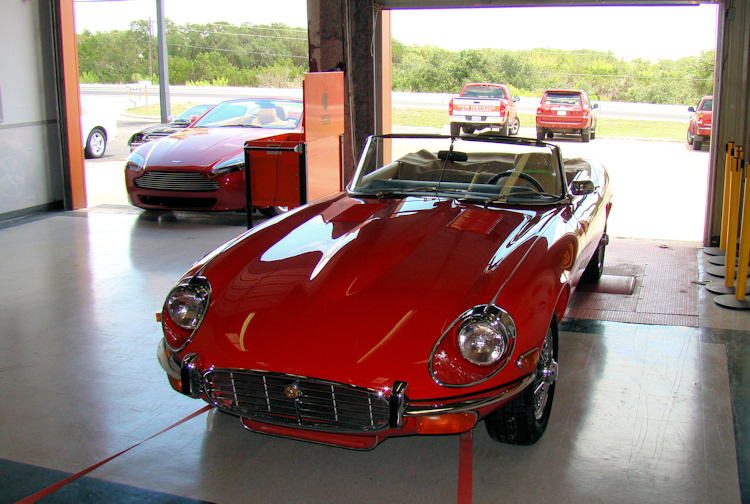
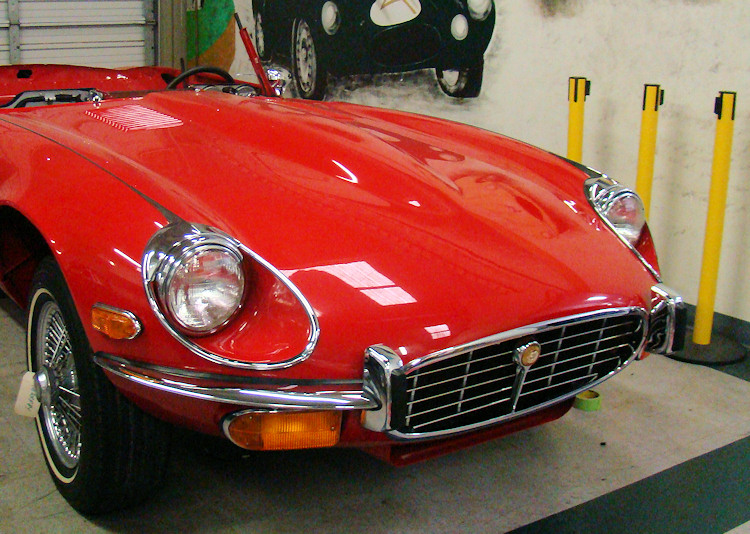
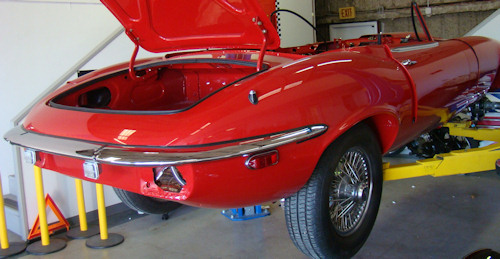
I am pleased to report that your car is due to be collected this afternoon. It has been an absolute pleasure to build this beautiful E Type for you.
 |
 |
 |
|
|
|
|
|
|
|
|
 |
 |
 |
|
|
|
|
|
|
|
|
 |
 |
 |
|
|
|
|
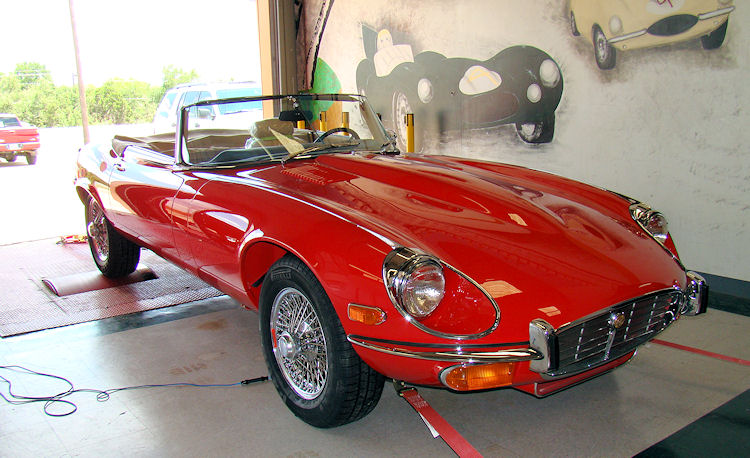
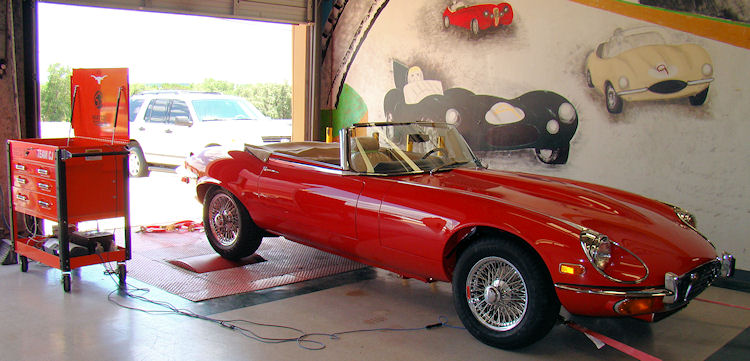
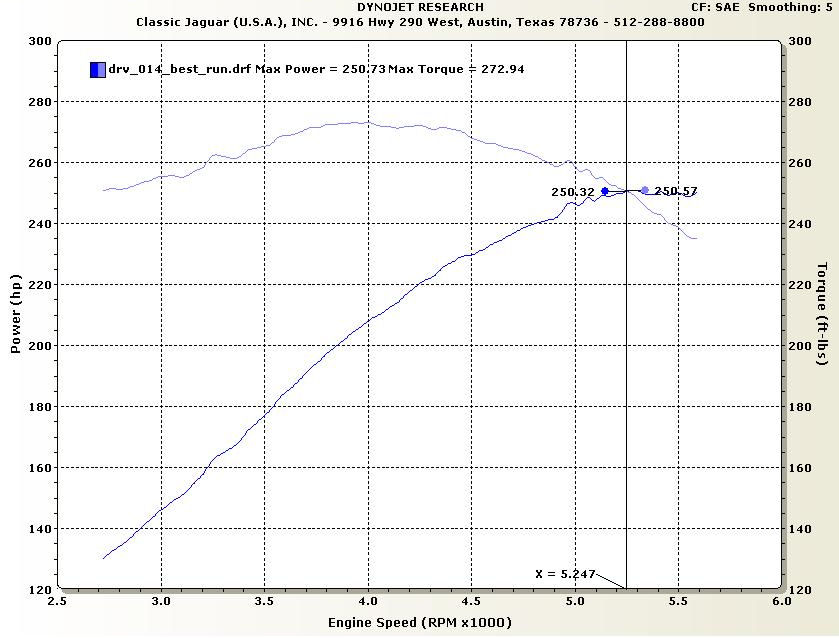
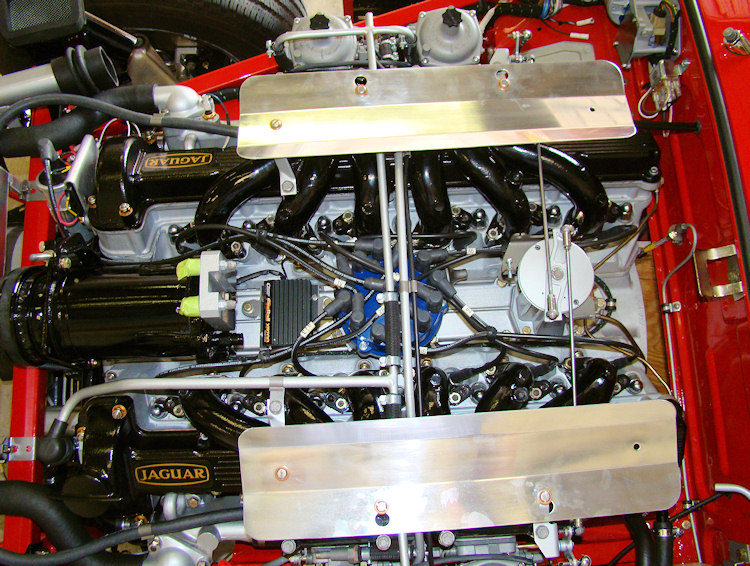
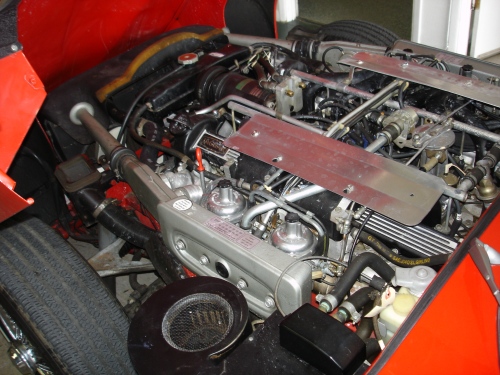
Ater fine tuning the engine and carbs on the rolling road, and with the rings nicely seated, we decided to do a couple of Dyno pulls to establish some actual HP and torque numbers. Although the engine rebuild was carefully blueprinted, the only significant variations from stock specification are forged 9:1 pistons and Team CJ headers.These cars left the factory with approximately 250 horsepower, measured at the flywheel with all belts and ancillaries disconnected - and of course, no muffler. In a long wheel base E Type, 250 HP at the flywheel equates to approximately 200 rear wheel horsepower. On the very first Dyno pull, this fresh CJ rebuild put down 251 HP to the rear wheels, equating to approximately 313 HP at the flywheel. That represents a gain of approximately 65 HP over stock - and of course we also have a full exhaust system installed and all the engine bay ancillaries hooked up, including the air conditioning. This old E Type will get along the road very nicely indeed.
 |
 |
 |
 |
I am delighted to report that we test fired and ran the engine this afternoon and everything went perfectly. Unfortunately, the microphone on my camera doesn't pick up the engine note as well as I would like, although I can tell you that it sounds very nice indeed!
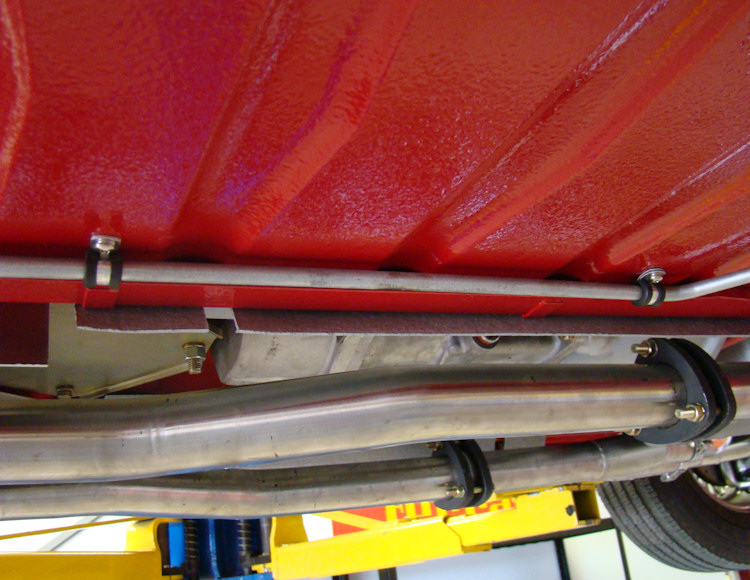
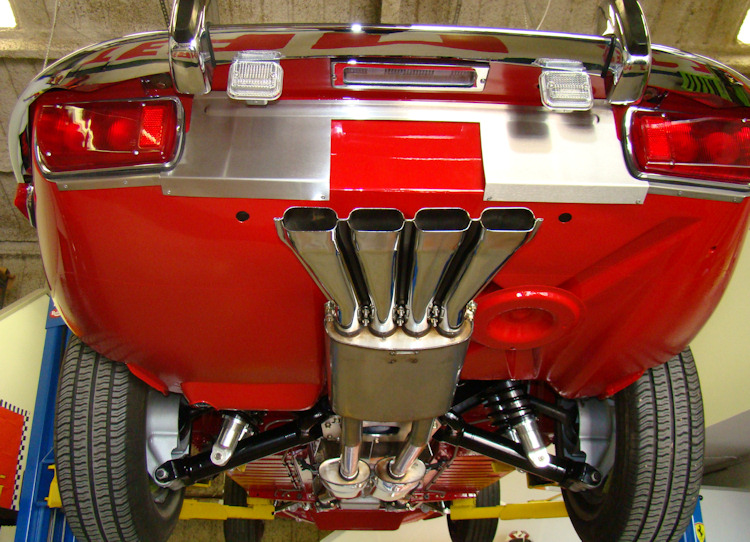
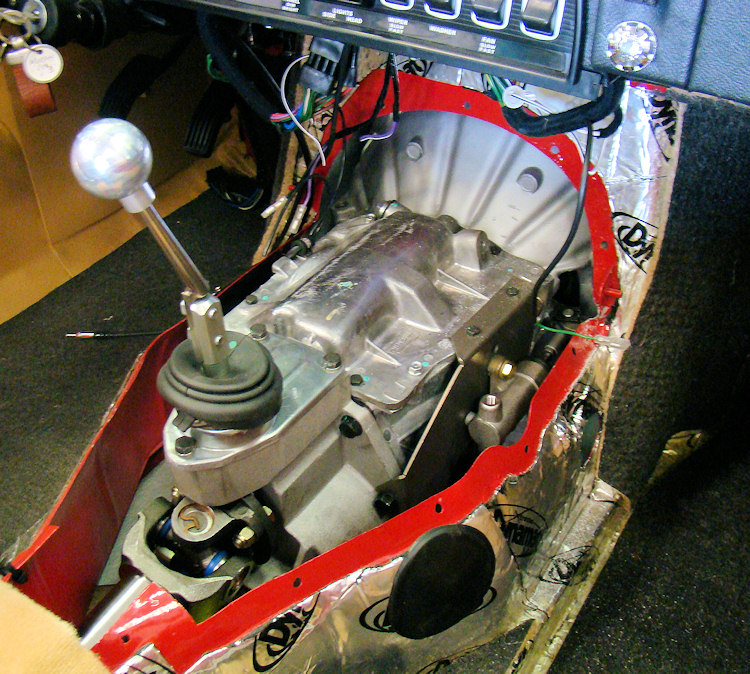
We have now installed your CJ5 five speed transmission and your new stainless steel exhaust. The maiden voyage is planned for tomorrow afternoon!
 |
 |
 |
|
engine for the first time |
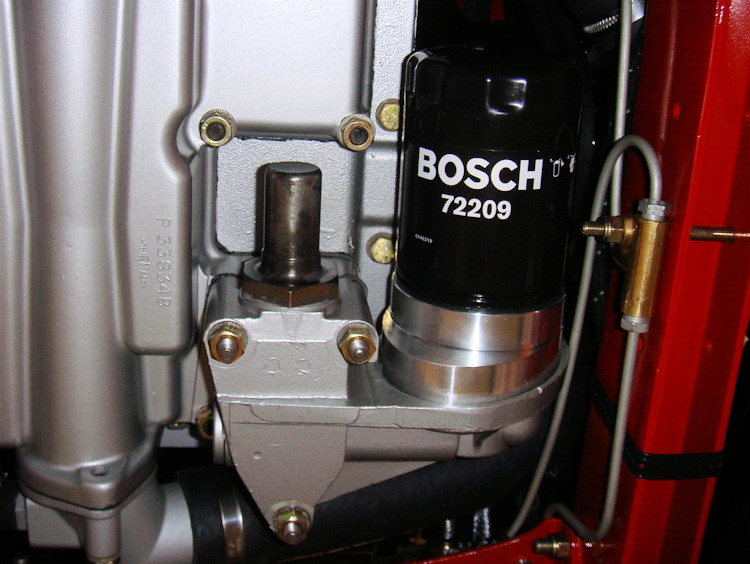
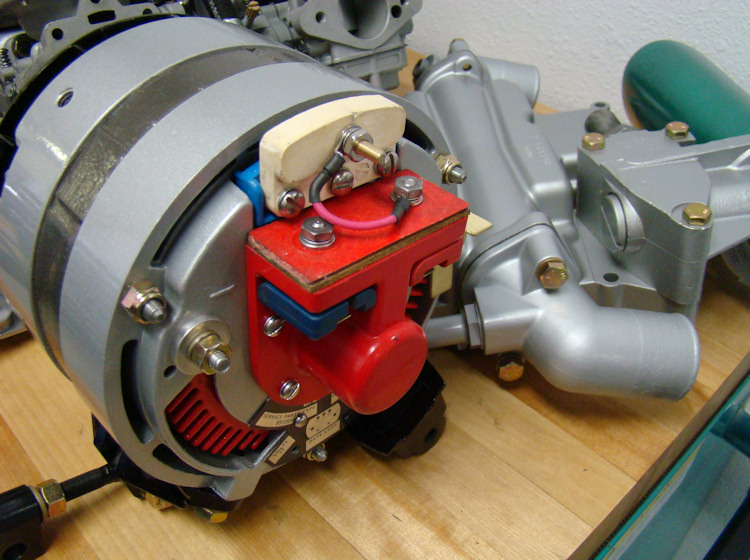
oil filter conversion for V12 |
|
 |
 |
 |
|
|
|
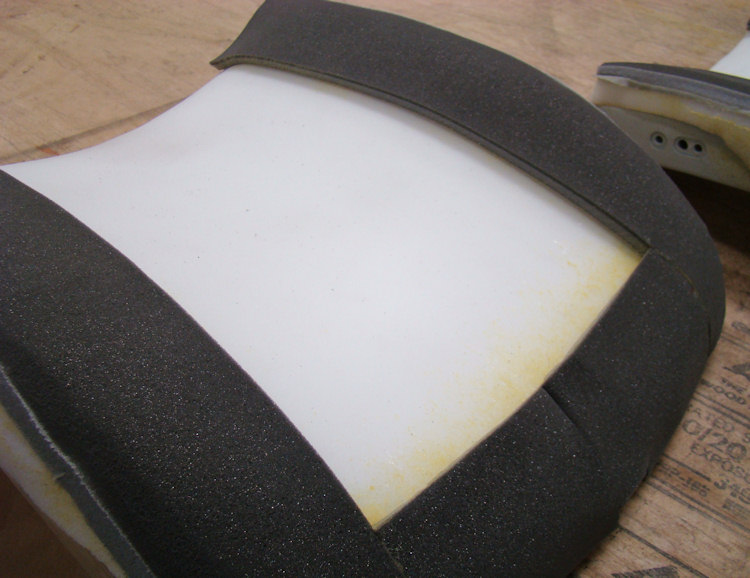
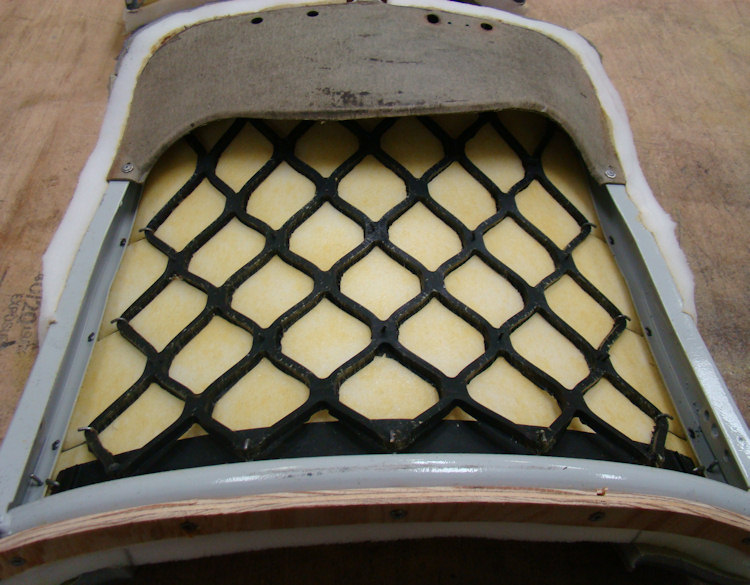
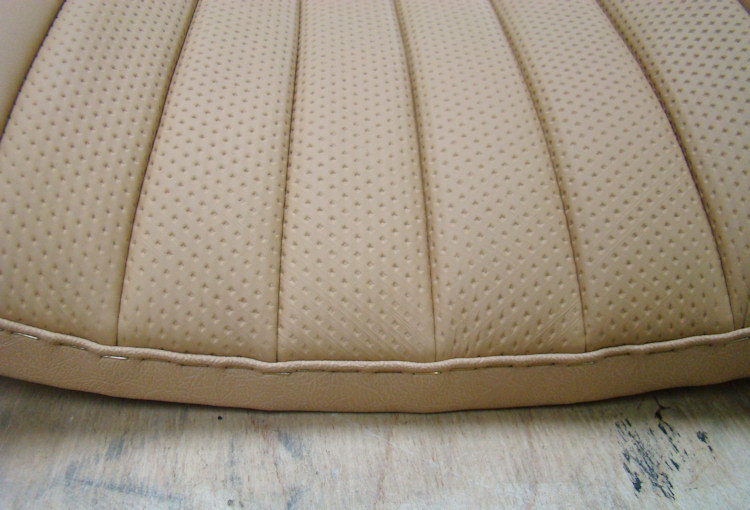
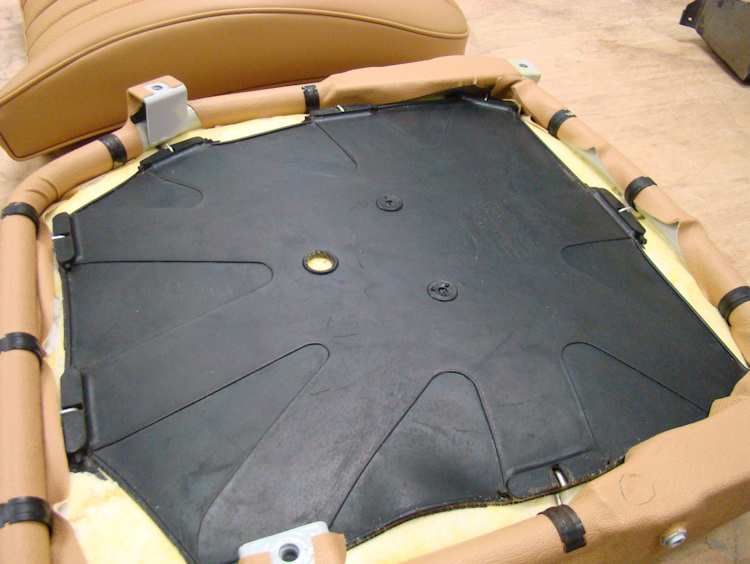
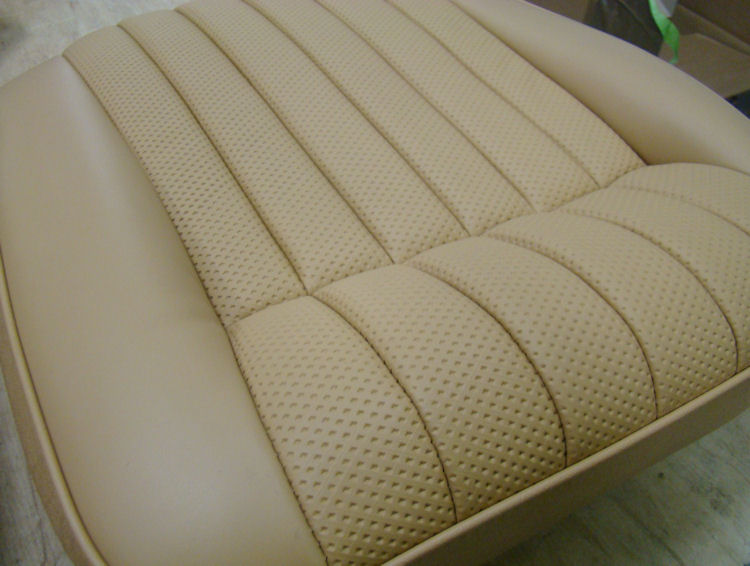
Installing your new hide seat covers...
Single
click to view video without leaving this page, double
click
for more viewing options at You Tube
 |
 |
 |
|
|
|
|
|
|
|
|
 |
 |
 |
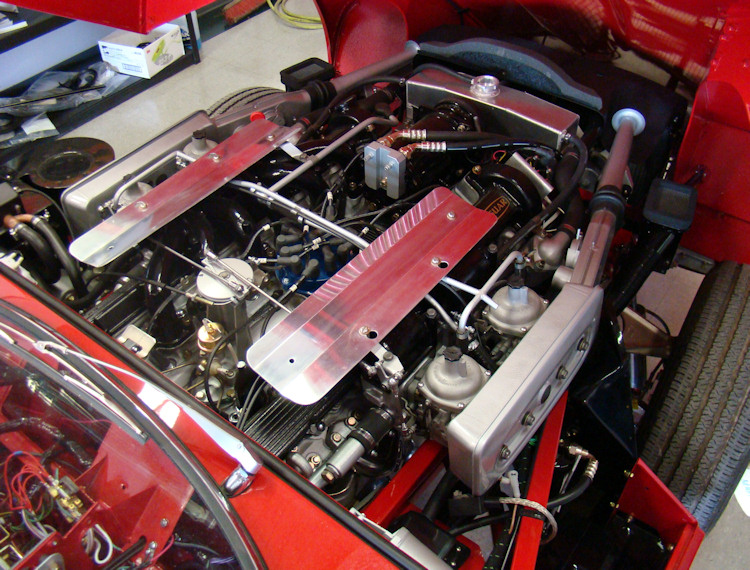
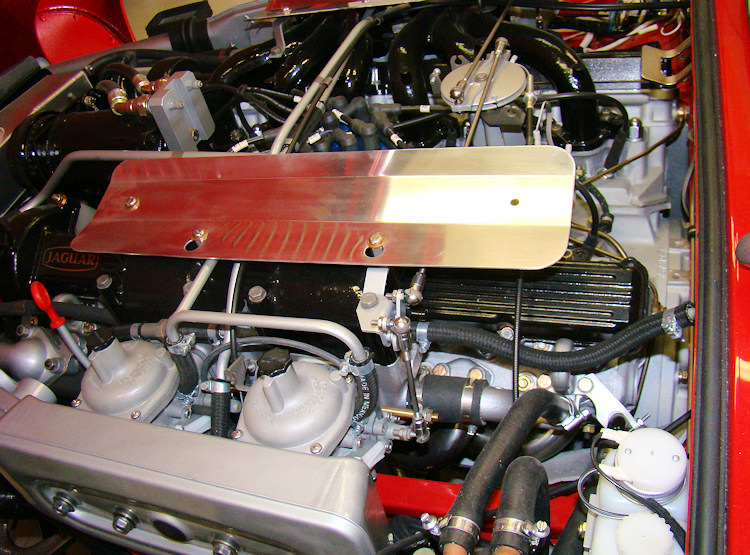
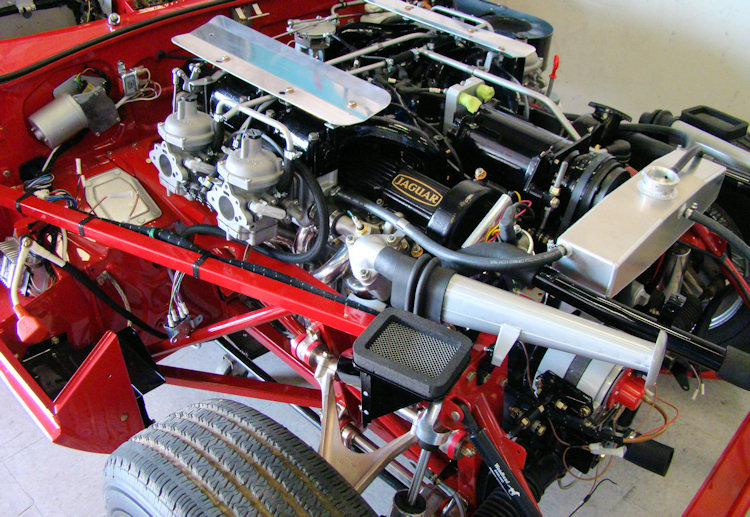
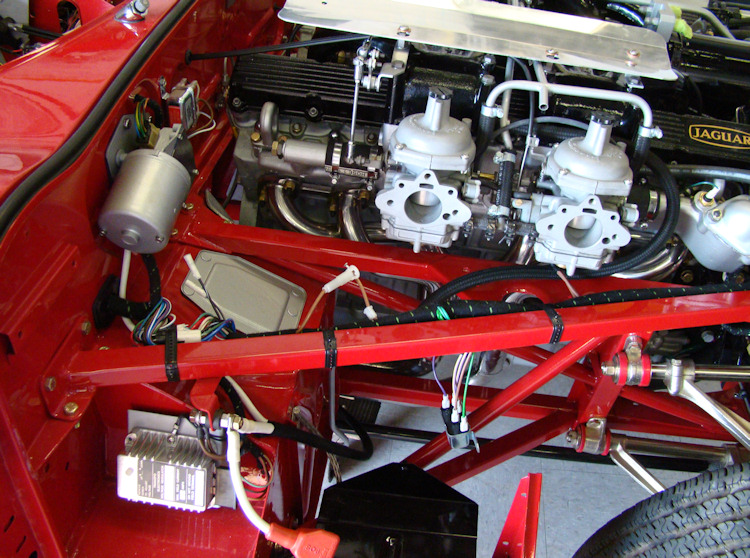
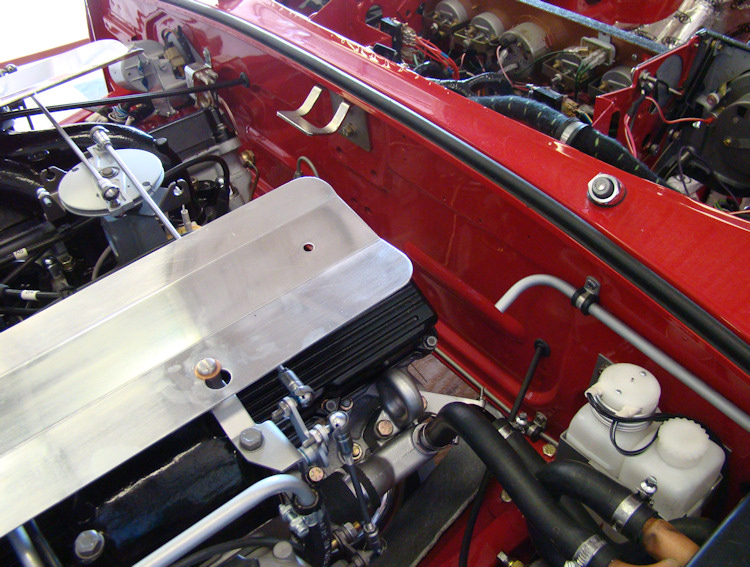
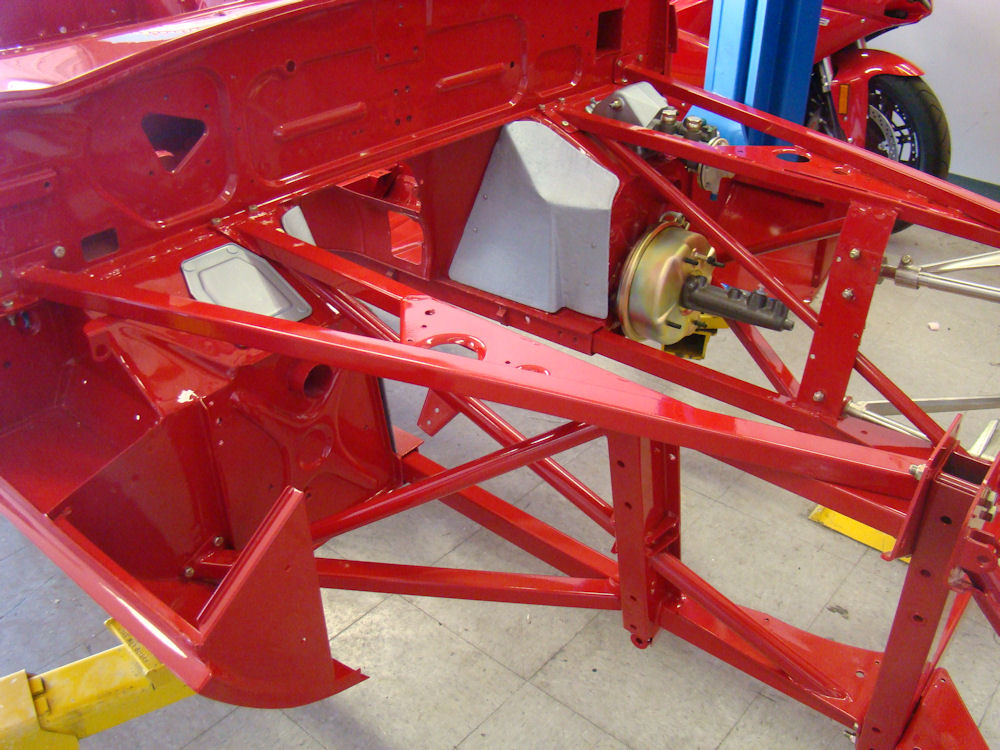
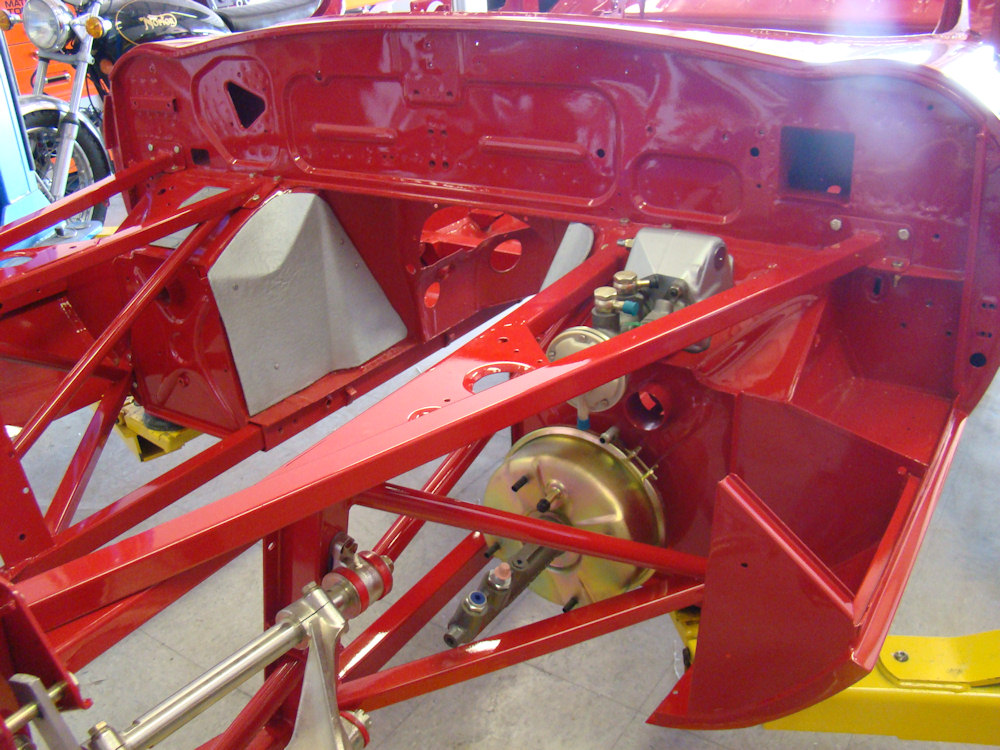
We have now installed your engine and the engine bay is filling up rapidly!
 |
 |
 |
 |
 |
 |
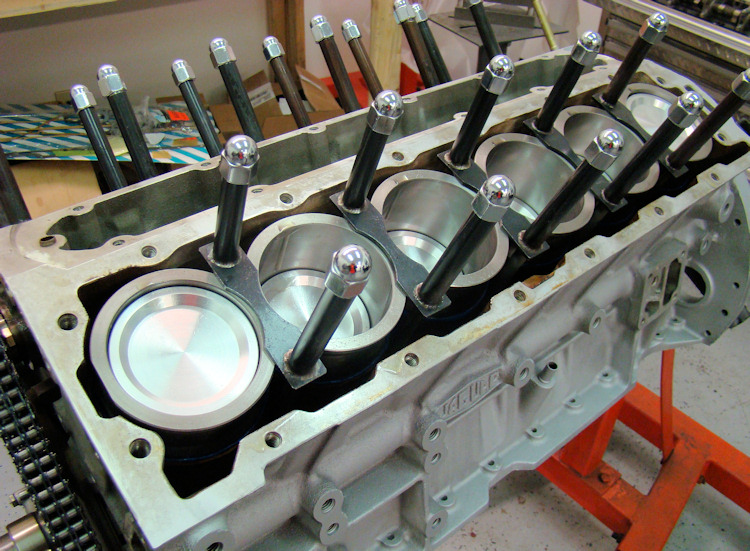
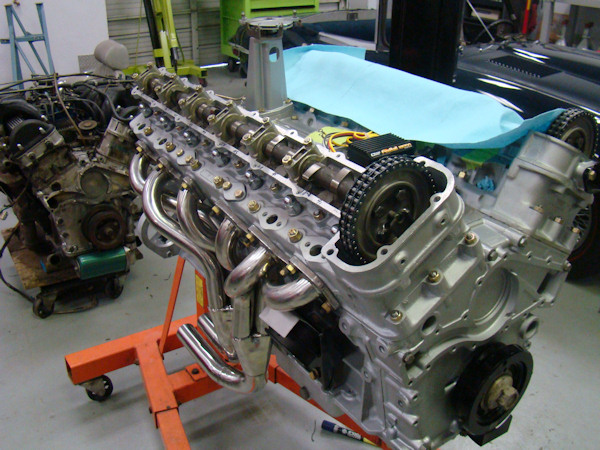
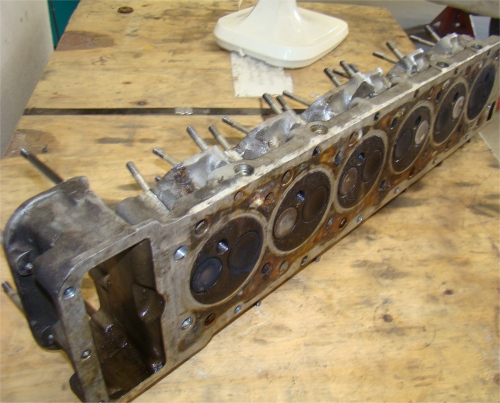
We have now completed your Stage One engine rebuild and will be reinstalling the engine back in the car very shortly.
 |
 |
 |
|
now installed |
and cosmetically |
|
|
|
|
|
 |
 |
 |
|
|
|
|
|
|
|
|
 |
 |
 |
|
|
|
to clear the headers |
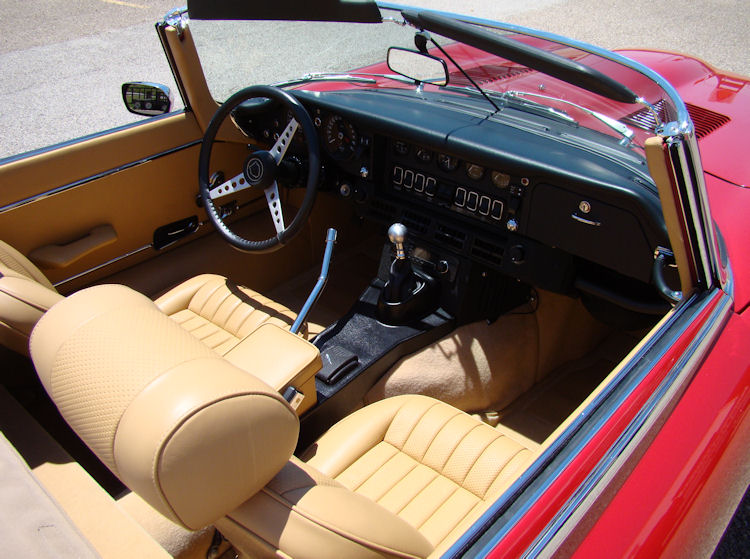
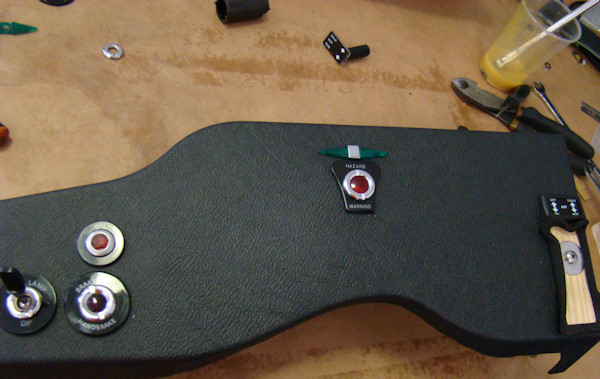
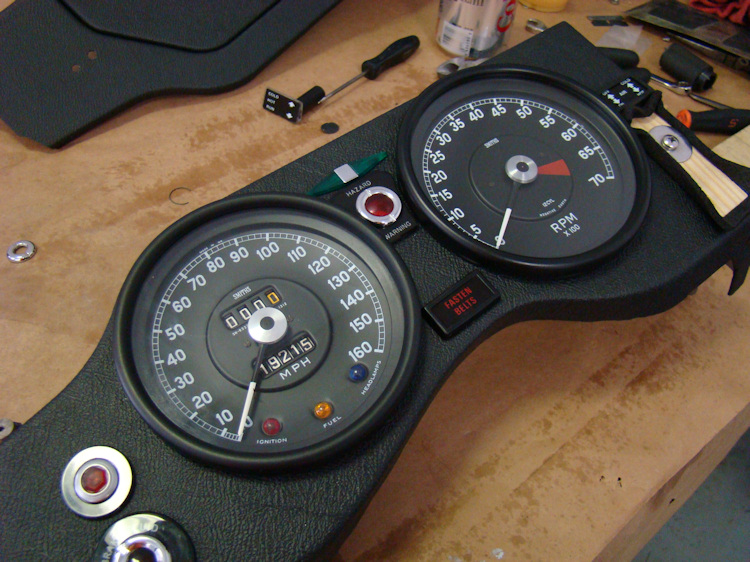
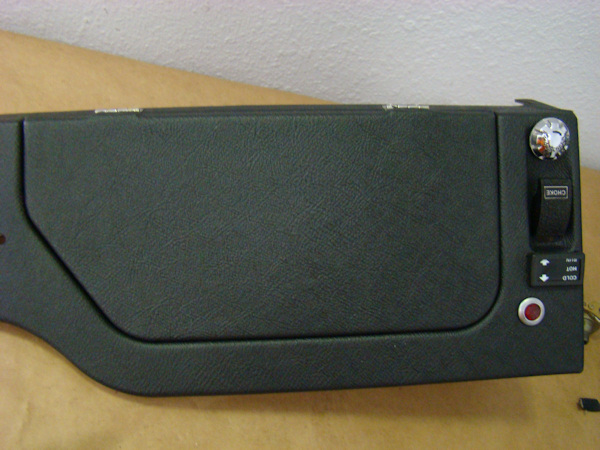
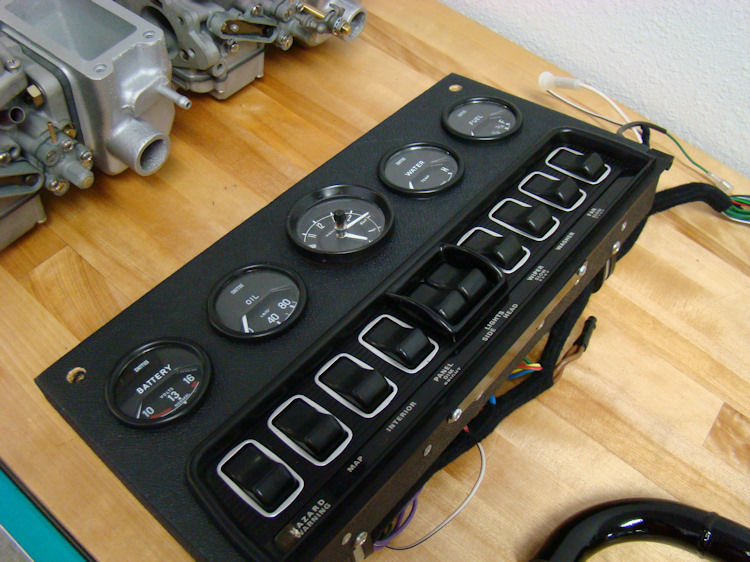
We have been busy rebuilding your dash, carbs, installing more chrome...
 |
 |
 |
 |
 |
 |
 |
 |
|
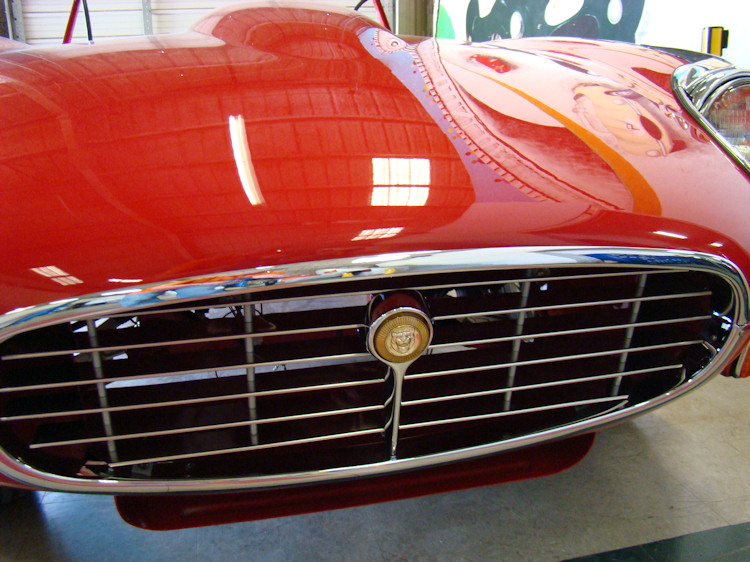
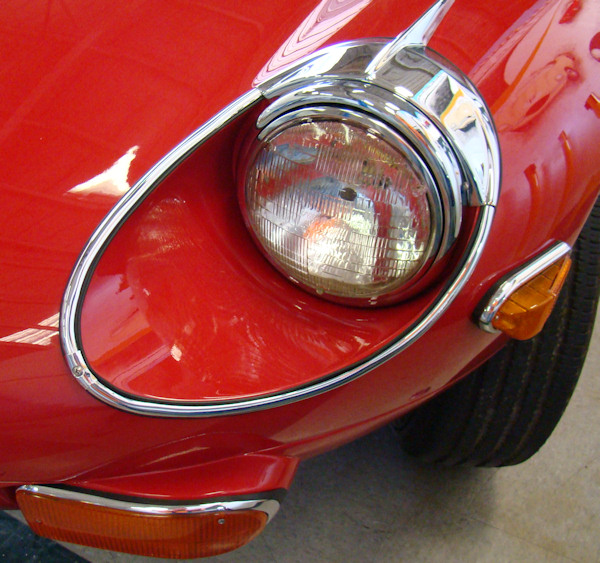
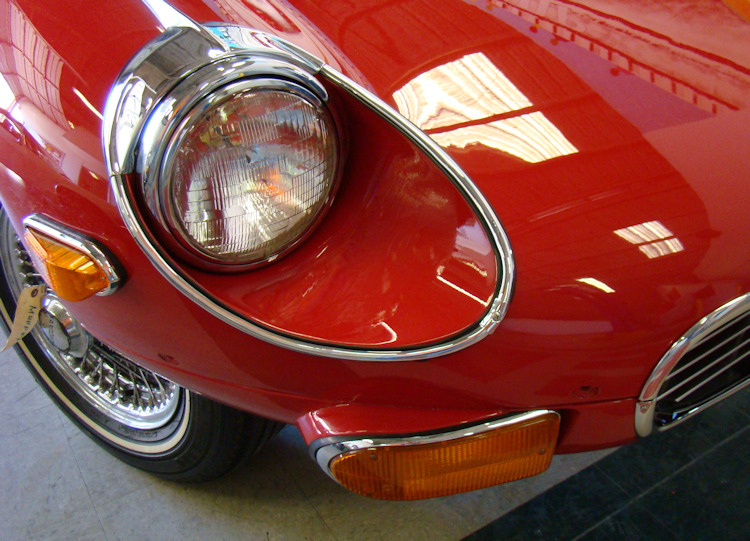
Chrome and brightwork going into place...
 |
 |
 |
|
|
|
|
 |
 |
 |
|
|
|
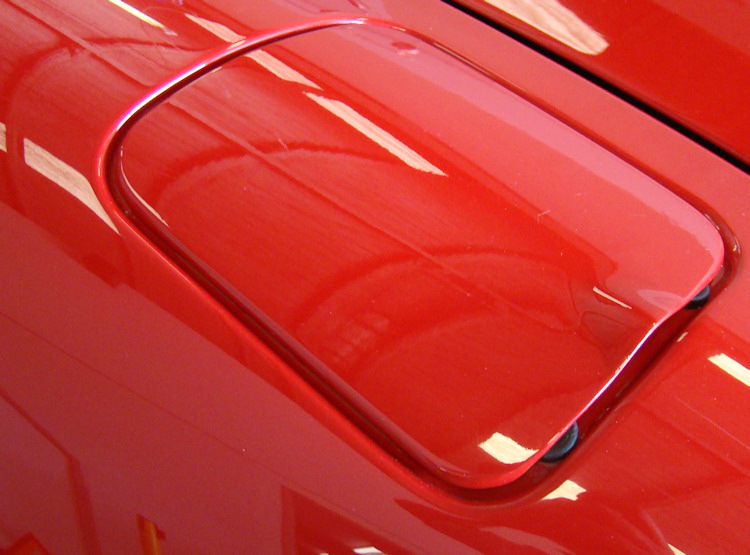
Installing and adjusting the doors, bootlid, gas filler flap, etc....
 |
 |
 |
 |
 |
 |
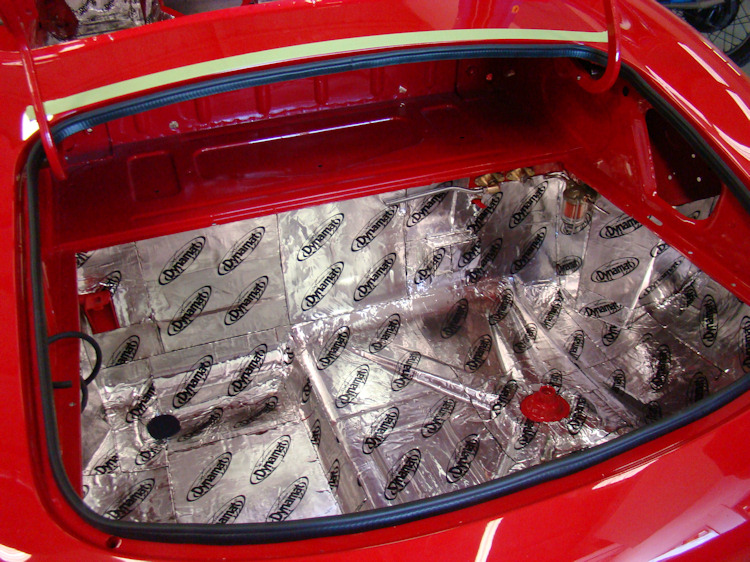
Installing Dynamat in the cabin and trunk areas...
 |
 |
 |
 |
 |
|
|
|
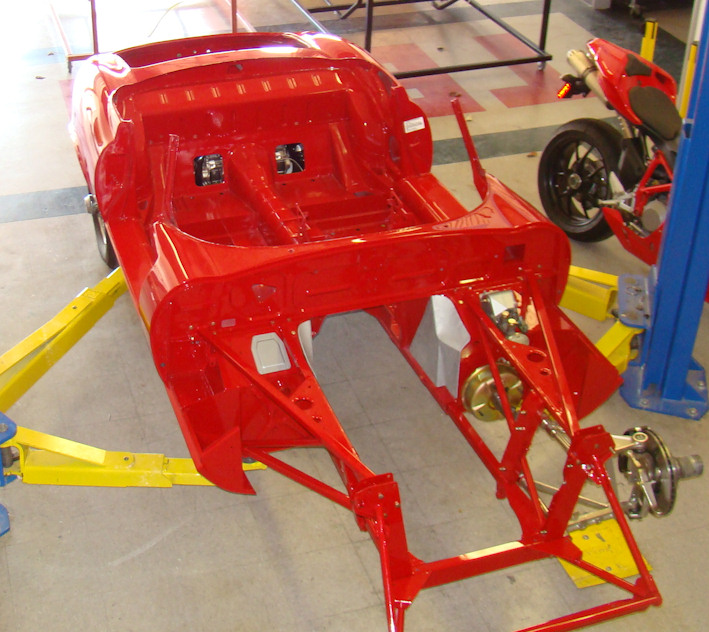
Time to start going back together with your car...
 |
 |
|
 |
 |
 |
 |
 |
|
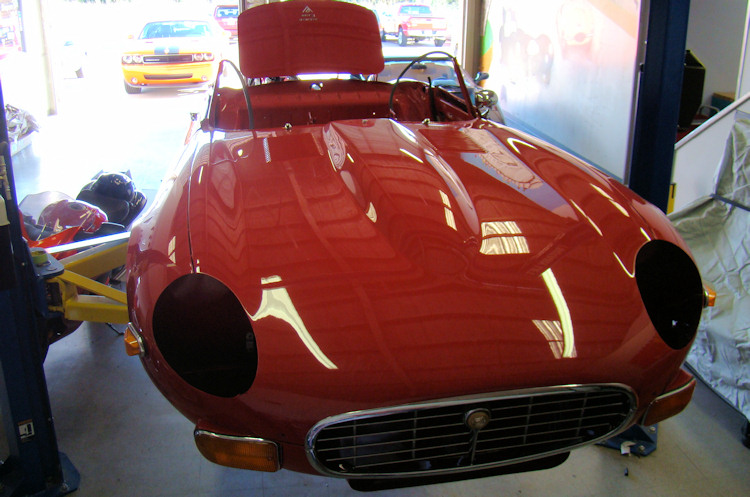
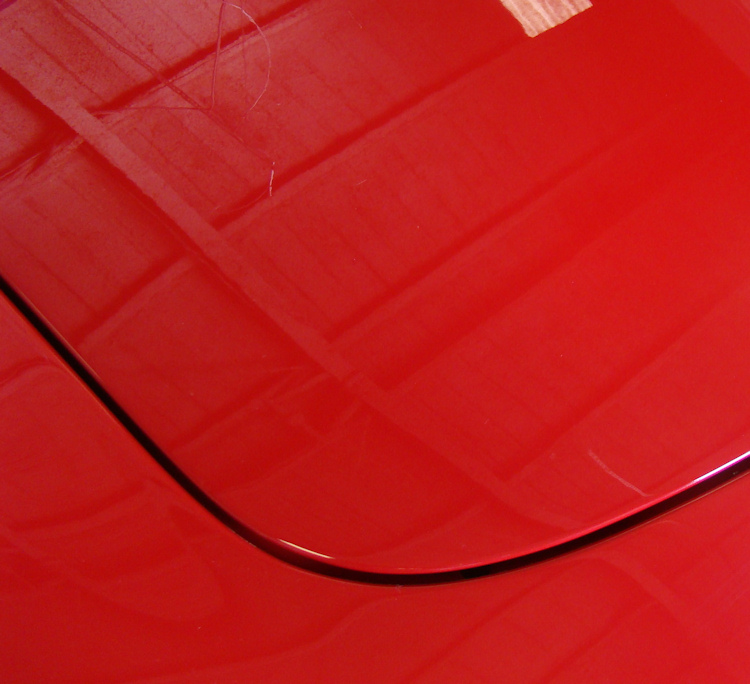
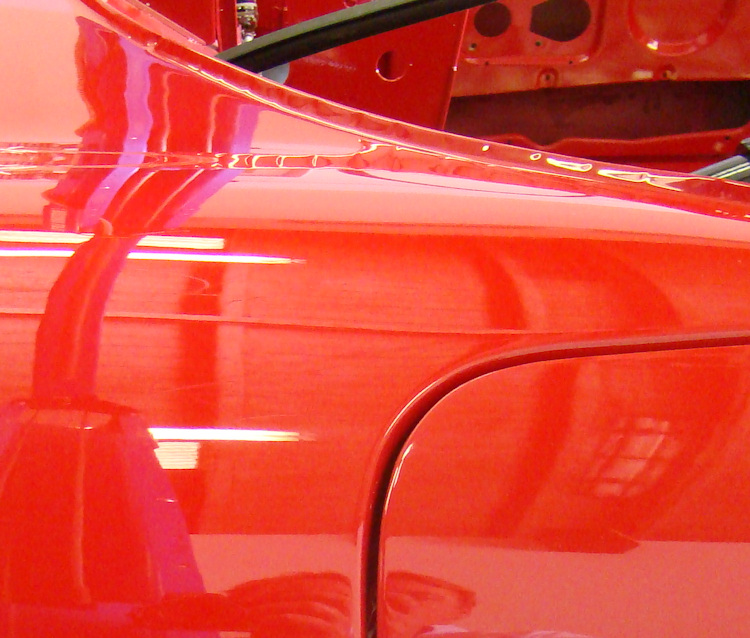
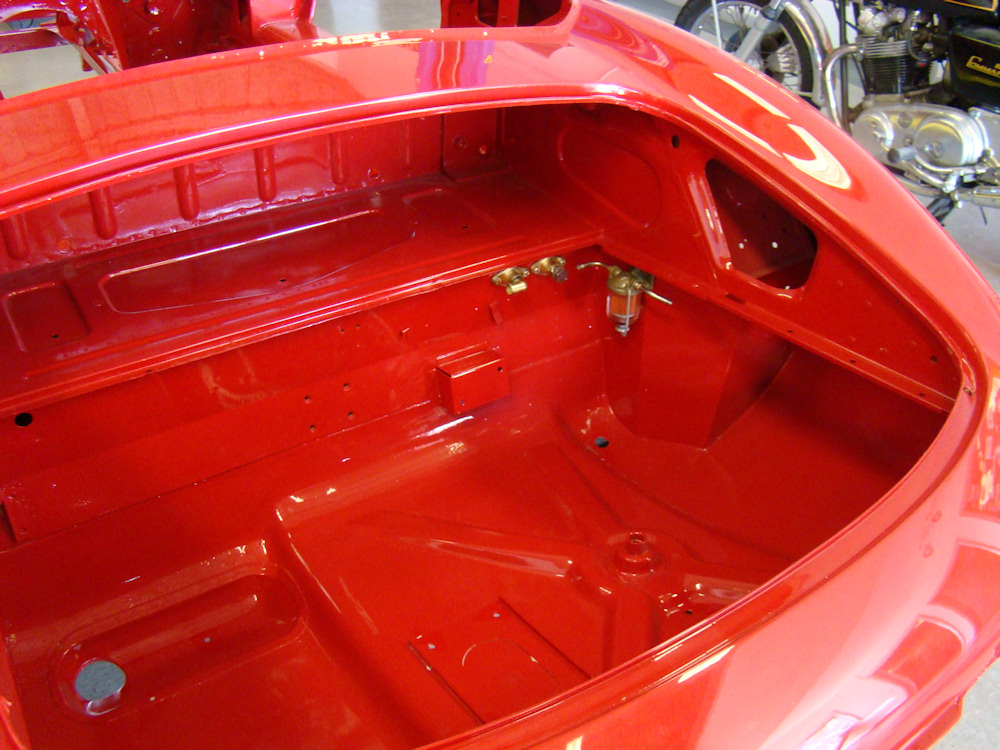
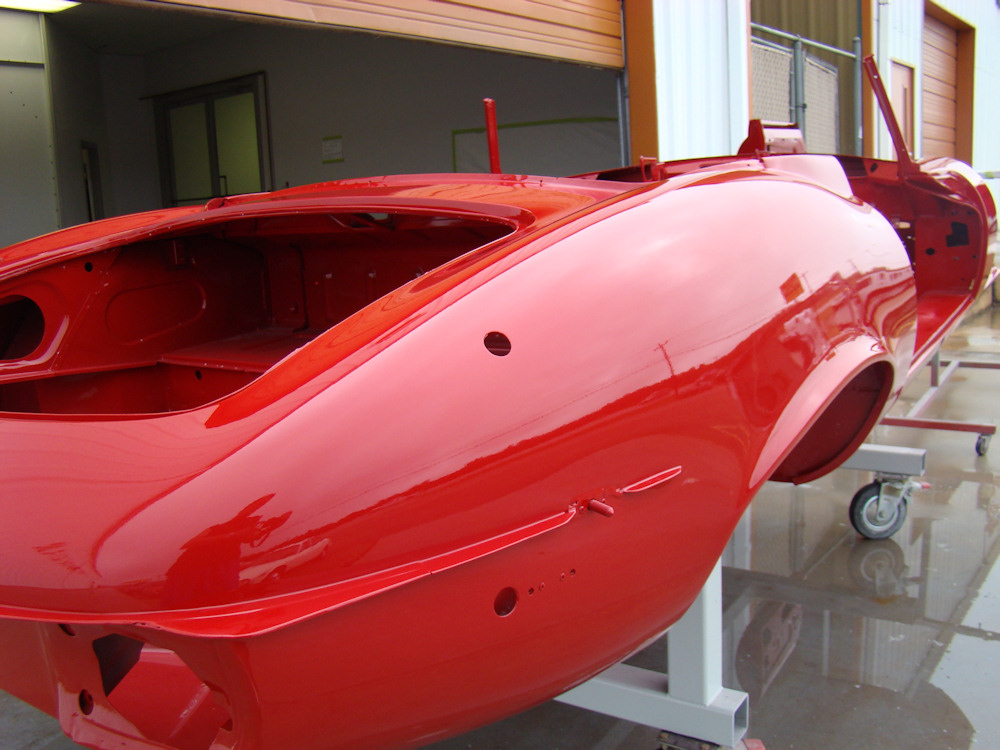
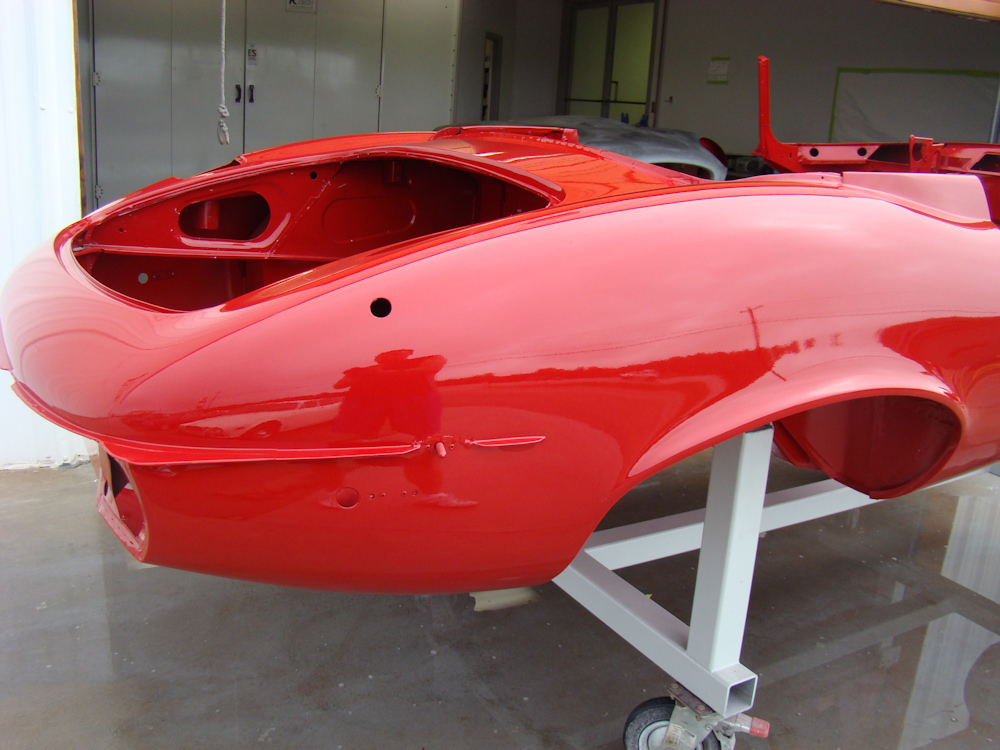
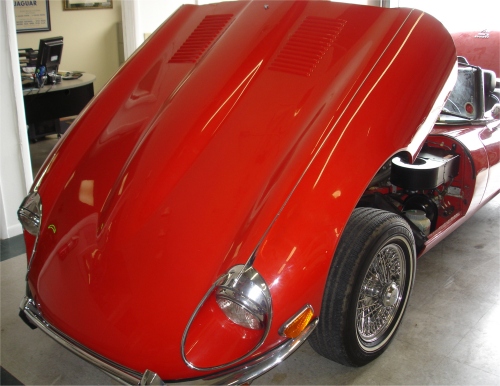
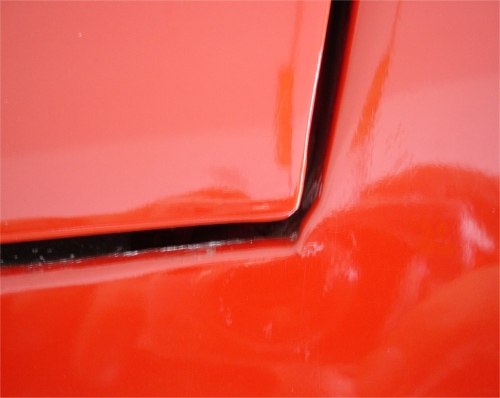
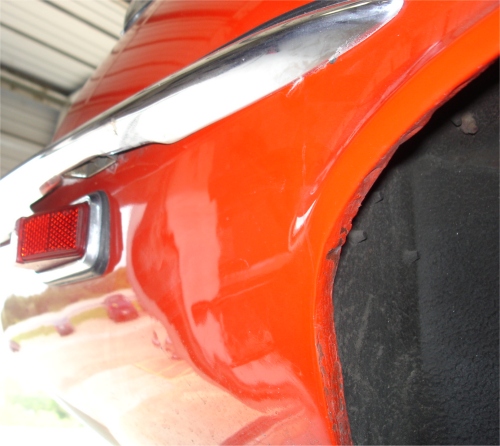
We painted your car yesterday evening and I could not be more pleased with the way everything came out. I hope you like it!
 |
 |
 |
|
installing new CJ seats |
||
 |
 |
 |
 |
 |
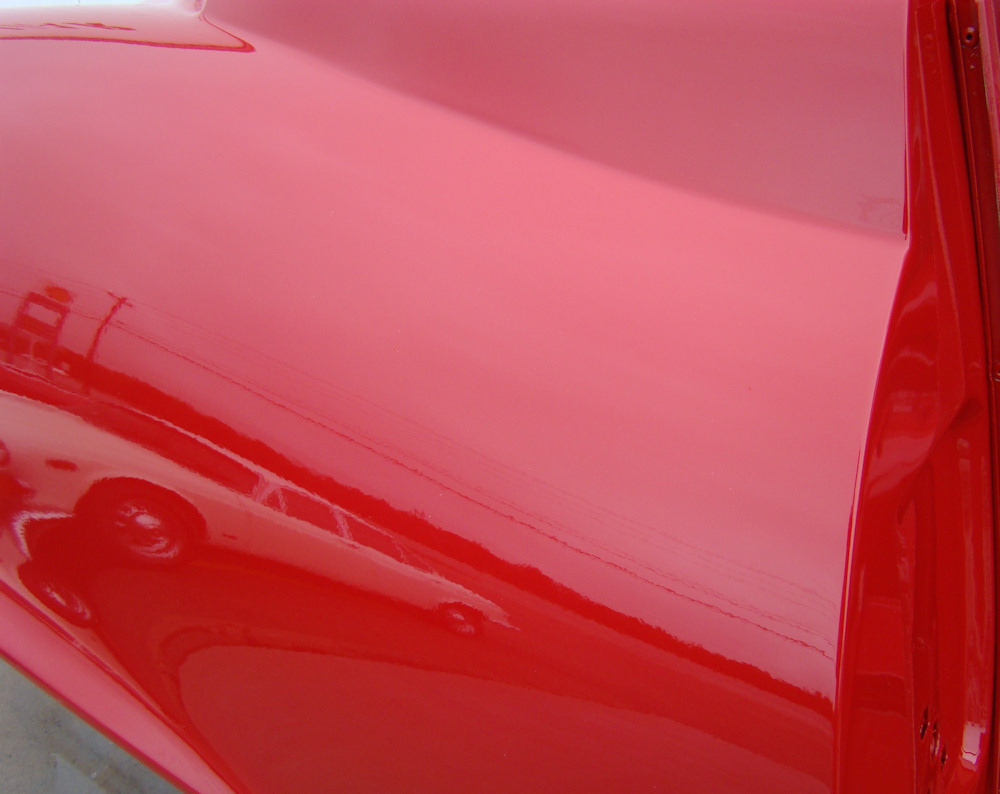 |
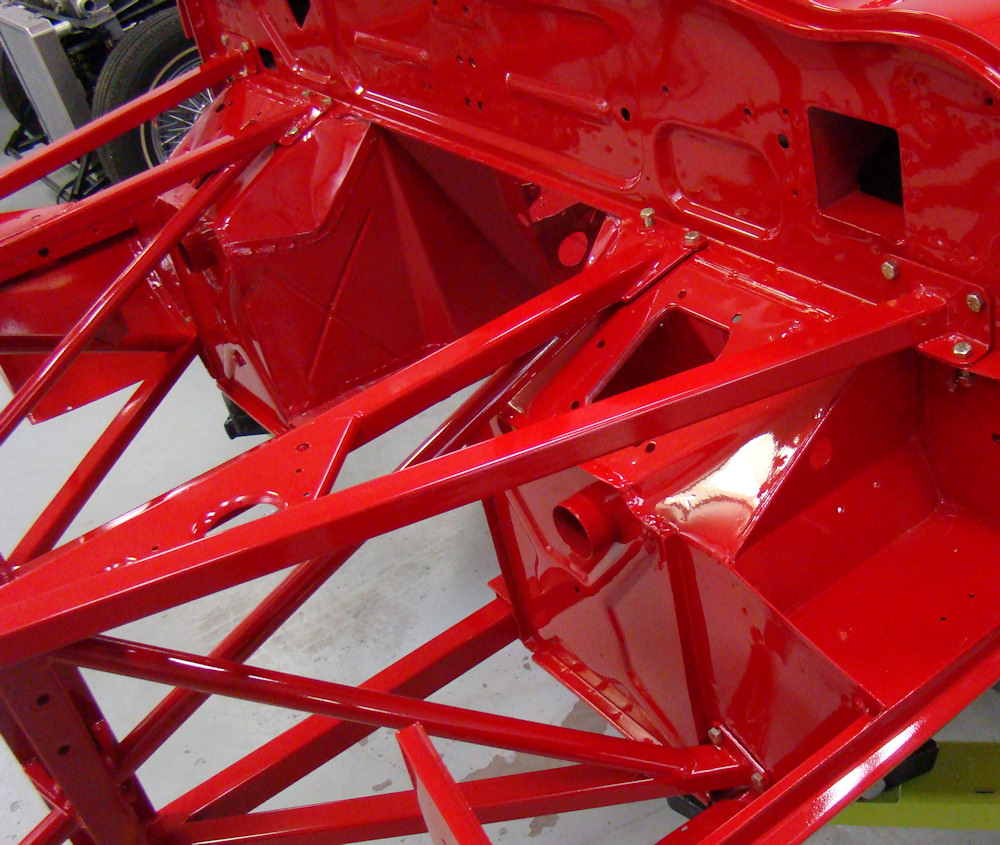
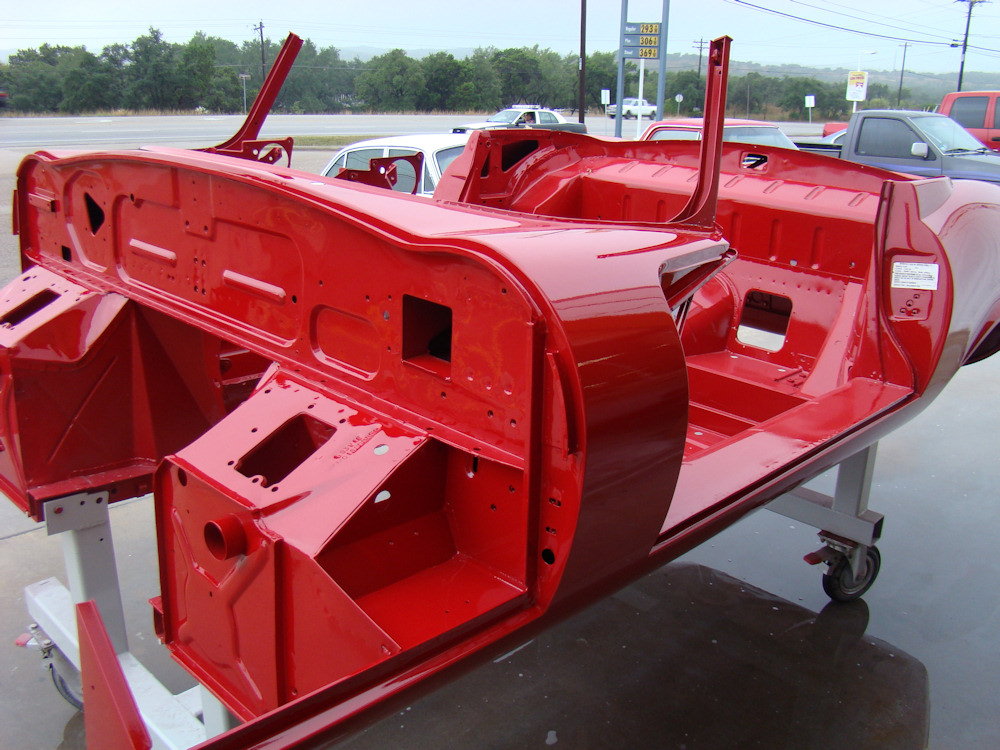
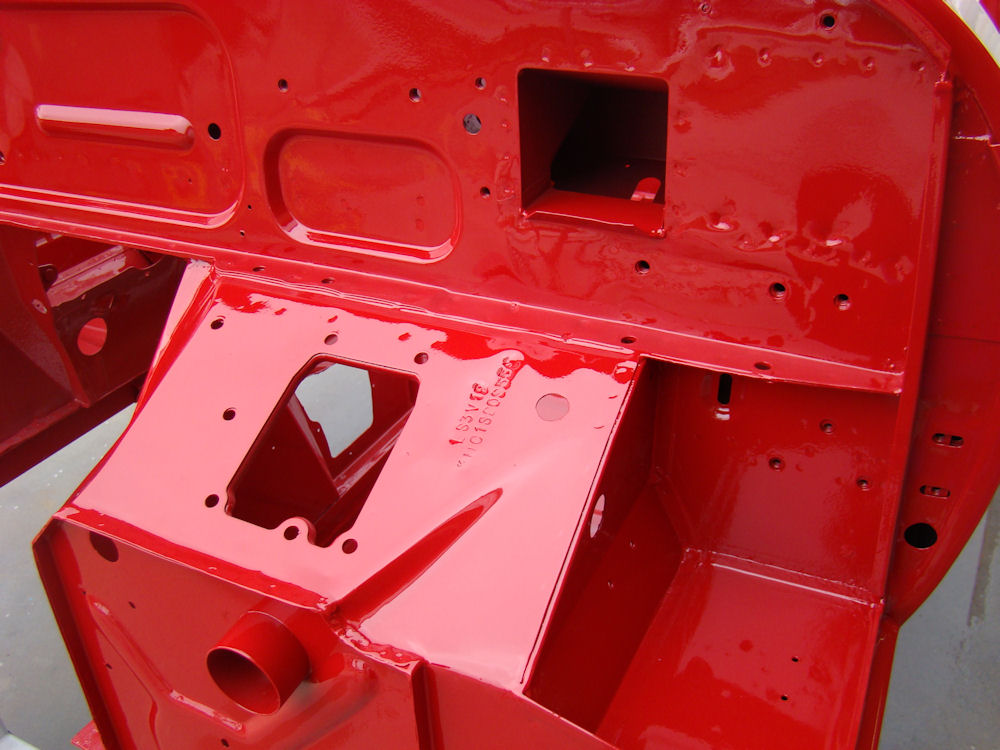
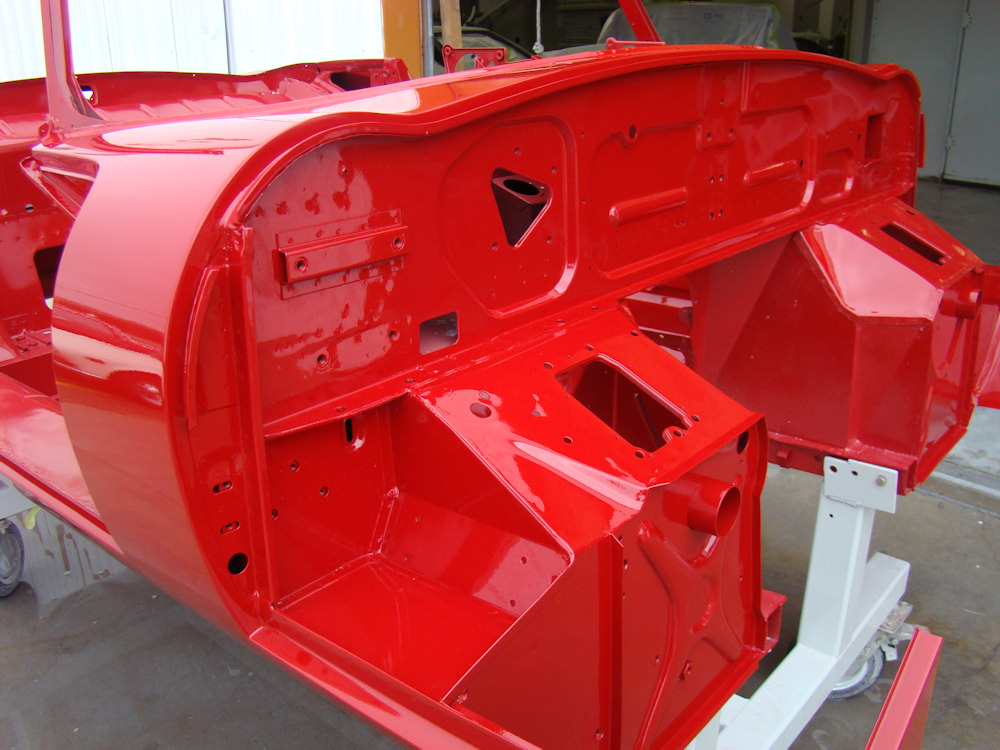
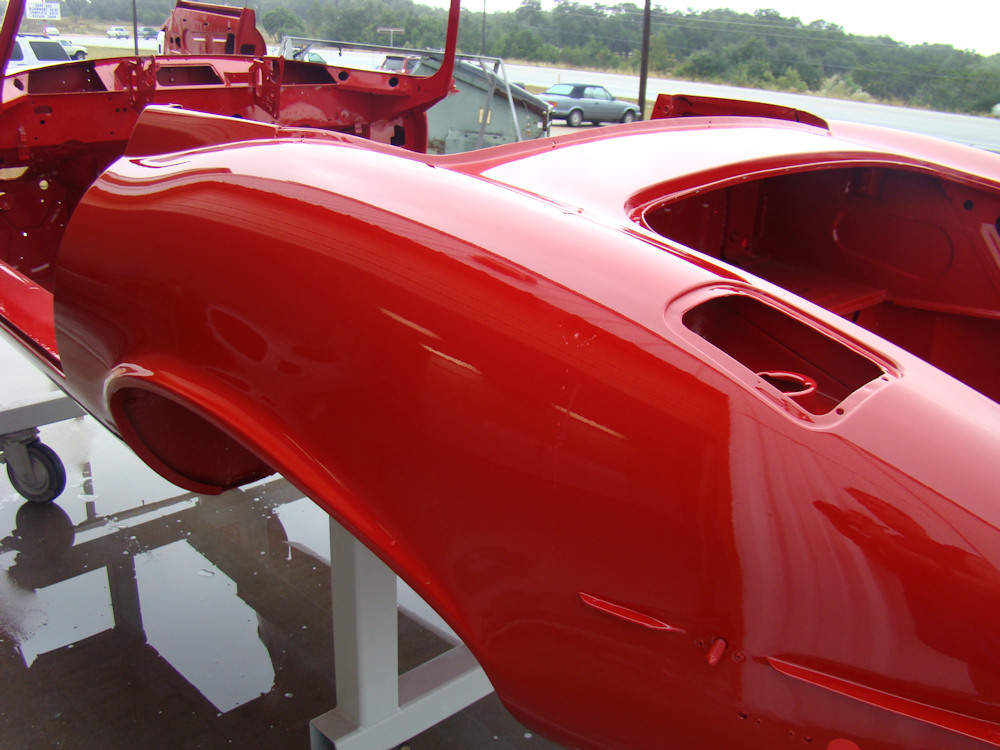
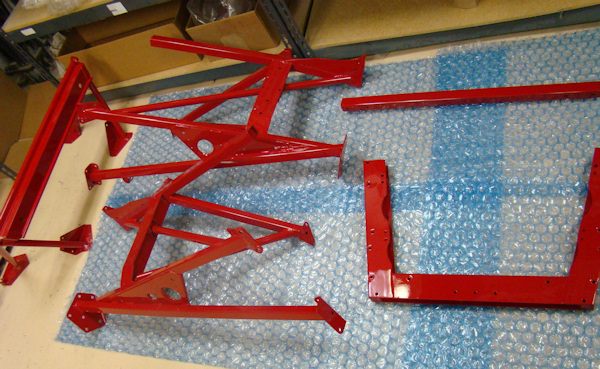
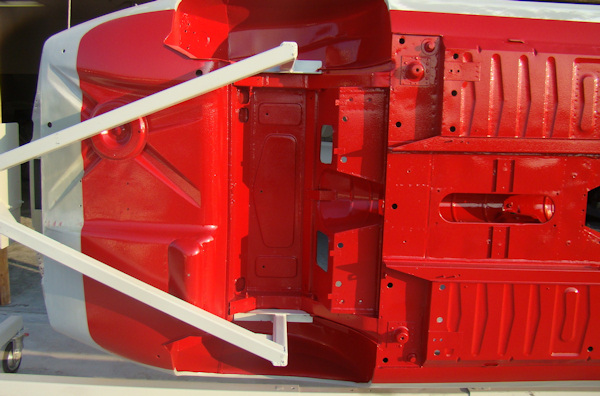
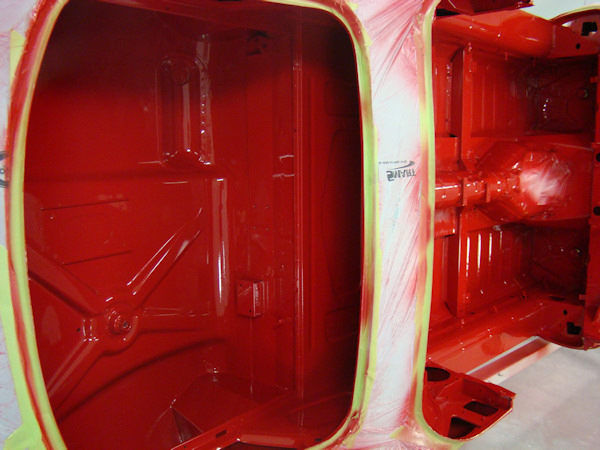
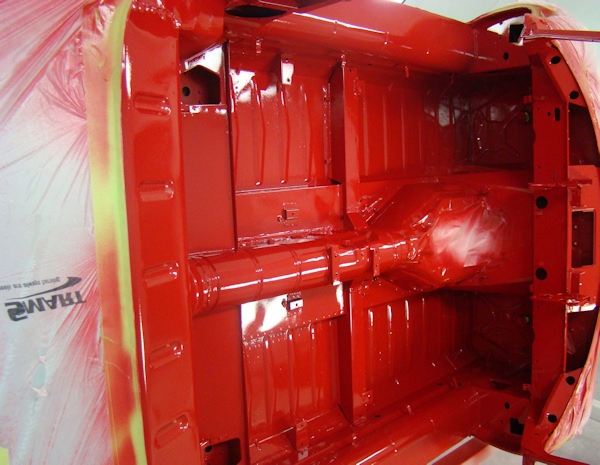
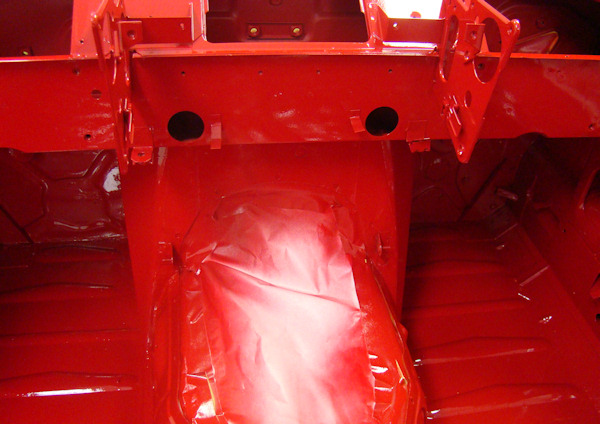
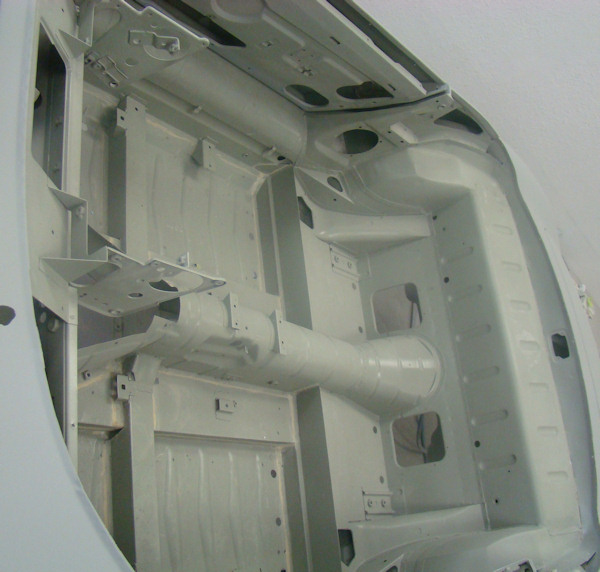
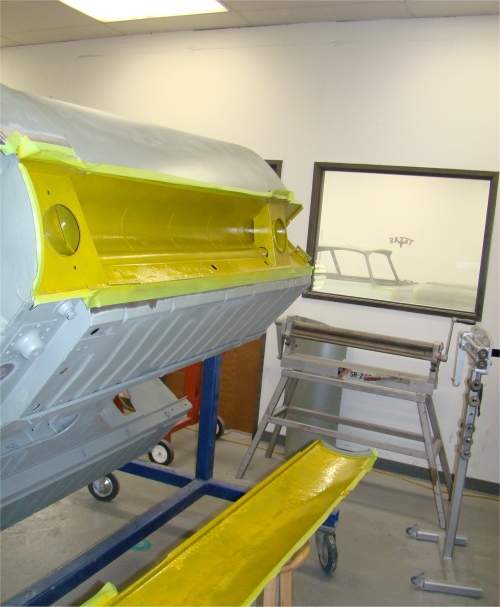
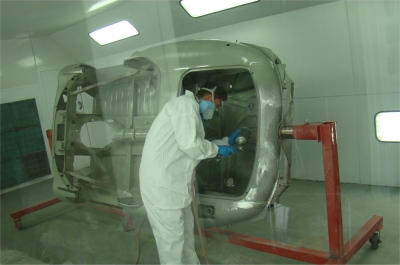
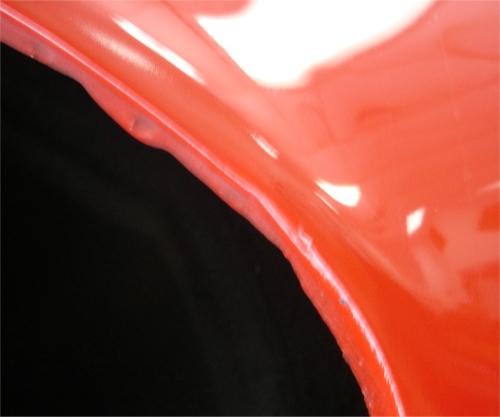
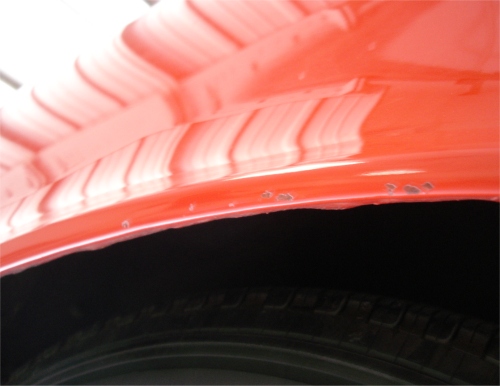
Time for the first of the Signal Red paint. First we painted the engine frames, then the underside, then last night we painted inside the cabin. Next will be the underside of the bonnet, doors and boot lid, then finally all the outer panels. We hope to have all the paintwork finished by the end of this week.
 |
 |
 |
|
|
|
|
 |
 |
|
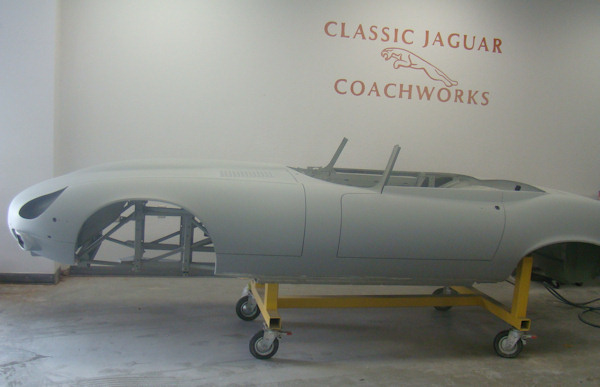
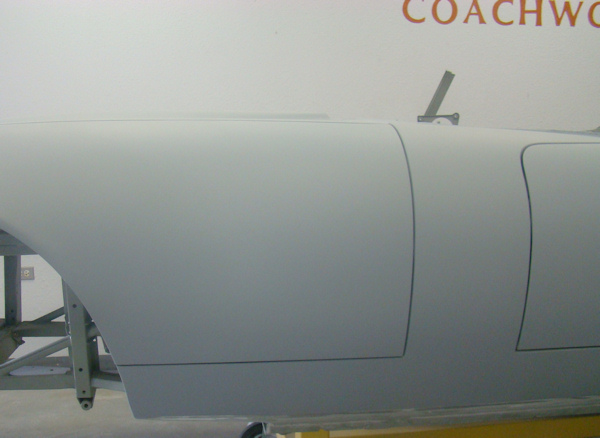
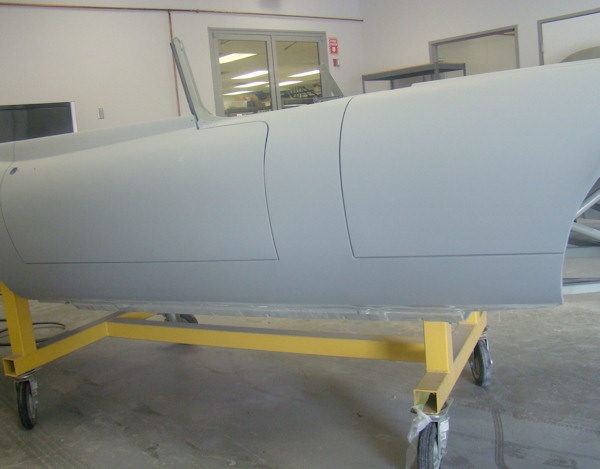
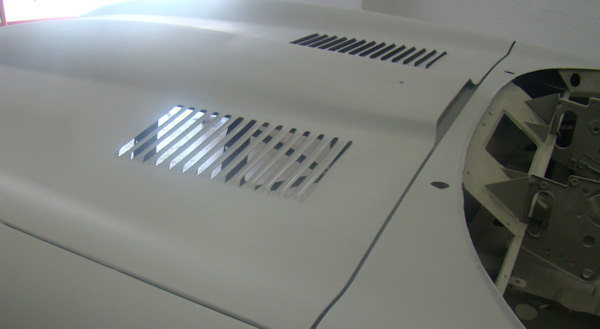
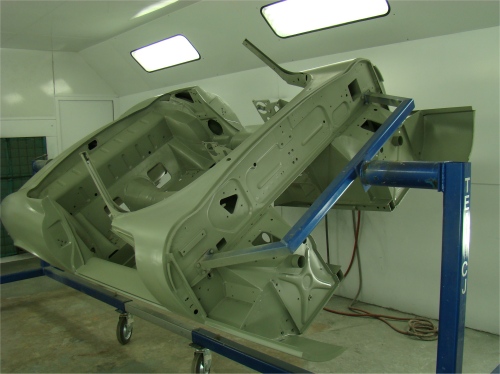
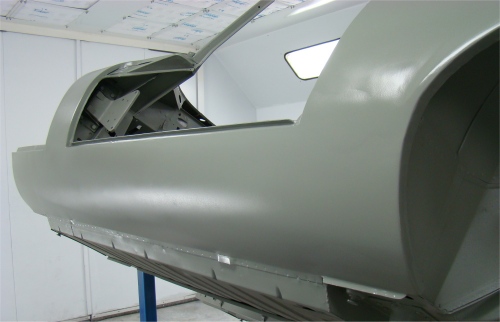
We have now completed all the bodywork and your car is in final primer. Over the next week or so we will sand the car with 400 grit (dry) then 600 (wet), at which time it will be time to start applying the color.
 |
 |
 |
|
sanding stage |
|
installed for sanding |
|
|
|
|
 |
 |
 |
|
|
|
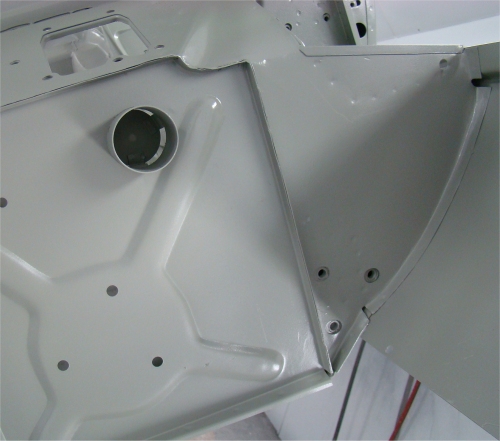
seam sealed |
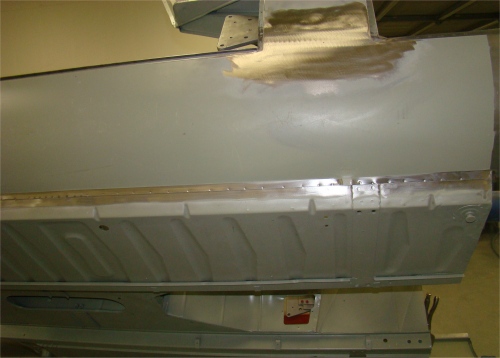
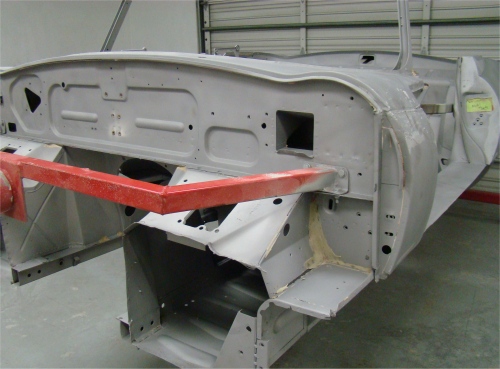
We have now finished the panel replacement. Next up is the installation of your bonnet.
 |
 |
 |
|
inner sill area |
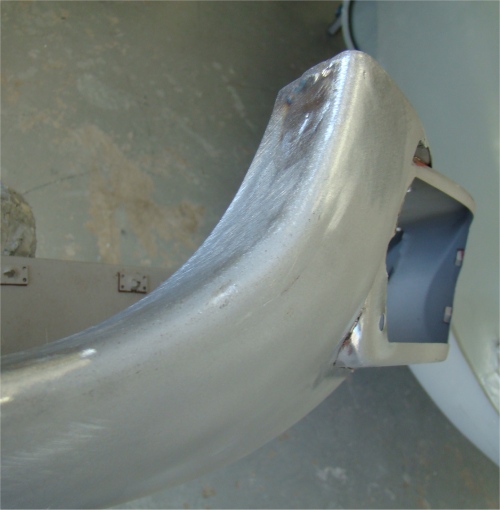
lead loaded all the seams |
acid washed before priming |
 |
 |
 |
|
|
Installing the left hand door skin..
 |
 |
|
to be spot welded |
skin in place |
|
|
|
 |
 |
|
|
|
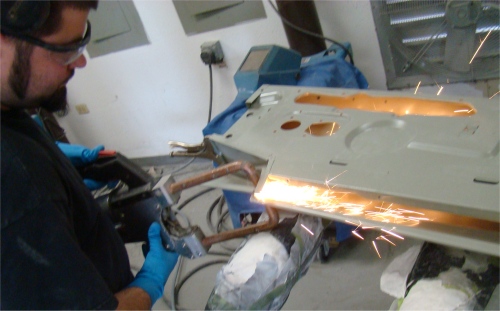
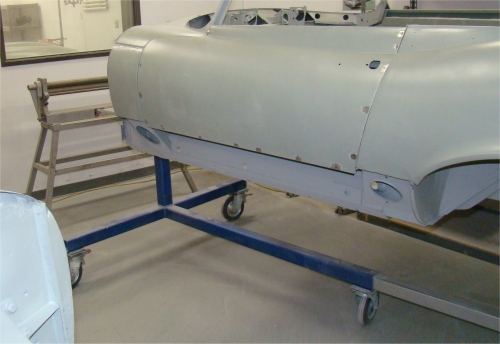
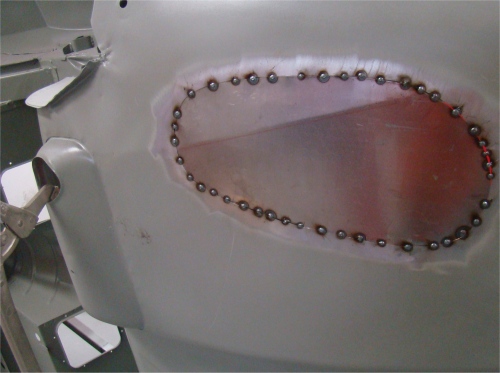
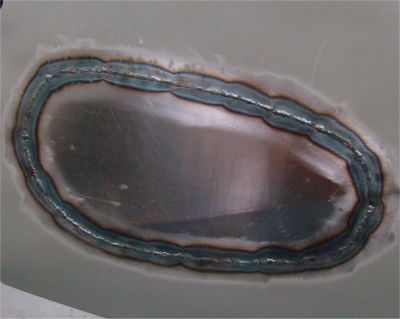
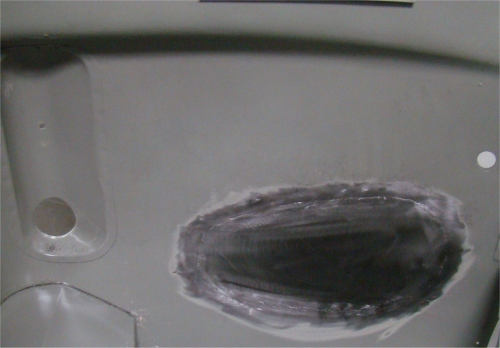
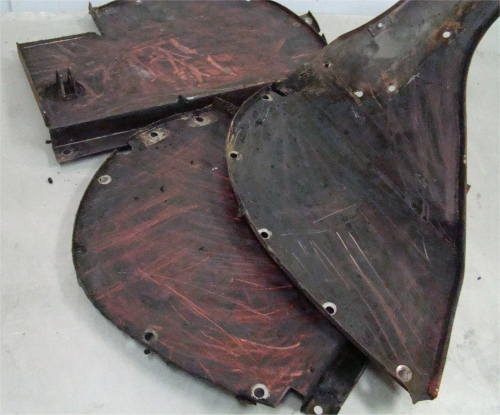
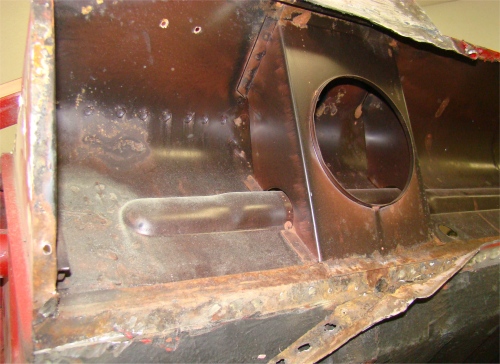
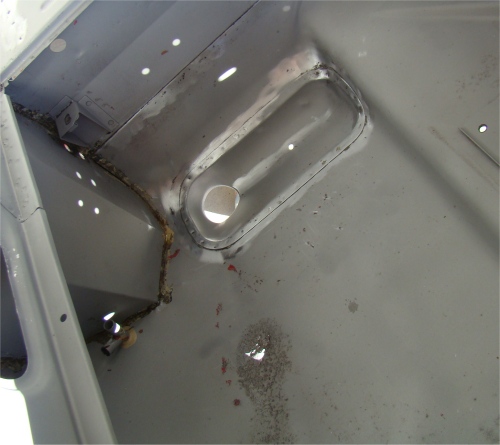
The following sequence of photographs show the repair to your boot floor.
 |
 |
 |
|
|
tack welded in place |
|
 |
 |
 |
|
is virtually invisible |
|
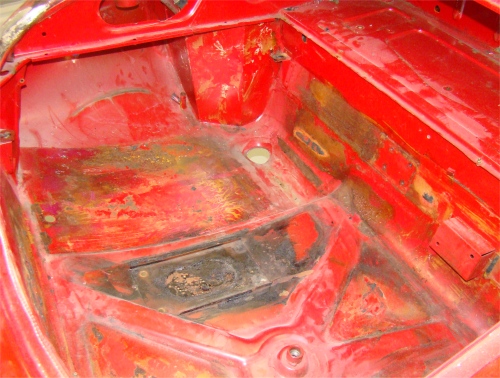
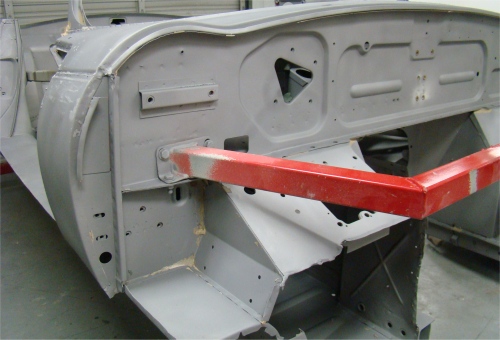
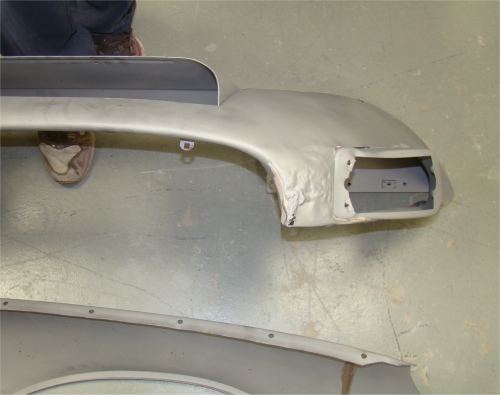
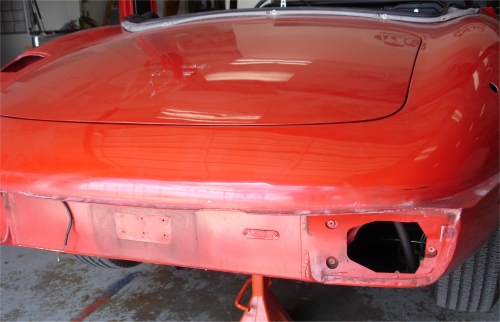
It is now time to get the exciting stuff underway! I am very pleased to report that there really weren't any nasty surprises following the sand blasting of the body. The worst of the corrosion was in the left hand door skin and the boot floor (beneath the gas tank). Other than that, everything looks pretty solid.
 |
 |
 |
|
|
|
|
 |
 |
 |
|
looks quite solid |
|
|
 |
 |
 |
|
|
by the gas tank |
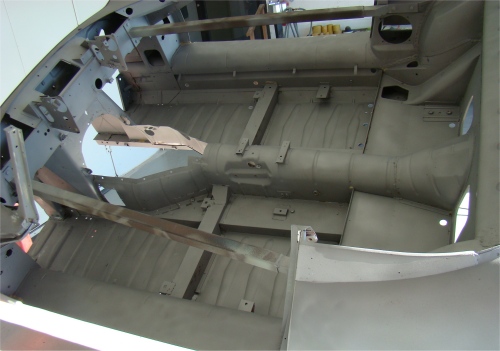
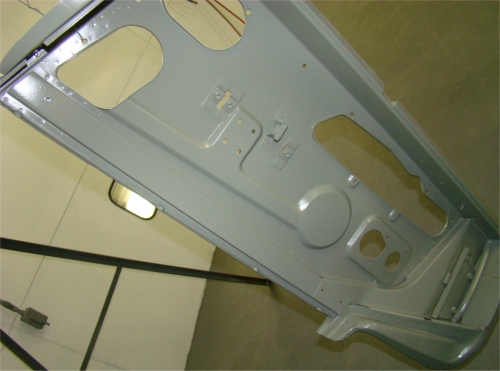
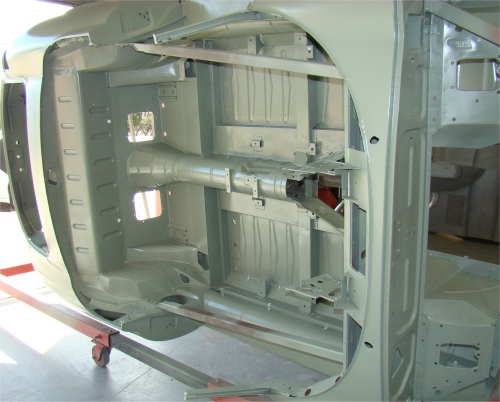
shell has been sealed |
 |
 |
 |
|
|
|
|
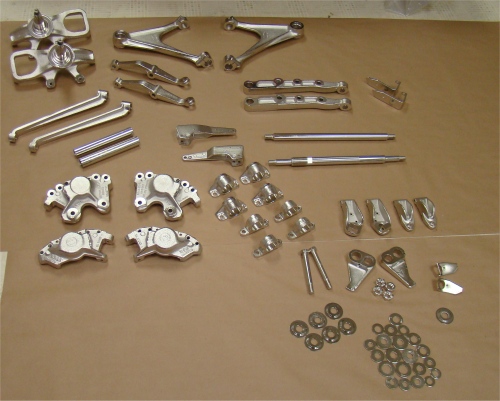
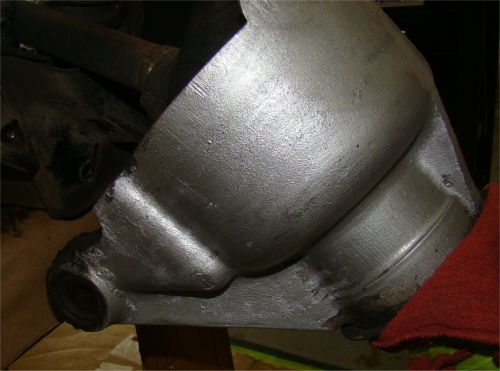
Your differential and IRS rebuilds have now ben completed...
 |
 |
 |
|
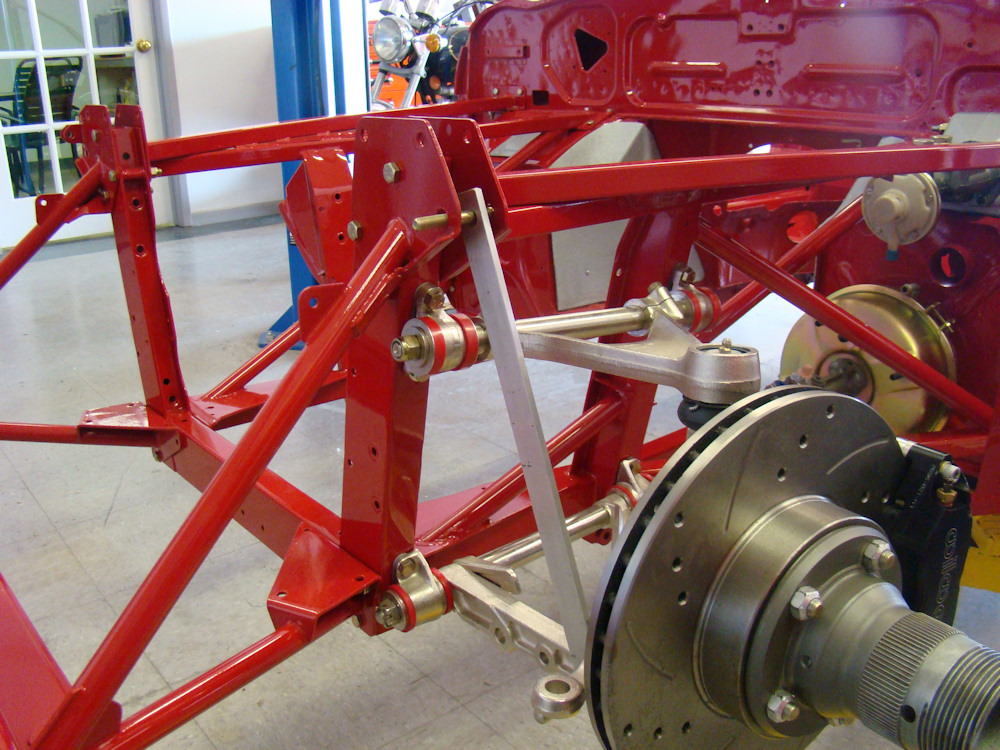
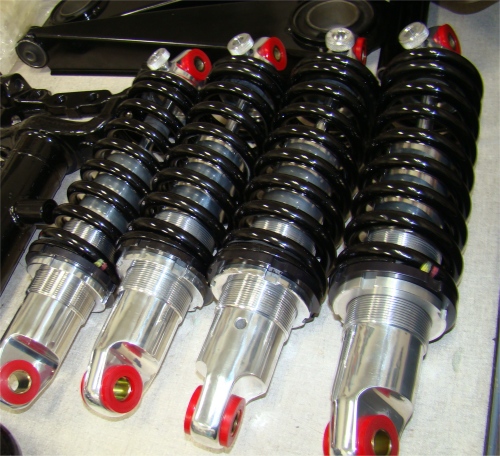
and brake components |
|
|
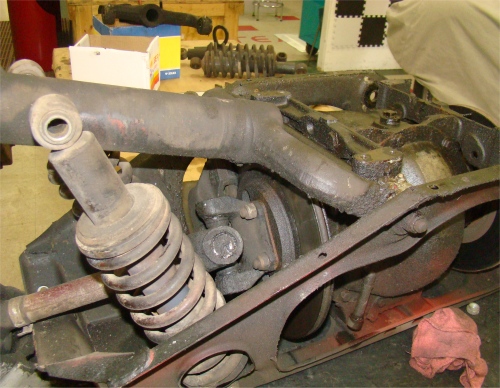
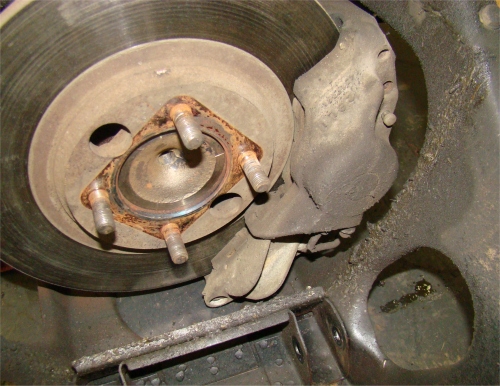
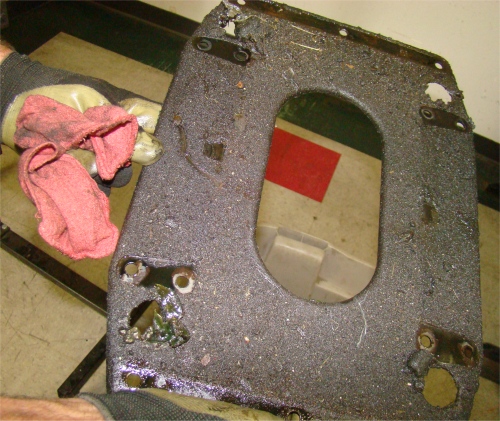
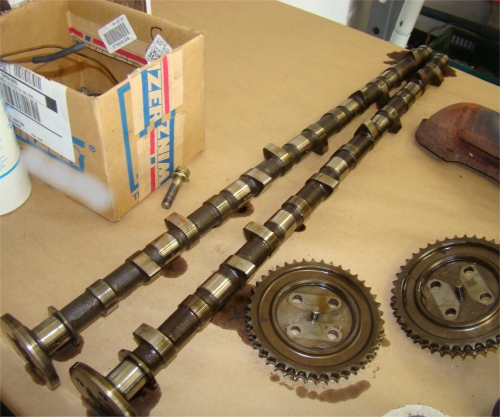
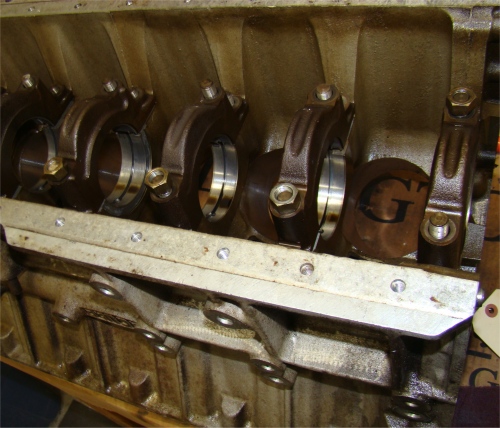
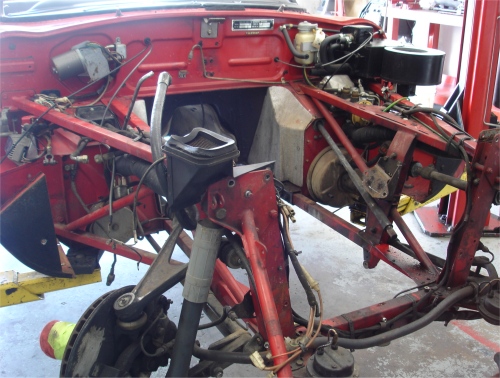
We now have your IRS and engine rebuilds well underway...
 |
 |
 |
|
|
|
|
|
|
|
|
 |
 |
 |
|
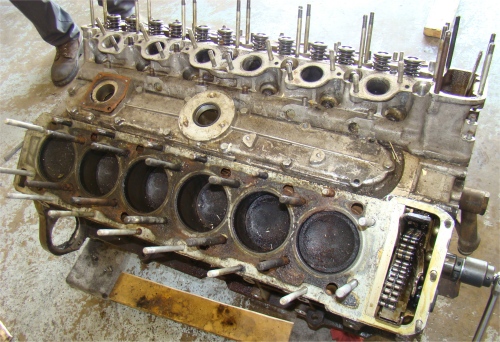
grime and dirt - not a good look |
|
part company with the block |
|
|
|
|
 |
 |
 |
|
|
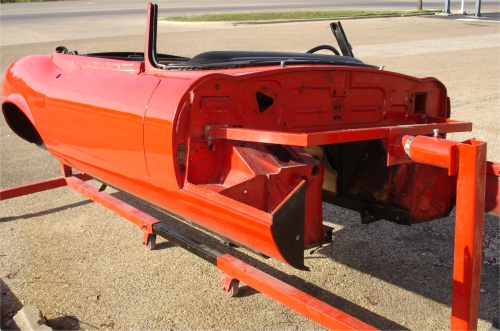
We now have your car completely disassembled and on one of the rotisserie jigs ready to strip the paint.
 |
 |
|
|
|
 |
 |
|
|
I am pleased to report that your car arrived safely at CJ on Friday afternoon. I hope you enjoy watching the restoration unfold in the months ahead!
 |
 |
 |
|
|
|
|
|
|
|
|
 |
 |
 |
|
|
both sides of this car |
|
|
|
|
|
 |
 |
 |
|
|
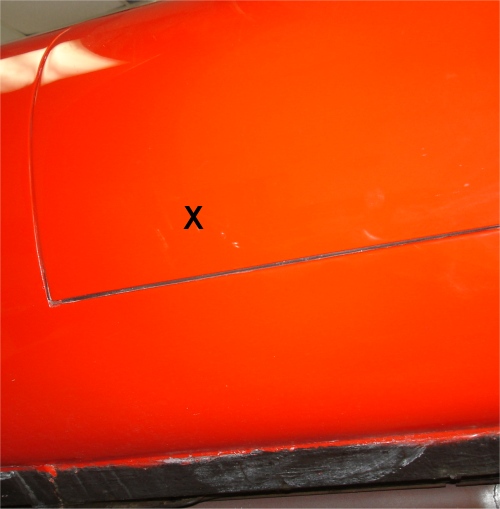
RH lower quarter |
|
|
|
|
|
 |
 |
|
|
driver's door skin |
|
|
