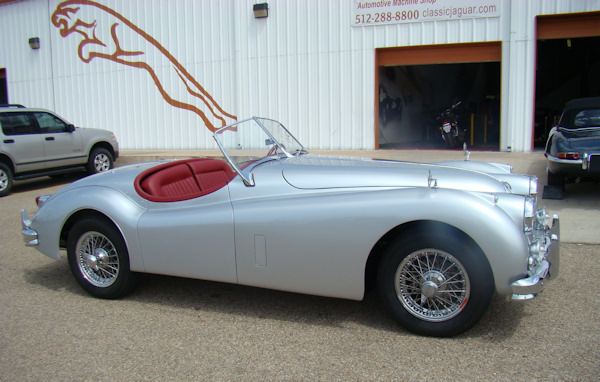
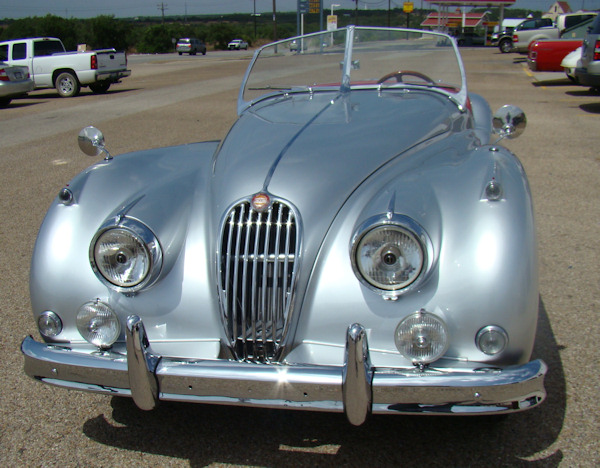
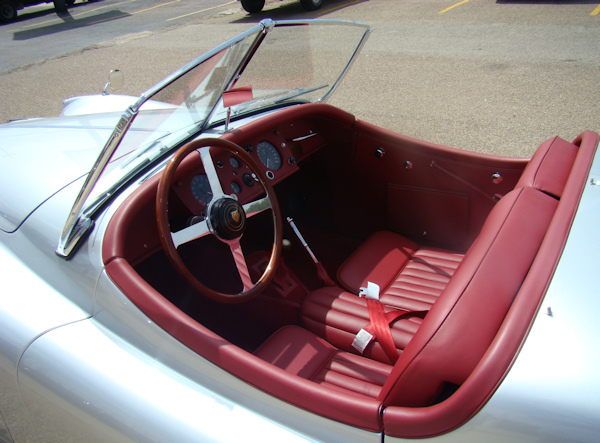
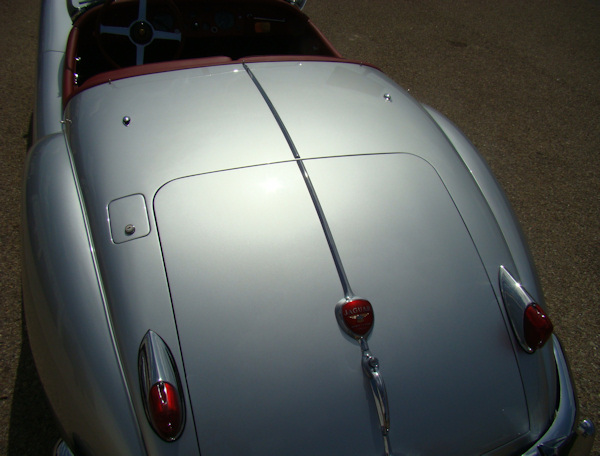
| 1956
XK 140 MC roadster (SZ)
Total Team CJ restoration |
|
| 1956
XK 140 MC roadster (SZ)
Total Team CJ restoration |
|
|
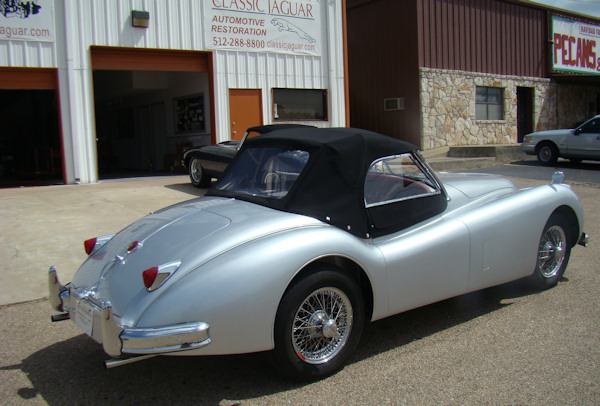
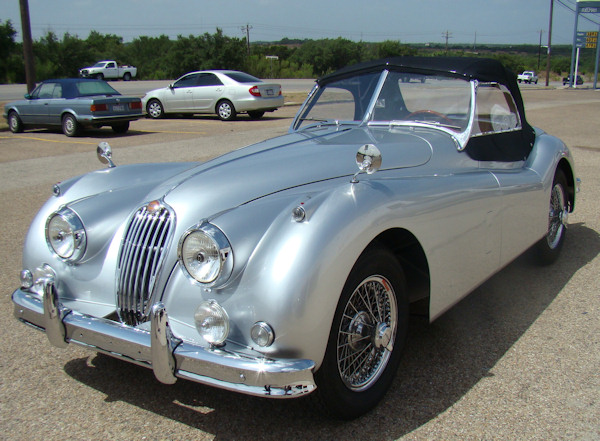
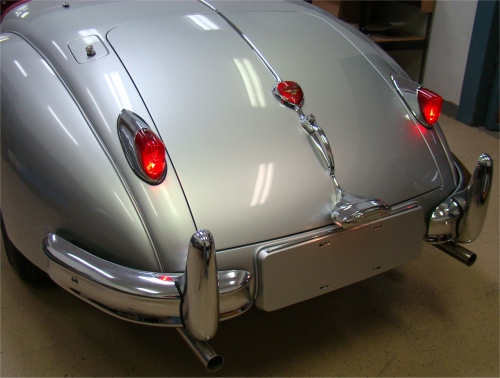
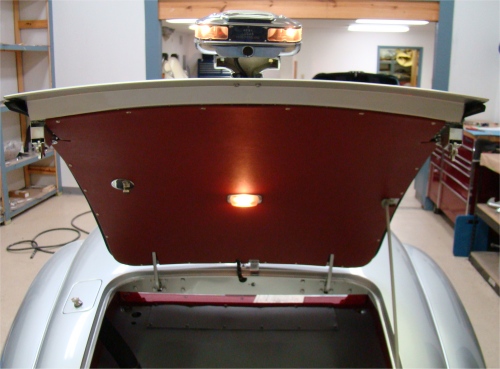
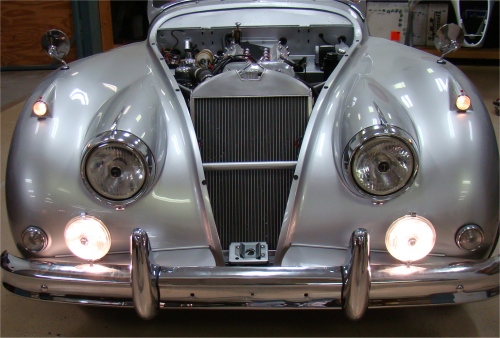
I am pleased to report that this restoration has now been completed and your car will be heading North in the next few days!
 |
 |
 |
 |
 |
 |
 |
 |
 |
 |
 |
 |
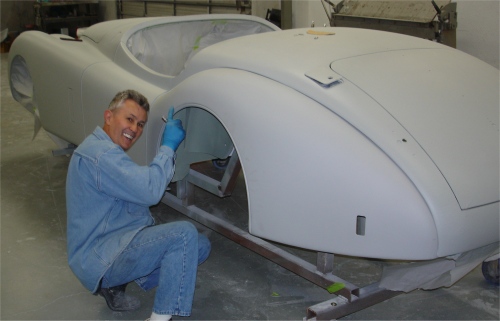
Sorry to hear Miss Justine has been a little unwell. Here are a couple of photos to cheer her up!
 |
 |
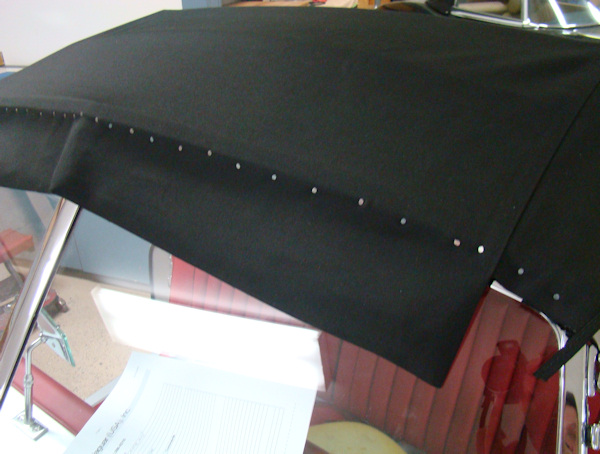 |
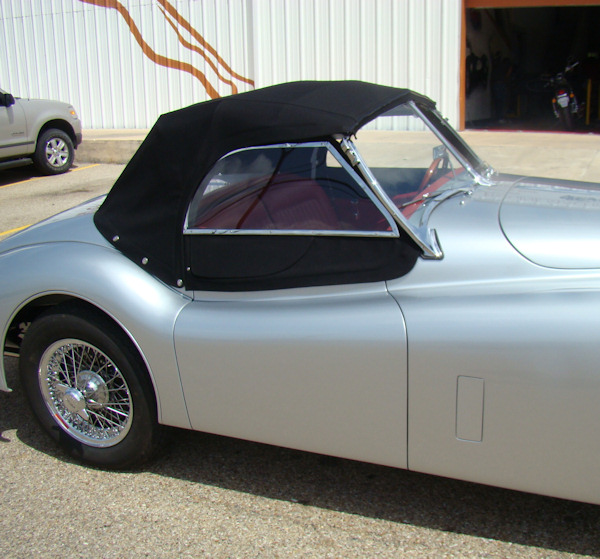
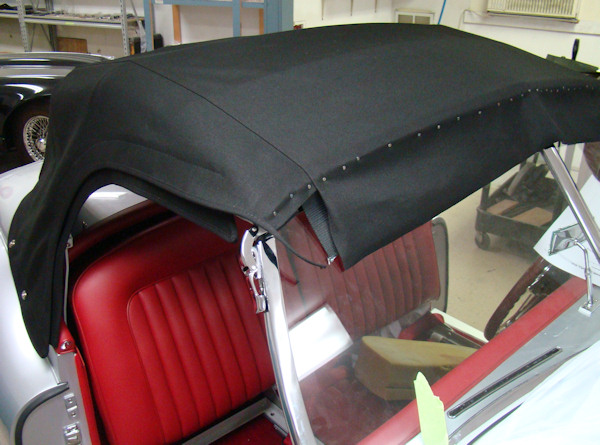
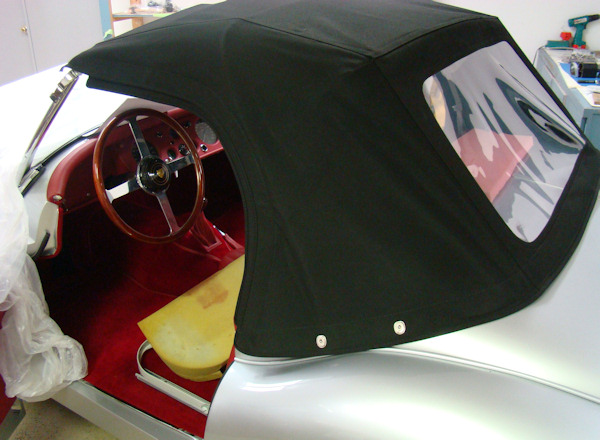
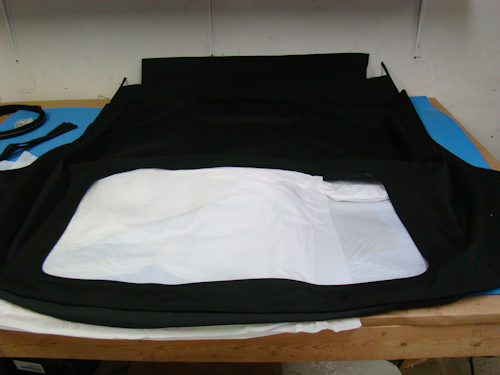
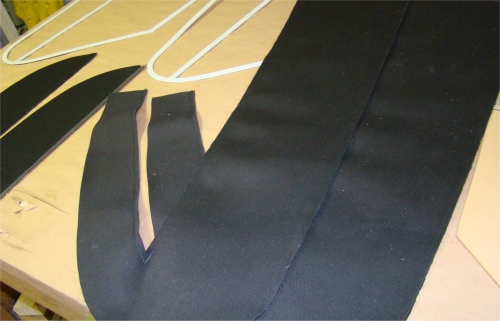
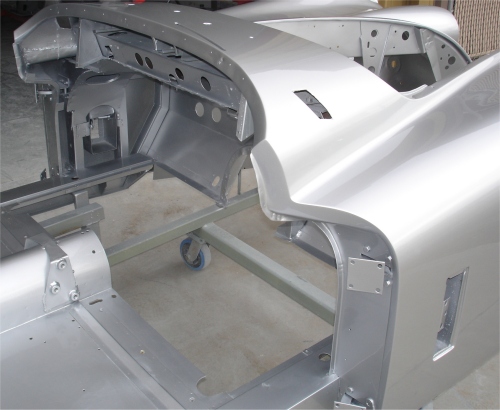
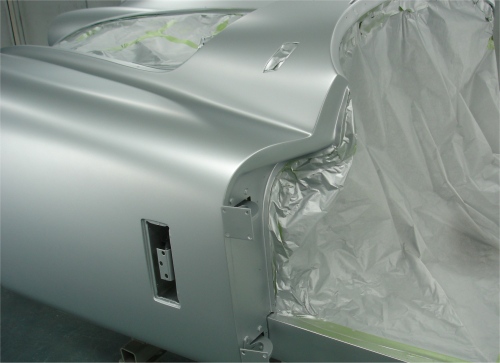
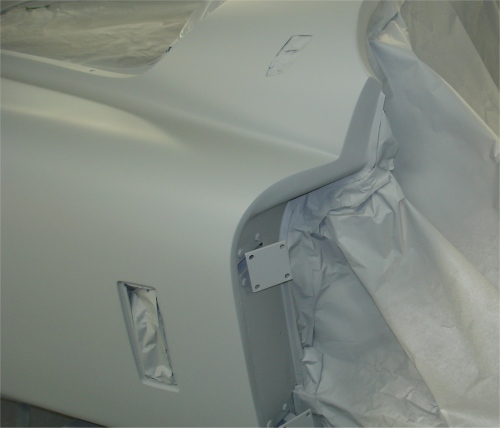
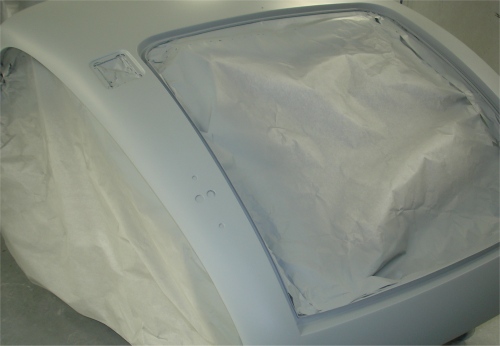
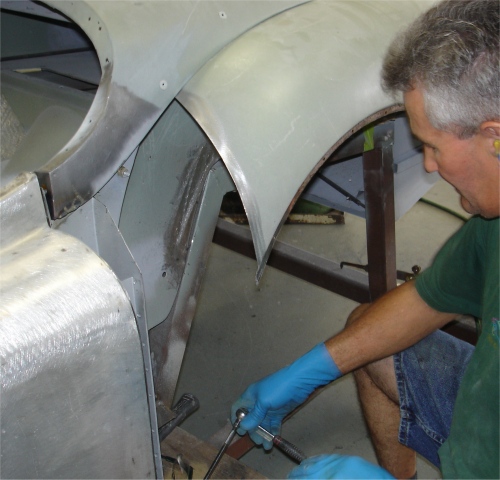
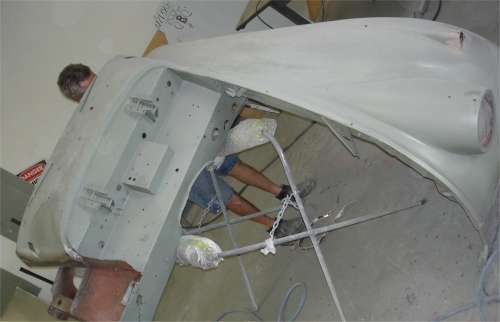
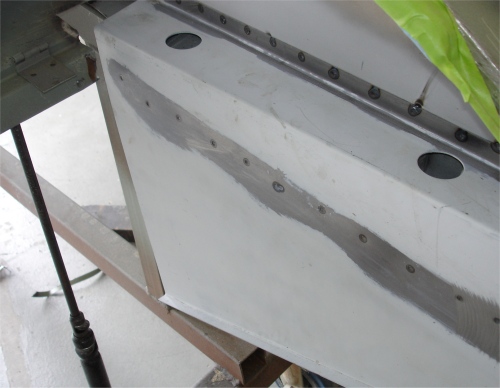
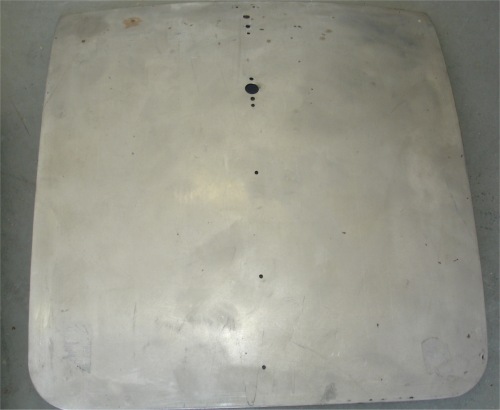
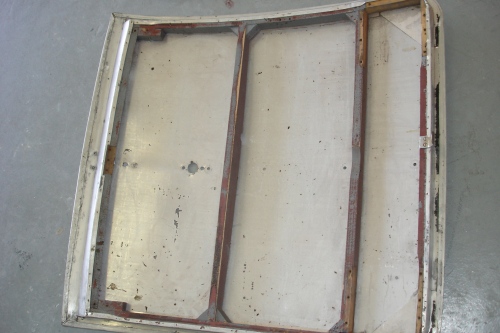
All that remains is to install the convertible top...
 |
 |
 |
|
|
|
|
|
|
|
|
 |
 |
 |
|
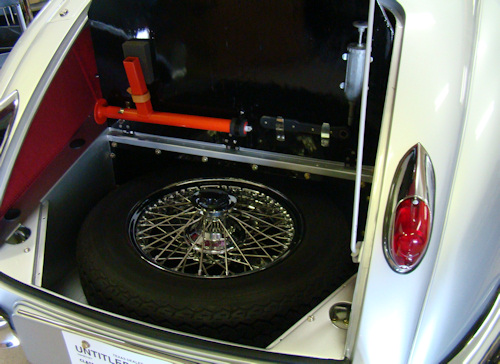
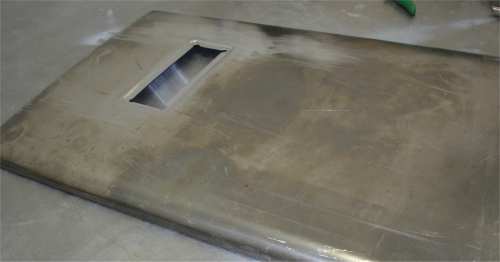
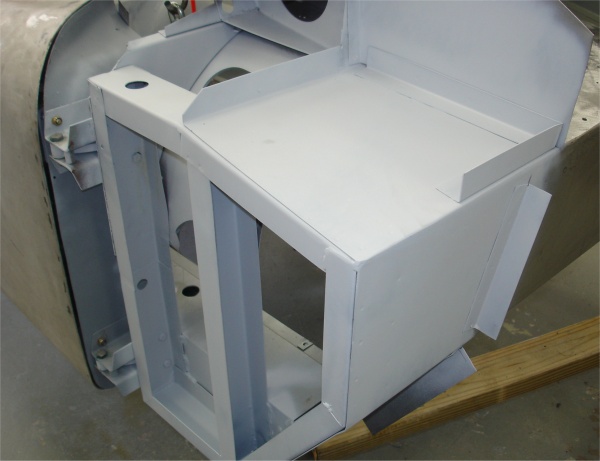
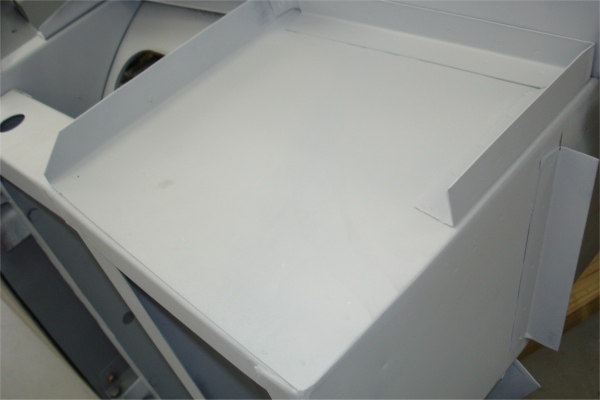
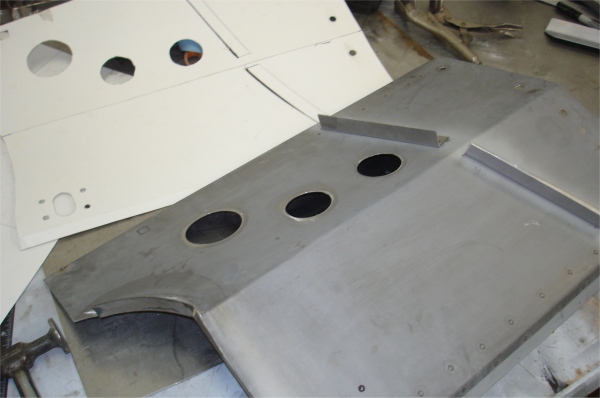
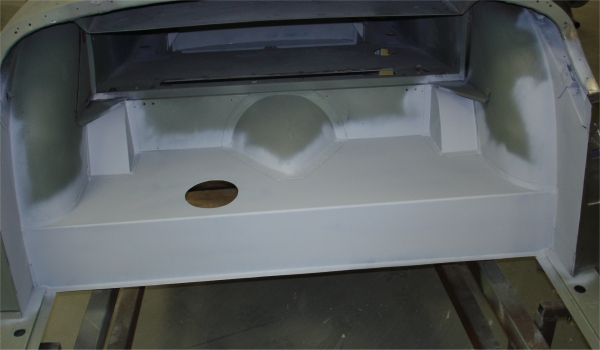
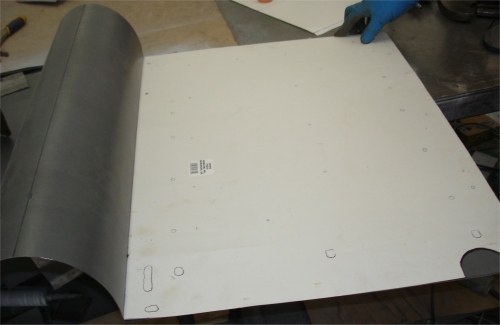
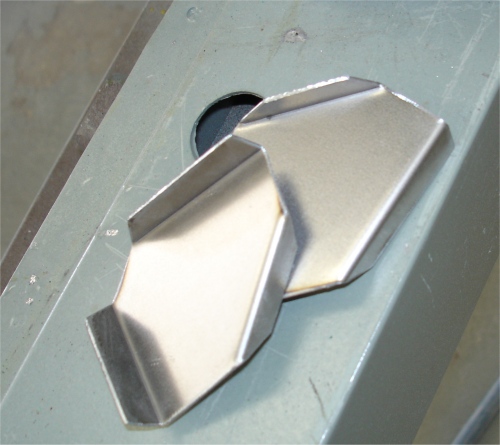
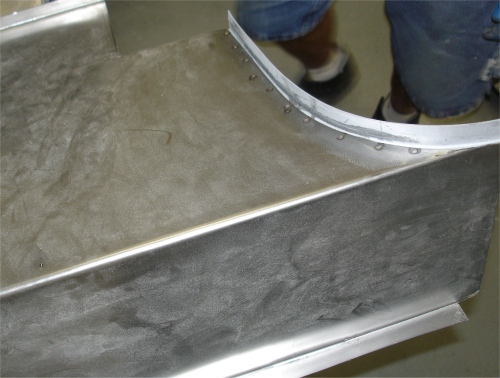
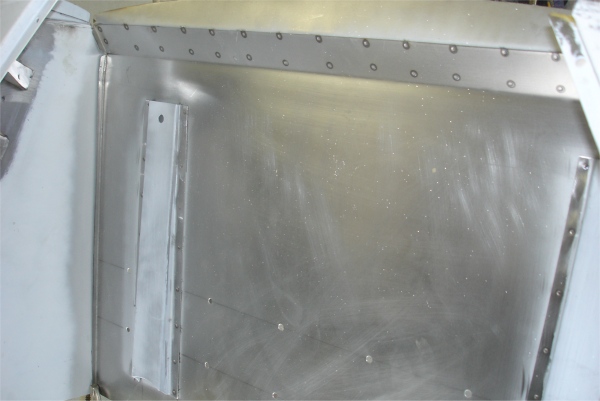
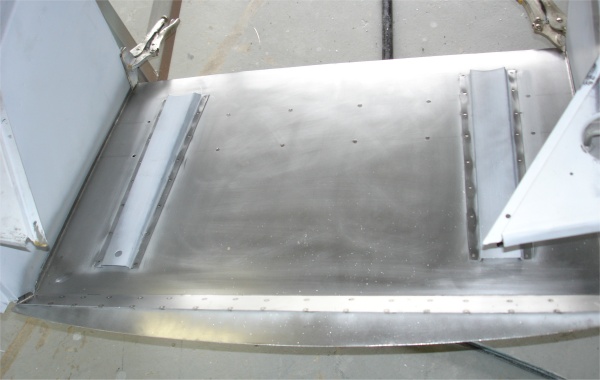
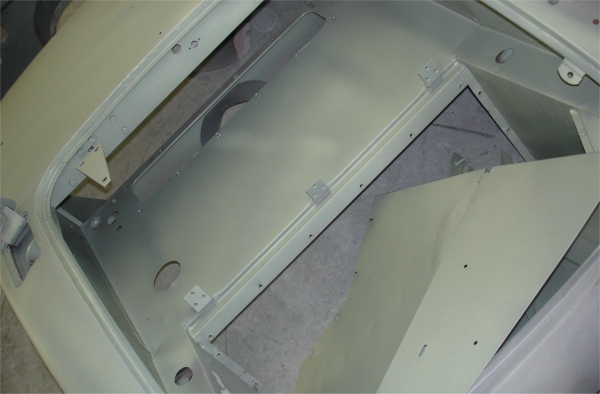
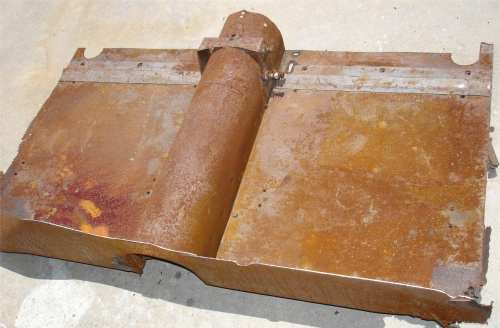
spare tire floor |
|
|
 |
||
|
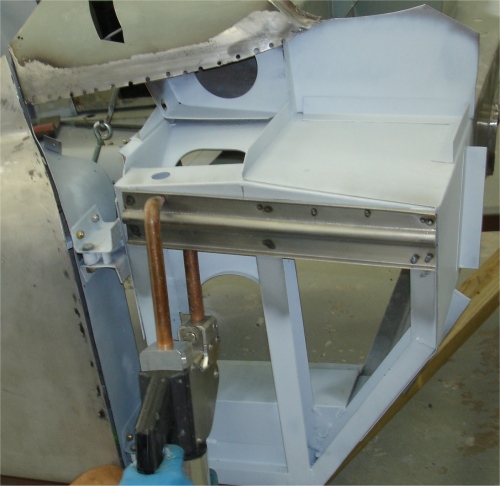
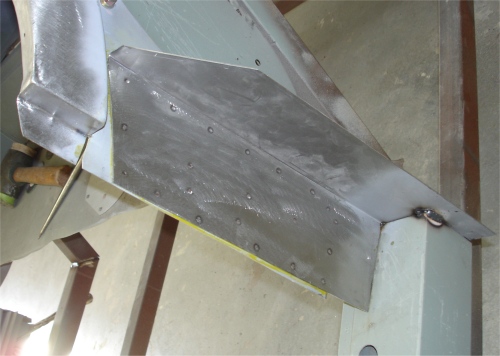
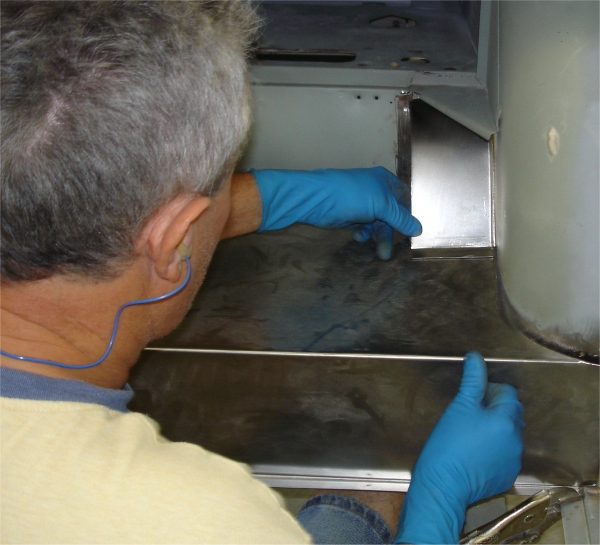
for the driver's door |
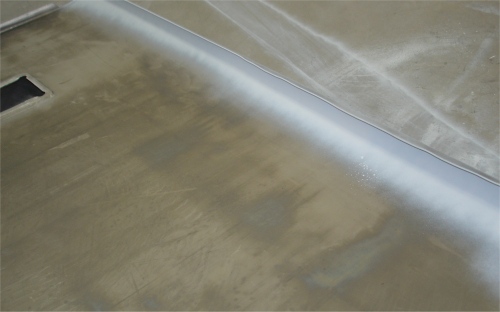
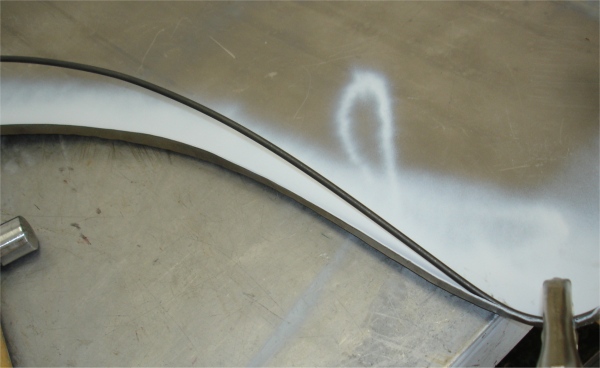
Installing the padded crash roll on the door tops...
 |
 |
 |
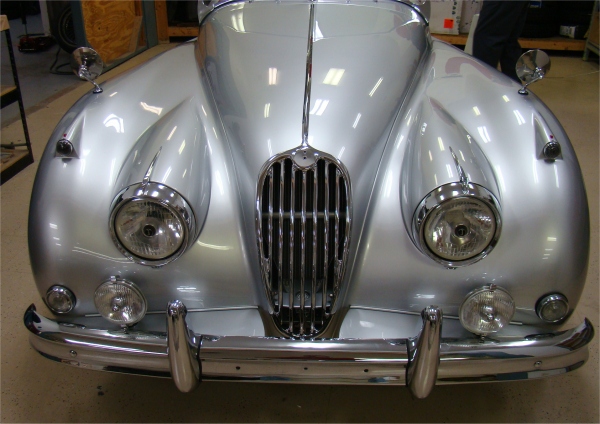
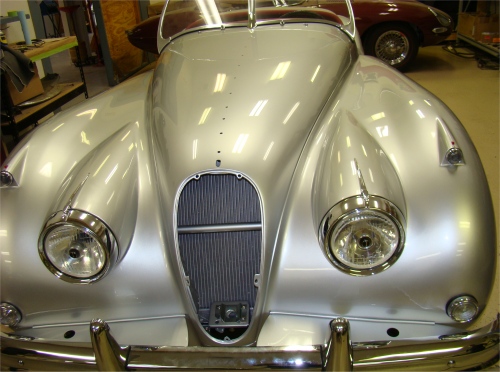
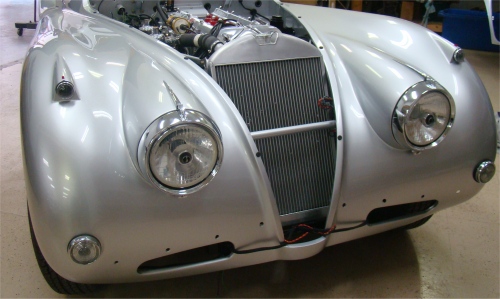
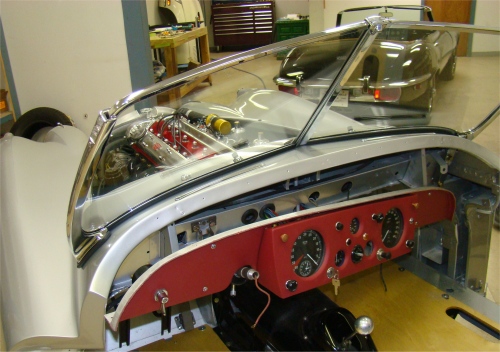
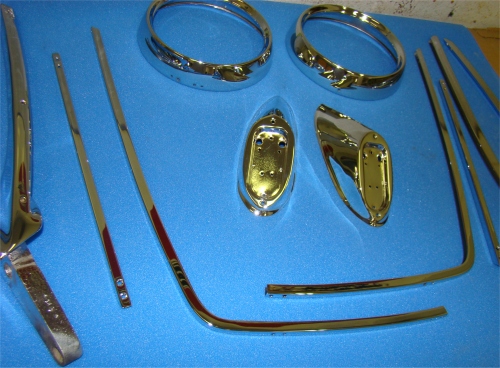
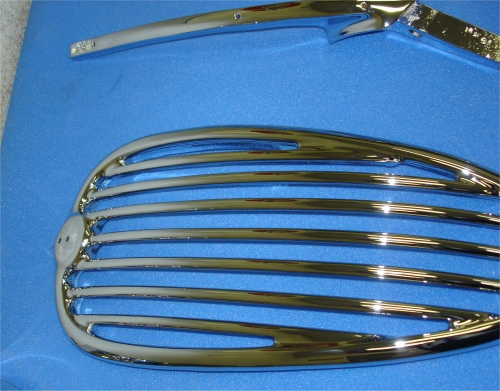
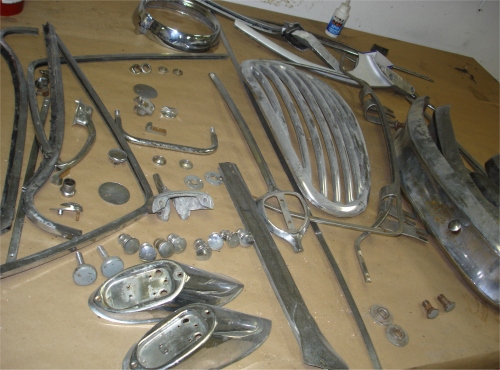
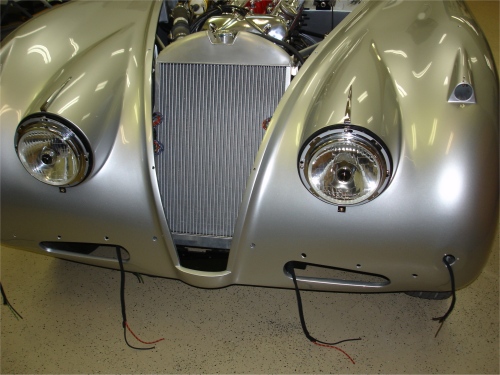
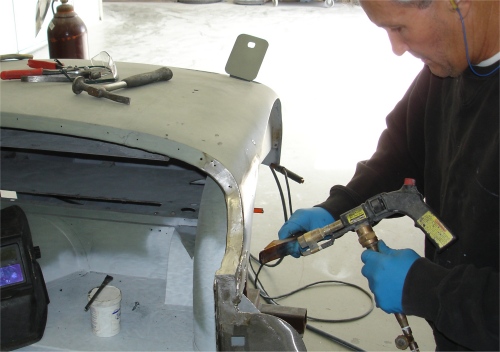
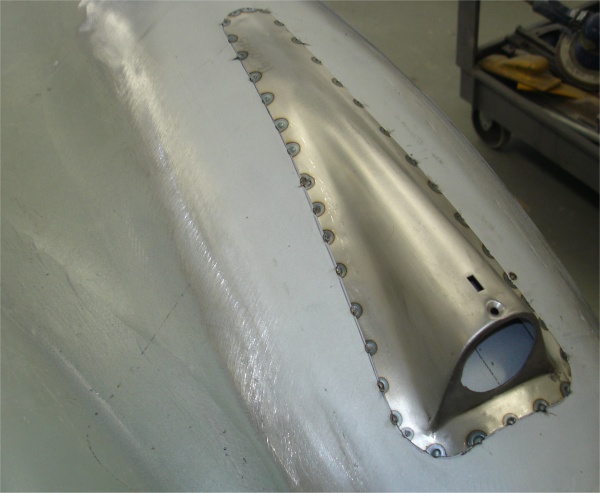
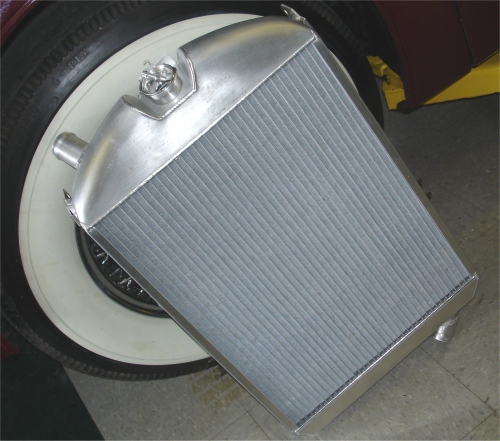
Lots of progress in the last few days. We have repaired all the metal work and trim for the side screens and submitted the relevant parts for chrome plating. With the grill now installed, all we are lacking up front is the grill badge and bulbs for the new headlamps, both of which are on order.
 |
 |
 |
|
installed |
of straightening! |
|
|
|
|
|
 |
 |
|
|
|
|
|
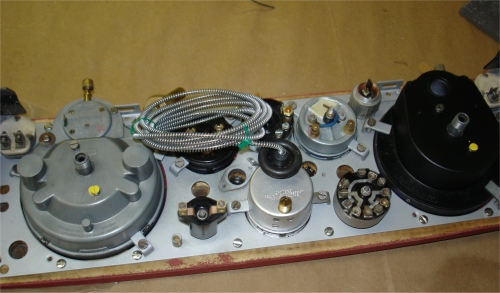
Wiring in the lamps...
 |
 |
 |
|
|
||
 |
 |
|
|
plate lamps now working |
|
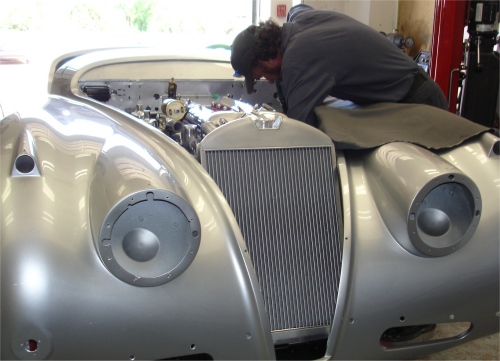
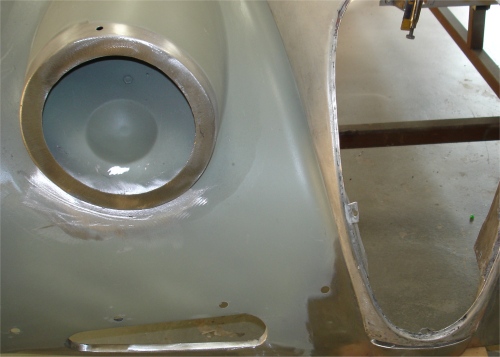
Installing the front bumpers, bonnet, etc...
 |
 |
 |
 |
 |
|
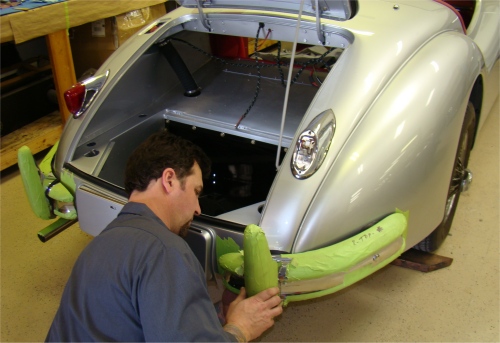
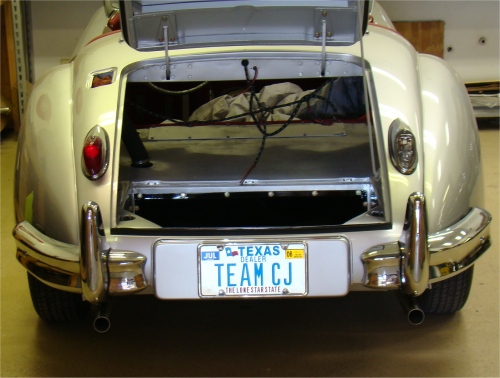
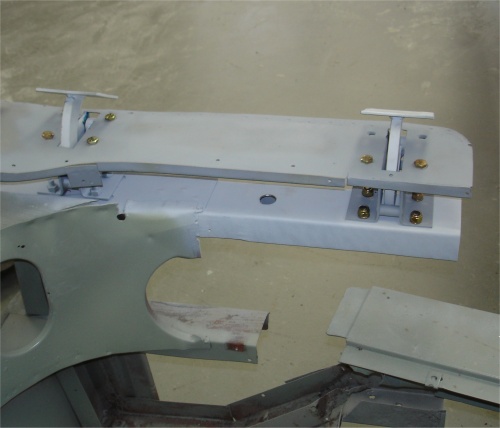
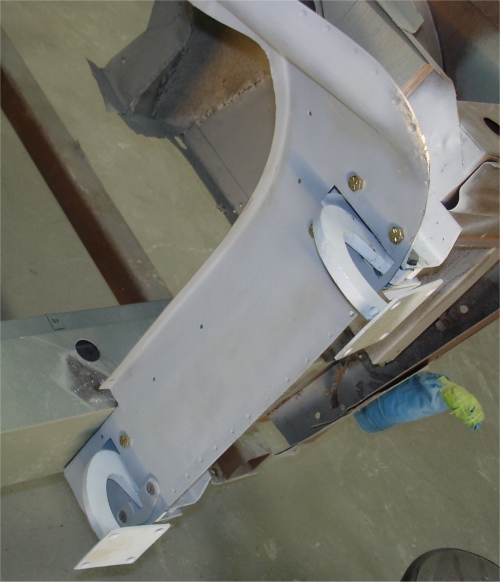
Installing the rear bumpers, license plate panel, etc...
 |
 |
 |
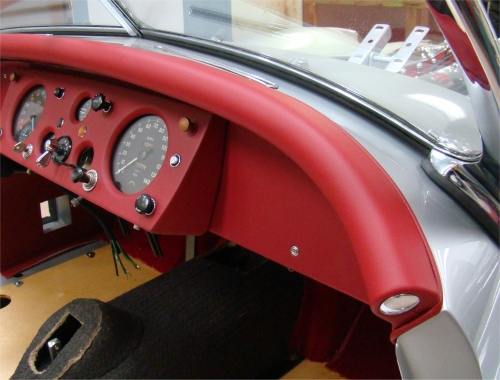
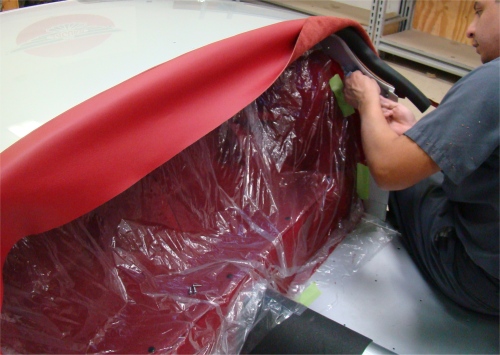
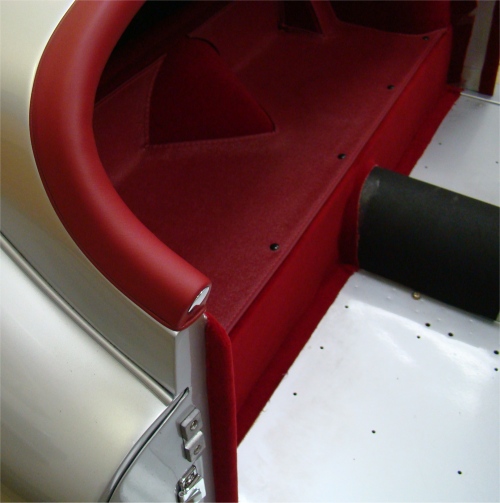
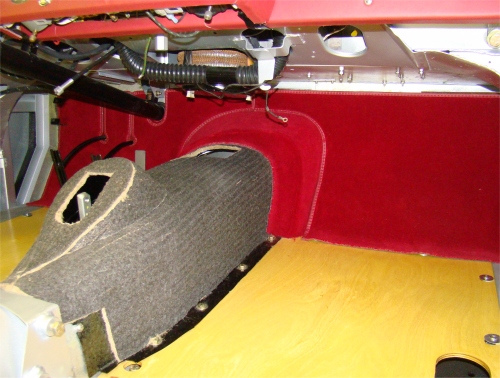
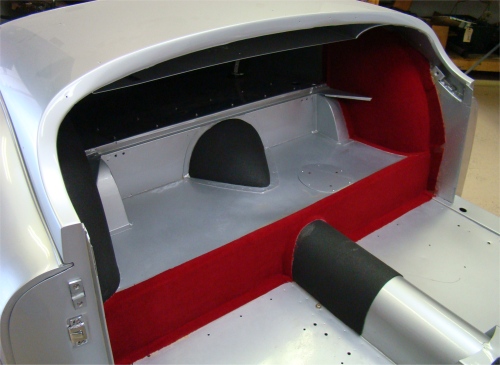
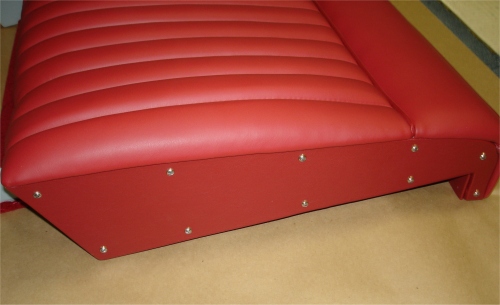
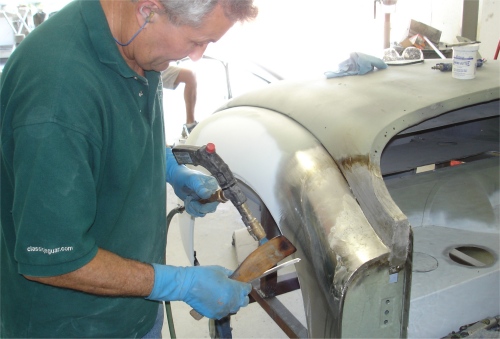
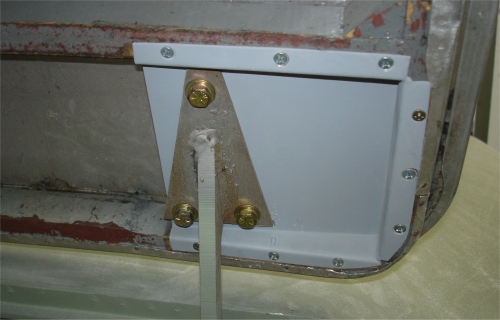
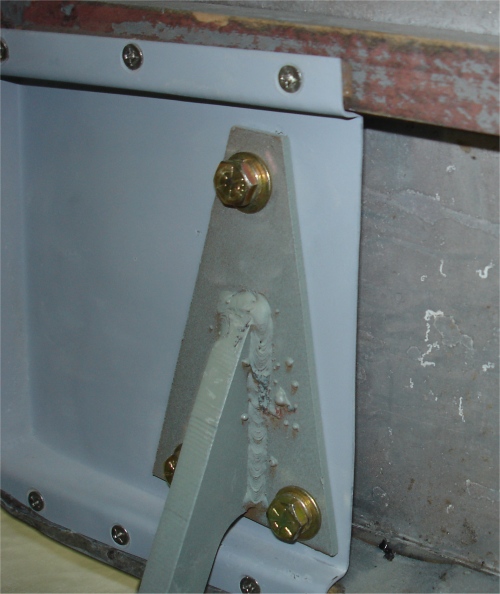
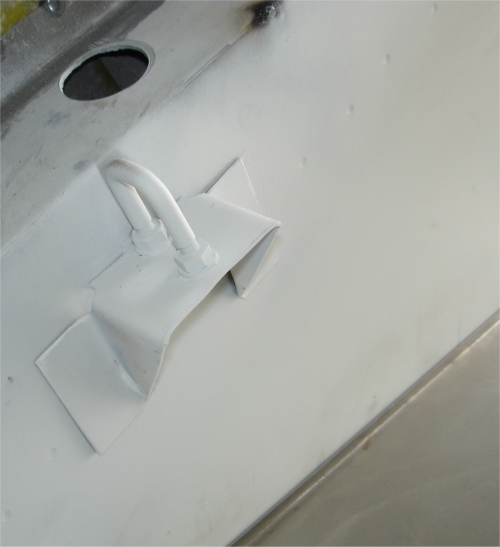
Installing the leather crash roll around the cockpit...
 |
 |
 |
|
I got a chance to take any photos... |
side has yet to be trimmed |
|
 |
 |
|
|
|
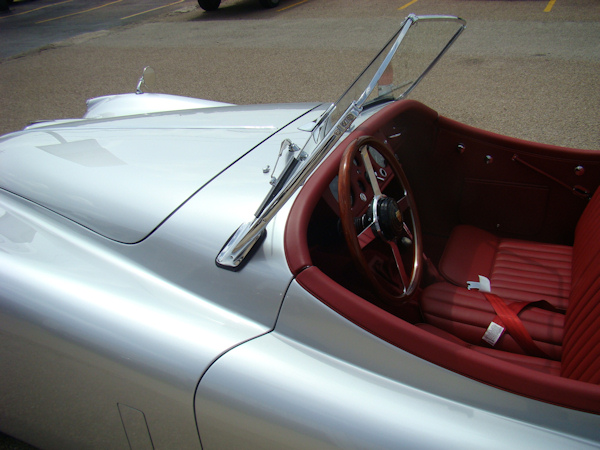
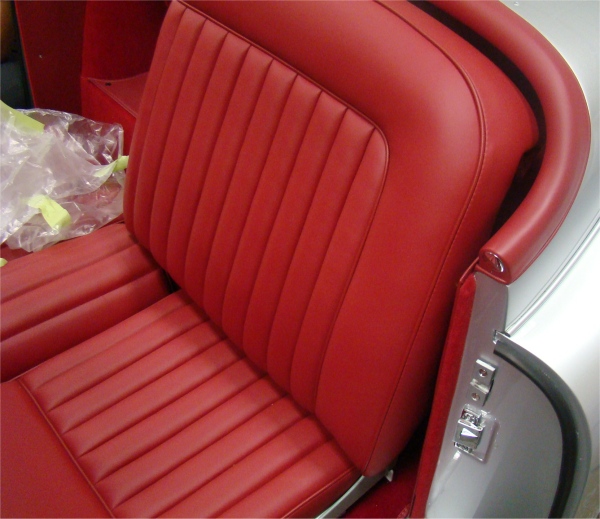
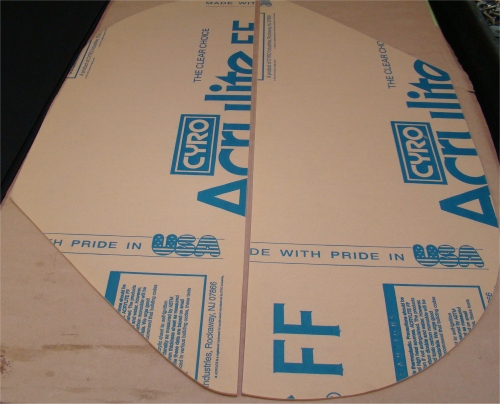
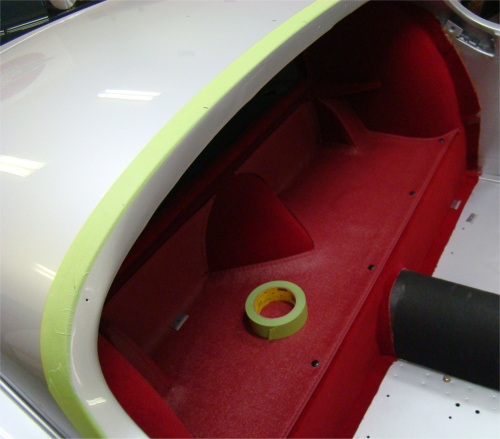
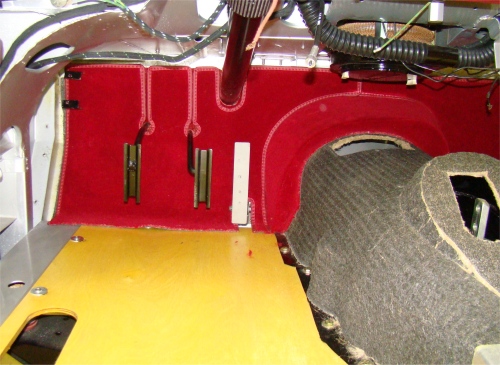
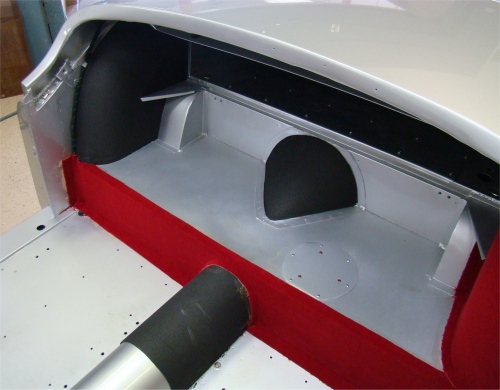
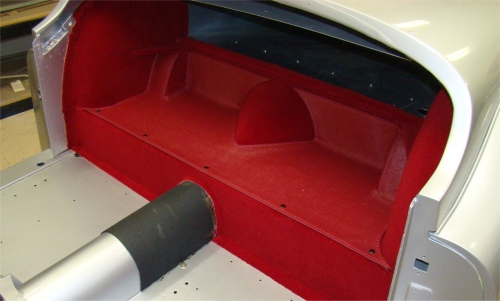
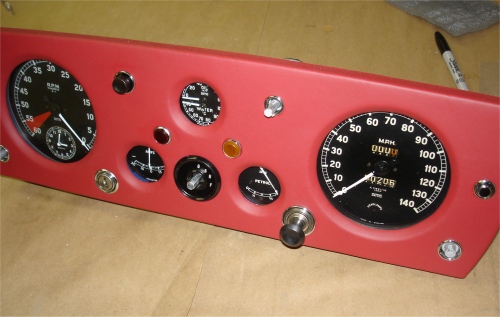
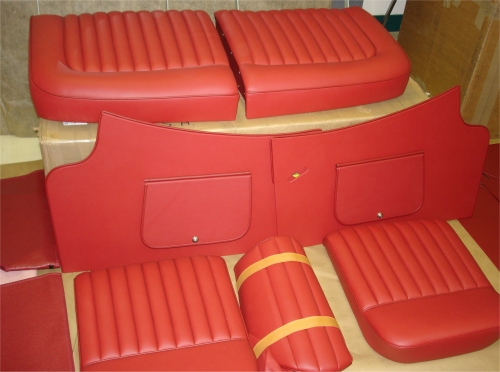
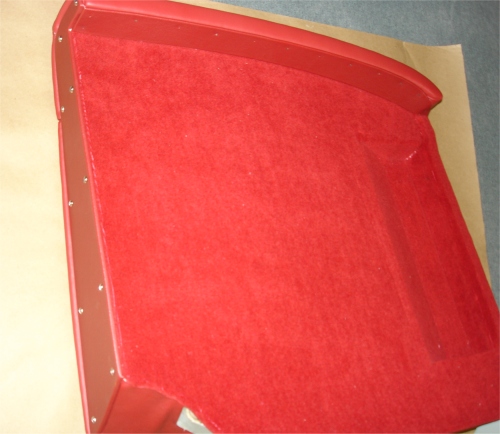
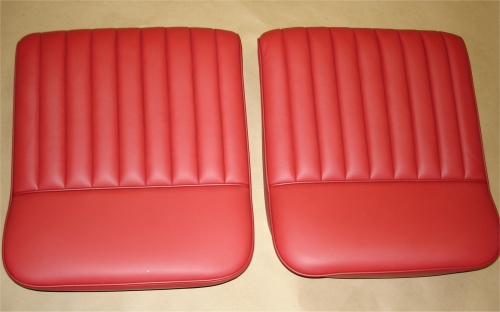
Time to install the new Suffolk & Turley interior...
 |
 |
 |
|
spraying of glue |
|
|
 |
 |
 |
|
of hardura and moquette |
||
 |
 |
|
|
the crash roll... |
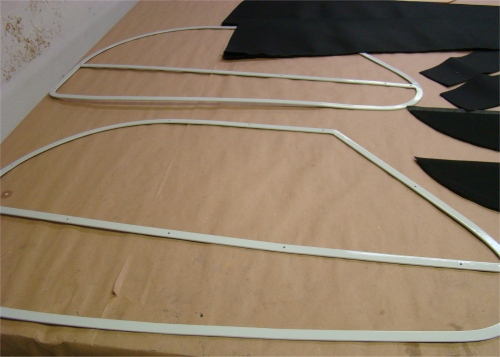
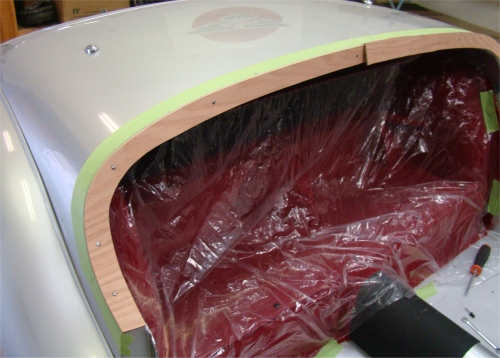
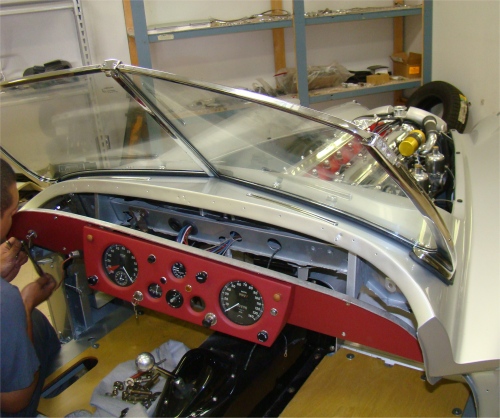
Assembling and installing the new front screens....
 |
 |
|
|
|
 |
 |
|
|
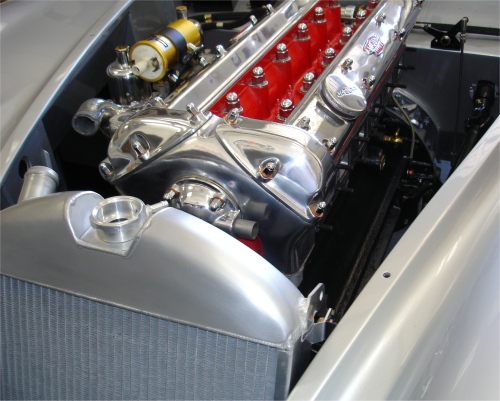
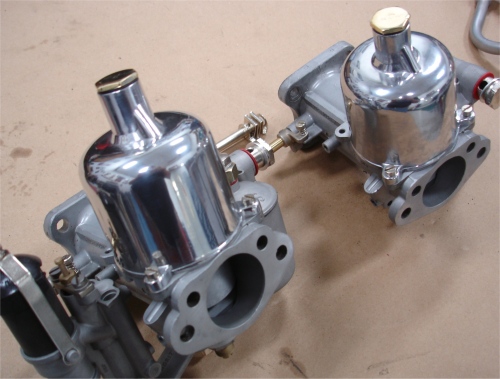
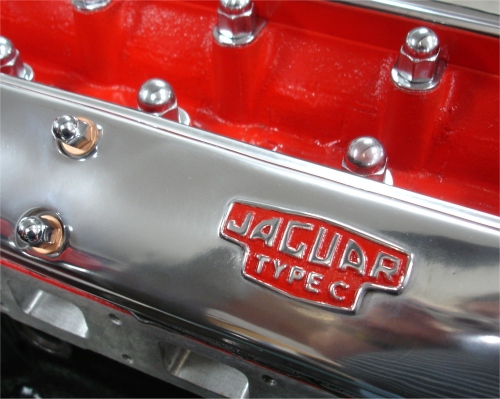
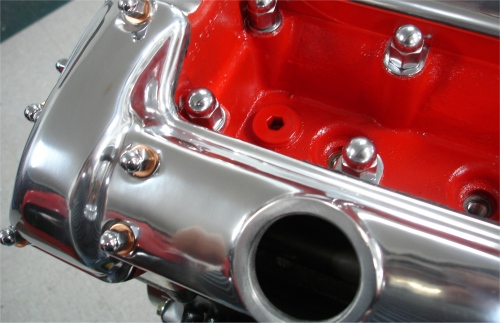
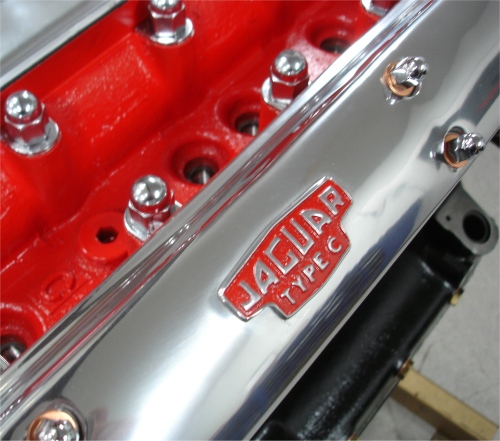
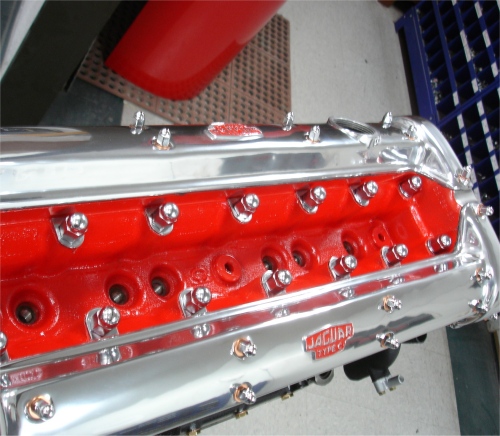
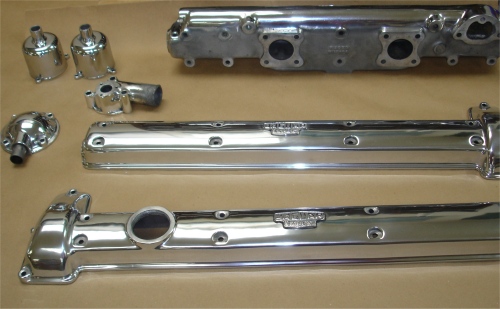
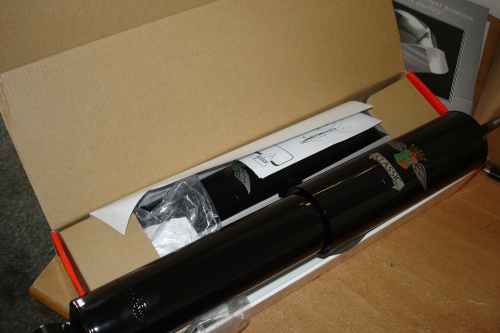
We now have the chrome plating back and will be firing your engine early next week.
 |
 |
 |
 |
 |
 |
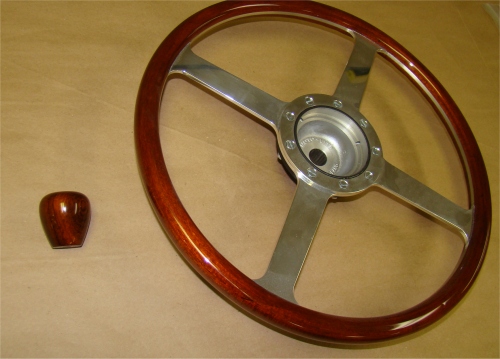
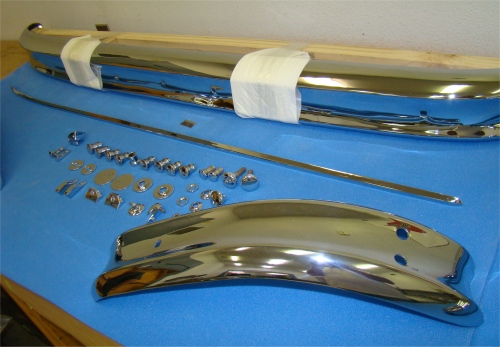
Gathering chrome together for replating, new floor boards and a new steering wheel....
 |
 |
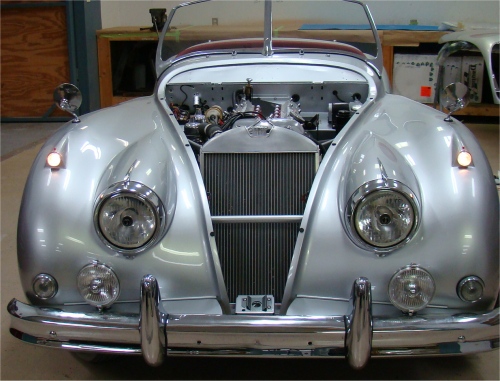
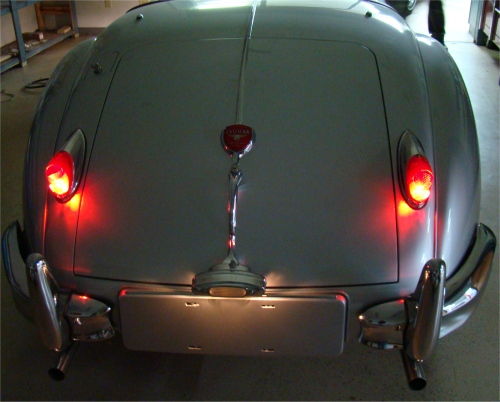
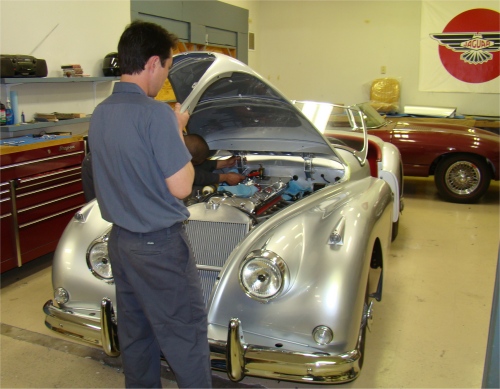
Great to finally meet you yesterday - and I am glad you liked your car!
 |
 |
 |
|
|
|
|
 |
 |
 |
|
|
||
 |
 |
 |
|
himself |
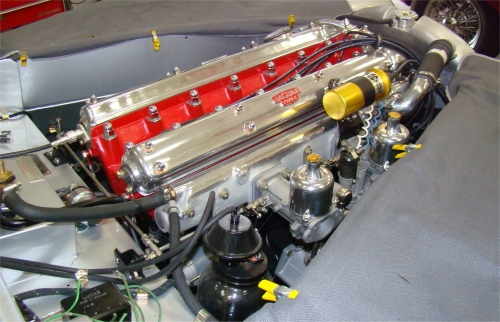
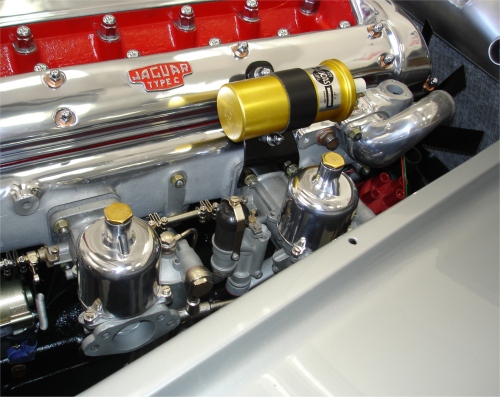
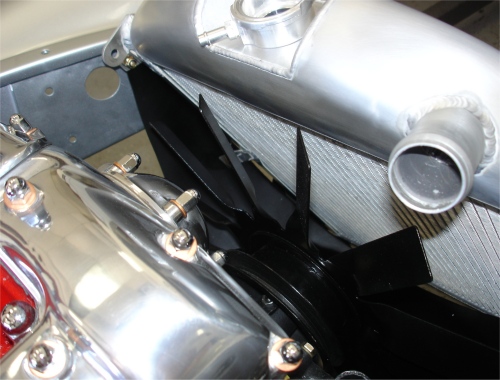
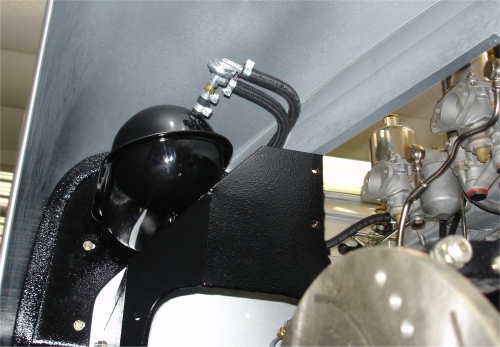
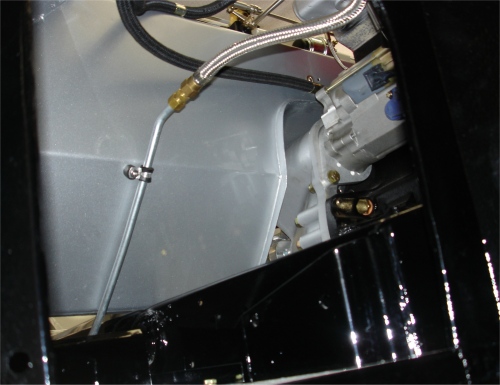
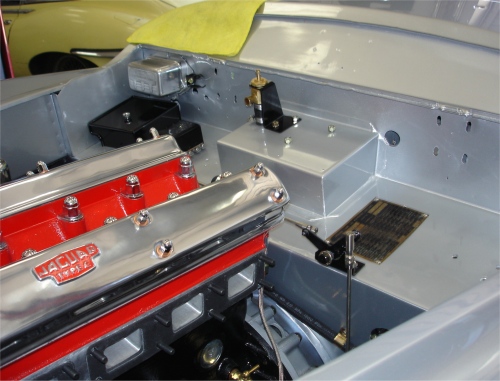
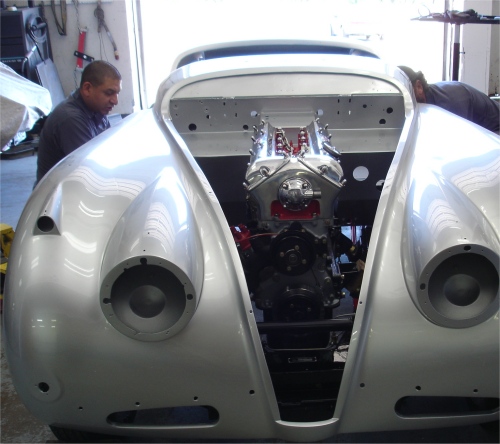
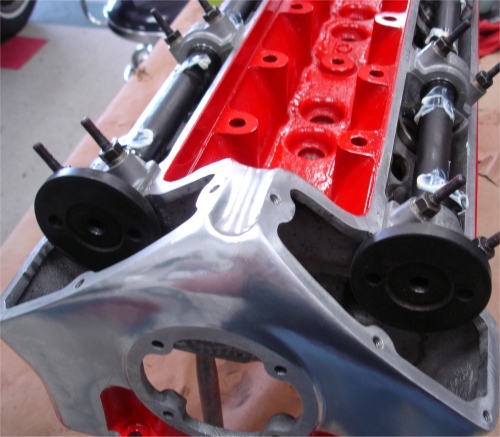
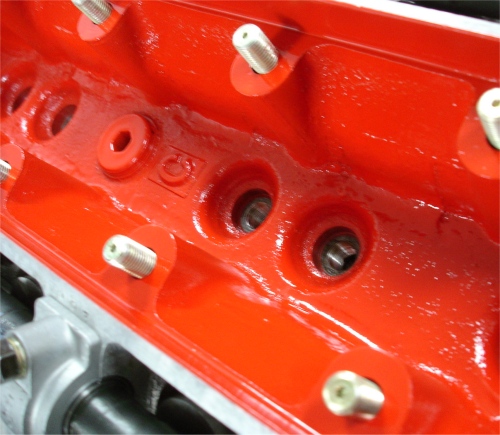
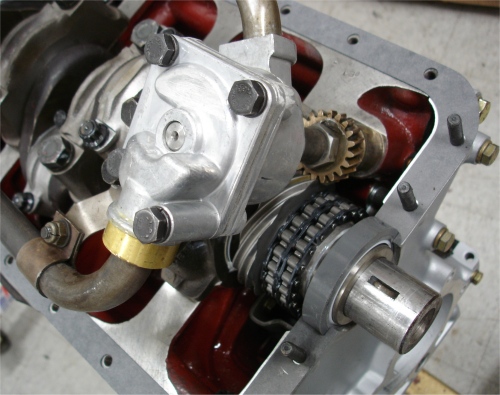
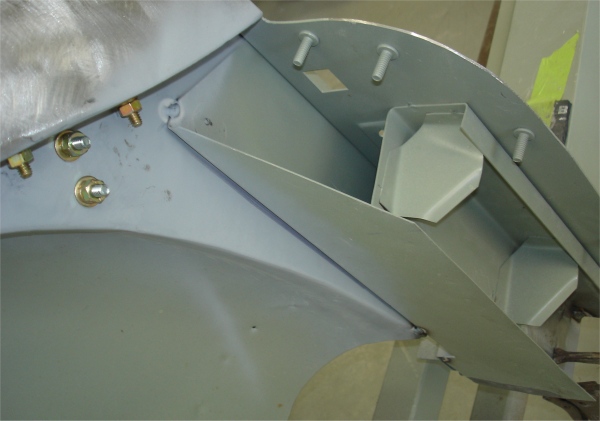
The engine bay is rapidly filling up...
 |
 |
 |
|
installed |
||
 |
 |
 |
|
|
brake booster |
|
 |
 |
 |
|
|
wheel arch |
battery box |
 |
 |
|
|
|
||
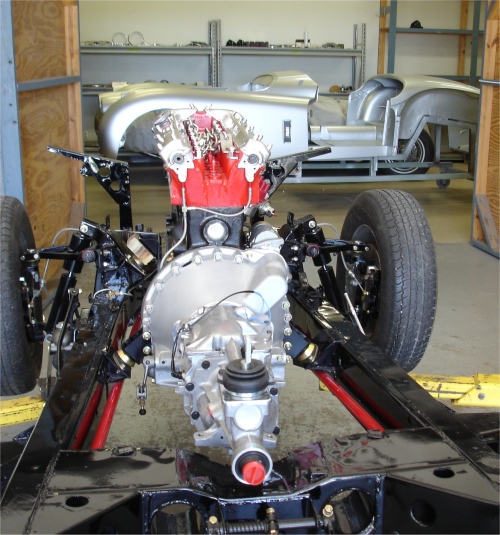
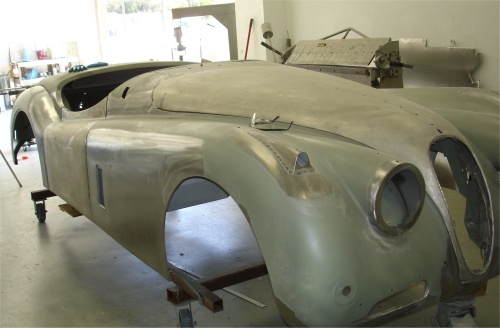
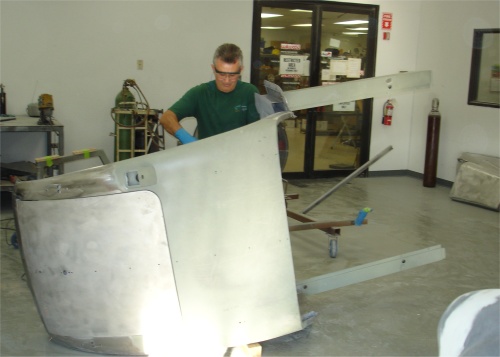
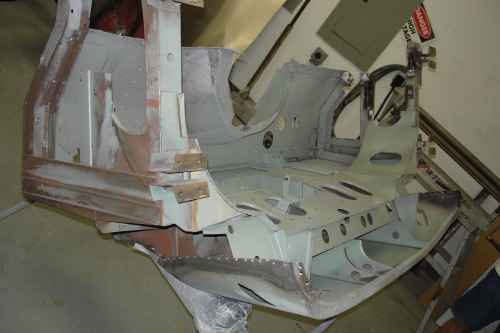
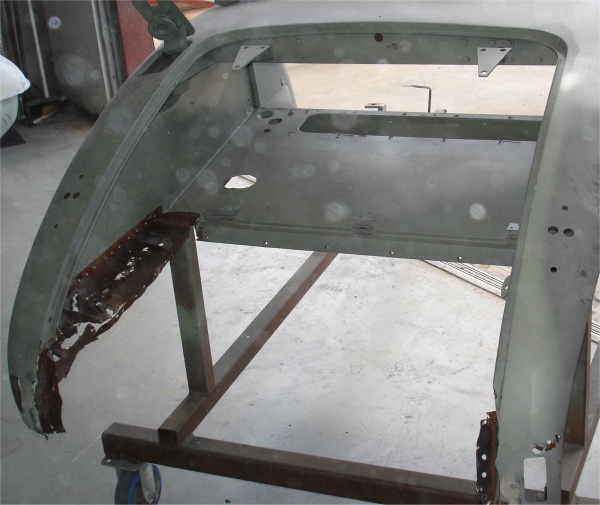
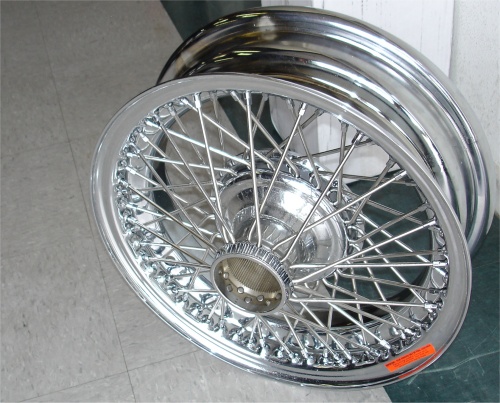
Time to install the body onto the chassis! I am pleased to say the operation went smoothly and your car is now a "roller" again, after many years in pieces. The wheels and tires currently installed are just old slave E Type wheels.
 |
 |
 |
|
|
|
|
 |
 |
 |
|
|
|
time in decades! |
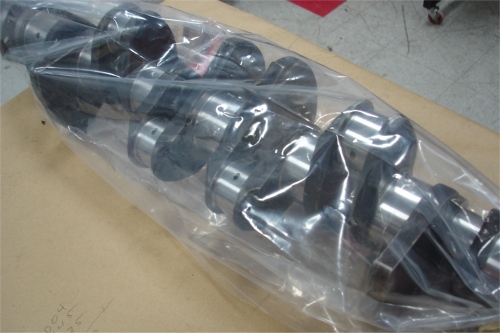
I know you are away on vacation, but just in case you have access to the Internet, I though you might like to see pictures of your completed engine rebuild
 |
 |
 |
|
|
|
|
|
|
||
 |
 |
 |
|
|
exhaust side |
|
|
|
|
|
 |
 |
 |
|
|
|
|
|
|
||
 |
 |
|
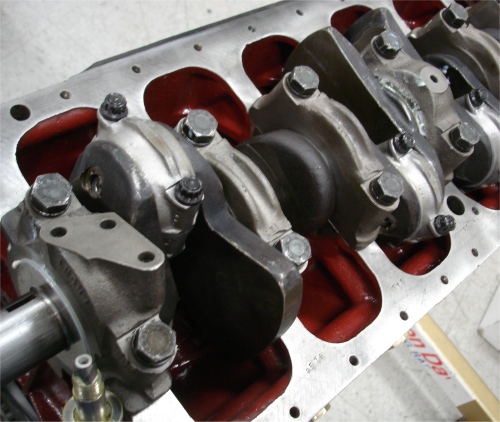
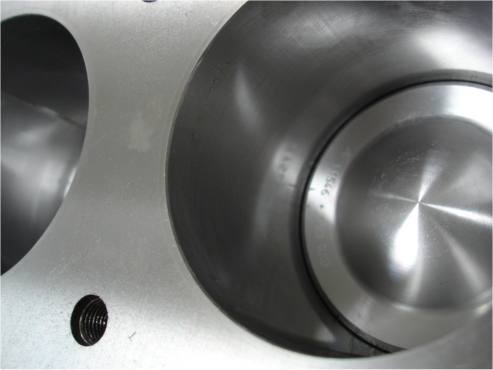
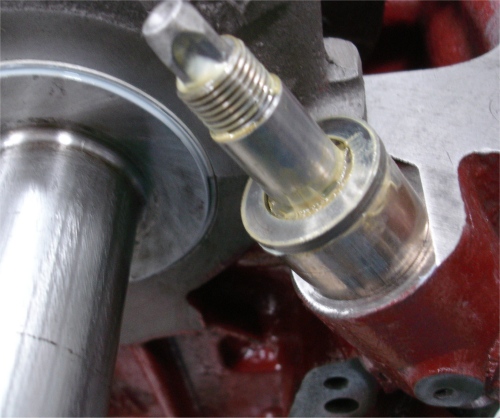
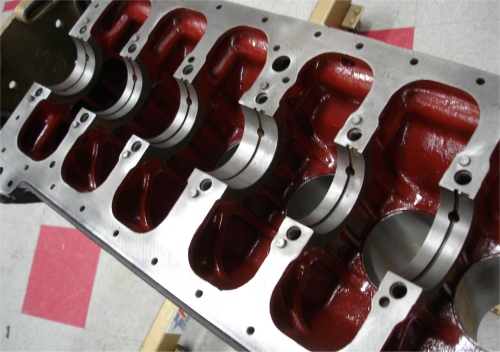
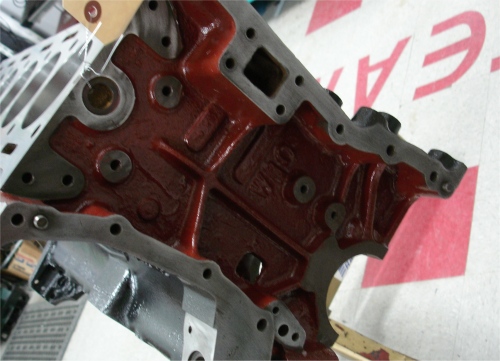
More engine progress....
 |
 |
 |
|
|
|
|
 |
 |
 |
|
|
|
|
 |
 |
 |
|
|
||
 |
 |
 |
|
|
|
|
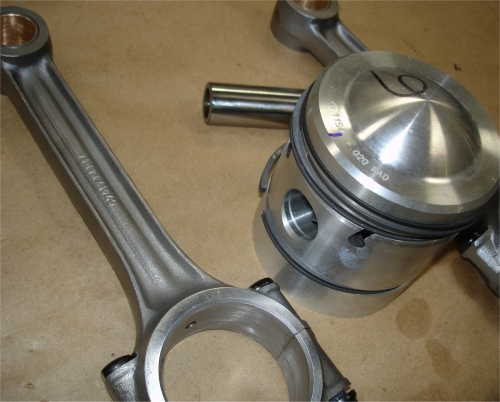
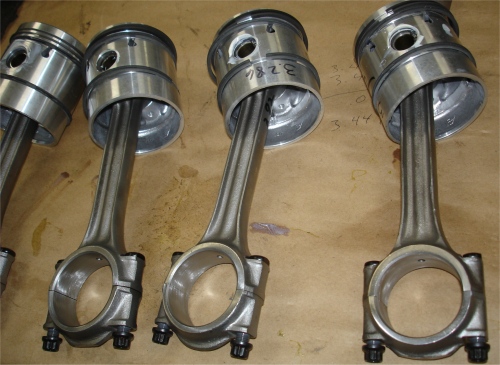
Over the next few days we will be building your engine...
 |
 |
 |
|
Glyptal |
|
|
 |
 |
 |
|
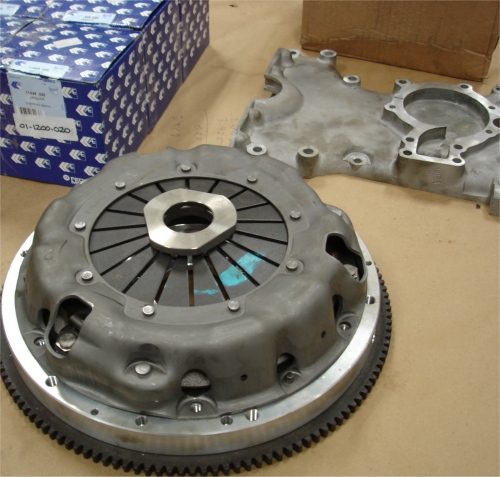
with CJ alloy flywheel |
|
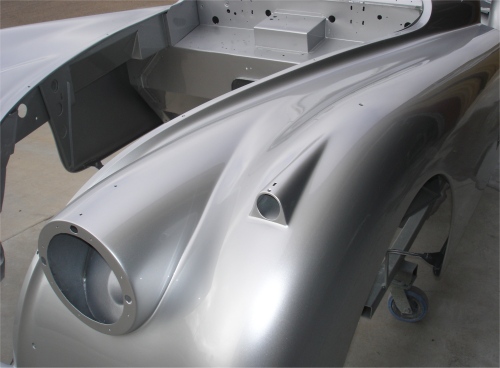
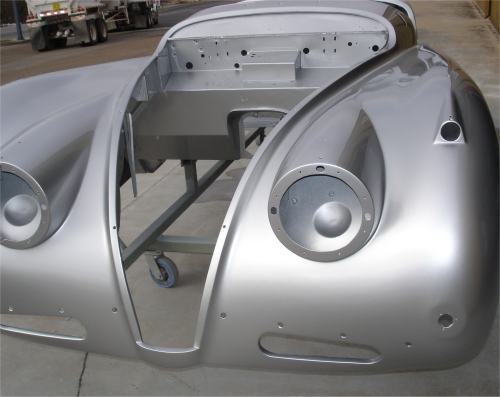
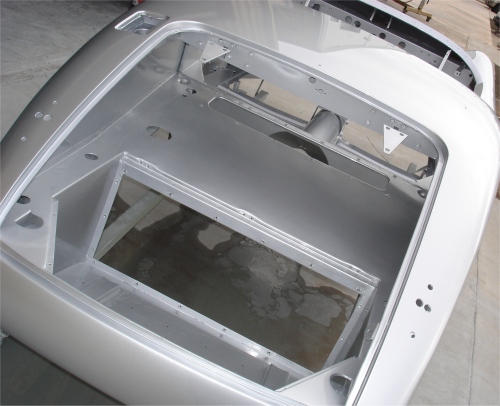
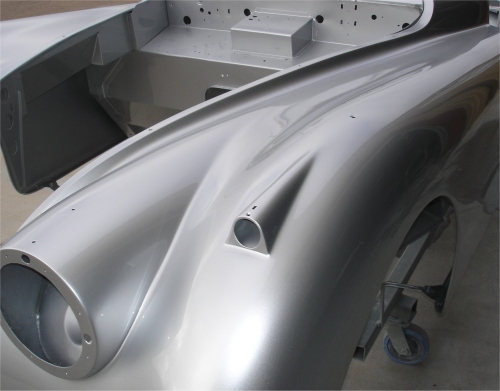
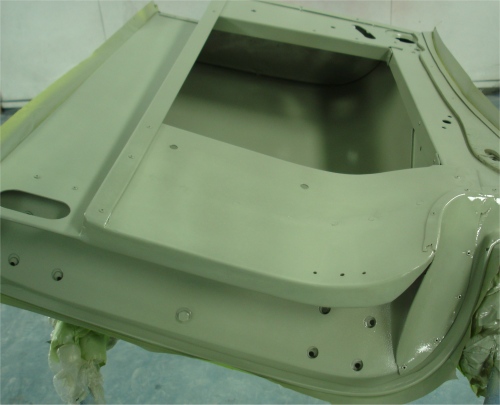
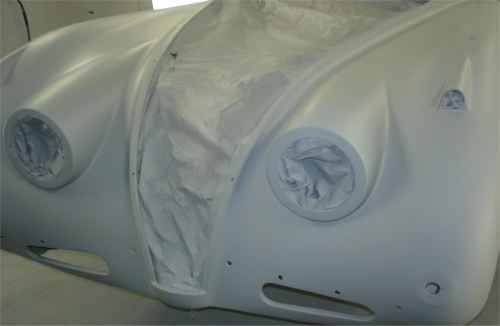
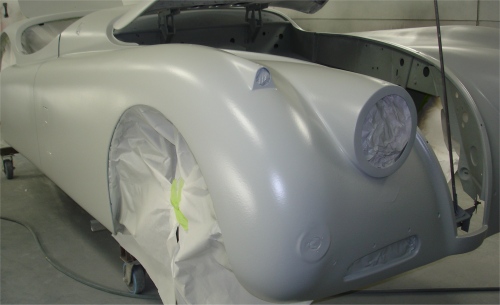
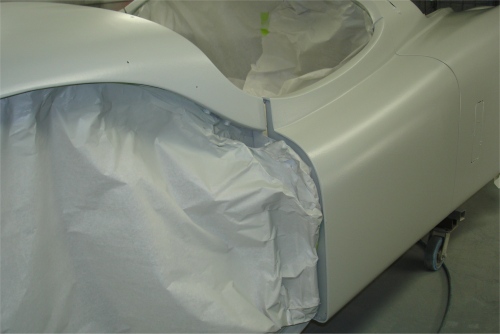
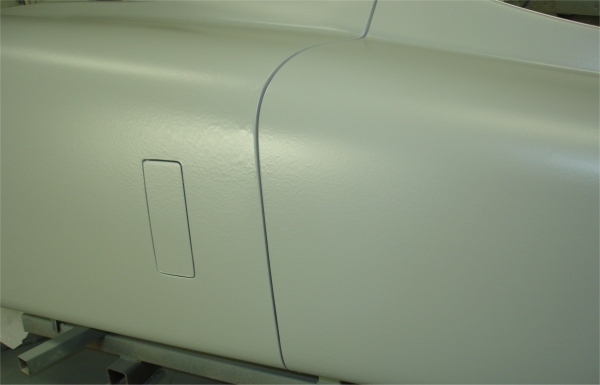
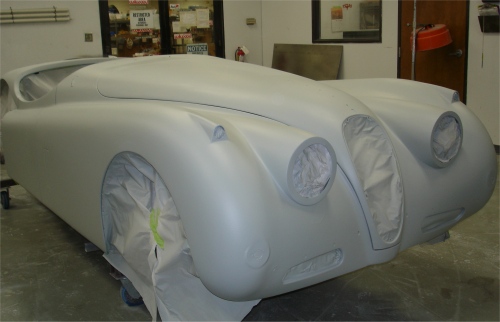
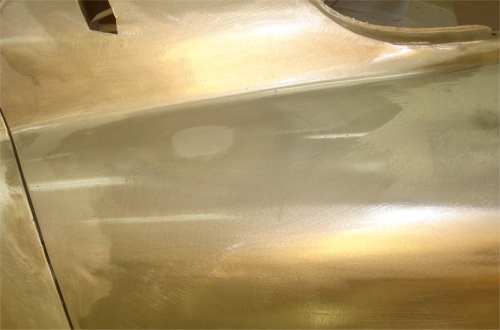
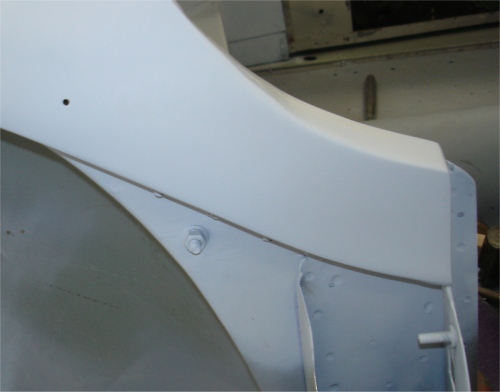
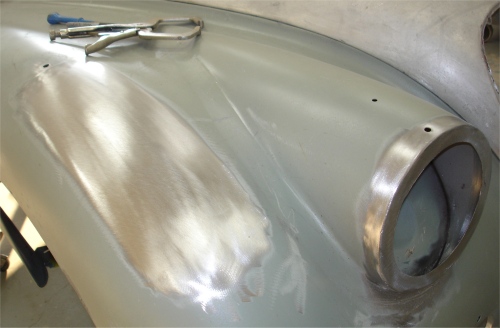
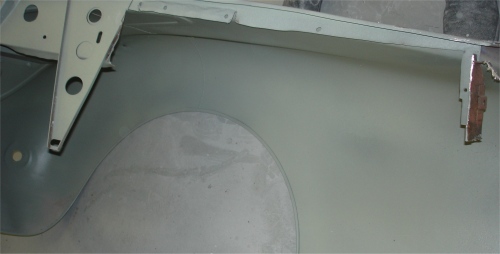
We have now completed the painting of the body and doors. This afternoon we will be painting the bonnet, boot lid and rear wings.
 |
 |
 |
 |
 |
 |
 |
 |
|
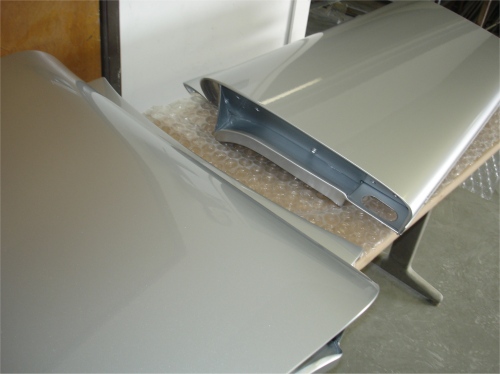
Painting progress.....
 |
 |
 |
|
|
|
|
 |
 |
|
Although tricky to photograph, the following sequence shows us rock guarding, sealing, then painting the underside of the bodyshell.
 |
 |
 |
 |
 |
 |
The following pictures show the etch priming of the underside of the boot lid, bonnet and doors, as well as the painting of the inside of the rear wings. We are gearing up to do the main silver shoot in the next few days. Watch this space!
 |
 |
 |
 |
 |
|
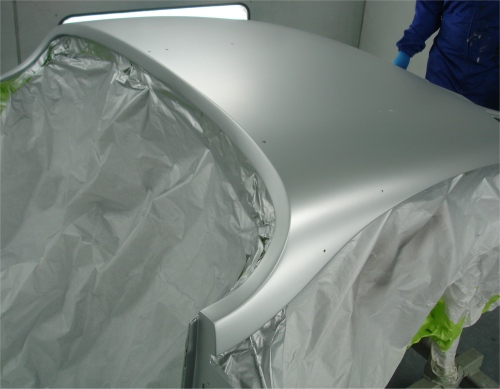
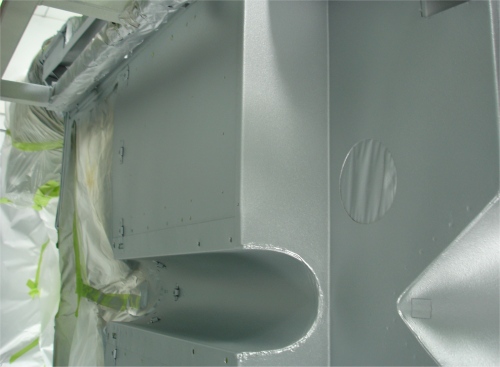
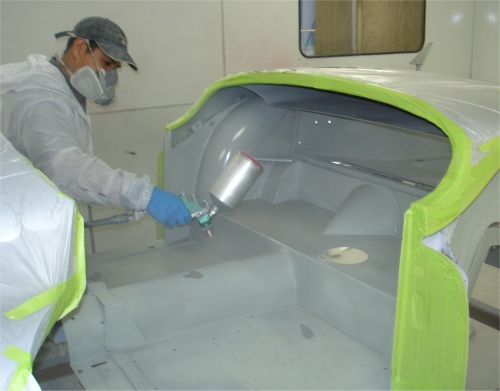
The first of the silver paint being applied...
 |
 |
 |
|
|
|
|
|
|
|
|
 |
 |
 |
|
|
|
|
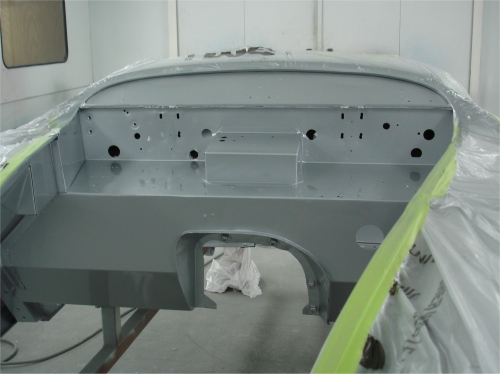 |
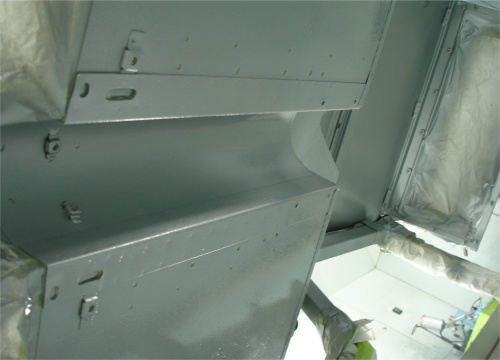
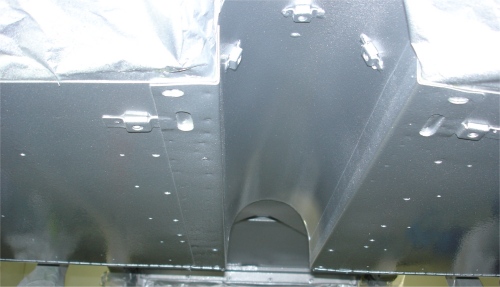
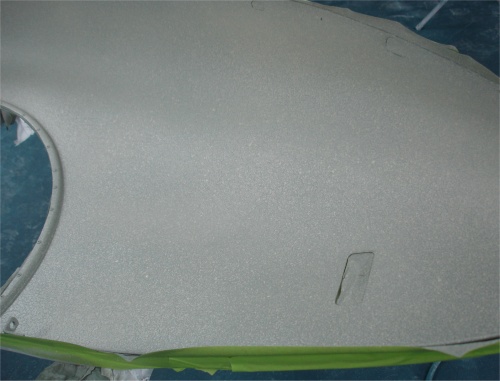
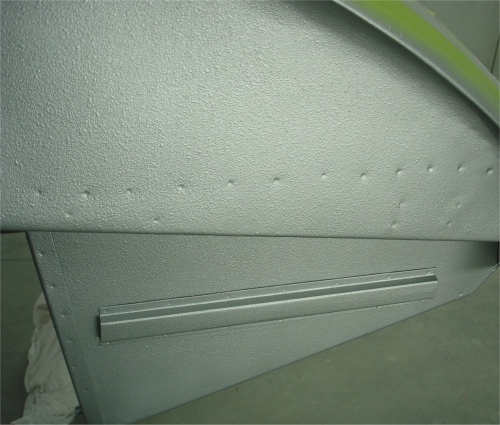
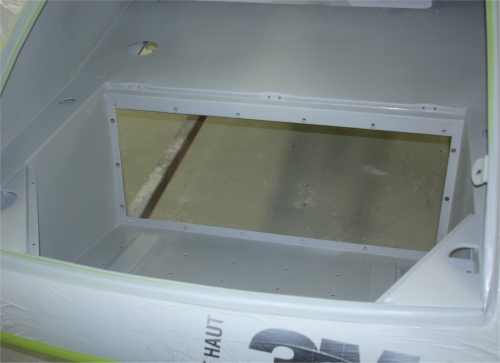
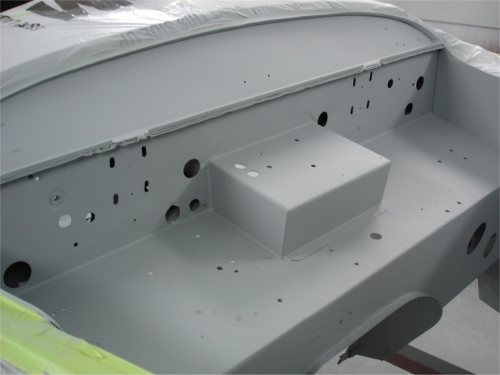
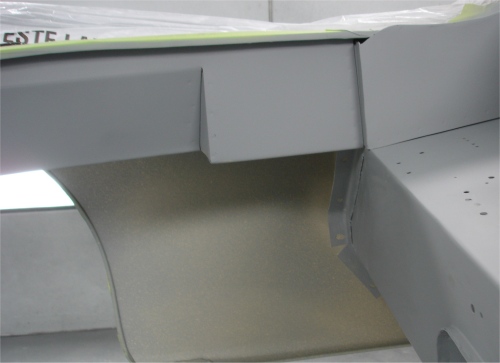
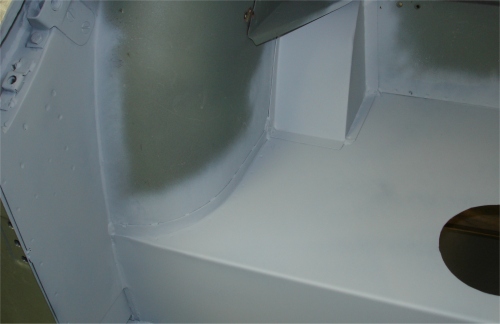
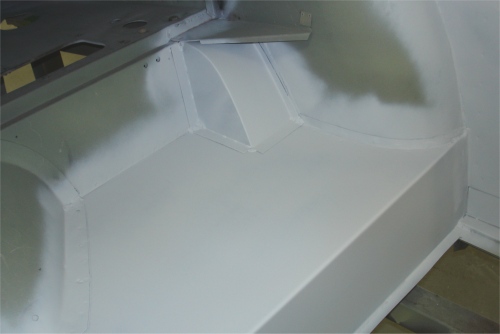
Time to paint the cabin, engine bay, boot compartment, inner wings and the underside of the floors. I have to dash to an appointment this afternoon but will put some photos of the silver up for you first thing in the morning!
 |
 |
 |
|
|
|
with epoxy primer |
 |
 |
|
|
|
before base coat |
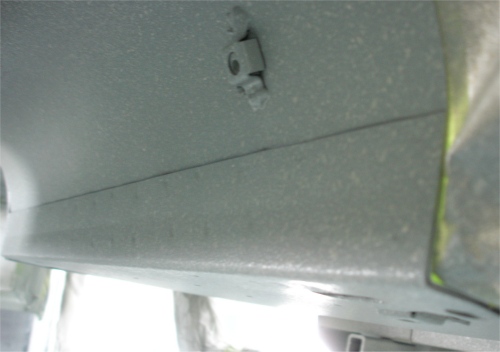
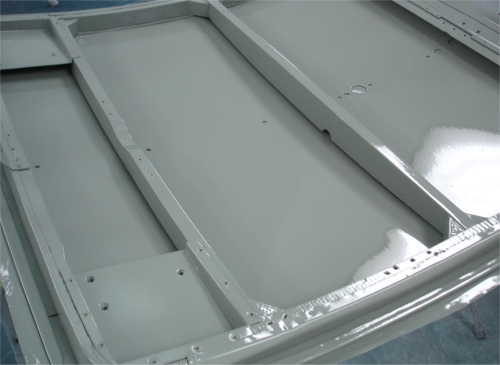
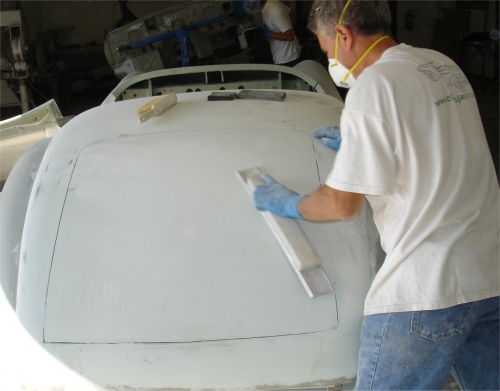
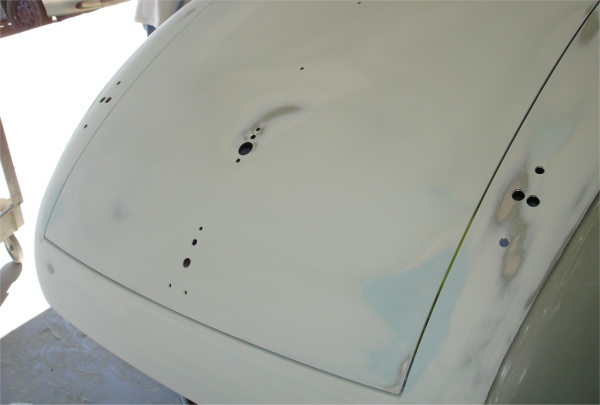
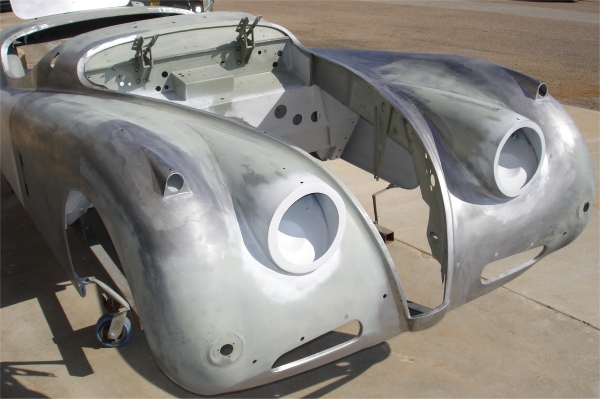
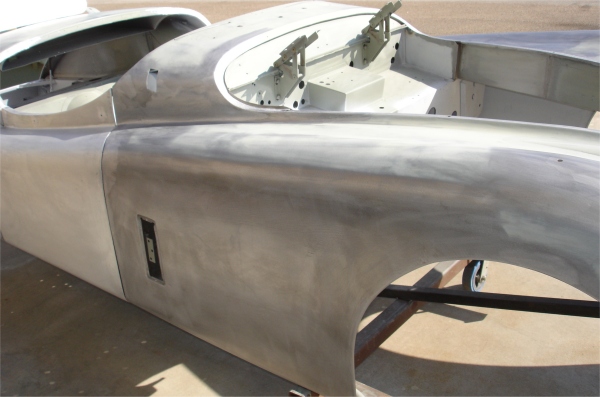
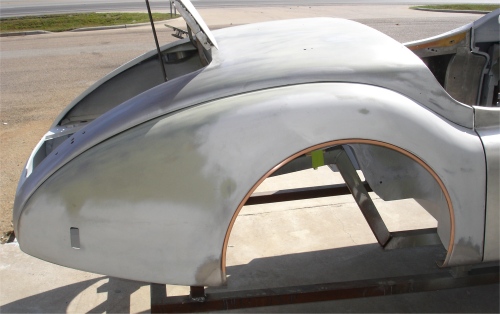
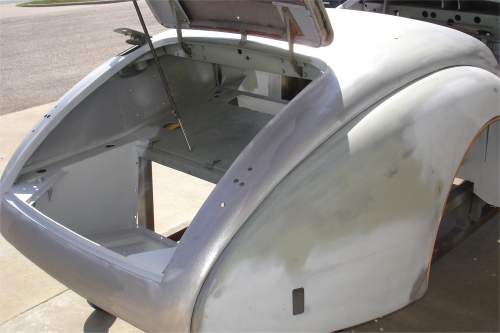
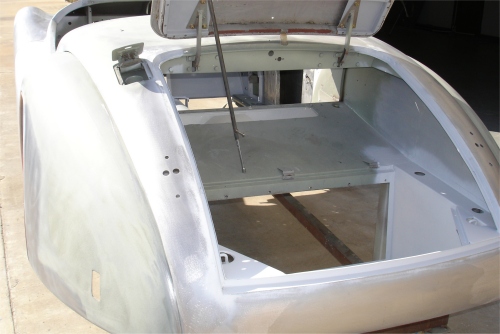
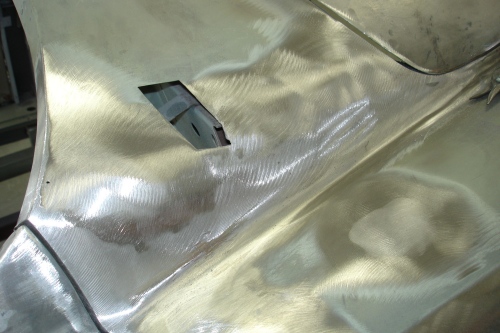
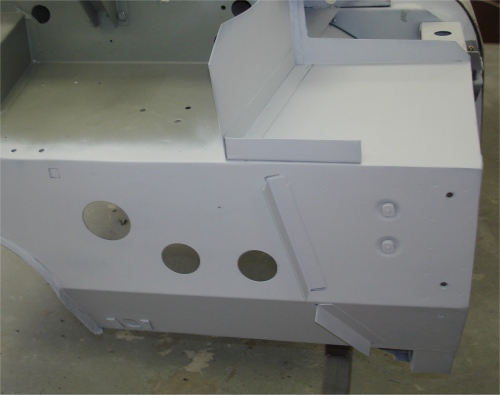
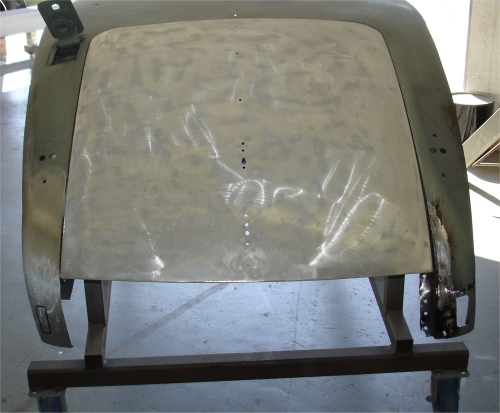
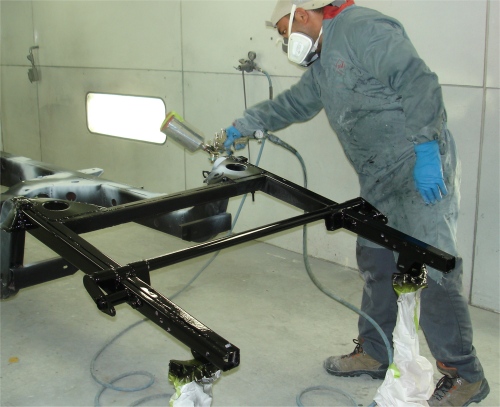
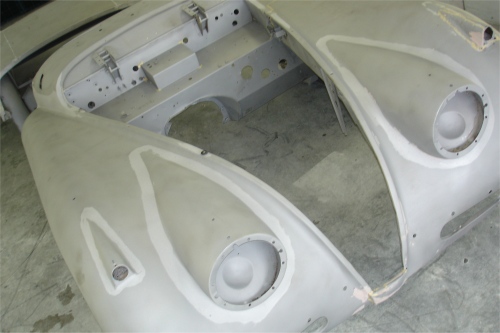
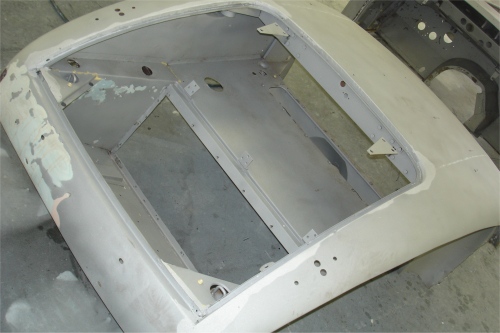
The Slick Sand has been blocked and your car has now been primed. Next it will be sanded with 400 dry, 600 wet, then it will be time for some silver!
 |
 |
 |
 |
 |
|
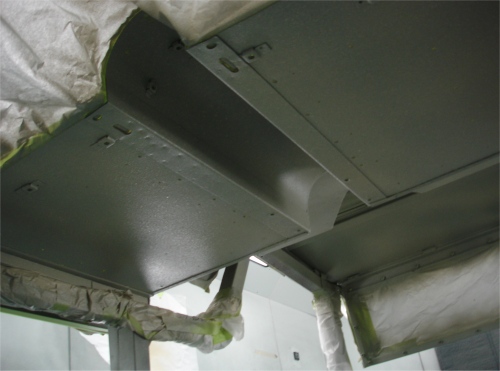
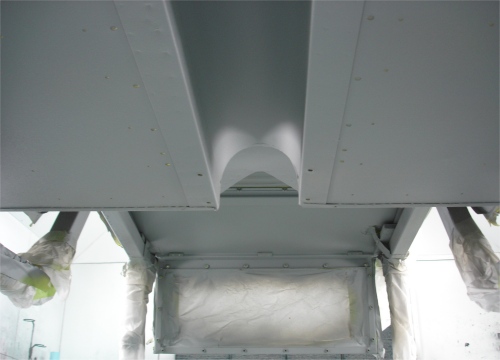
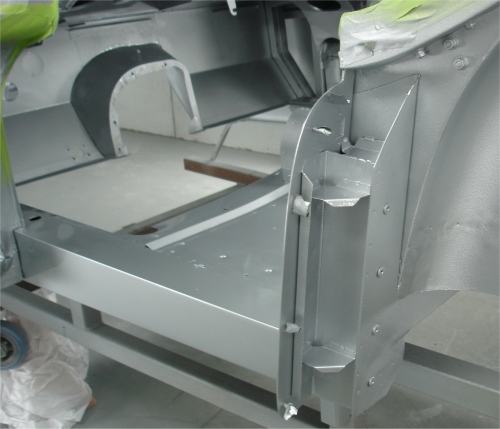
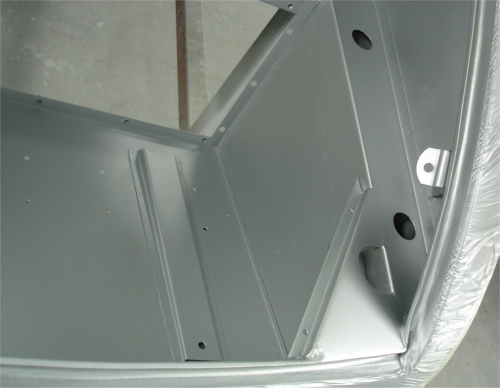
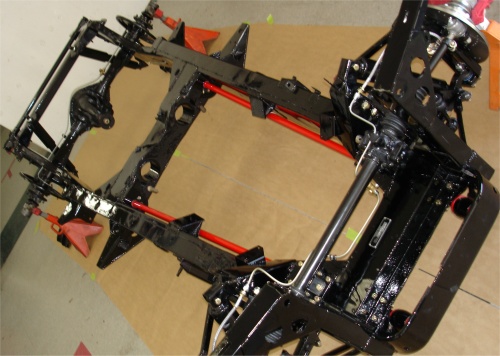
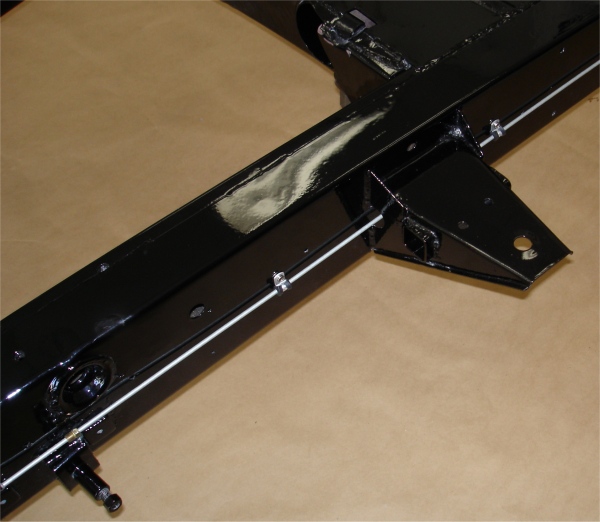
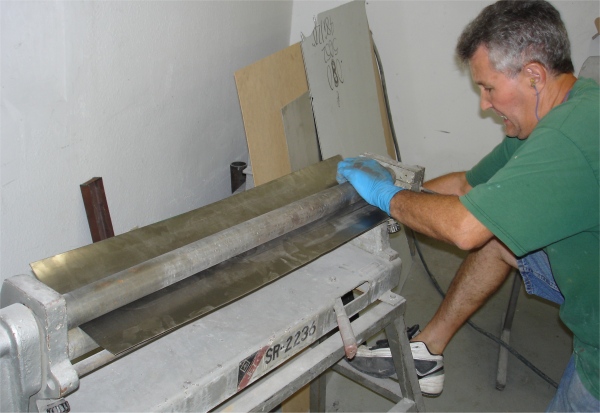
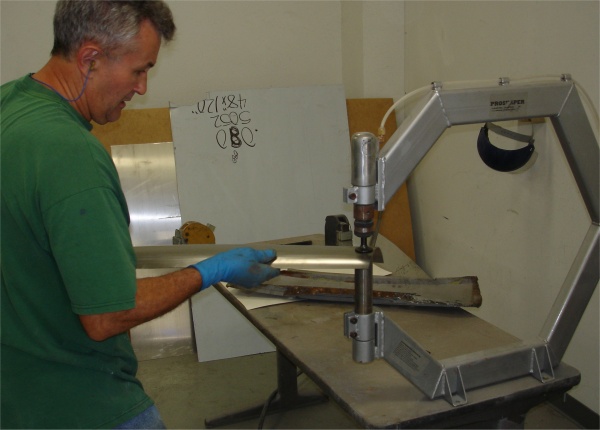
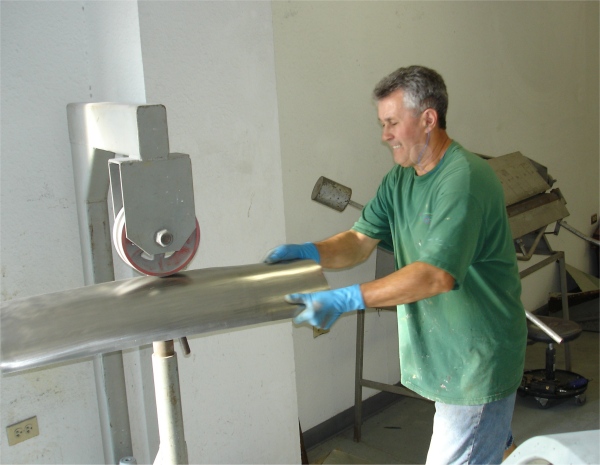
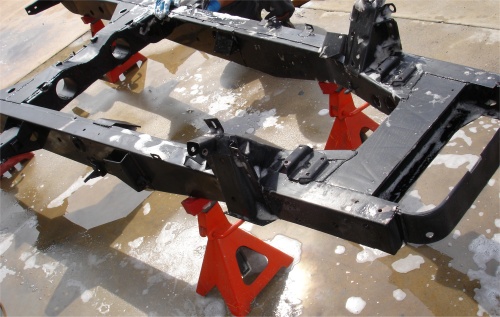
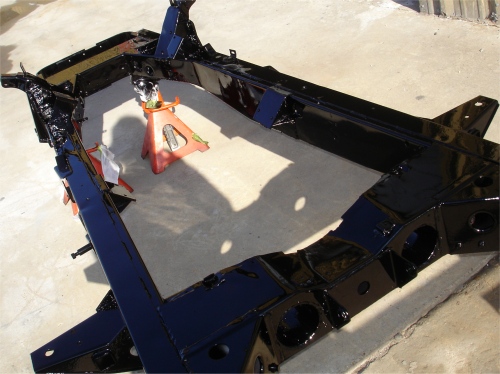
Building up the chassis....
 |
 |
 |
|
fabricating new lines... |
|
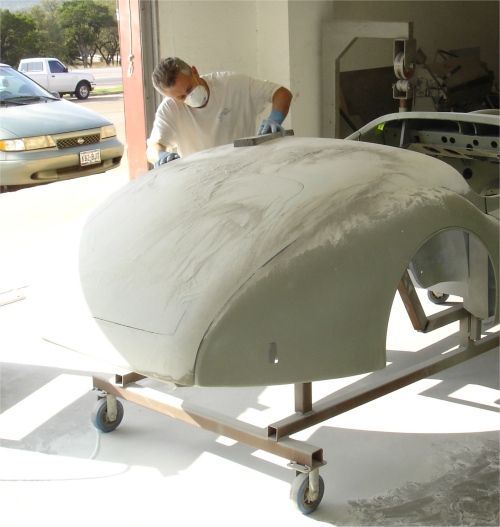
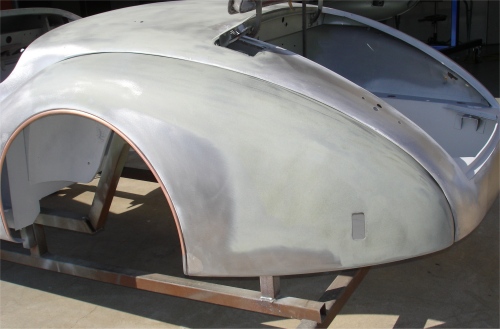
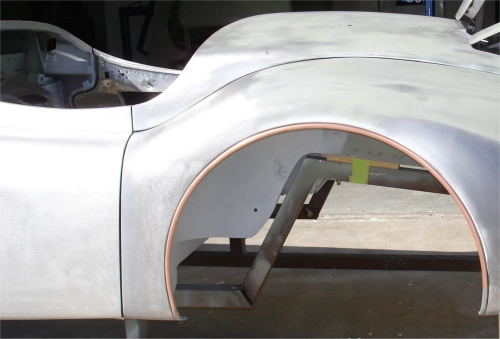
The filler stage has now been completed and the Slick Sand was applied earlier this afternoon. LT has now completed his work with your car - which has now entered the prep and painting stage.
 |
 |
 |
 |
 |
 |
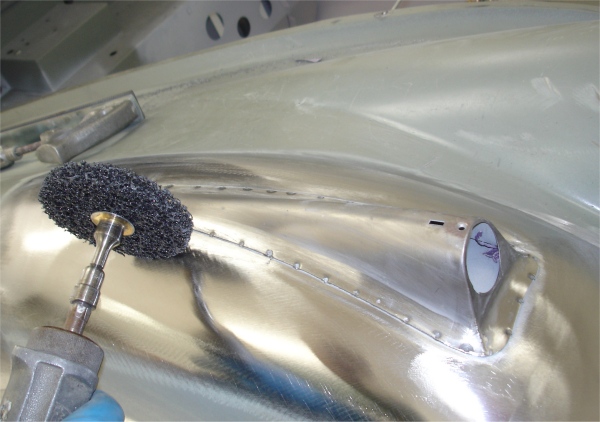
The following photographs show Lawrence creating lots of dust - and the best XK boot lid fit you will ever see...
 |
 |
 |
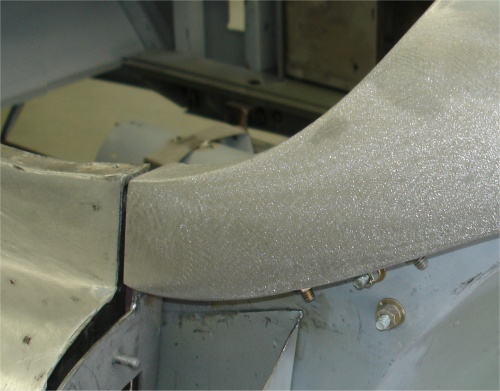
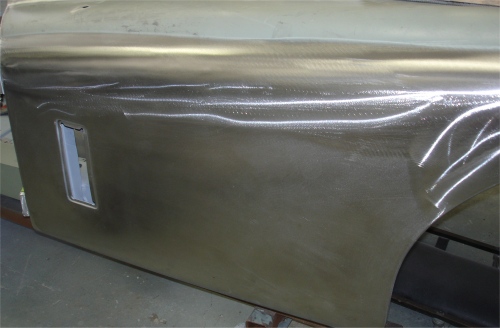
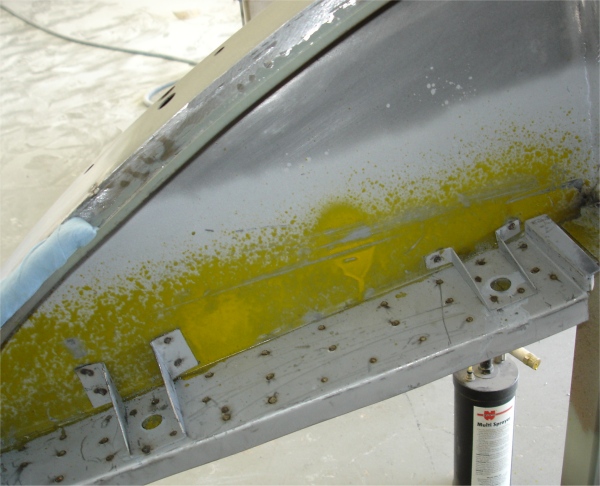
I am pleased to report that all the sheet metal and leadwork has now been completed and we are about to get started with the filler and block work. The car will be sealed with etching primer later this afternoon.
 |
 |
 |
 |
 |
 |
 |
 |
 |
 |
 |
 |
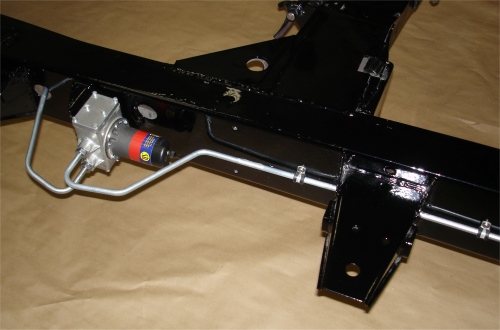
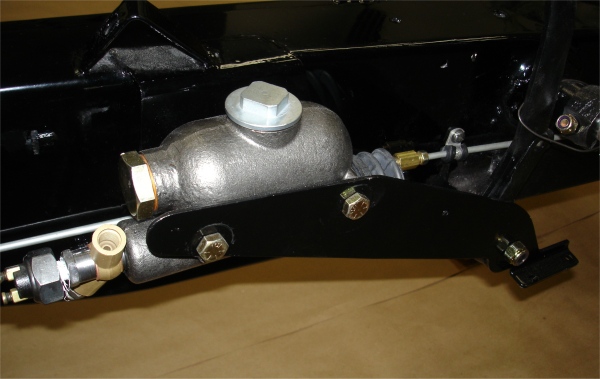
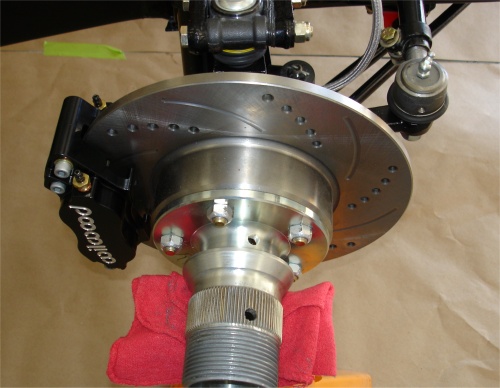
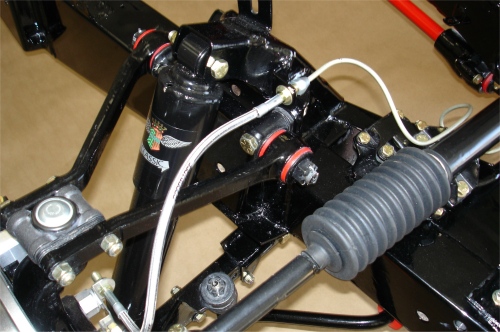
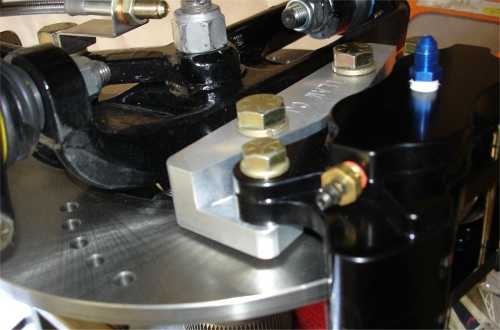
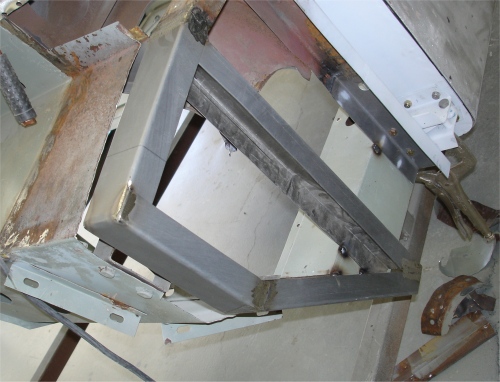
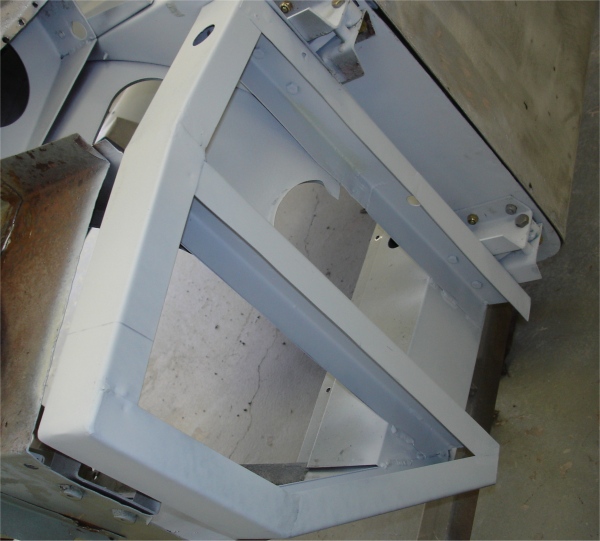
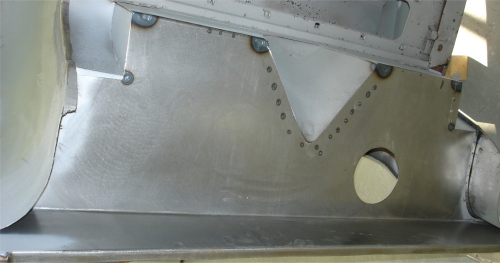
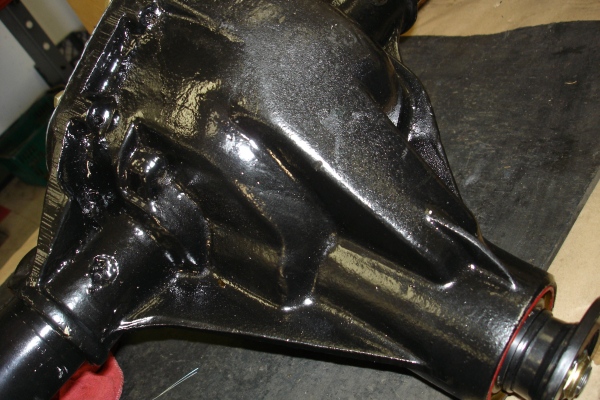
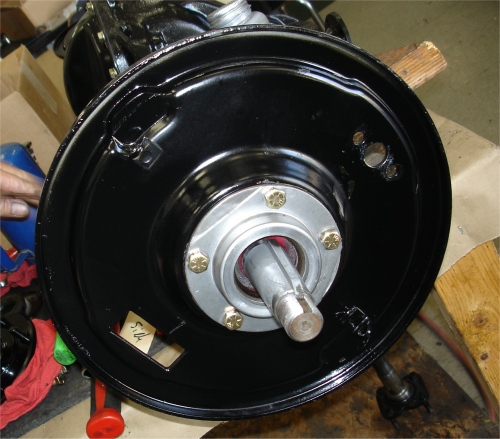
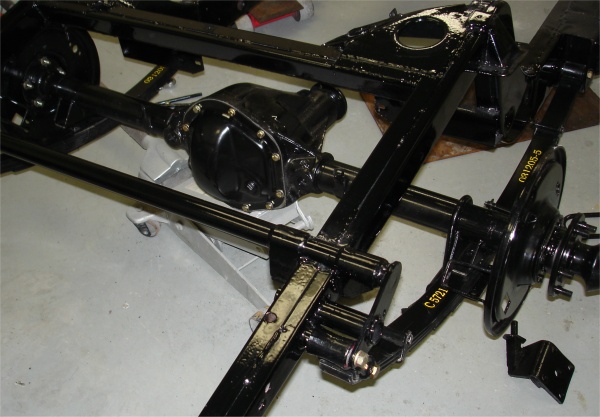
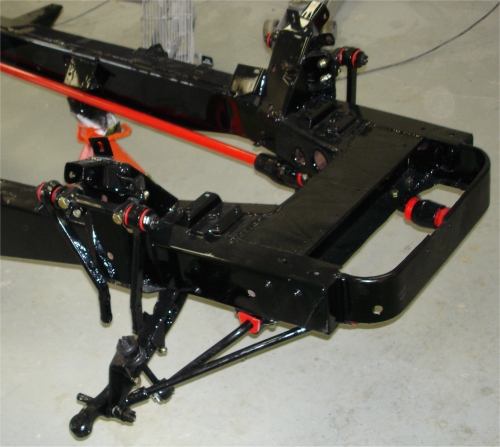
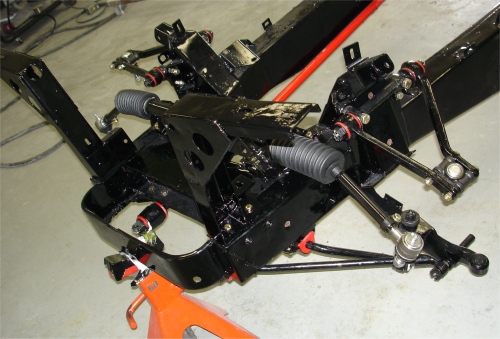
We have been busy fabricating and running all your hydraulic lines and installing the Wilwood front brakes, Koni shocks, etc.
 |
 |
 |
|
us to use Wilwood brakes |
|
|
 |
 |
 |
|
brake drums |
|
|
 |
 |
|
|
down side of chassis |
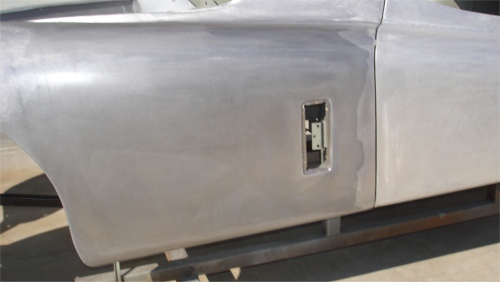
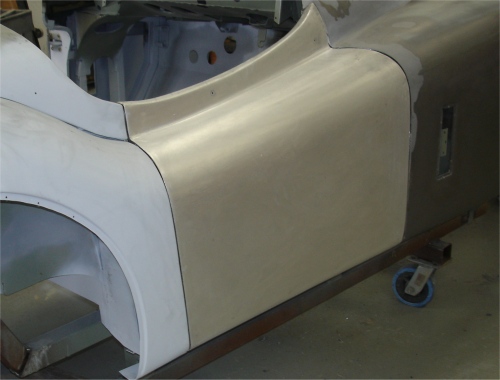
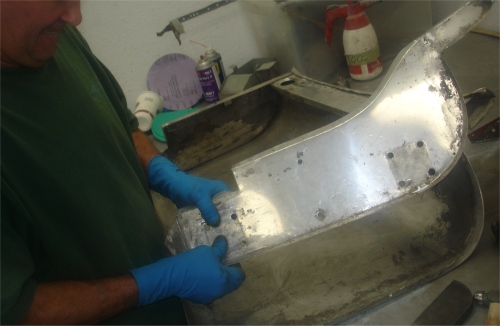
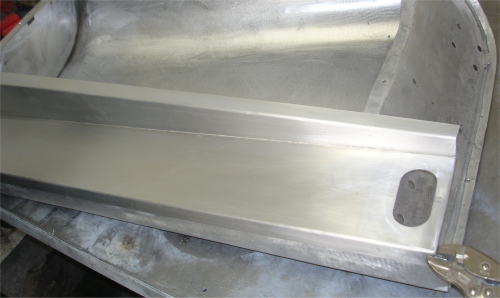
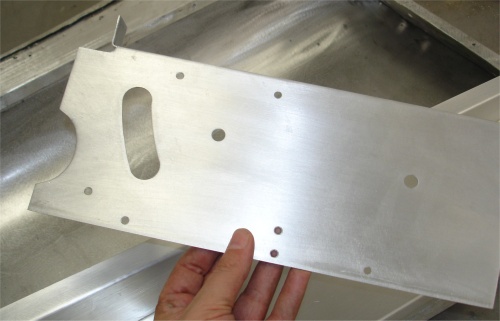
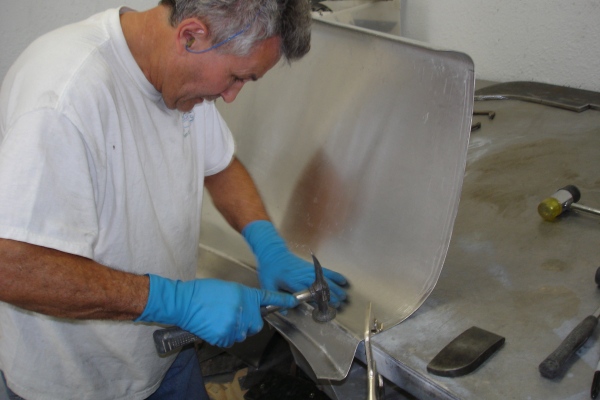
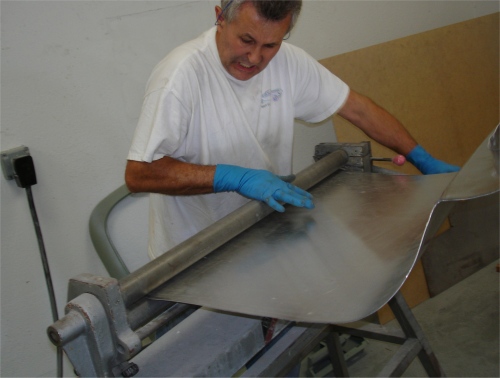
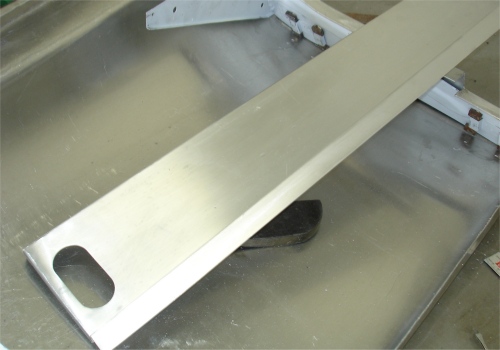
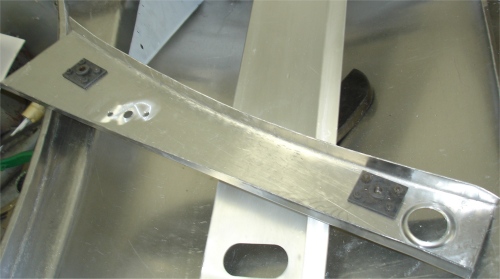
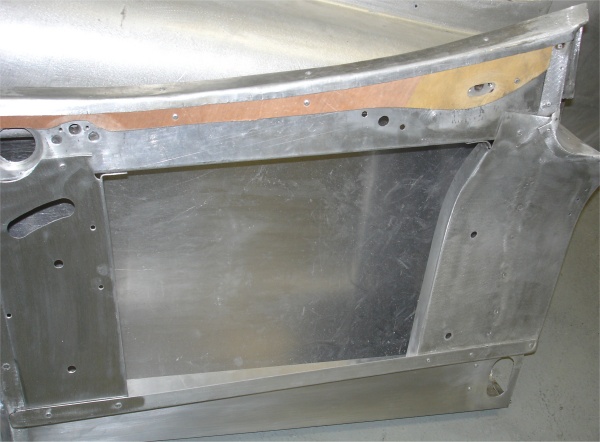
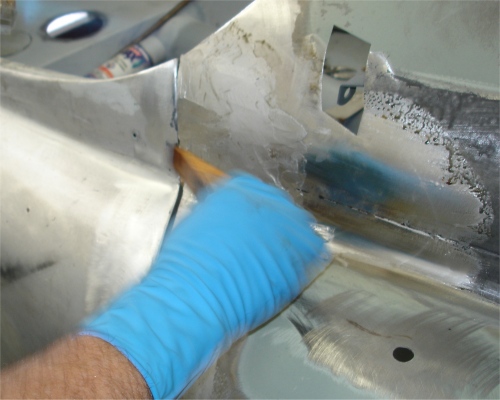
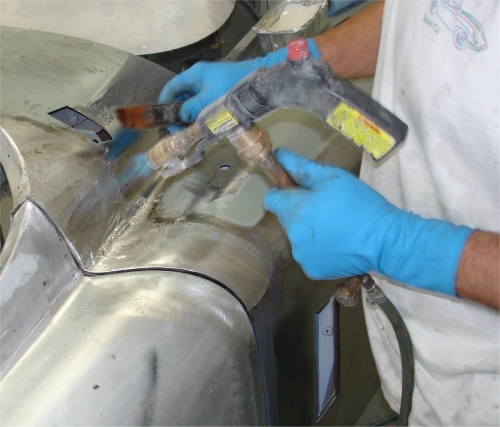
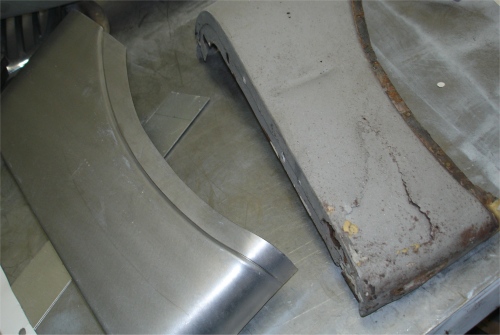
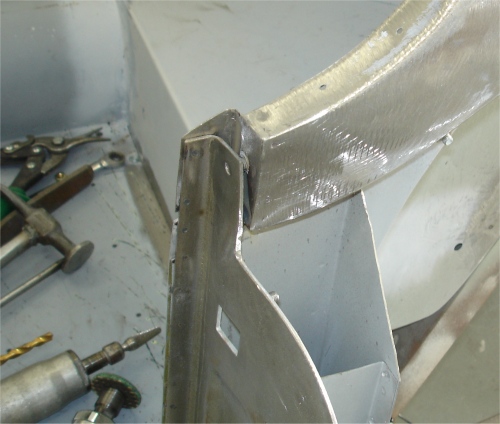
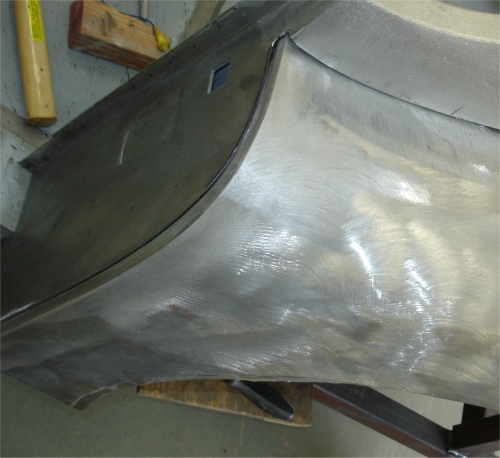
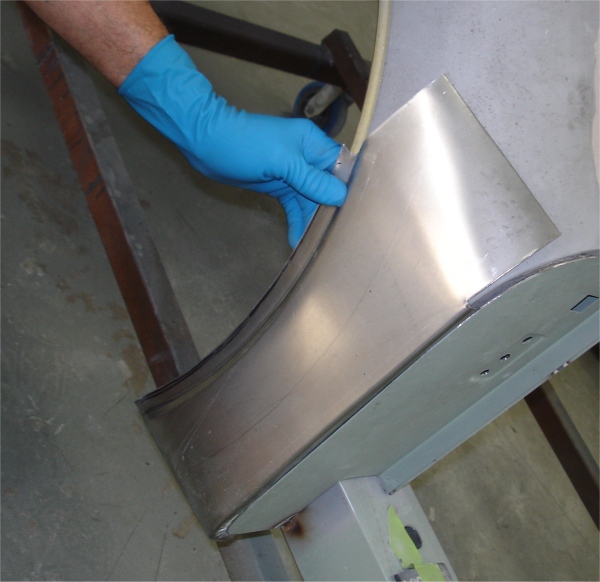
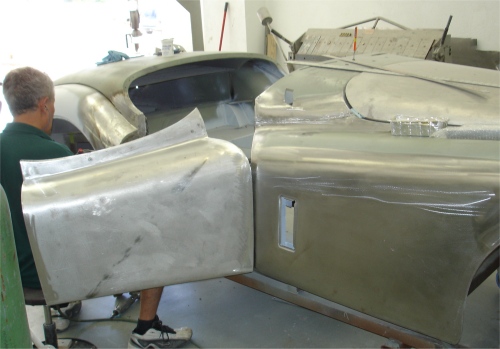
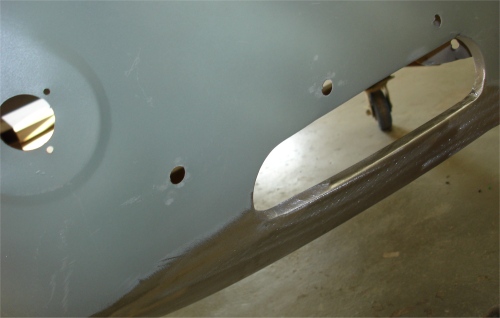
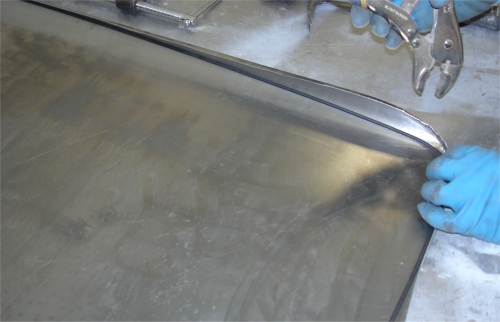
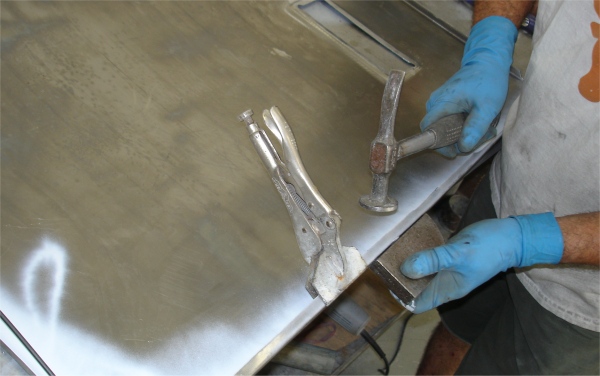
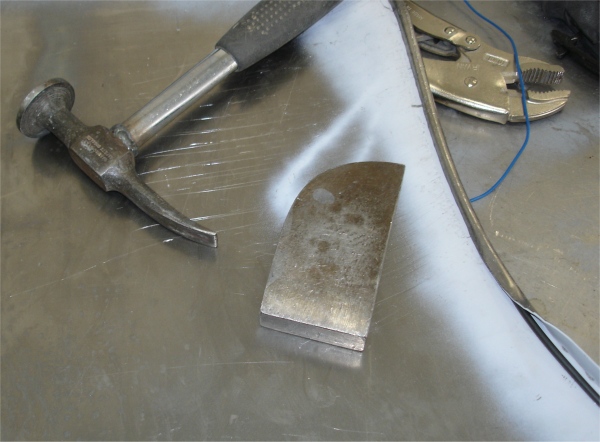
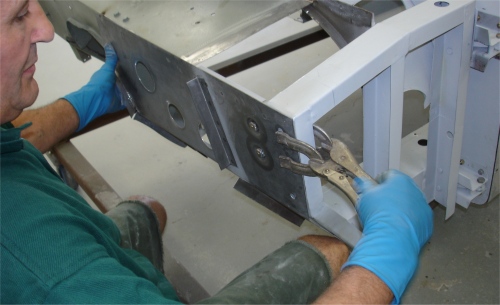
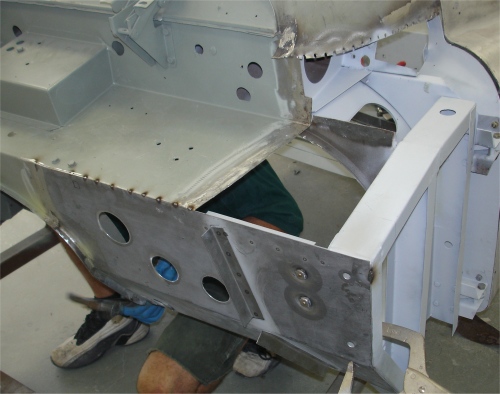
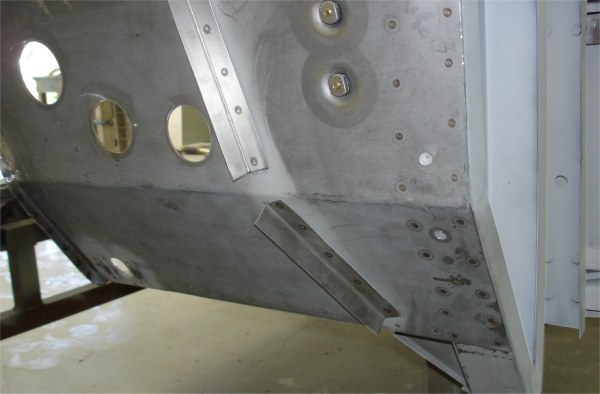
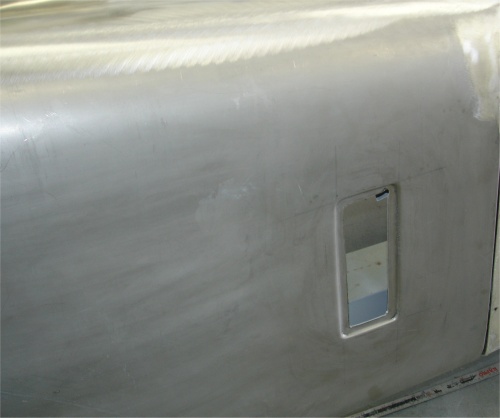
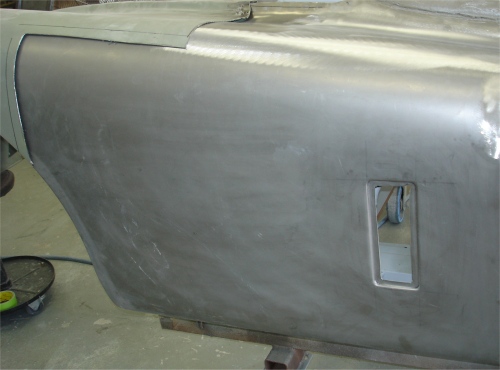
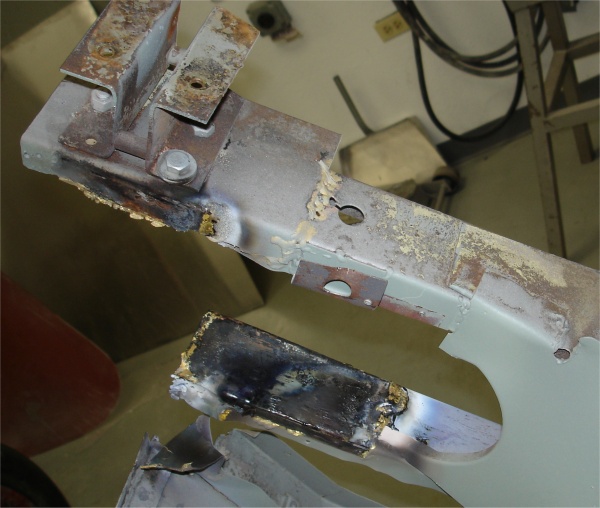
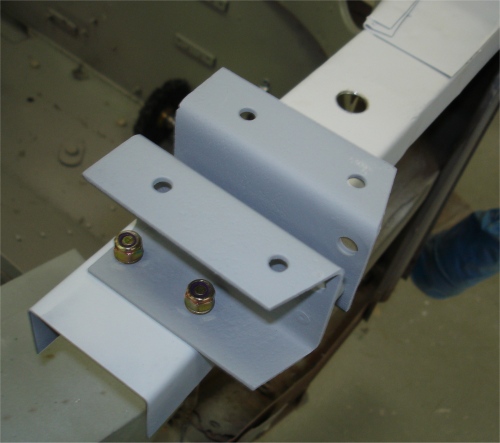
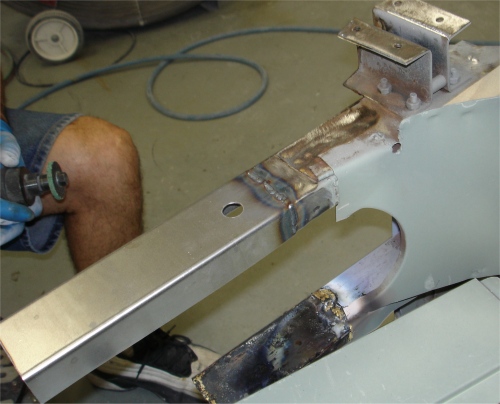
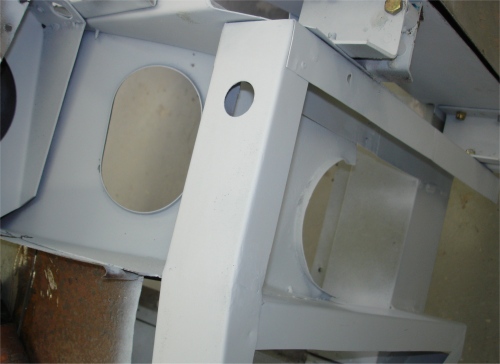
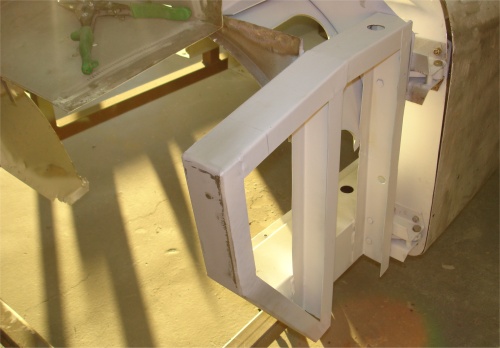
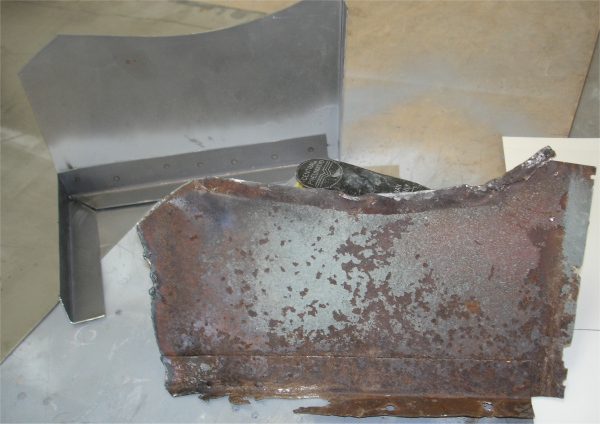
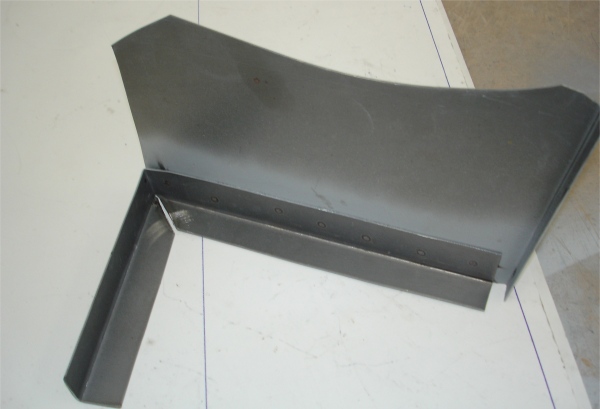
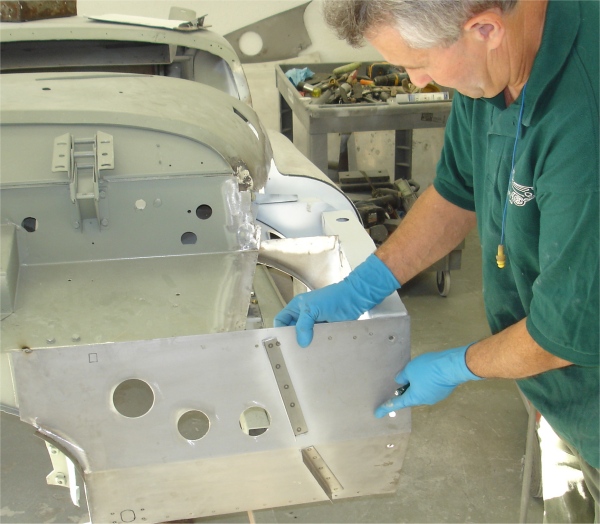
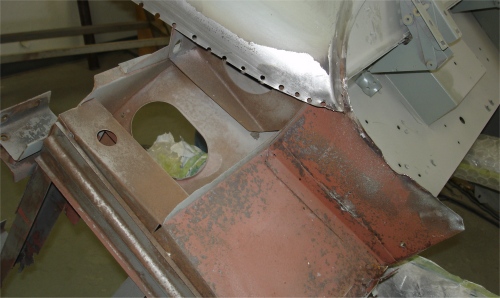
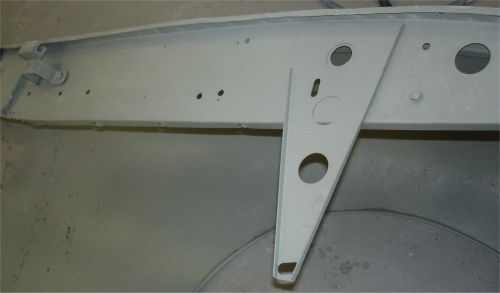
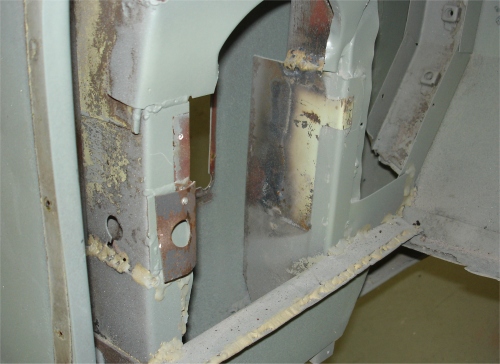
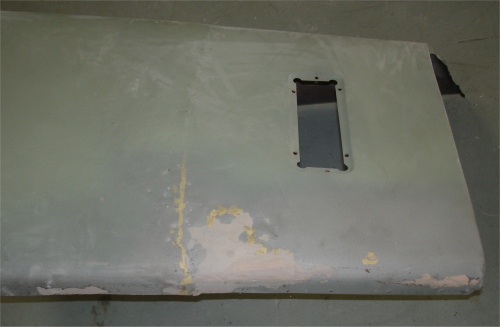
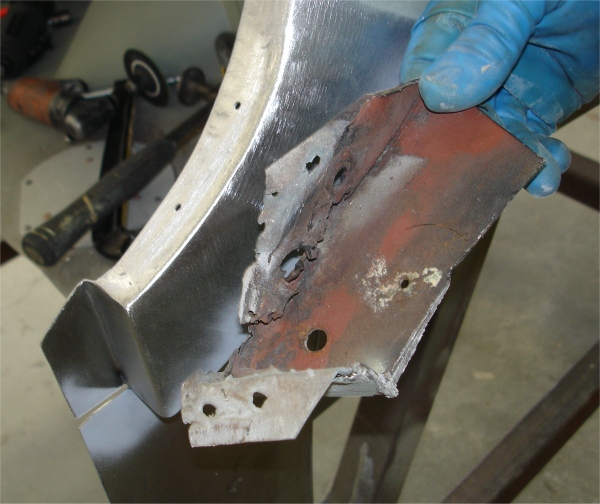
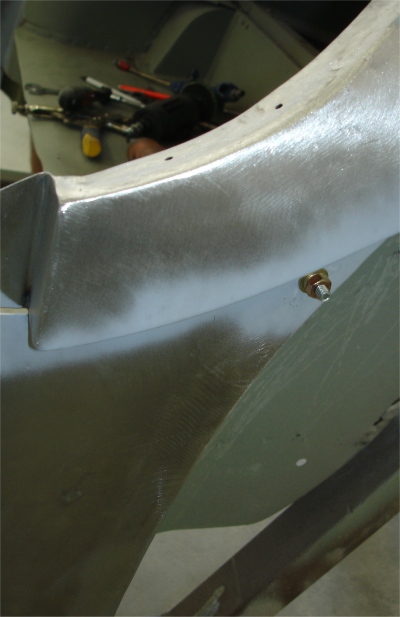
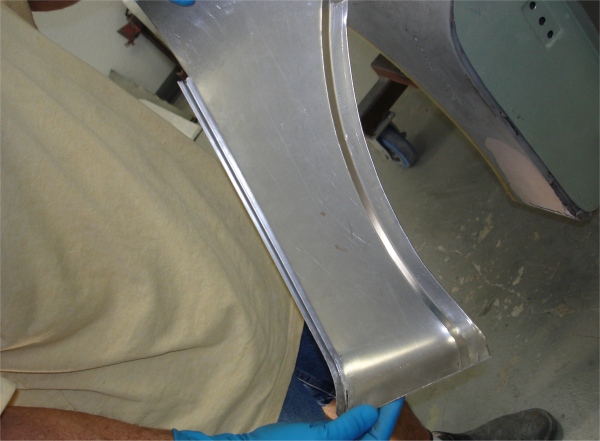
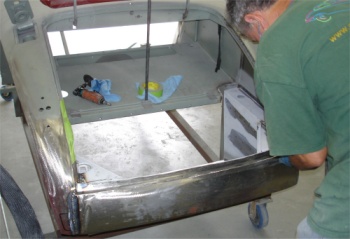
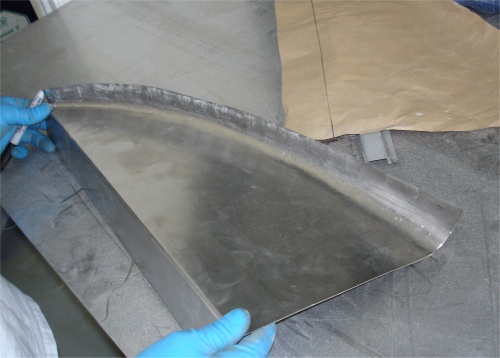
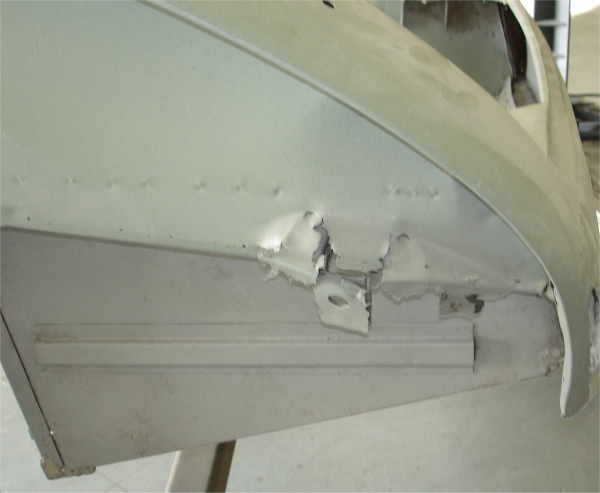
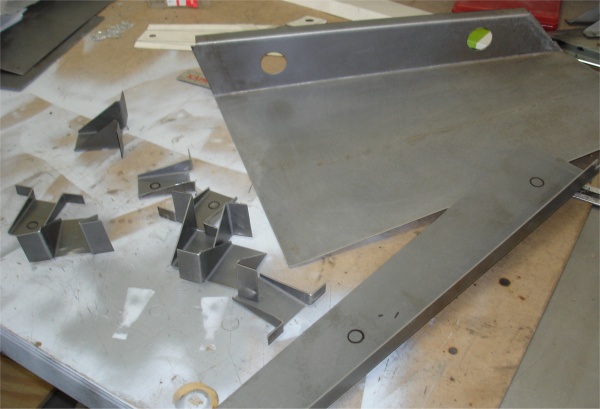
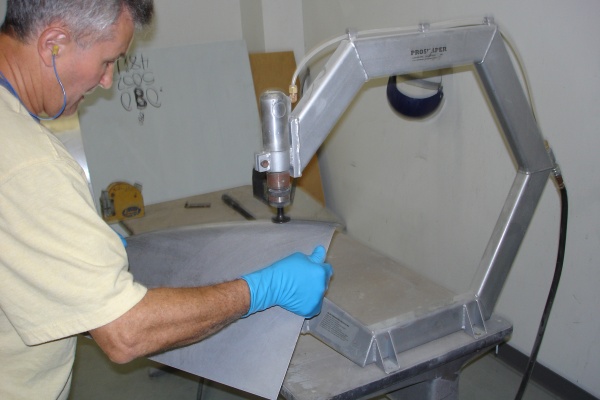
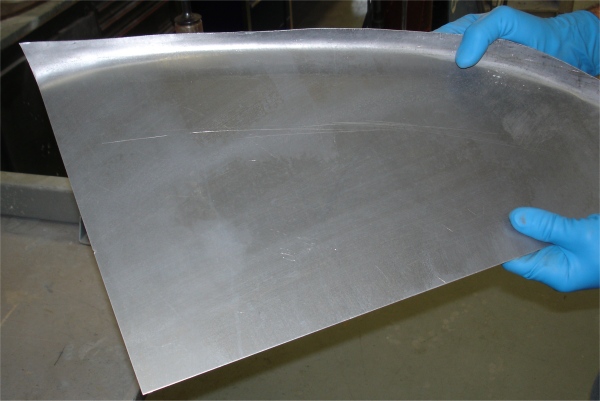
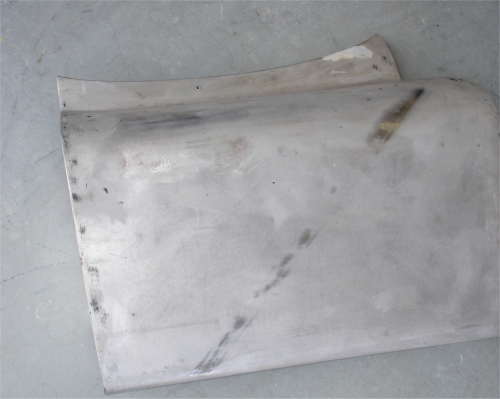
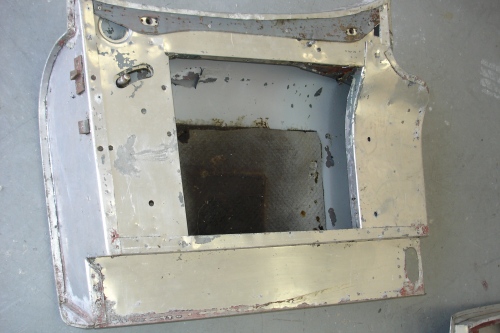
The passenger door was solid and only required fairly basic repairs, although the driver's door ended up being much worse than we had originally thought and LT ended up making a complete new door....
 |
 |
 |
|
|
|
inner panels are |
 |
 |
 |
|
|
|
the new door skin |
 |
 |
 |
|
at the door top |
|
|
 |
 |
 |
|
|
|
|
 |
 |
 |
|
|
||
 |
 |
|
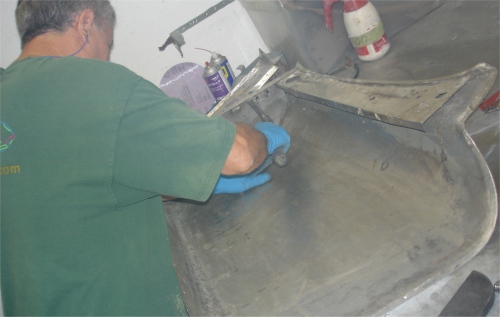
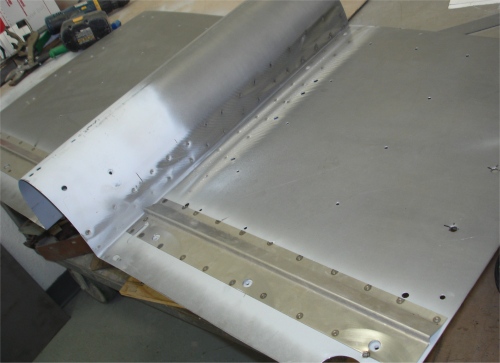
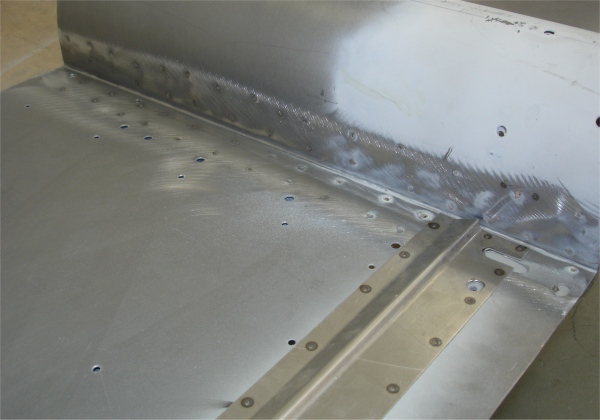
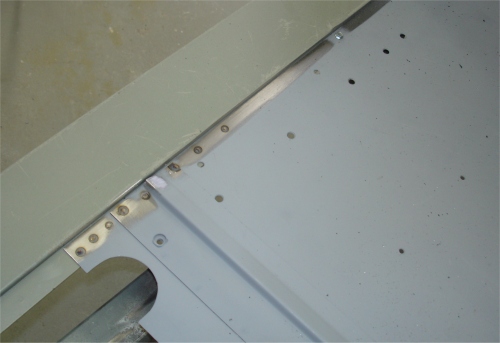
We now have the lead loading well underway....
 |
 |
 |
|
|
|
|
|
|
|
|
 |
 |
 |
|
|
|
|
|
|
|
|
 |
||
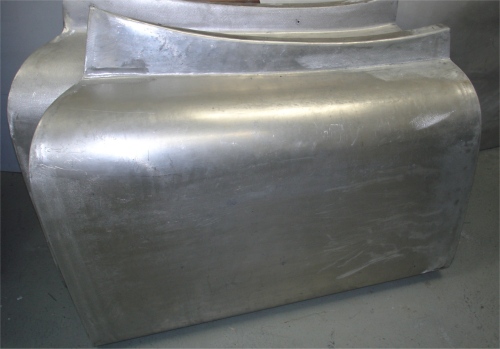
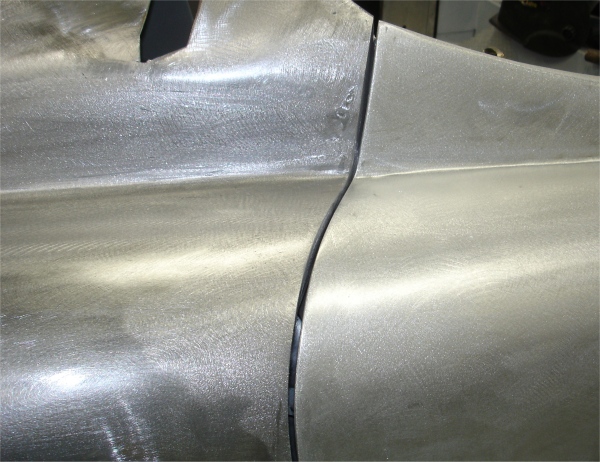
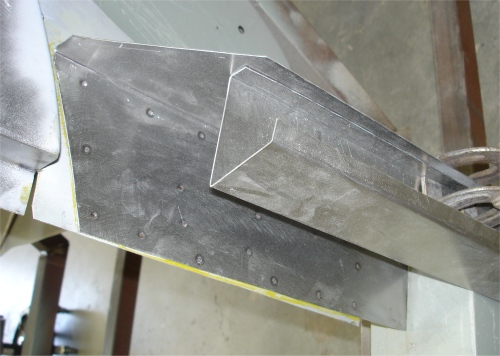
Moving to the other side of the car for the last significant sheet metal replacement before attacking the lead loading.
 |
 |
 |
|
front edge of LH rear wing |
|
|
|
|
|
|
 |
 |
 |
|
|
|
|
 |
||
|
|
Front RH wing repairs completed and welded into place, RH B pillar fabricated and installed, lead loading begun...
 |
 |
 |
|
|
structure first |
|
 |
 |
 |
|
|
|
|
 |
 |
 |
|
|
|
|
 |
 |
 |
|
|
|
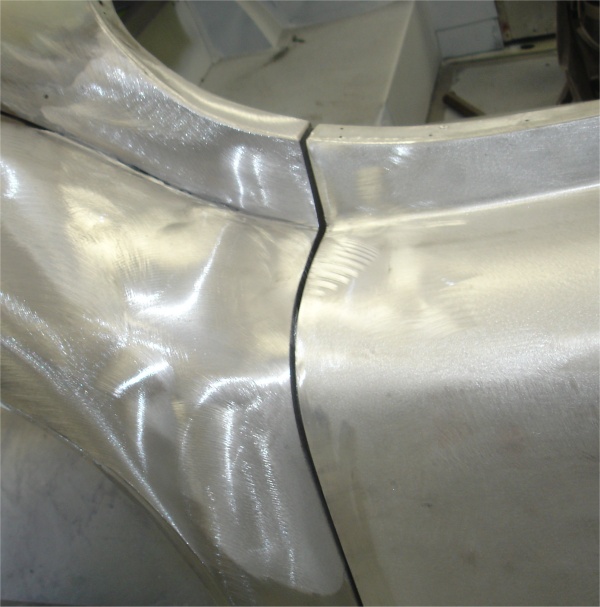
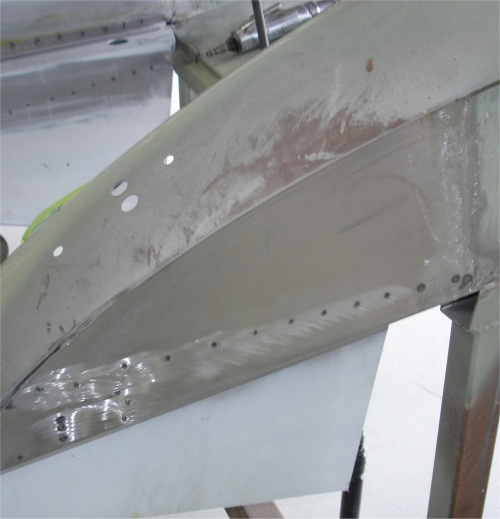
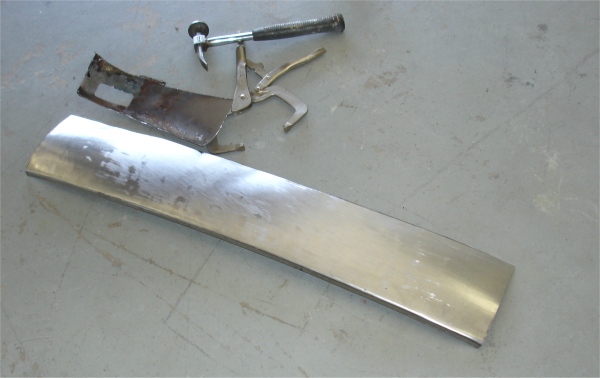
The following photos show rust repairs on the top of both front wings and the fabrication and beading of a new RH wing, etc.
 |
 |
 |
 |
 |
|
|
and welded in place |
|
 |
 |
 |
|
|
|
|
 |
 |
 |
|
|
RH footwell |
|
 |
 |
 |
|
of the newly fabricated RH wing |
||
 |
 |
 |
|
helps it keep its shape |
||
 |
 |
|
|
|
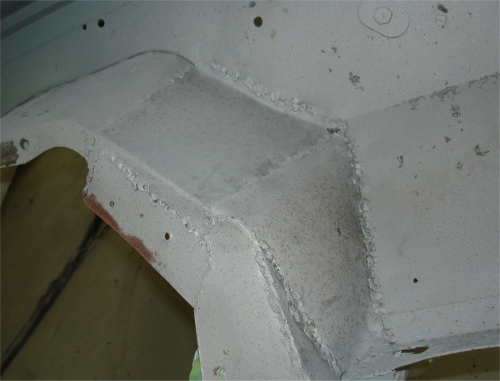
Lots of great progress this week. Basically, a completely rebuilt firewall and inner A post structure.
 |
 |
 |
|
|
|
everywhere |
 |
 |
 |
|
|
to the other side of the car |
|
 |
 |
 |
|
|
|
|
 |
 |
 |
 |
 |
 |
|
front wing repair panel |
|
Reconstructing your firewall and inner A post structures....
 |
 |
 |
|
A post structures |
|
already |
 |
 |
 |
|
badly repaired |
||
 |
 |
 |
|
it.... |
as it should |
|
 |
 |
 |
|
take shape |
||
 |
 |
 |
|
be cut away.... |
|
removed... |
 |
 |
 |
|
as well |
upper LH firewall |
|
 |
 |
 |
|
|
|
|
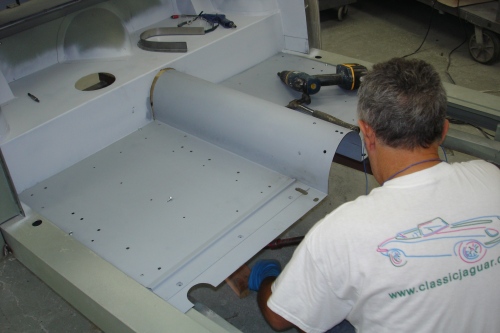
Happy Birthday for yesterday, Andrew! The following pictures show the fabrication and installation of the main floors.
 |
 |
 |
|
into place |
||
 |
 |
 |
|
|
floor to the sills |
The rear bulkhead and upper floor has now been reconstructed and LT has turned his attention to the main cabin floor, the front wings, the main (forward) bulkhead and inner A post structures.
 |
 |
 |
|
|
|
|
|
|
|
|
 |
 |
 |
|
|
the rear floor |
|
|
|
|
|
 |
 |
 |
|
forward bulkhead |
|
Frankenstein repairs |
|
|
|
|
 |
 |
 |
|
|
probably to accommodate triple carbs |
|
|
|
|
|
 |
 |
 |
|
repairs |
the other.... |
to some crude repairs |
|
|
|
|
|
|
 |
 |
|
|
|
away and replaced |
|
|
|
|
 |
 |
 |
|
|
|
first.... |
 |
|
|
|
|
Lots more panels being fabricated and welded into place....
 |
 |
 |
|
wing was corroded |
||
 |
 |
 |
|
|
||
 |
 |
 |
|
B post |
|
rear wing repair |
|
|
 |
 |
|
|
floor and bulkhead |
bulkhead |
 |
 |
 |
|
|
Your weekend photo fix
 |
 |
 |
|
missing the bracket marked 'A' |
bracket |
|
 |
 |
 |
|
|
as new |
|
 |
 |
 |
|
be tackled |
|
Video
clip, by special request....![]()
More sheet metal replacement...
 |
 |
 |
|
|
for the RH side |
|
 |
 |
 |
|
|
|
and installed on new side wall |
 |
 |
|
|
|
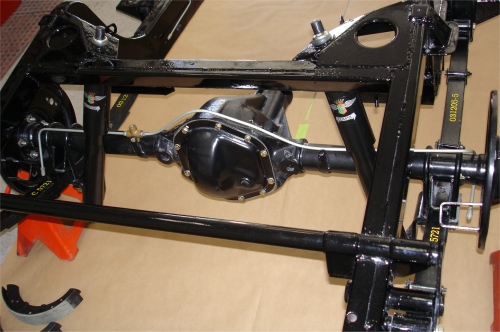
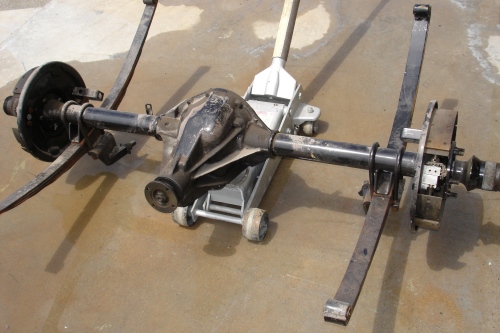
I am pleased to report that we now have the sheet metal replacement well underway, as well as pushing ahead and rebuilding some of the major mechanical components, such as the rear axle and suspension. I hope you enjoy watching as the rust is cut away and new panels are fabricated and welded into place!
 |
 |
 |
|
and will be replaced |
side walls are removed |
|
 |
 |
 |
|
boot compartment panels |
inner wing repair |
|
 |
 |
 |
|
|
|
|
 |
 |
 |
|
|
|
|
 |
 |
 |
|
|
springs now installed |
|
 |
 |
 |
|
plate panel |
|
|
 |
 |
 |
|
supports welded in place |
||
 |
 |
|
|
plate panel |
position |
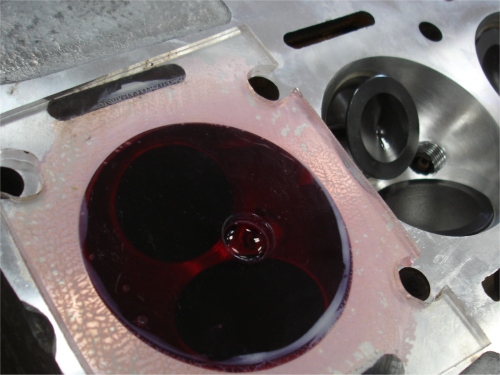
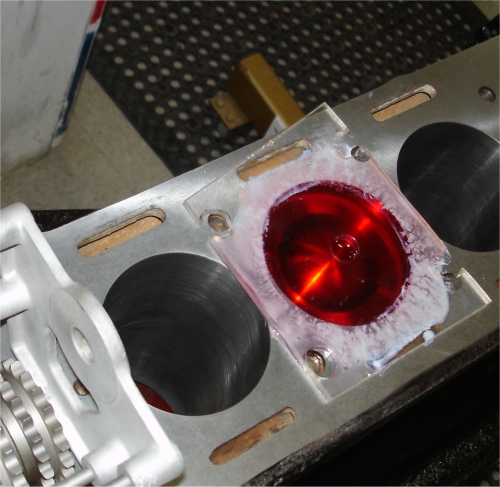
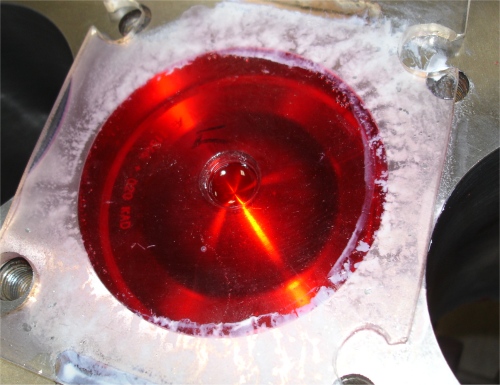
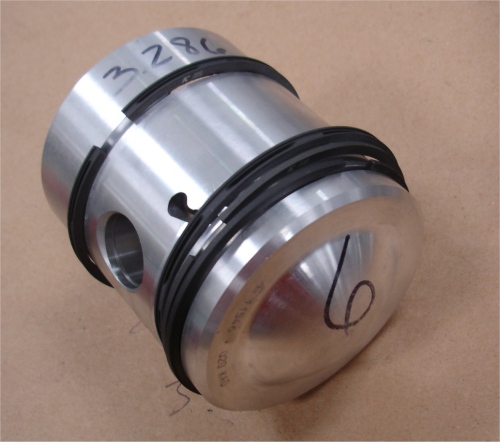
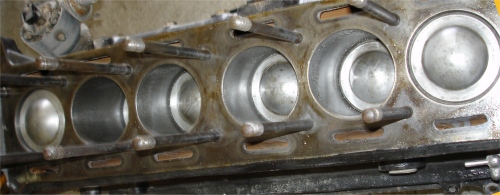
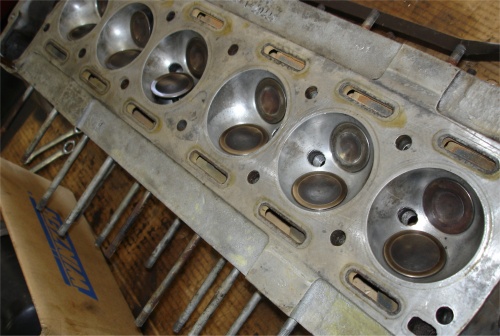
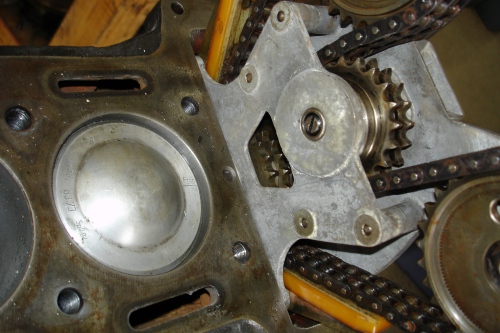
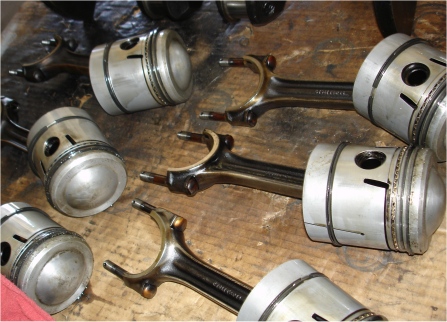
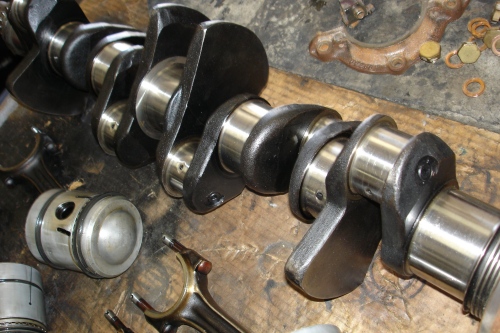
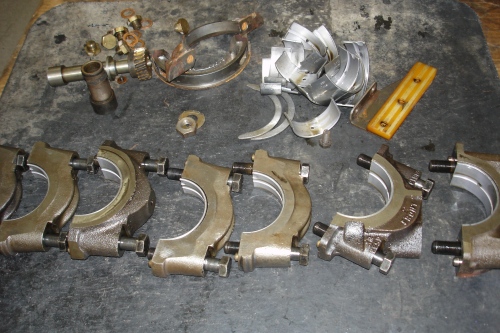
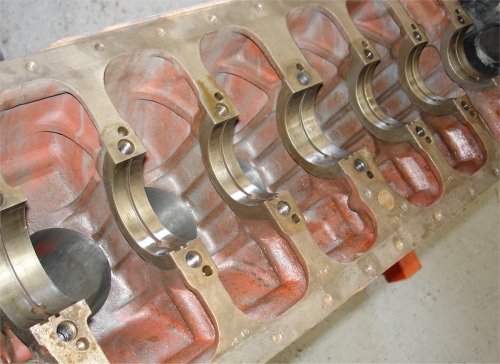
We have now completely torn down your engine and we found that it had not been run since it was 'freshened' some years ago. It had new rod and main bearings, new rings and the cylinders had been honed, although it had not been rebuilt in the true sense of the word. The valves were original and the pistons, timing chains and chain guides were all used. In any event, we not have a complete Stage One CJ engine rebuild underway.
 |
 |
 |
|
|
||
 |
 |
 |
|
not rebuilt |
|
|
 |
 |
 |
|
|
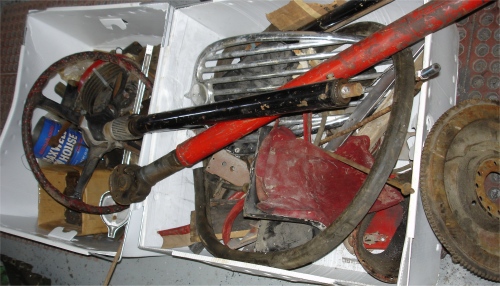
I am pleased to report that earlier today I took delivery of the last few bits and pieces, including the engine and transmission. I will tear down and inspect the engine next week. The transmission will be set aside for some future owner
 |
 |
 |
|
about to be torn down |
now been delivered |
ratio gearbox |
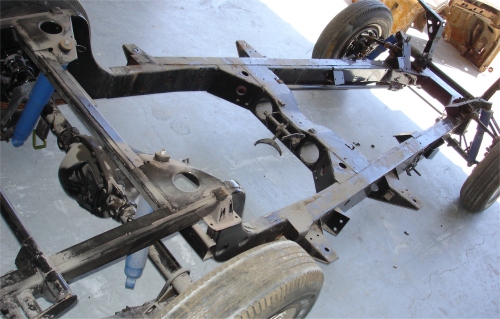
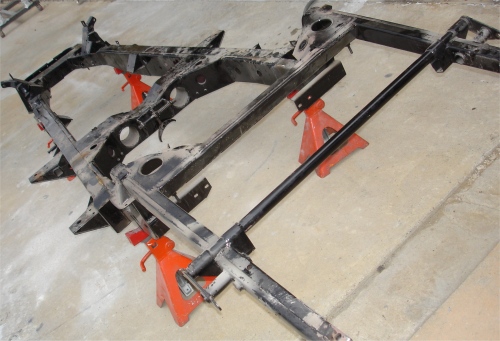
I am pleased to report that we have already started assembling the front suspension and have also etch primed the body panels to protect them until we are ready to start the body restoration.
 |
 |
 |
|
suspension |
all round |
installed |
 |
 |
 |
|
blasted...... |
|
|
 |
 |
 |
|
|
are ready to work on them |
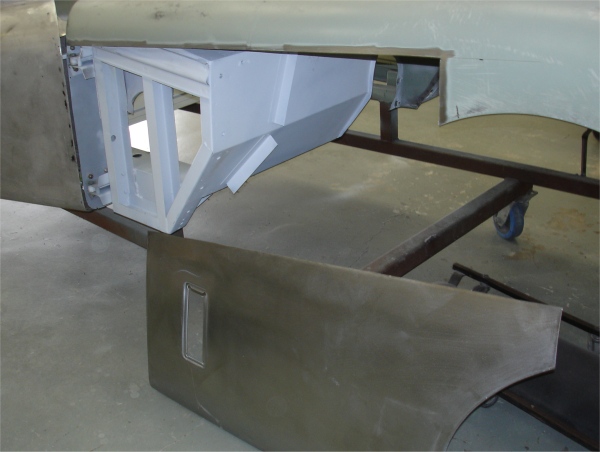
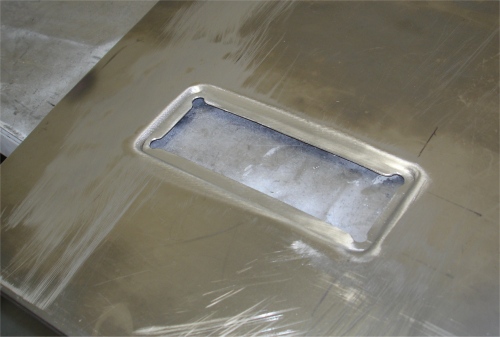
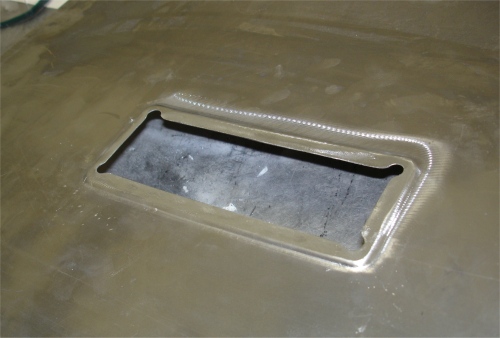
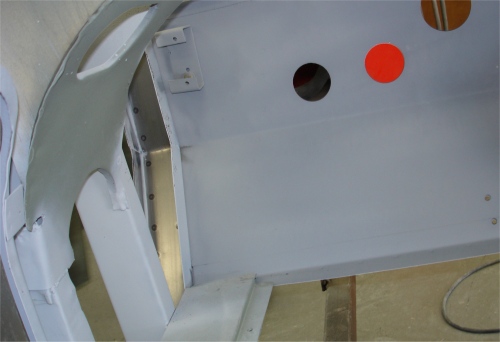
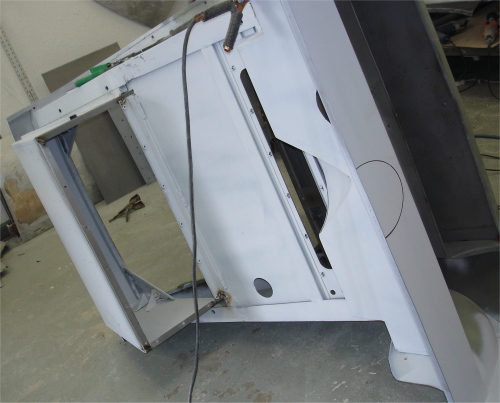
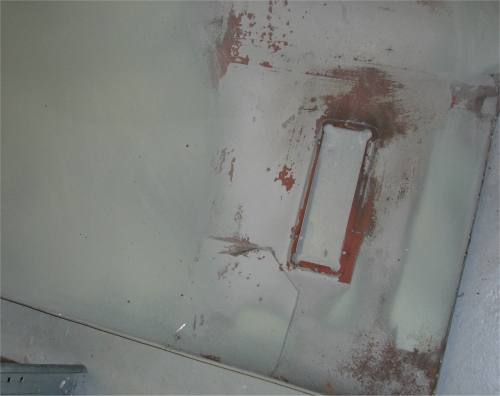
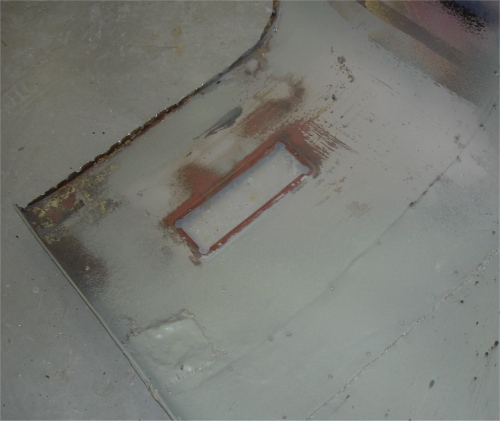
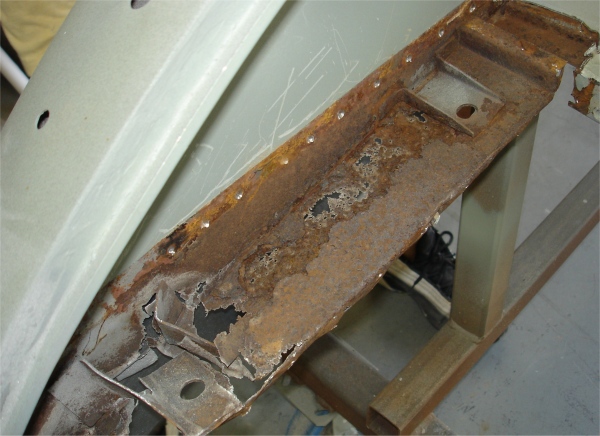
Having removed the body from the chassis, we then cut out the cabin floor, as that was going to be replaced anyway. We then removed the rocker panels and the RH shut face panel, both of which turned out to be brand new (just surface rusted).
 |
 |
 |
|
body tag before blasting |
|
|
|
|
|
|
 |
 |
 |
|
replaced |
panel are brand new |
|
|
|
|
|
 |
 |
 |
|
|
|
|
|
|
|
|
 |
 |
 |
|
|
|
|
|
|
|
|
 |
 |
 |
|
side of frame |
areas are etching primer) |
|
 |
 |
 |
|
Texas sunshine! |
|
|
 |
|
the car in Africa while working as a reporter with the National Geographic magazine |
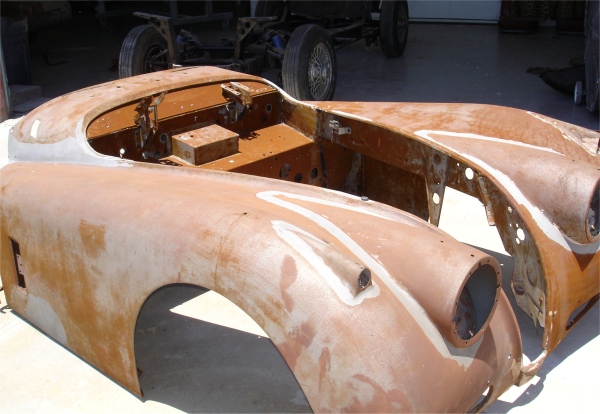
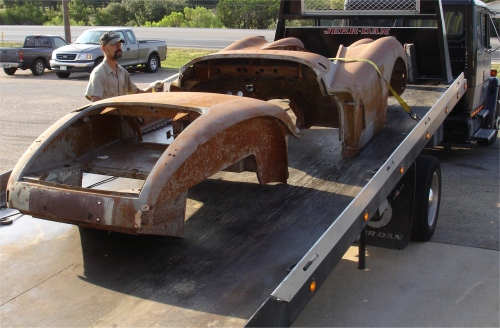
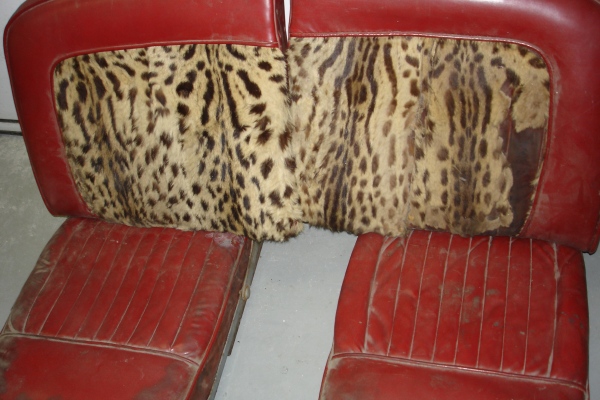
I am delighted to report that the body and rolling chassis arrived at CJ yesterday evening. This afternoon I took delivery of the bonnet, doors and boot lid. Tomorrow afternoon I have an appointment to receive the engine, transmission, chrome trim.....and the leopard skin trimmed seats
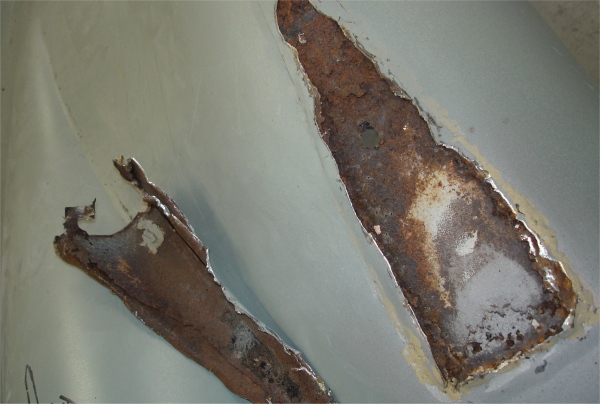
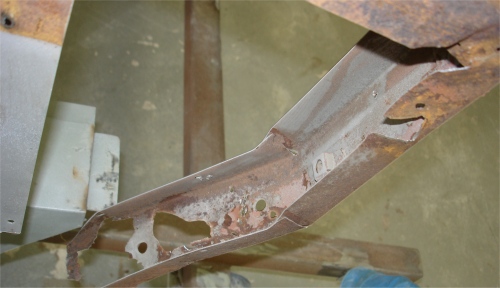
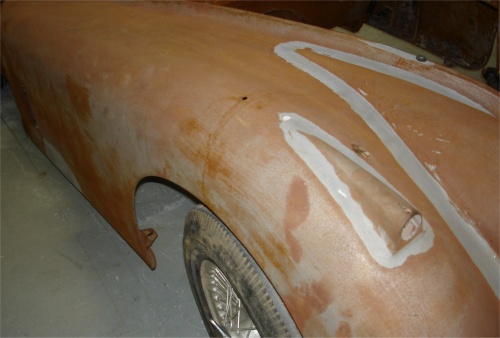
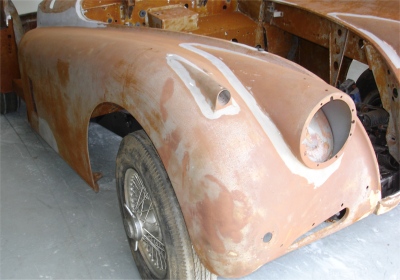
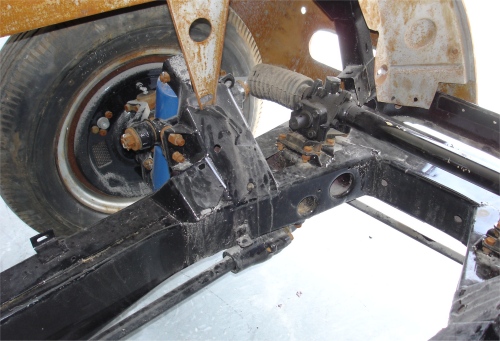
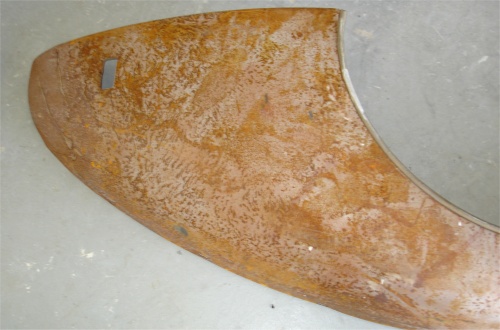
As you can see in the photos, the steel panels are covered in superficial surface rust because it was never sealed/primed after being sand blasted a few years back. The overall condition is very much as expected, however, and in fact much the same as the other XK 140 currently receiving the full treatment in the CJ Coachworks. The chassis, which is in excellent condition, was apparently powder coated while the body was removed for blasting.
If it isn't too late when I have all the remaining components unloaded tomorrow afternoon, I will try to send a few more pictures up to the webpage for you then. Otherwise, look for a full update on Monday!
 |
 |
 |
|
look worse than it is |
|
|
 |
 |
 |
|
|
cross-member |
|
 |
 |
 |
|
|
|
|
 |
 |
|
|
|
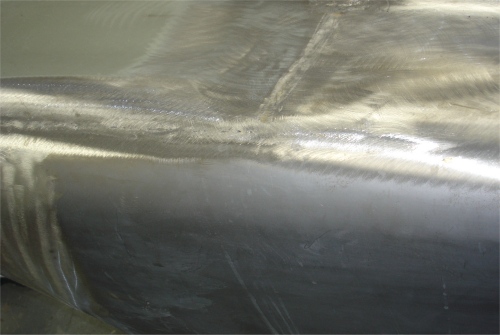
back to shiny bare metal |