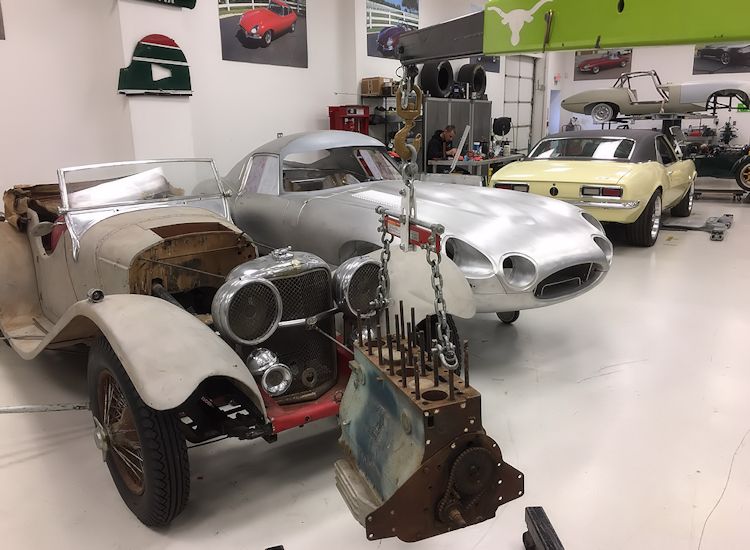
Total restoration
| 1938
SS Jaguar 100 Total restoration |
Restoration Log by Dan Mooney |
|
|
Putting the finishing touches to the SS100 engine rebuild.
 |
 |
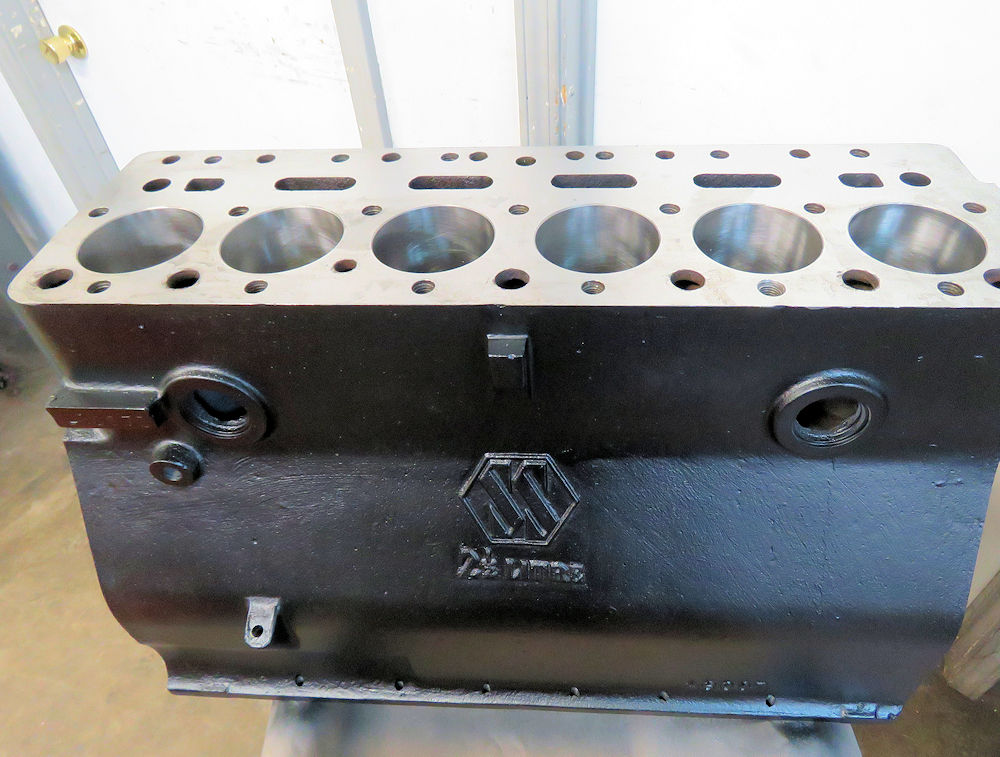
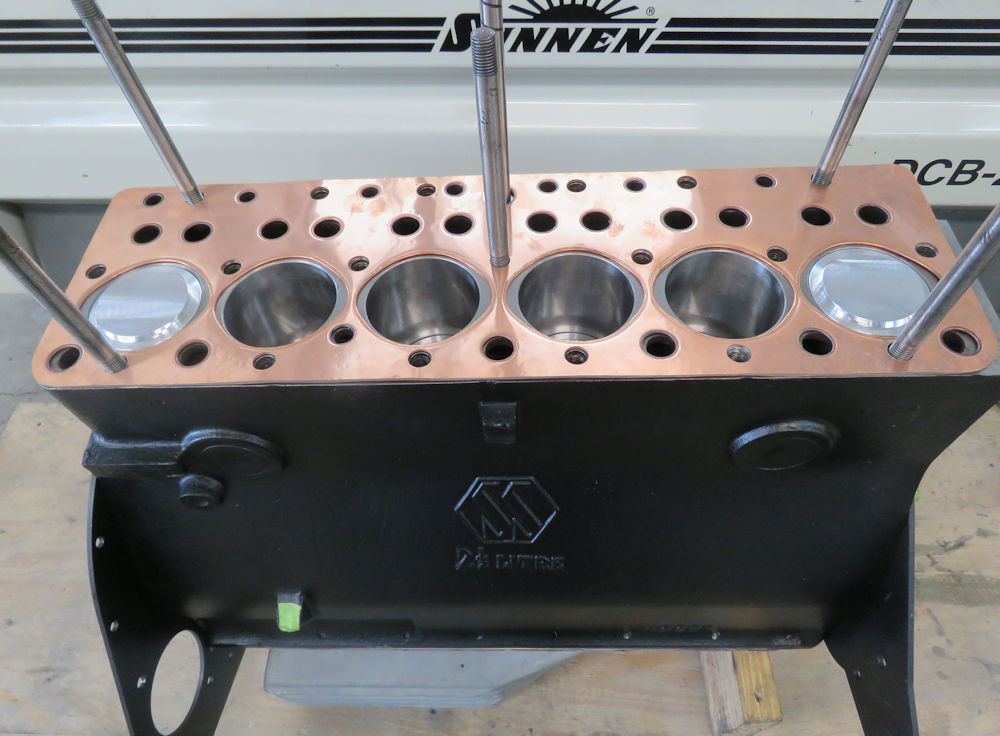
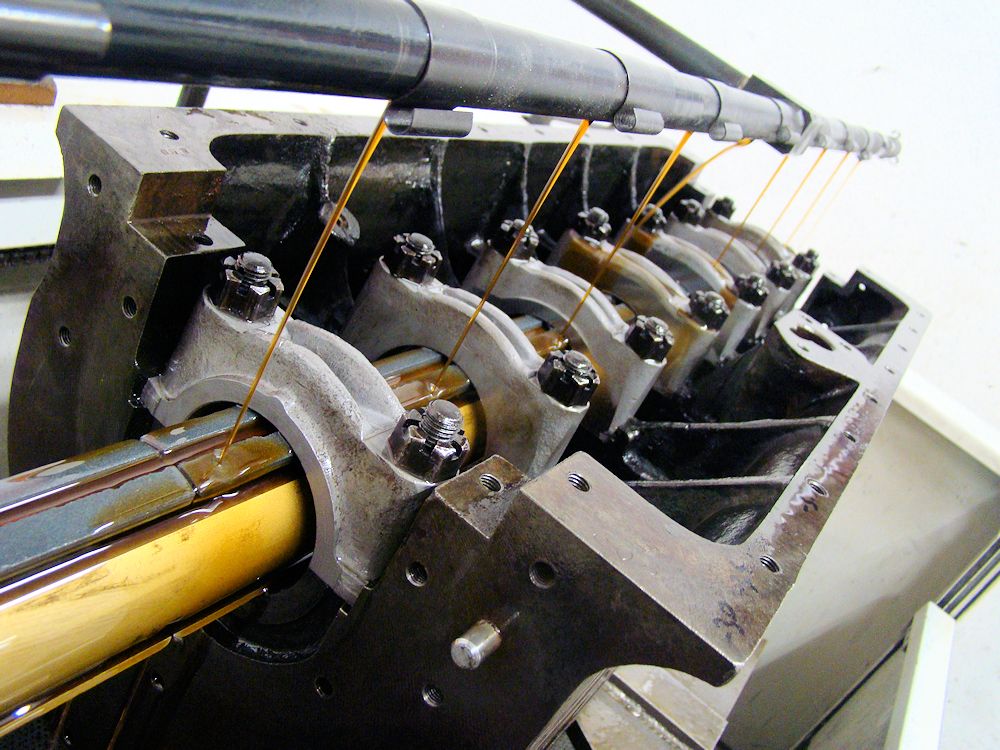
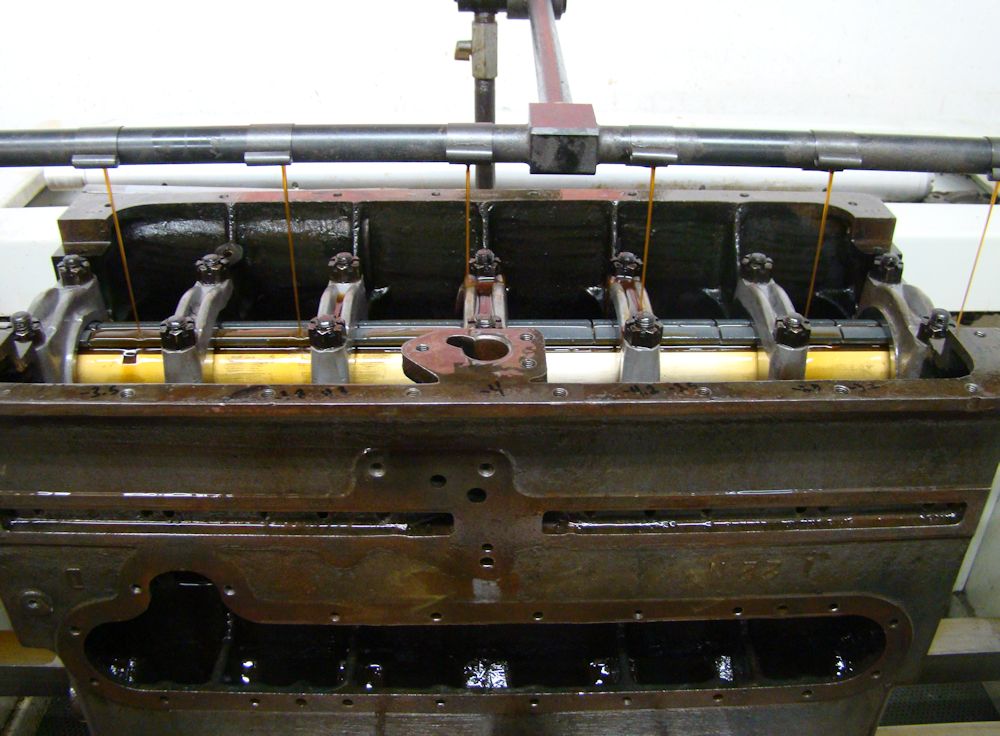
| Block now ready for assembly |
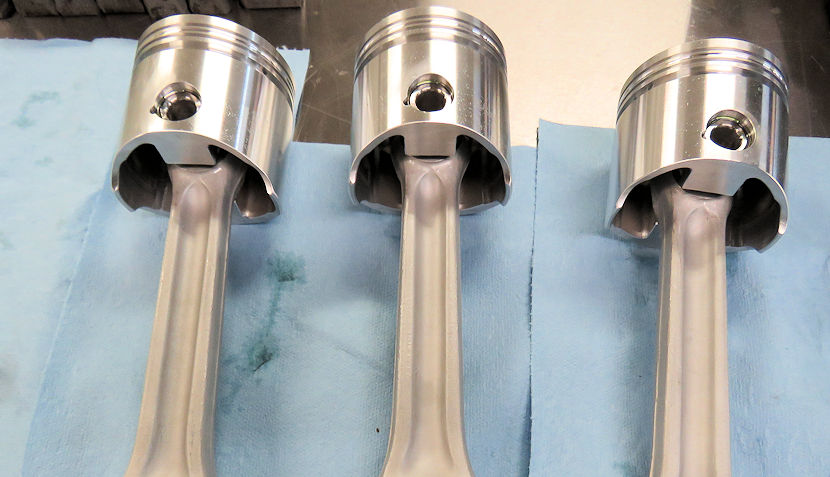
Hanging rods on pistons |
 |
 |
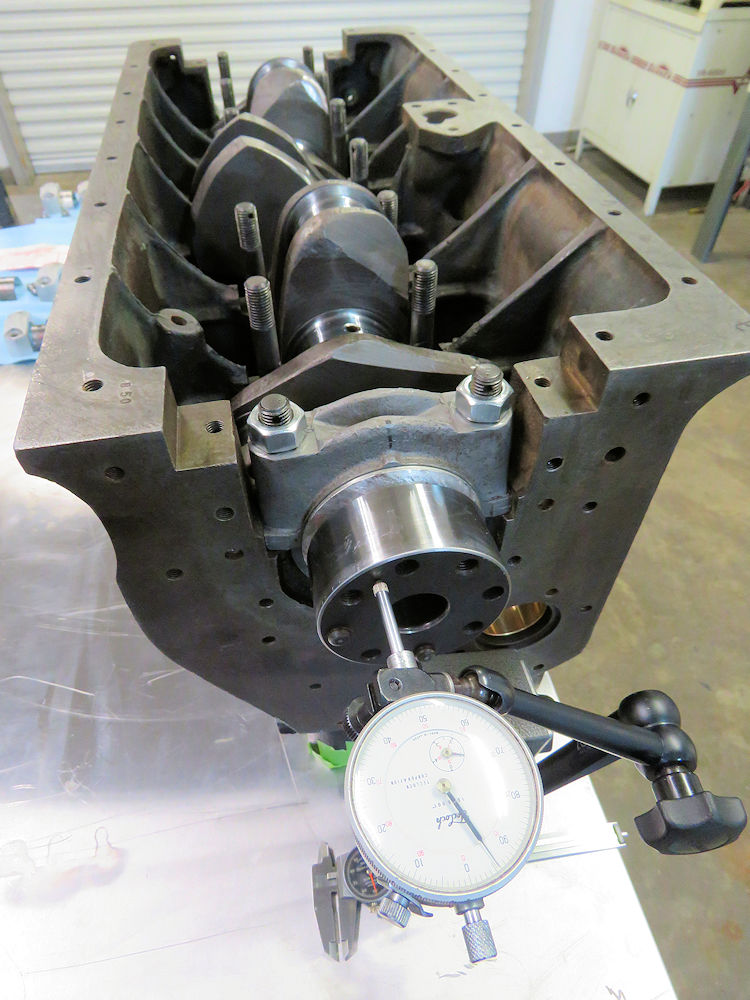
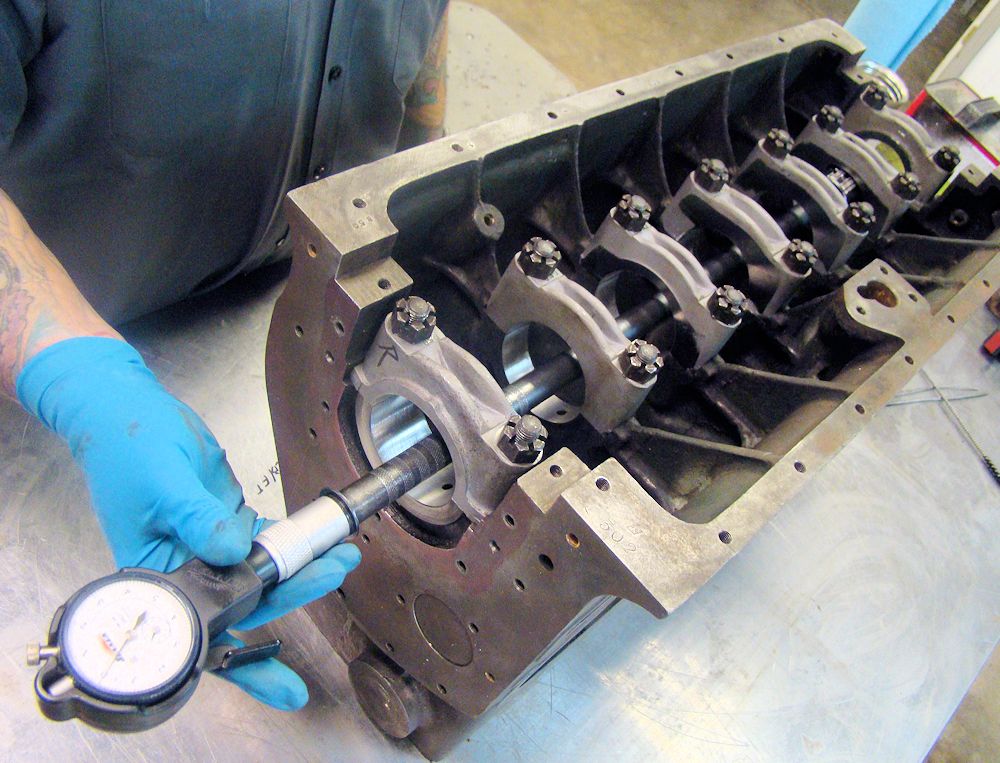
| Measuring crank thrust |
Measuring camshaft endplay |
 |
 |
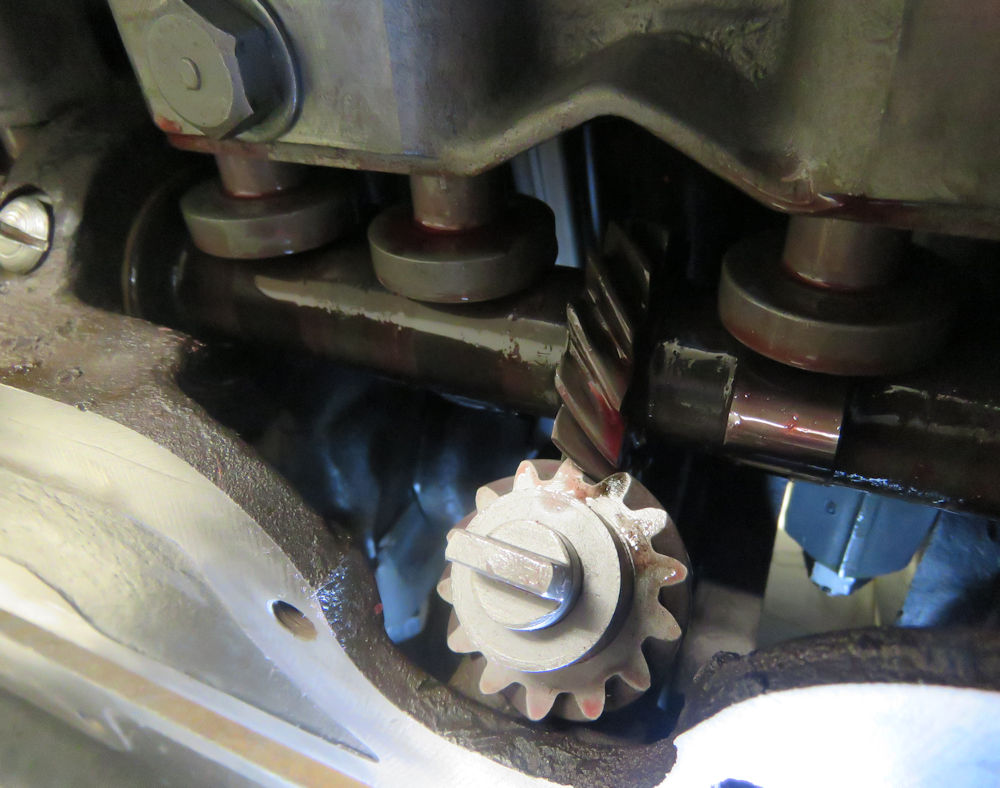
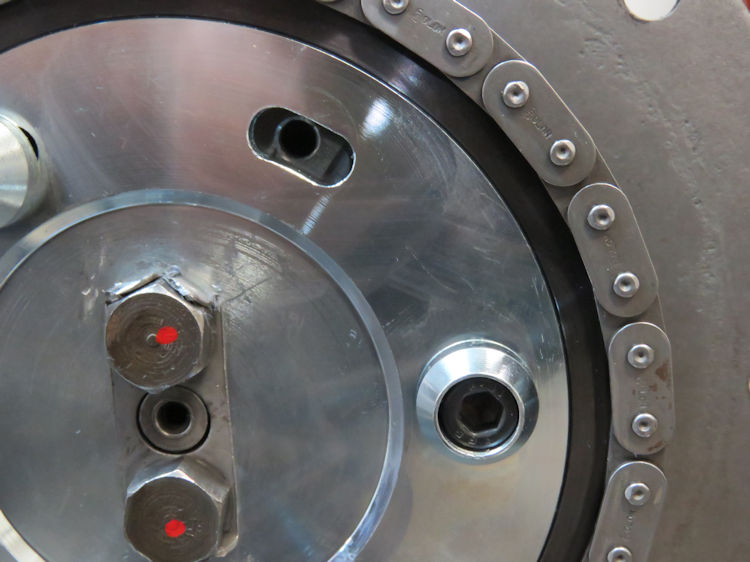
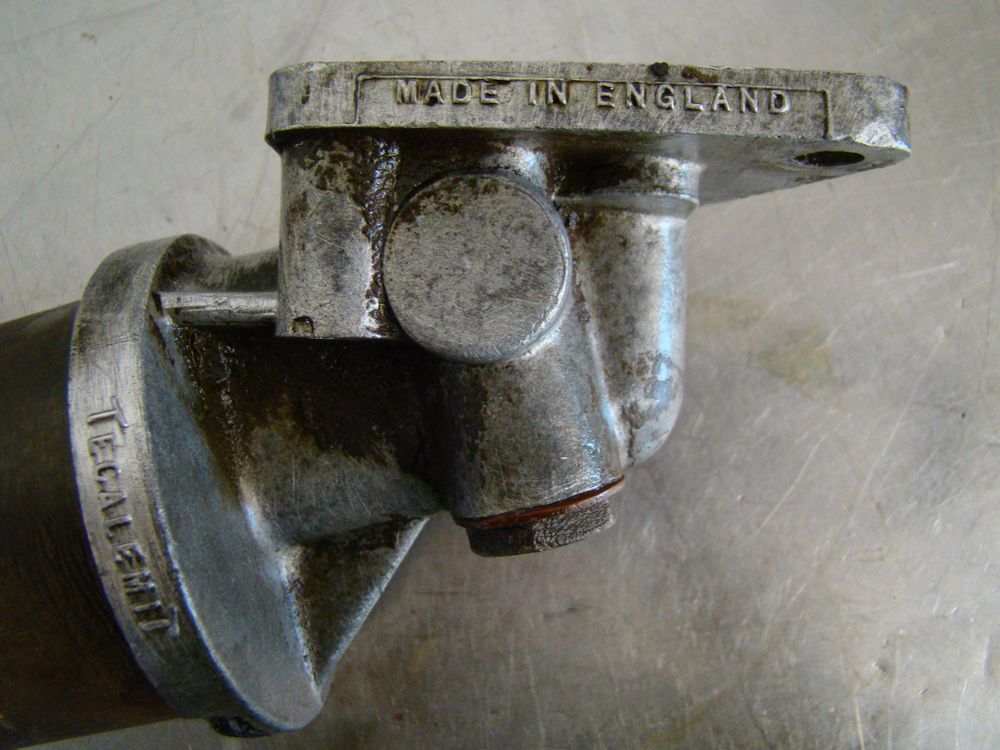
| Installing oil pump drive |
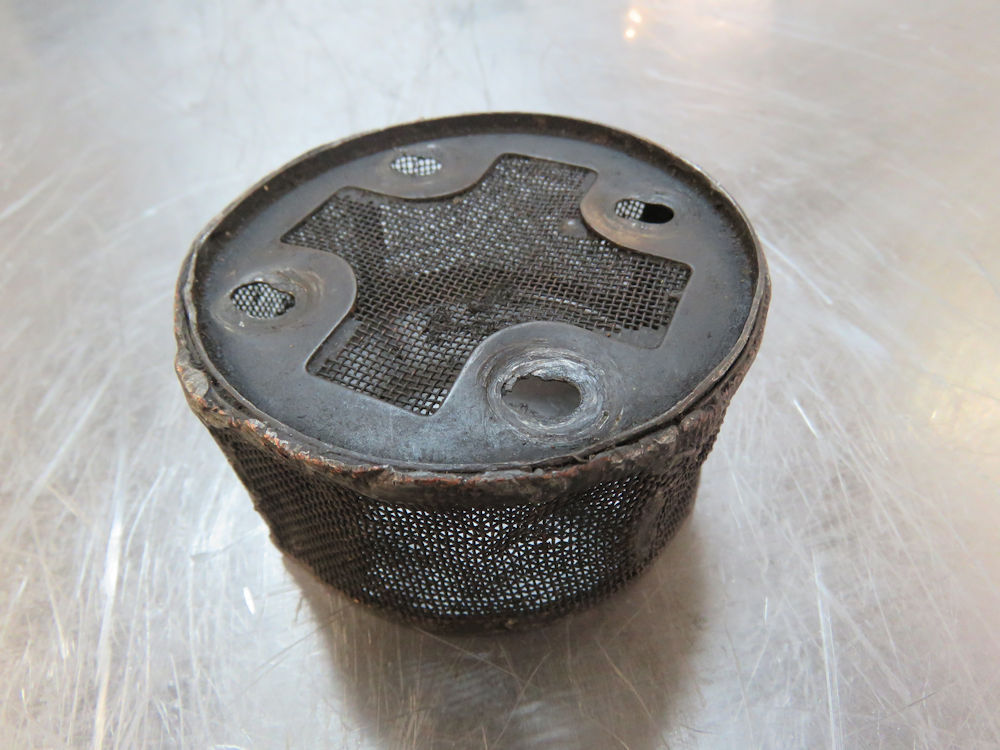
Oil pump pick up screen as delivered |
 |
 |
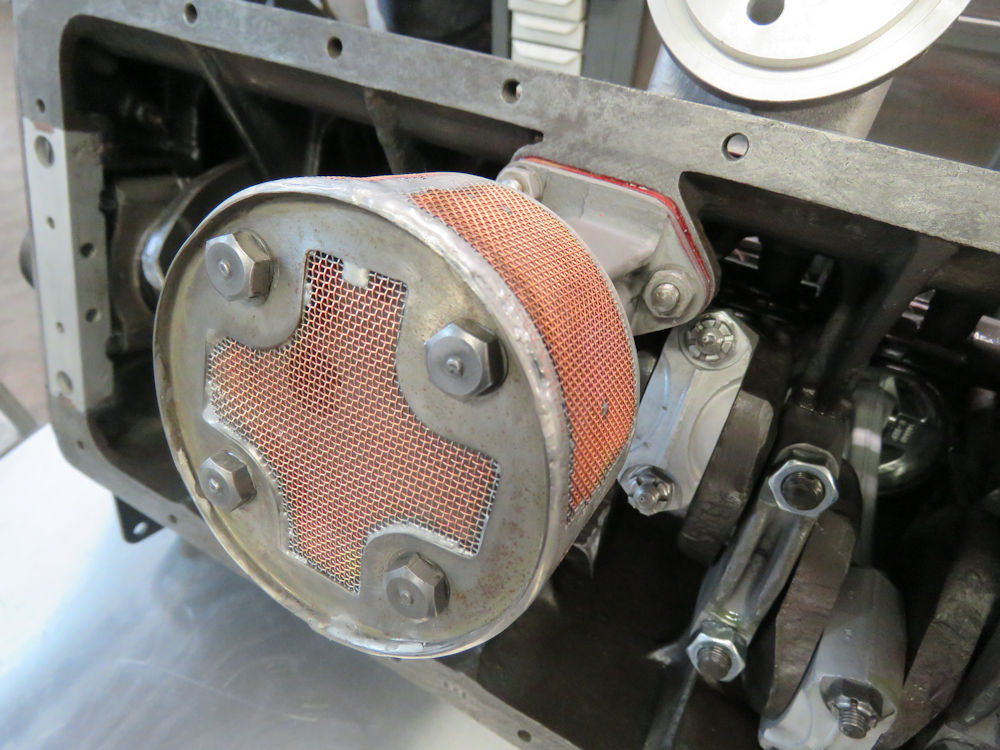
| Oil pump screen after spending some time with Jake in the Coachworks |
|
 |
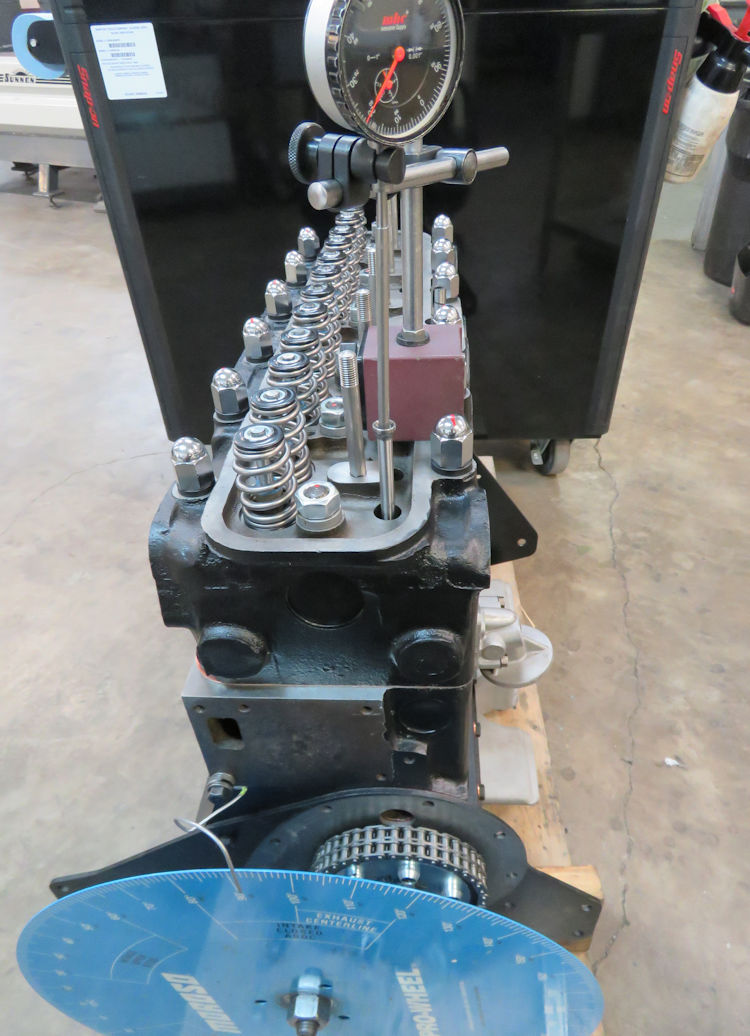 |
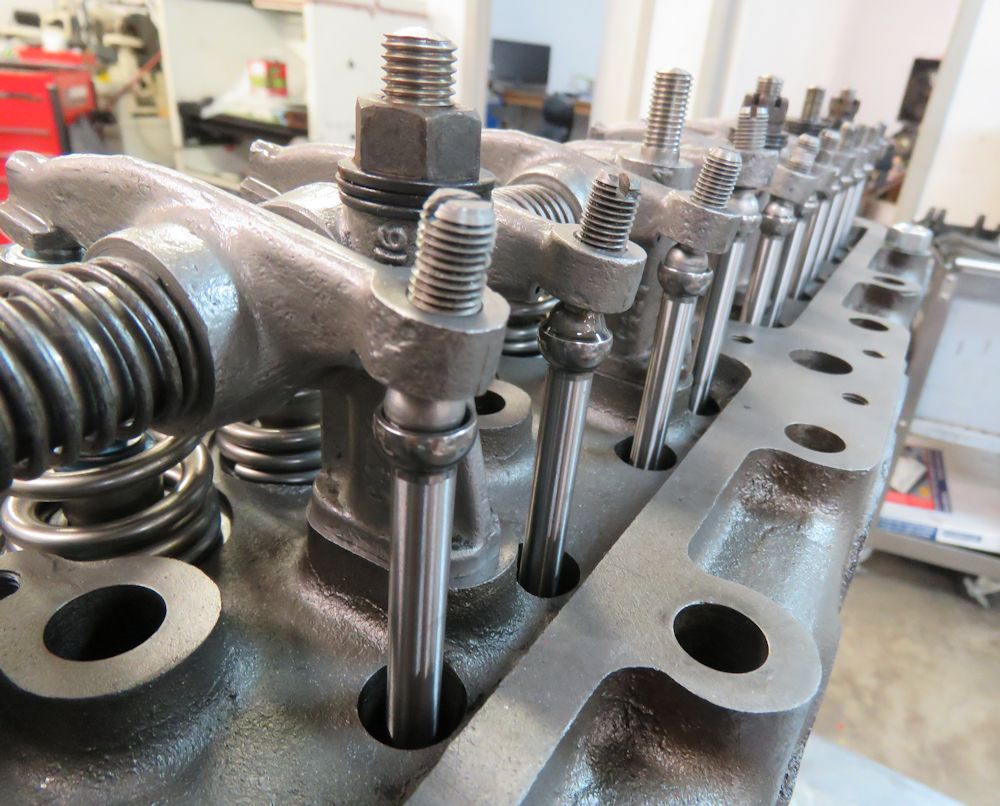
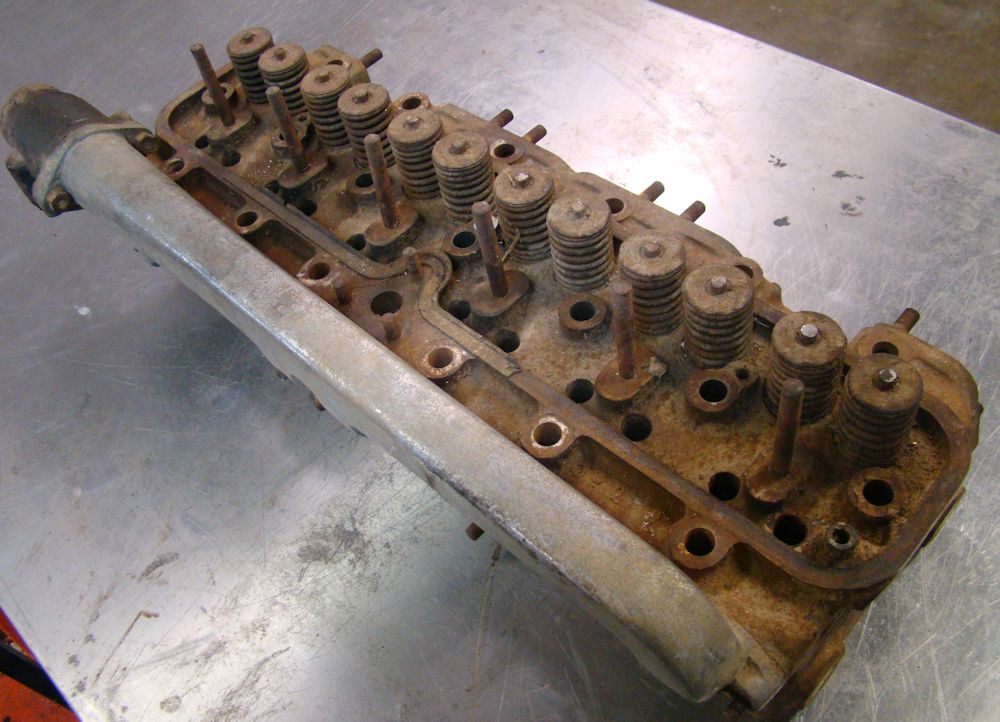
| Installing the cylinder head |
Degreeing cam |
 |
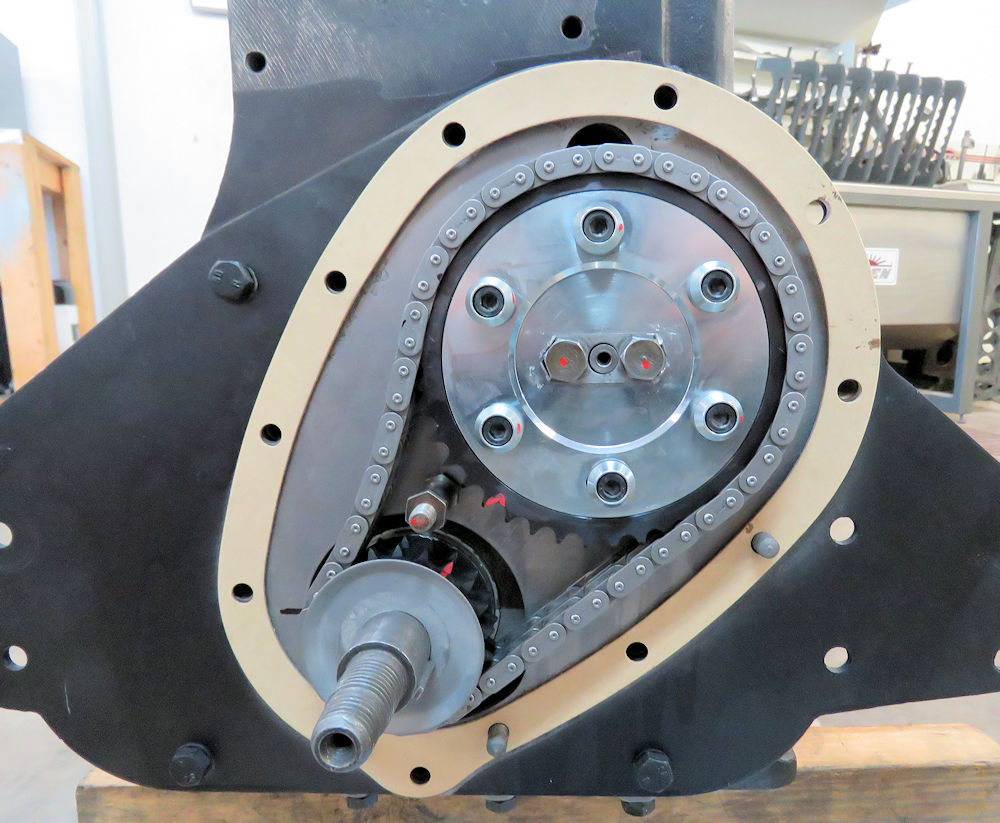 |
| Adjustable gear for precise cam timing |
We have made lots of progress with our SS100 engine rebuild, although it has been necessary to fabricate and machine several custom components.
 |
 |
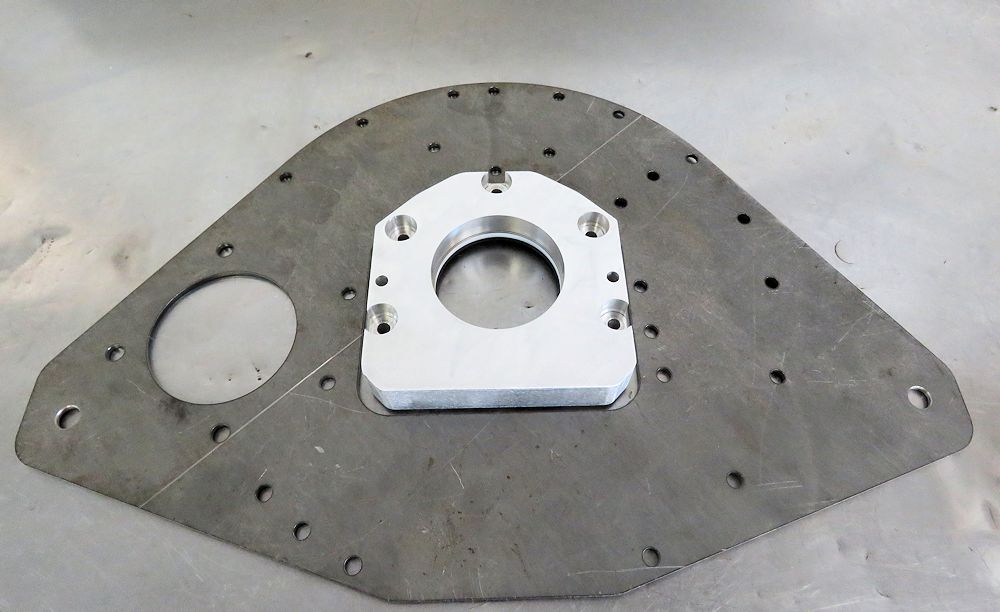
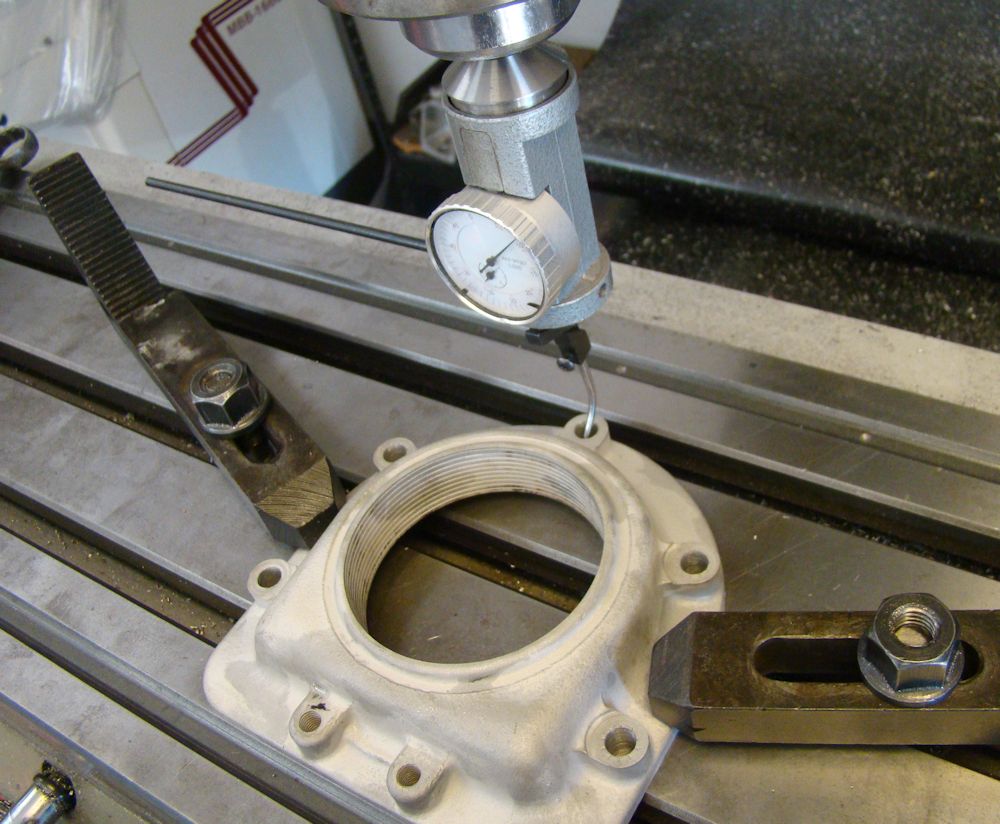
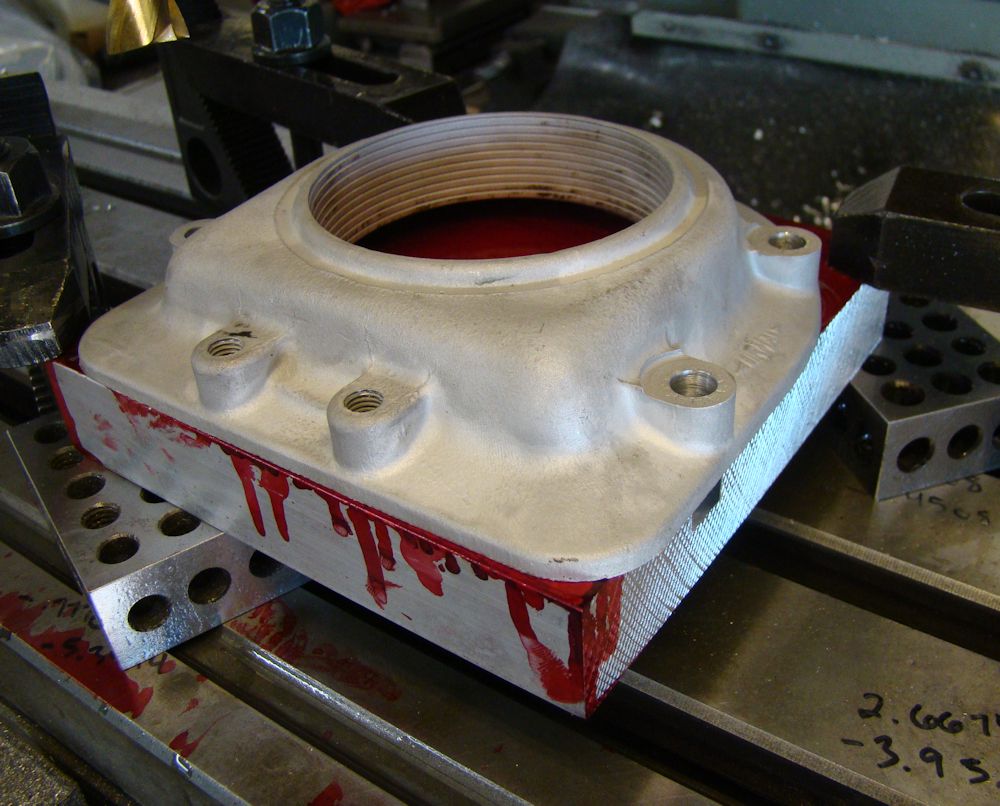
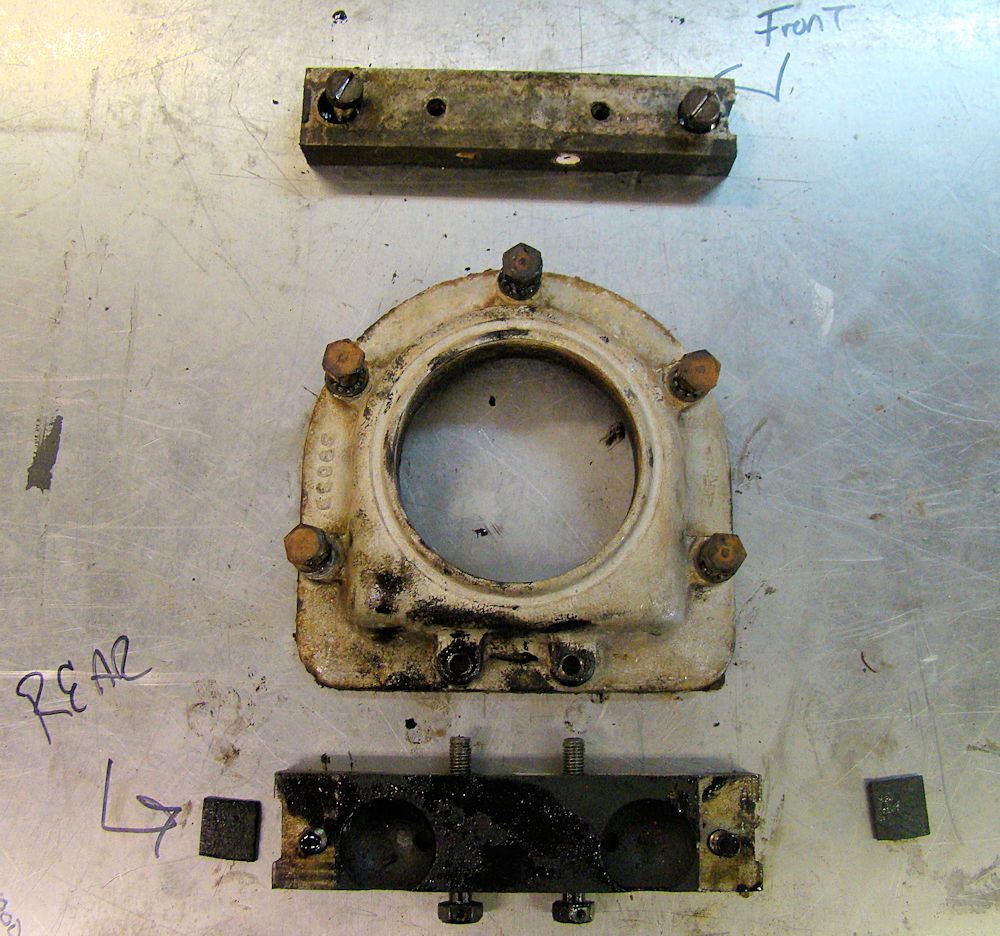
| Custom rear seal housing machined to fit inside engine plate |
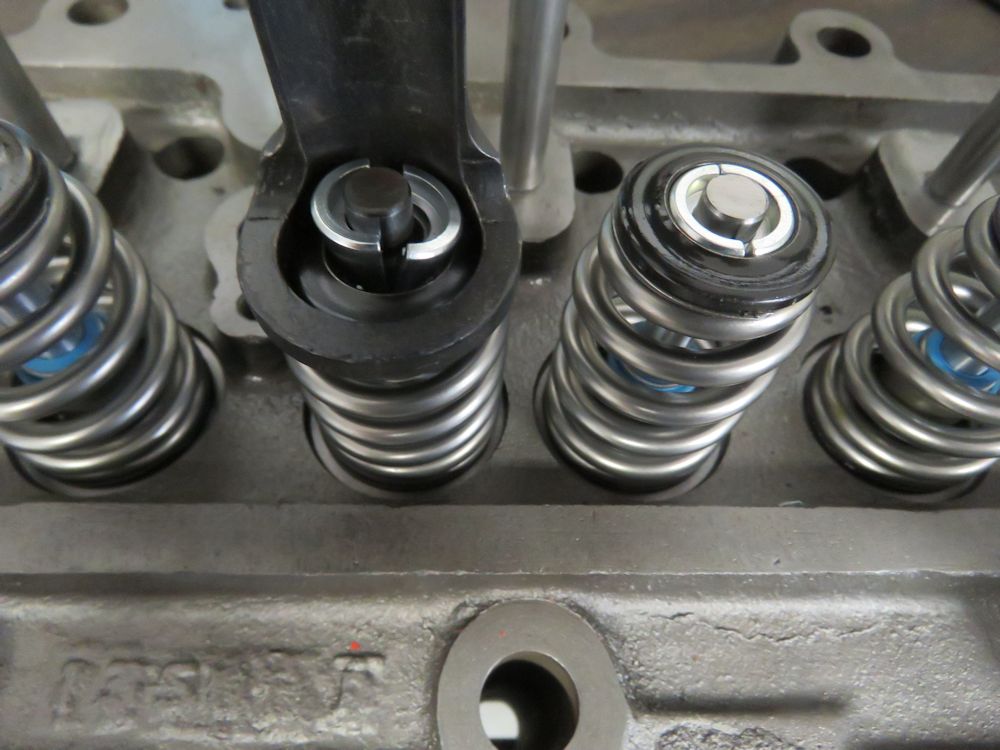
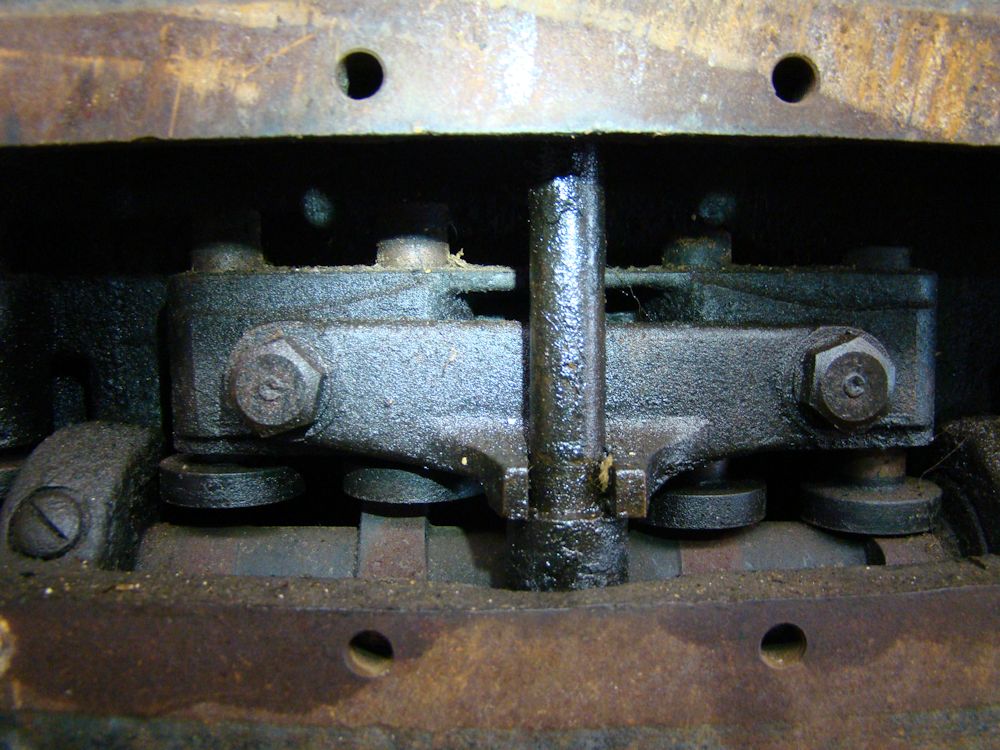
Trial assembly of valve train |
 |
 |
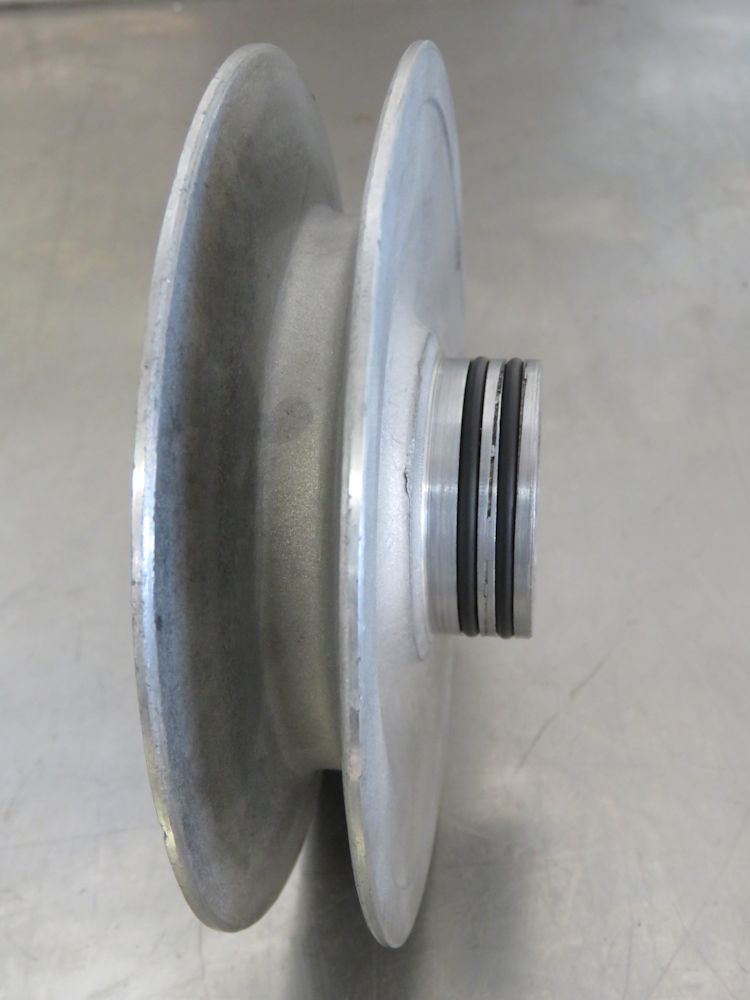
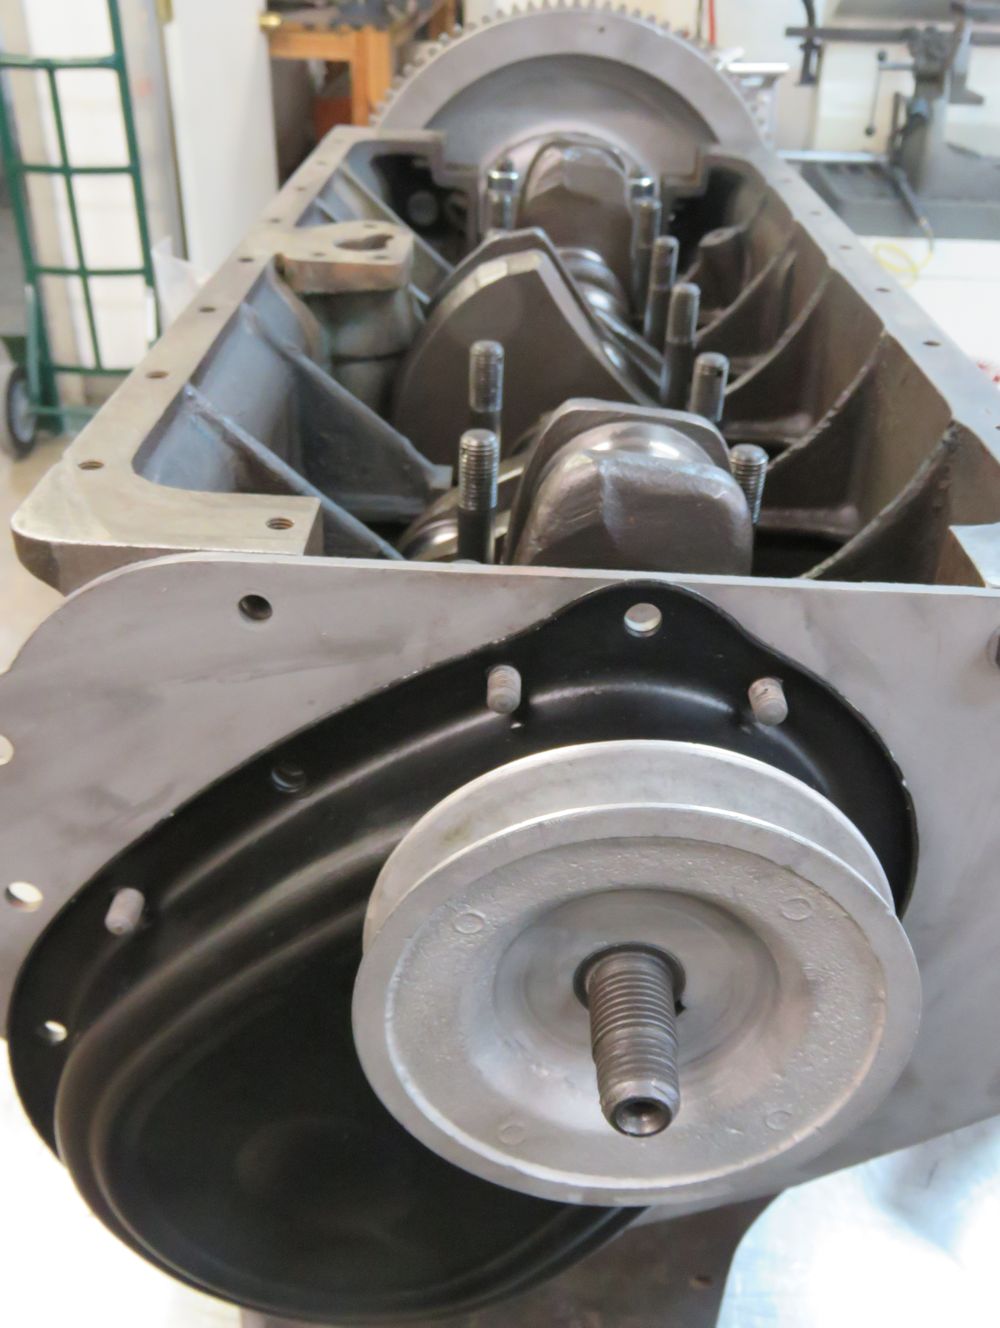
| Damaged pulley from front cover |
|
 |
 |
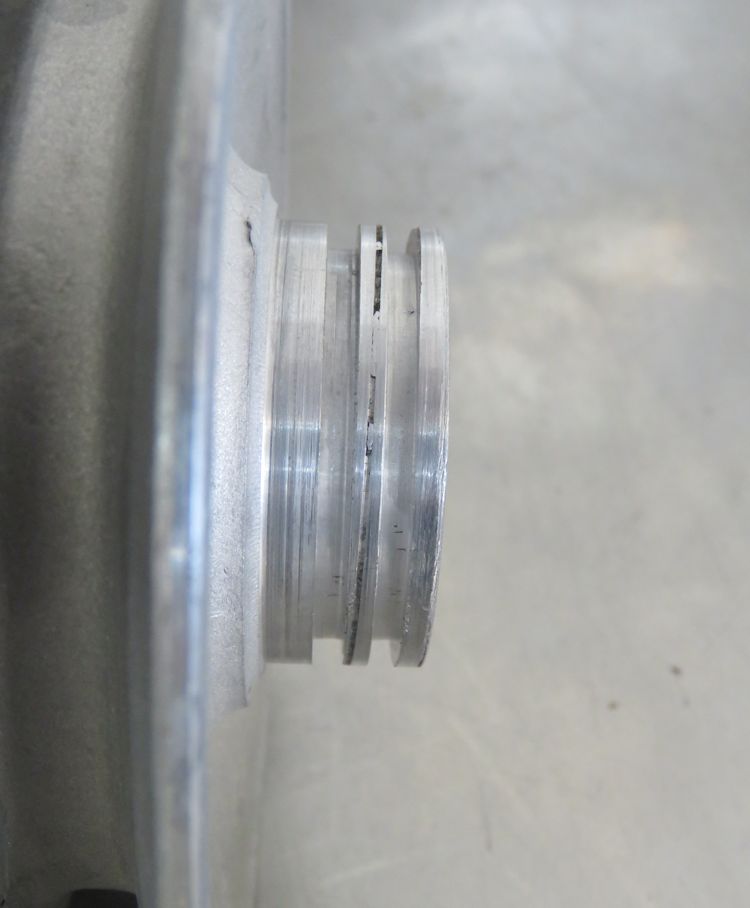
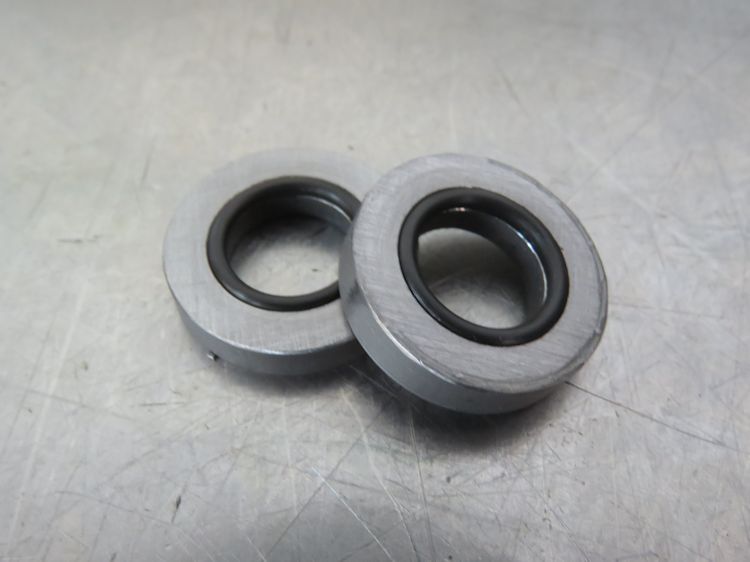
| Machining grooves for O rings |
|
 |
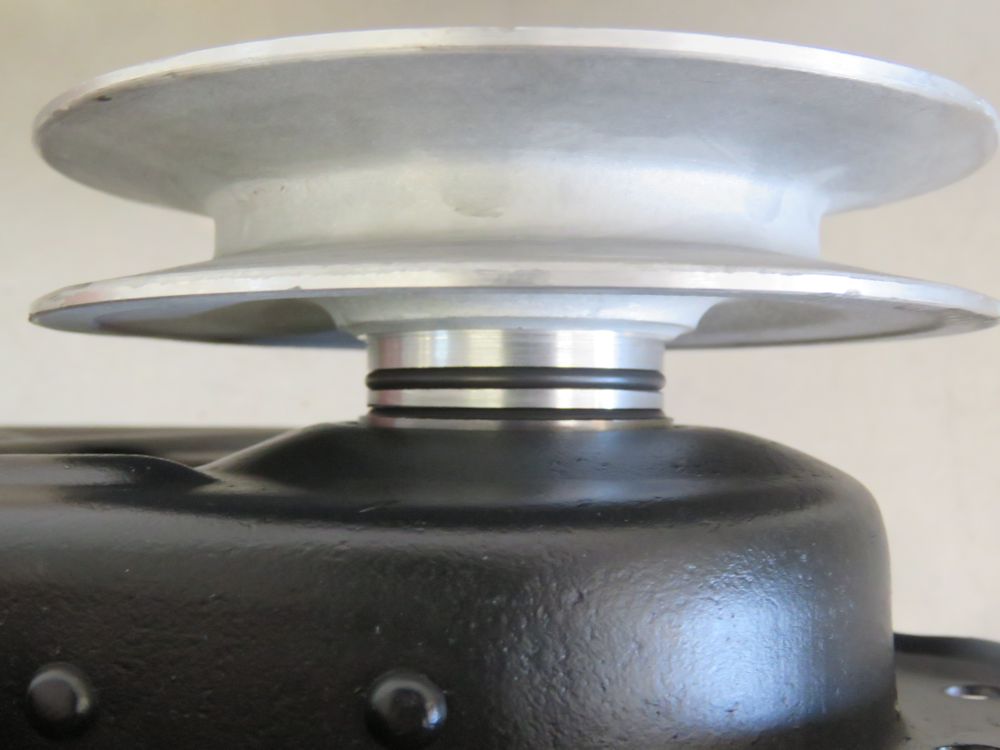 |
| Custom seal race pressed into front cover |
Installing the modified pulley |
 |
 |
 |
 |
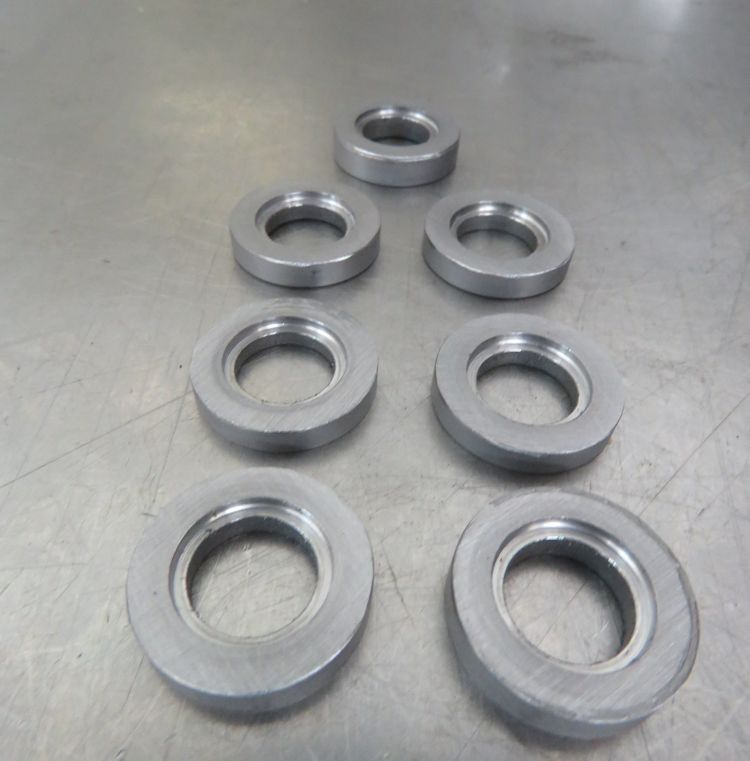
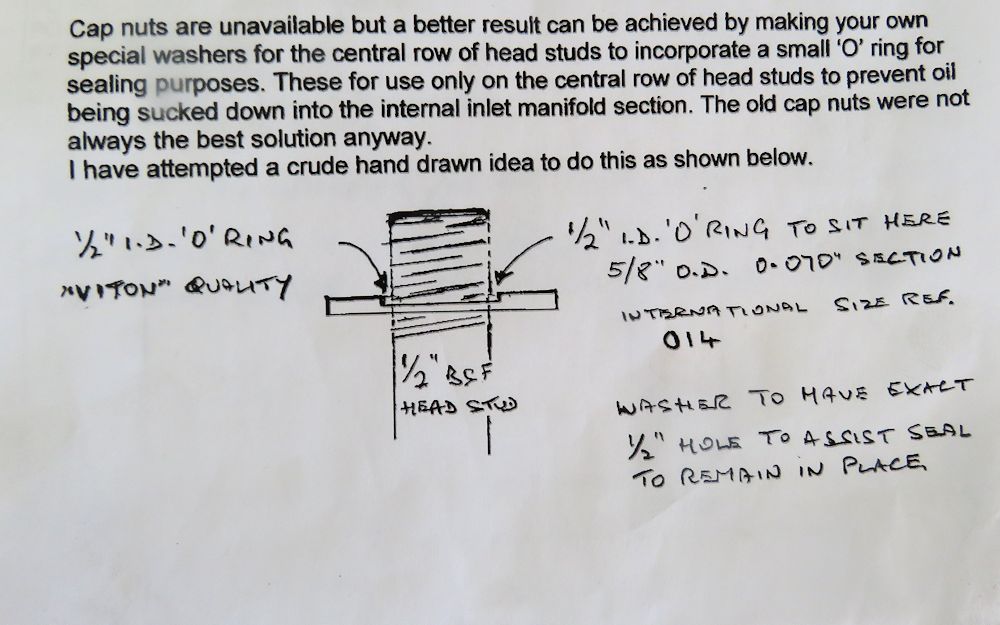
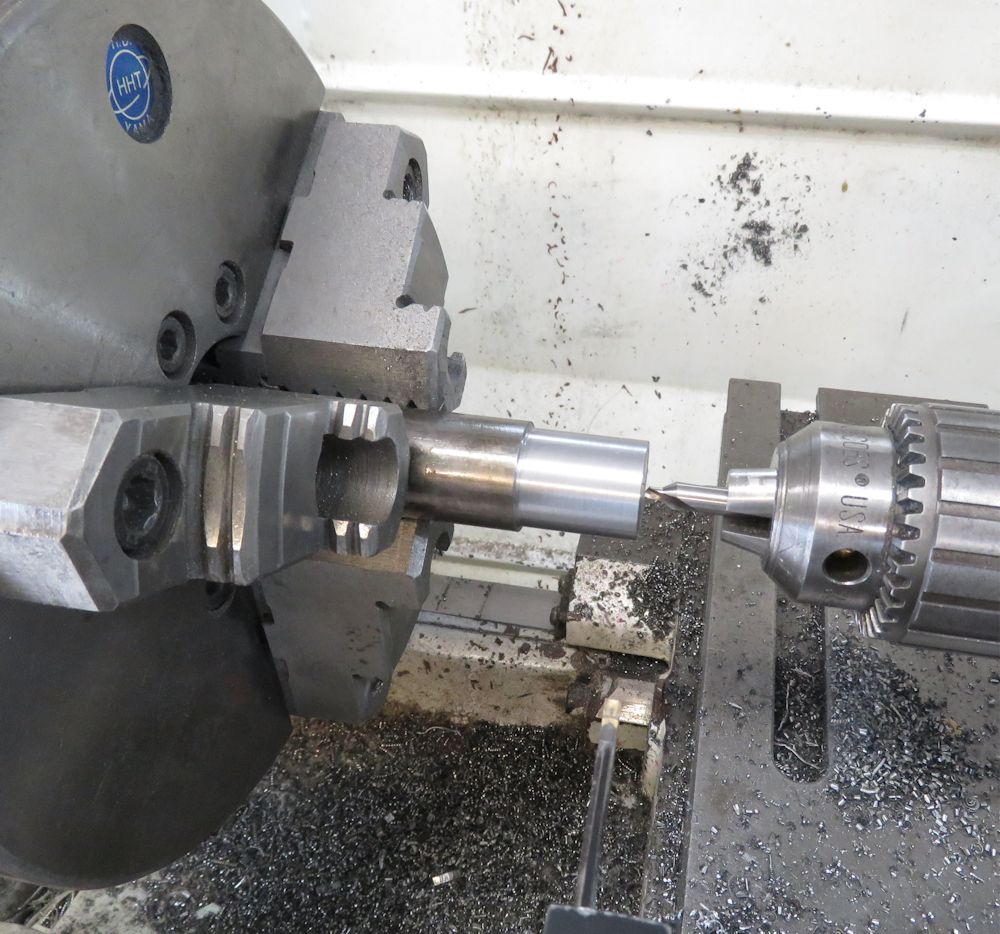
| machining washers for head studs |
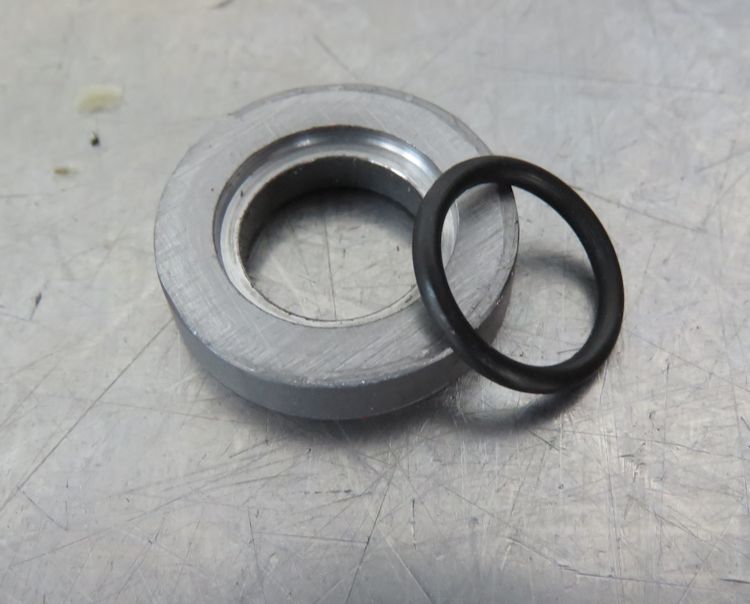
Washers are grooved for O rings |
 |
 |
| Repairing drain tap threads |
We have been making steady progress with the SS100 engine rebuild. Parts availability is a real problem in a rebuild such as this. Our friend Alan Gibbins (SS Spares) in England continues to be an invaluable source of parts and information, providing the CJ machinists with lots of guidance along the way. Thank you, Alan. Your enthusiastic participation in this project is much appreciated.
 |
 |
| Corey assembling the valve train |
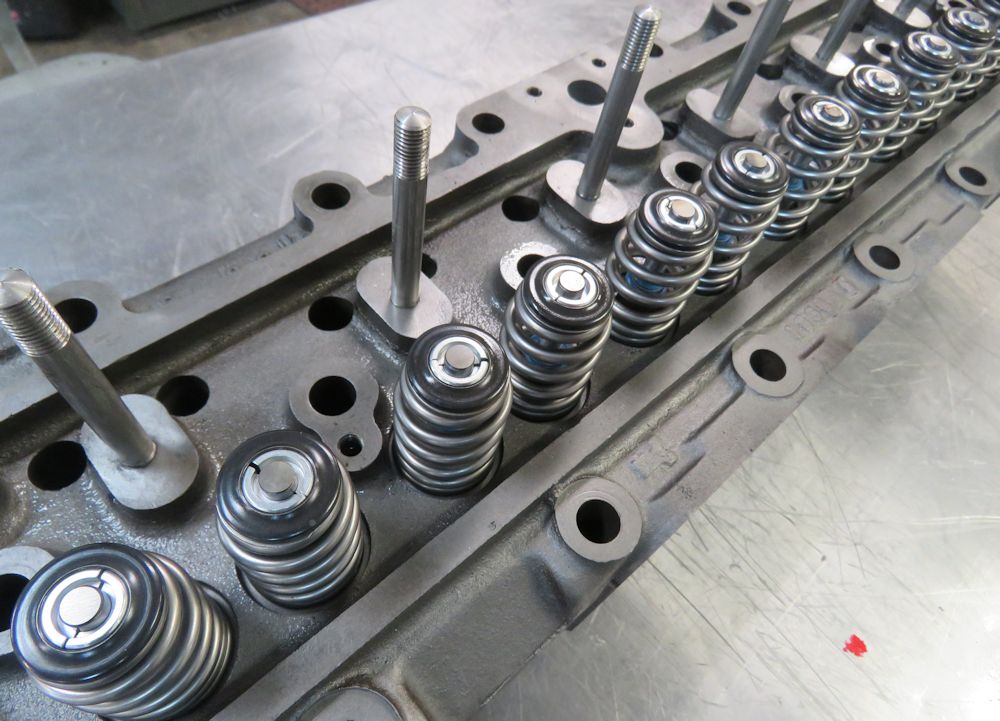
The cylinder head rebuild is now virtually
complete |
 |
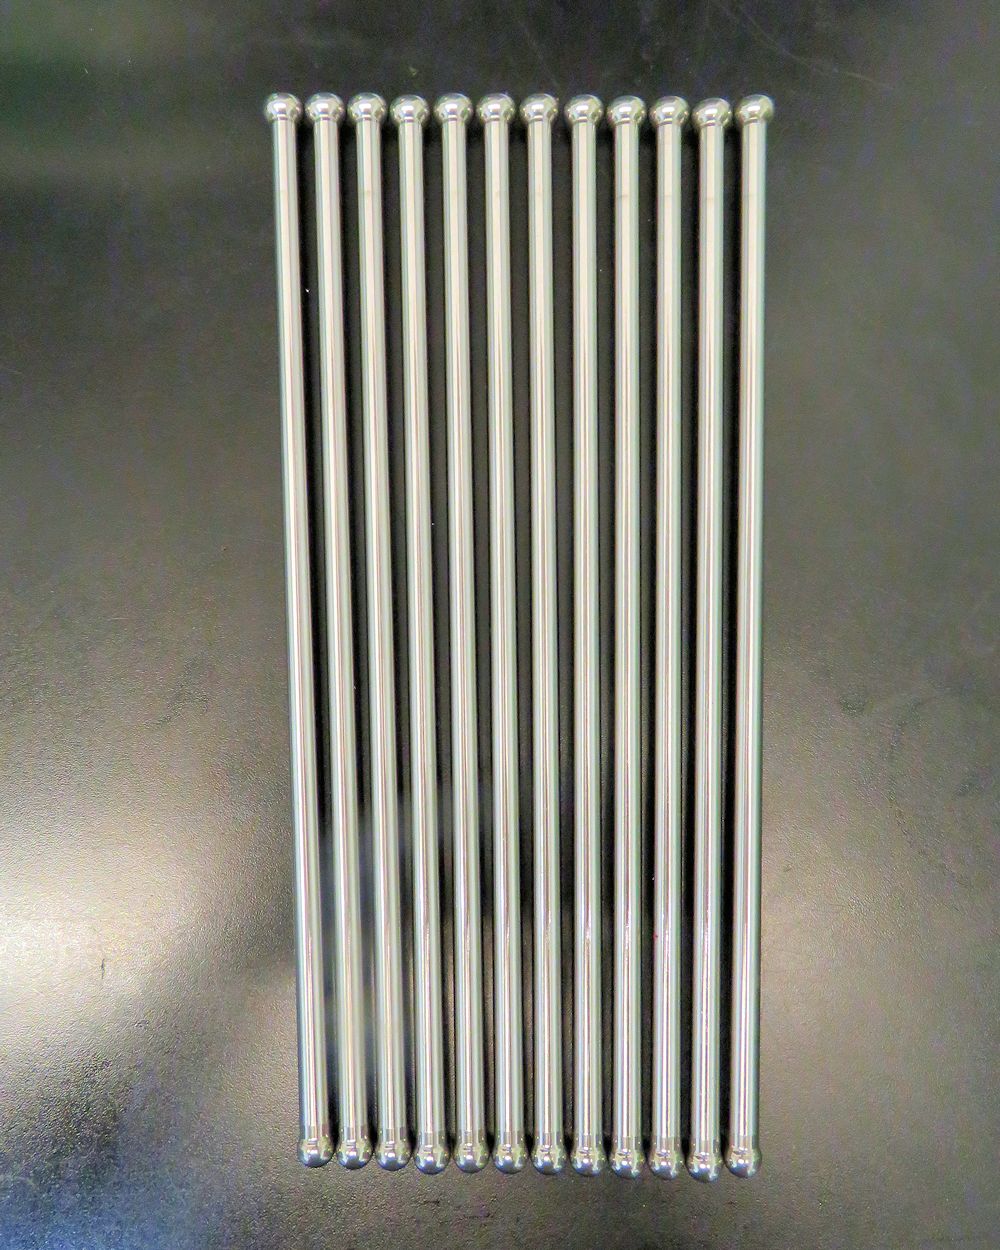 |
| We had new custom push rods fabricated |
|
 |
 |
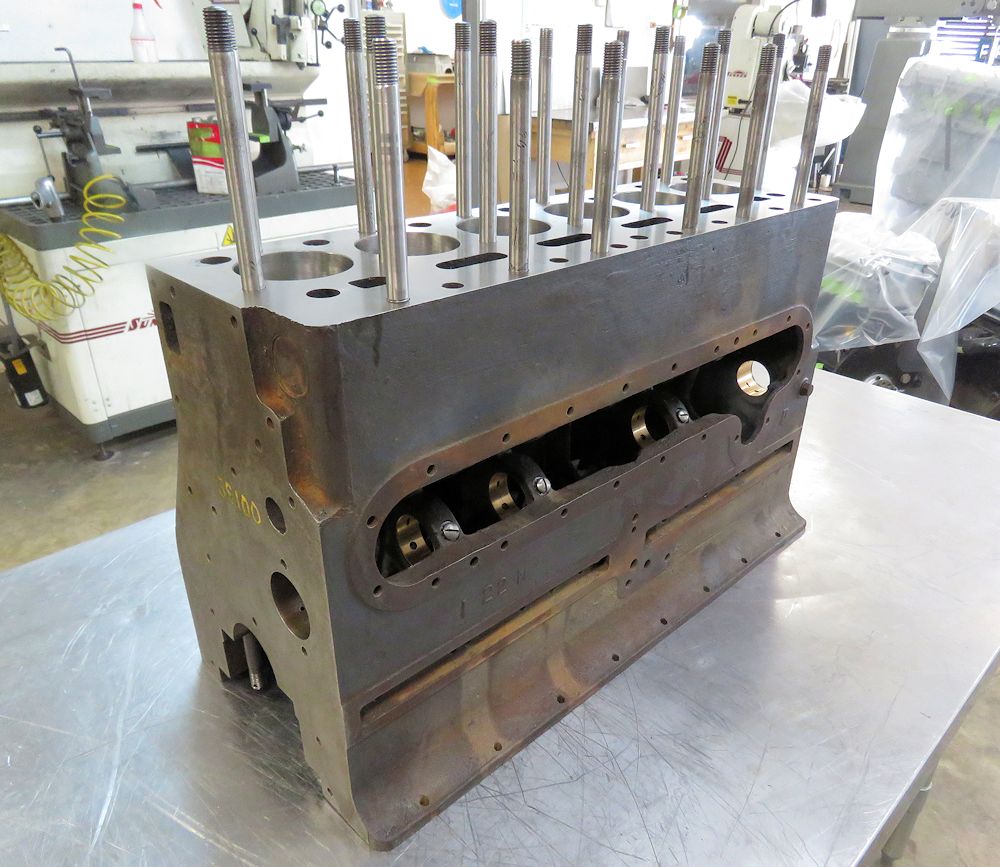
| Kevin fabricated several new cylinder head
studs |
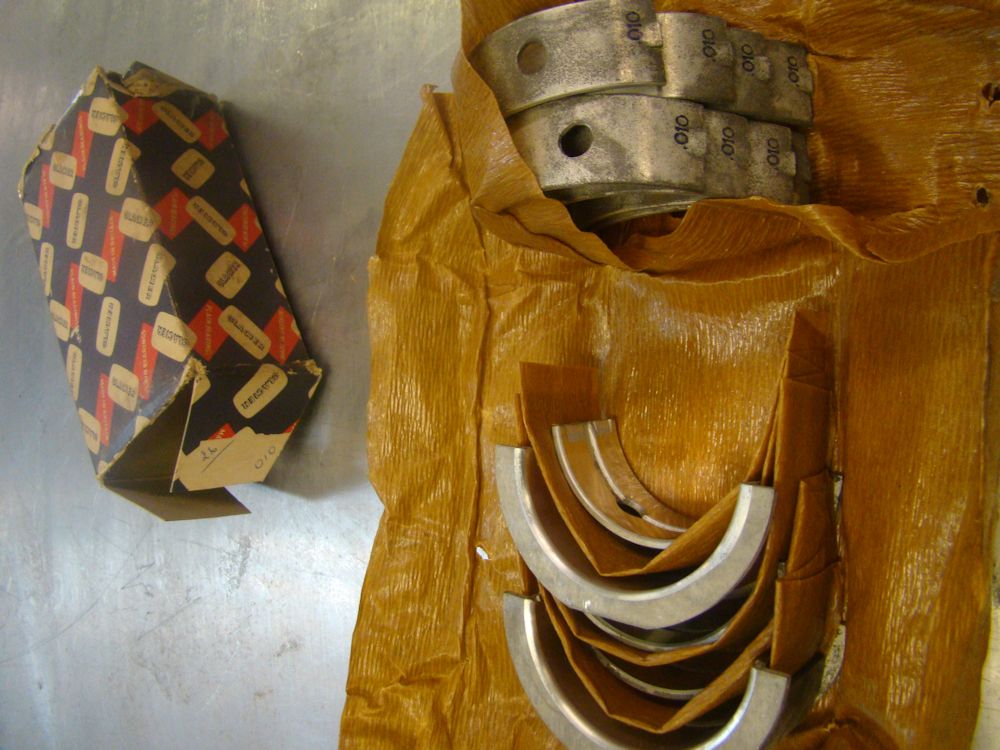
A precious and rare set of original bronze bearings supplied by Alan Gibbins |
 |
 |
| Just one example of several pieces of great
advice received from Alan |
Kevin machining custom washers to Alan's
design |
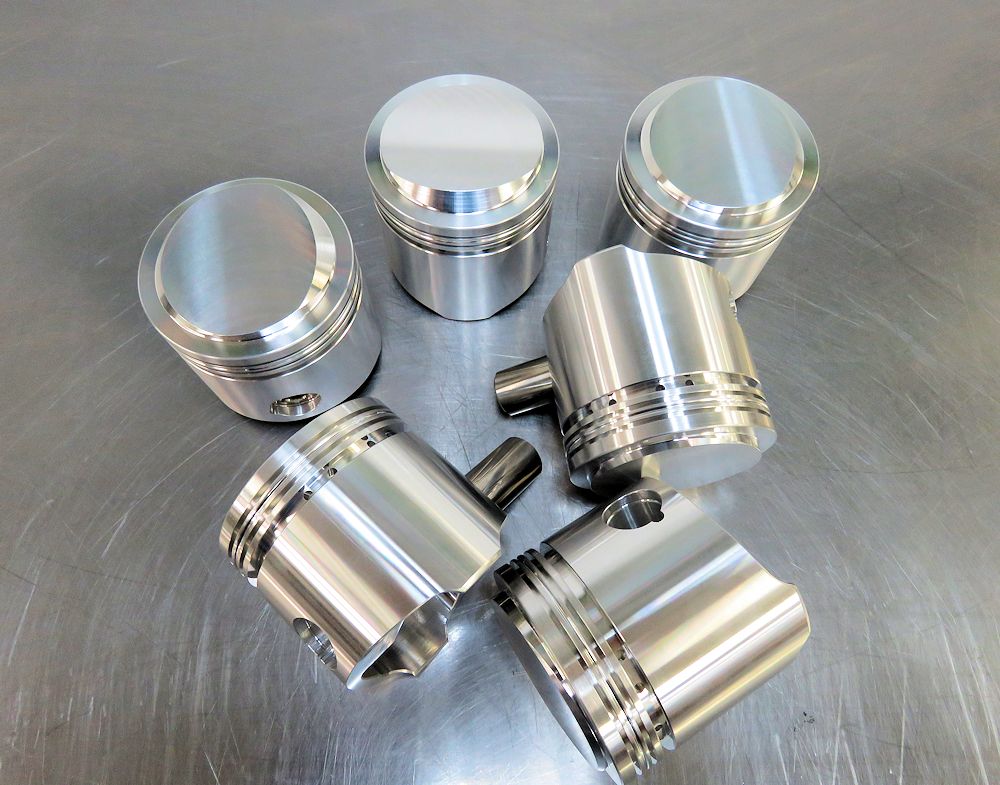
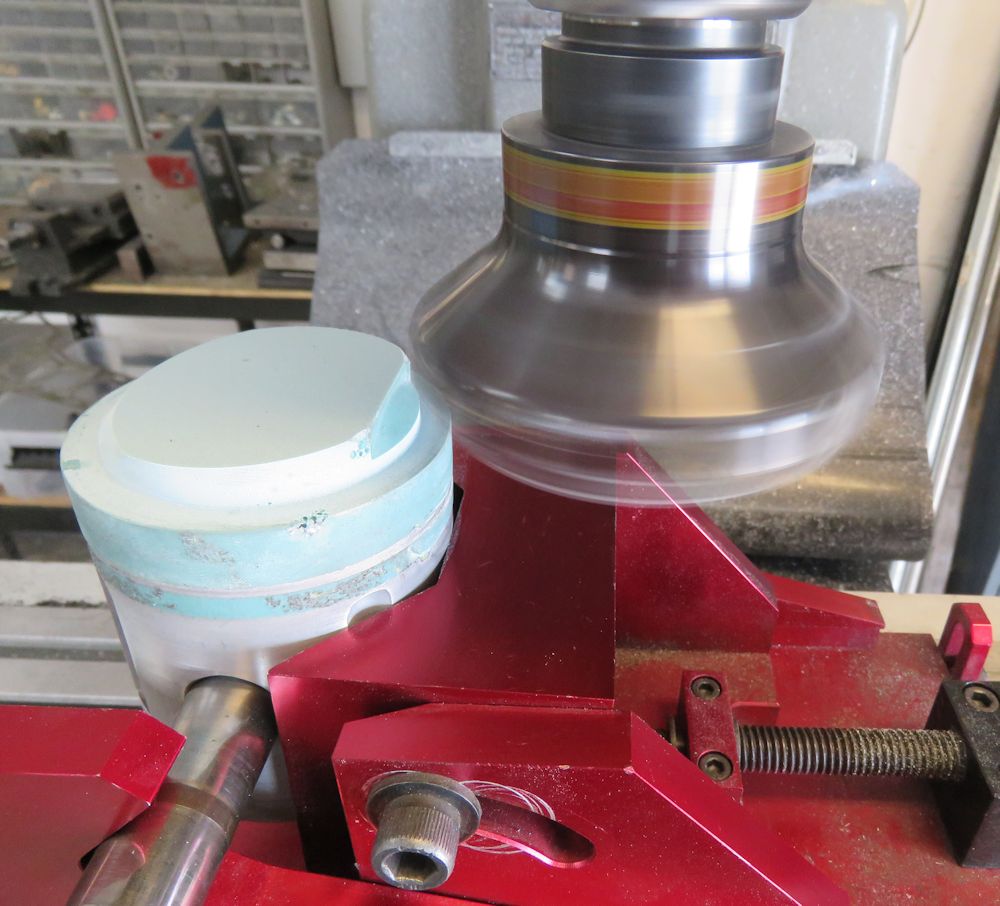
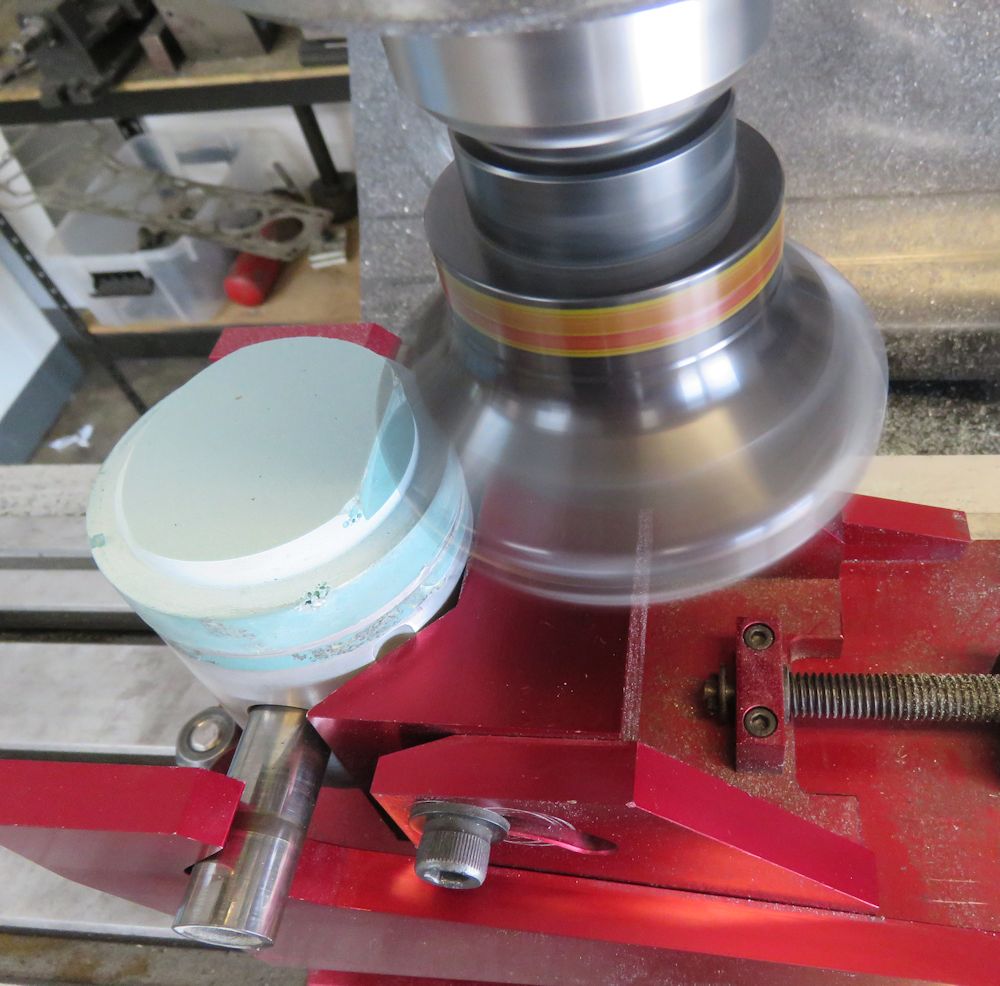
The finished article - a set of custom forged SS100 pistons.
 |
 |
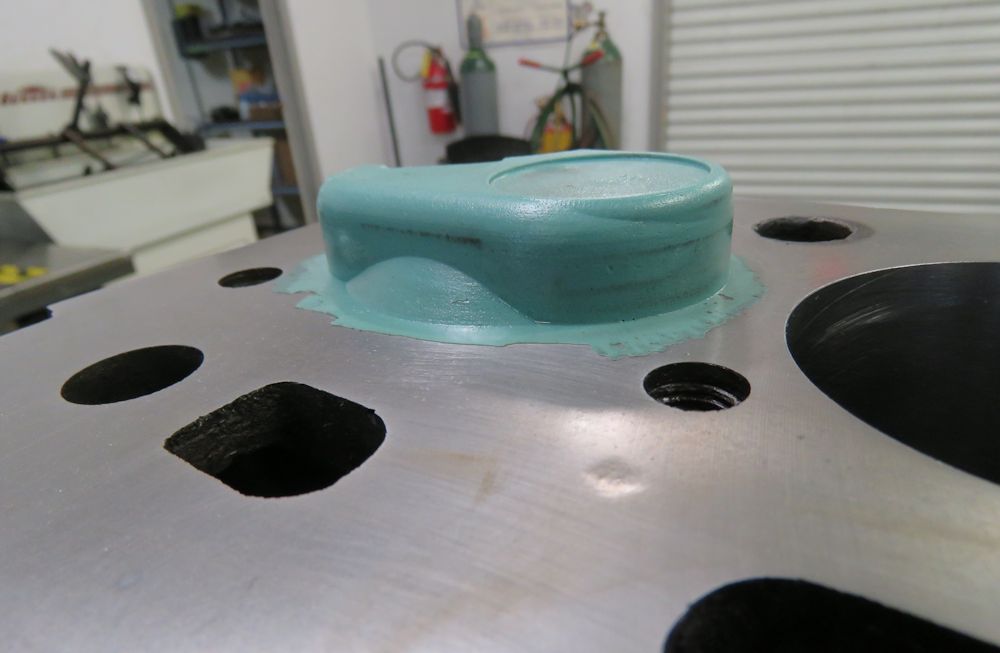
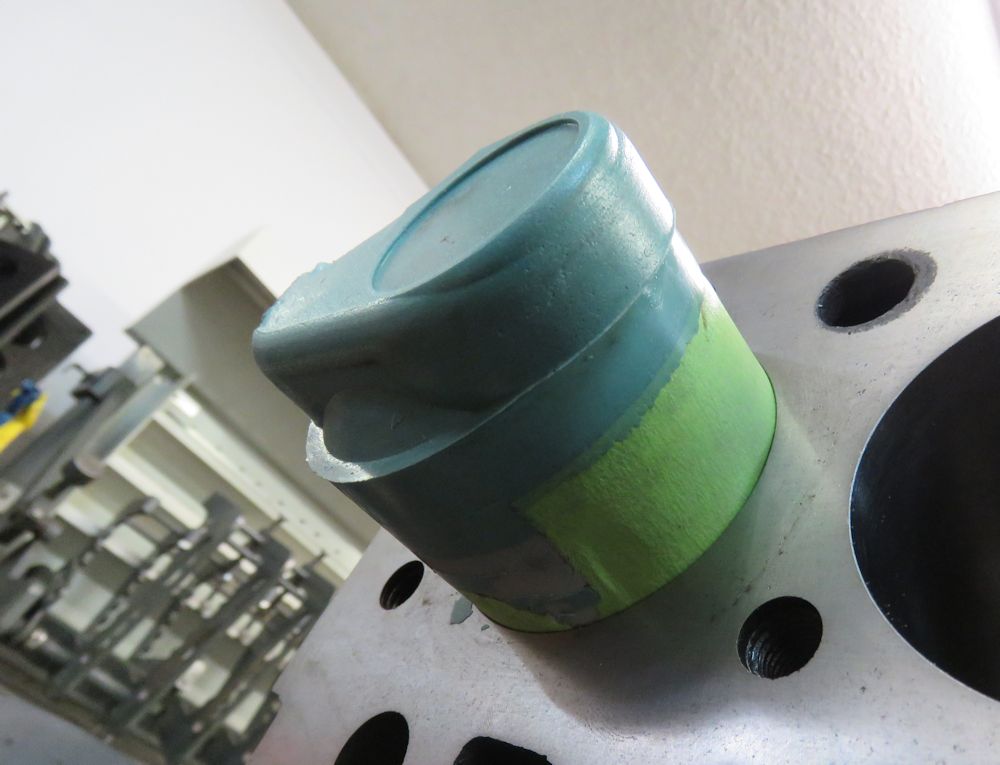
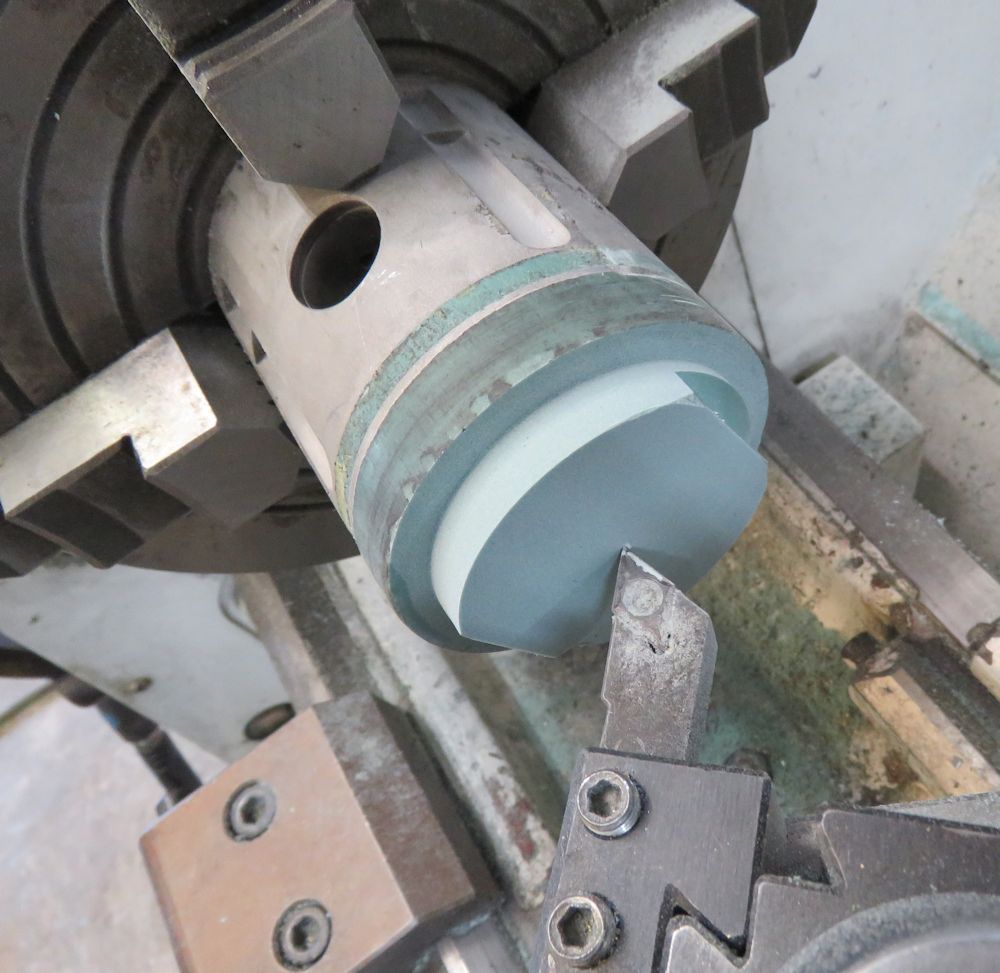
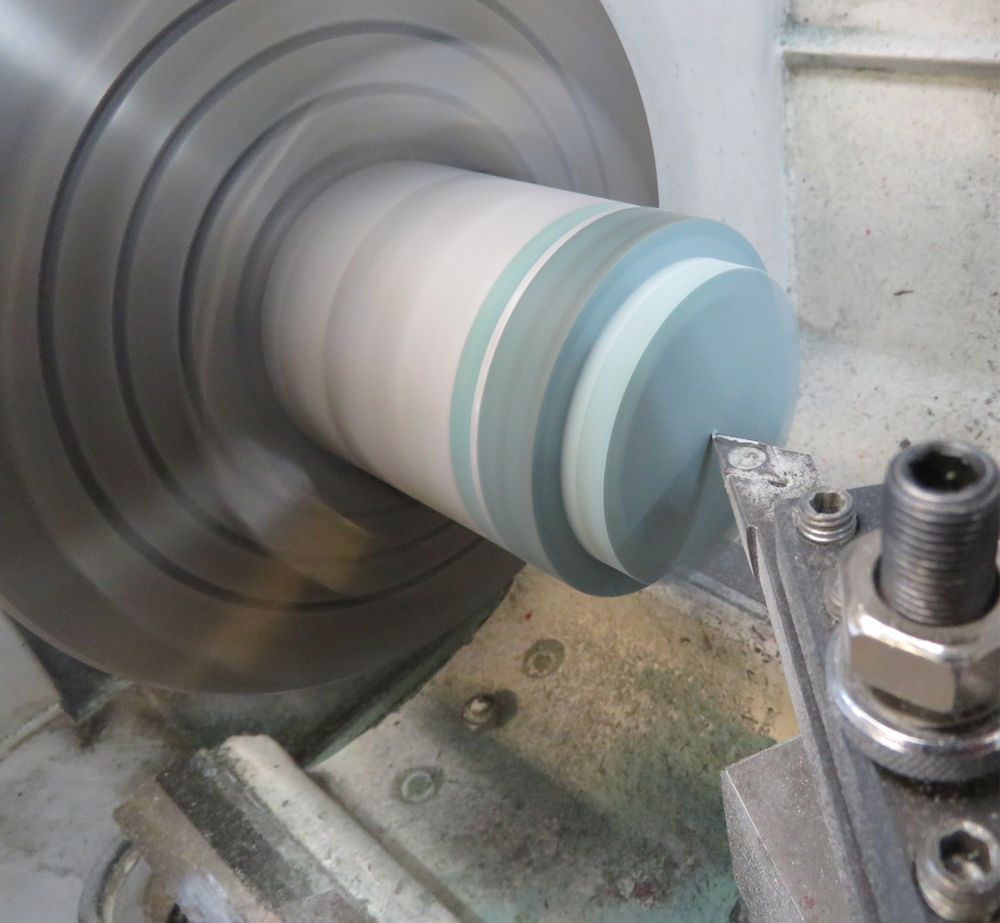
The following sequence of photographs show the new one piece rear crankshaft seal that Corey designed and fabricated, and the process of creating a piston mold from which we will manufacture a set of custom forged pistons for the SS100 engine.
 |
 |
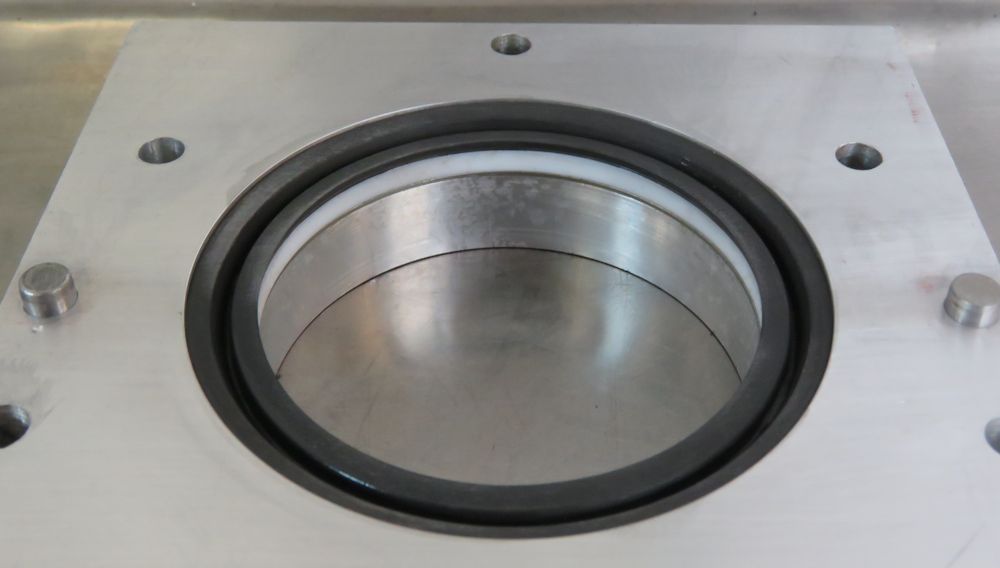
| New uprated one piece rear crank seal |
Piston mold allows us to optimize the design
of the forged pistons we will make for this engine |
| |
|
 |
 |
 |
 |
 |
 |
Huge thanks to Alan Gibbins of SS Spares in the UK who time and again has come up trumps when we have needed rare and obsolete parts for our SS100 restoration. Alan has also been kind enough to share his encyclopedic knowledge of the SS100 with me, which is very much appreciated!
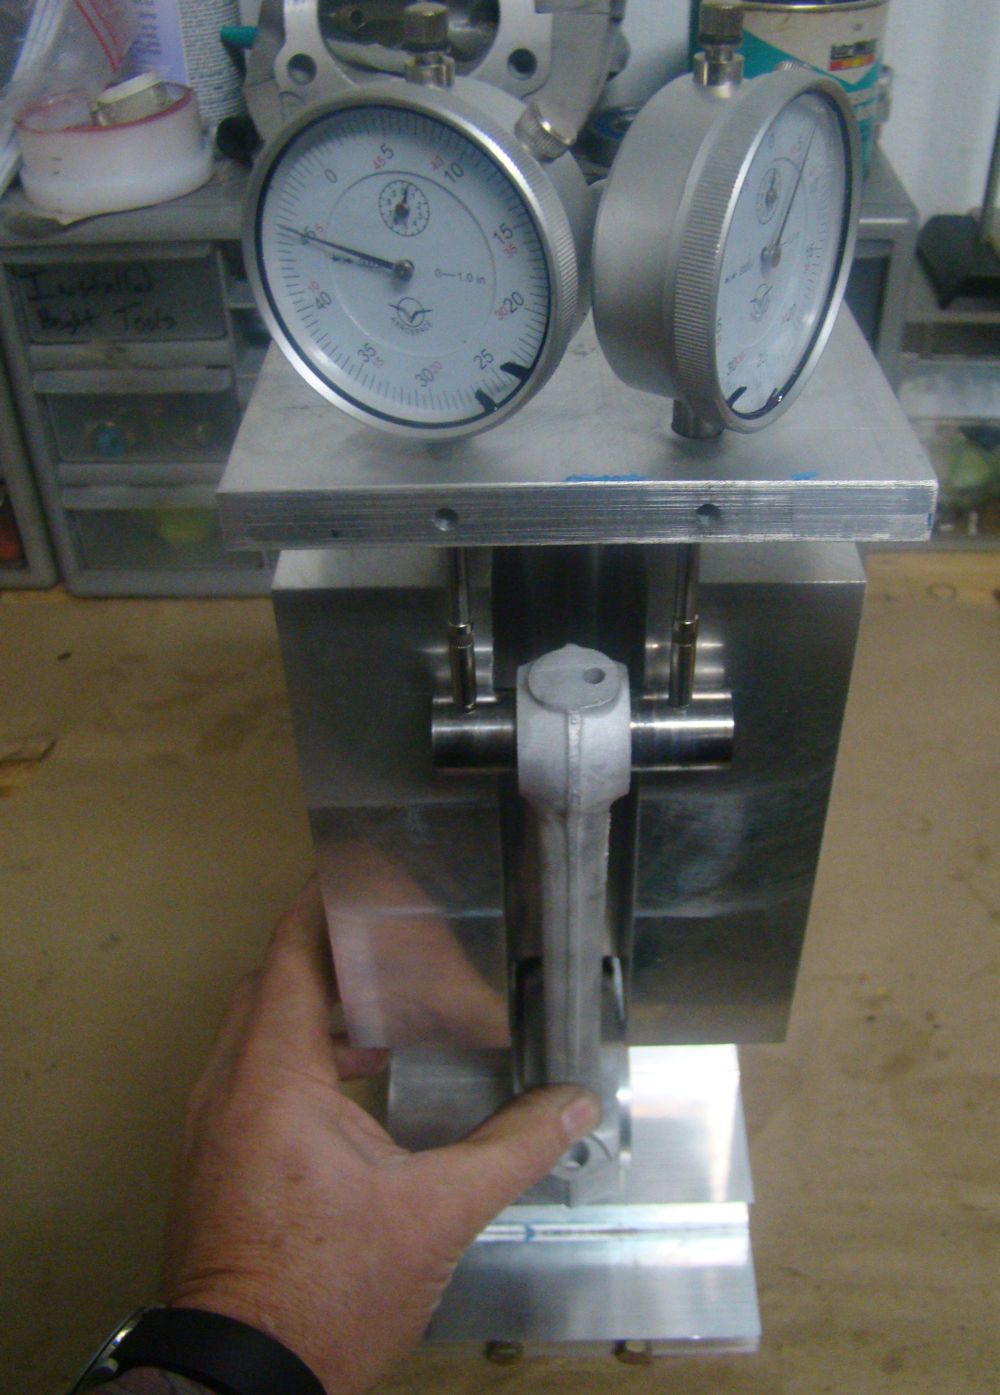
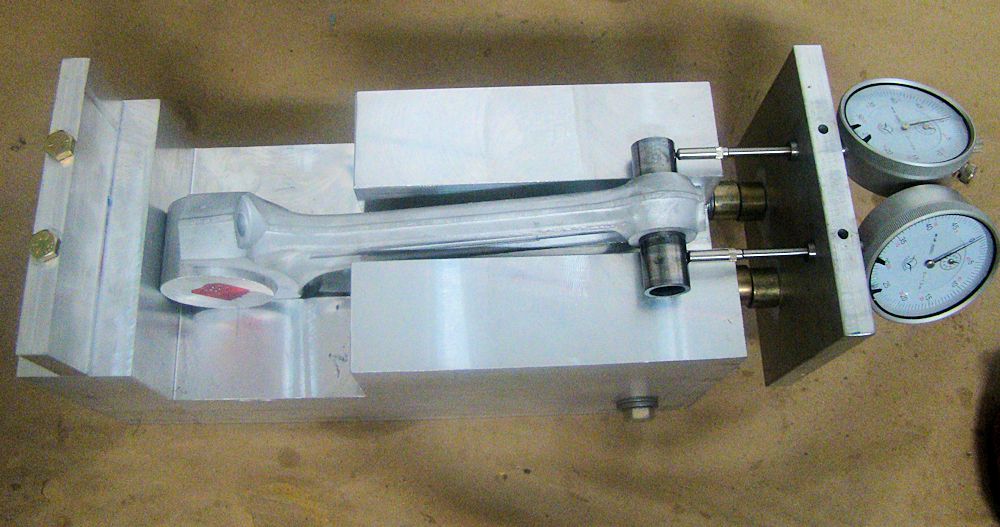
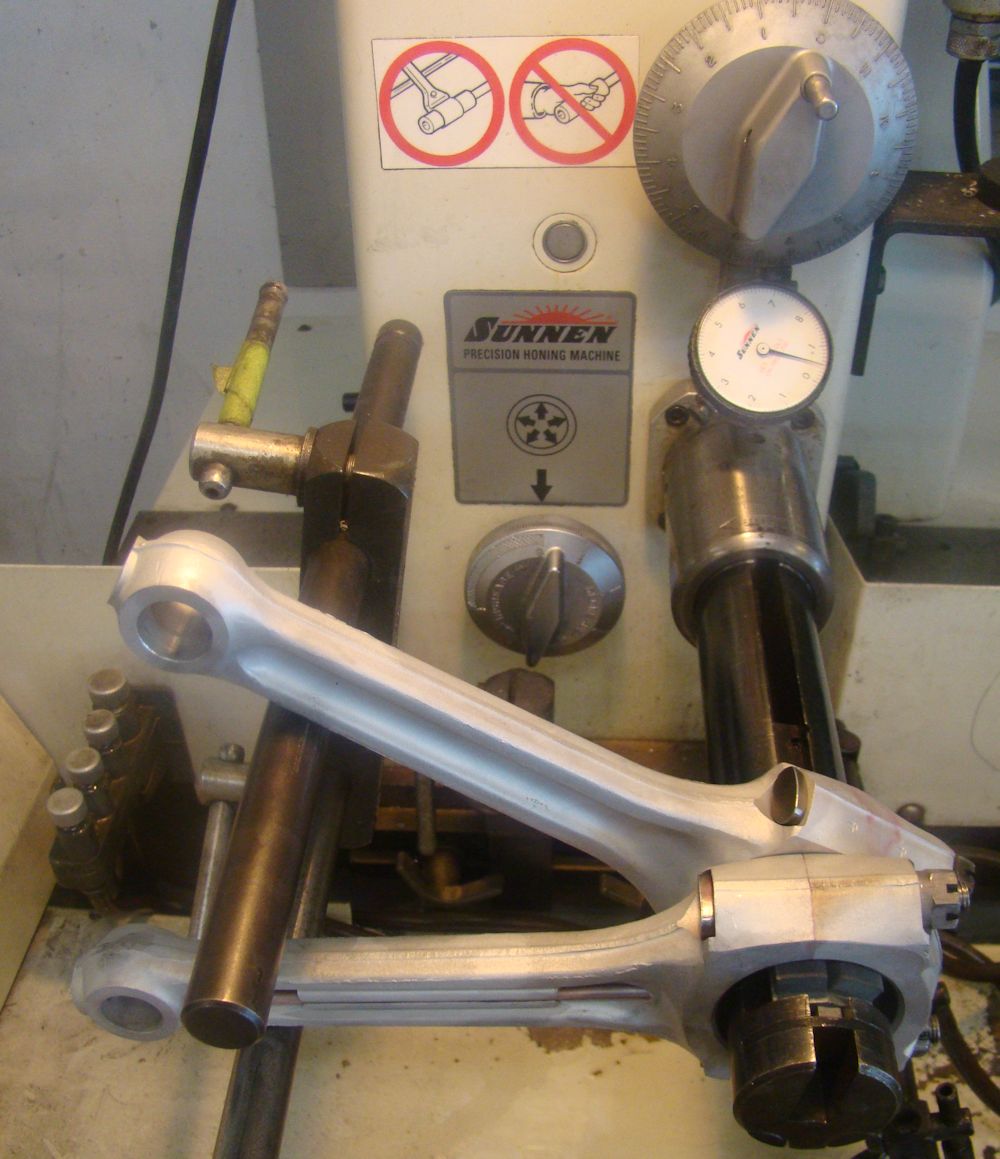
One of our challenges with this particular engine rebuild is taking ancient old bearings and machining them to a specific 'eccentric' shape. This is not something typically discussed in modern engine building, although in vintage engine building it is sometimes necessary to take an oversized bearing and bore it until you have the desired clearance. This is a tricky enough operation to begin with, made even more so because the bearing surface itself has to be eccentric (not cylindrical). Half shell rod and main bearings do not have a wall of uniform thickness. The wall is thickest at the point of the split and tapers off a prescribed amount towards each parting line. This taper, or drop off, is called eccentricity. Eccentricity in the SS engine application is designed to promote oil film formation by creating a wedge shape in the bearing clearance space. In these circumstances, bearing clearances must be measured at 90 degrees to the split line.
I have included a short video clip below demonstrating how Kevin machined the bearings within the rod housing.
 |
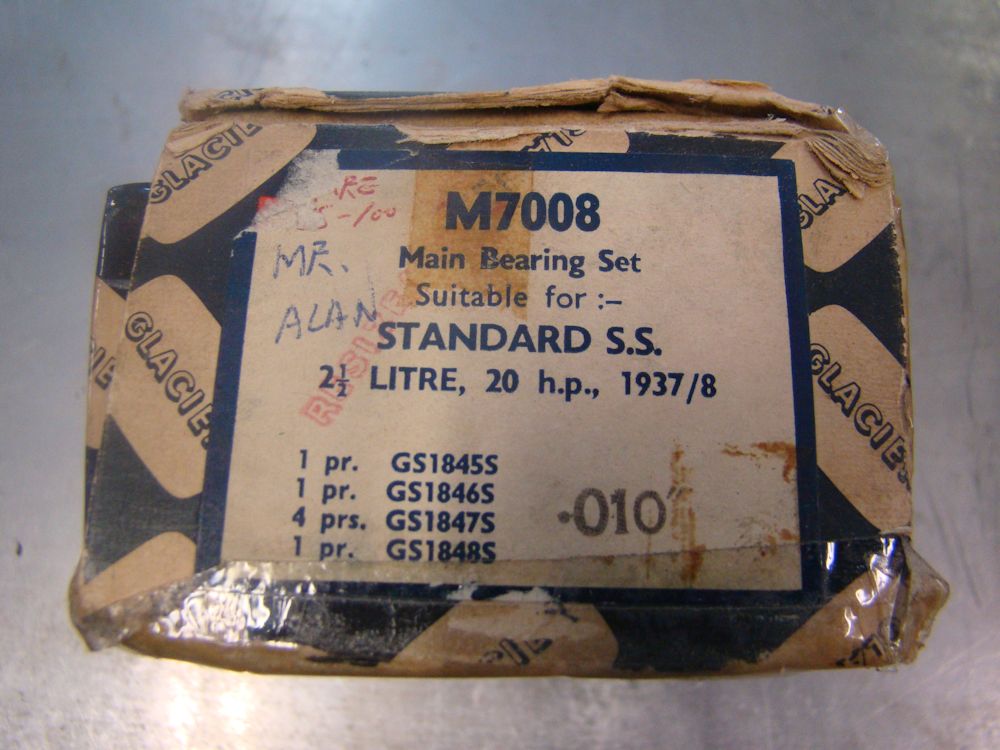 |
| Alan Gibbins at SS Spares in England came up with these ancient NOS bearings |
|
 |
 |
| Non-destructive testing of rod bolts |
|
 |
 |
| Checking rods for straightness |
|
 |
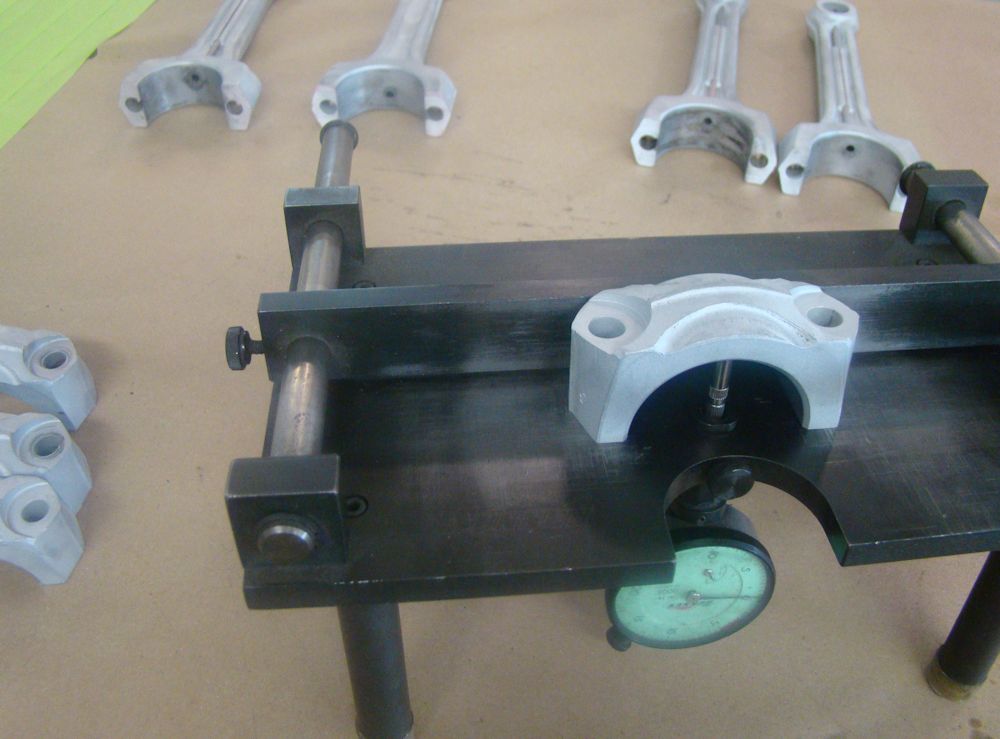 |
| Grinding rod caps square |
|
 |
 |
| Sizing rods |
|
 |
 |
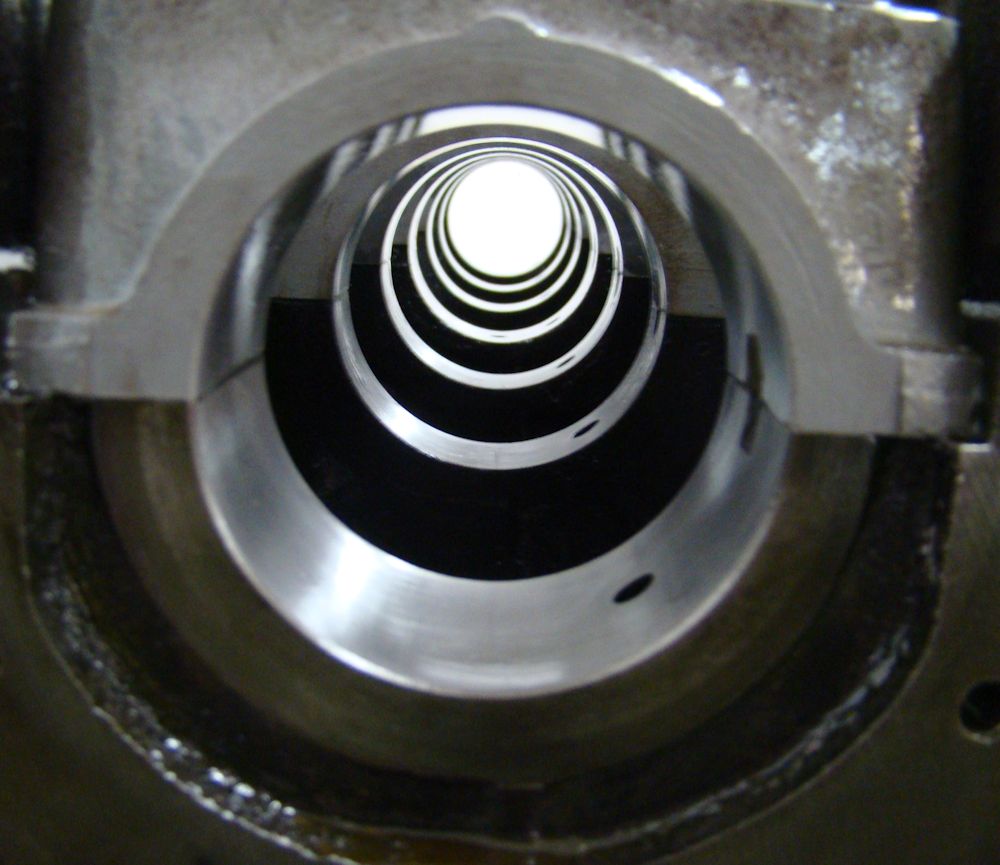
| Identifying bearing center line |
Click on the thumbnail to view a short video of the process |
 |
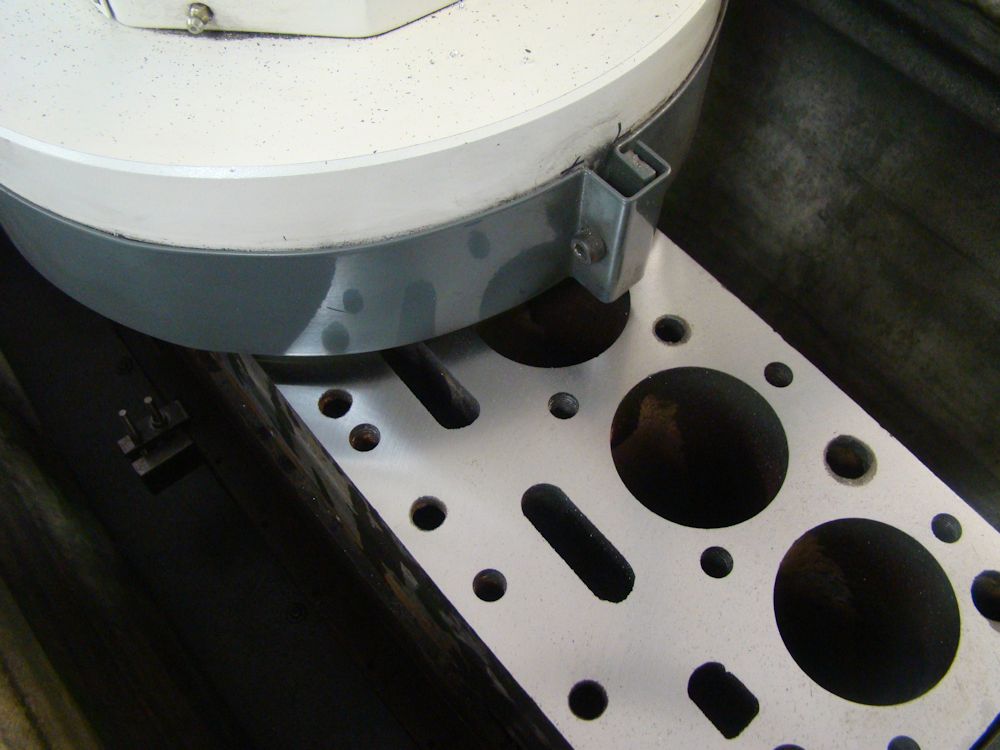 |
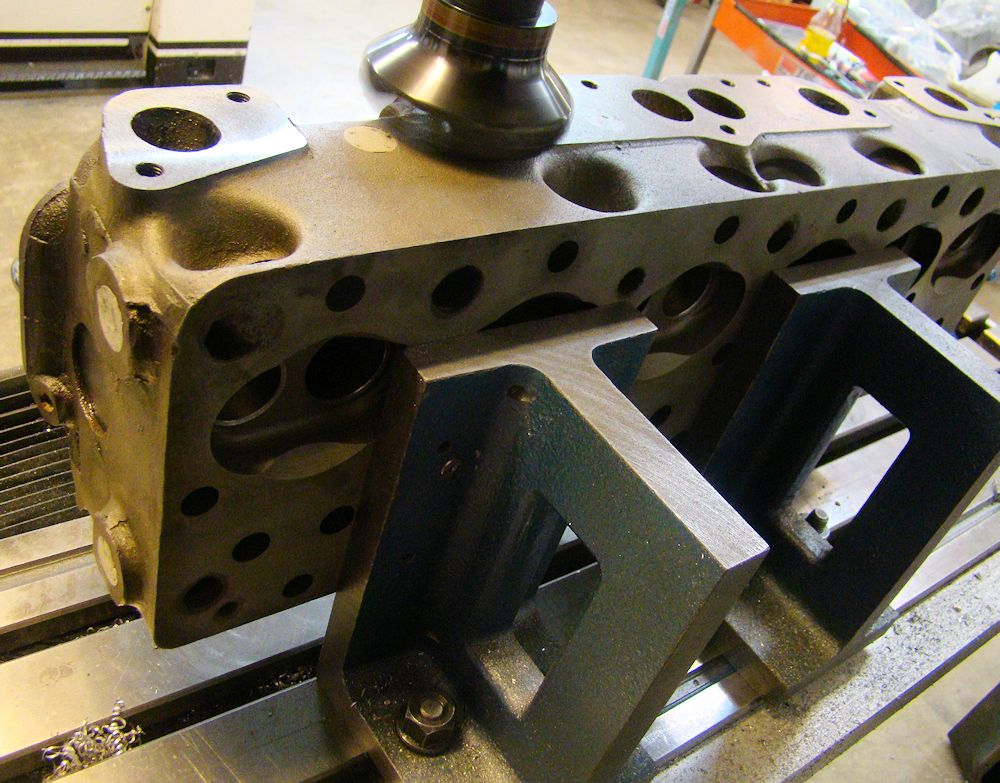
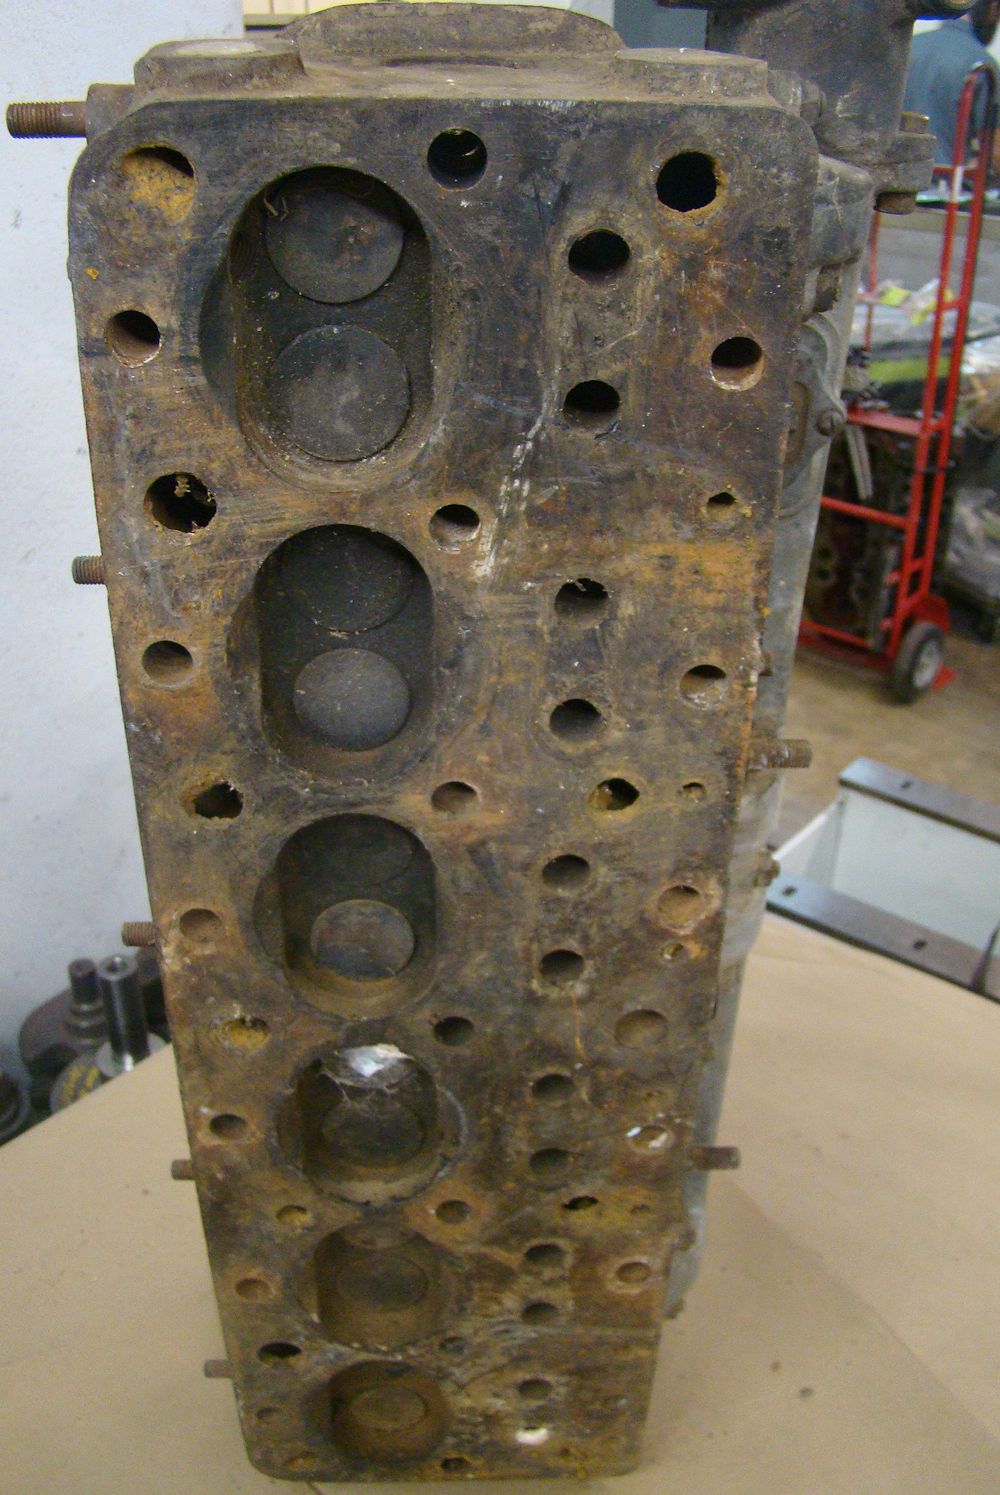
| Setting up to surface cylinder block |
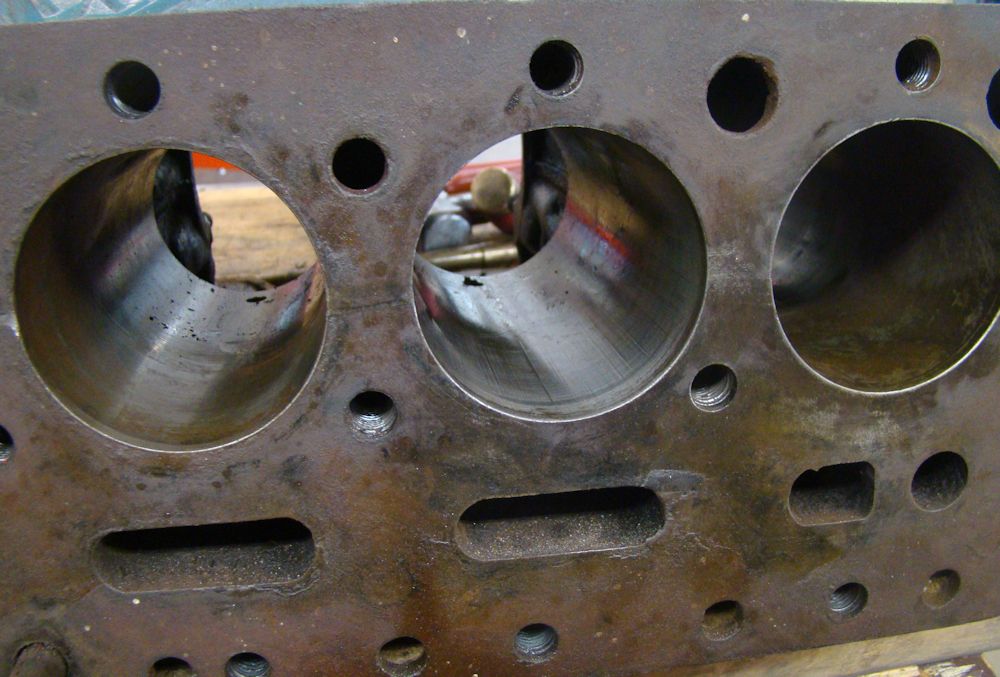
Corey has been busy in the CJ engine shop machining your cylinder head back to pristine condition.
 |
 |
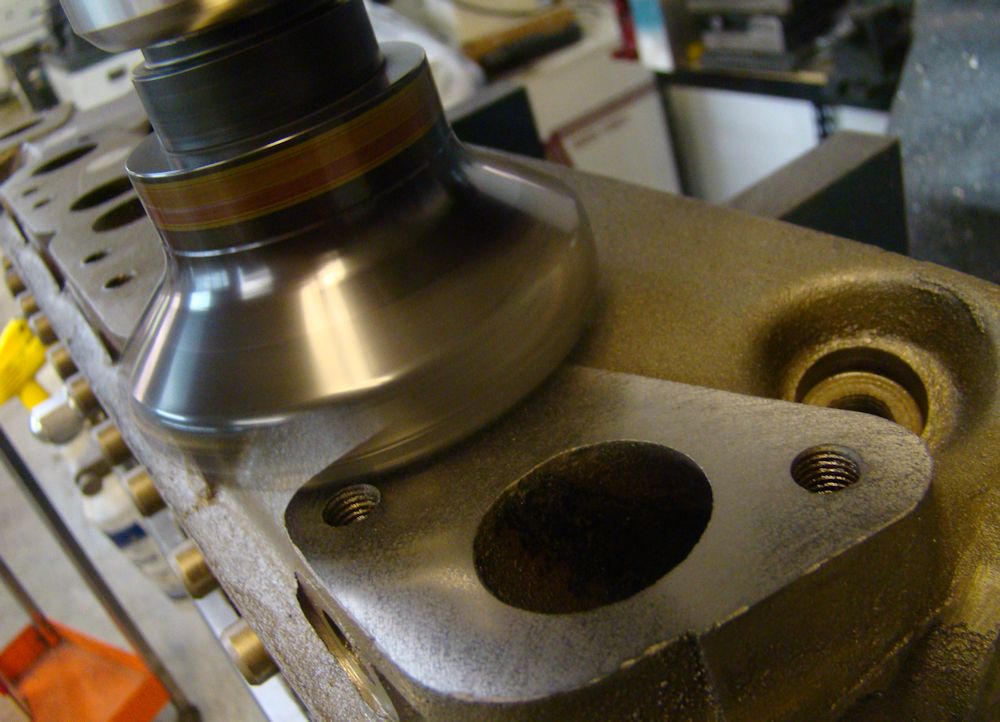
| Intake and exhaust flanges surfaced on the
mill |
|
 |
 |
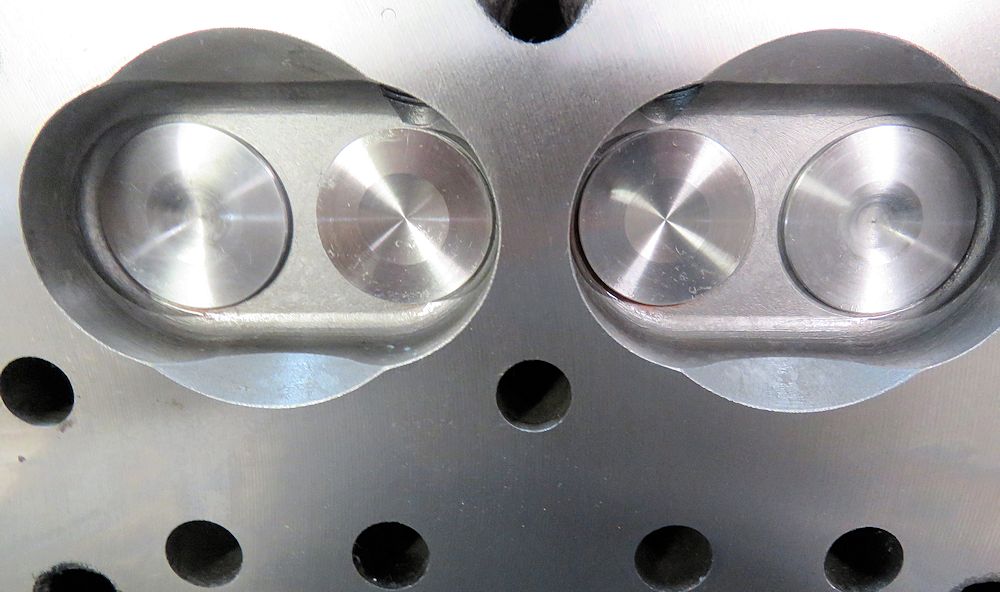
| Surfacing the cylinder head deck surface |
Deck surface and chambers literally as new |
 |
 |
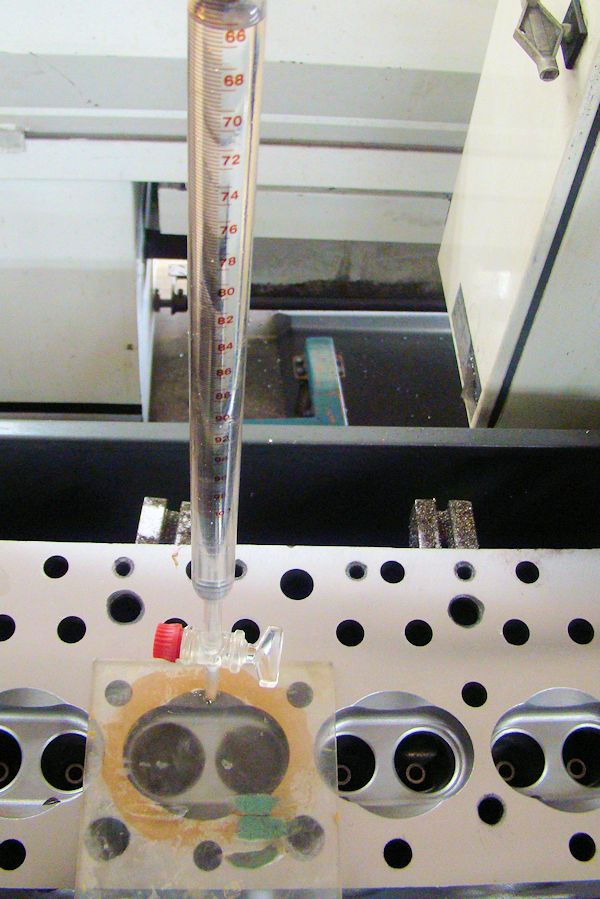
| CC'ing chambers |
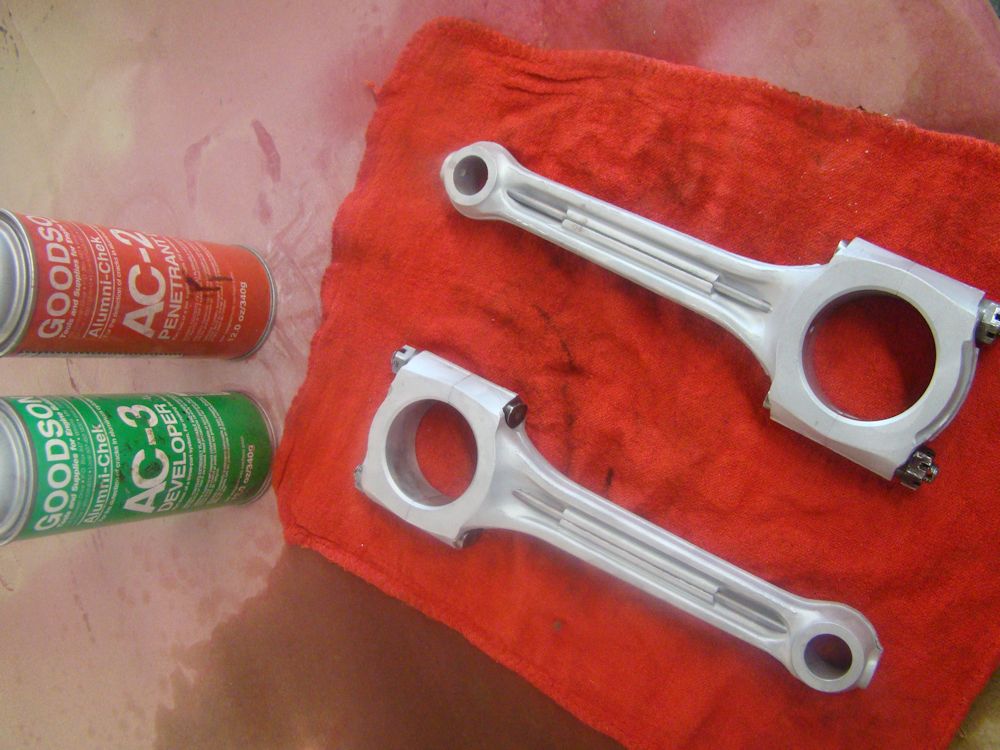
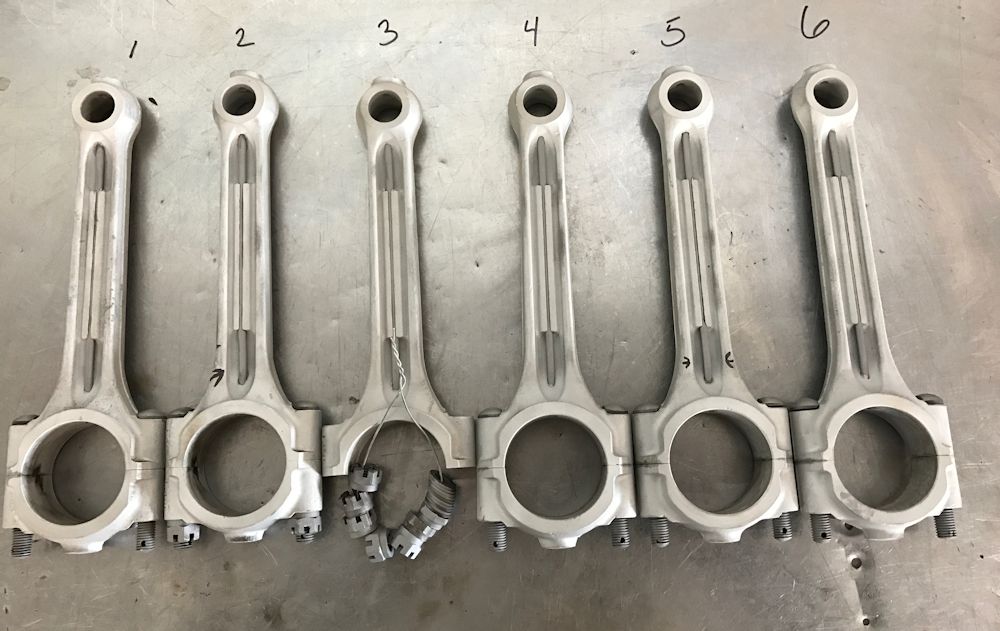
Checking original alloy rods for straightness |
Align honing the block, designing a one piece rear crank seal, damaged valve cover and oil filter housing...
 |
 |
| Grinding main caps square |
|
 |
 |
| Align honing in progress |
|
 |
 |
| Unusual looking cooling fan |
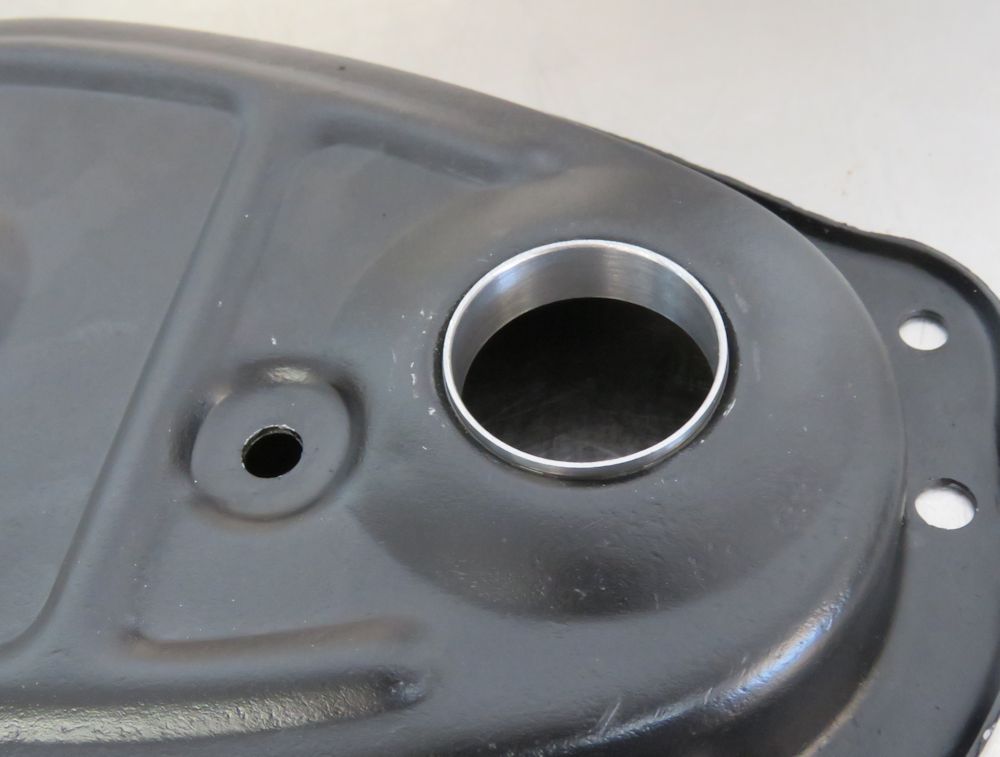
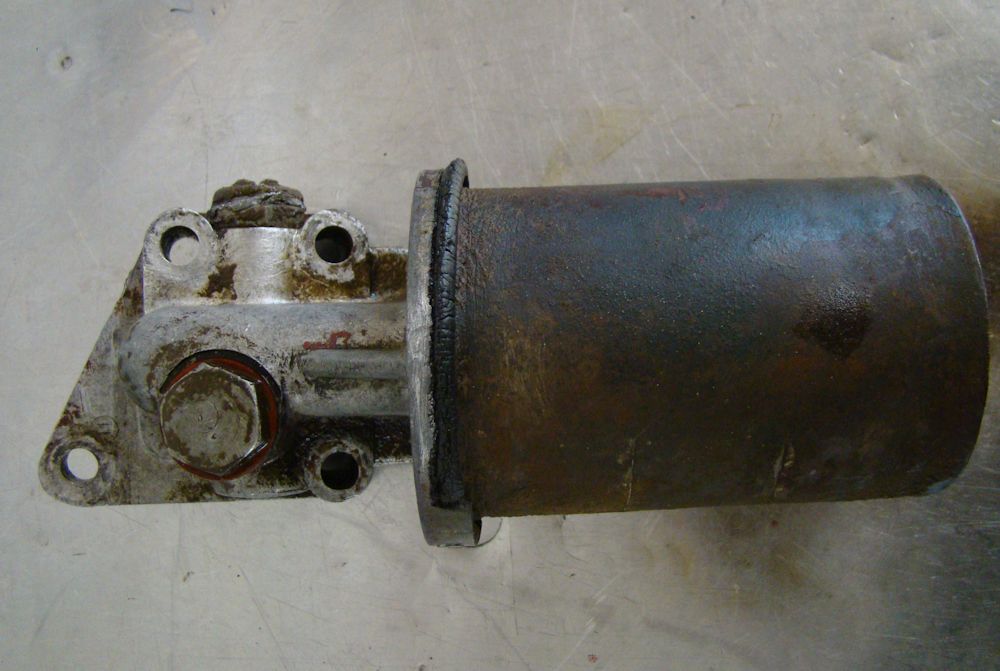
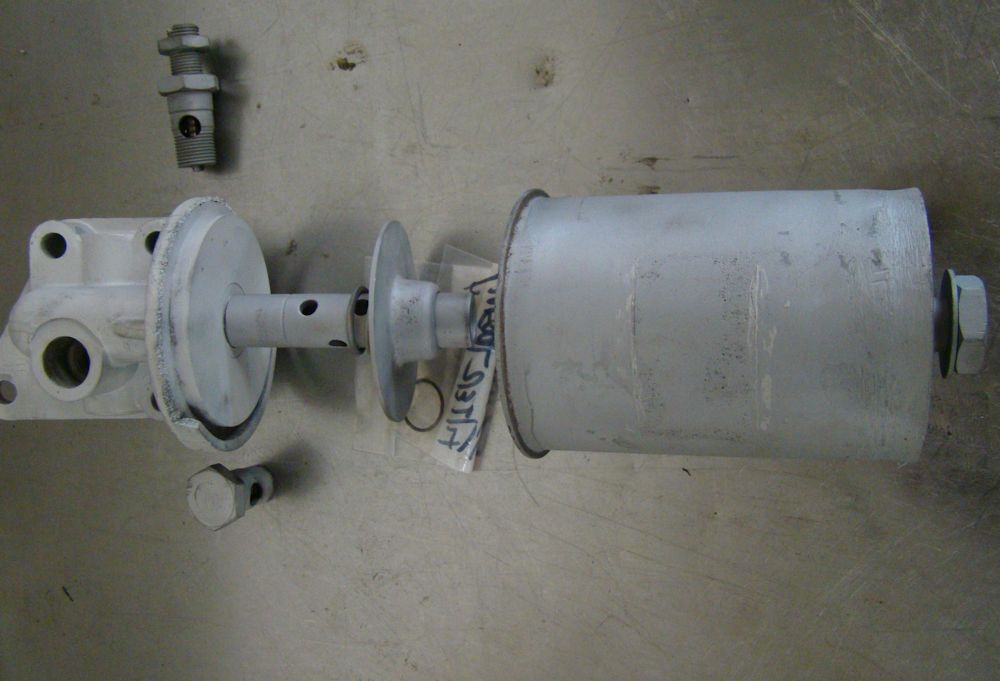
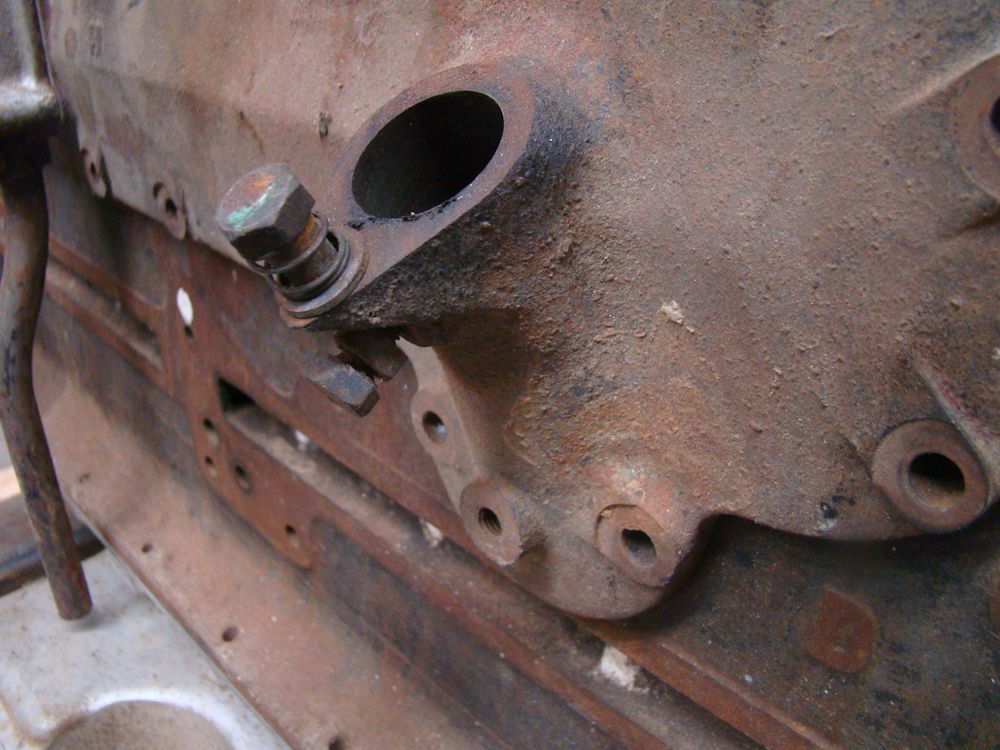
Oil filter housing is damaged |
 |
 |
 |
 |
| Note damaged lip on filter housing |
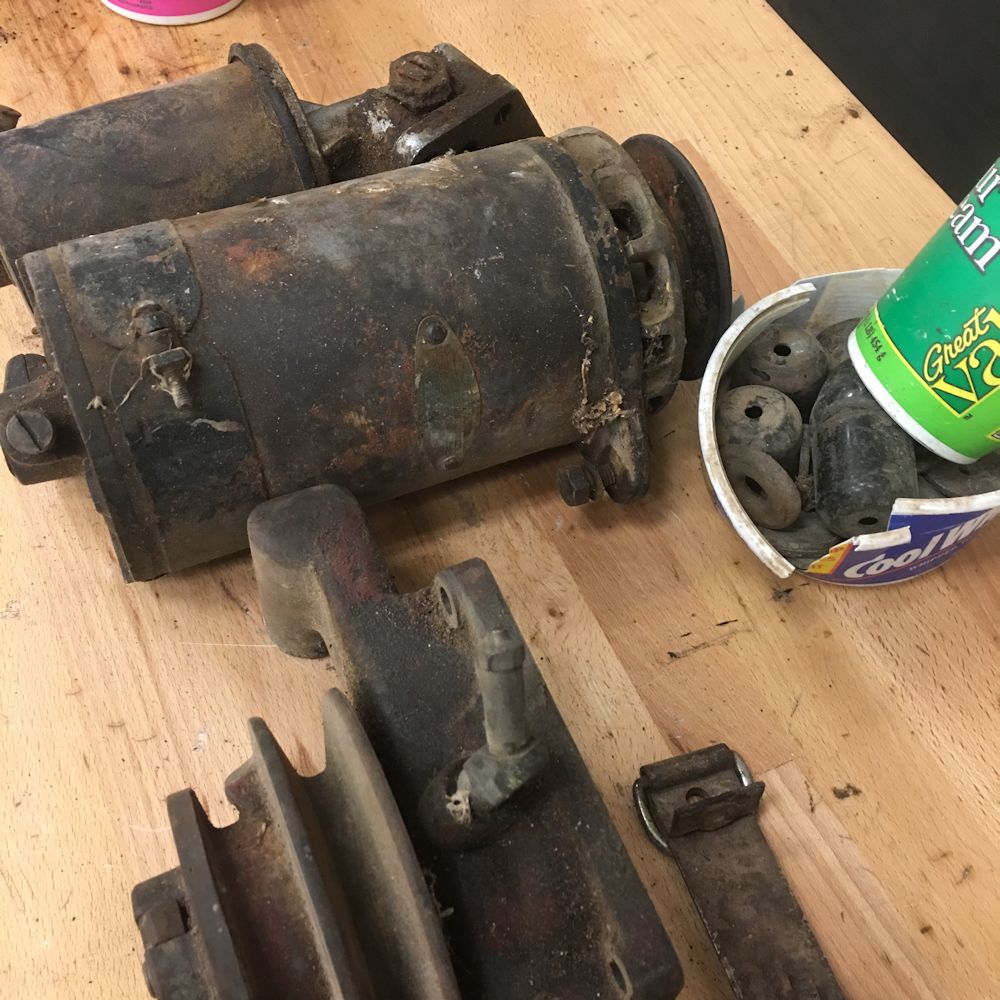
Water pump will be rebuilt |
 |
 |
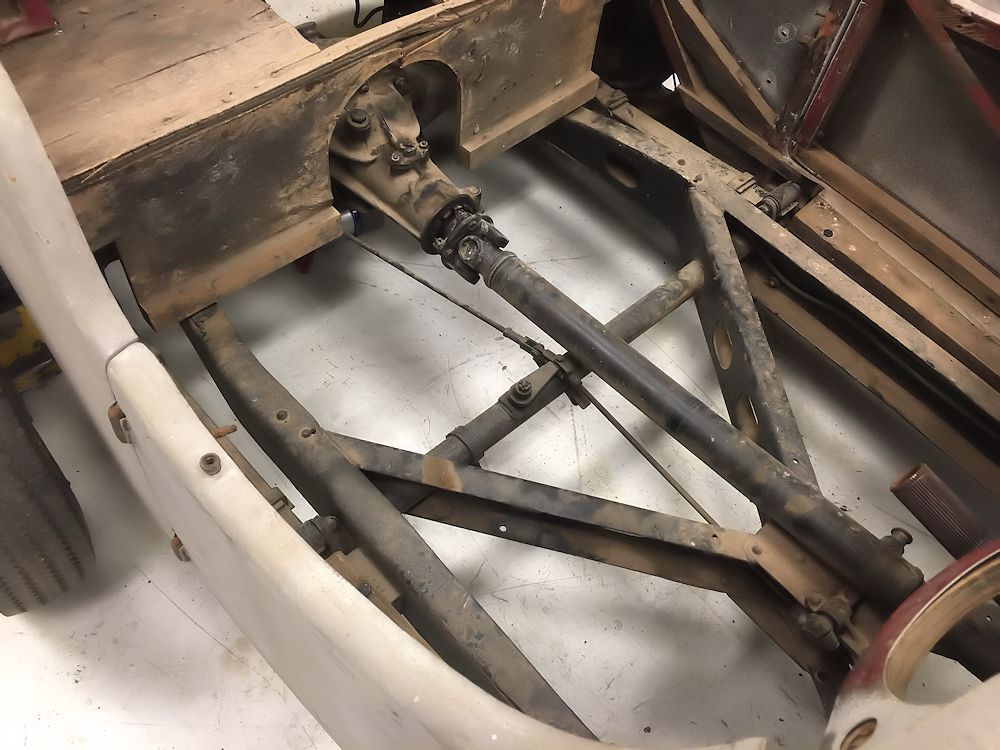
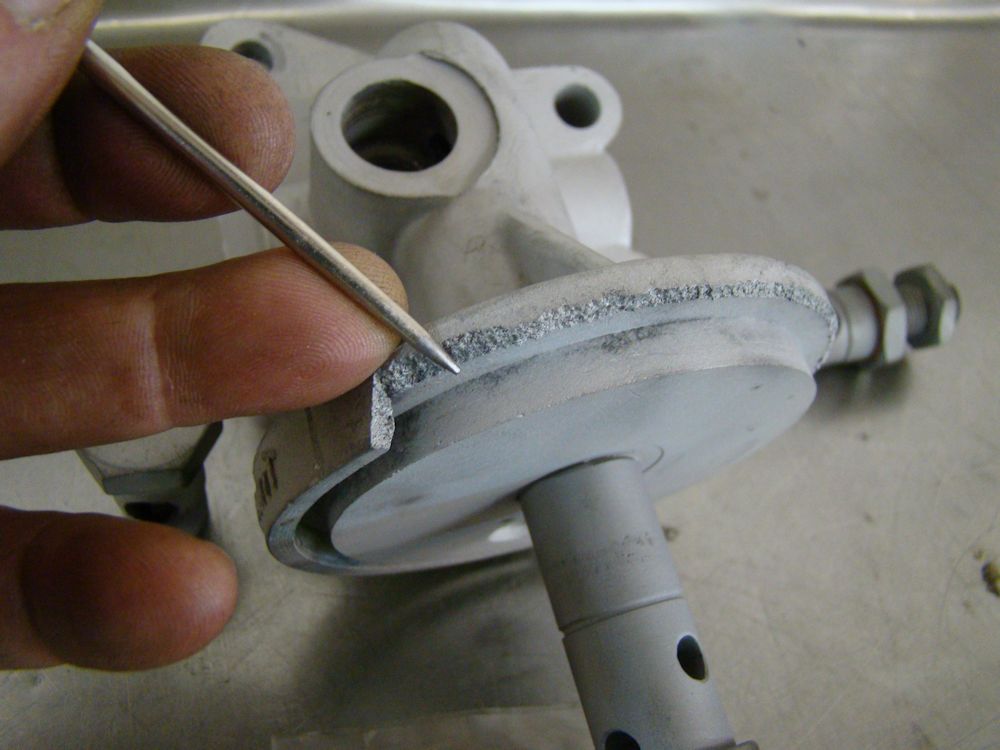
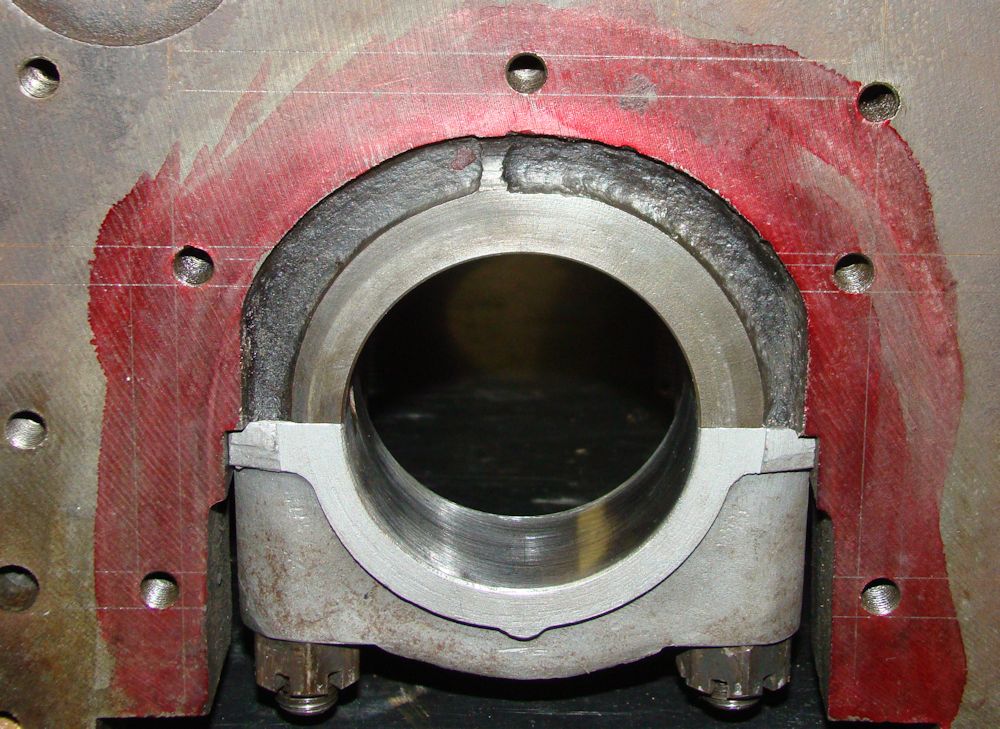
| We have decided to fabricate an upgraded one piece rear seal |
|
 |
 |
| Plotting out center lines for new one piece rear seal upgrade |
To be continued... |
 |
 |
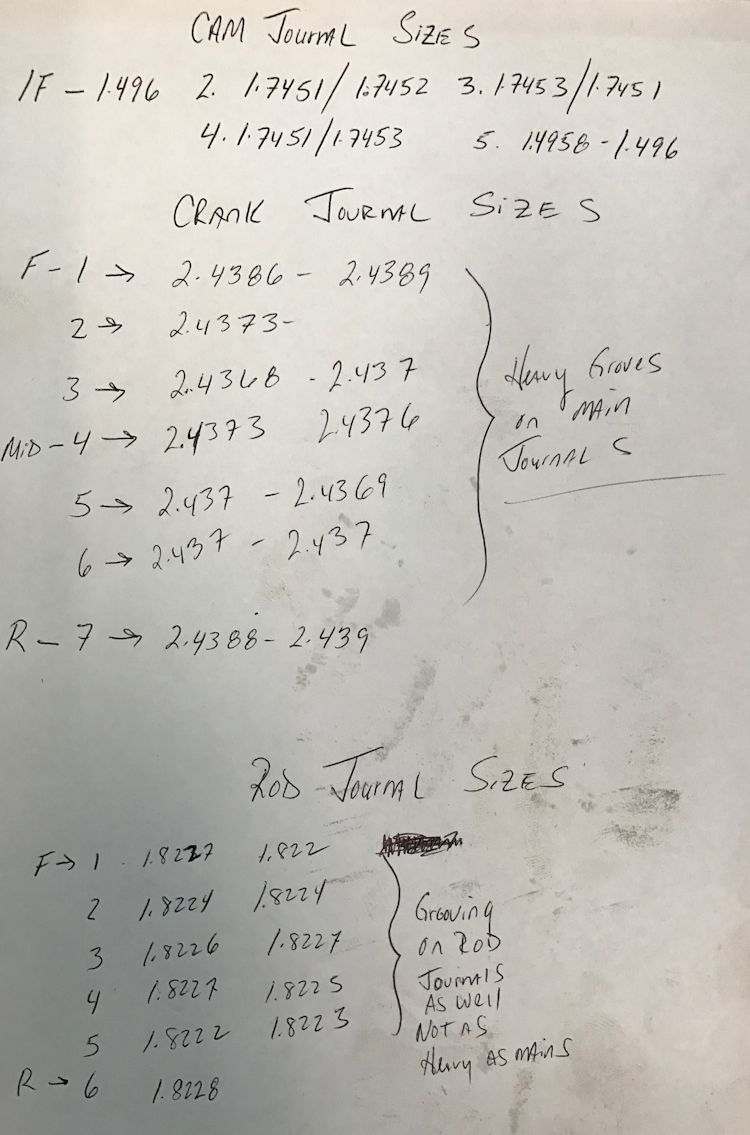
| Kevin's notes having measured the camshaft and crank |
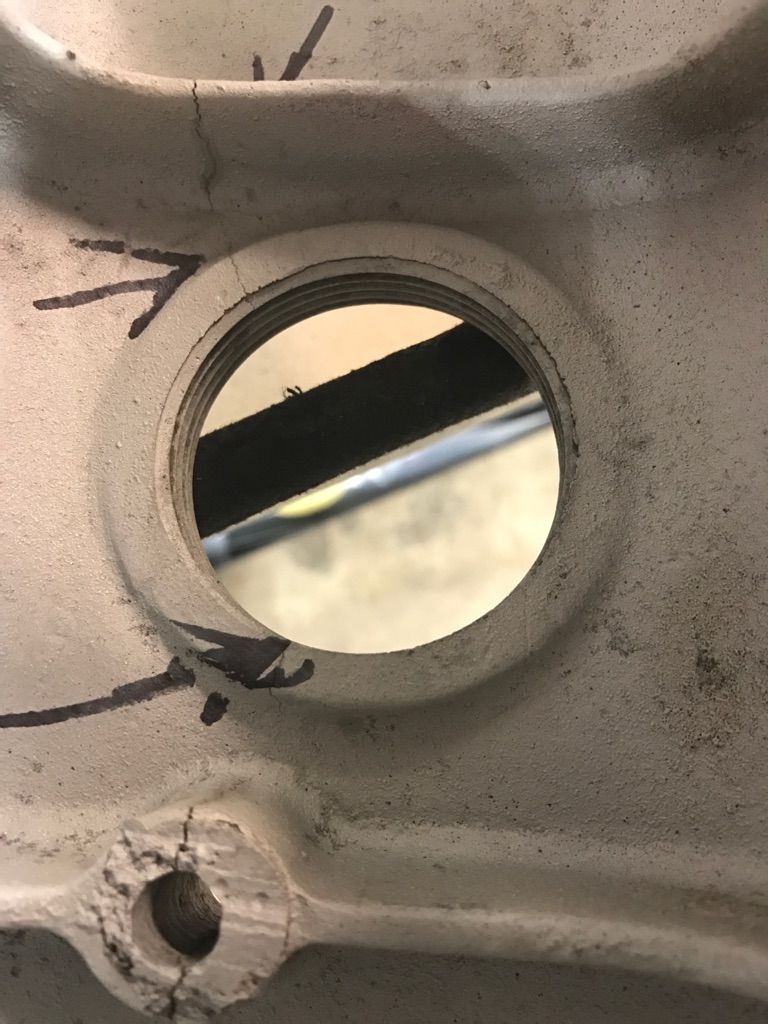
Unfortunately the valve cover is damaged beyond repair |
 |
 |
| A replacement valve cover will be required |
Original alloy rods will be rebuilt |
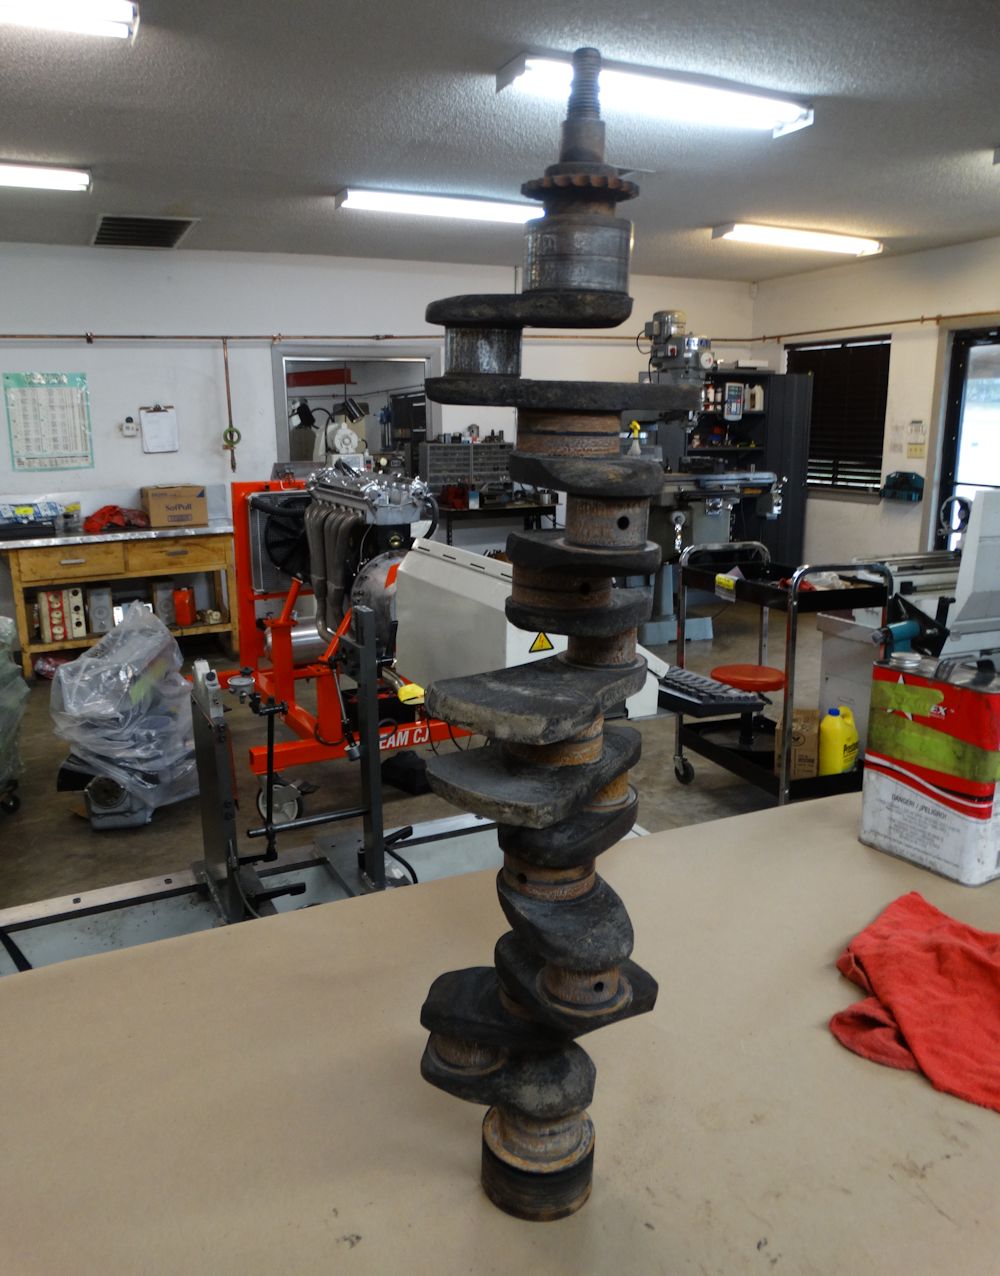
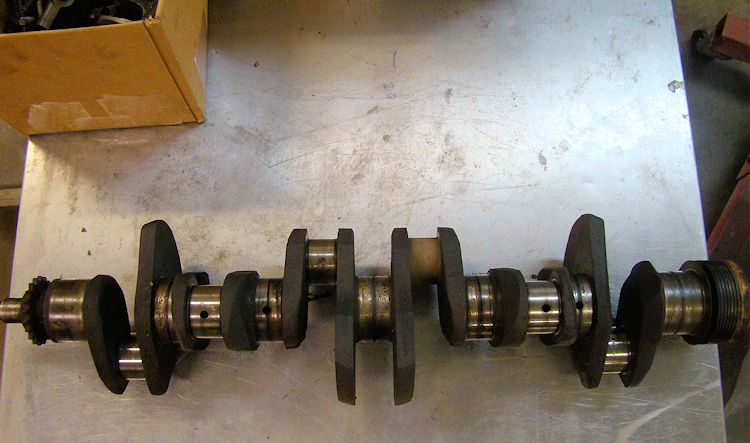
Taking a closer look at the crank, rods and main bearings.
 |
 |
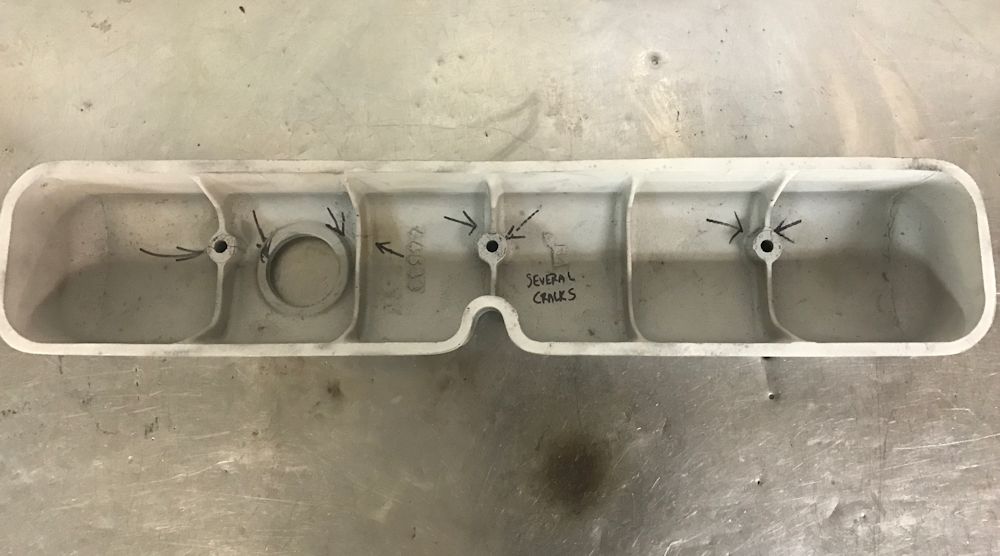
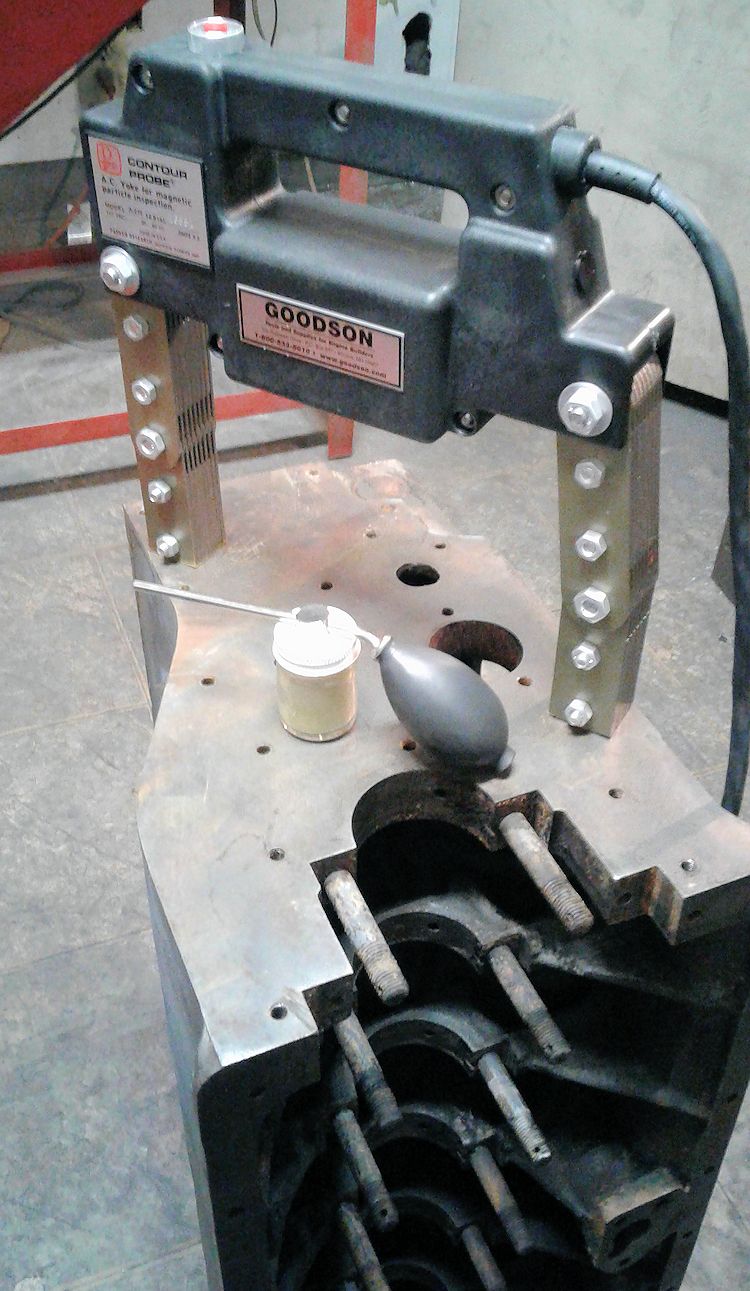
| Magnaflux checking the block for cracks |
Time to take a closer look at the crank |
 |
 |
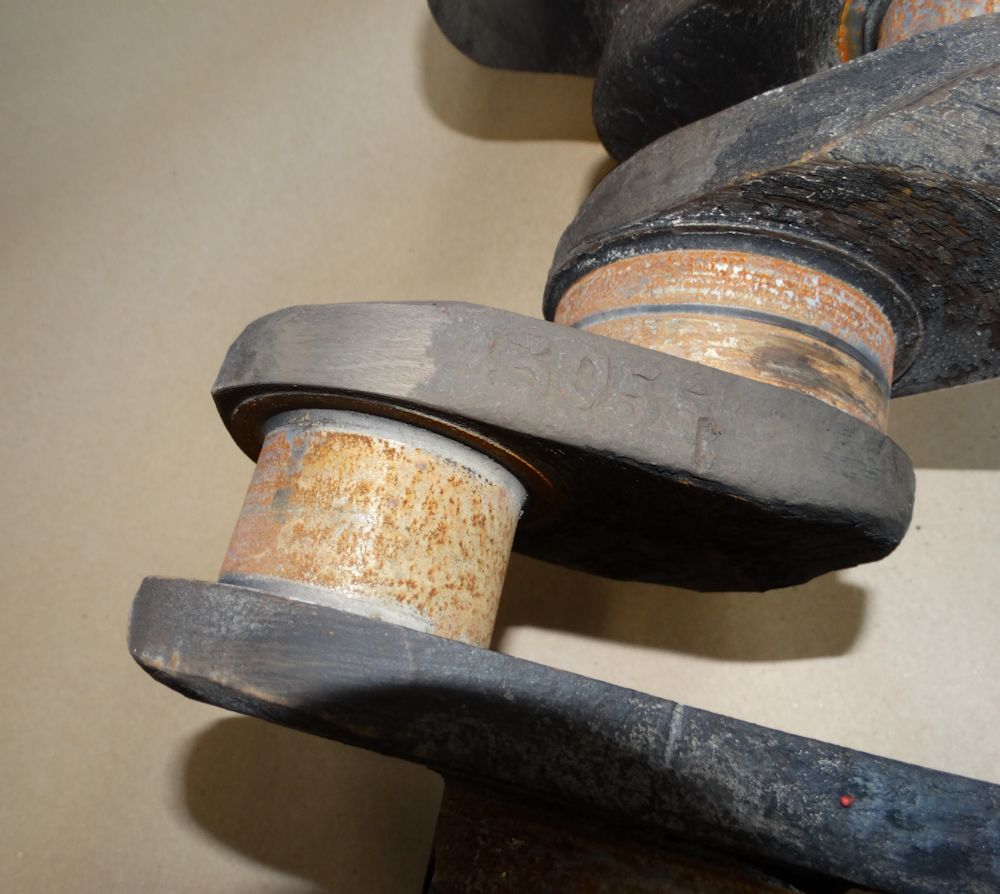
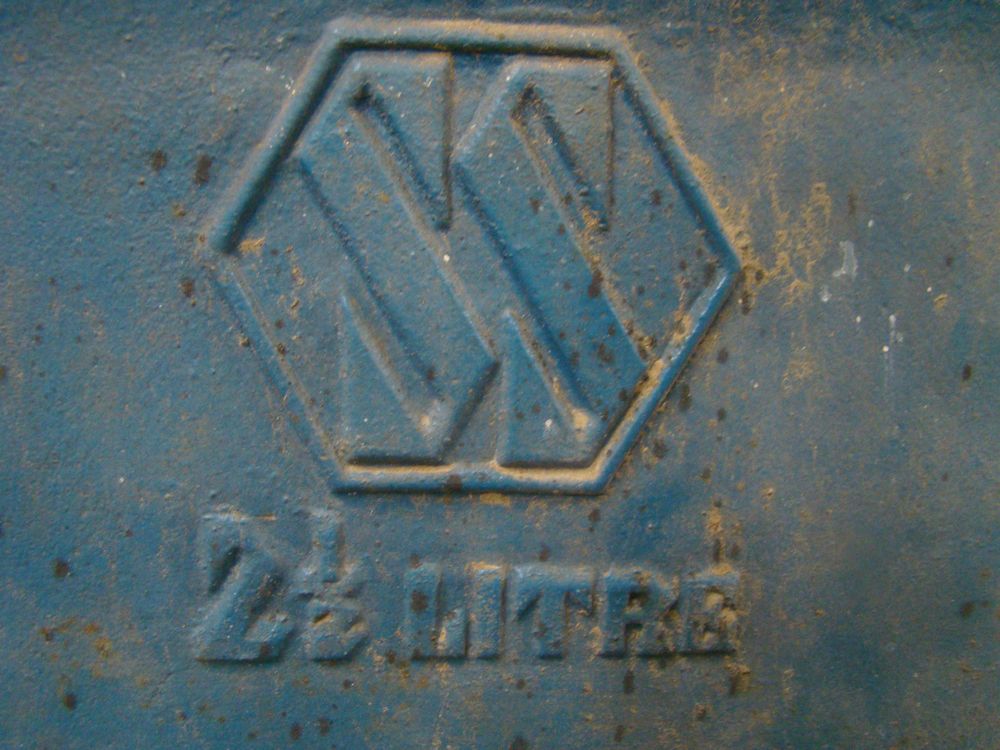
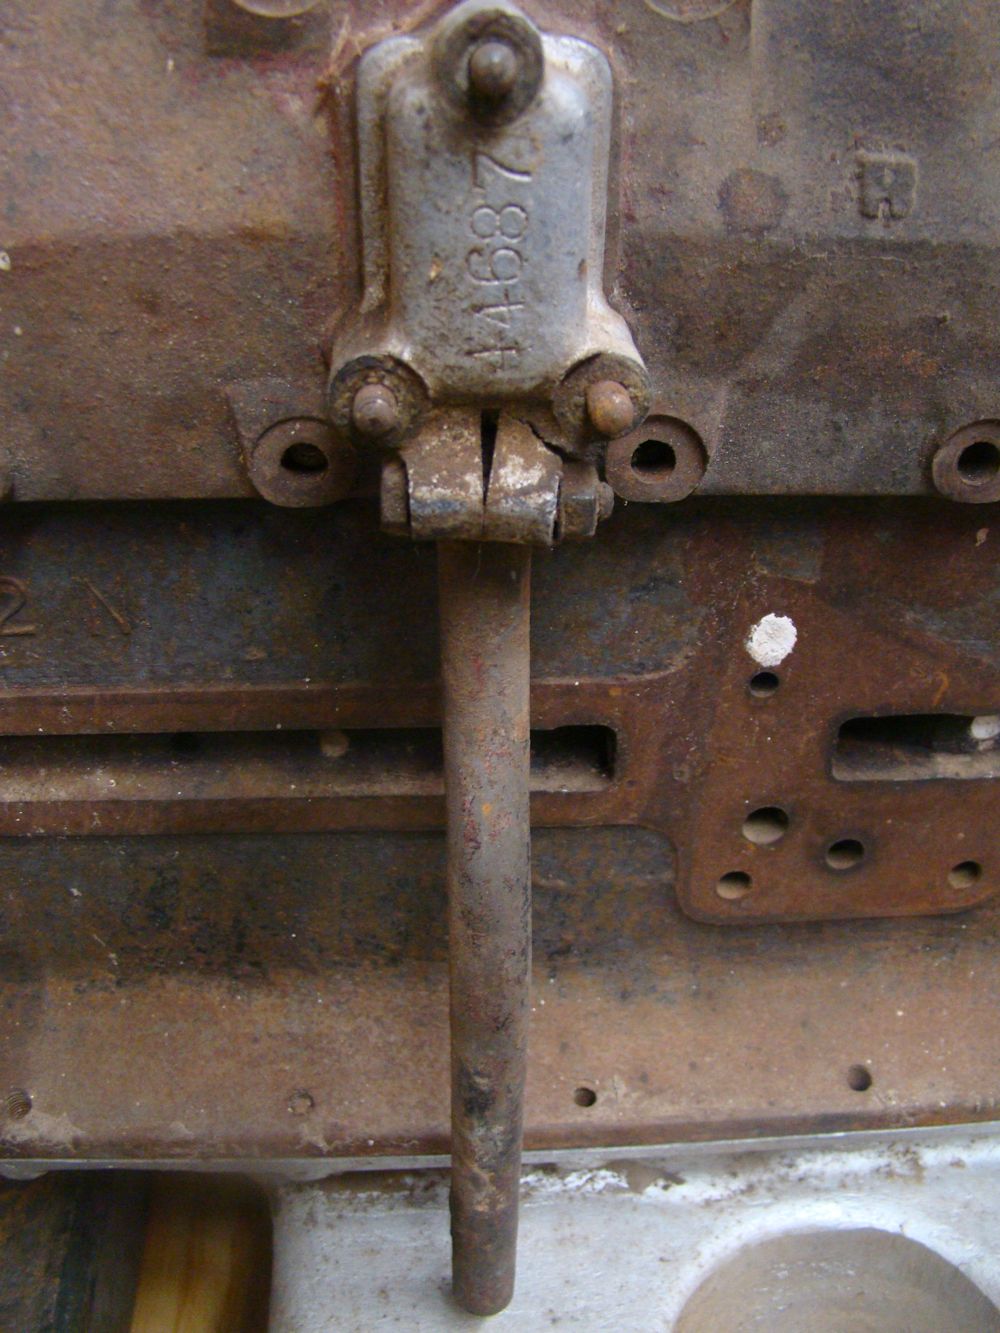
| Part number 43055 |
Main bearings look to be in exceptional
condition at first glance |
 |
 |
| Main bearing part number |
|
 |
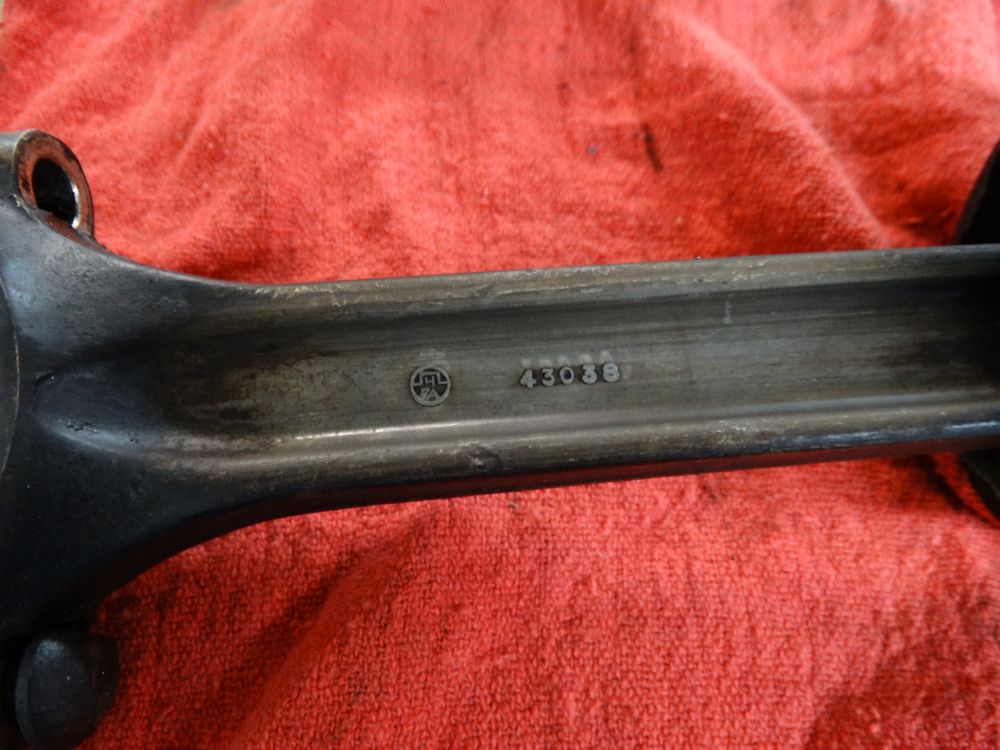 |
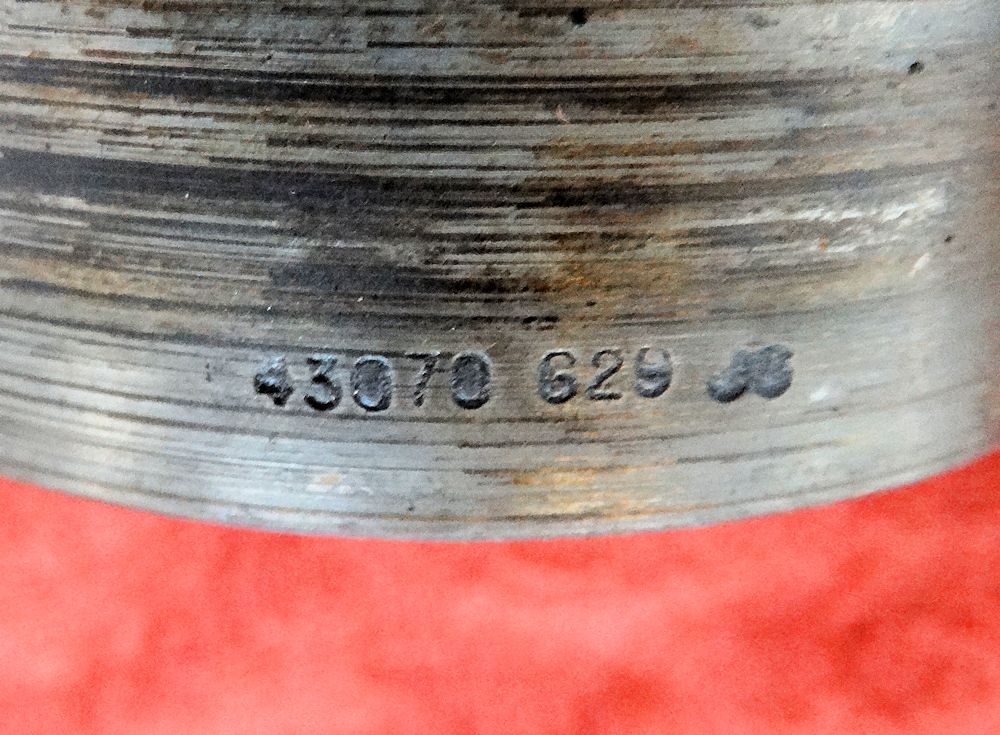
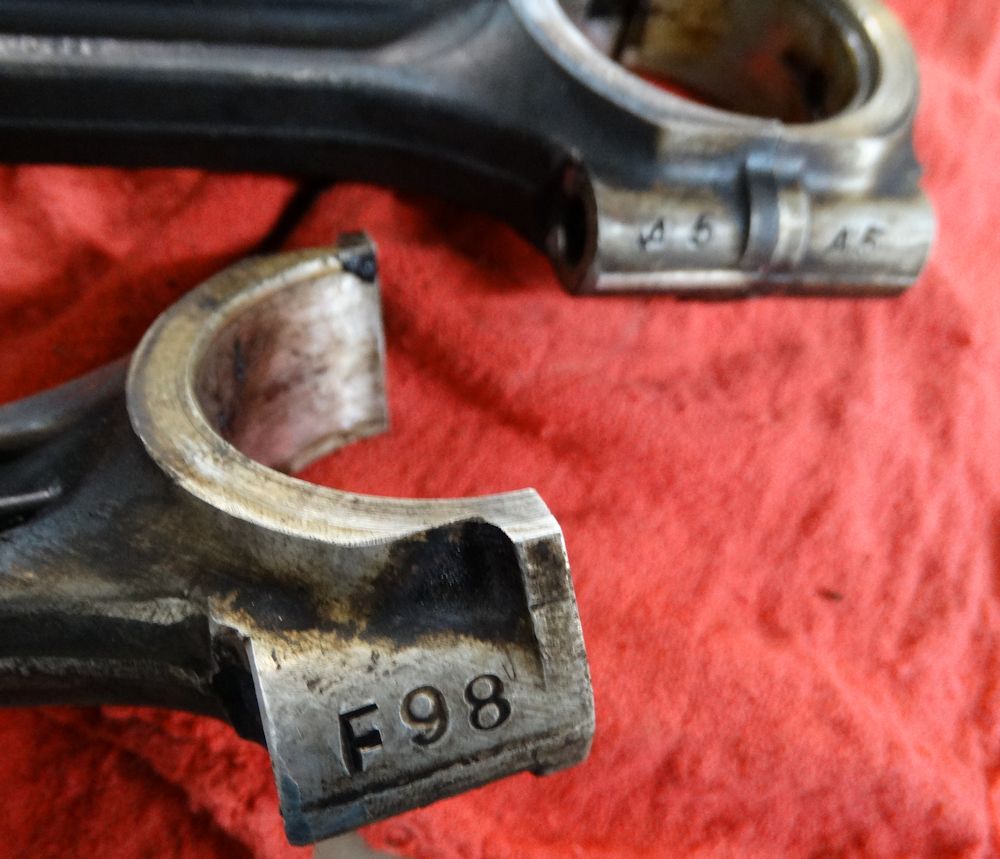
| Various stampings on the rods |
Alloy rod part number |
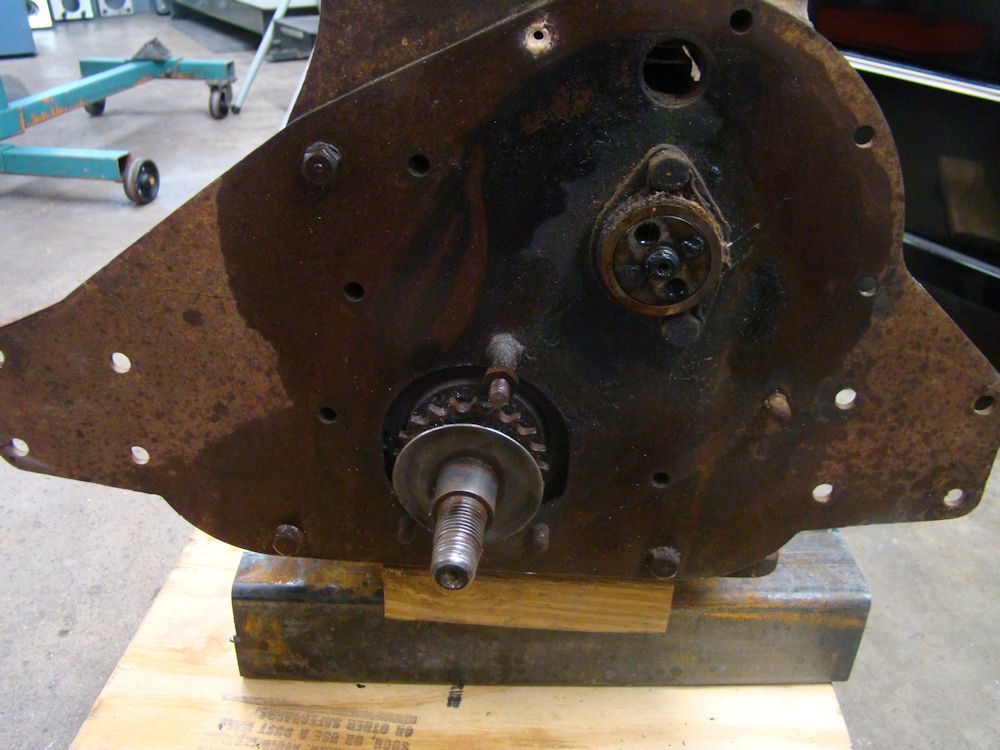
Engine tear down, continued....
 |
 |
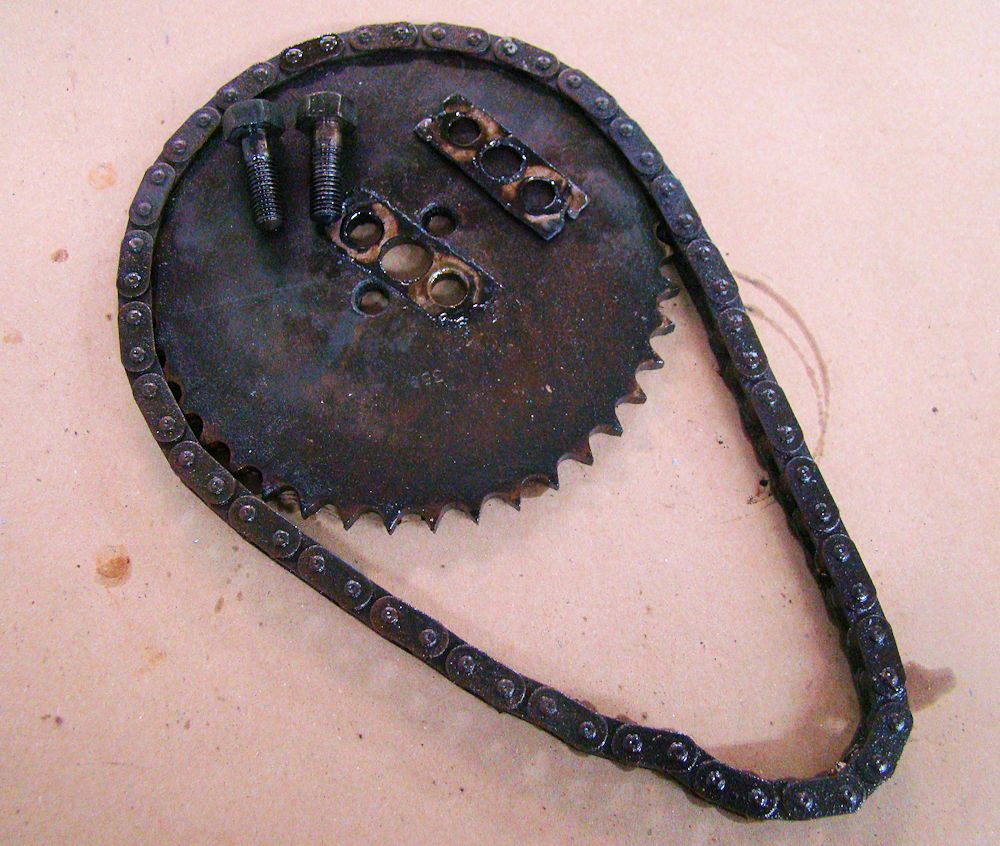
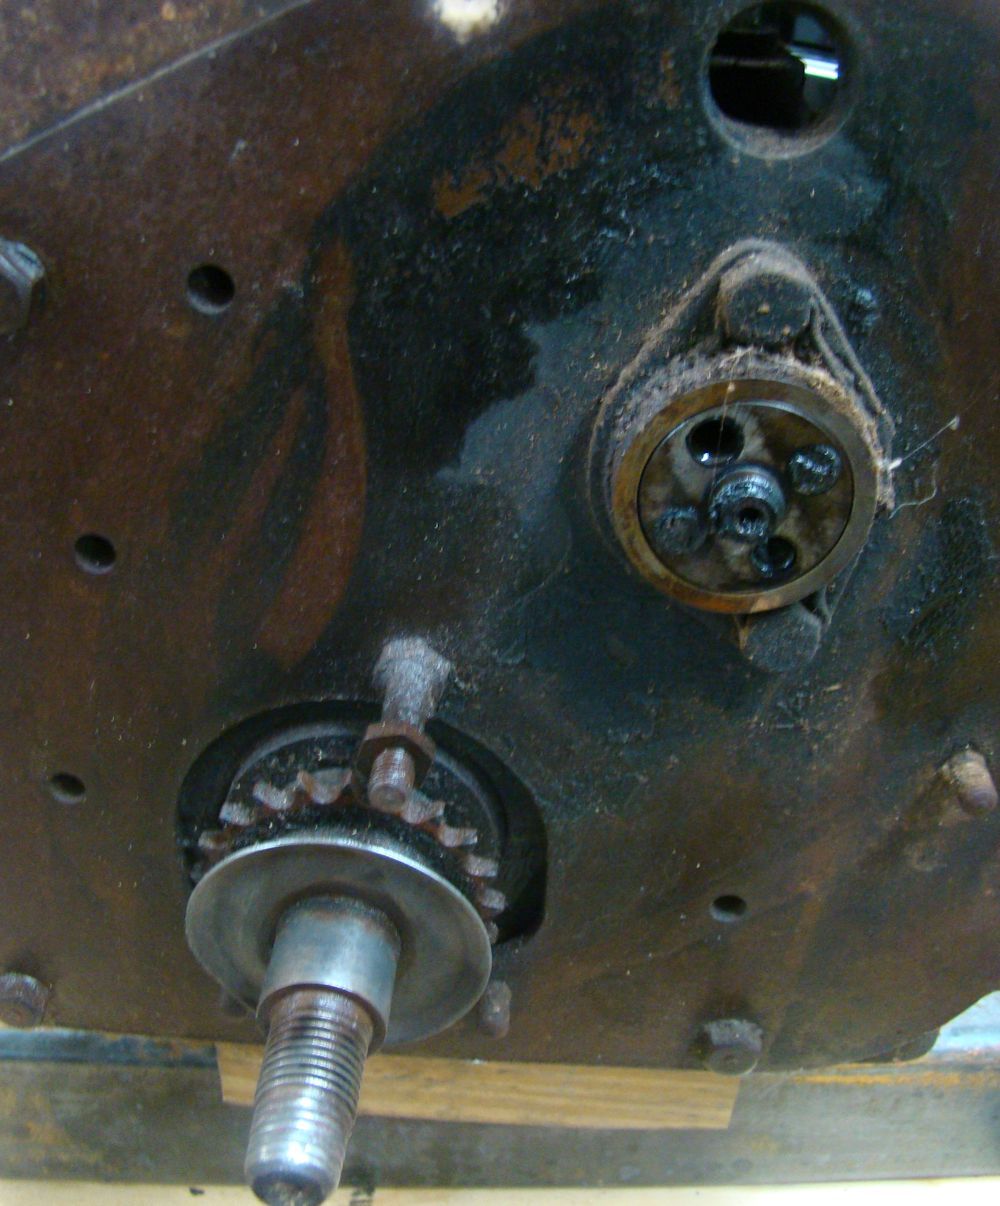
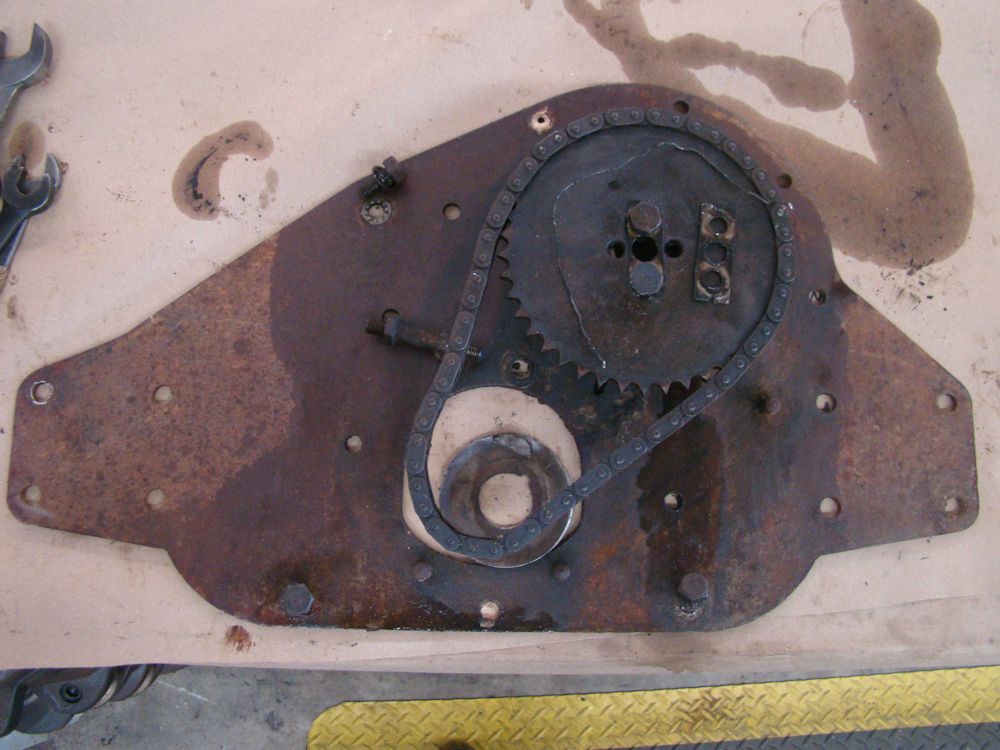
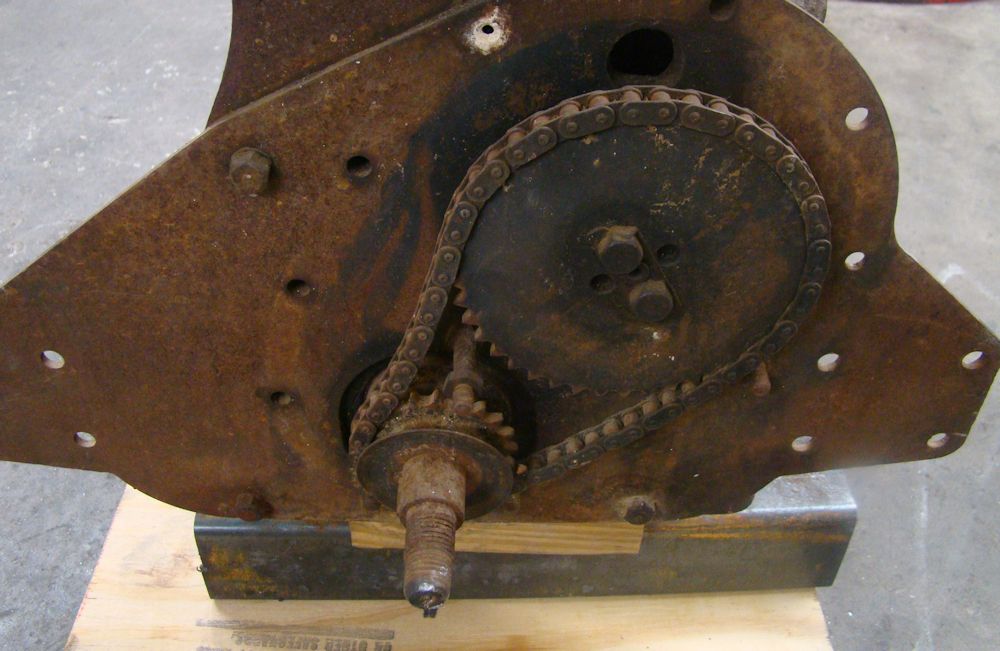
| Cam chain and sprocket |
|
 |
 |
 |
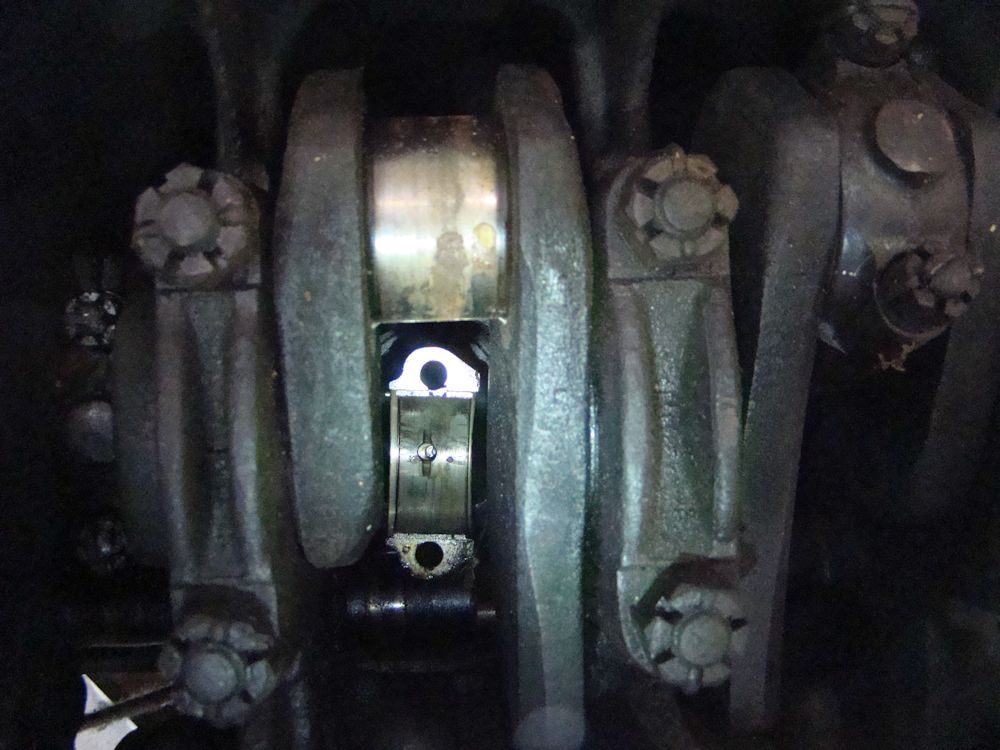 |
| Missing rod cap |
|
 |
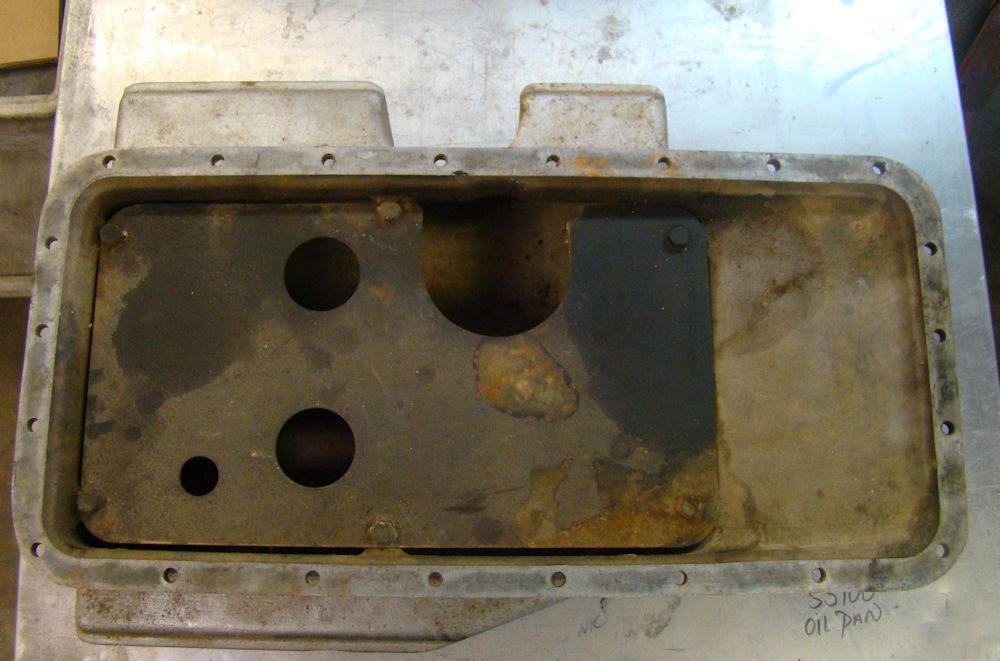 |
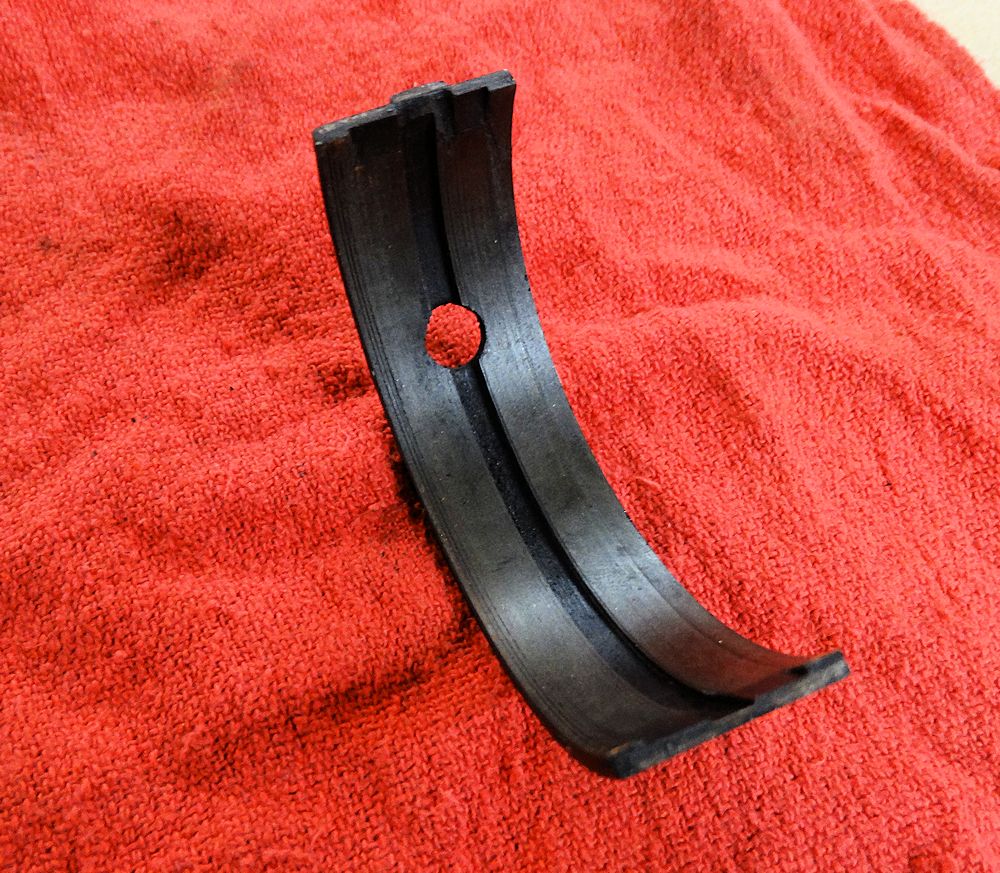
| Oil pan baffle |
|
 |
 |
 |
 |
 |
 |
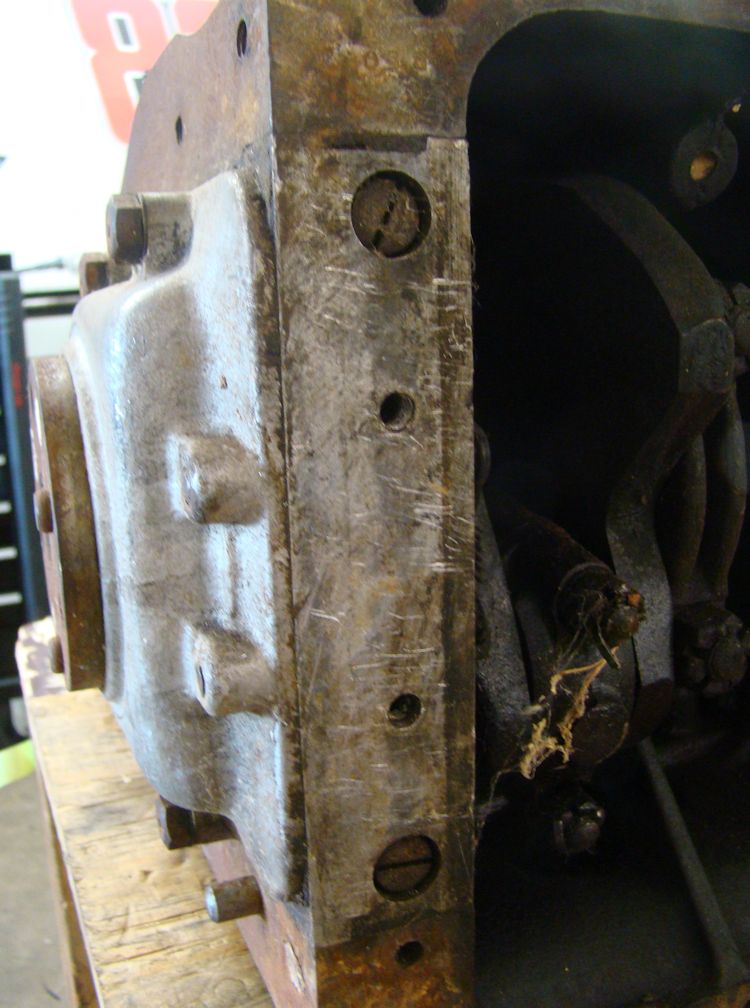
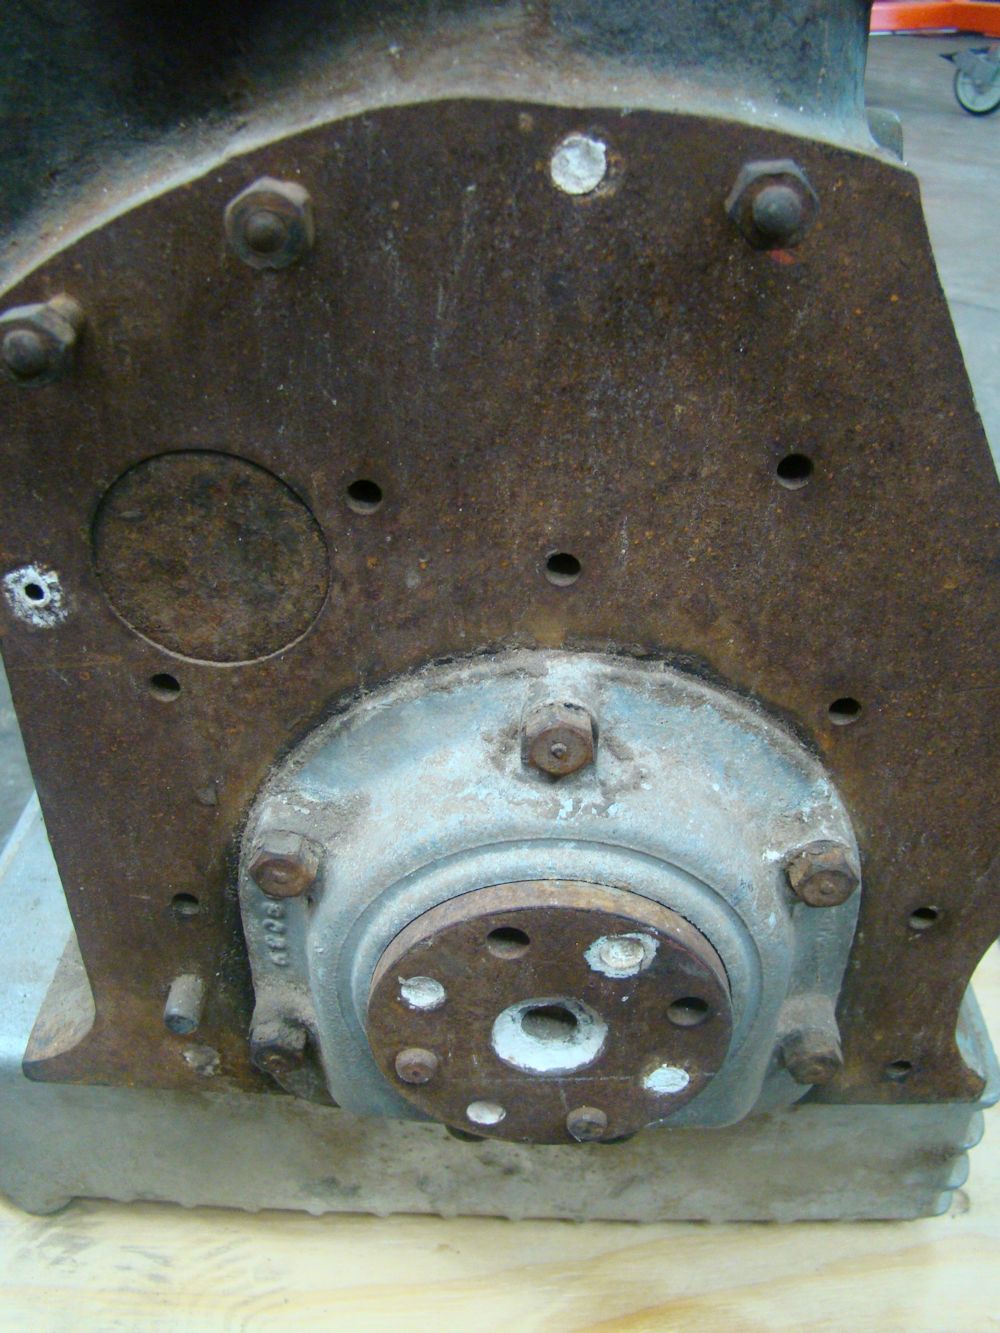
| Rear seal housing |
|
 |
 |
| Crankshaft journals all standard |
|
 |
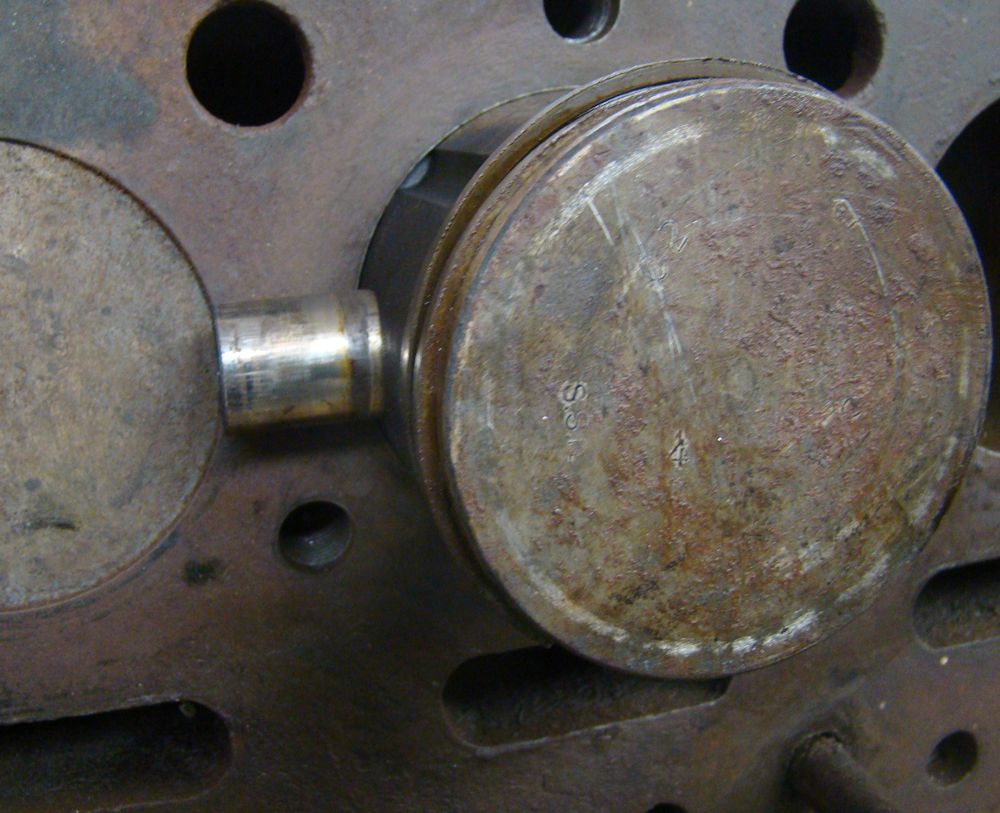
 |
| Pistons are also standard |
|
 |
 |
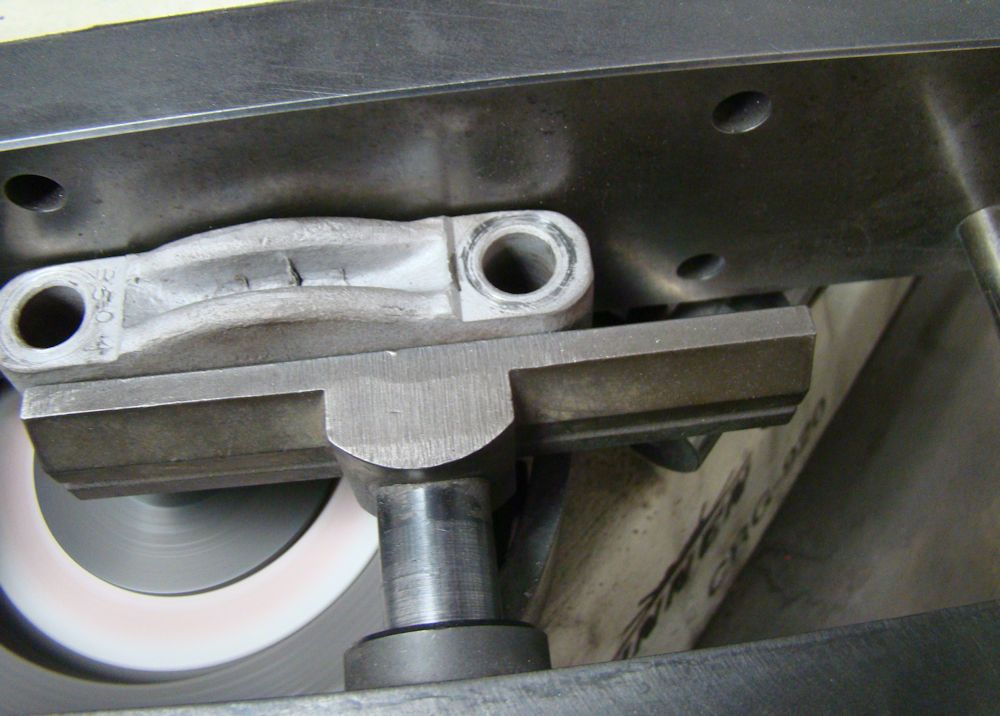
| Interesting oil feed system on alloy rods |
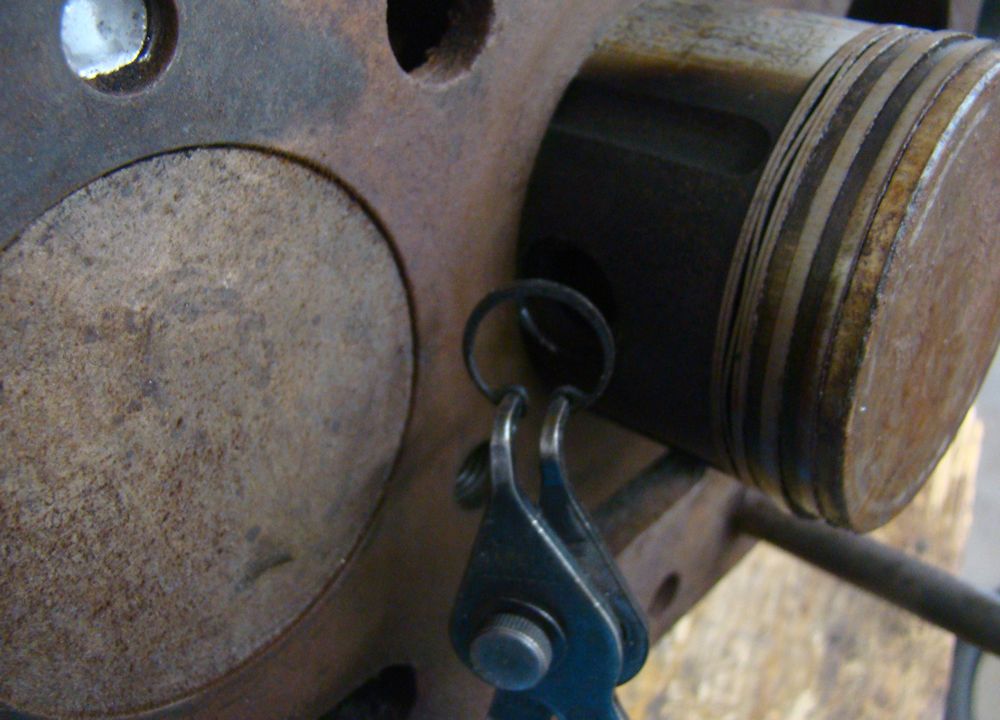
Separating piston from rod in order to remove
it |
 |
 |
 |
 |
 |
 |
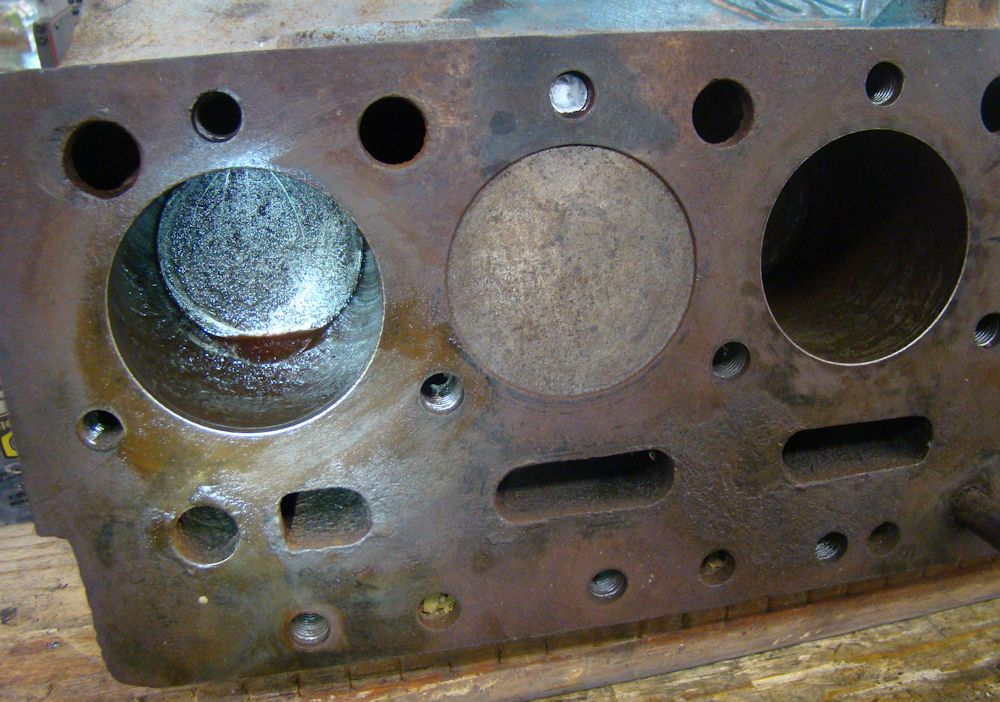
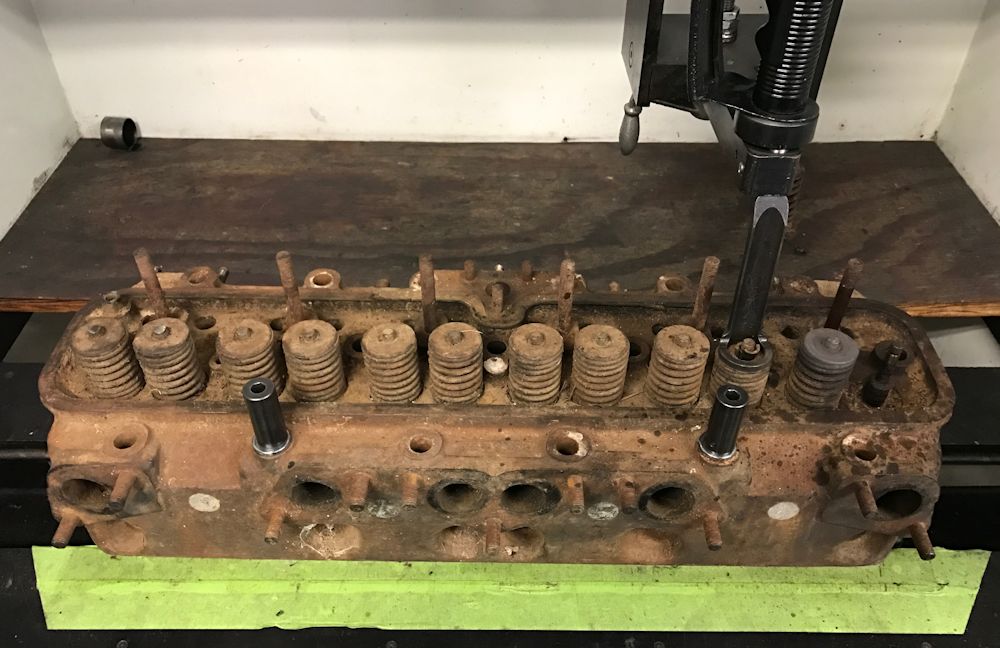
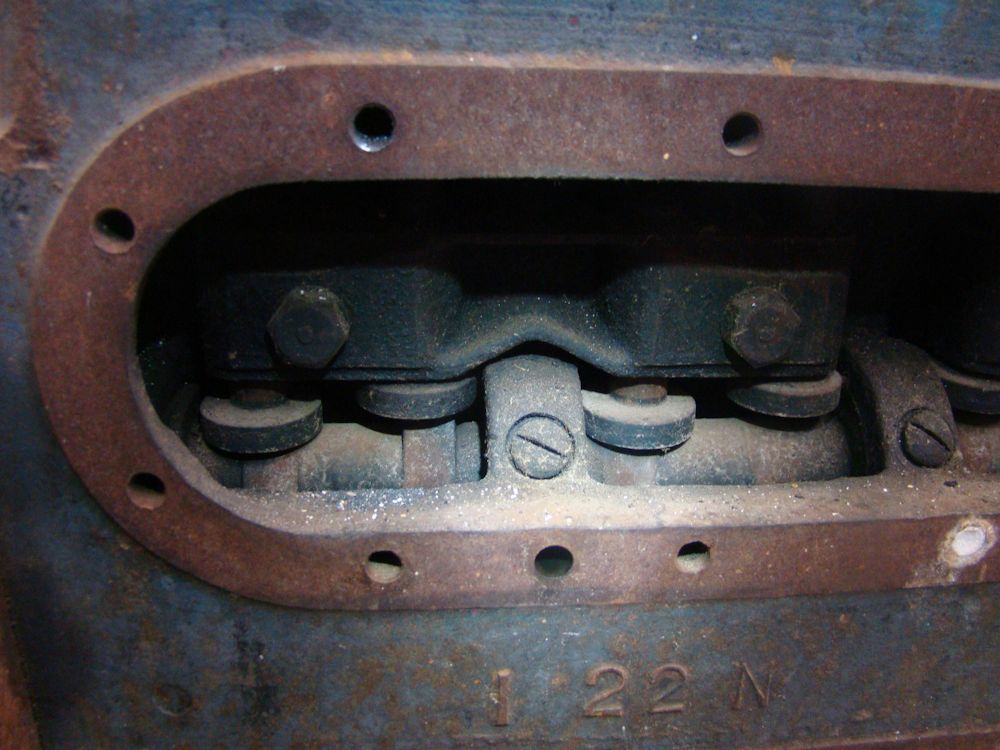
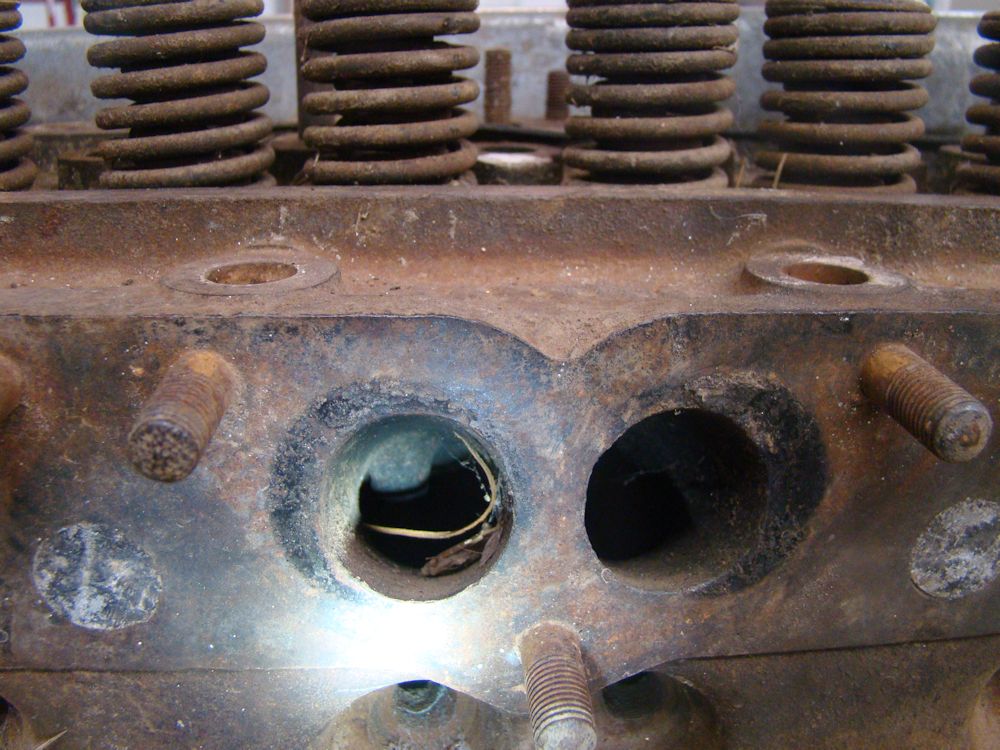
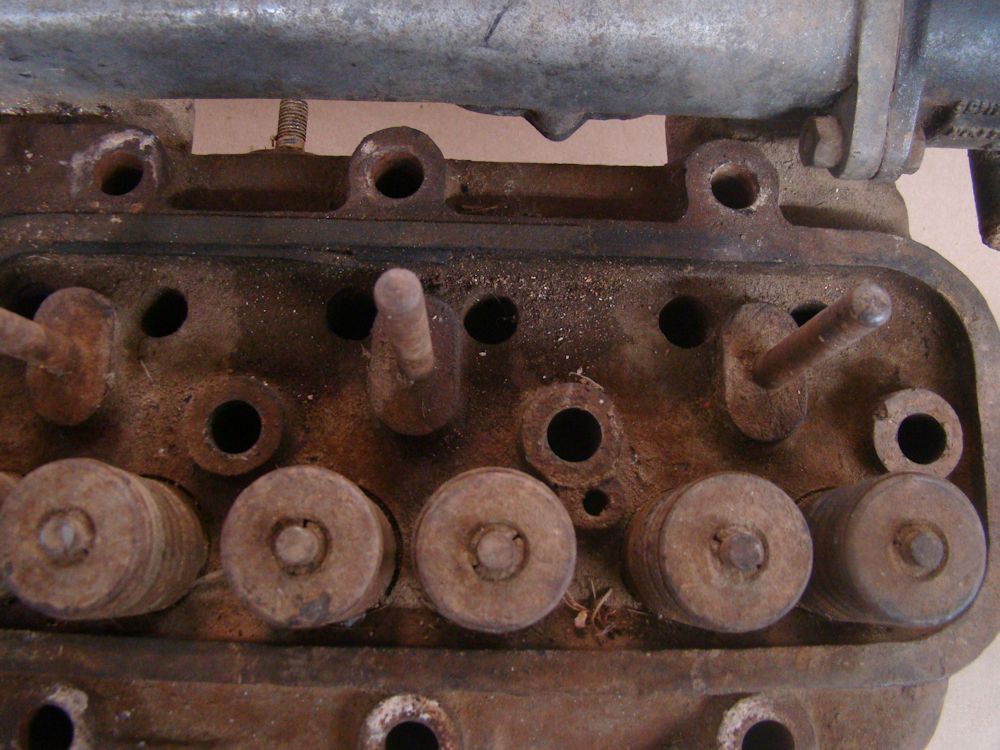
| Cylinder head tear down underway |
Measuring stem height |
 |
To be continued... |
Almost time to get a much needed engine rebuild underway!
 |
 |
 |
 |
 |
 |
 |
 |
 |
 |
 |
 |
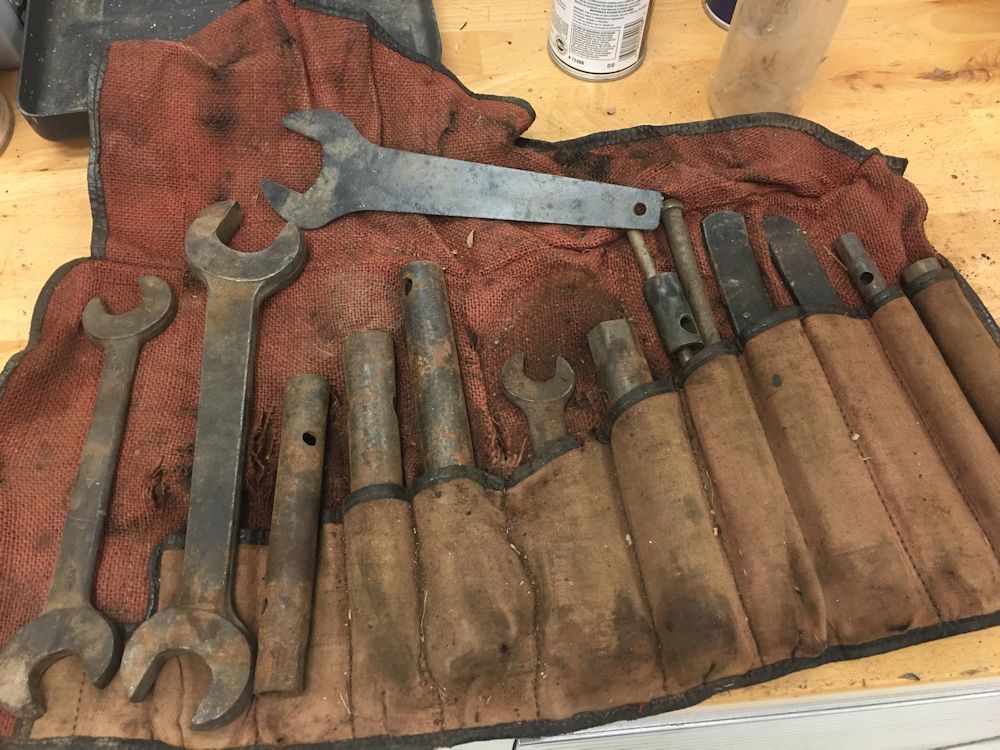
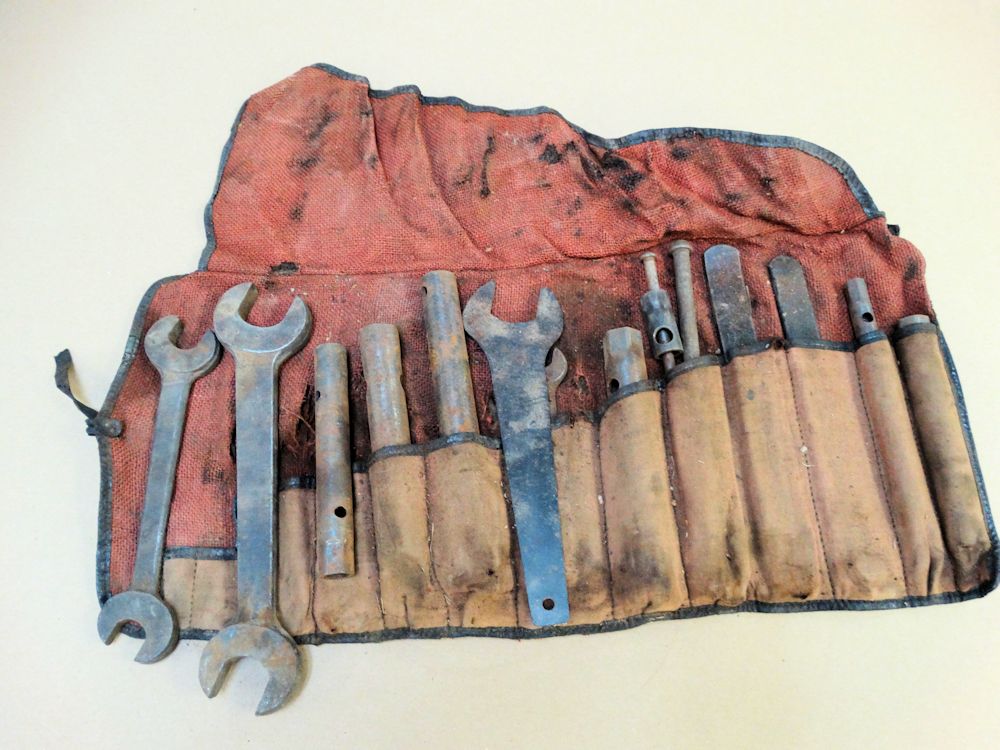
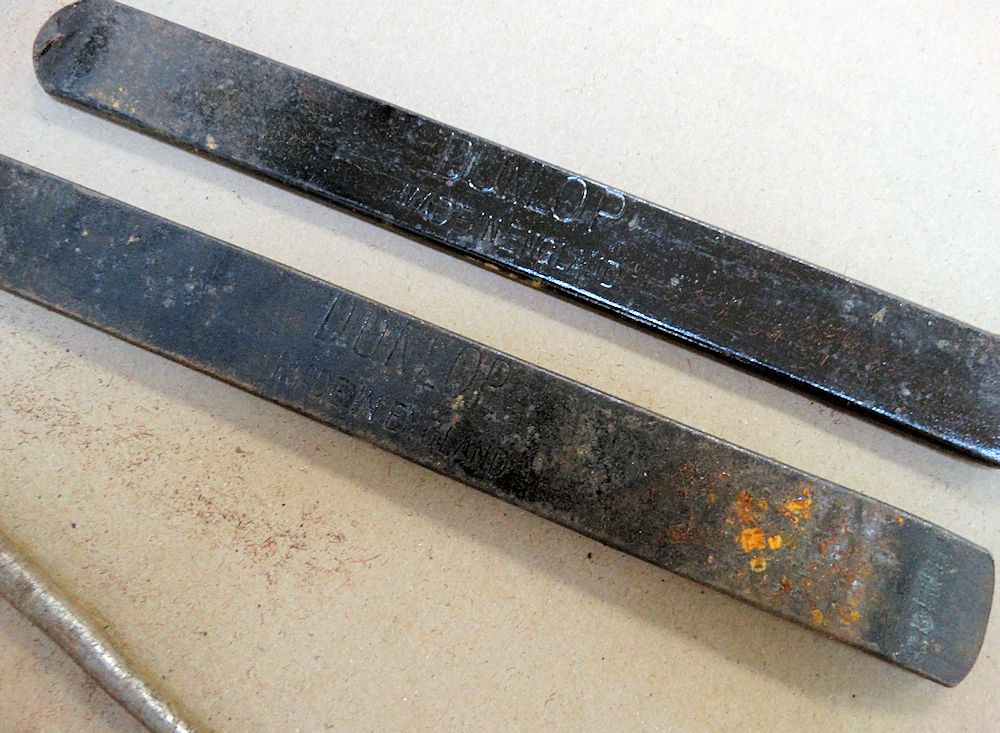
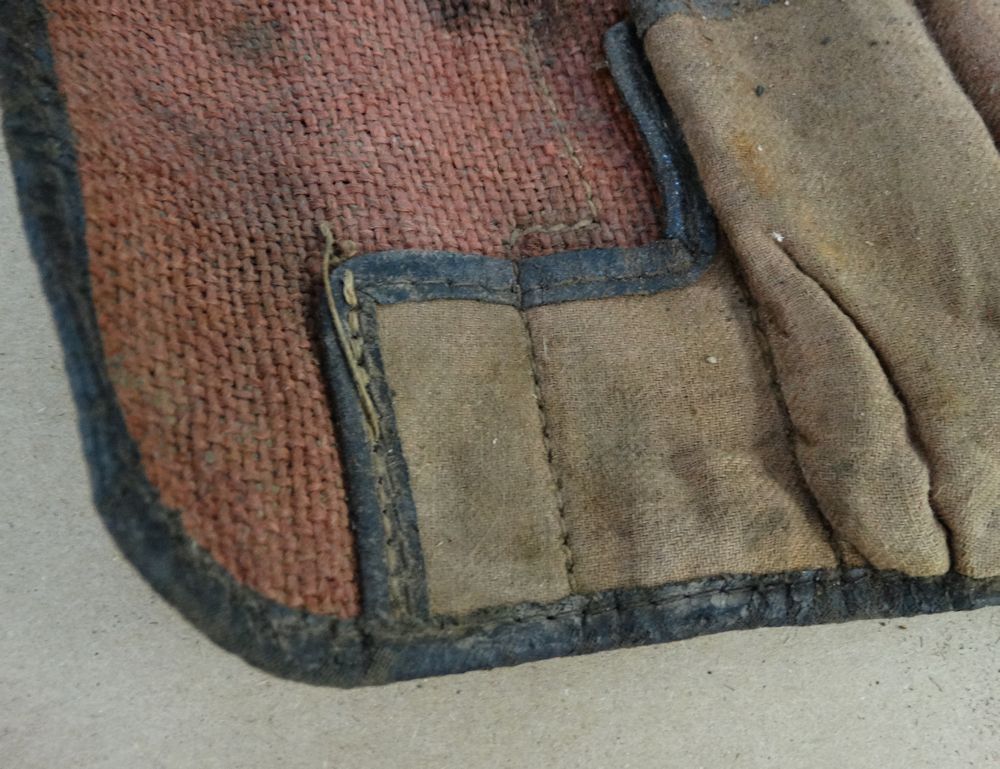
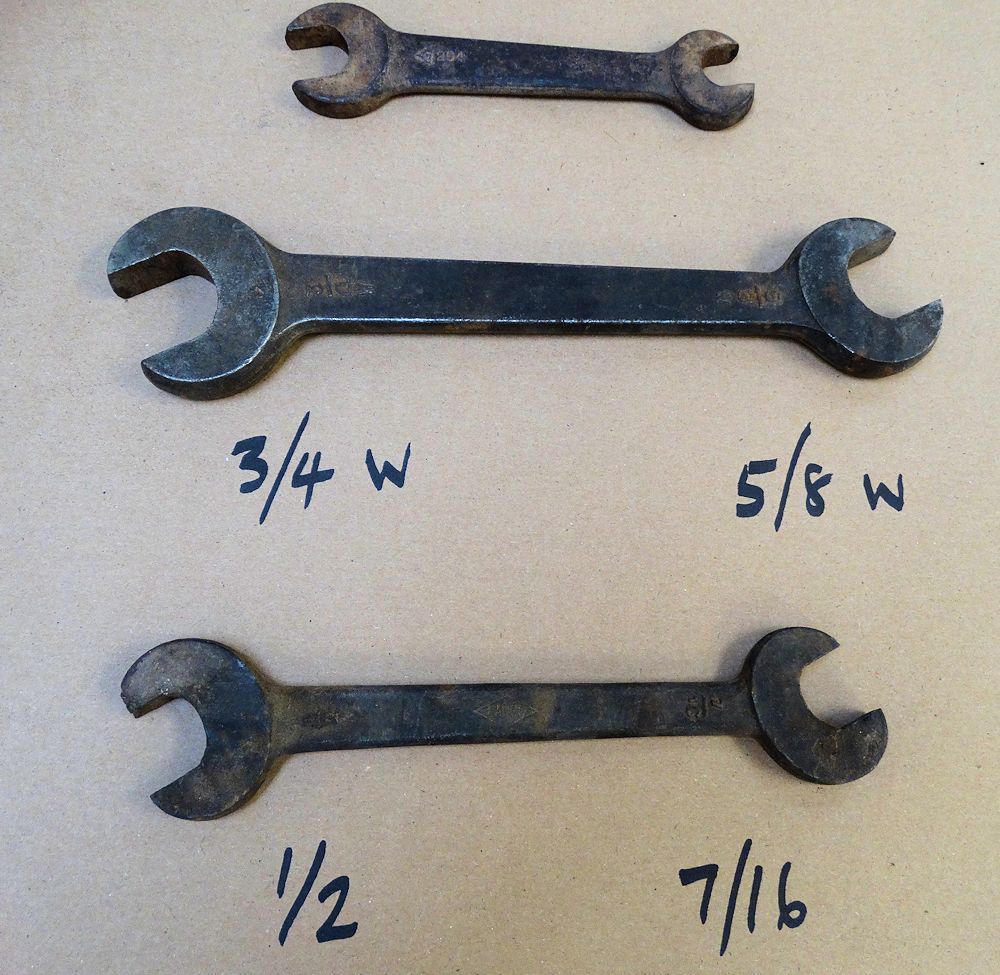
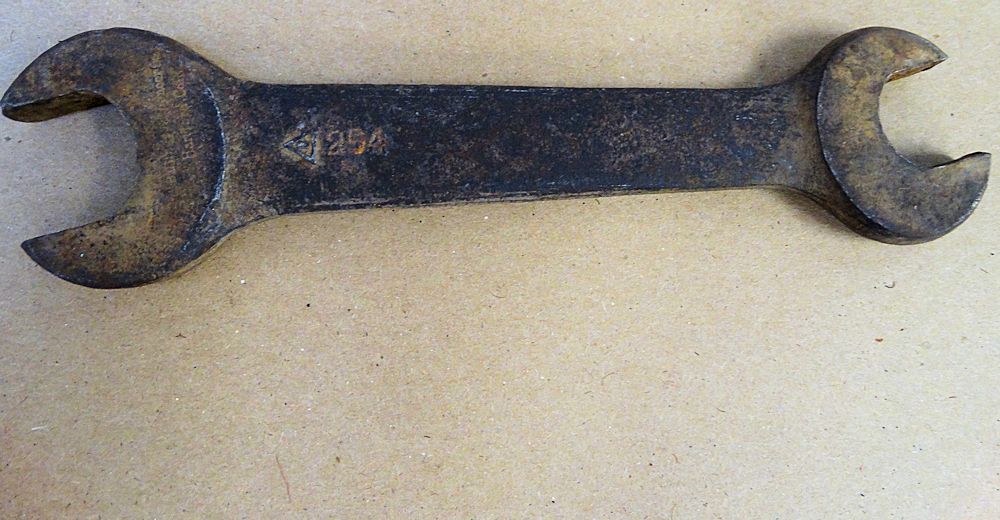
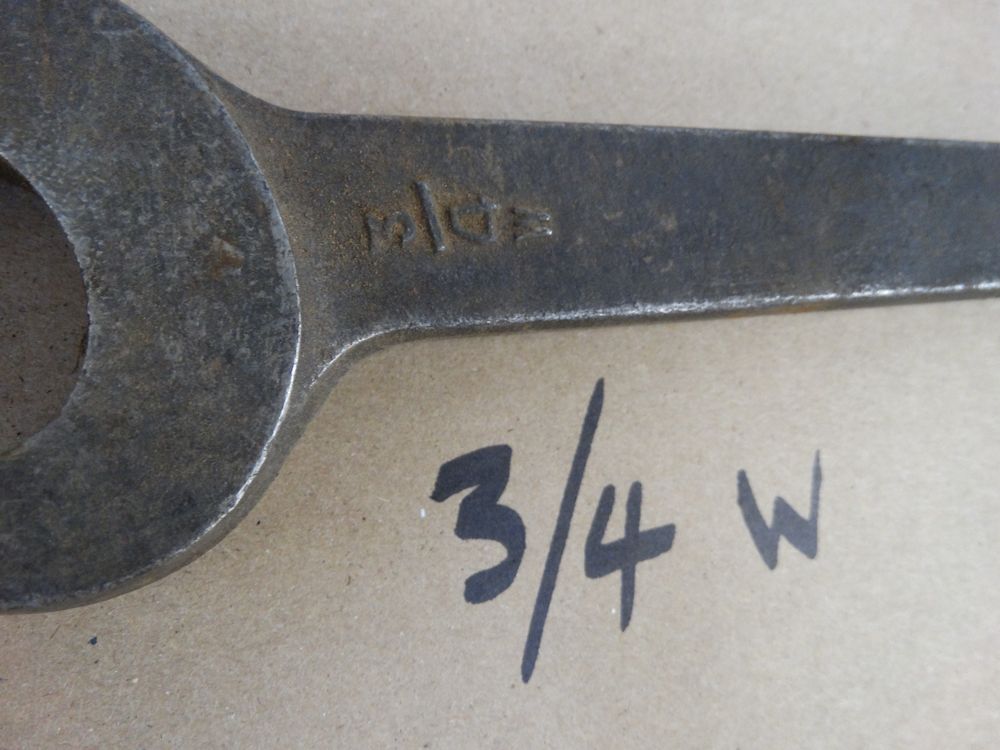
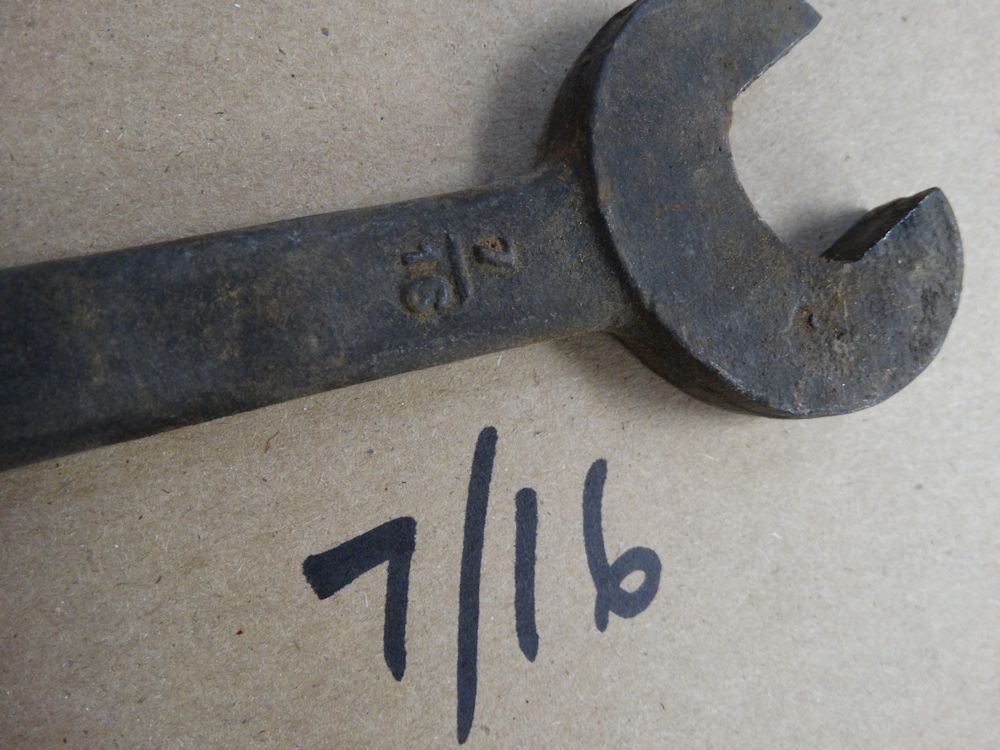
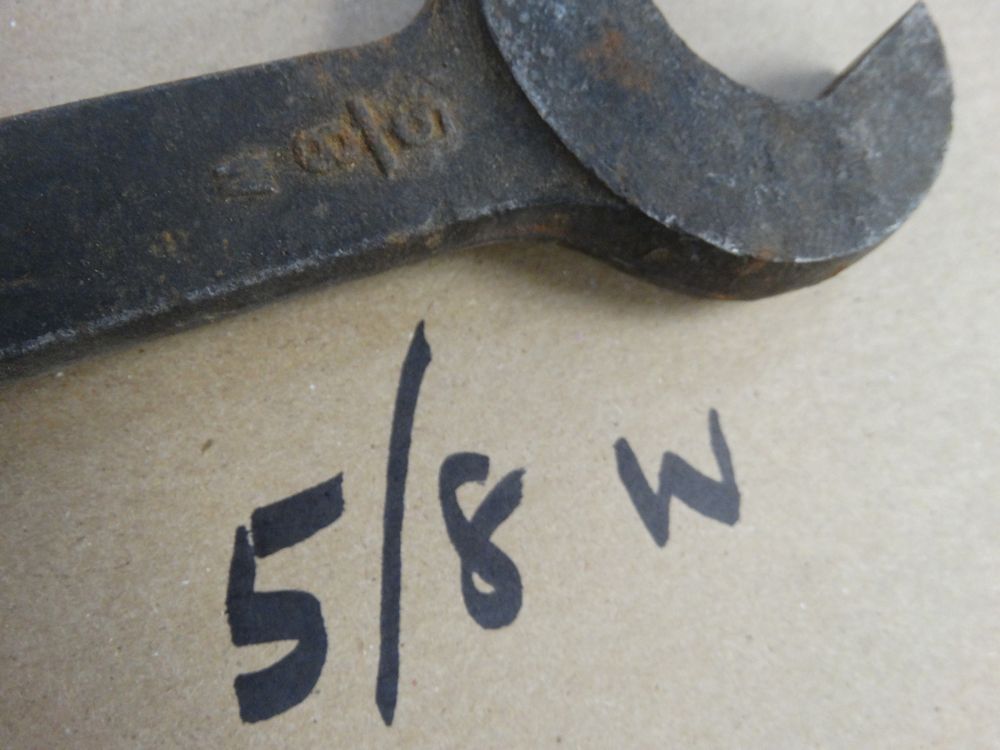
Examining the tool roll in detail: I believe the canvas roll itself is from a very early XK120, as are most of the tools. Unfortunately, I don't think any of the tools were originally supplied with our SS100.
 |
 |
 |
 |
 |
 |
 |
 |
 |
 |
 |
 |
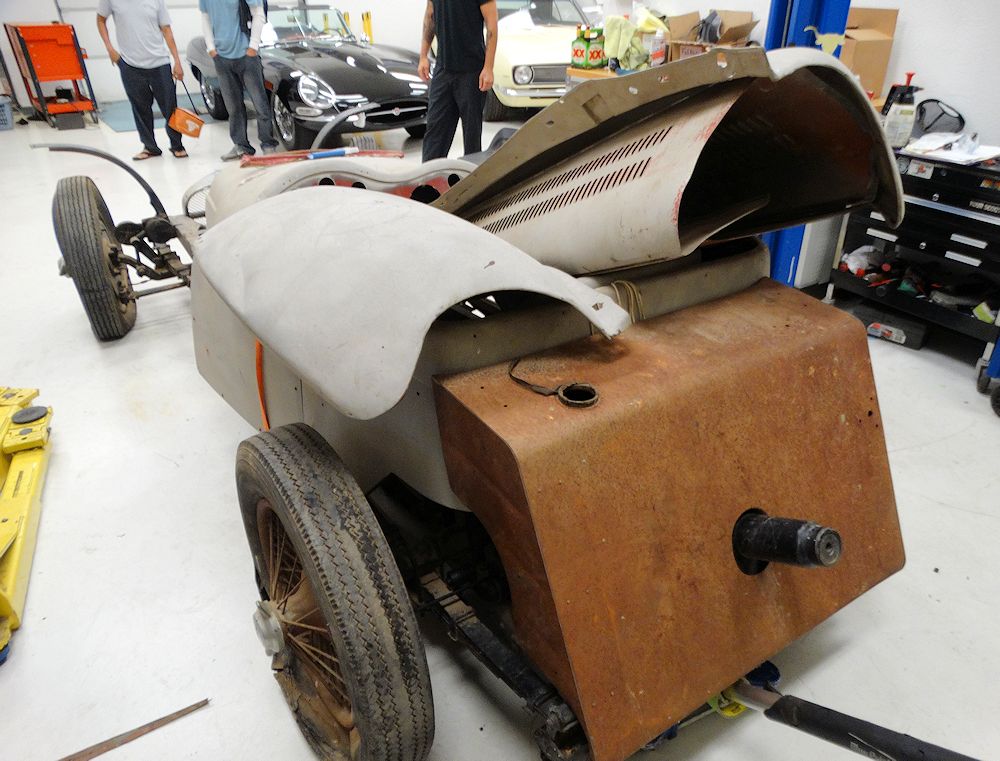
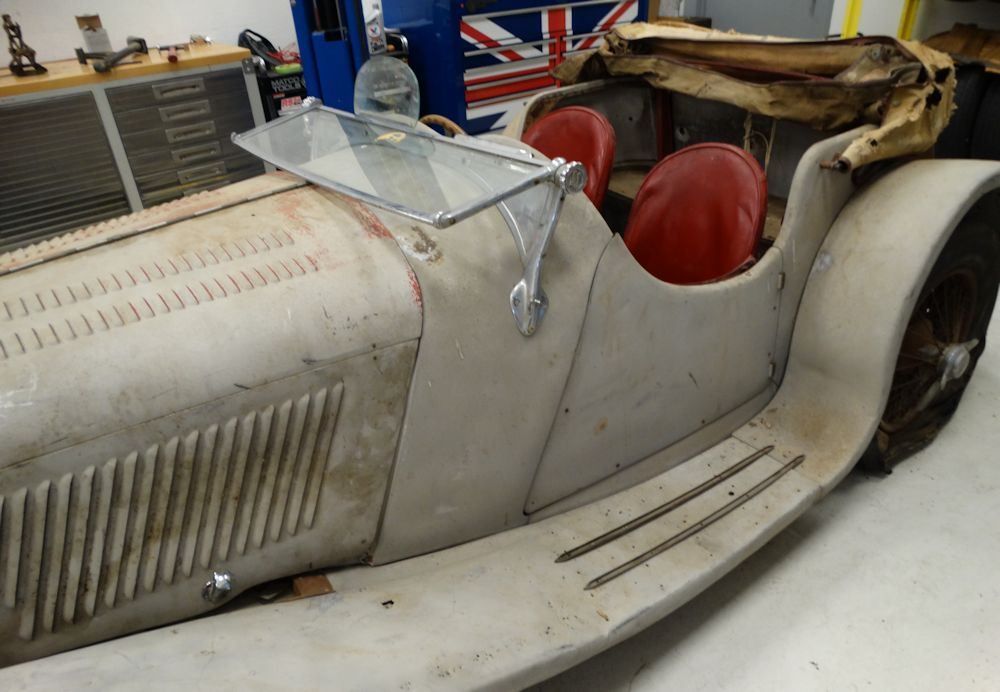
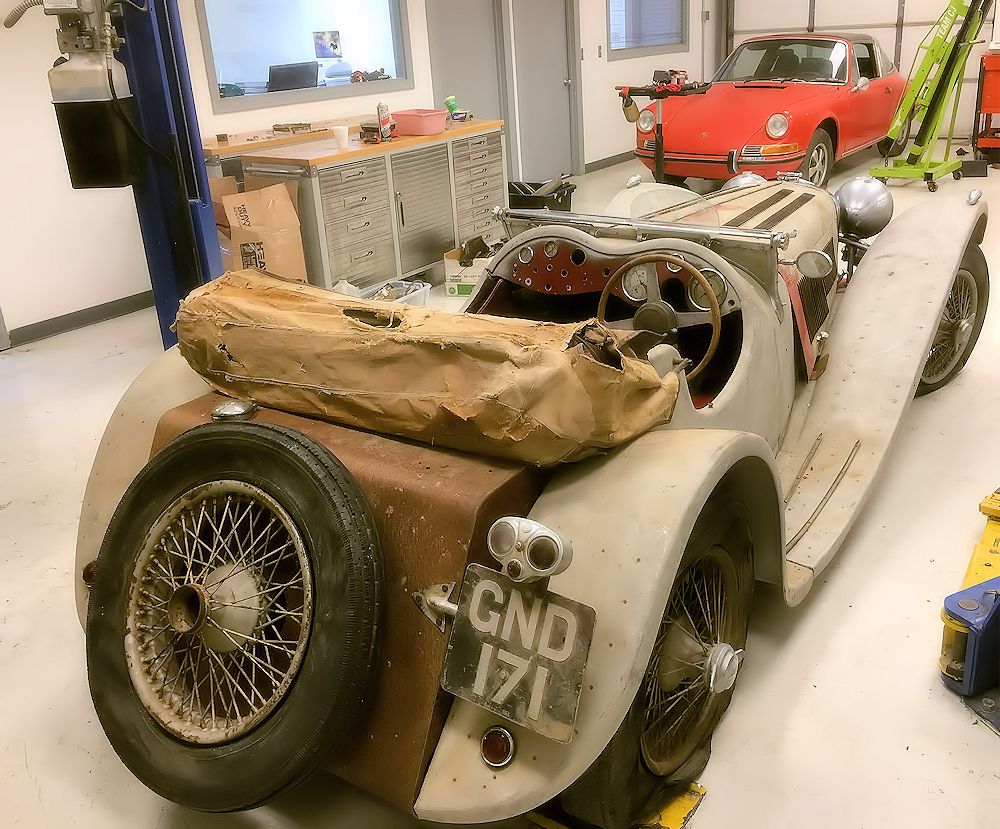
As delivered, late on Wednesday evening
Lowering the engine into position
Cylinder head and carbs installed
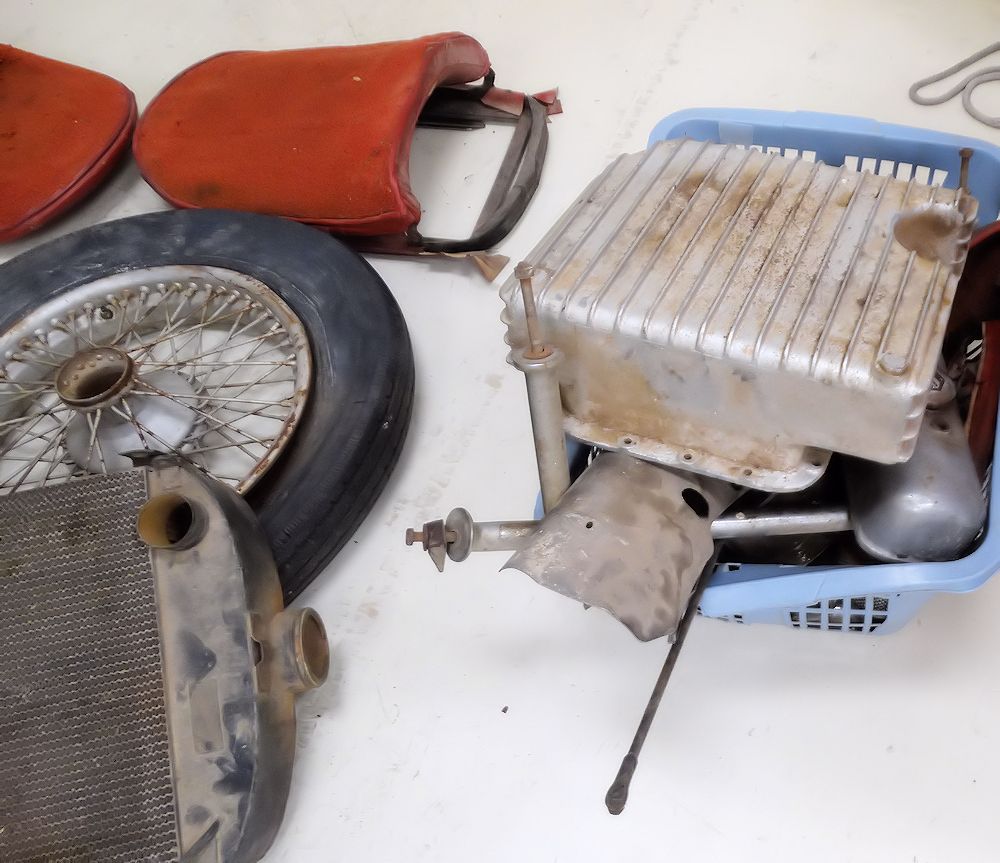
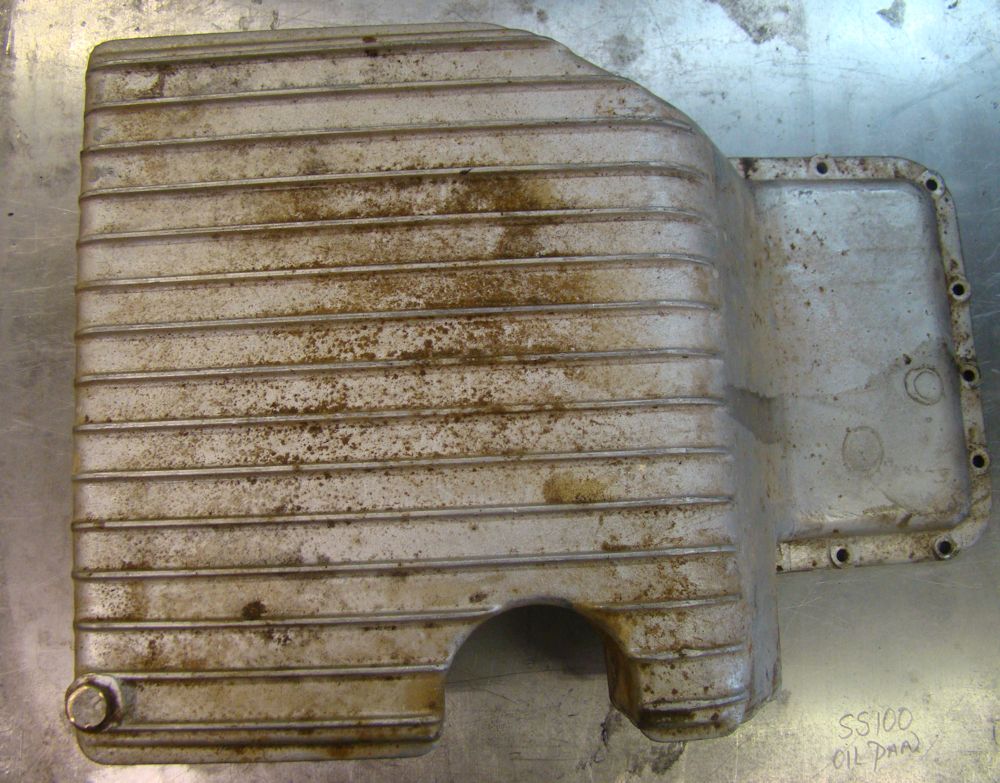
Original oil pan and radiator
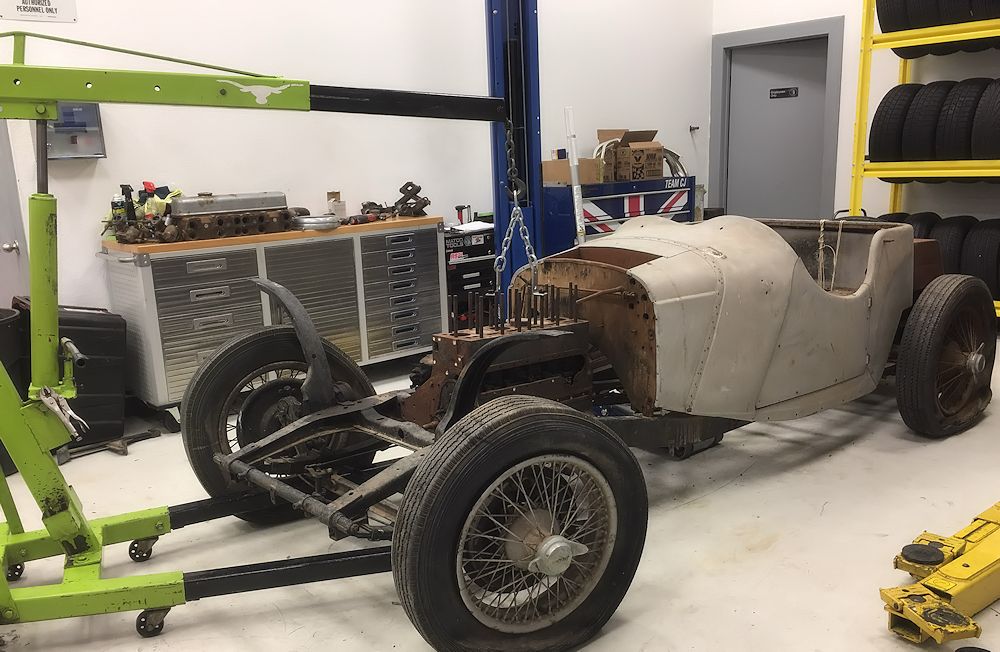
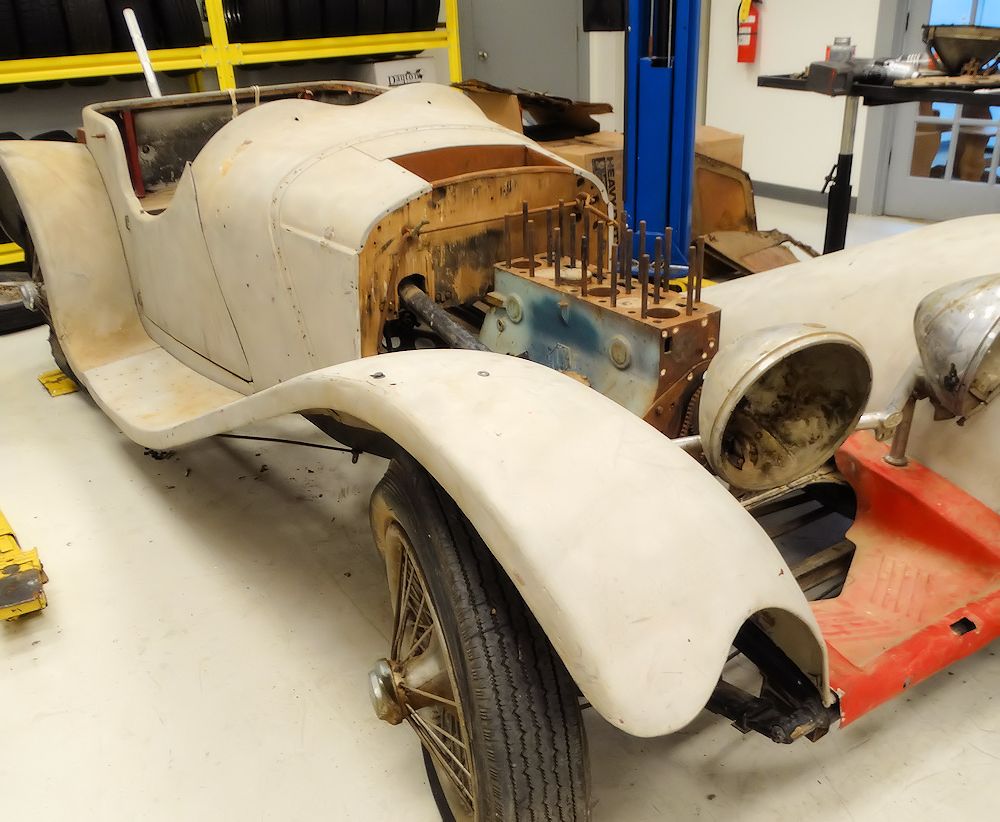
Slimline chassis looks to be in great shape
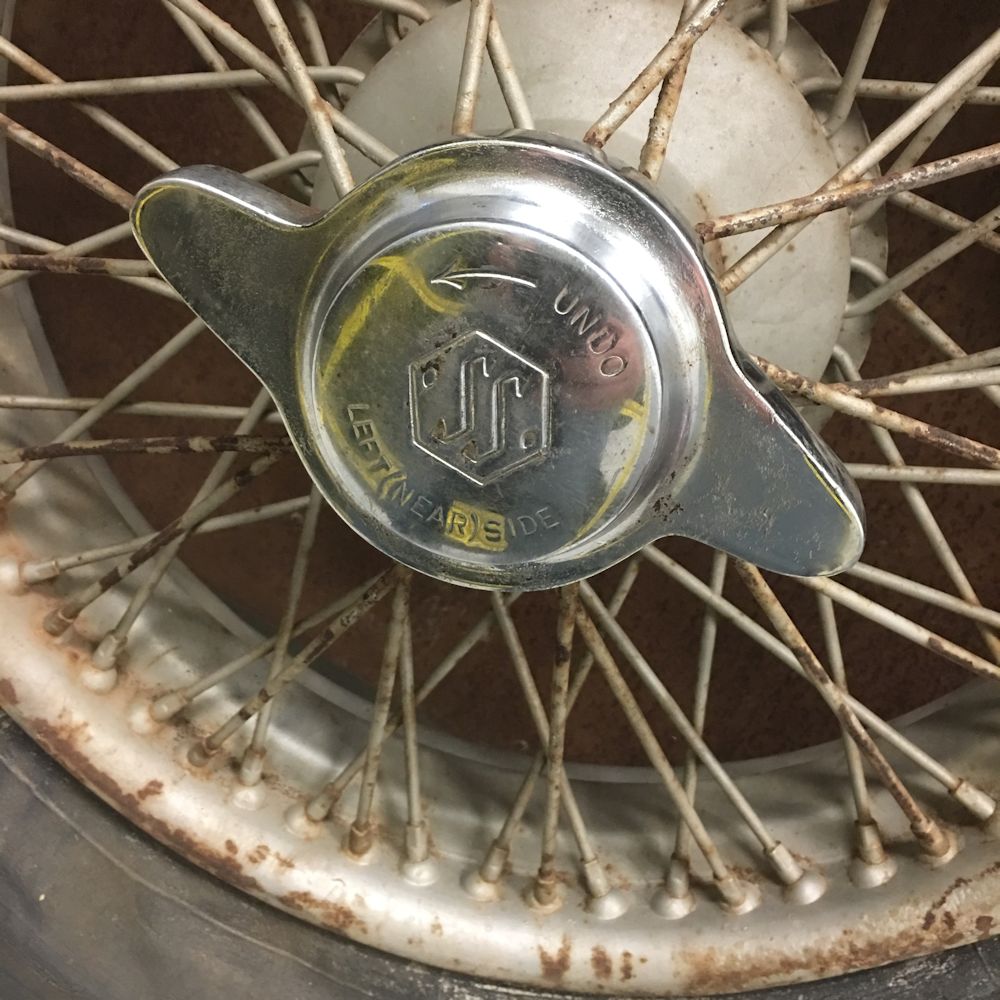
Original SS spinner holding the spare wheel
in place
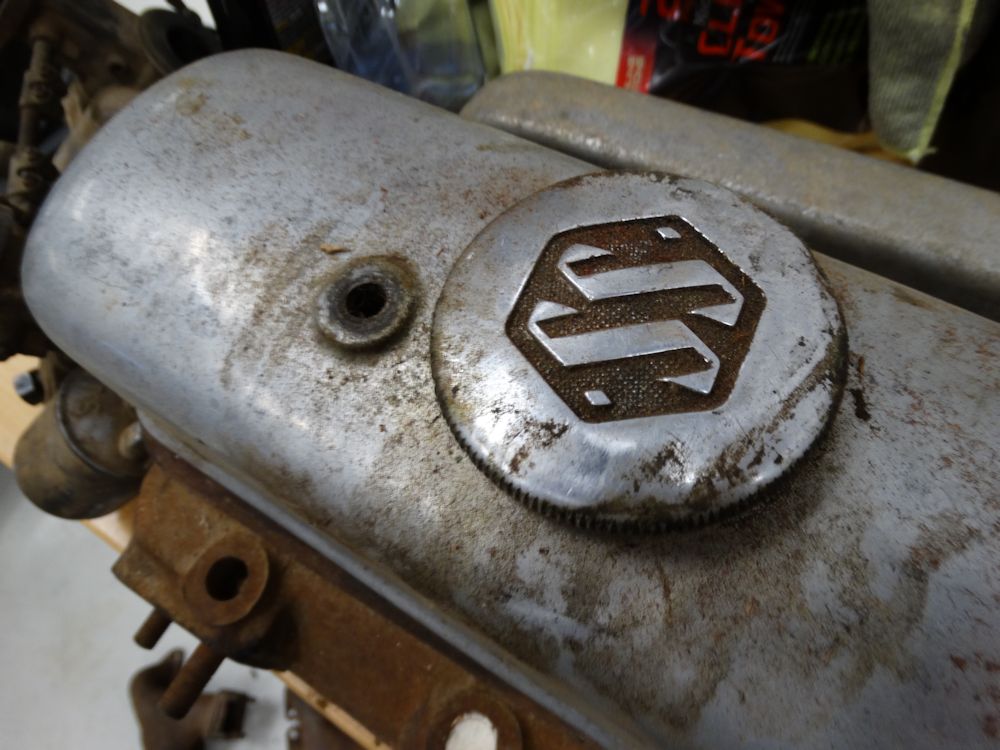
Original generator, water pump and oil filter housing
Note July 1937 date on the generator plaque
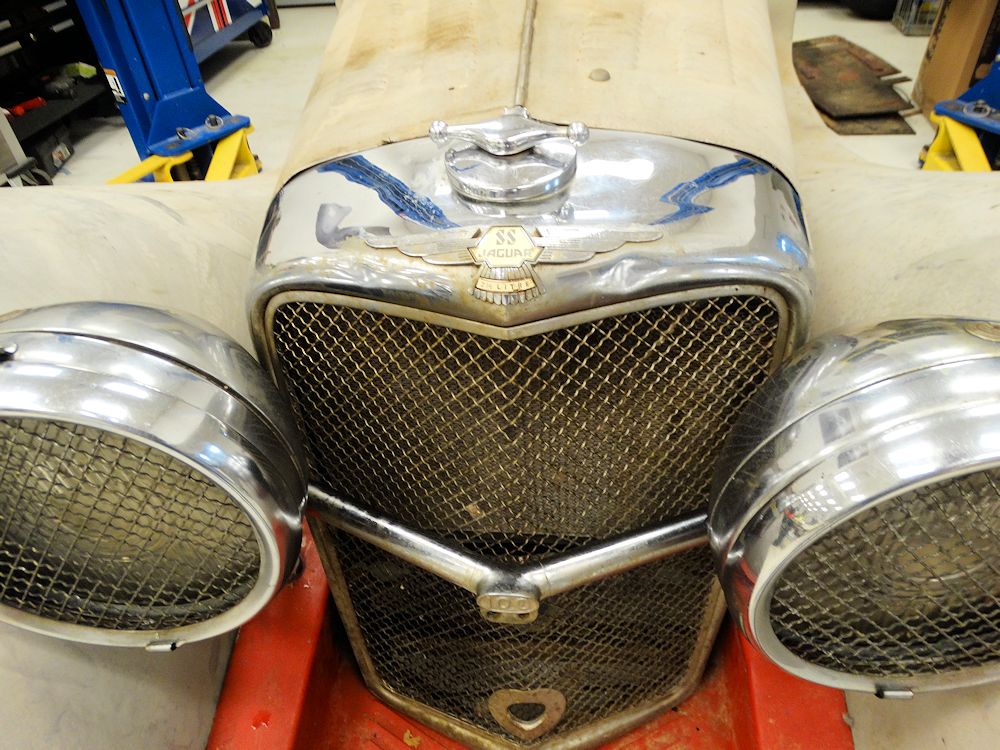
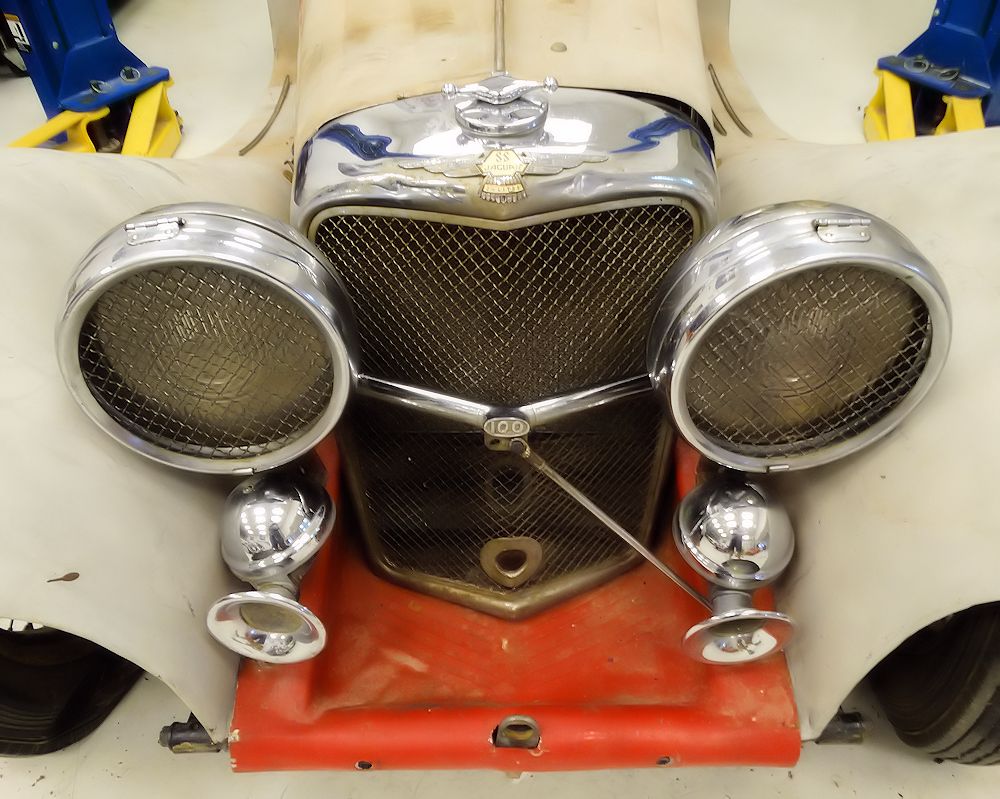
One of the most beautiful and recognizable
grills in the automotive world
A very full looking tool roll
Original top and side screens
Car looks rather better with the top and screen folded!
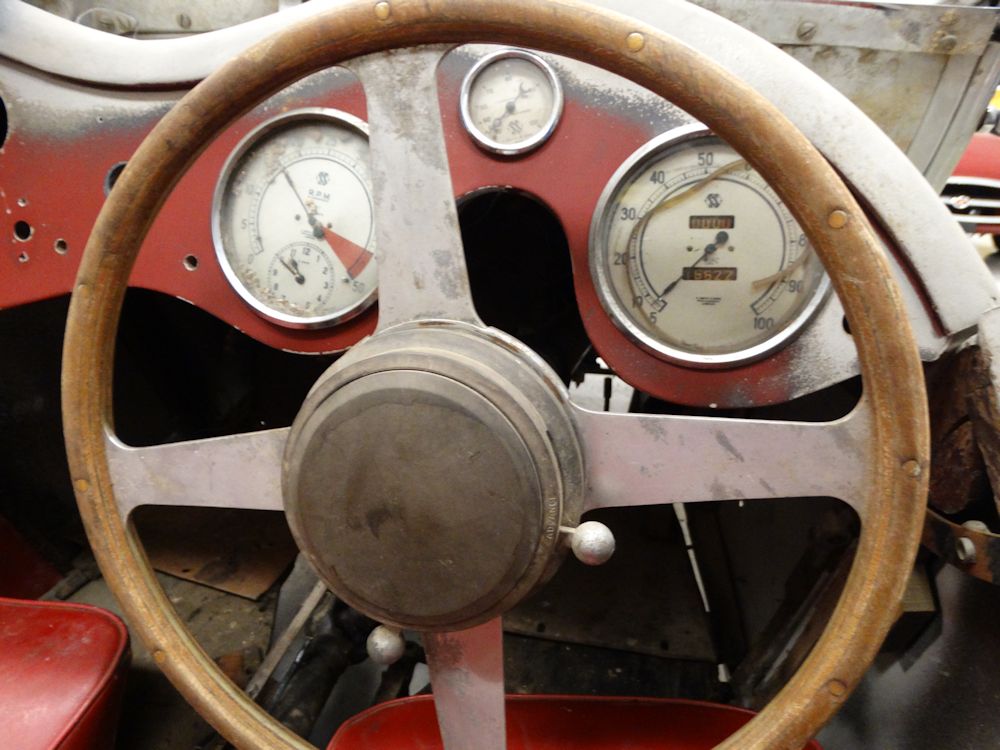
Original SS gauges
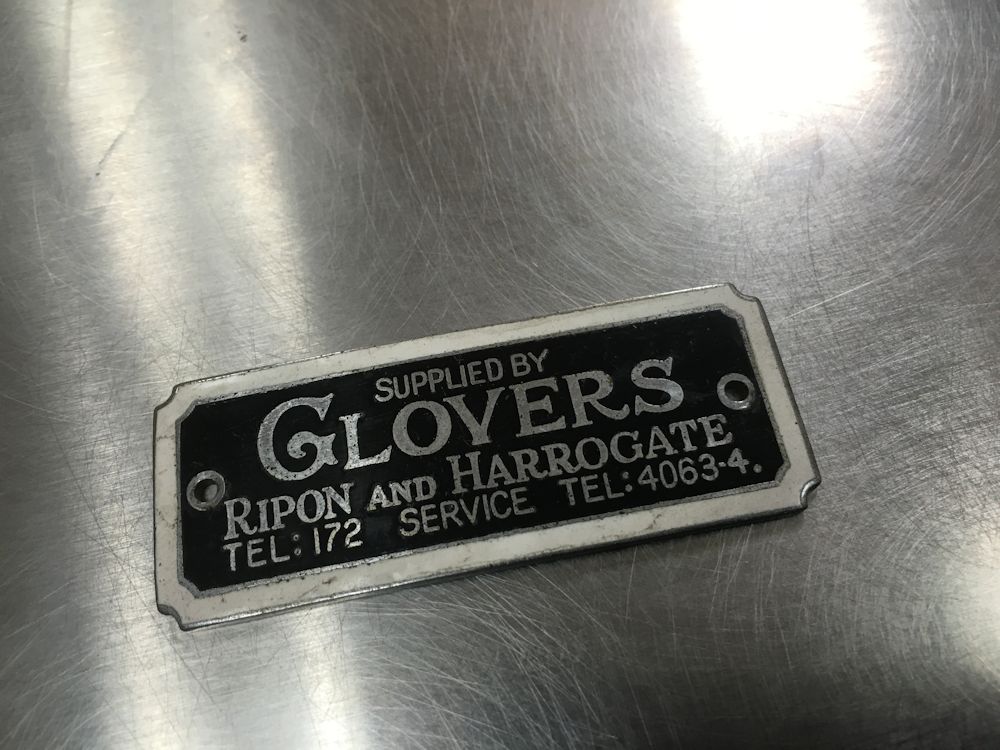
Glovers of Ripon apparently sold 49050 when new
The ceramic Glovers of Rip badge was attached
in the center of the dash
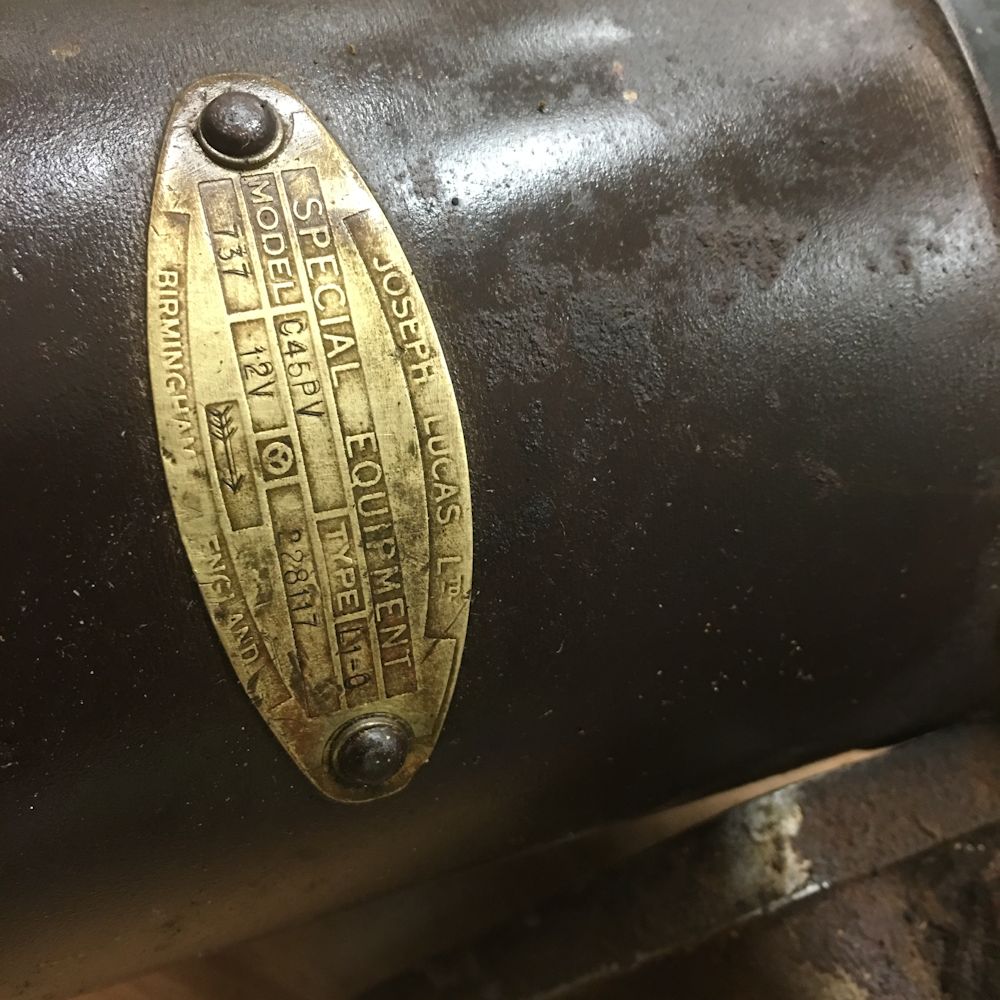
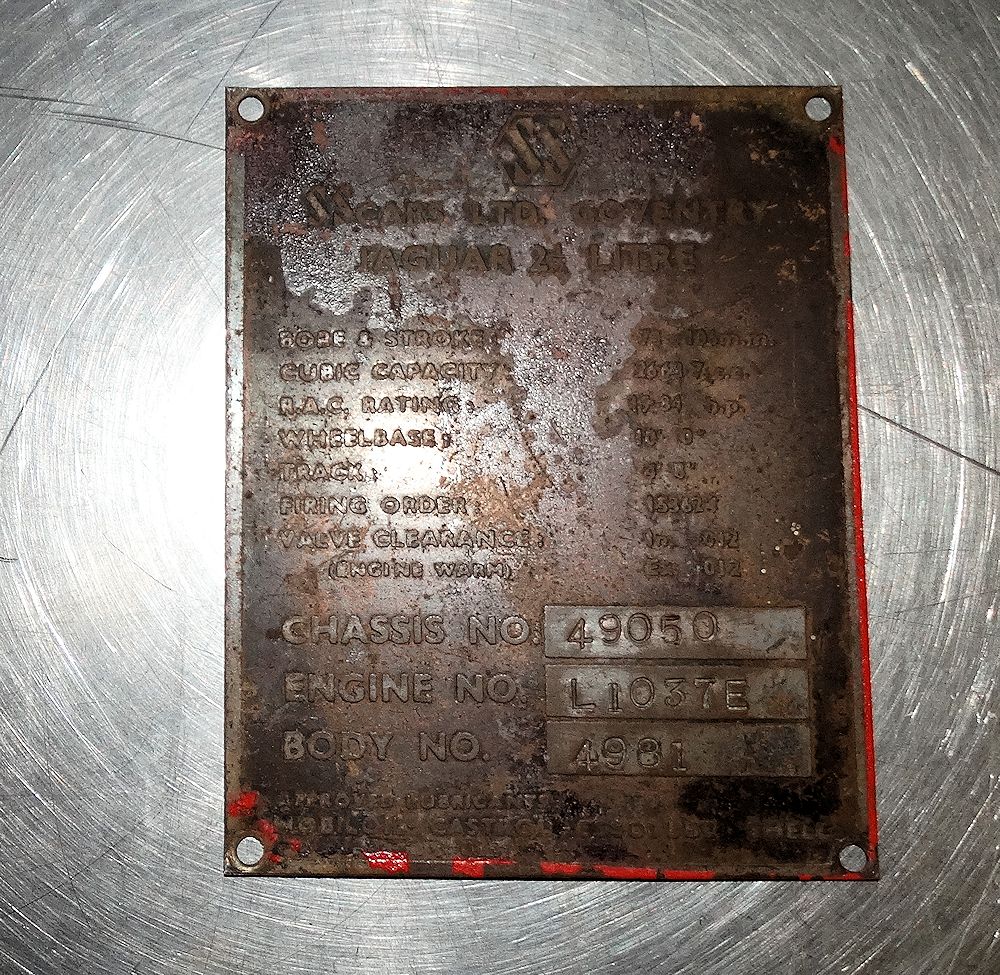
Original data plate
RAC badge was installed on the left side of the dash
Starting to look more like a car
We look forward to getting the restoration of this very
special car underway some time in the future!