Click anywhere on image to close window
| 1971
V12 2+2 (SD)
Partial (rolling) restoration |
|
Update report - April 18, 2009
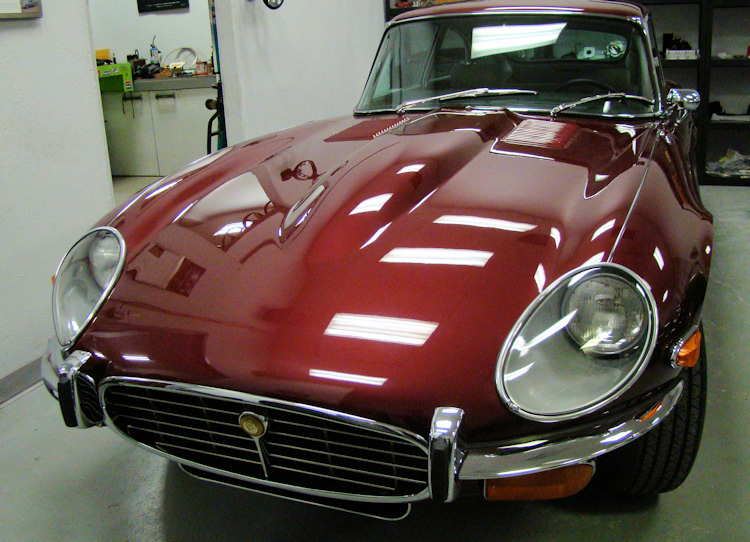
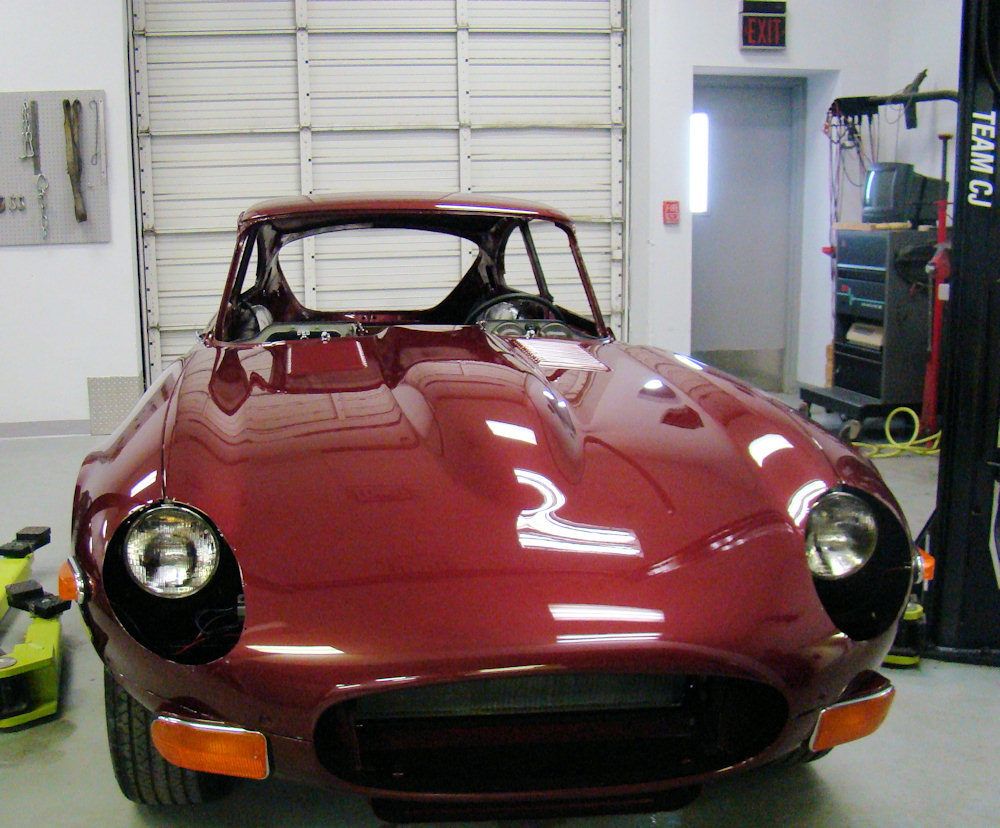
I am pleased to report that your E Type is now ready for collection. We have gone as far as we can go without the engine and transmission, which of course you will be installing yourself. You will need to adjust the front ride height once the engine has been installed, and of course the rear suspension will settle as soon you take the car on its maiden voyage. I'm sure you will enjoy putting the finishing touches to this beautiful car.
 |
 |
 |
|
|
|
|
|
|
|
|
 |
 |
 |
|
|
|
|
|
|
|
|
 |
 |
|
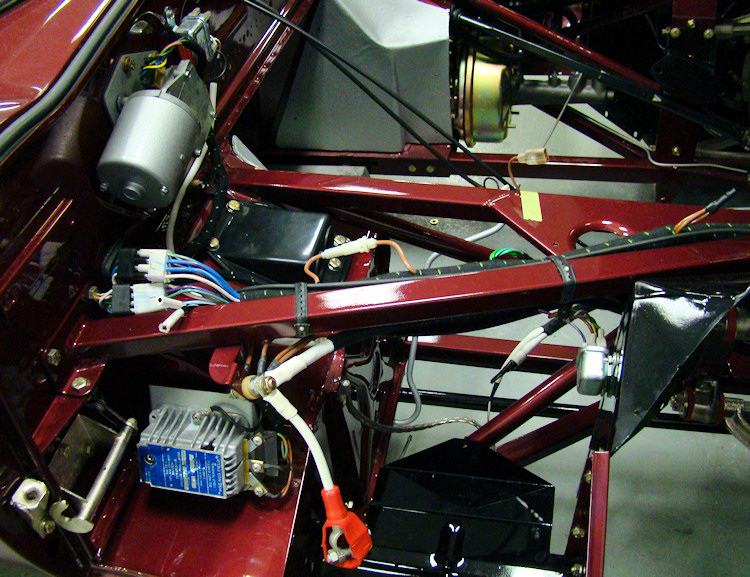
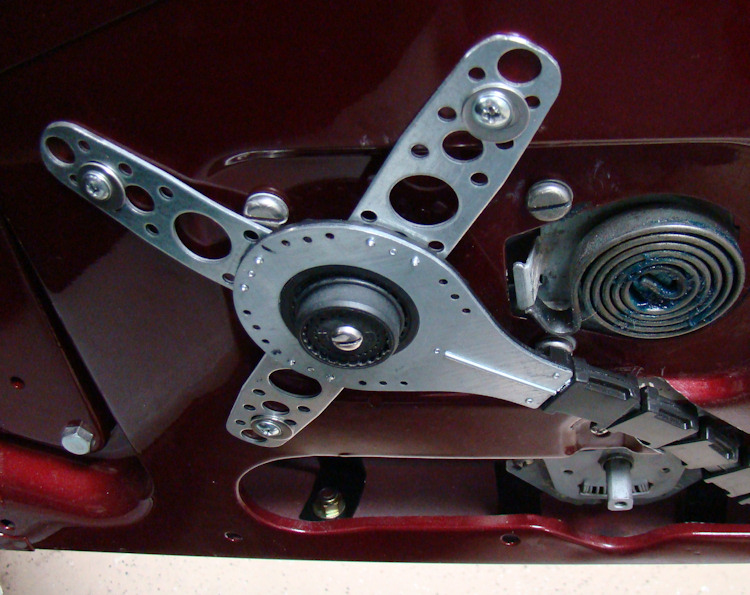
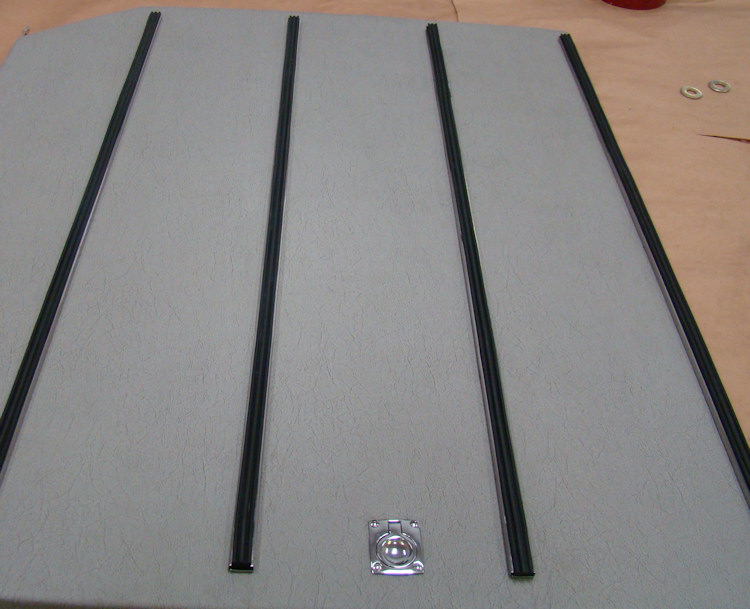
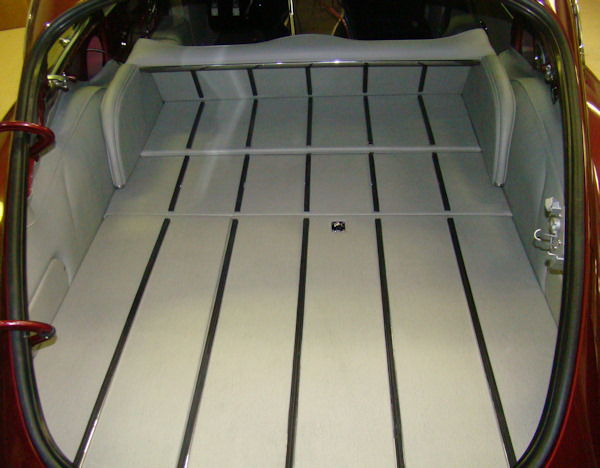
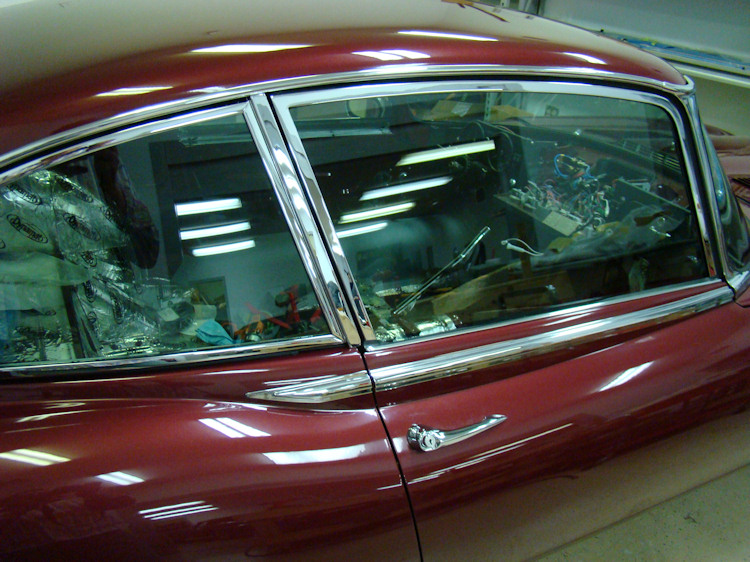
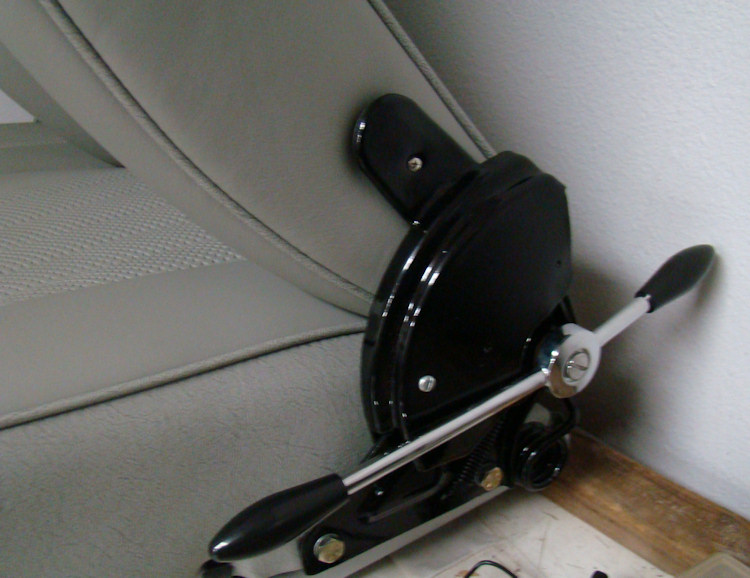
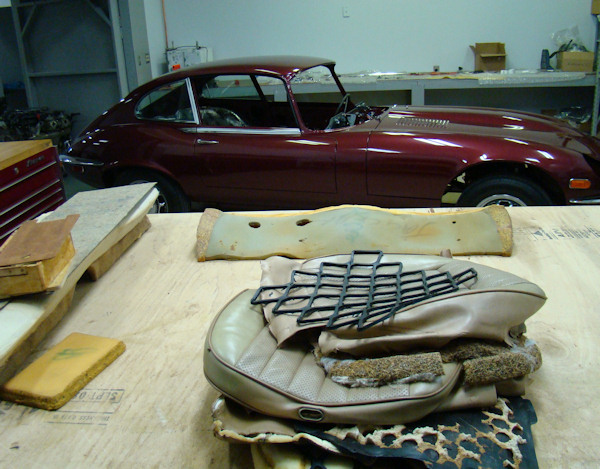
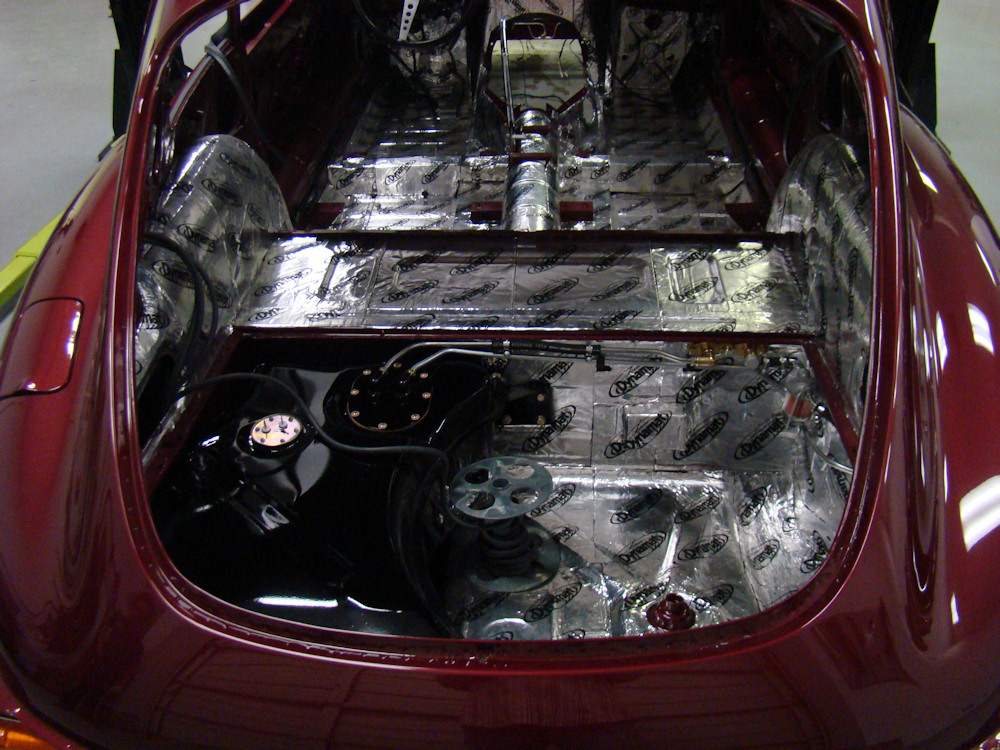
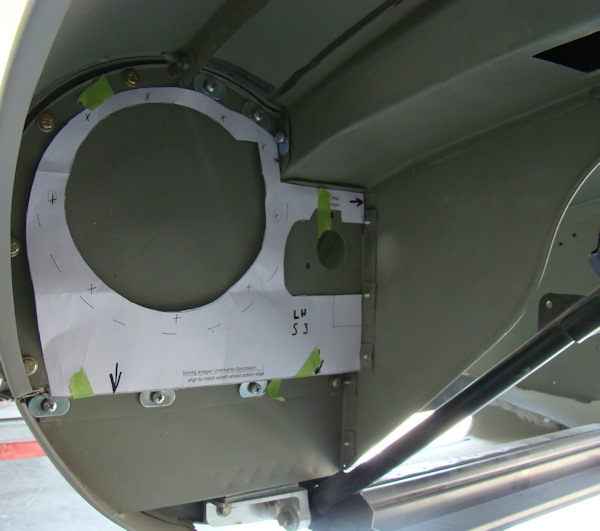
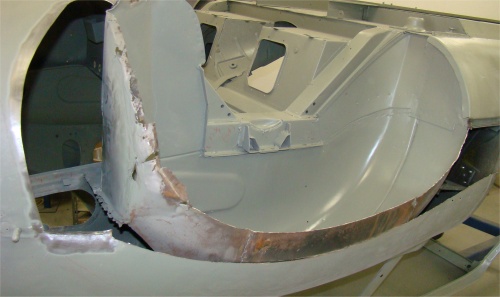
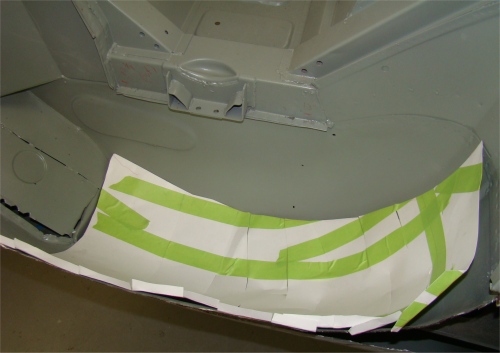
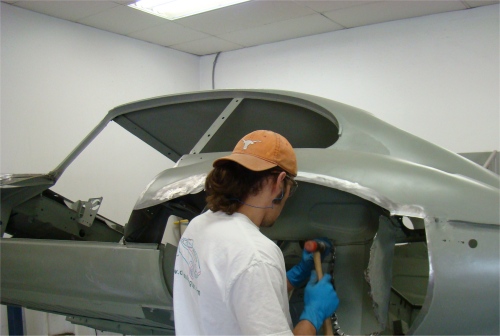
Installing electric windows, retrimming the rear luggage compartment..
 |
 |
 |
|
accommodate electric window lifts |
||
 |
 |
|
|
|
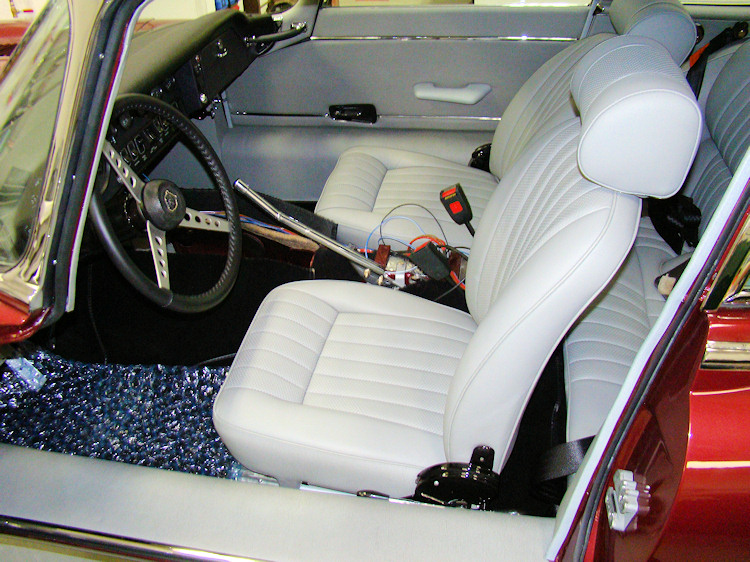
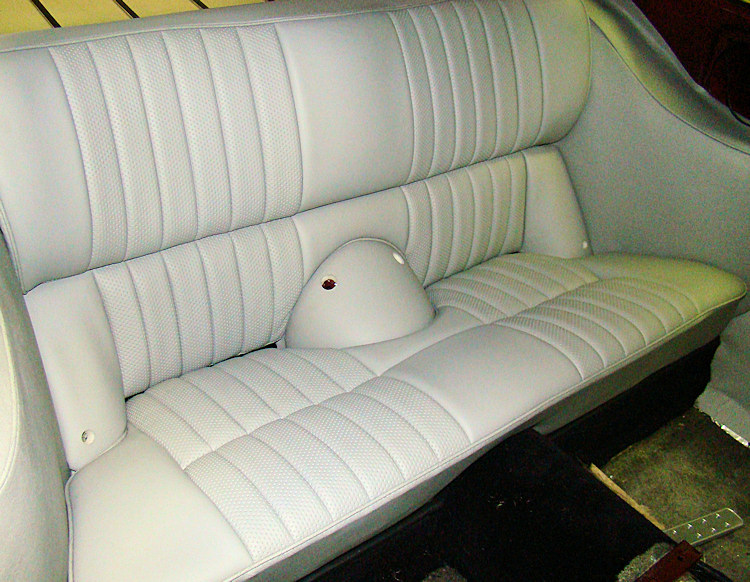
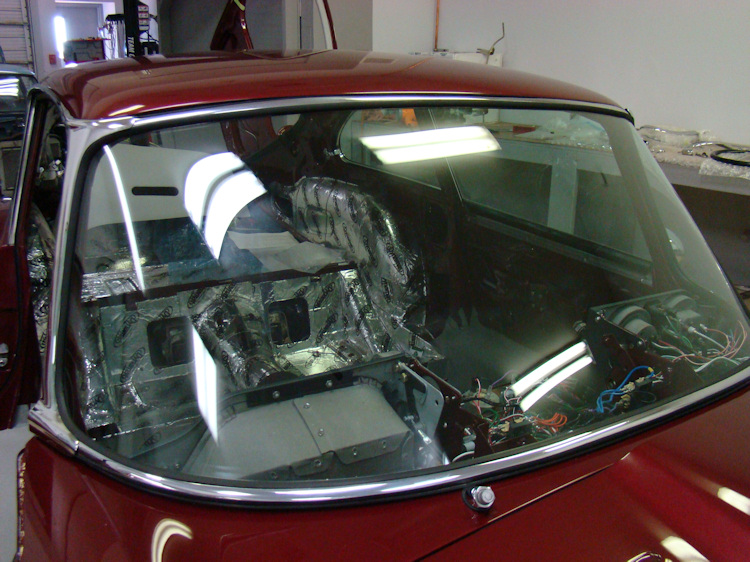
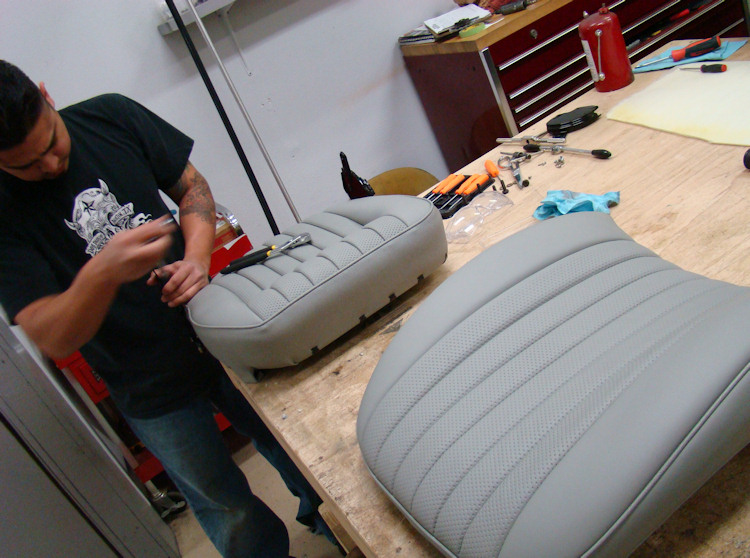
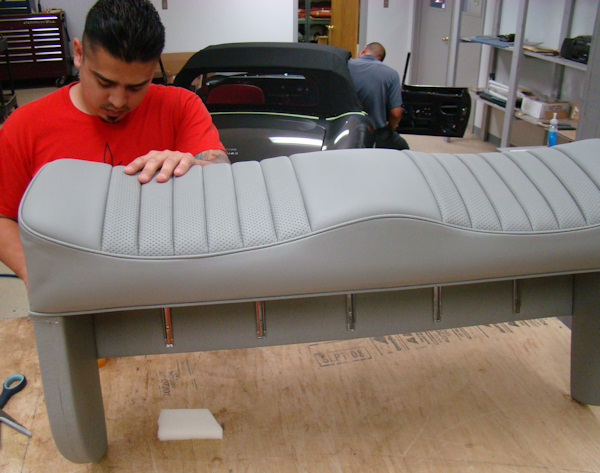
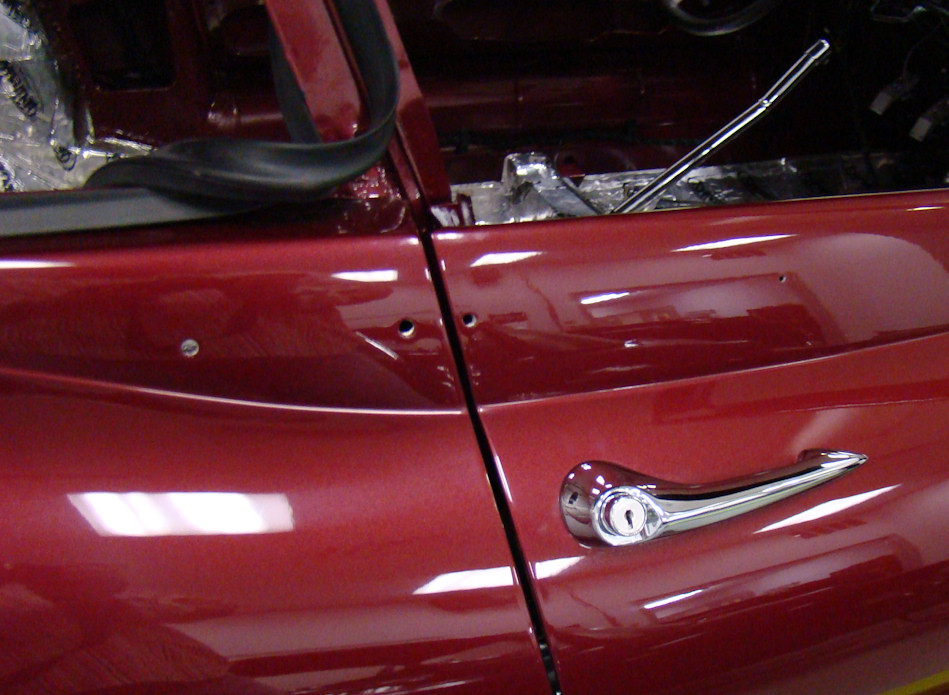
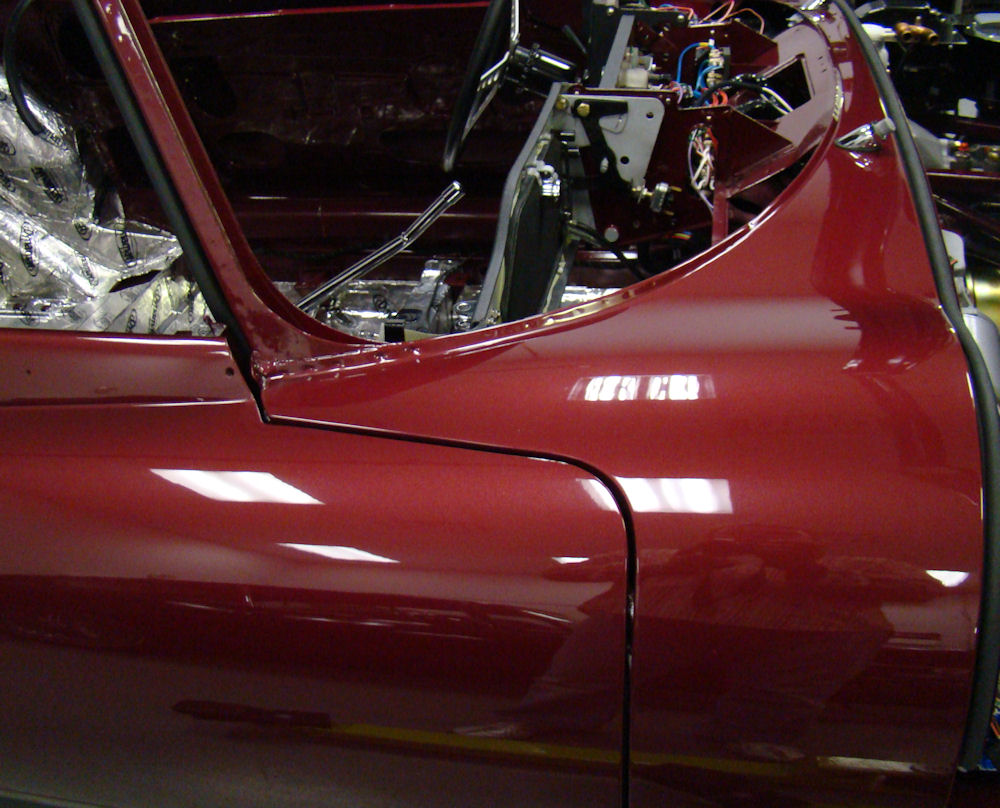
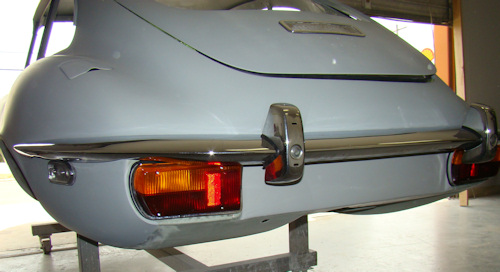
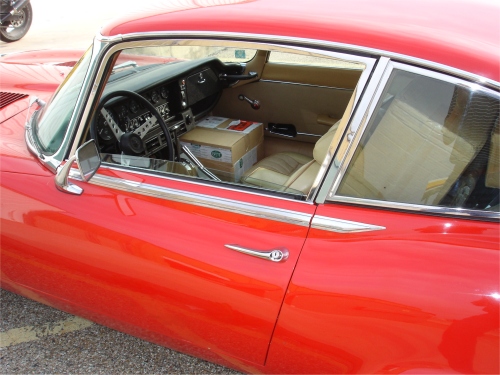
We have now installed your windshield and the majority of the chrome and brightwork, as well as completed the restoration of your front seats.
 |
 |
 |
 |
 |
 |
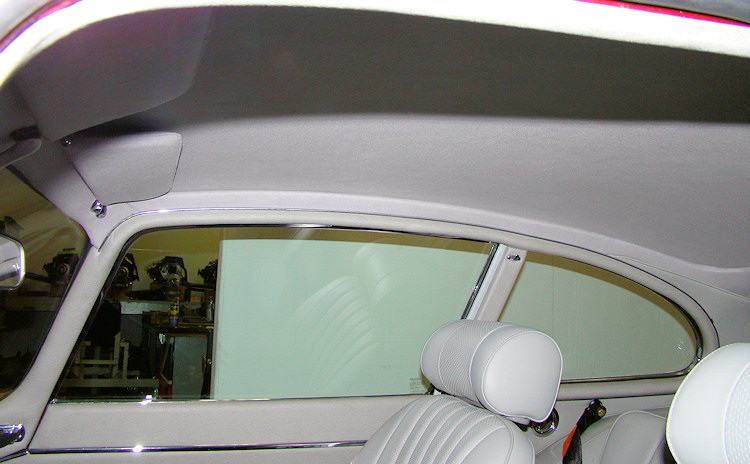
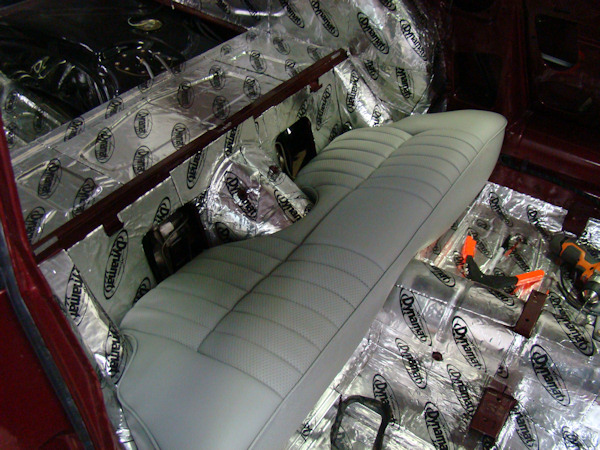
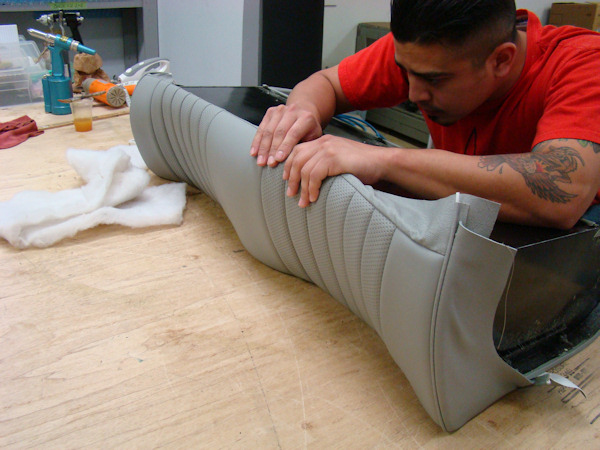
It is now time to install the window frames and new glass, and we have also begun installing your new interior.
 |
 |
 |
|
blasted and painted |
|
|
 |
 |
 |
|
to Opalescent Maroon paintwork |
of the rear seat back |
|
 |
 |
|
|
|
installed |
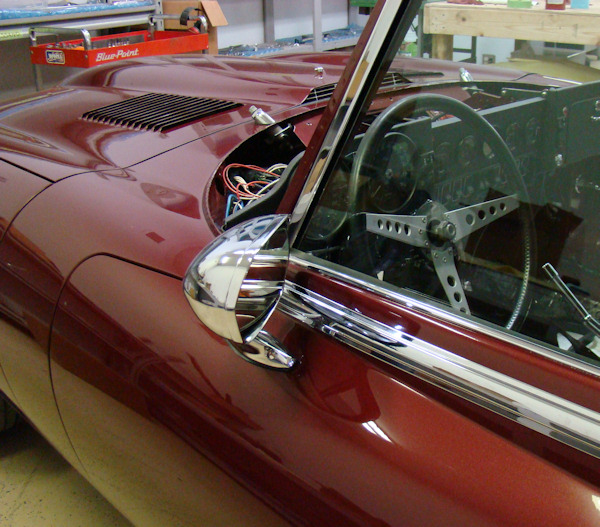
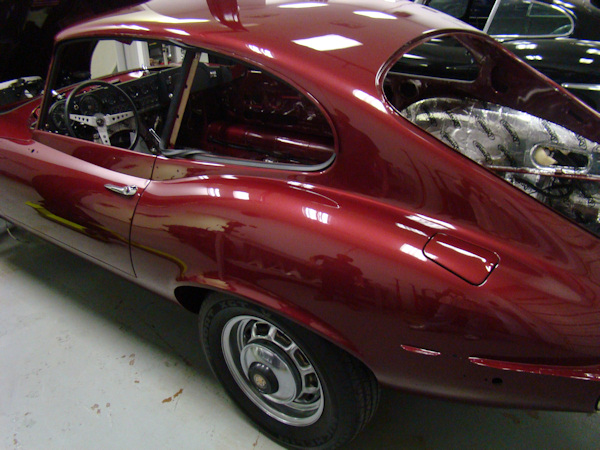
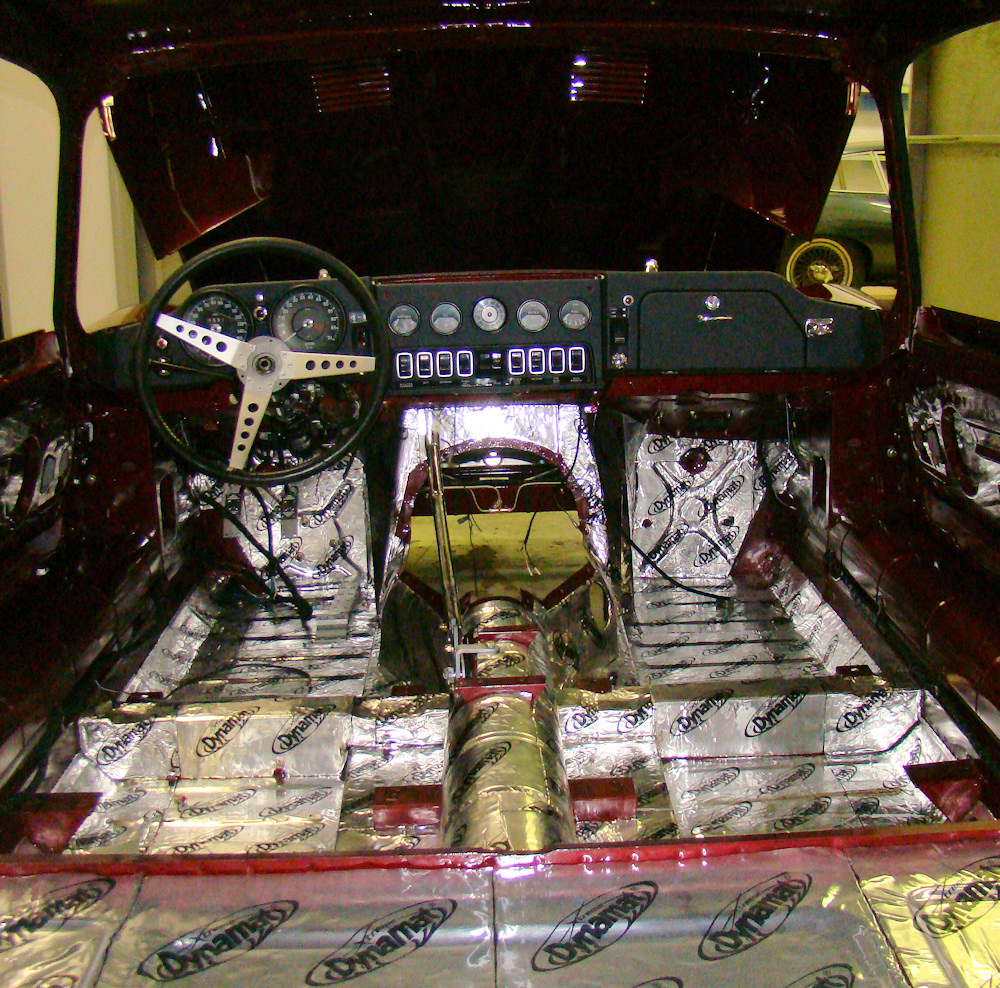
The doors and bonnet have now been installed and we are in the process of wiring in the lights and the dash.
 |
 |
 |
 |
 |
 |
 |
 |
 |
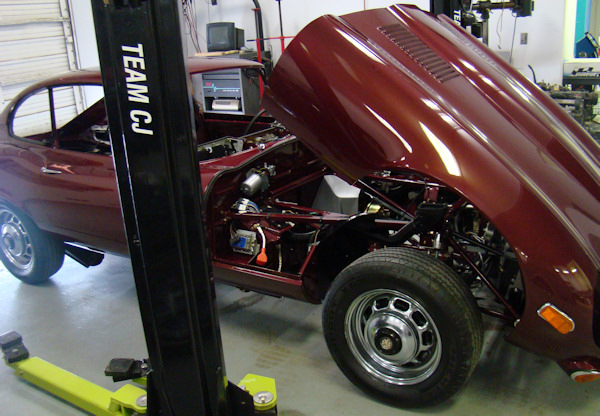
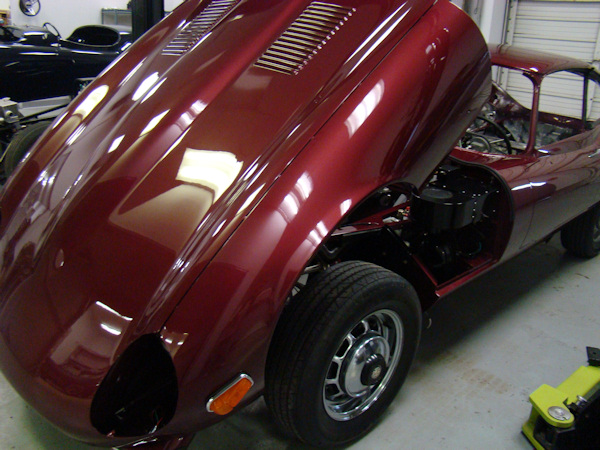
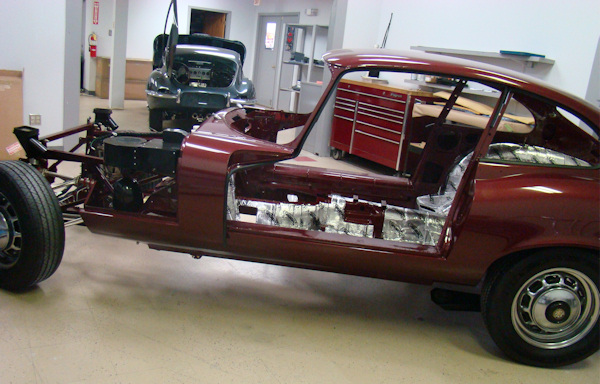
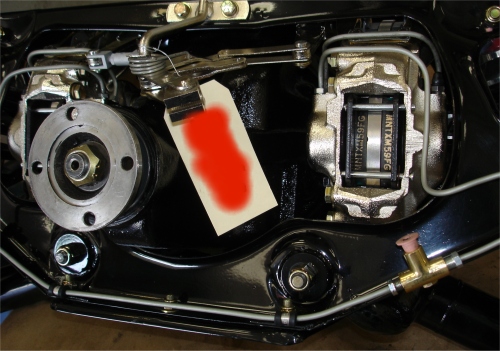
The front and rear suspensions have now been installed and the car is back on it wheels...
 |
 |
 |
 |
 |
 |
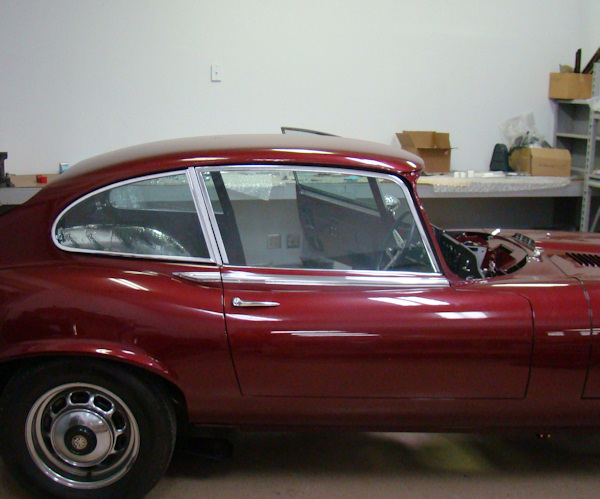
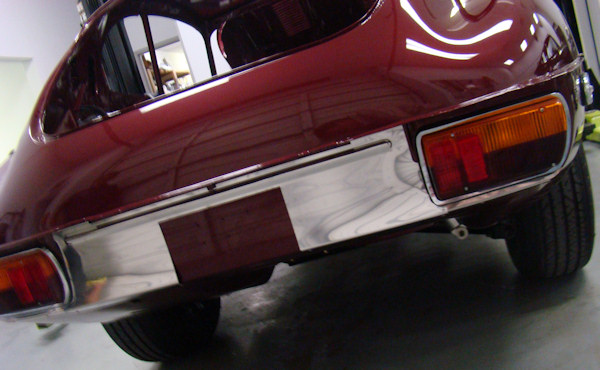
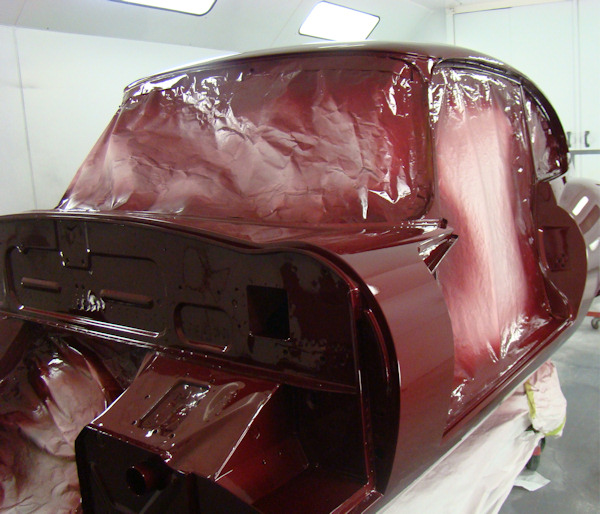
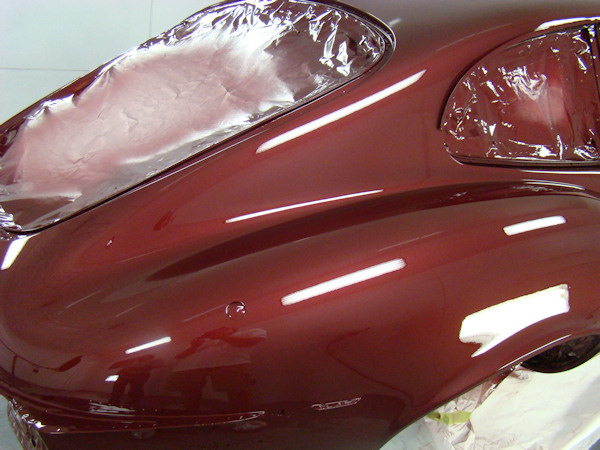
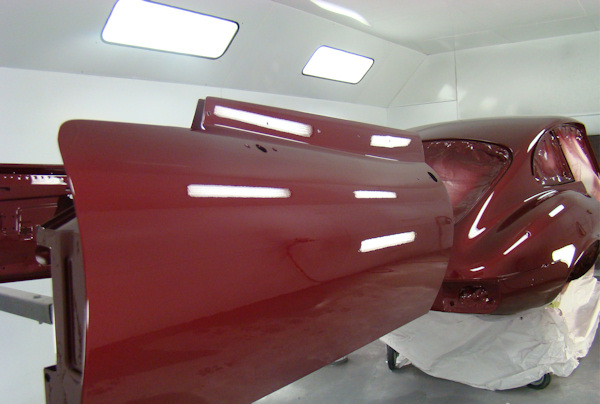
I am pleased to report that we painted the bodyshell and the doors yesterday evening and I could not be more pleased with the finished results. I hope you agree!
 |
 |
 |
|
|
|
|
 |
 |
|
|
|
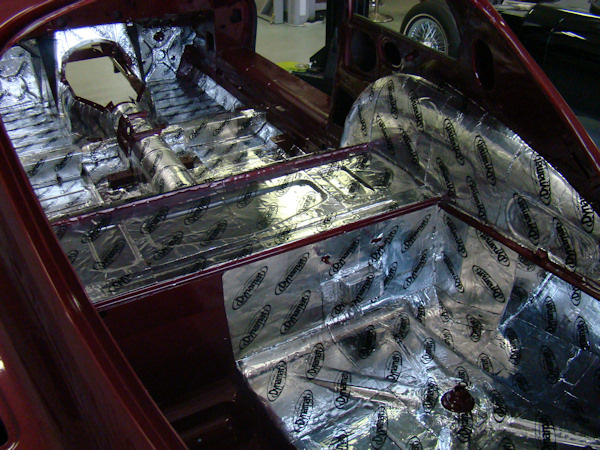
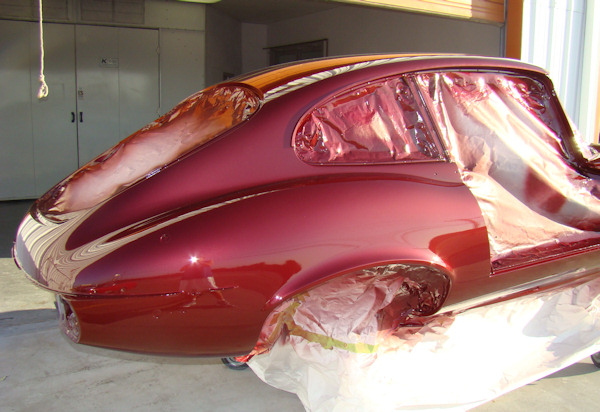
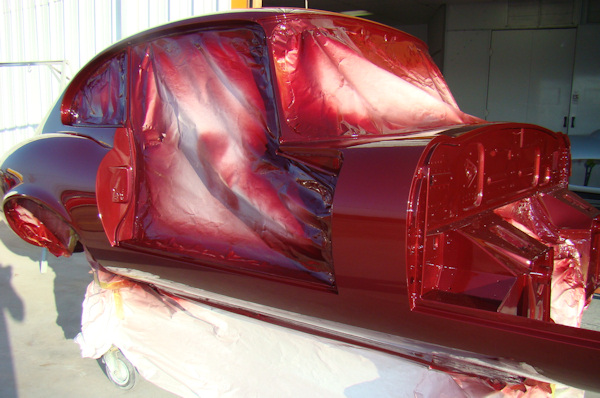
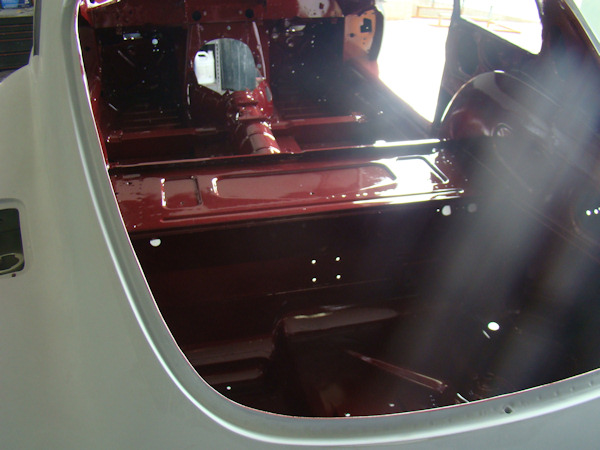
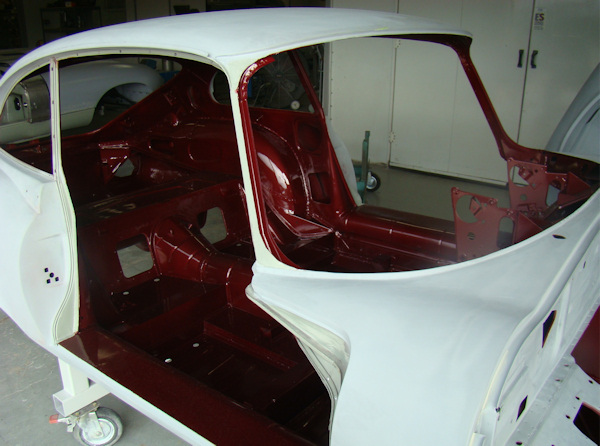
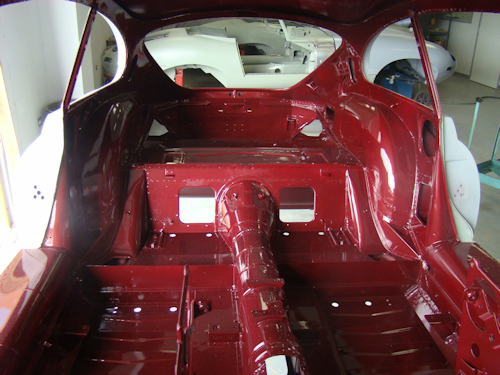
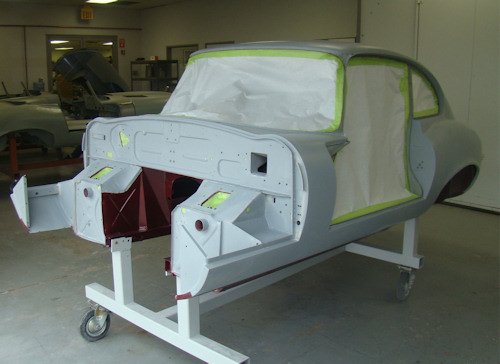
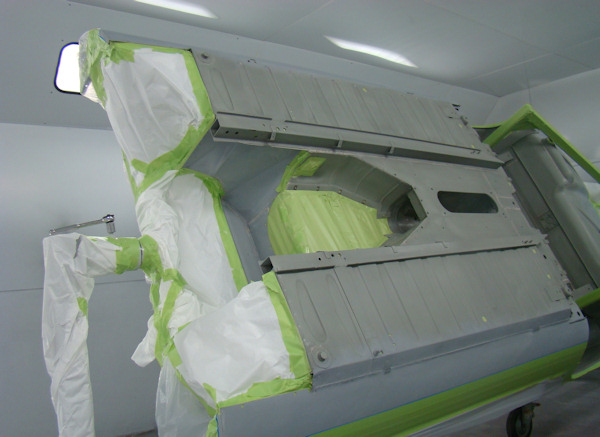
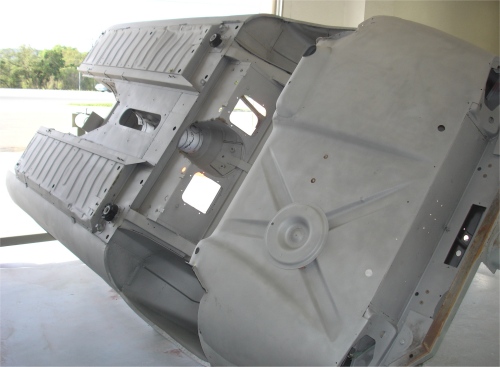
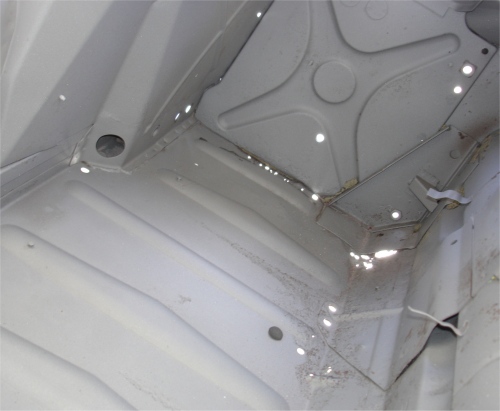
We have now painted the underside and interior and we will be painting all the outer panels in the next few days.
 |
 |
 |
 |
 |
|
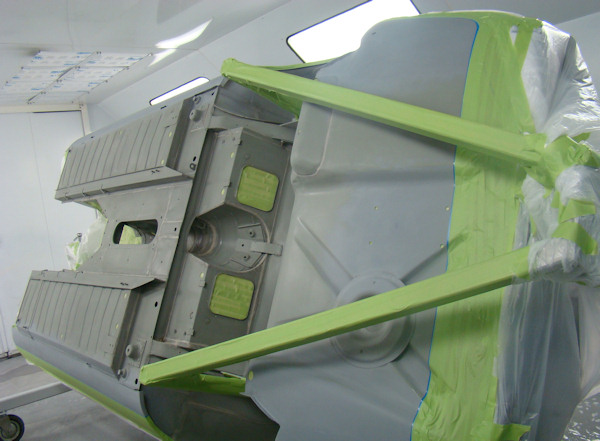
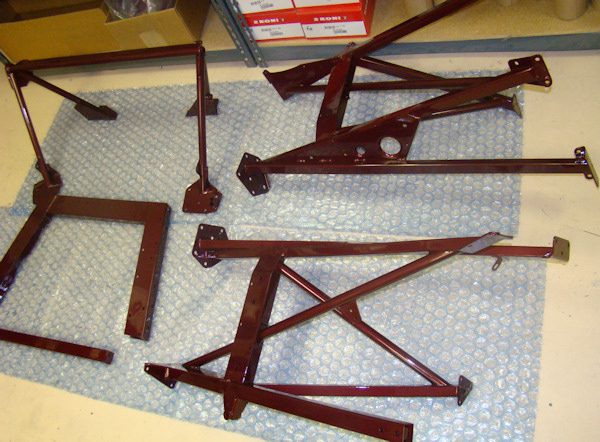
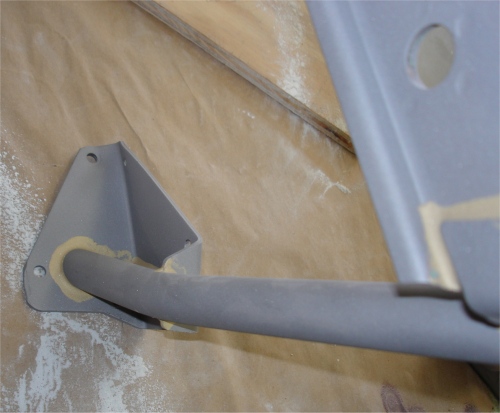
More Opalescent Maroon...
 |
 |
 |
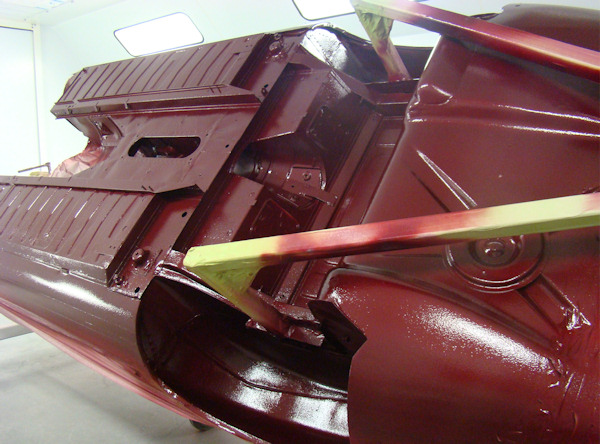 |
We have now applied the first of your Opalescent Maroon paint (to the engine frames). In the next week or so we will be painting the underside of the car and the cabin area, closely followed by all the outer panels.
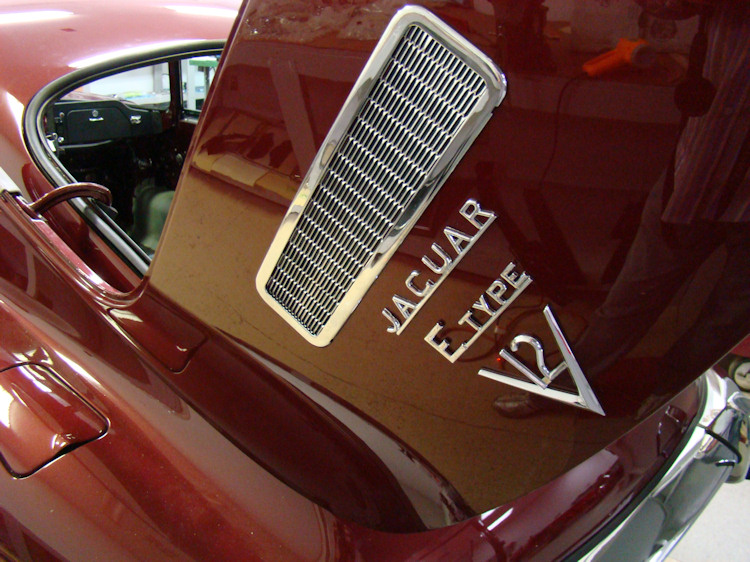
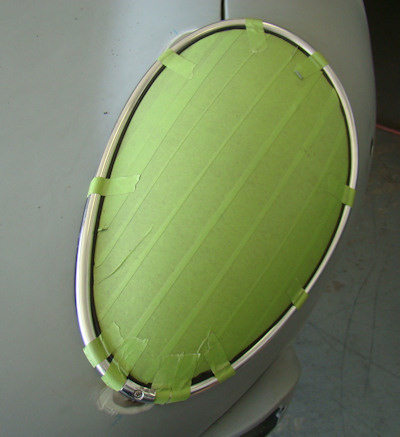
Trial fitting your chrome and brightwork and installing custom headlamp covers.
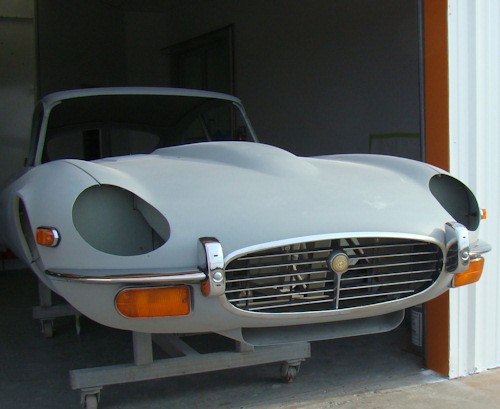 |
 |
 |
 |
 |
 |
 |
 |
|
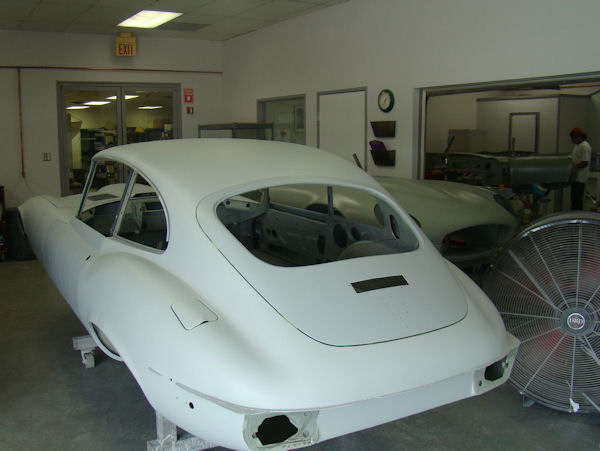
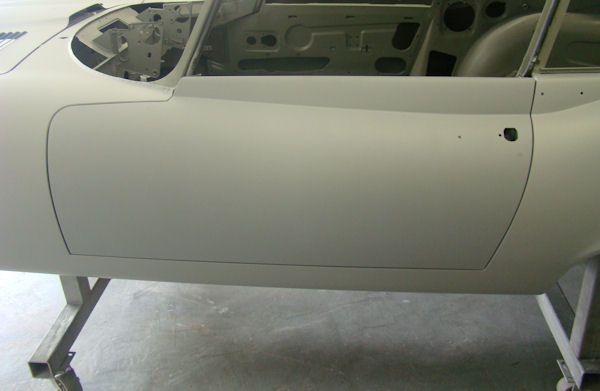
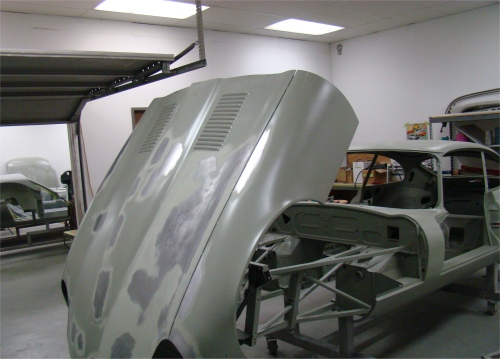
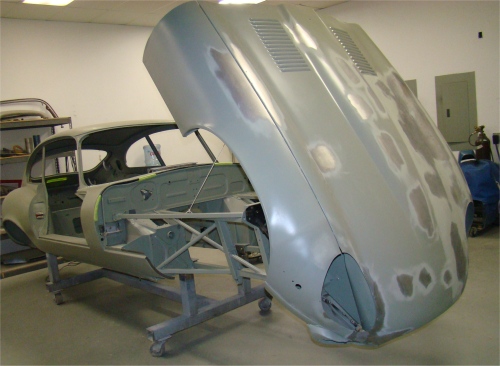
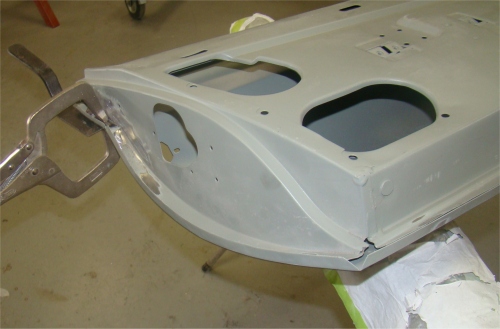
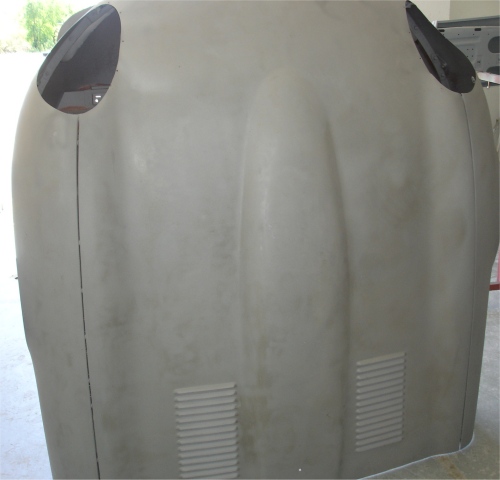
I am pleased to report that we have completed the bodywork and your car has now been primed with Slick Sand. Over the next couple of weeks we will block the Slick Sand then apply high build final primer. We are getting close to needing a final decision on paint color!
 |
 |
|
|
|
 |
 |
|
installed for final blocking |
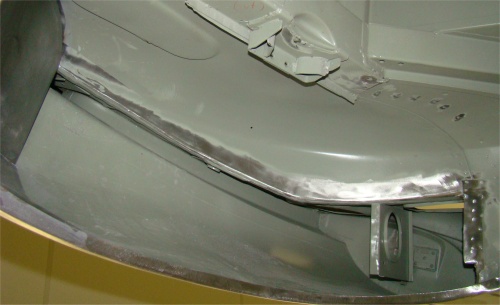
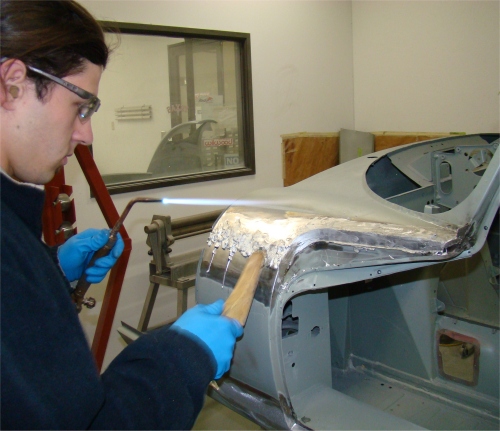
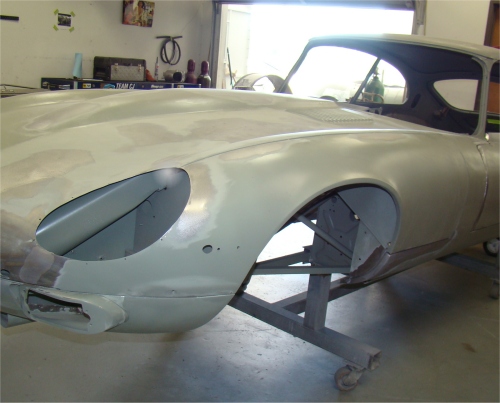
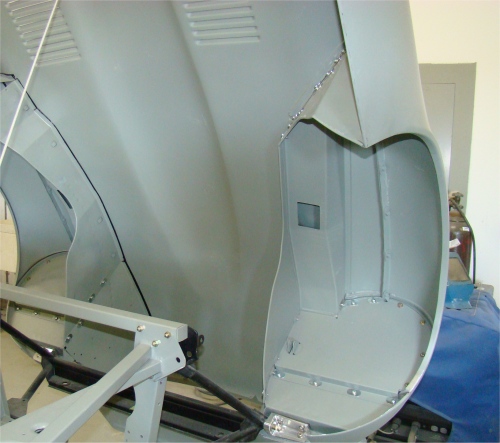
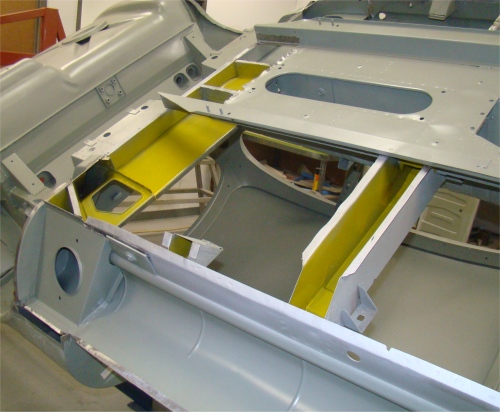
Lots of progress in the coachworks...
 |
 |
 |
 |
 |
 |
 |
 |
 |
 |
 |
 |
 |
 |
 |
 |
 |
 |
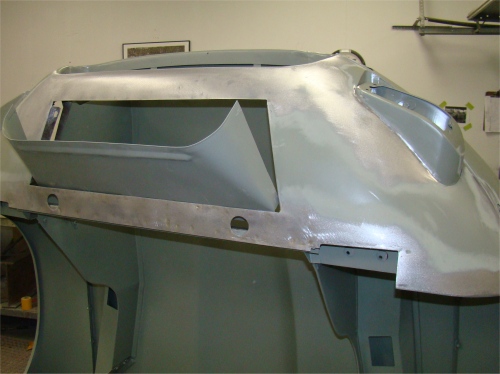
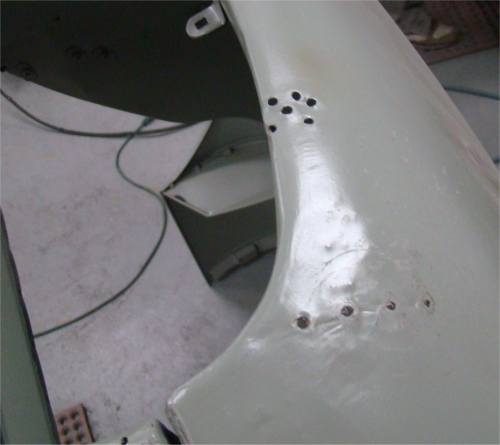
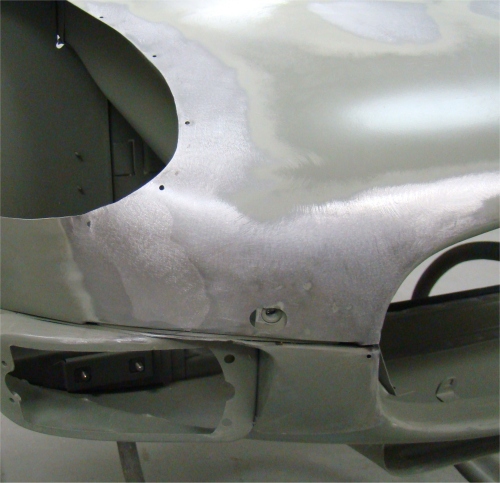
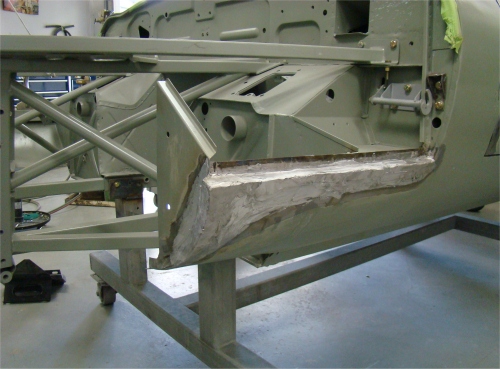
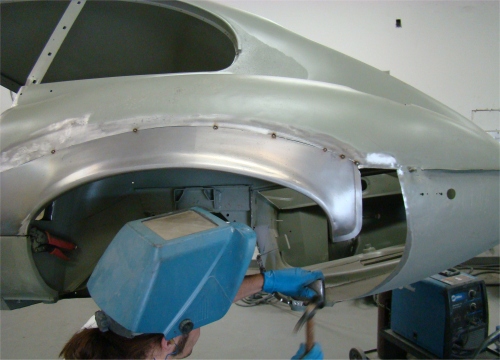
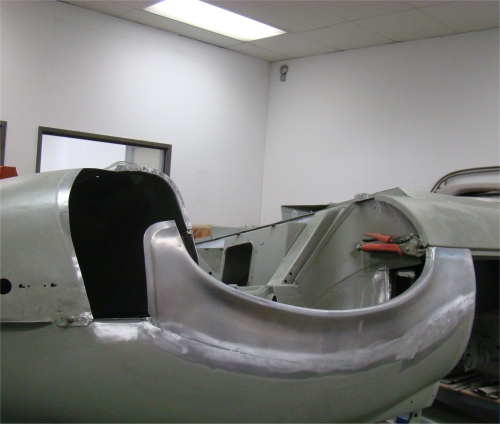
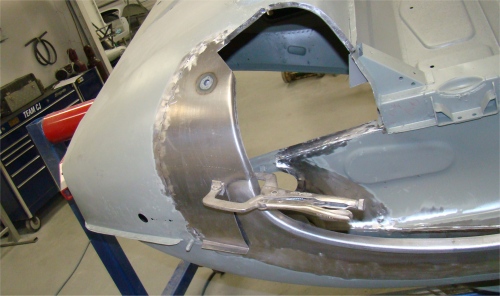
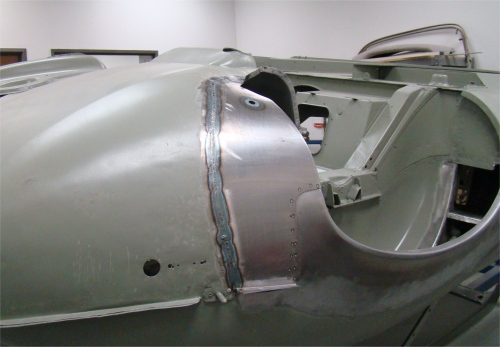
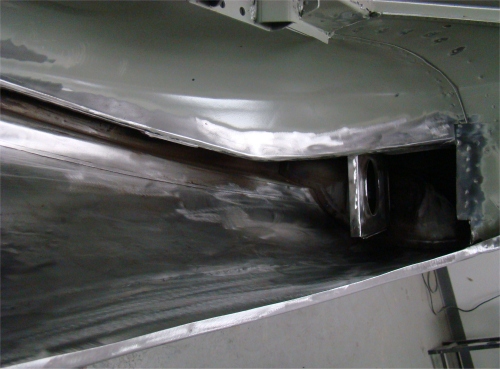
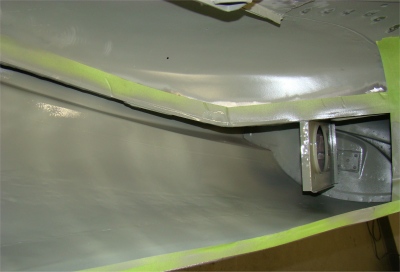
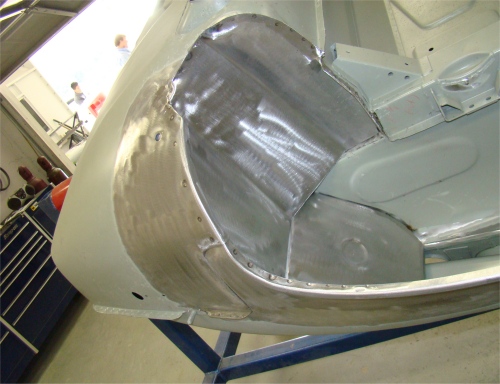
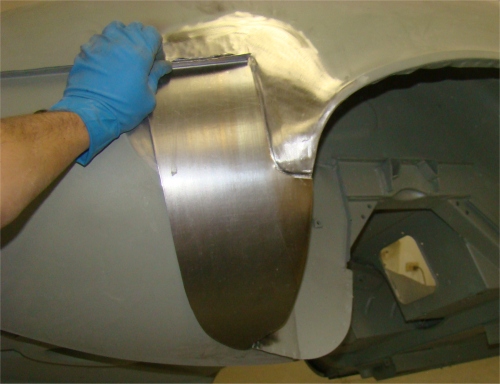
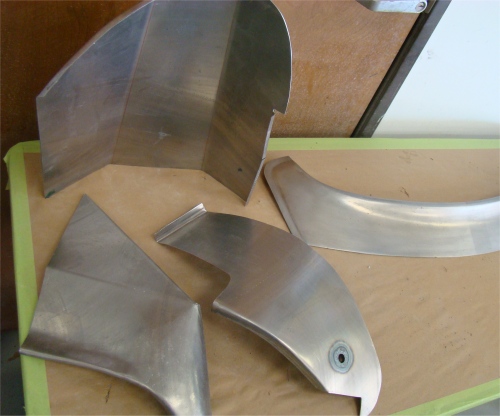
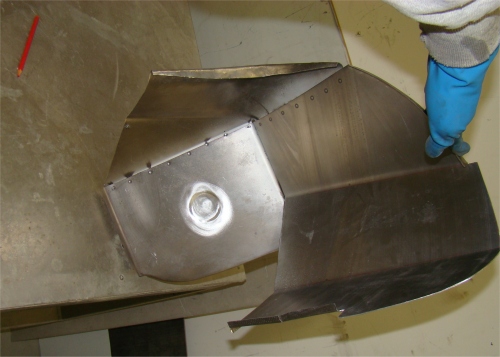
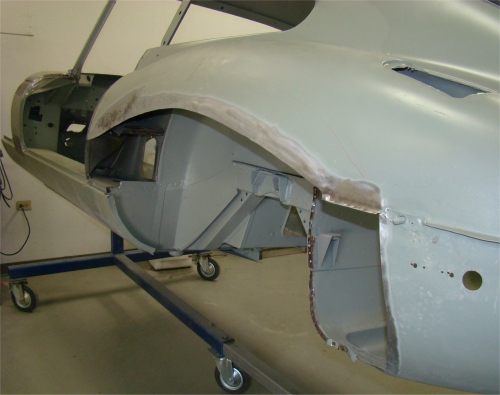
More body restoration photos...
 |
 |
 |
|
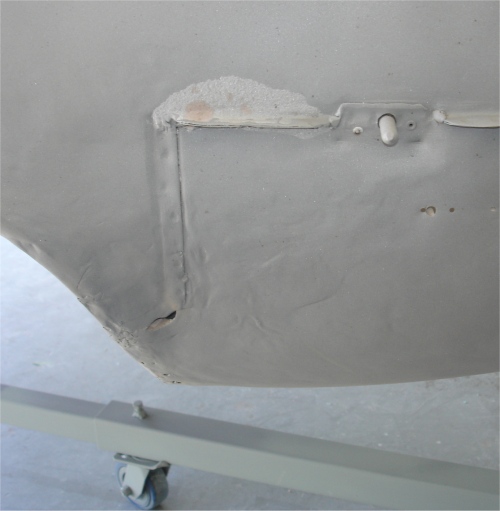
tack welded into place |
|
|
 |
 |
 |
|
welded into place |
arch to bare metal |
|
 |
 |
|
|
|
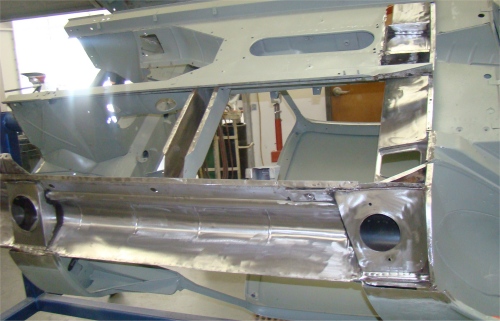
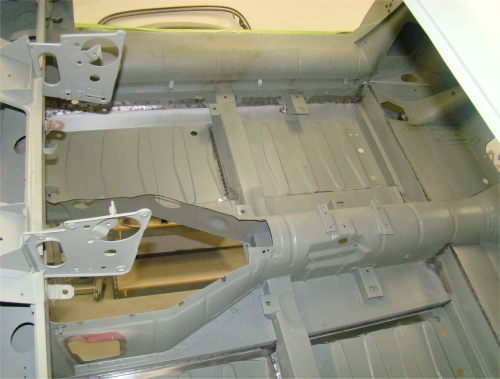
We now have your body restoration well under way.
 |
 |
 |
|
new floors |
||
 |
 |
 |
|
|
|
|
 |
 |
 |
|
Wurth Body Wax |
|
|
 |
 |
 |
|
|
|
|
 |
 |
 |
|
|
||
 |
 |
 |
|
be replaced |
will be needed |
|
 |
 |
 |
|
|
||
 |
 |
 |
|
|
|
|
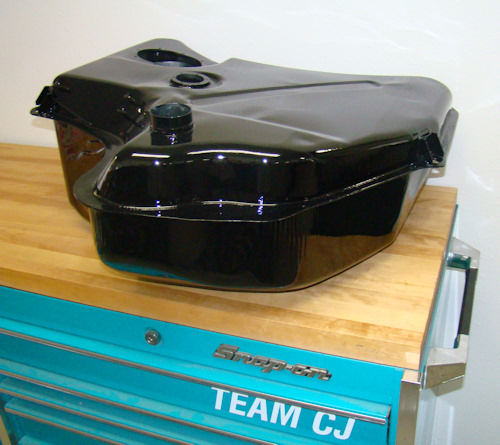
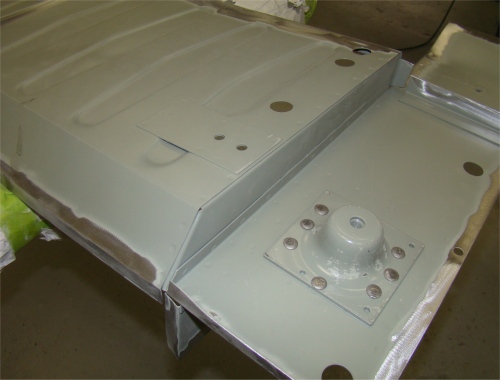
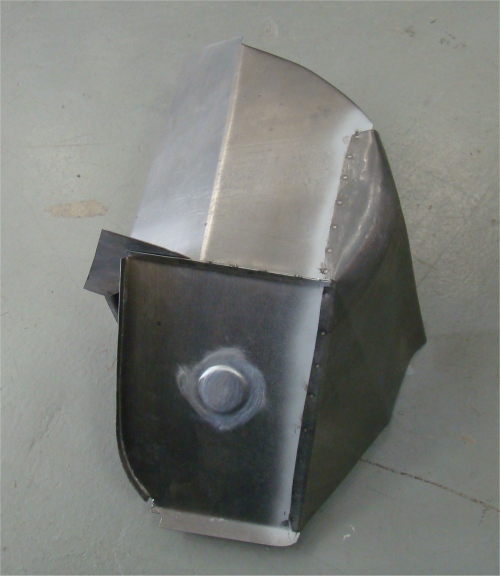
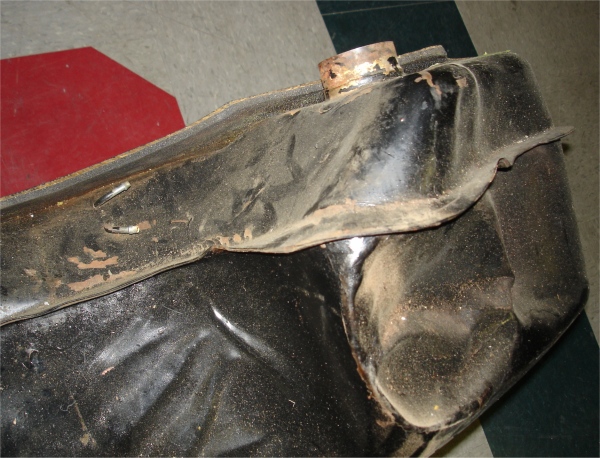
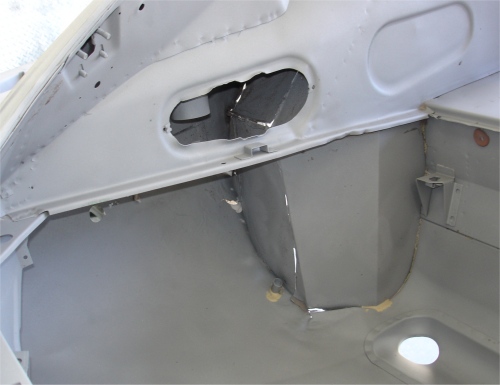
This is how your gas tank looked once removed from the car. It is not something we would ever re-install here at CJ and we strongly recommend is that it should be replaced.
 |
 |
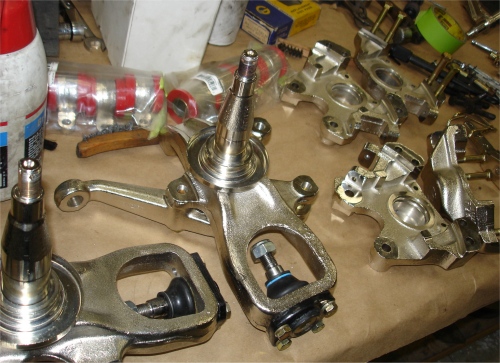
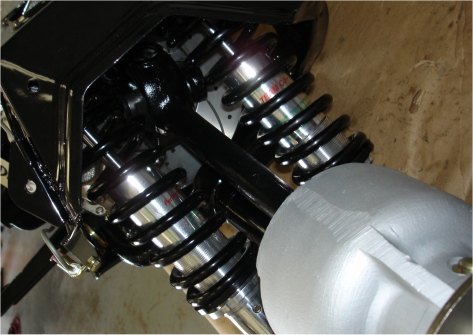
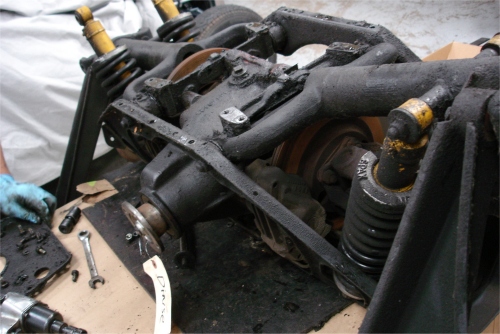
We have now completed the rebuild of your IRS and assembled your re-bushed/plated front suspension.
 |
 |
 |
 |
 |
 |
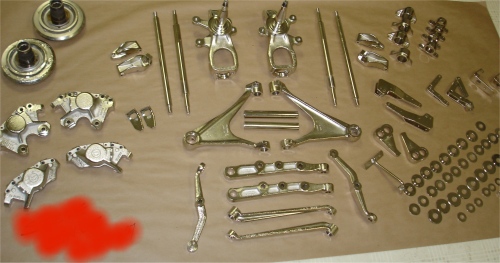
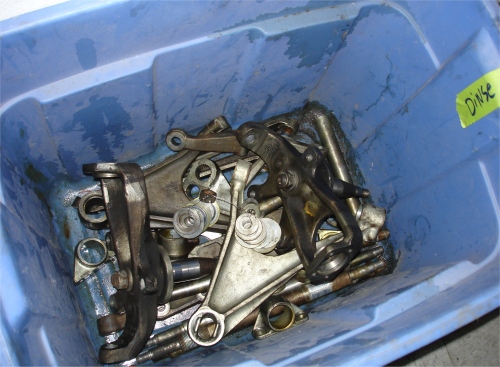
Nickel plated suspension and brake components
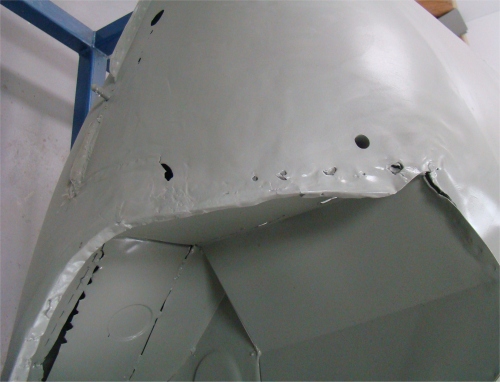
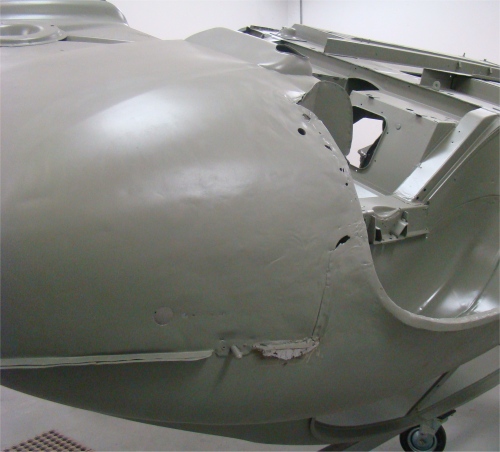
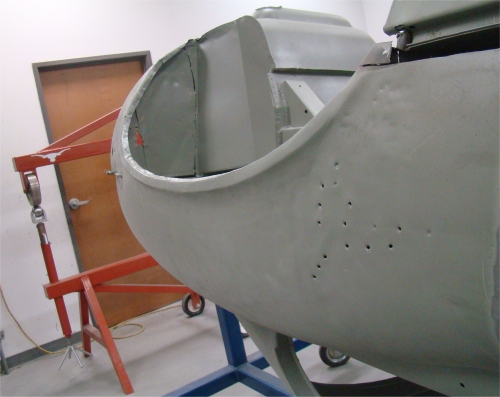
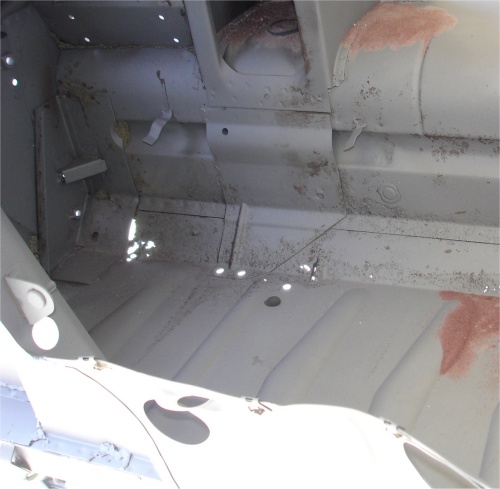
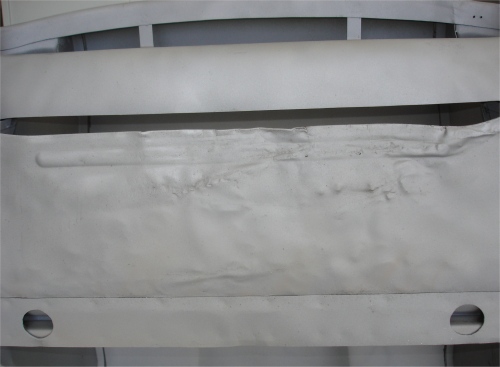
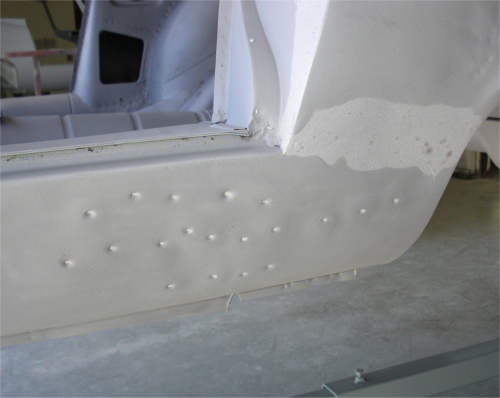
Back from the blasters - the news isn't too bad.....
 |
 |
 |
|
like to see! |
||
 |
 |
 |
|
replaced |
is pretty beaten up |
|
 |
 |
 |
|
|
|
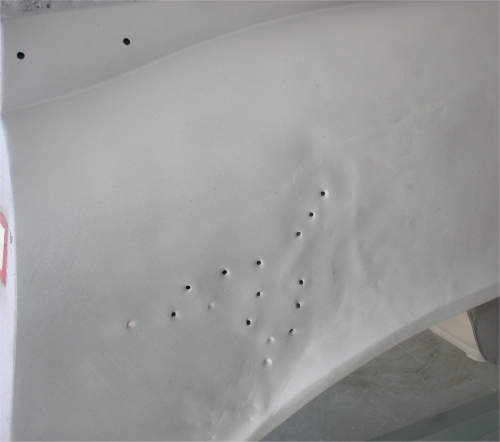
been in a gunfight |
 |
 |
 |
|
mangled |
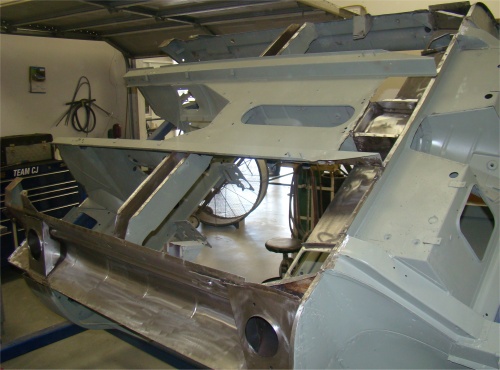
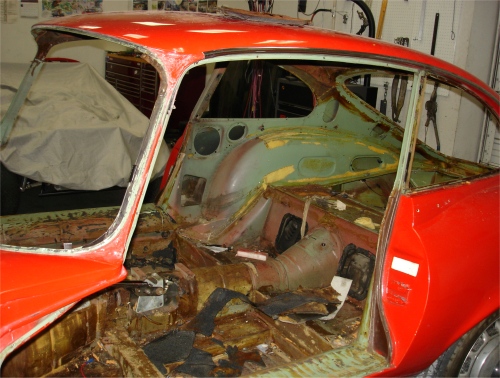
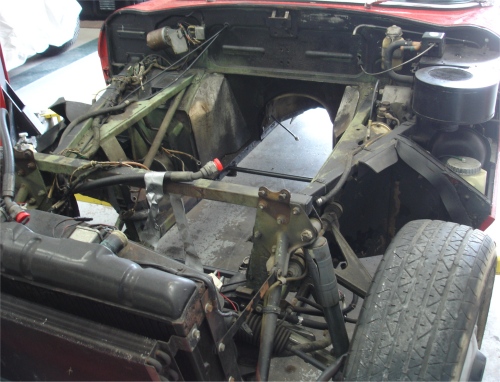
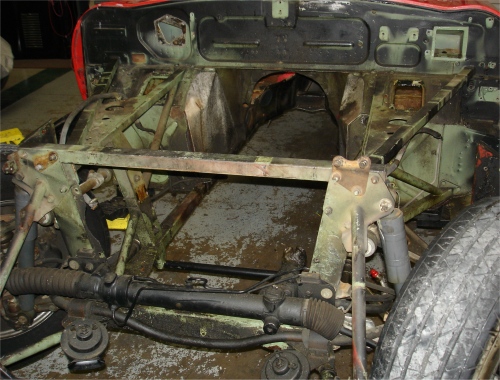
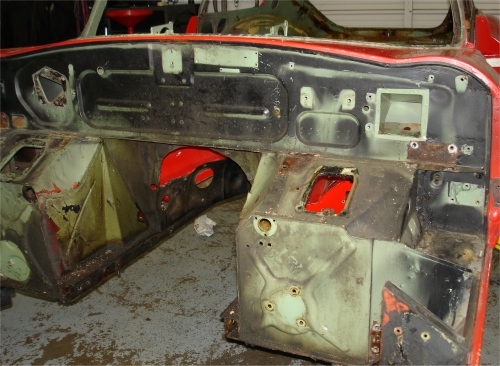
Your car is now completely disassembled and almost ready for the dreaded media blasting process!
 |
 |
 |
|
|
|
|
|
|
|
|
 |
 |
 |
|
|
|
|
|
|
|
|
 |
||
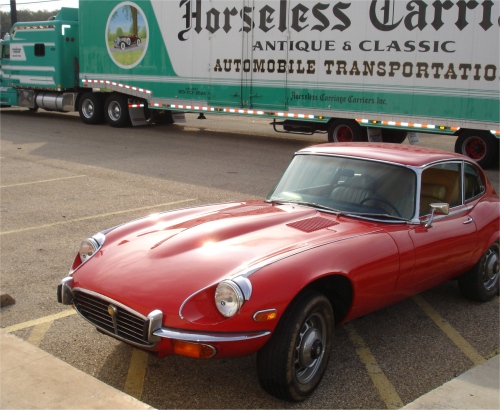
I am pleased to report that your car made the journey from California to Texas without incident and the work will be underway in the next few days. I hope you enjoy watching the restoration unfold in these pages!
 |
 |
 |
