| 1964 E Type roadster (SB)
Team CJ total restoration |
Restoration Log by Dan Mooney |
|
| 1964 E Type roadster (SB)
Team CJ total restoration |
Restoration Log by Dan Mooney |
|
|
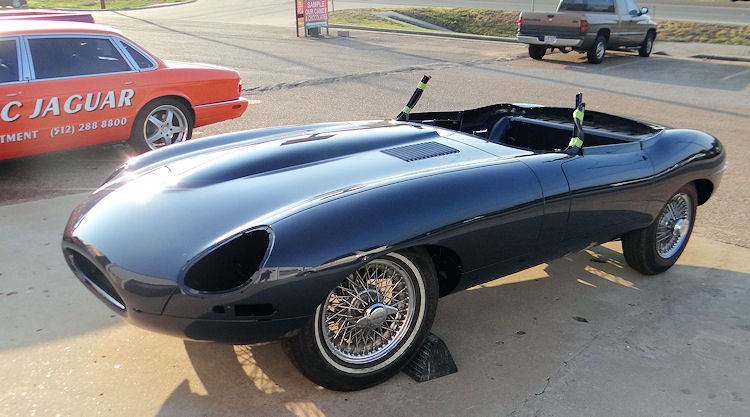
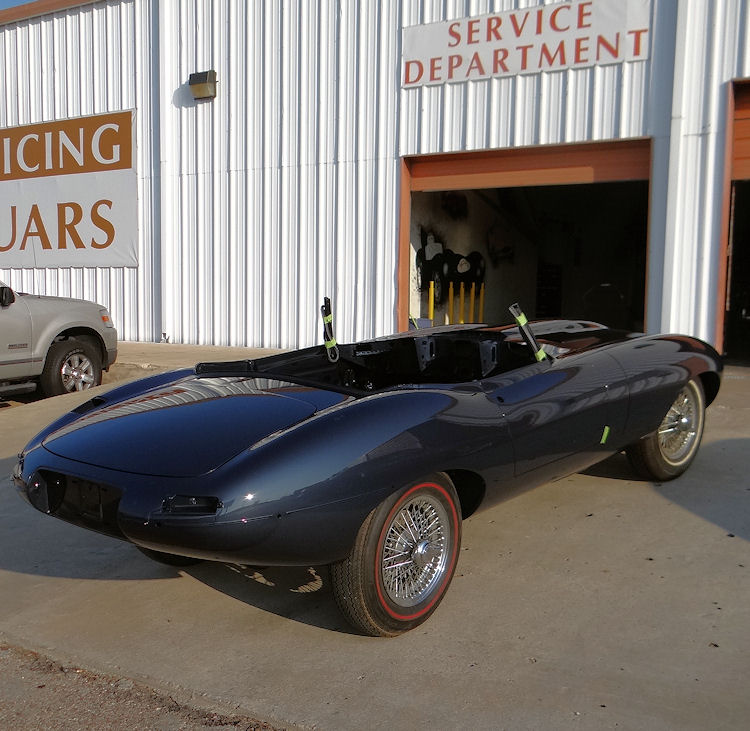
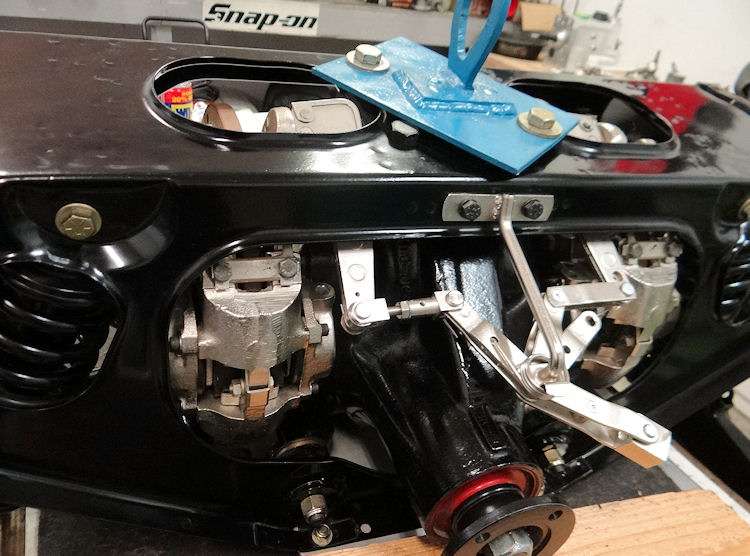
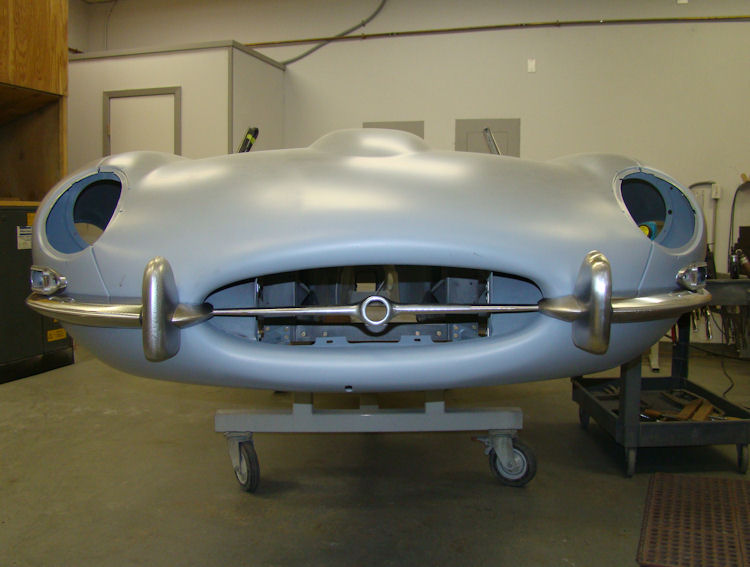
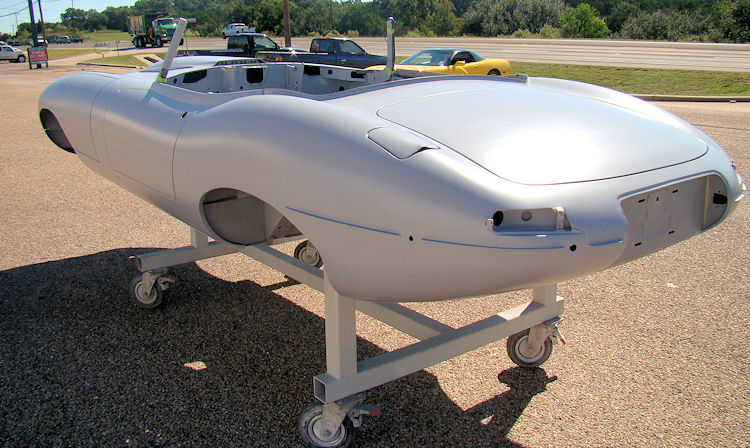
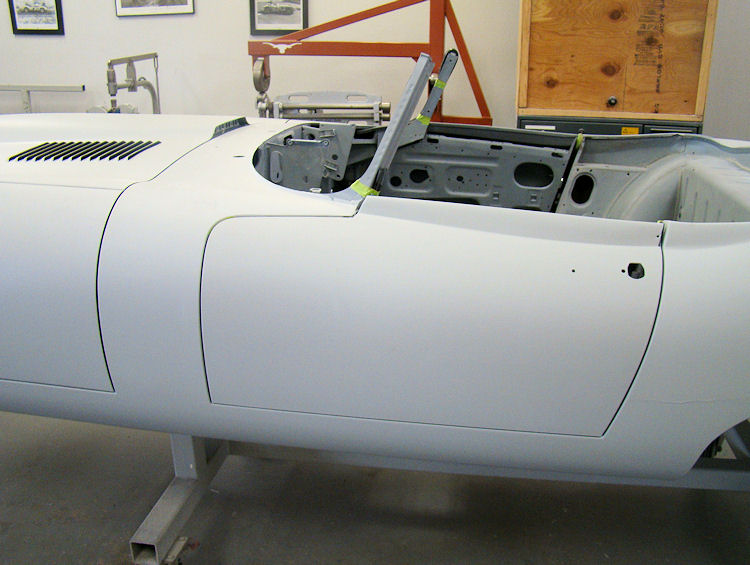
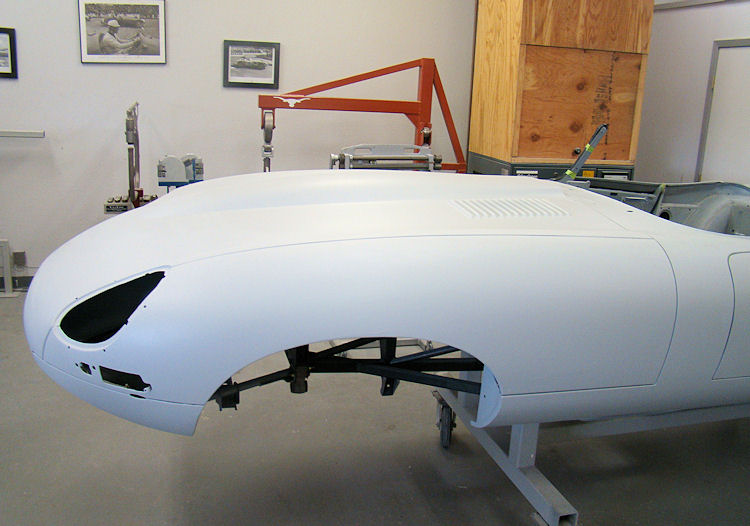
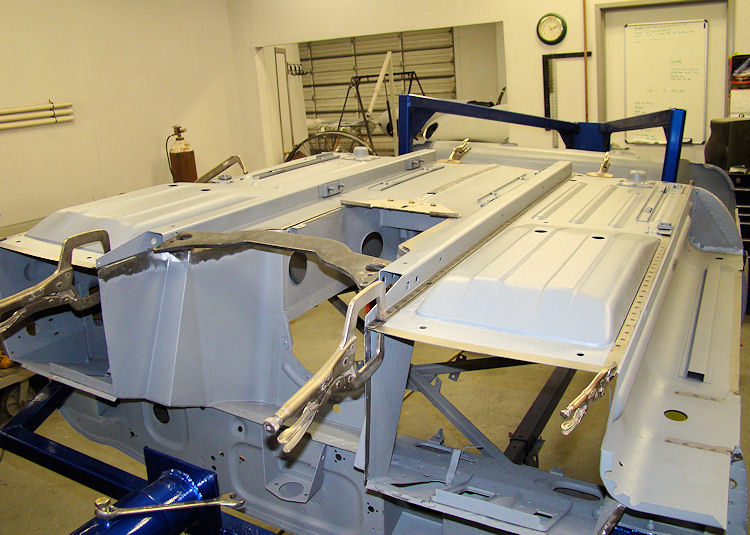
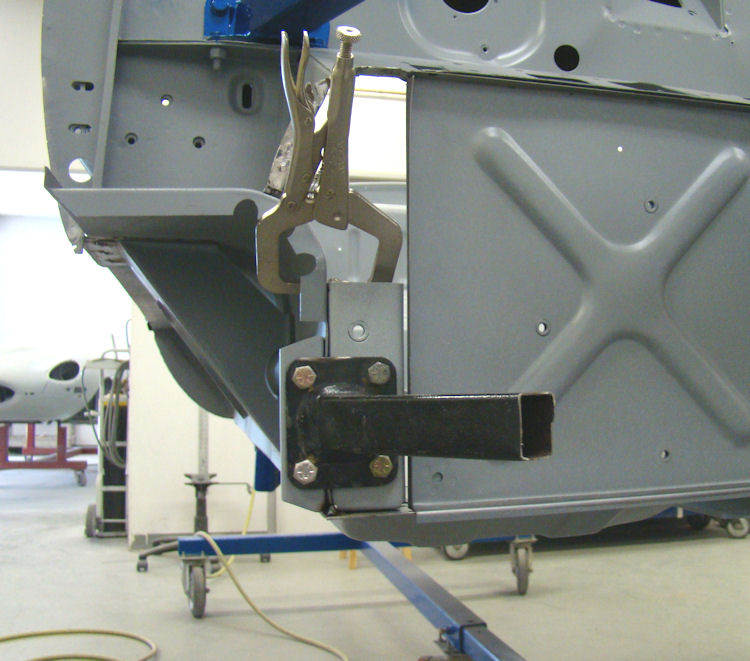
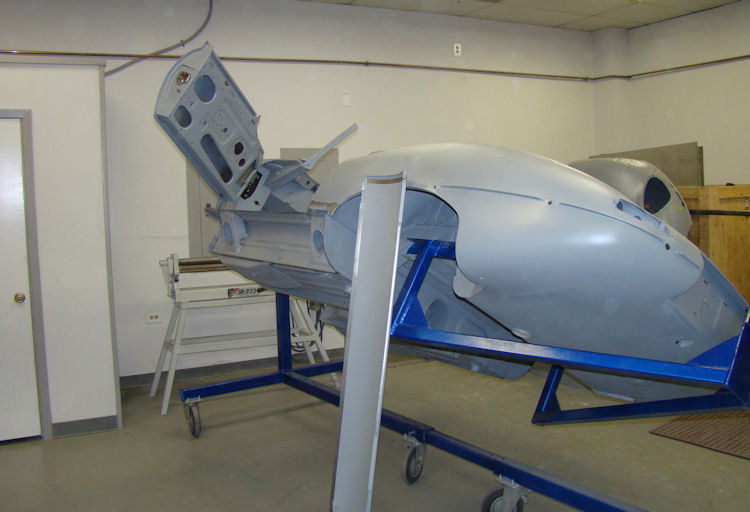
We now have your restored body back on its wheels...
 |
 |
|
|
|
|
|
|
 |
 |
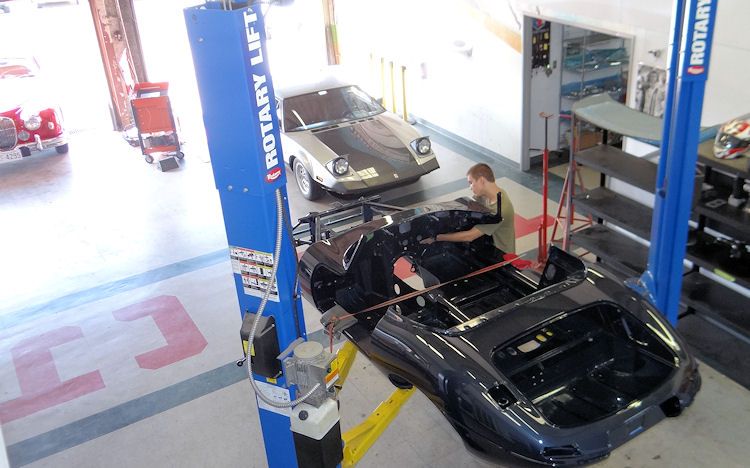
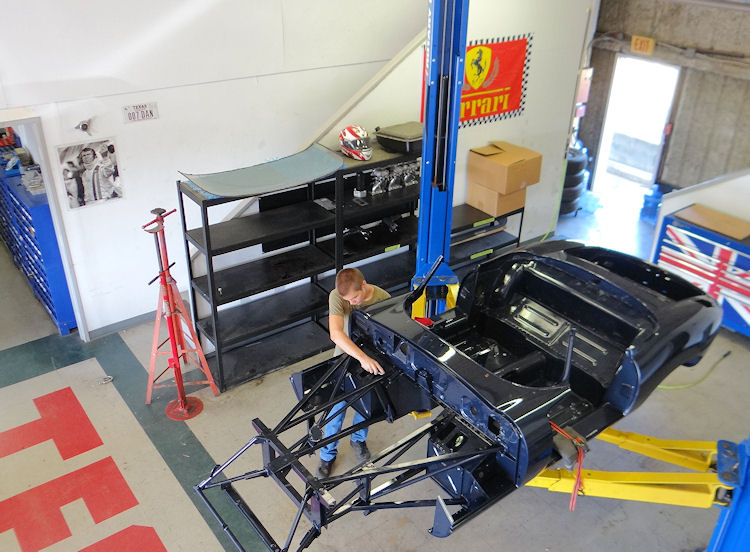
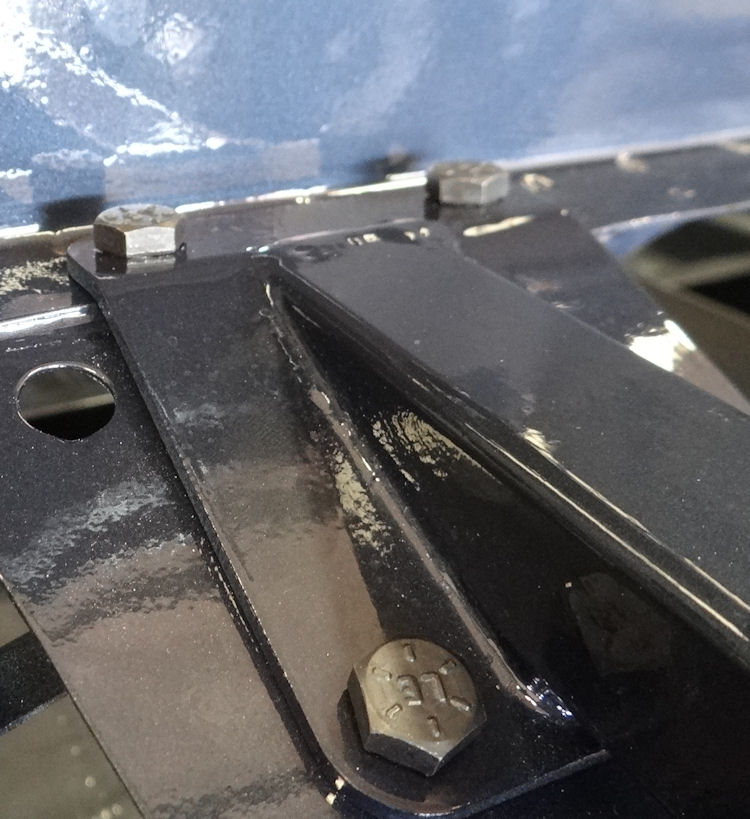
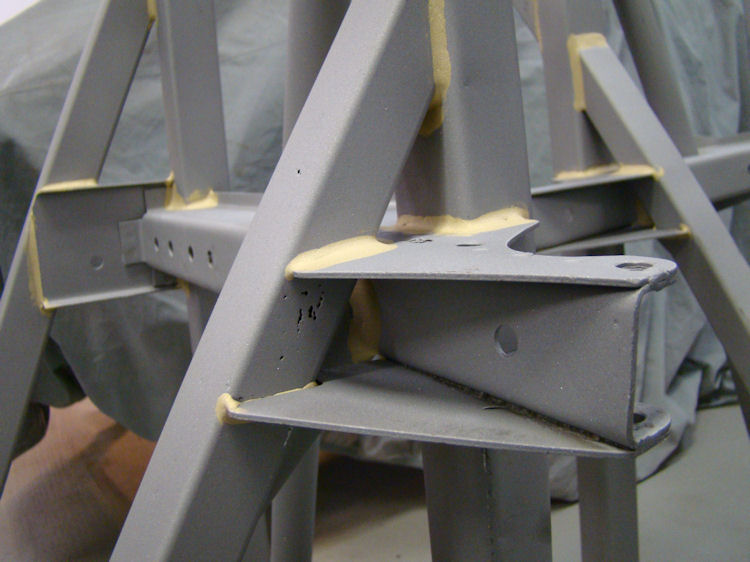
We have now installed the engine frames and the IRS. On Monday morning we will install the front suspension and your car will be back on its wheels.
 |
 |
|
|
|
 |
 |
|
|
|
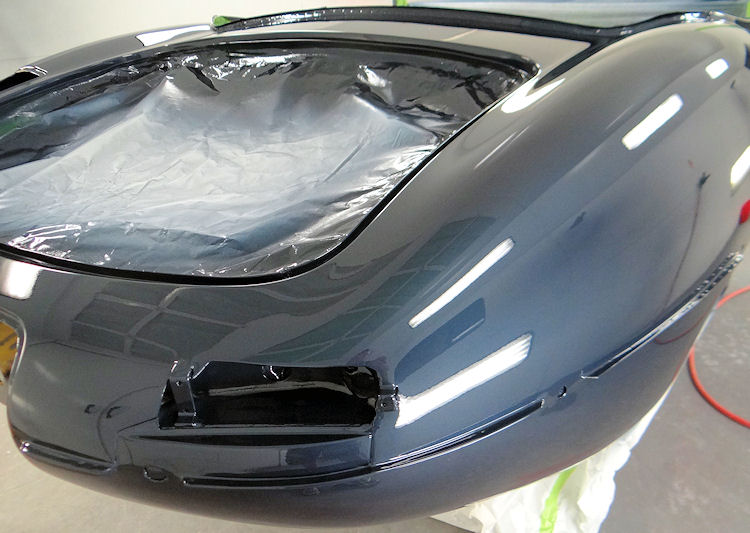
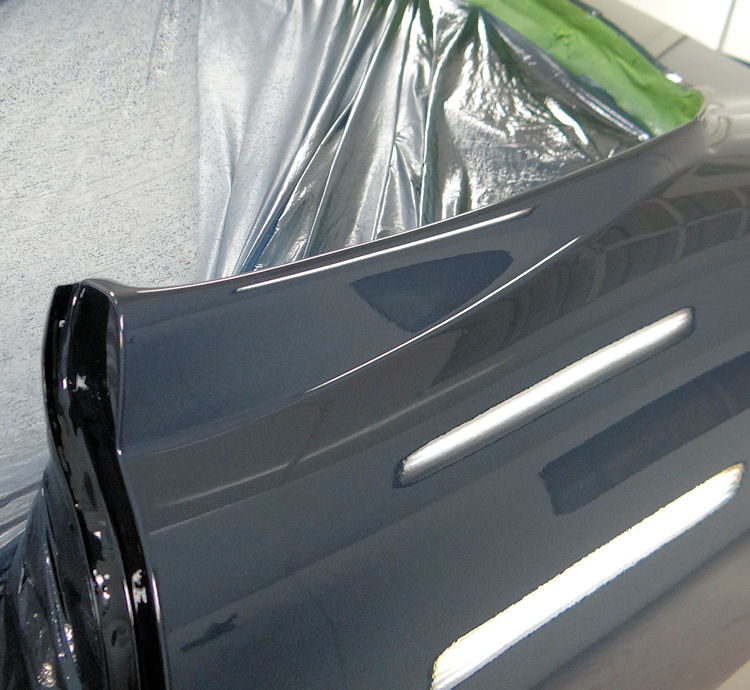
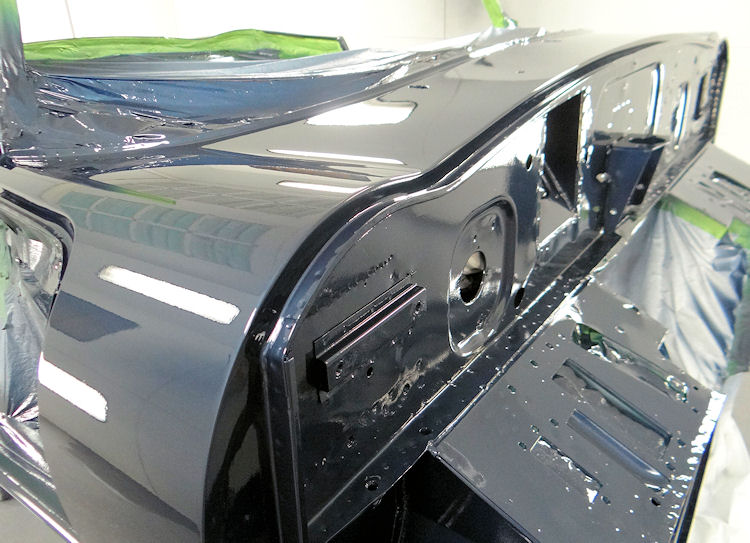
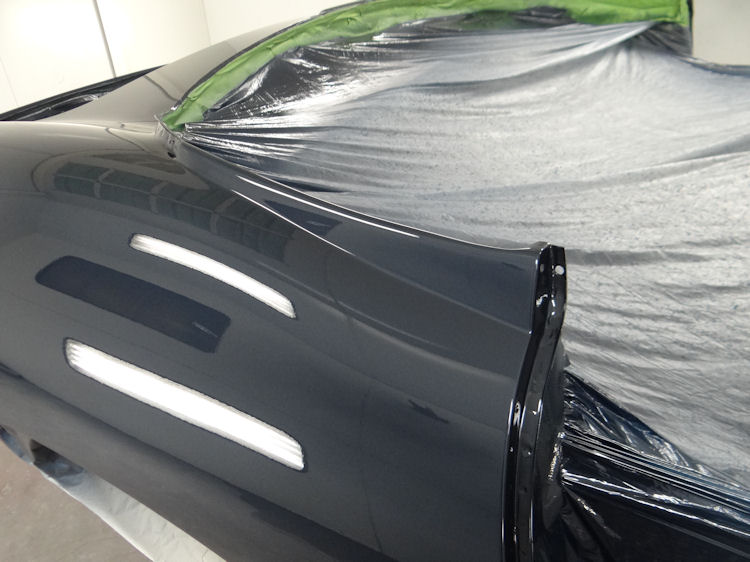
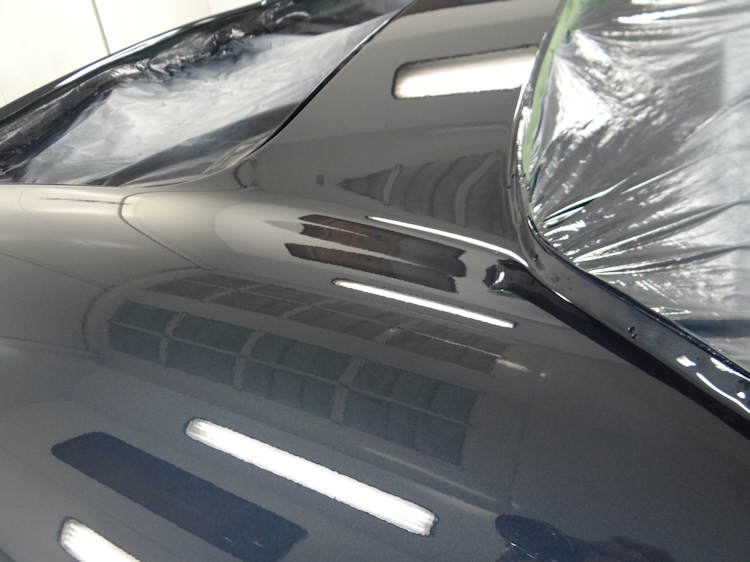
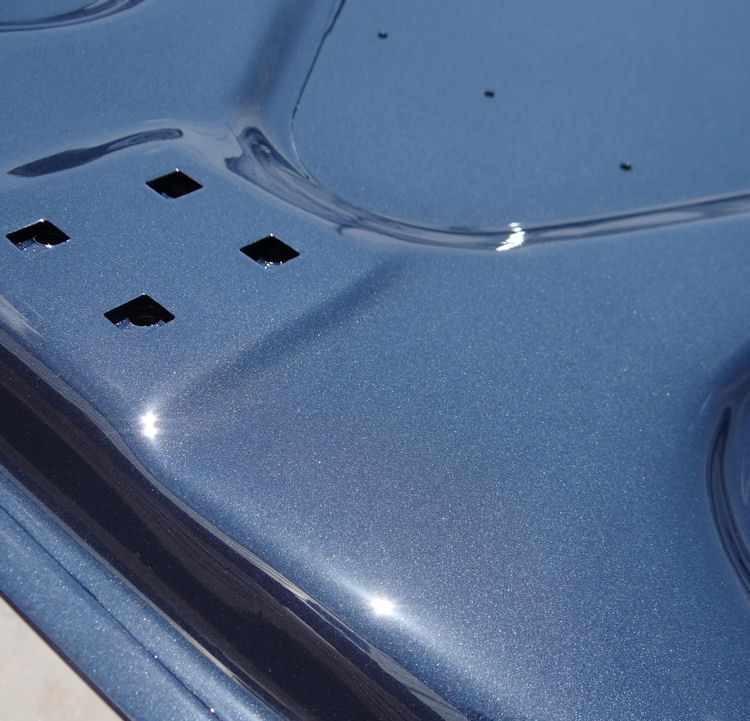
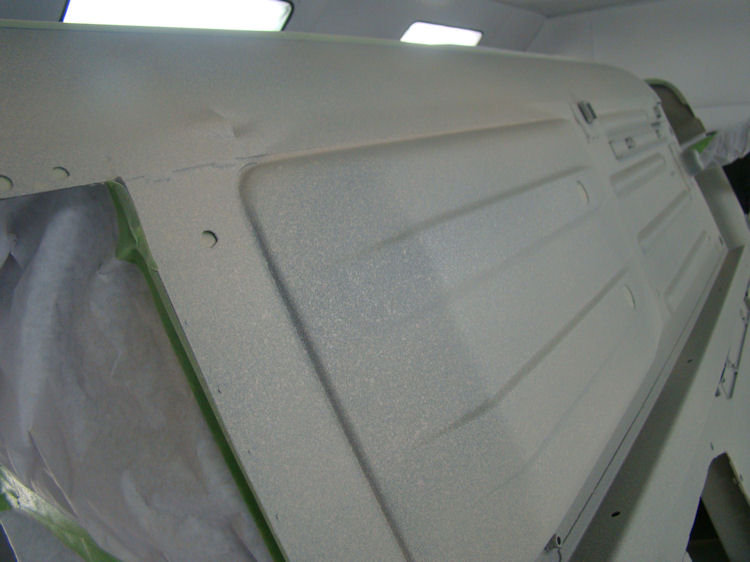
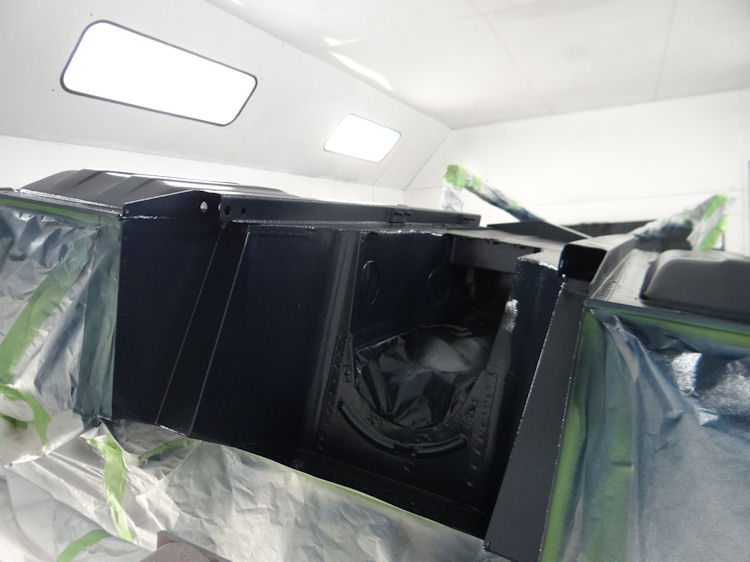
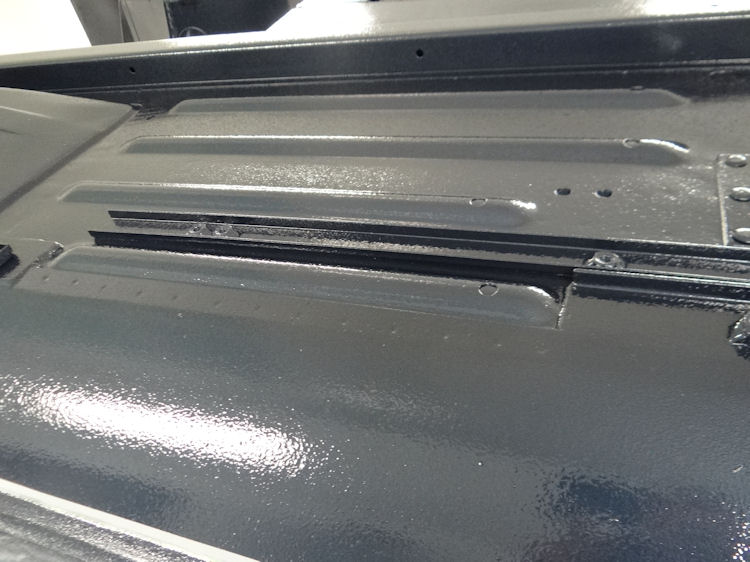
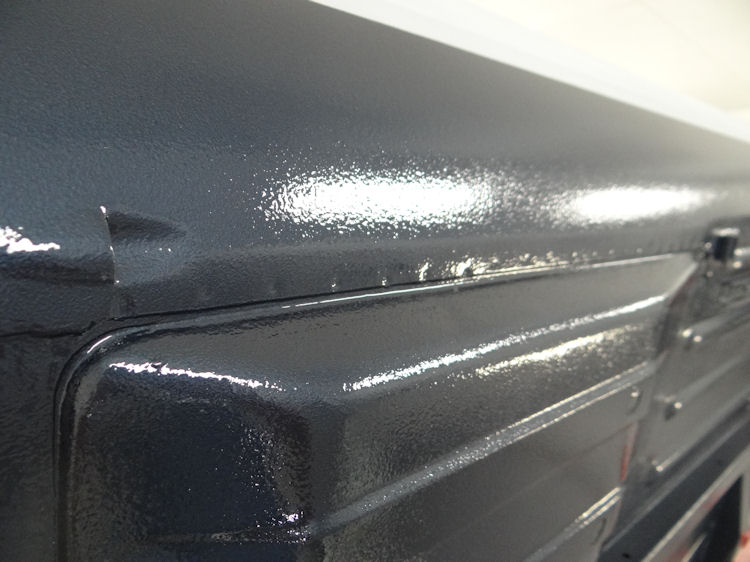
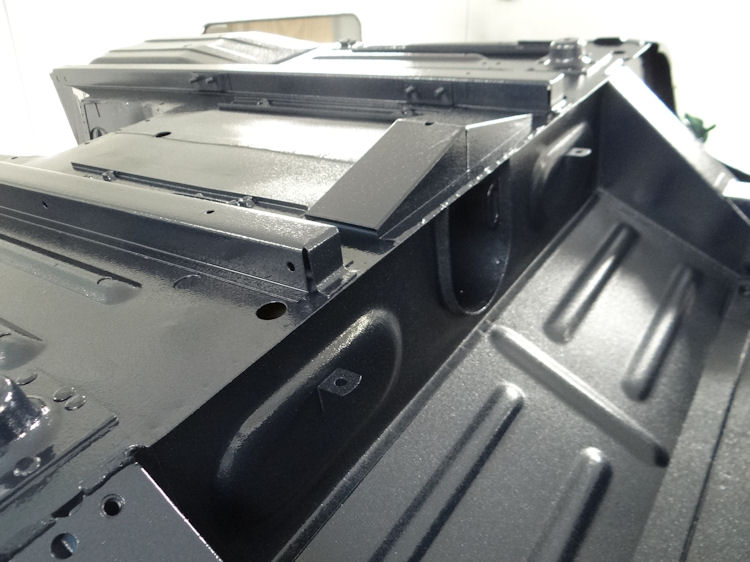
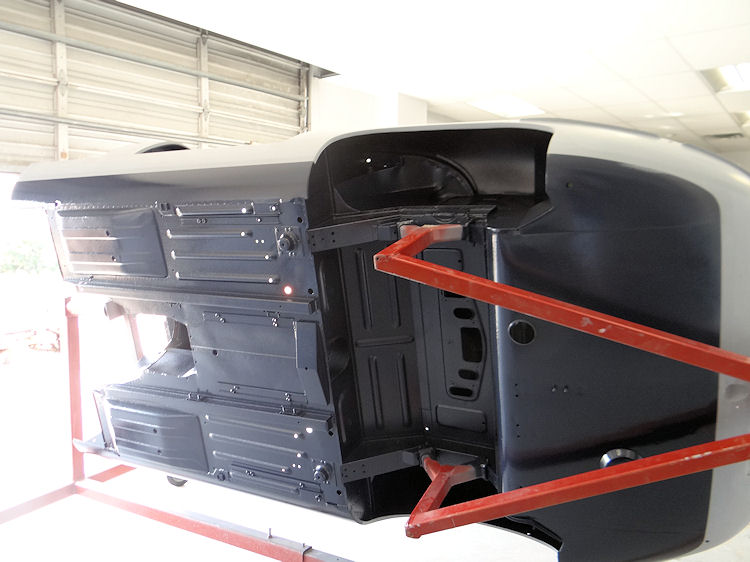
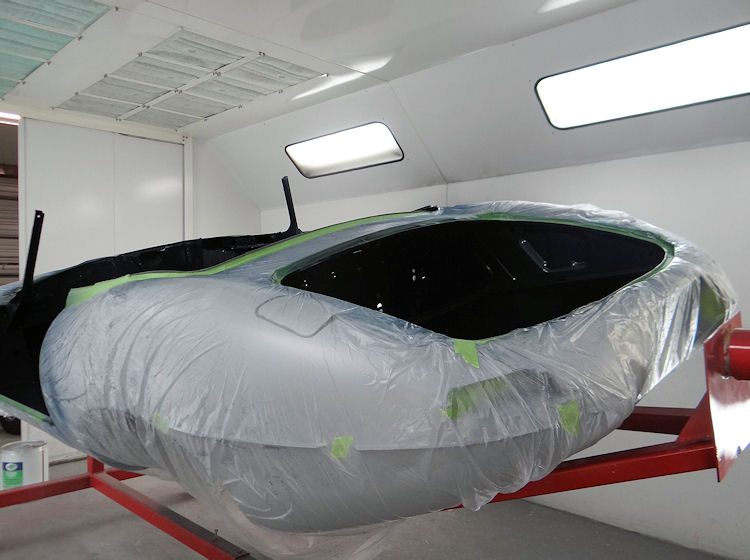
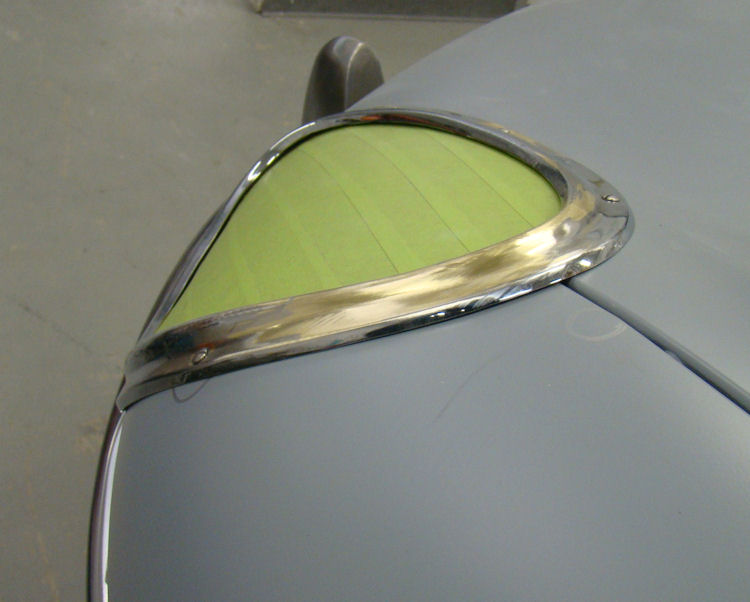
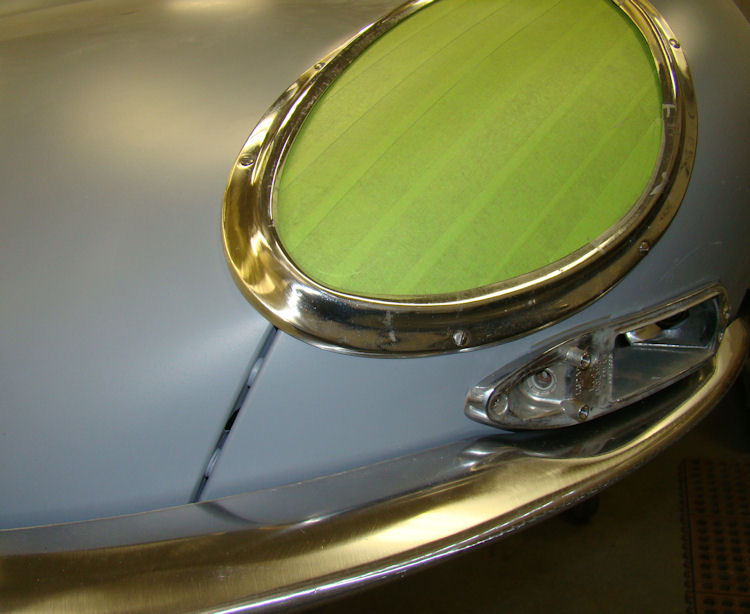
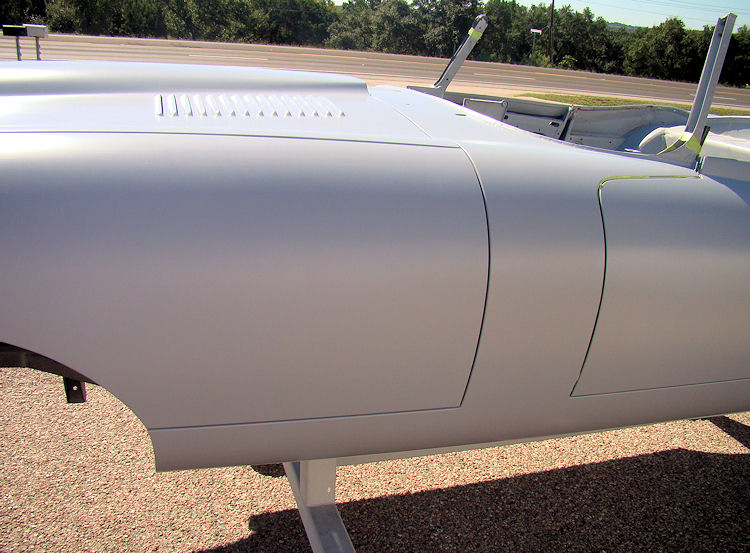
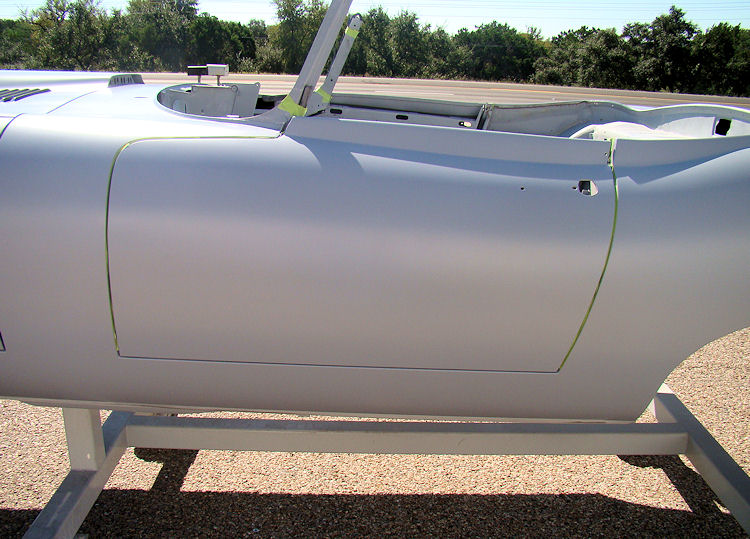
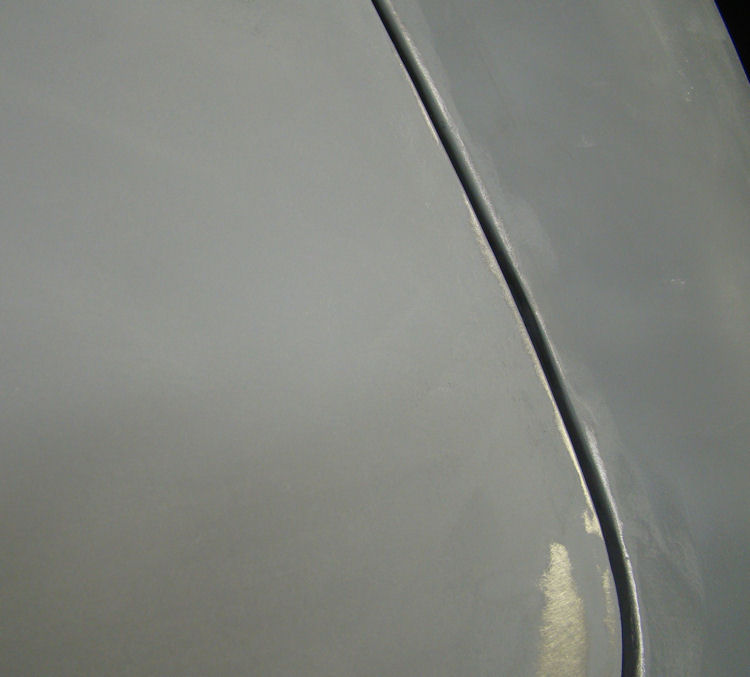
Yesterday afternoon we painted the main outer bodyshell...
 |
 |
|
|
|
|
|
|
 |
 |
|
|
|
|
|
|
 |
 |
|
|
|
|
|
|
 |
 |
|
|
|
|
|
|
 |
 |
|
|
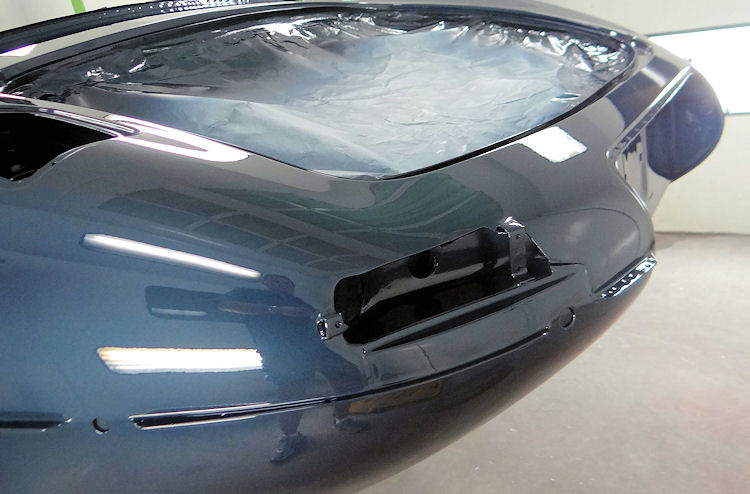
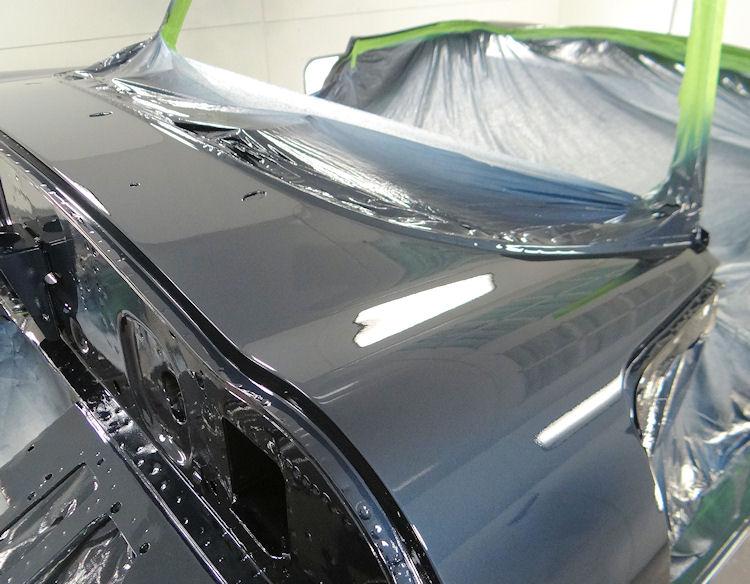
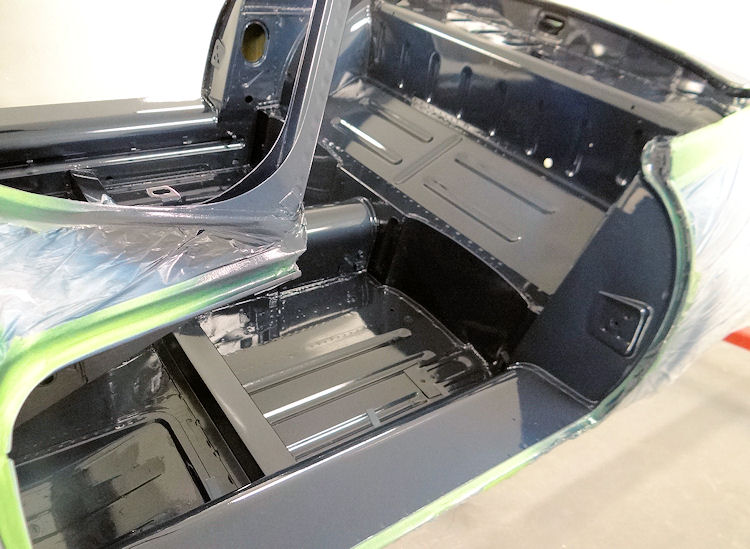
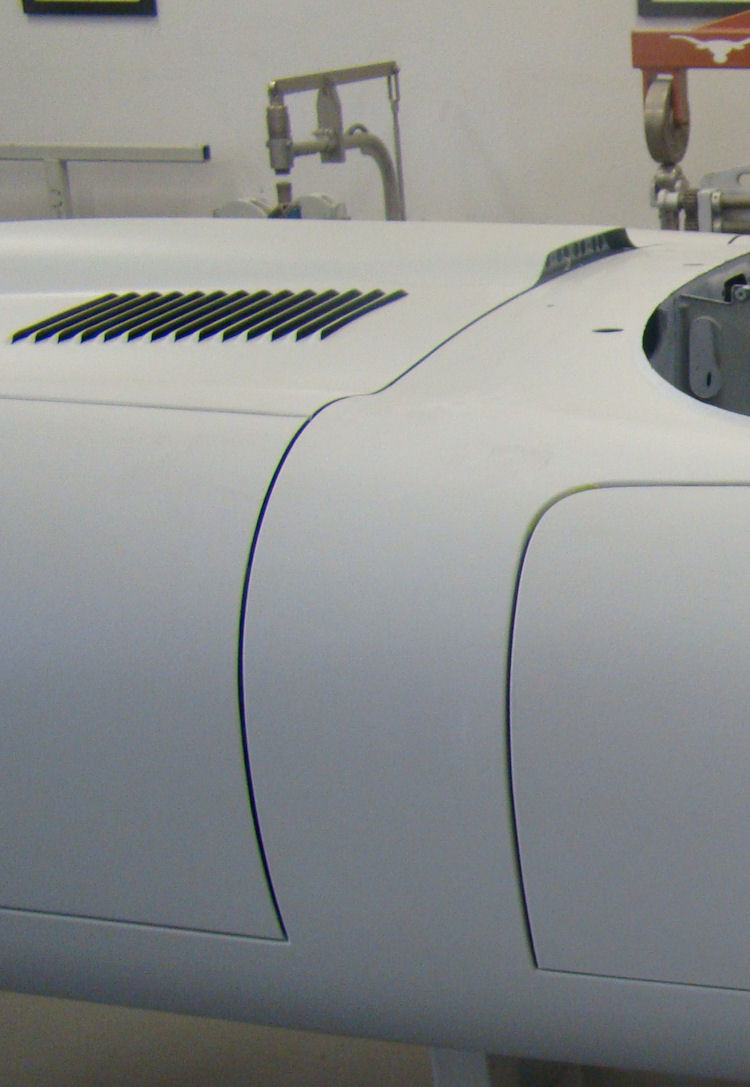
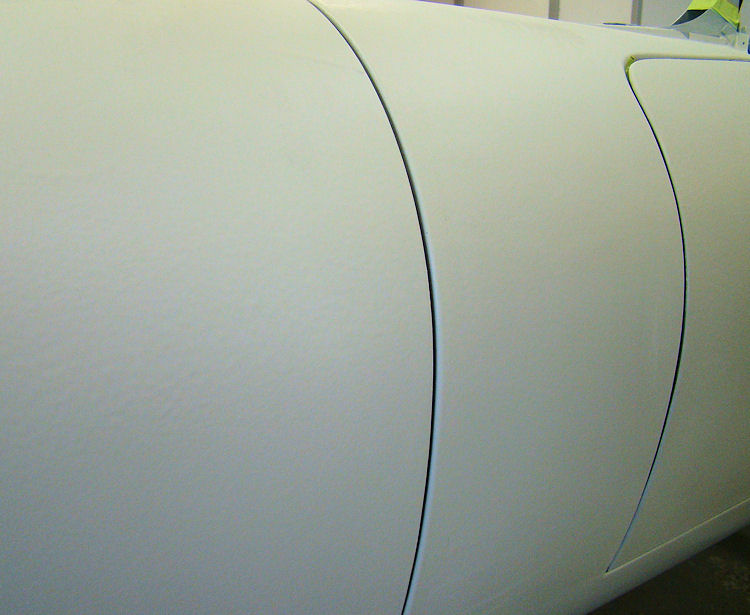
More Opalescent Dark Blue....
 |
 |
 |
 |
 |
 |
 |
 |
 |
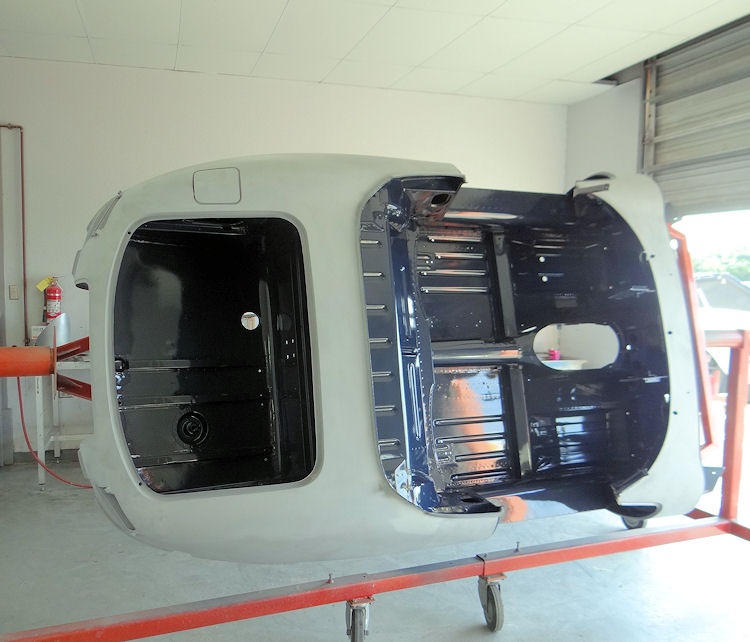 |
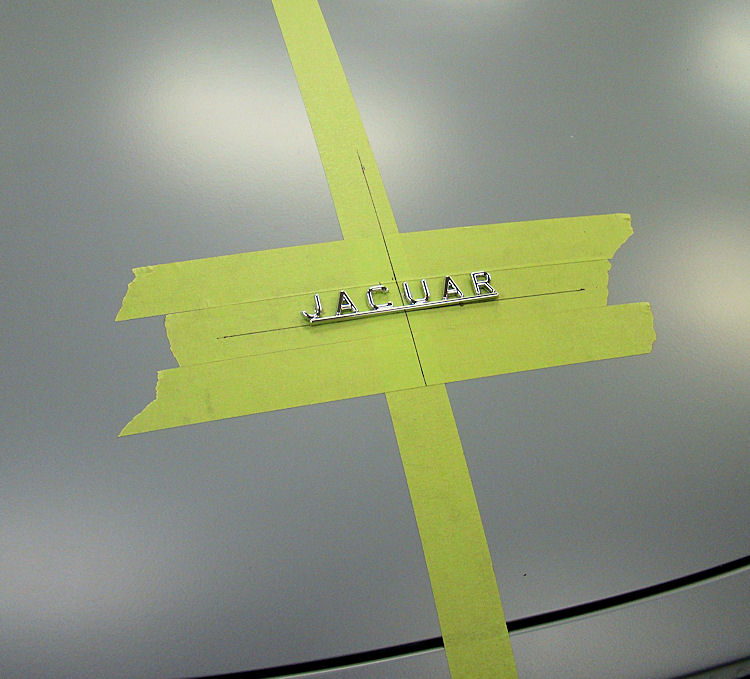
Time to start applying the first of the Opalescent Dark Blue....
 |
 |
|
|
|
 |
 |
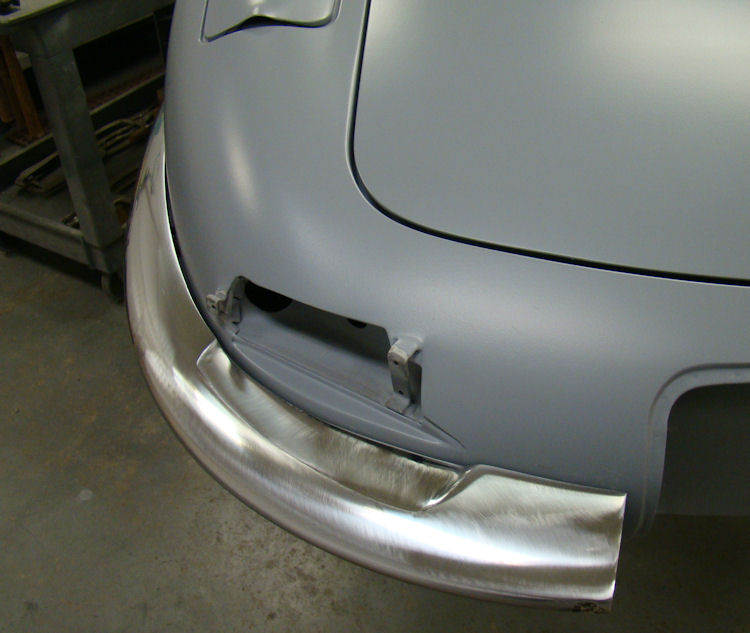
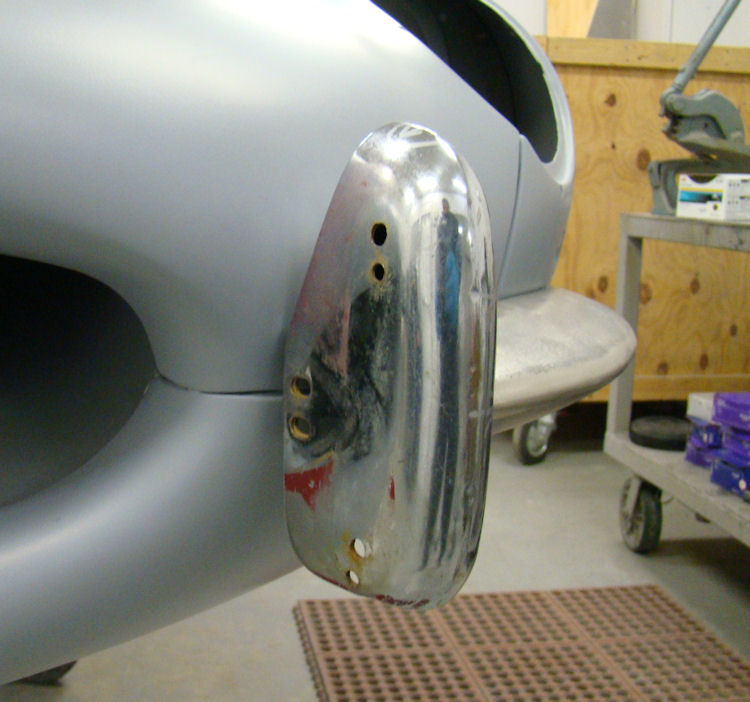
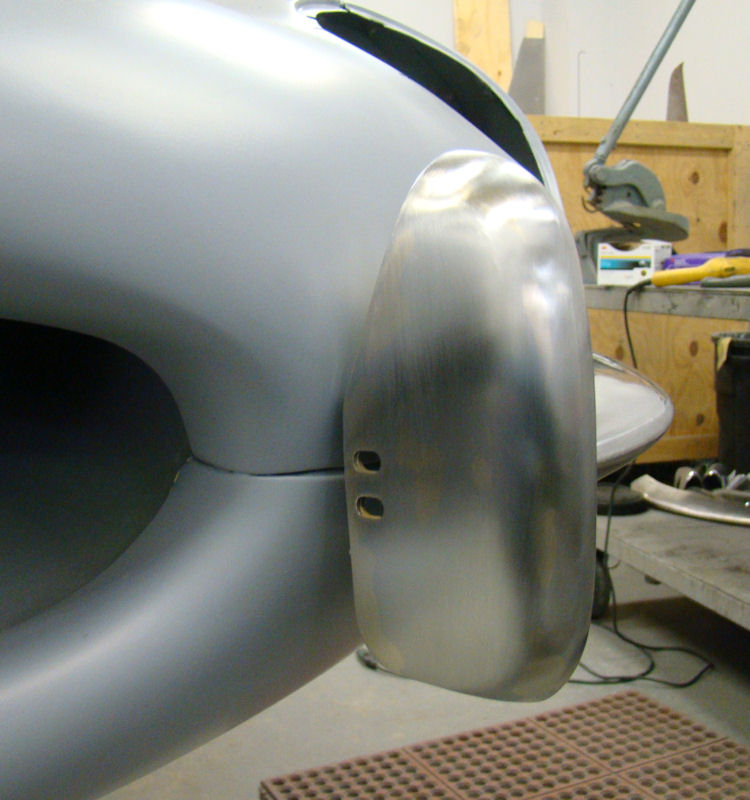
Darrell has spent a solid week grinding, hammering and filing your chrome until it fits perfectly. The only item left to be trial fitted is the new right hand rear bumper, which arrived on Friday. The original rhr bumper blade had obviously been hit at some time in the past and was beyond economical repair.We are now ready to sand the primer and begin the painting process.
 |
 |
|
|
the restoration process |
|
|
|
 |
 |
|
|
|
|
|
|
 |
 |
|
|
|
|
|
|
 |
 |
|
|
|
|
|
|
 |
 |
|
|
|
|
|
|
 |
 |
|
|
|
|
|
|
 |
|
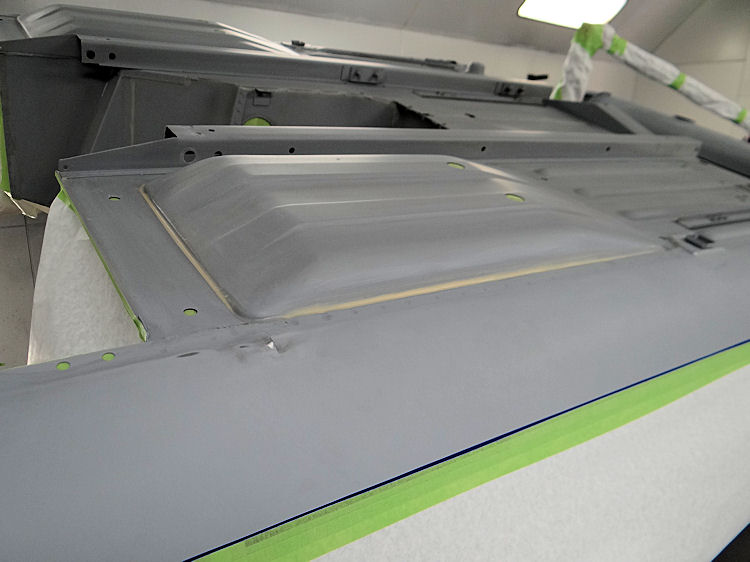
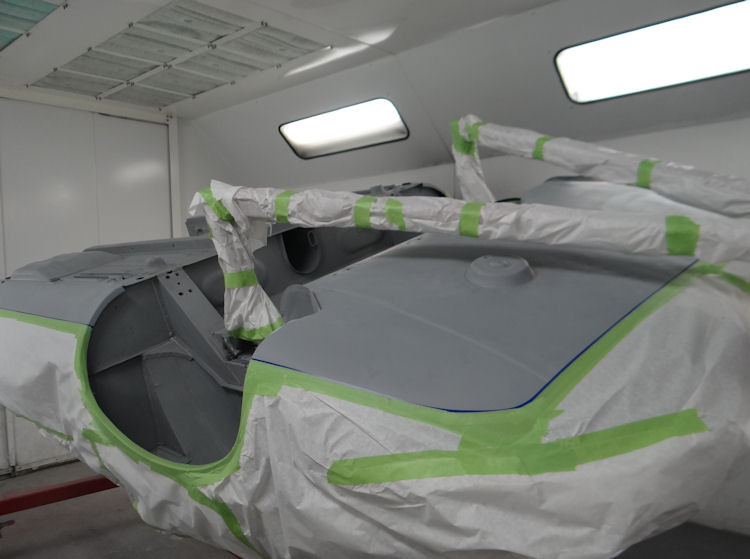
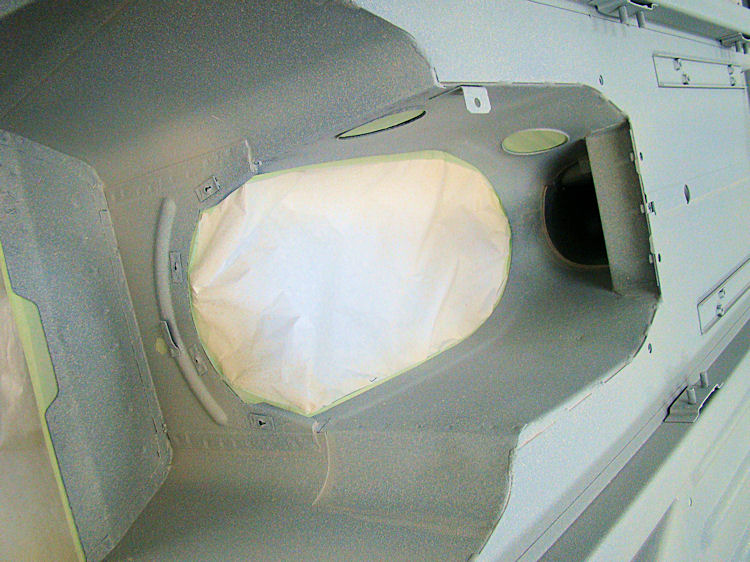
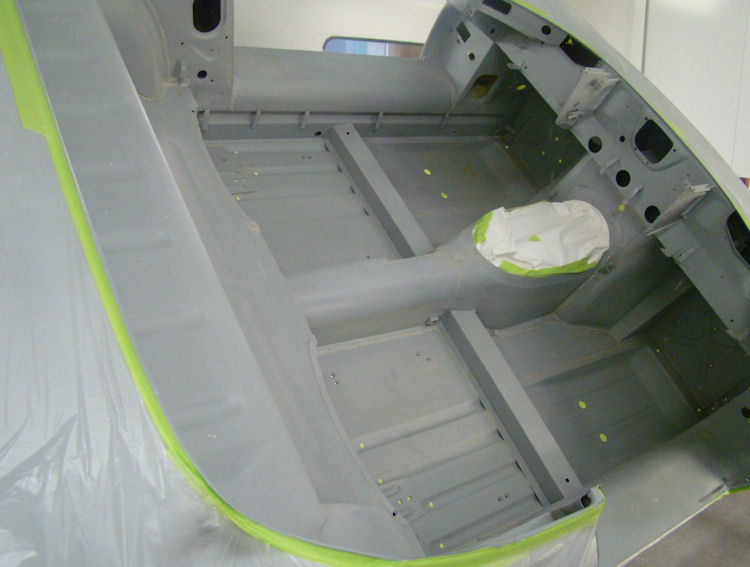
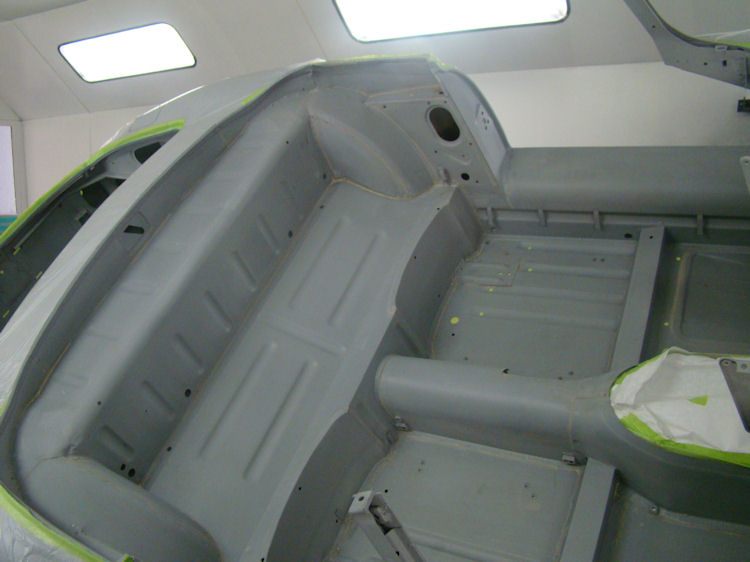
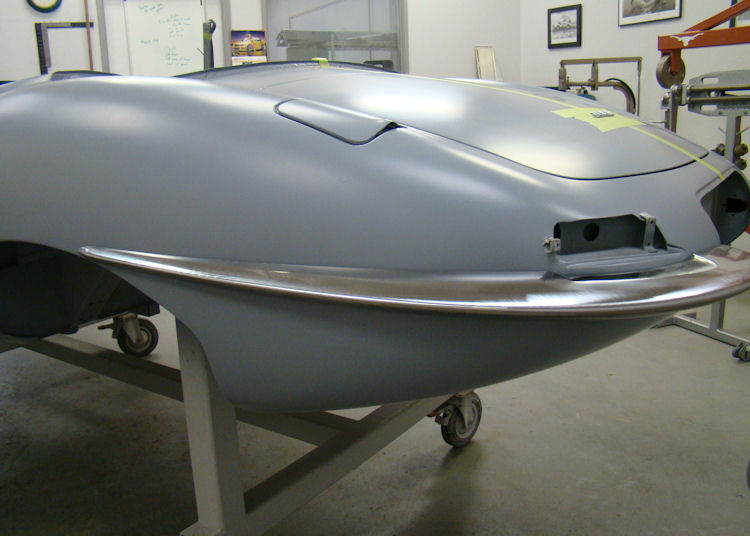
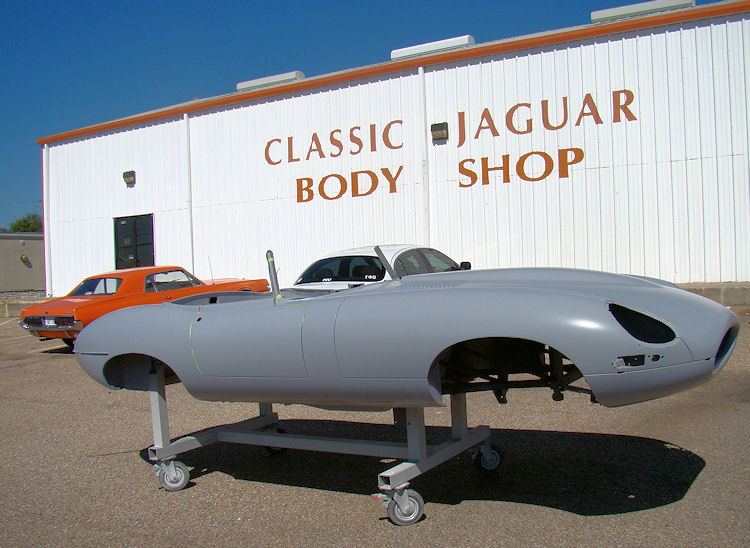
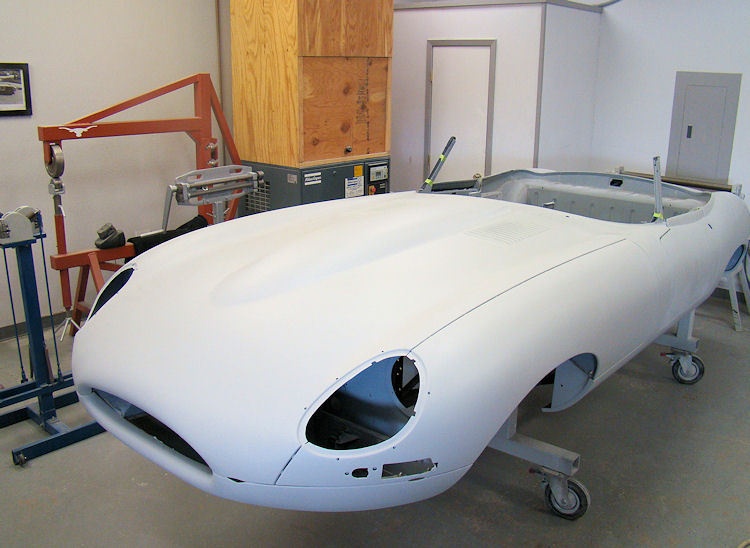
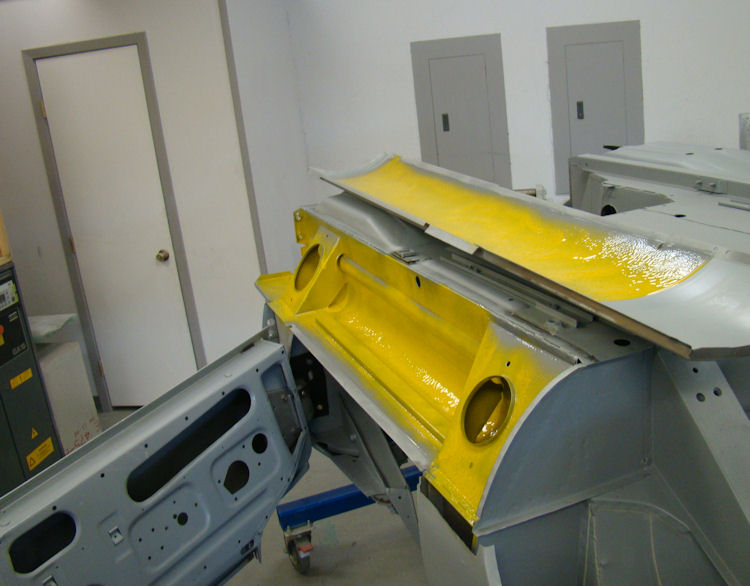
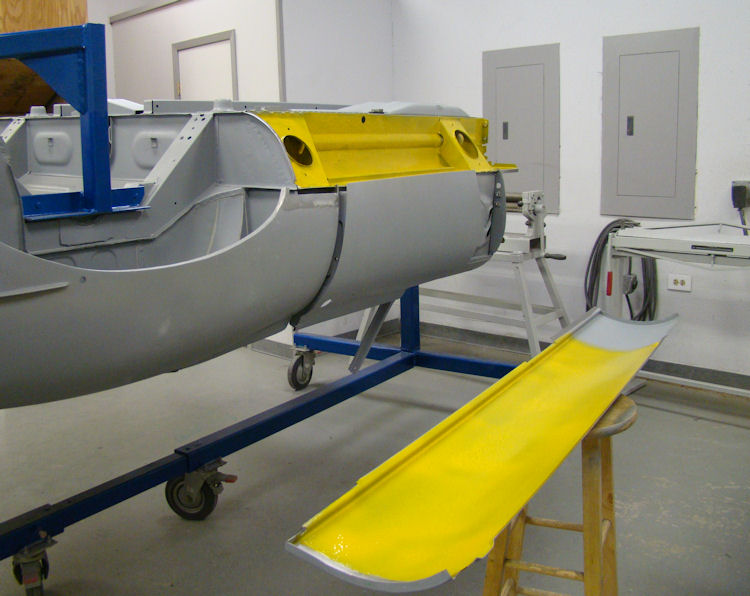
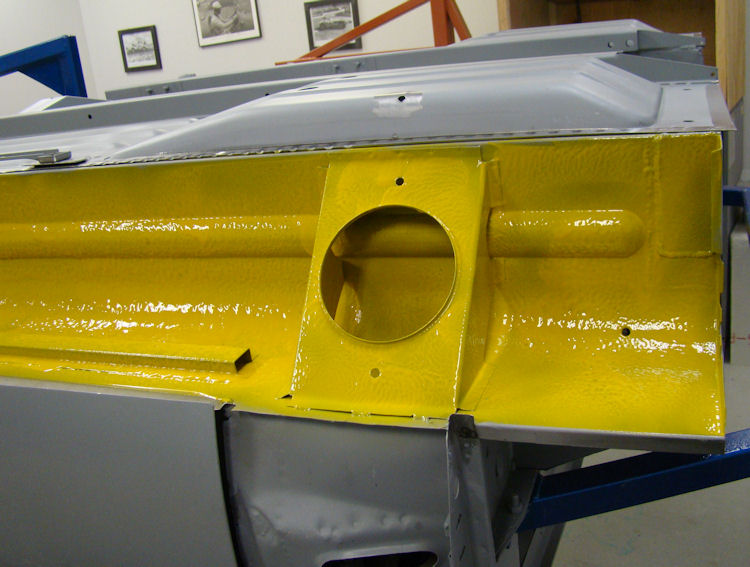
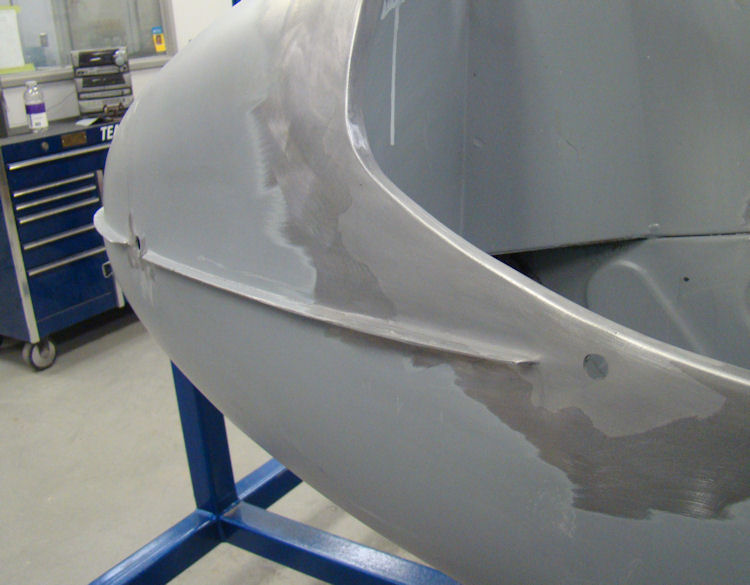
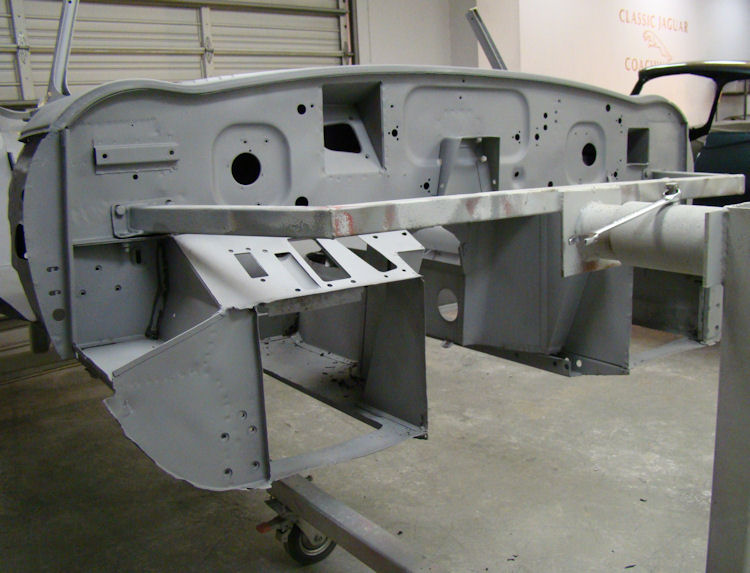
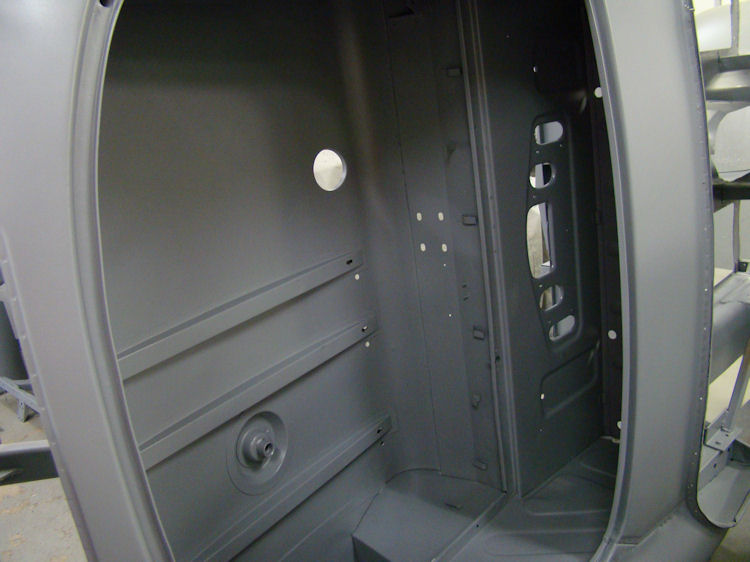
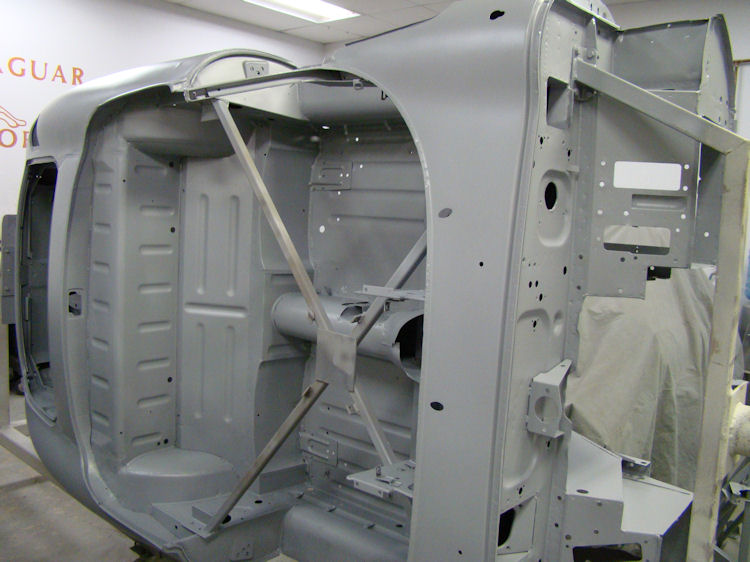
Following extensive blocking of the Slick Sand, your car has now been put into high build Glasurit primer. It is now ready for final sanding and painting.
 |
 |
|
|
|
 |
 |
|
|
|
 |
 |
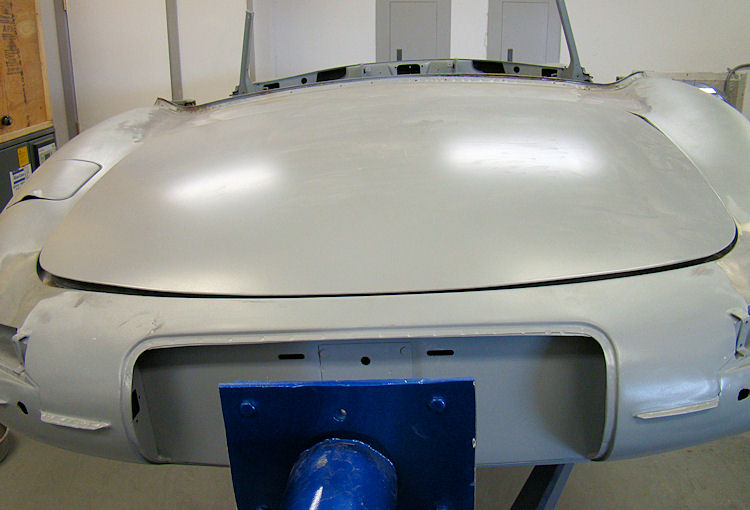
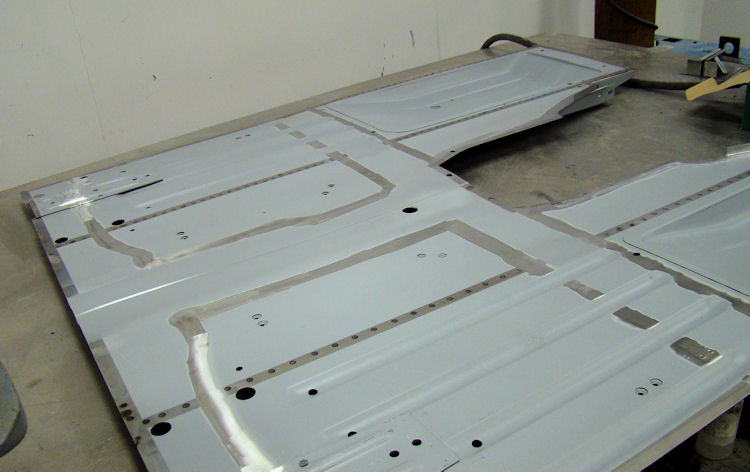
I am pleased to report that all of your bodywork has now been completed and the car put into Slick Sand. The doors, bonnet and boot lid have all been installed with a full set of new rubber seals and slave latches. The panel fit is absolutely perfect. The car looks better than it did when it rolled off the production line in 1964.Next stage will be to block the Slick Sand with 120/180 grit, before priming and painting.
 |
 |
 |
 |
 |
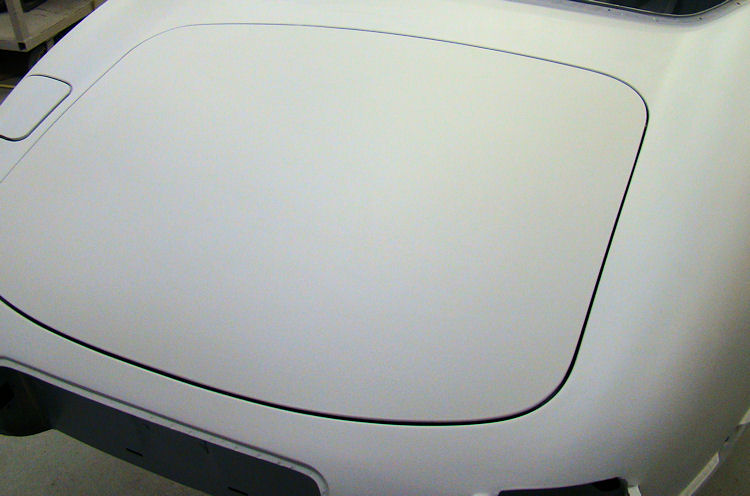 |
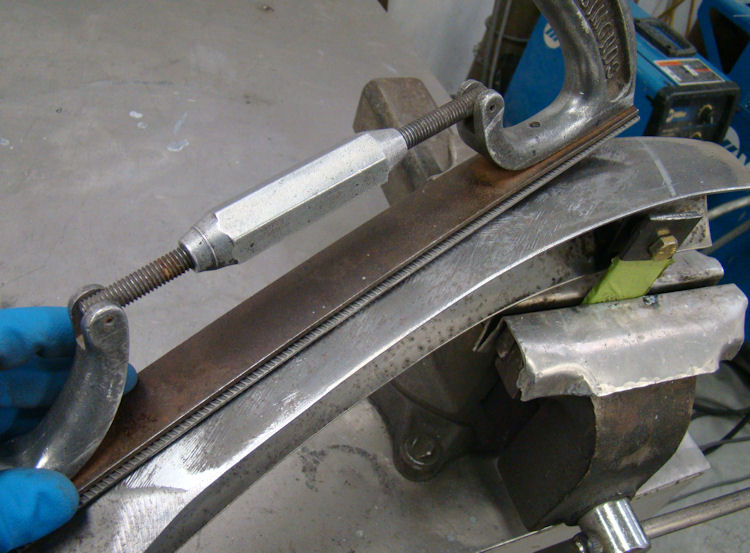
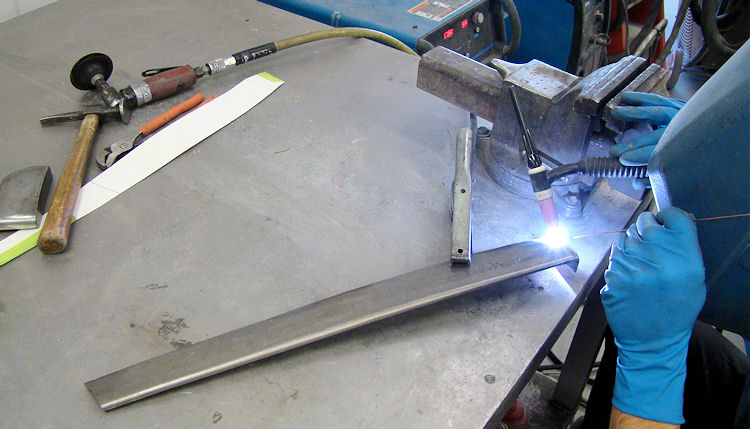
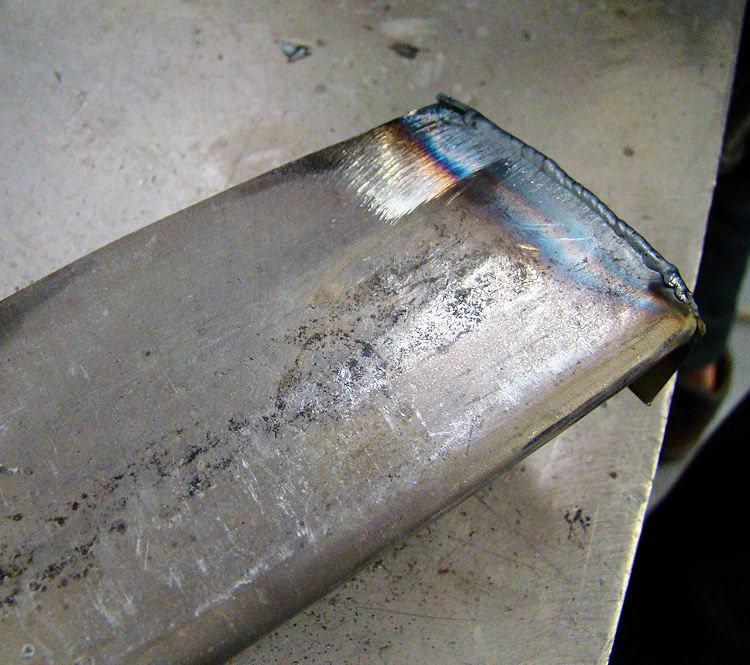
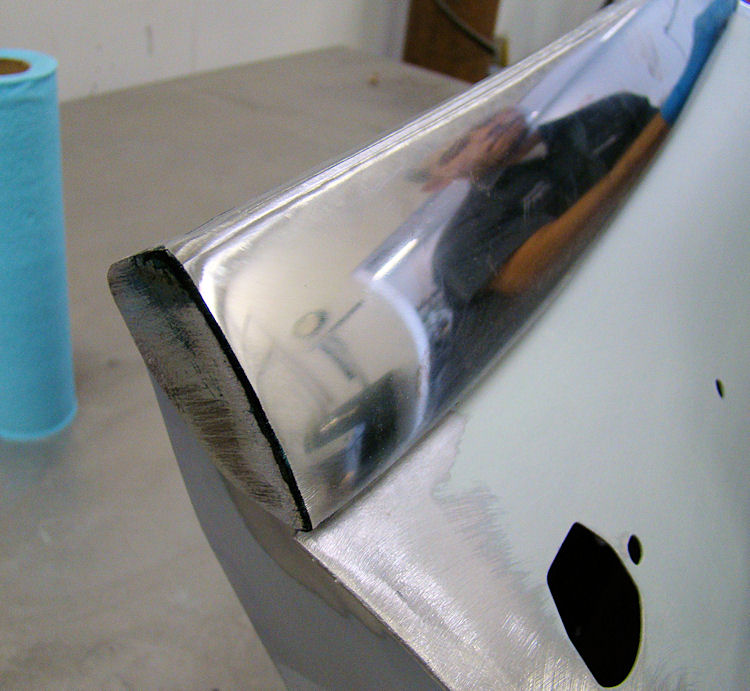
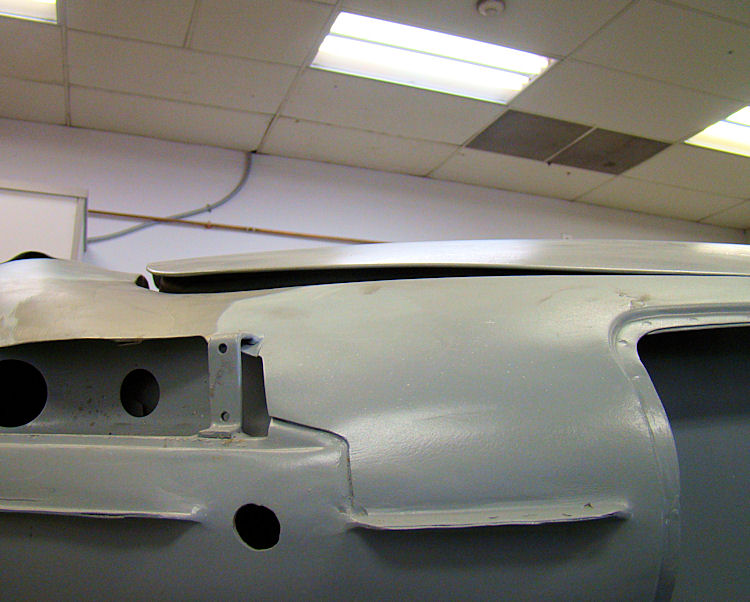
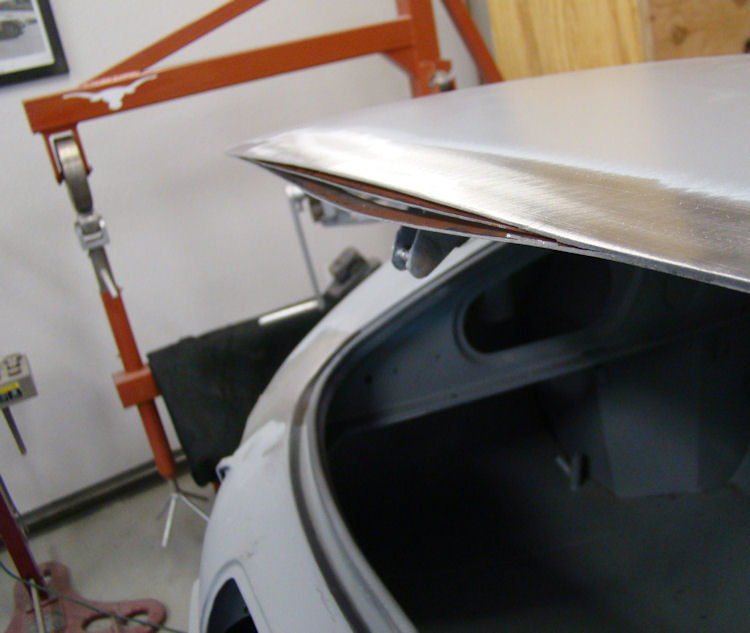
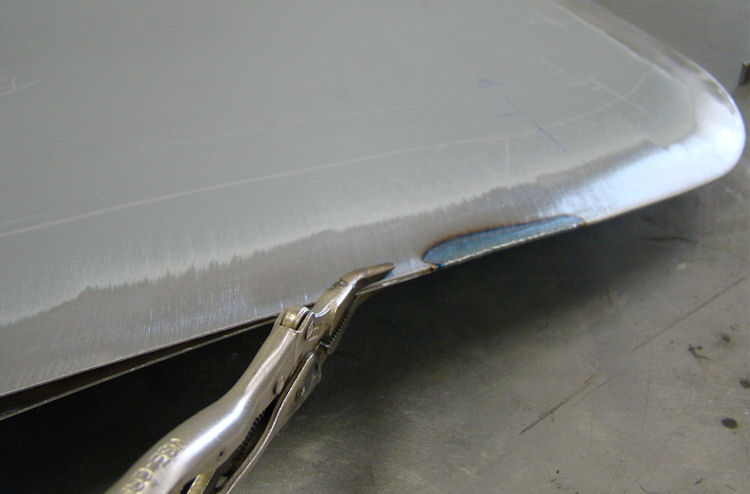
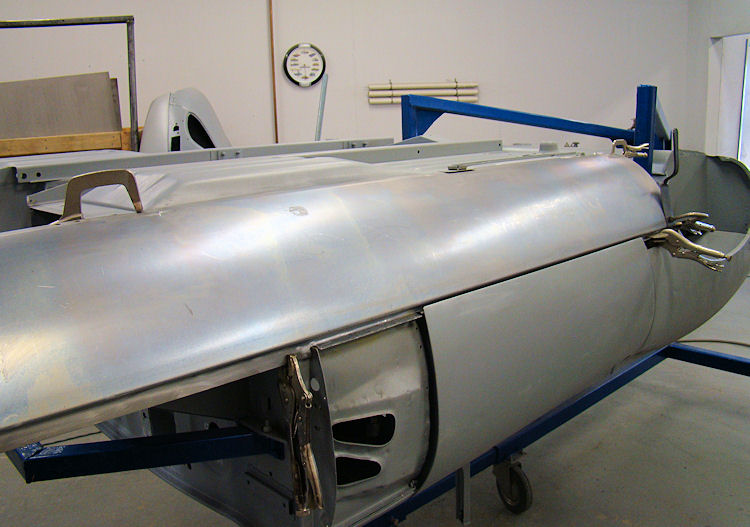
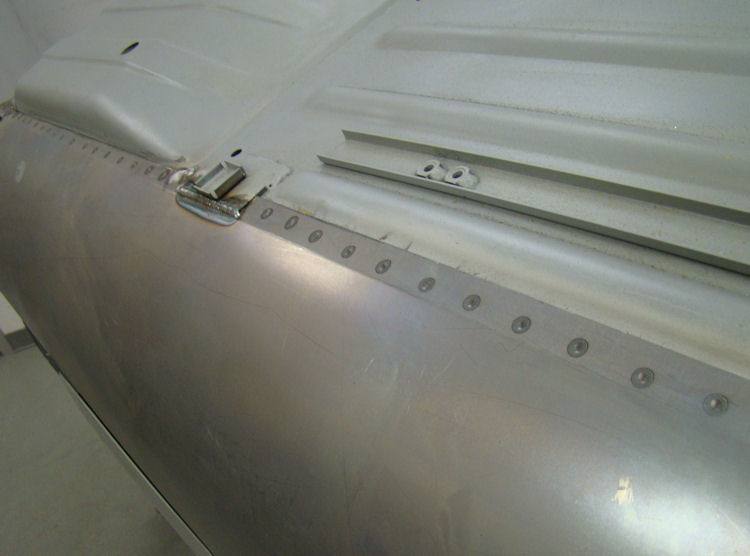
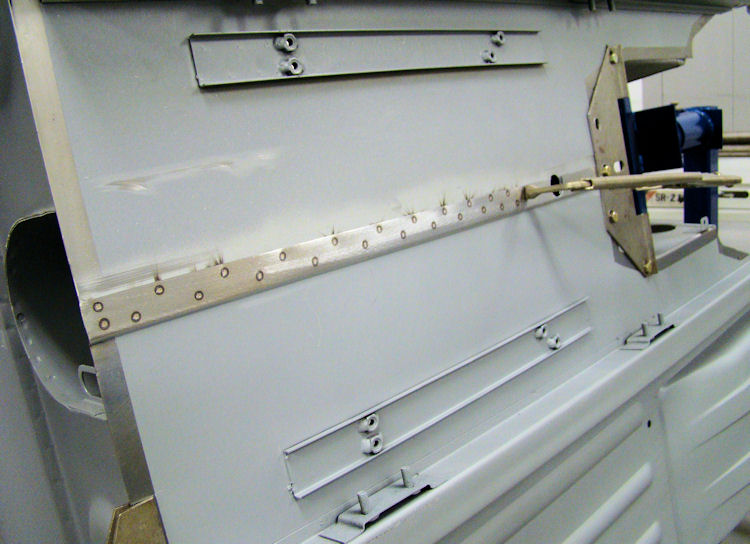
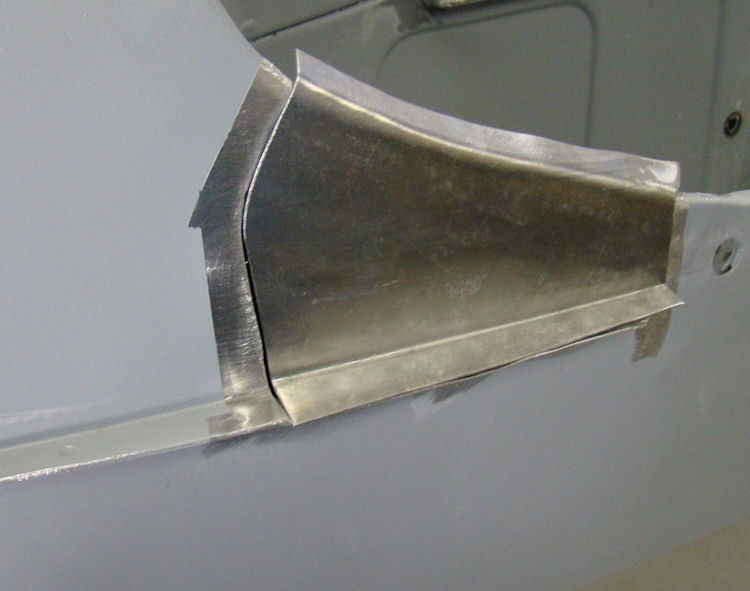
The following photos show Darrell fabricating a new door top trim panel from scratch, as well as installing perhaps the worst fitting new boot lid we have ever seen!The original door top chrome finishers are made of plated brass and the chrome plating process can make them very wavy. Next time you are looking at a 6 cylinder E Type roadster, take a peak along the length of this panel and you will understand what I am talking about. This problem is solved by fabricating new finisher panels from heavy gauge steel which can then be metal finished prior to plating. The result is a beautifully straight panel with a spectacular mirror chrome finish.
 |
 |
 |
|
finisher panel |
|
|
|
|
|
|
 |
 |
 |
|
distorted, even before plating |
a perfect fit |
|
|
|
|
|
 |
 |
 |
|
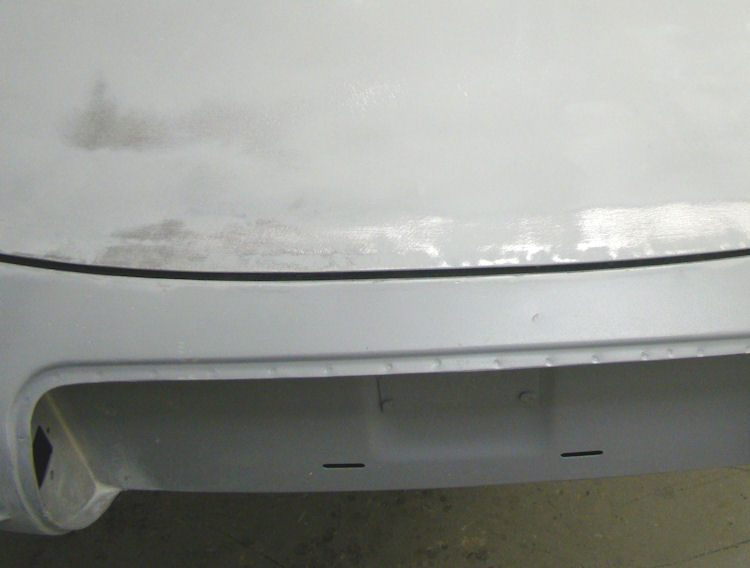
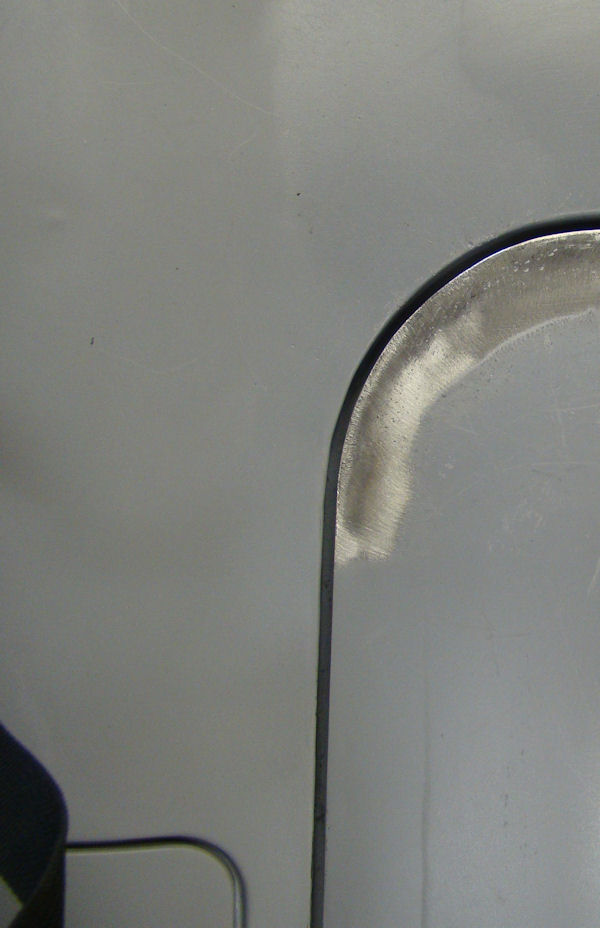
will be a challenge |
|
to create a gap |
|
|
|
|
 |
 |
 |
|
|
|
|
|
|
|
|
 |
 |
 |
|
|
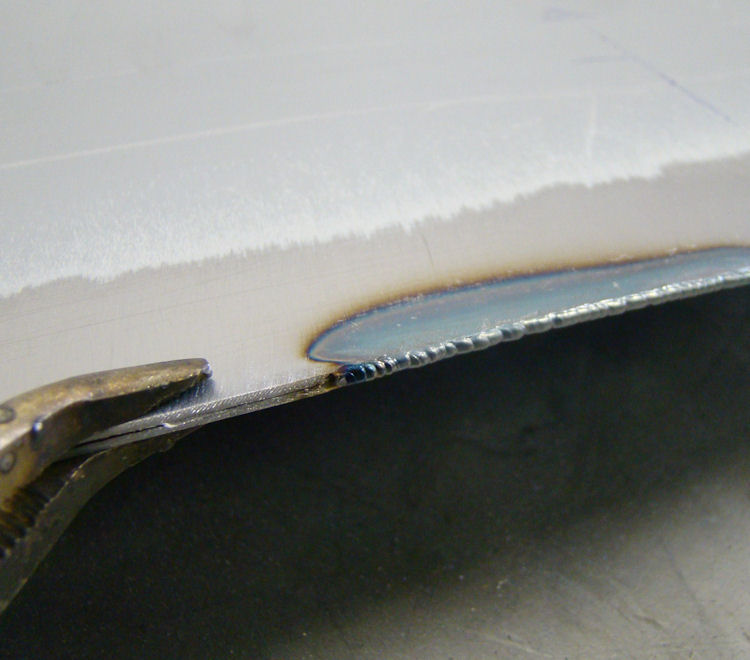
with beads of wled |
|
|
|
|
|
 |
 |
 |
|
|
|
|
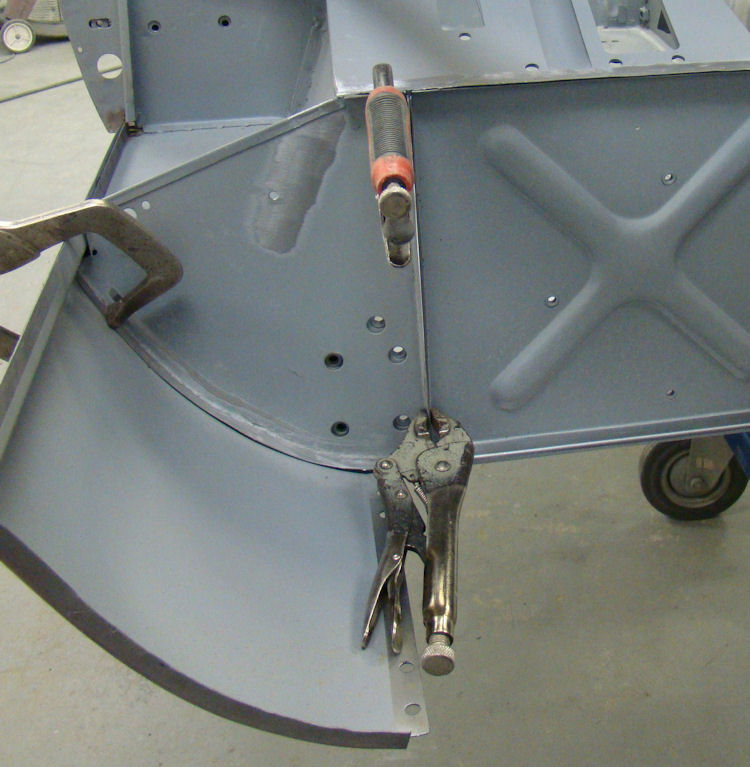
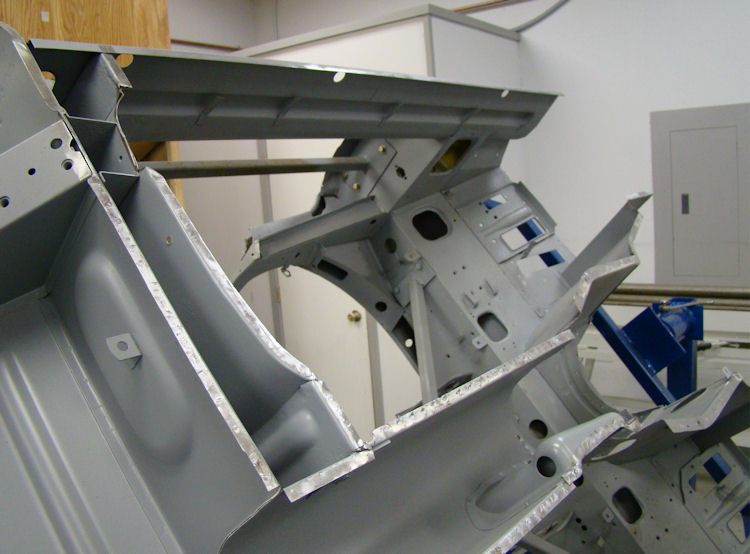
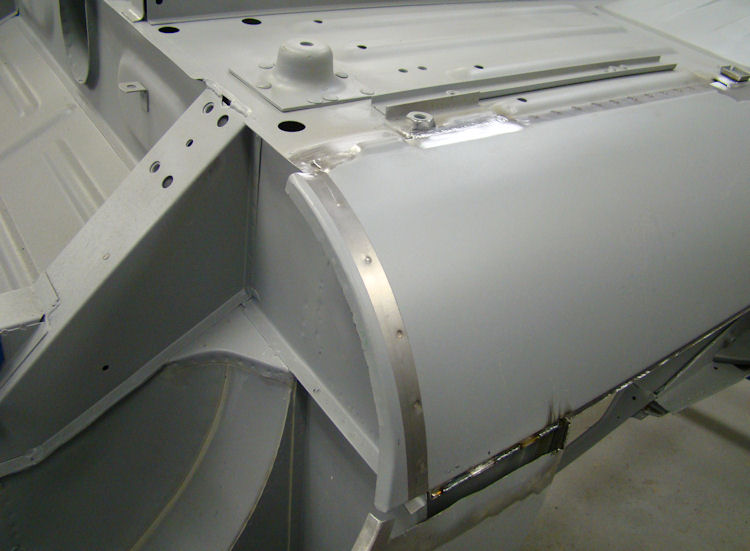
More progress in the Coachworks....
 |
 |
 |
|
sill box section |
with latched door |
|
 |
 |
 |
|
|
|
|
 |
 |
 |
|
|
||
 |
 |
 |
|
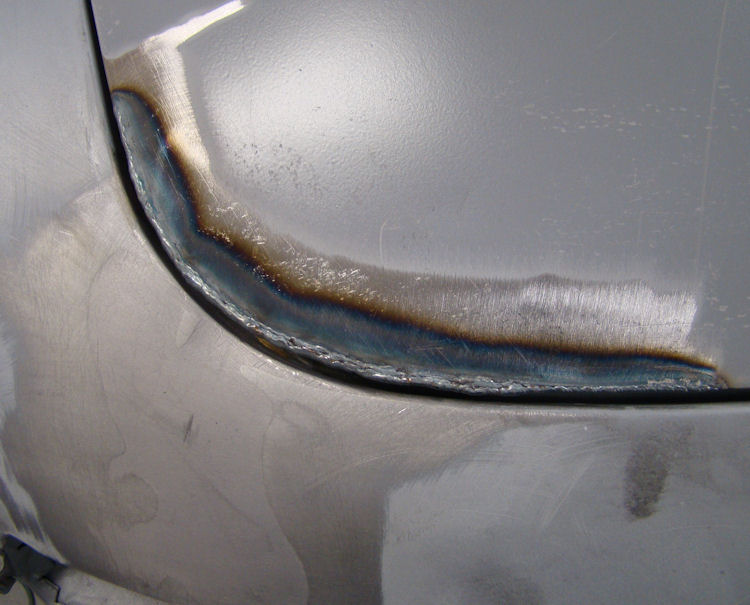
rear quarter |
|
|
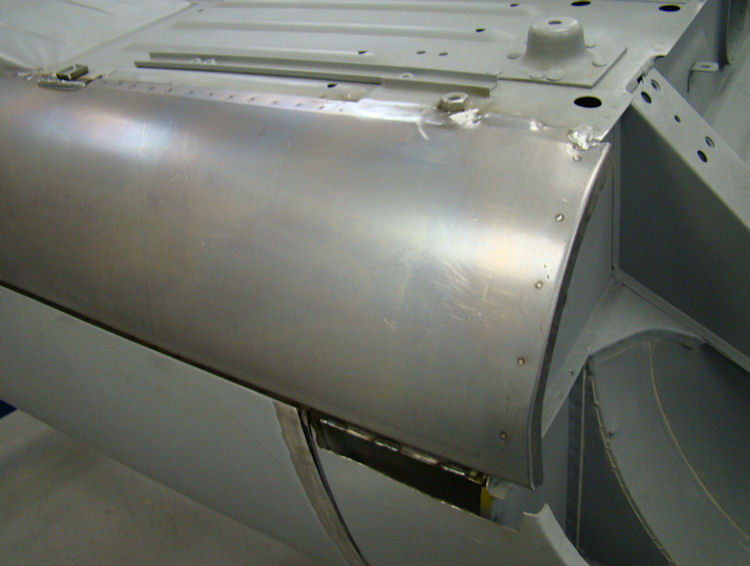
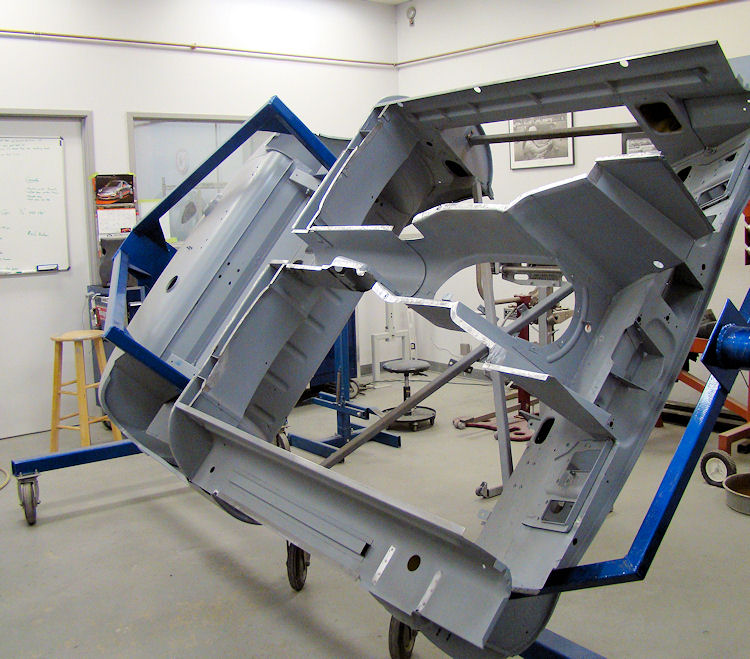
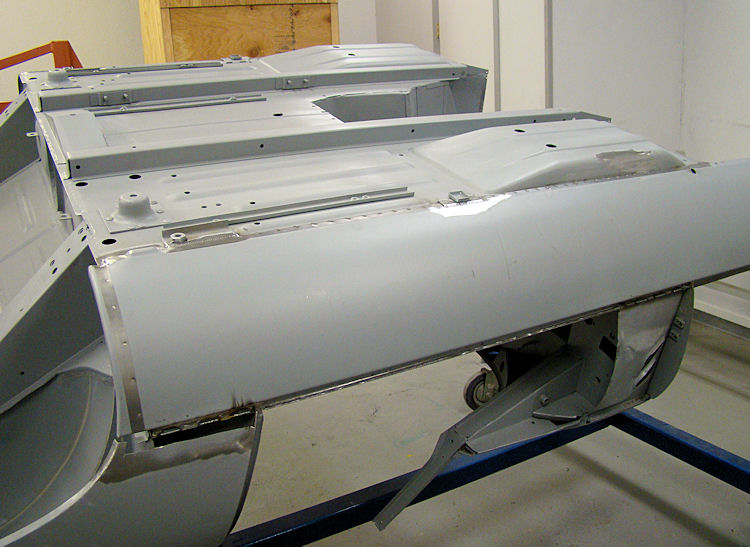
Lots of progress in the Coachworks....
 |
 |
 |
|
|
|
|
|
|
|
|
 |
 |
 |
|
|
|
|
|
|
|
|
 |
 |
 |
|
and inner rear bulkhead |
installed at this stage |
mounting brackets |
|
|
|
|
 |
 |
 |
|
place |
|
|
|
|
|
|
 |
 |
 |
|
inner sill box sections |
|
|
|
|
|
|
 |
 |
 |
|
|
|
|
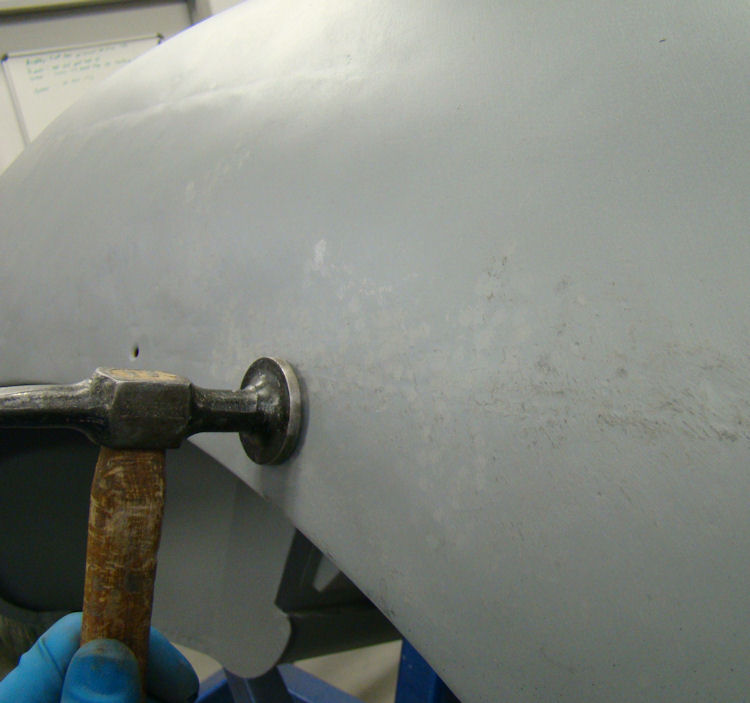
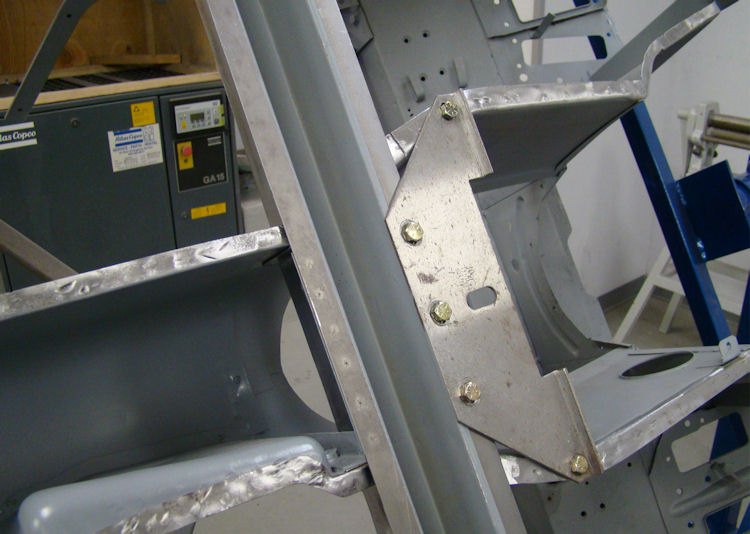
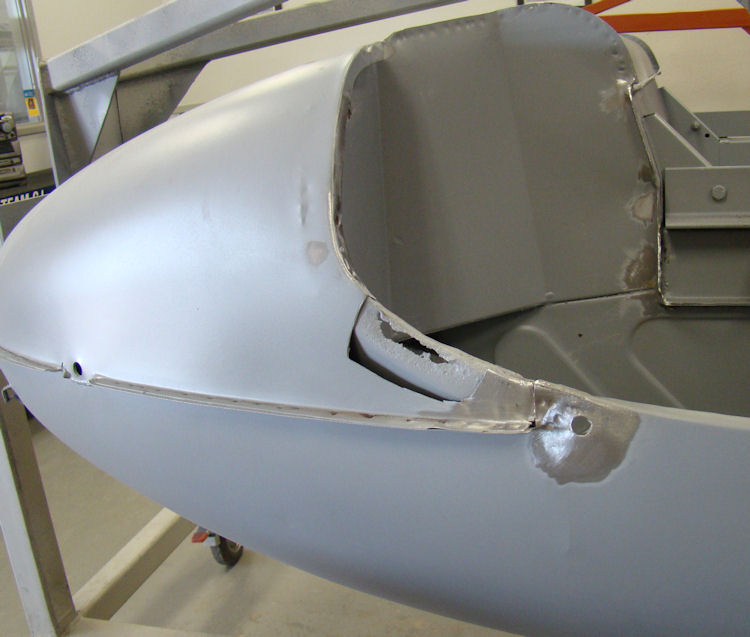
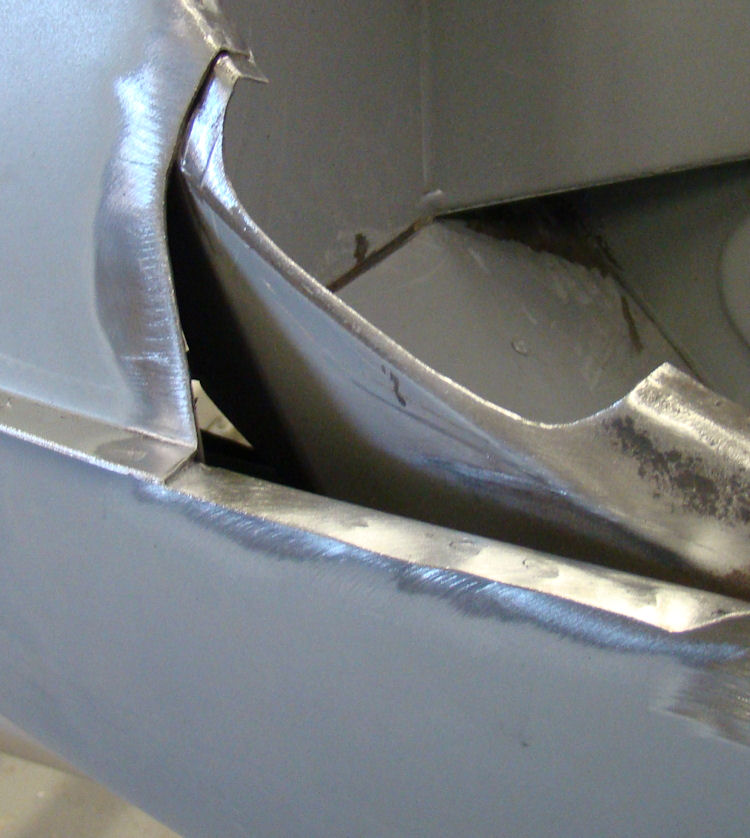
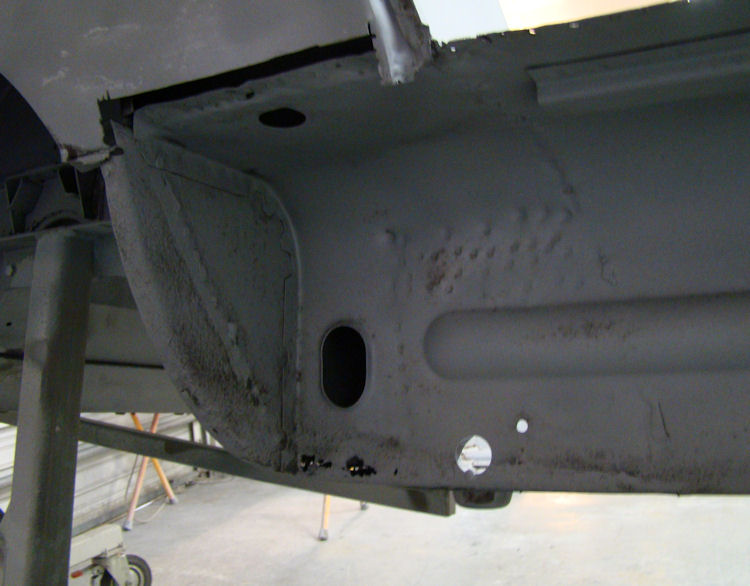
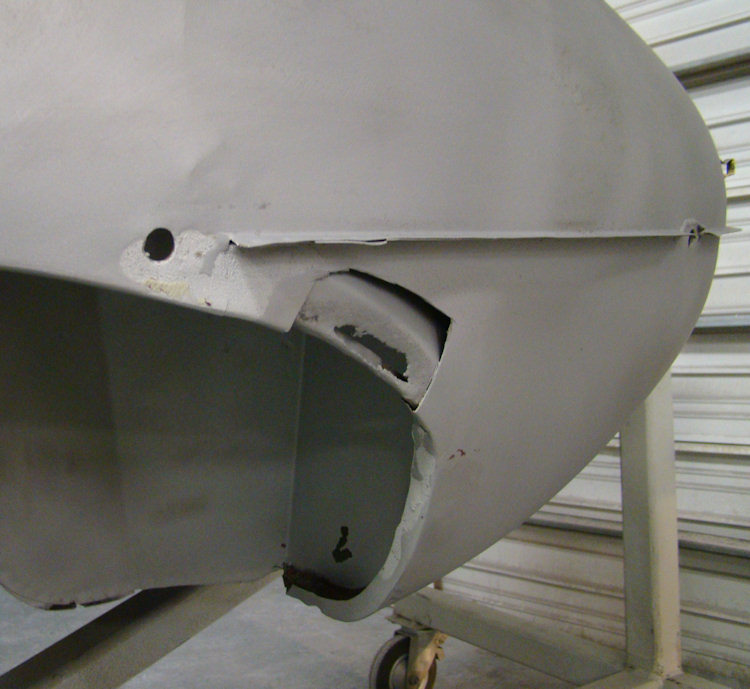
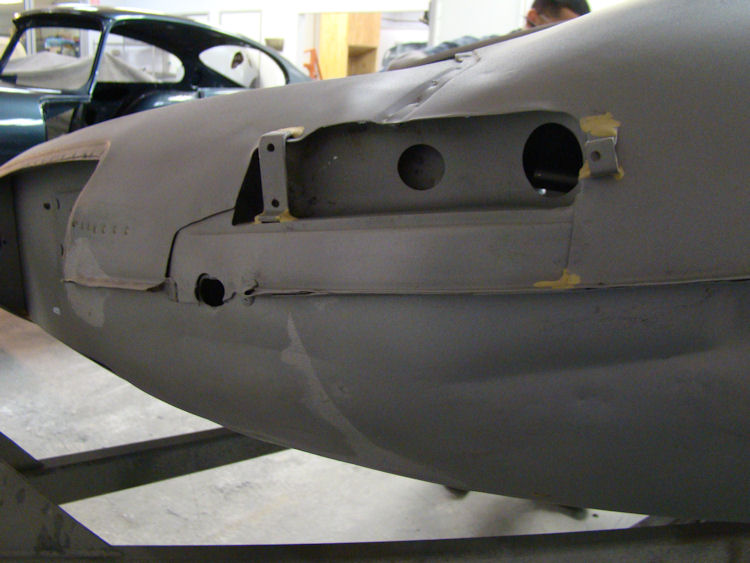
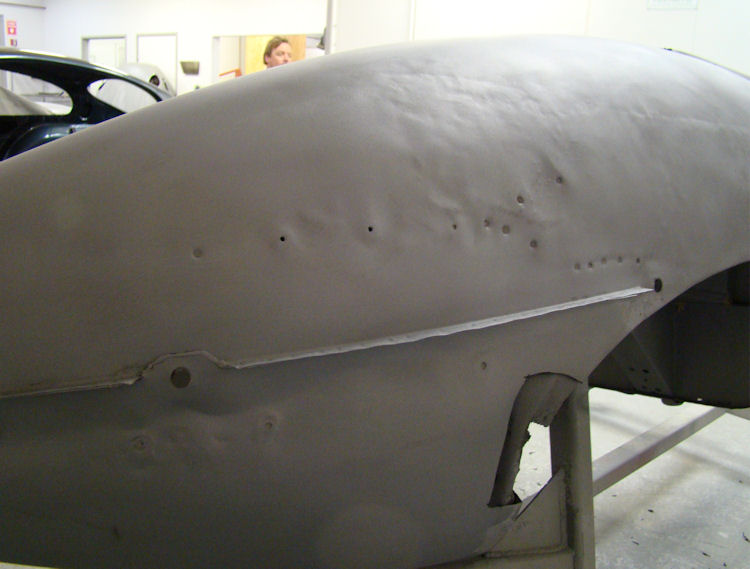
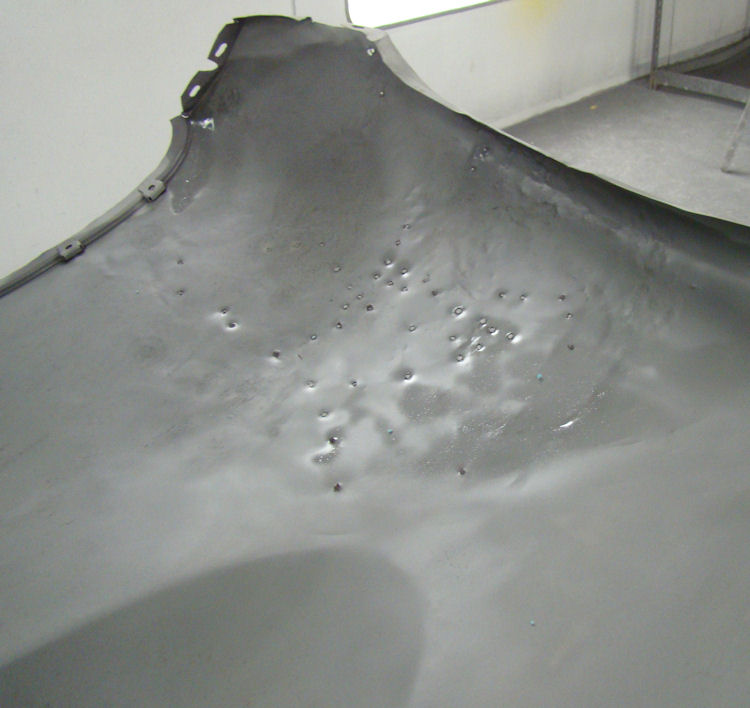
Sheet metal repairs underway...
 |
 |
 |
|
|
|
|
|
|
|
|
 |
 |
 |
|
|
|
|
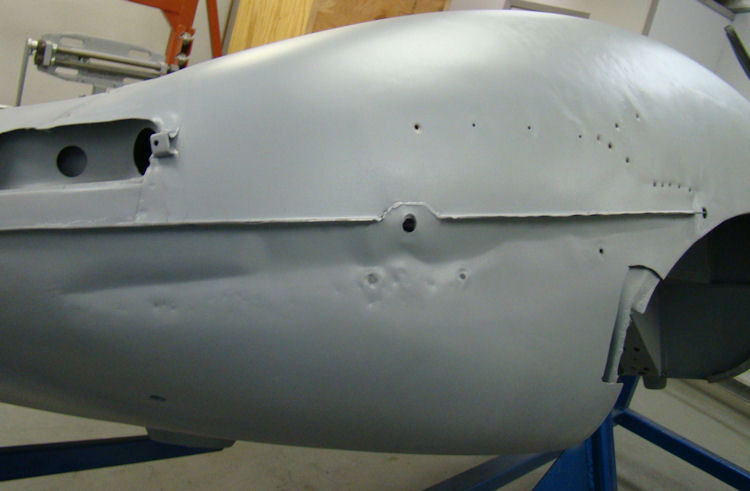
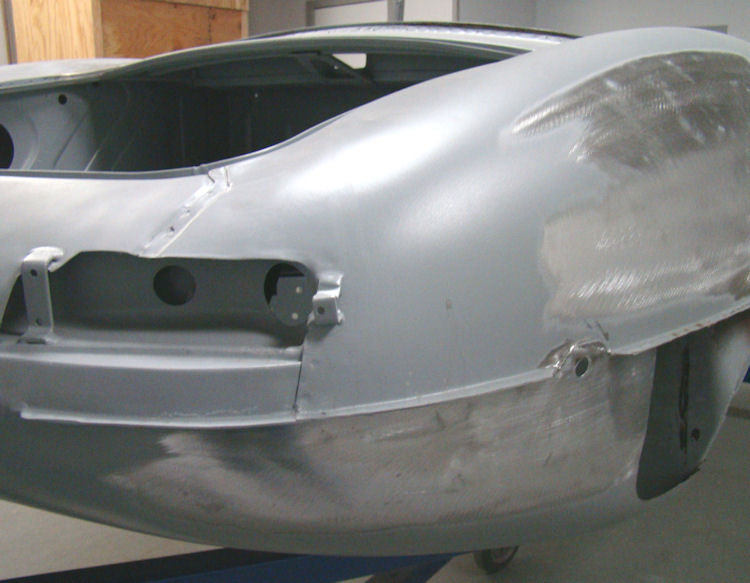
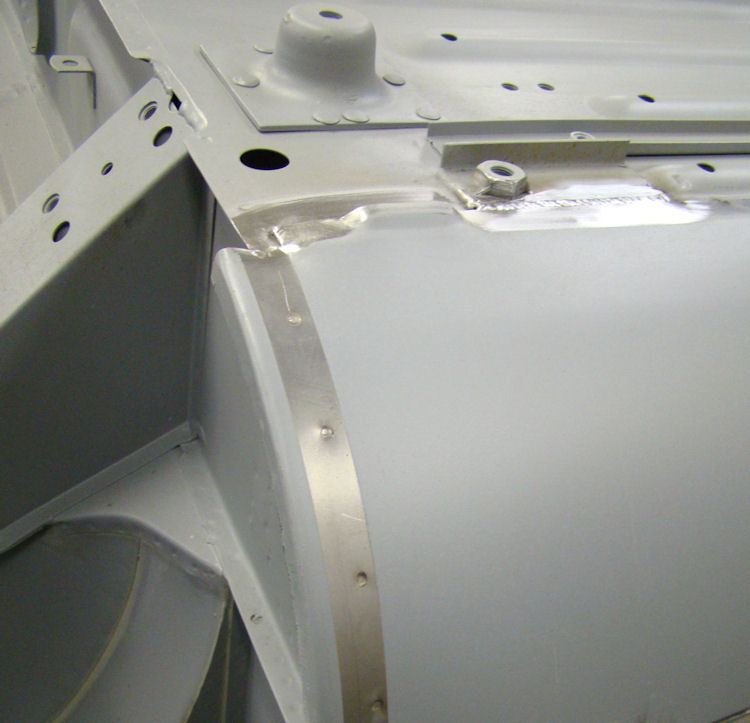
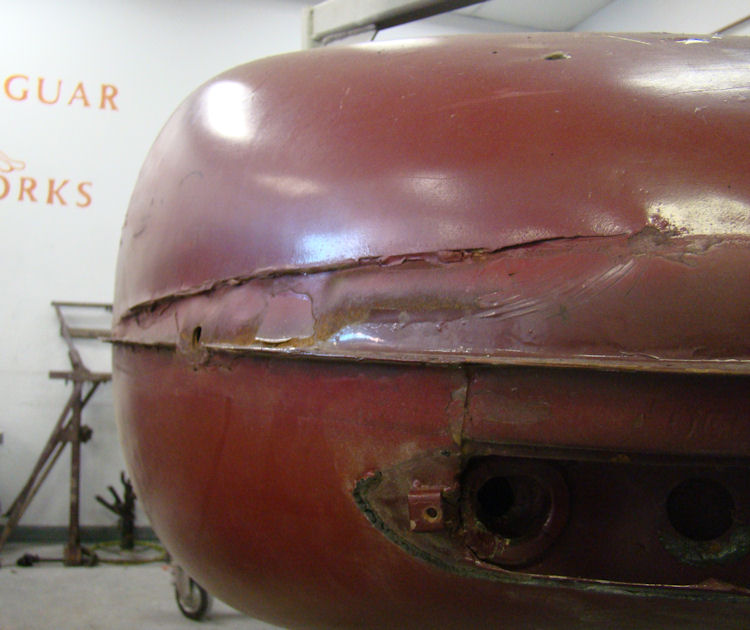
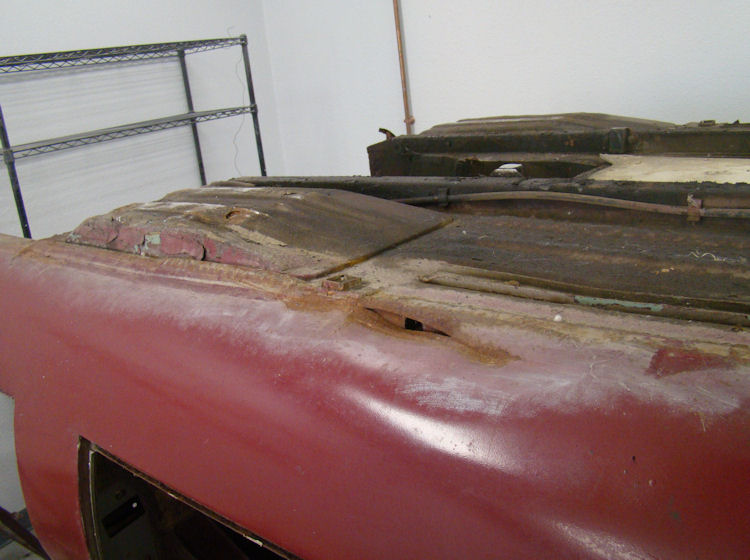
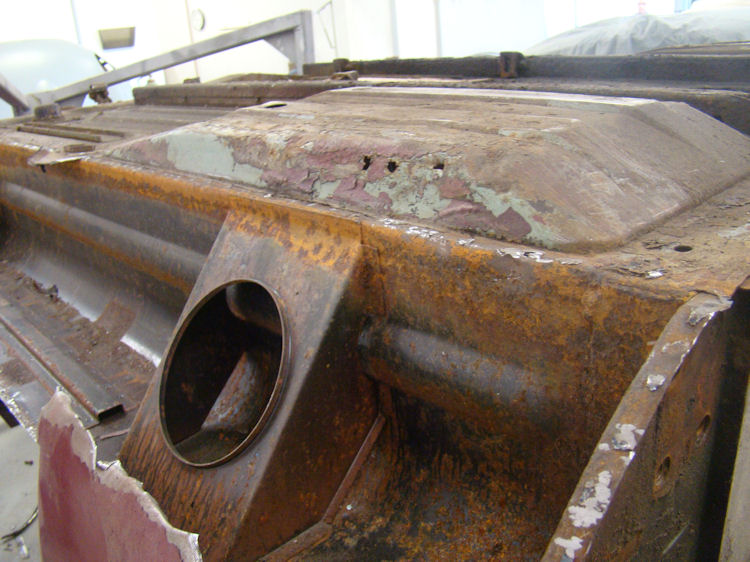
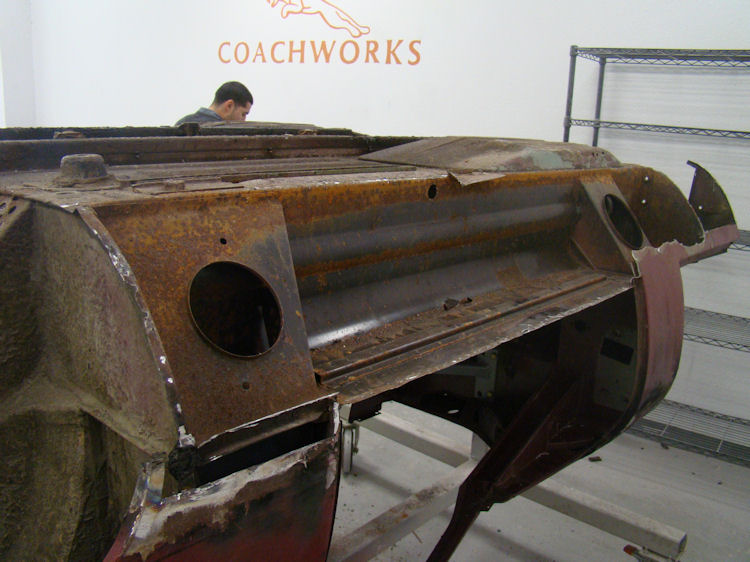
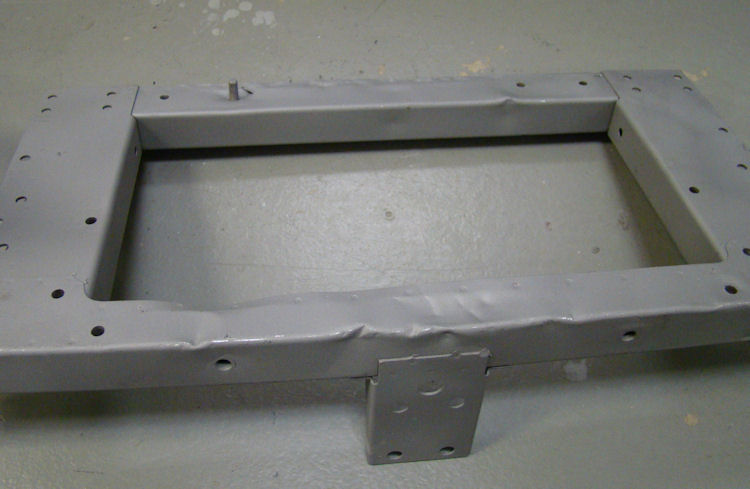
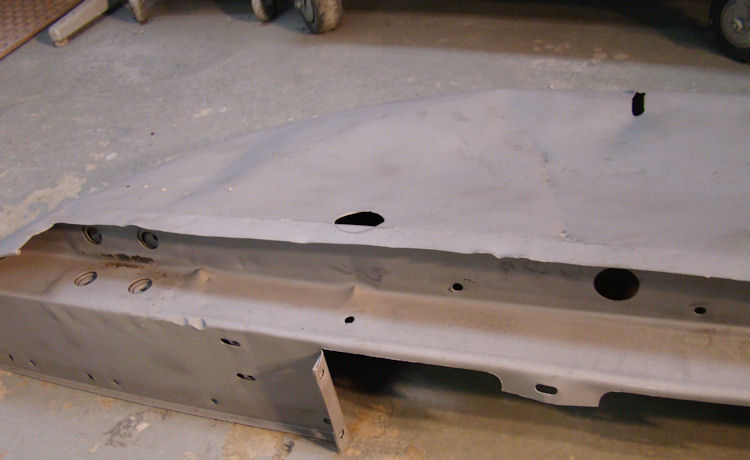
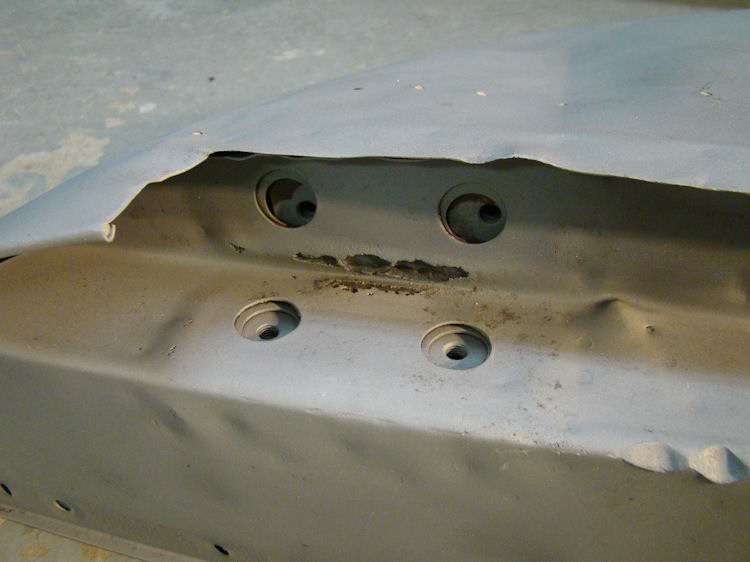
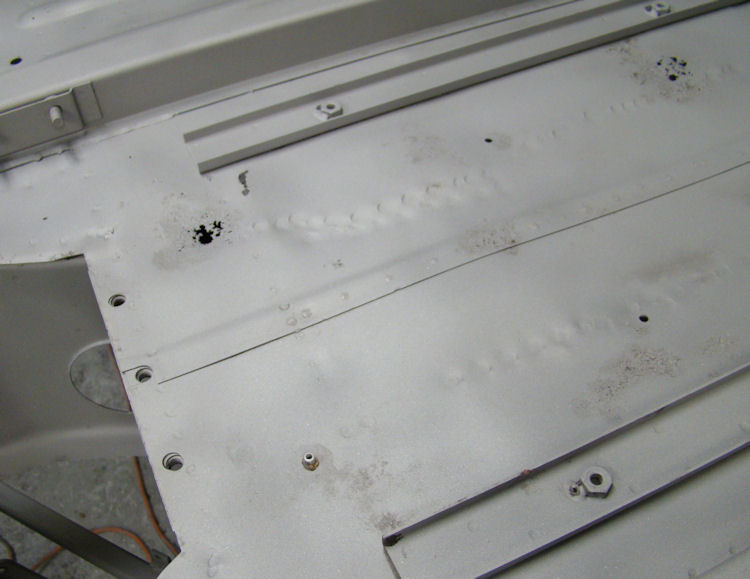
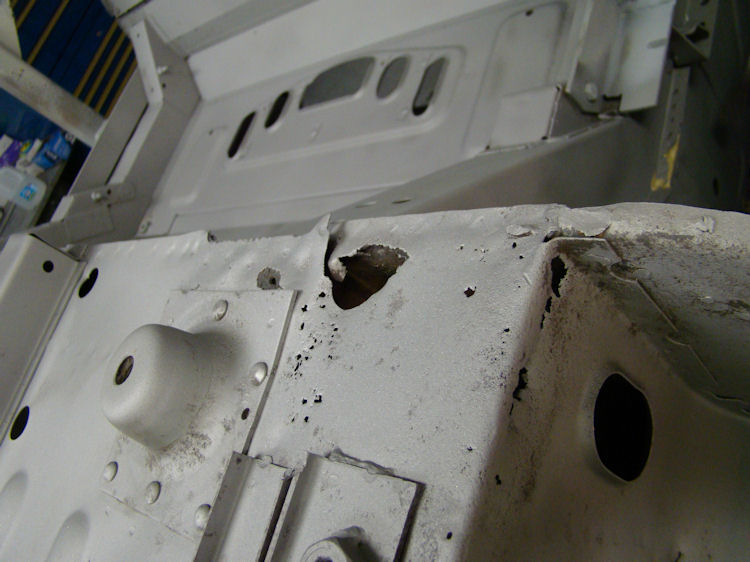
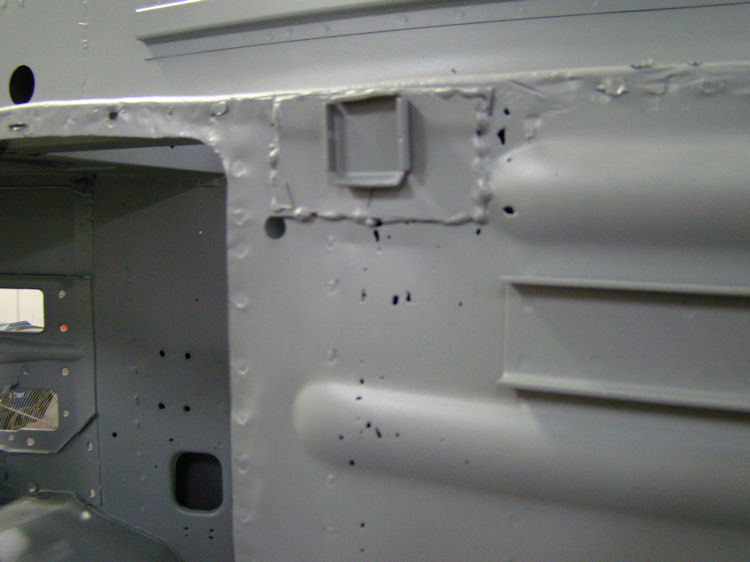
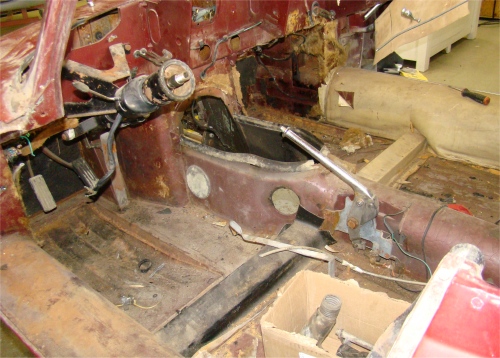
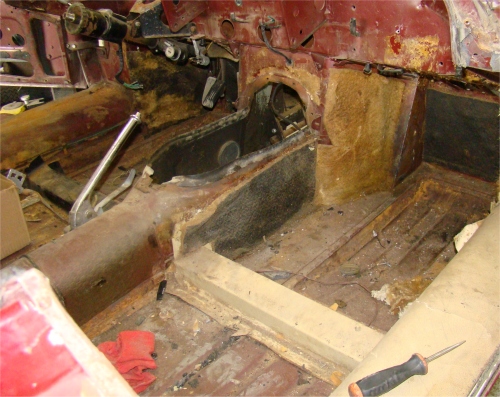
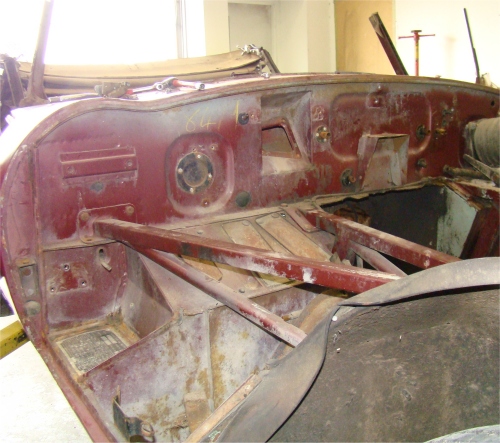
The body and associated panels have now been media blasted back to bare metal, and the news really isn't too bad! Although the body shell obviously requires extensive panel replacement, it is far better than most E Types that pass through the Team CJ Coachworks.We had hoped to save the engine frames, although the blasting process revealed quite a bit of previously invisible corrosion damage. In any event, we will have the resurrection underway shortly!
 |
 |
 |
|
right up against the bumper! |
|
|
|
|
|
|
 |
 |
 |
|
still need to be replaced |
|
|
|
|
|
|
 |
 |
 |
|
damage |
media blasting |
|
|
|
|
|
 |
 |
 |
|
|
|
some pain in the past |
|
|
|
|
 |
 |
 |
|
extensive work |
|
|
|
|
|
|
 |
 |
 |
|
|
|
|
|
|
|
|
 |
 |
 |
|
|
|
|
|
|
|
|
 |
 |
 |
|
|
|
|
|
|
|
|
 |
 |
 |
|
|
|
|
I am pleased to report that we now have this project back underway. In the next few days we be sending the body out for media blasting. Watch this space!

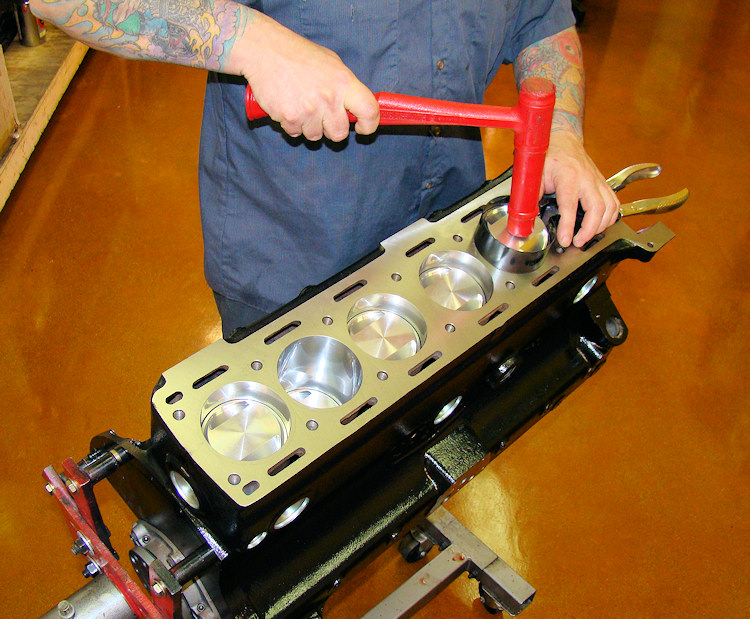
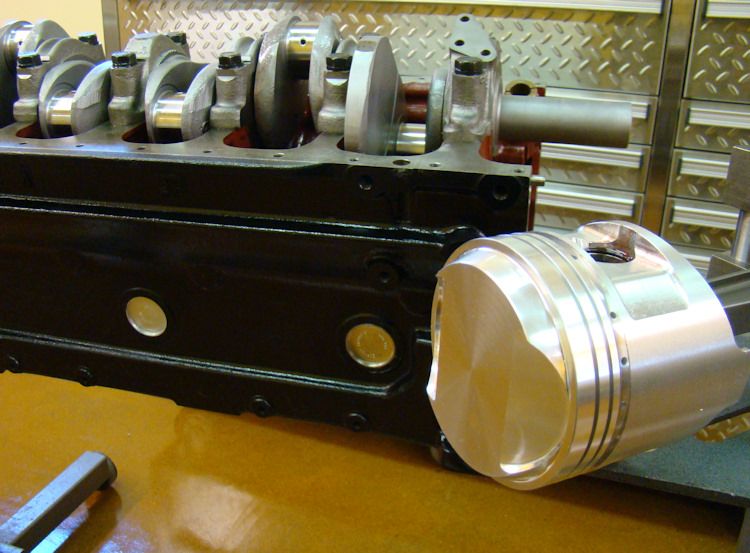
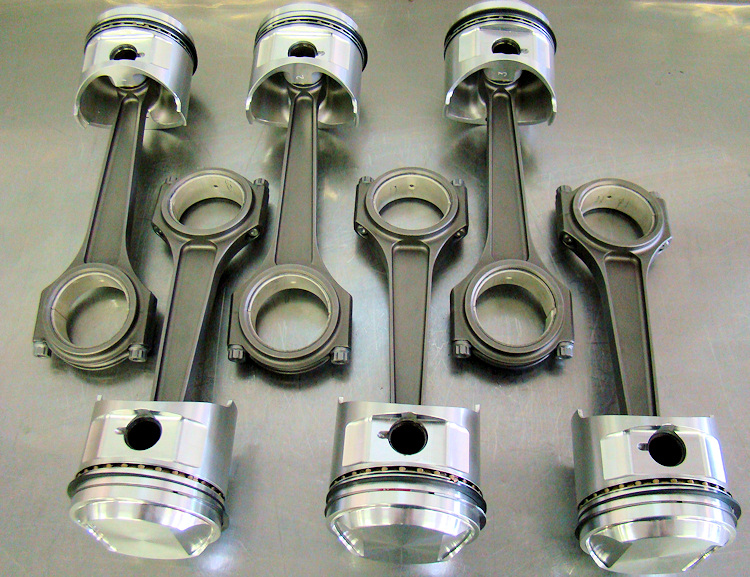
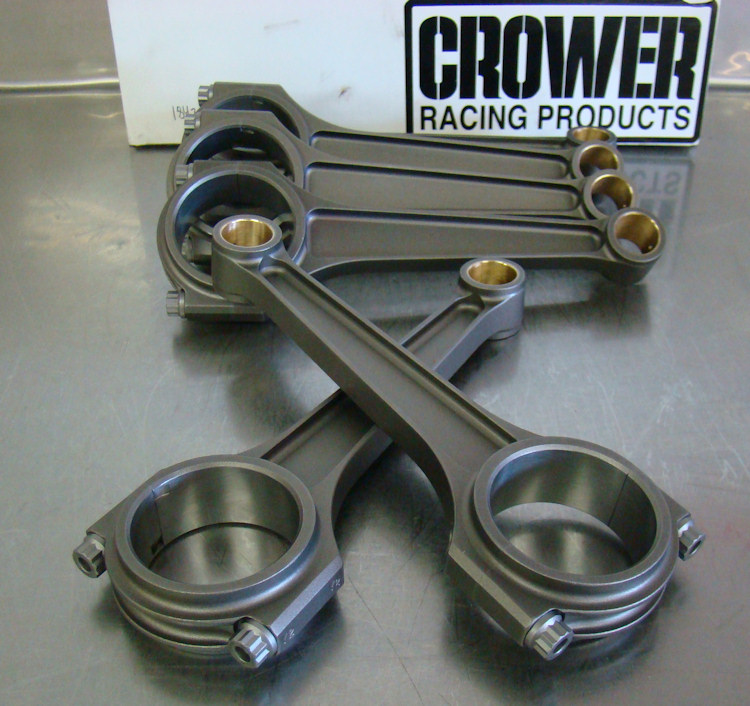
Installing pistons and rods to block...
 |
 |
 |
 |
Installing custom forged pistons to Crower rods...
 |
 |
 |
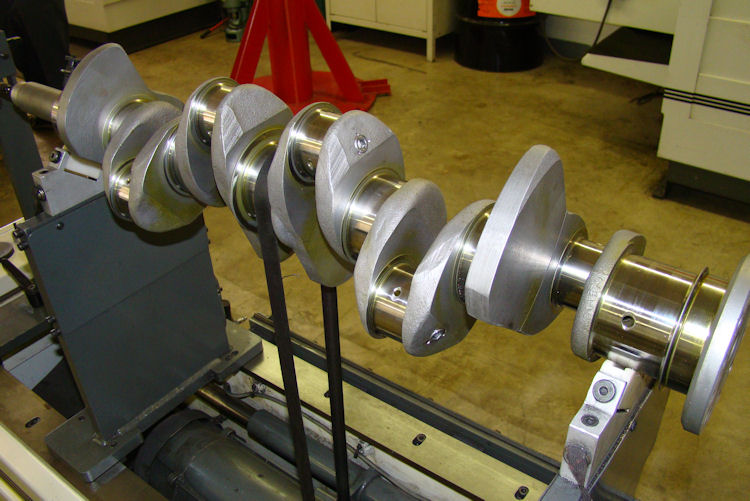
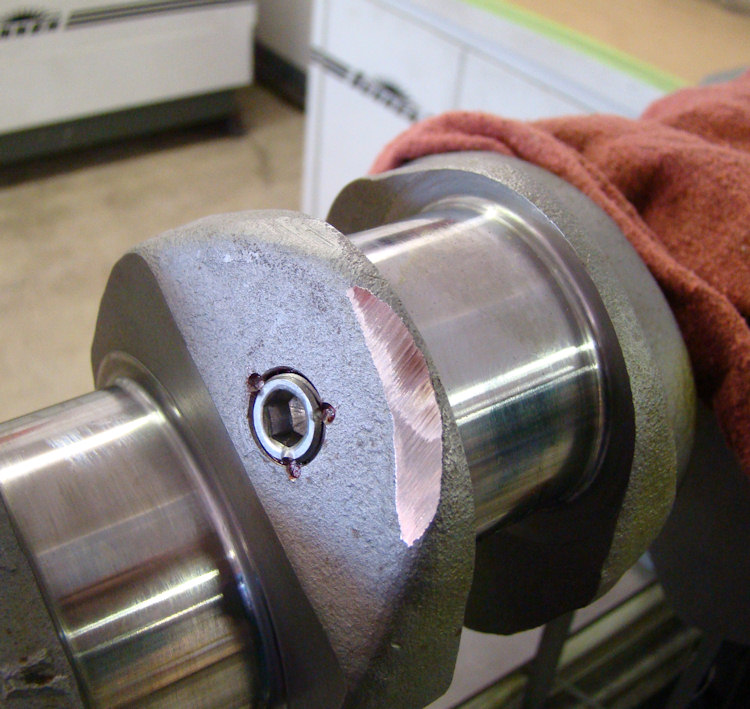
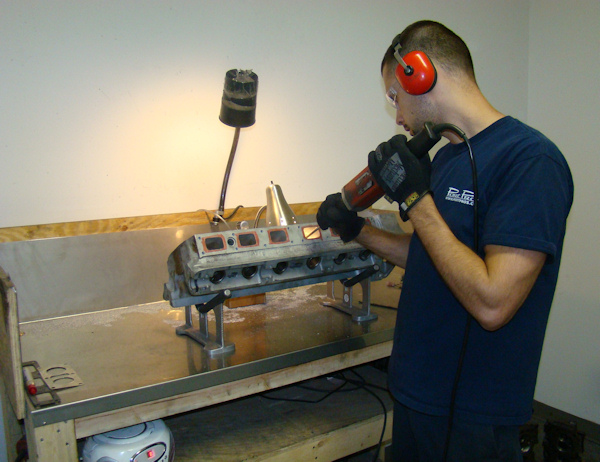
The following video shows Chris balancing your crankshaft in the CJ machine shop.
 |
 |
 |
|
|
|
|
 |
 |
|
|
|
|
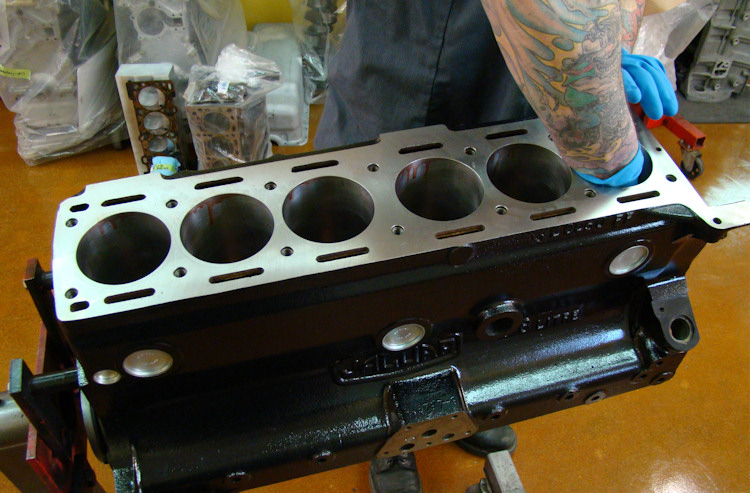
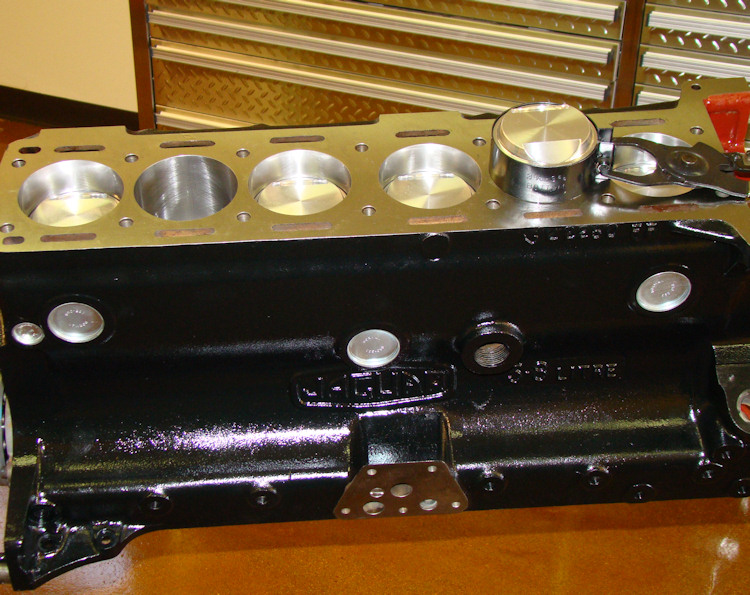
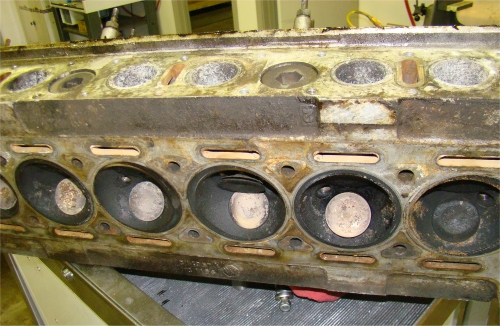
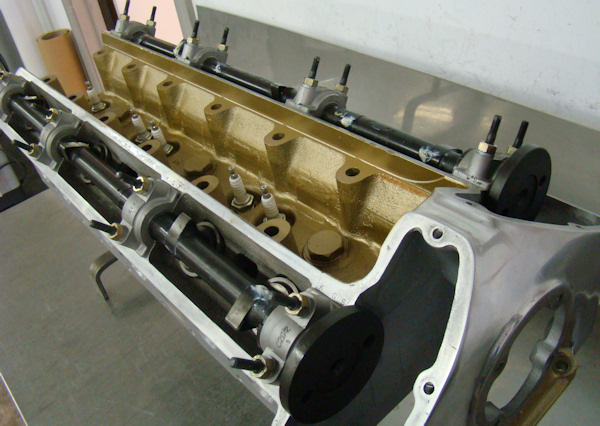
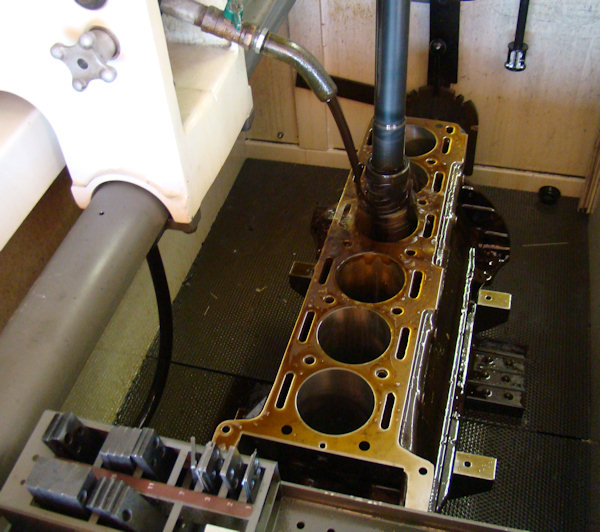
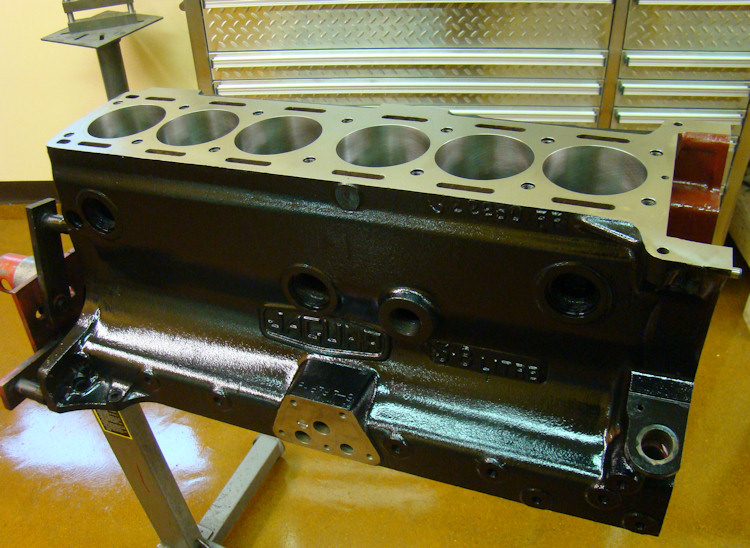
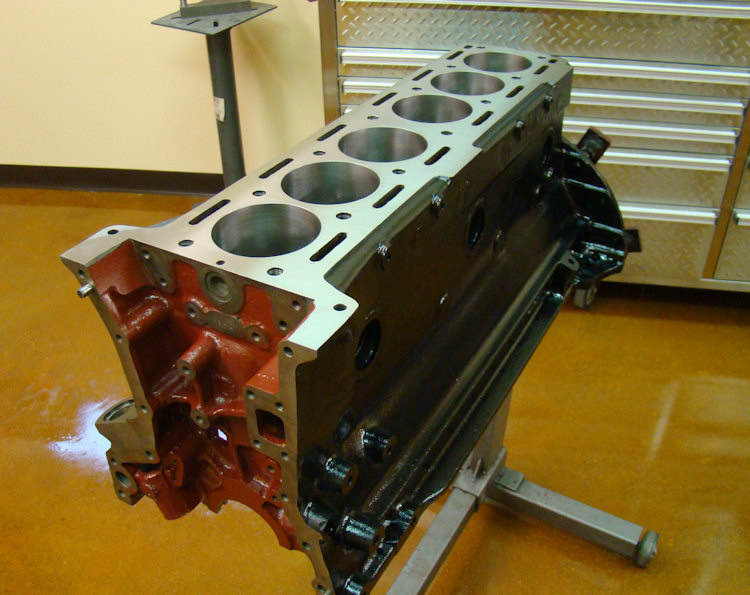
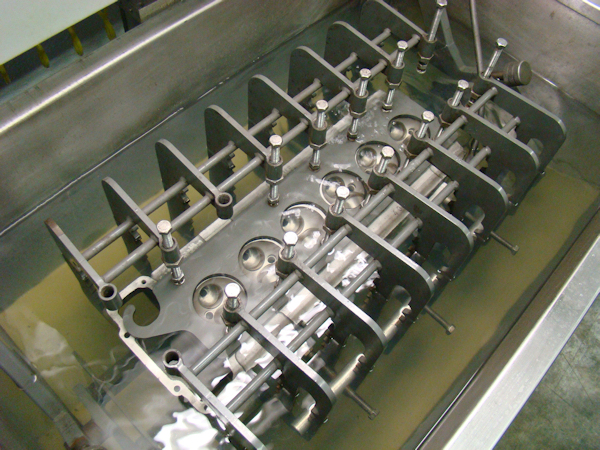
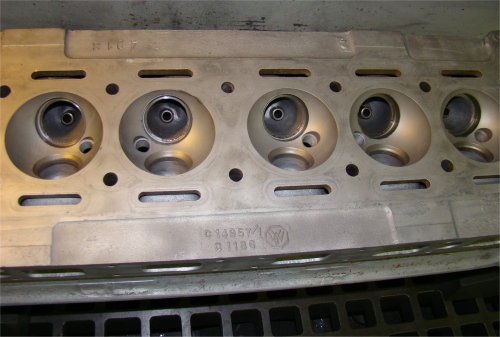
We have now completed your Stage One cylinder head rebuild and finished all of our machine work on the block. We hope to be reassembling this engine in the next few days.
 |
 |
 |
|
|
|
|
 |
 |
 |
|
|
|
|
 |
 |
|
|
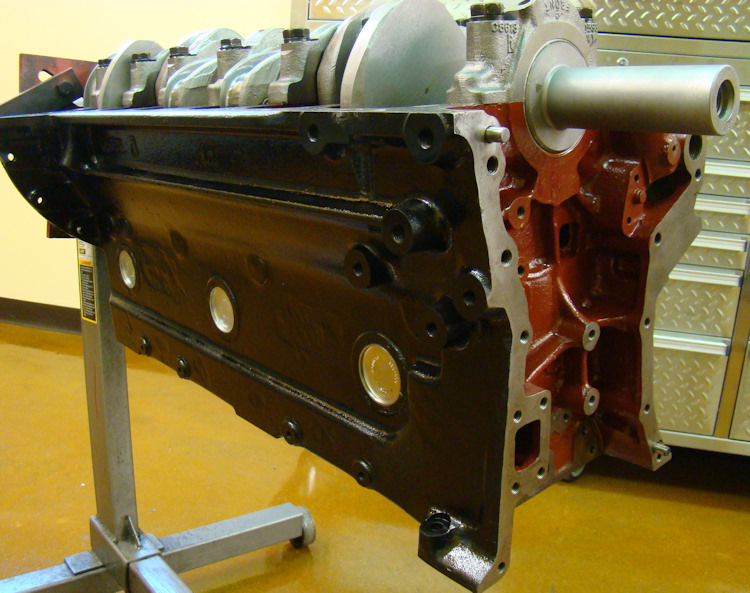
cross-hatch honing pattern |
|
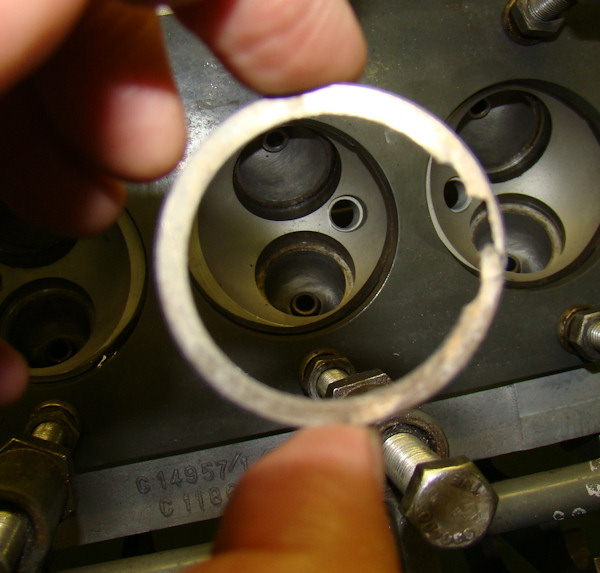
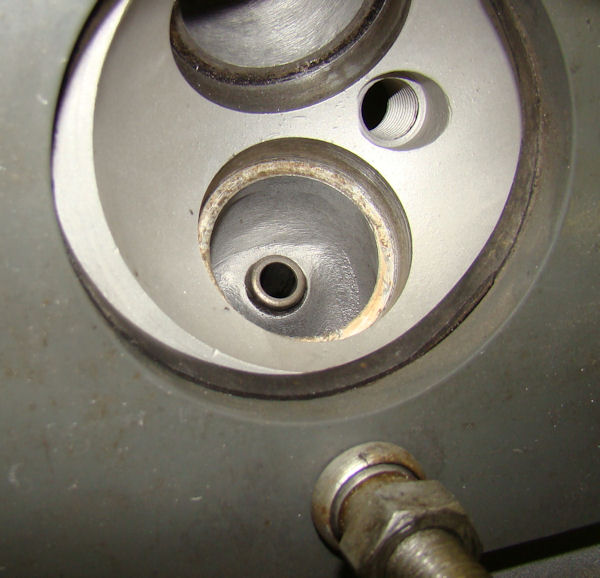
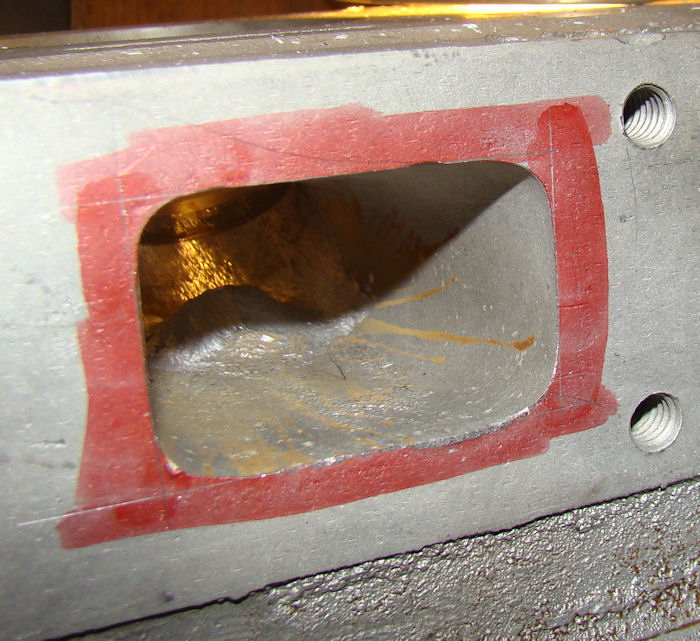
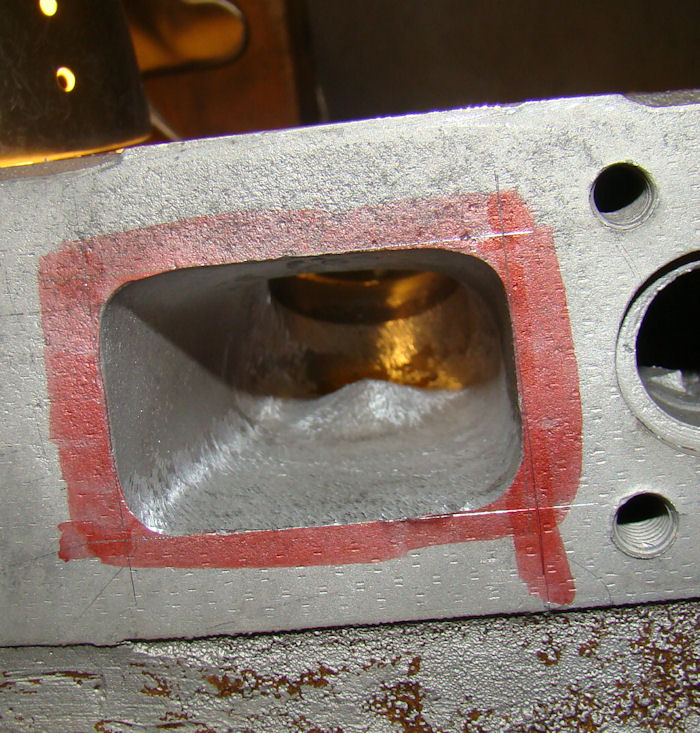
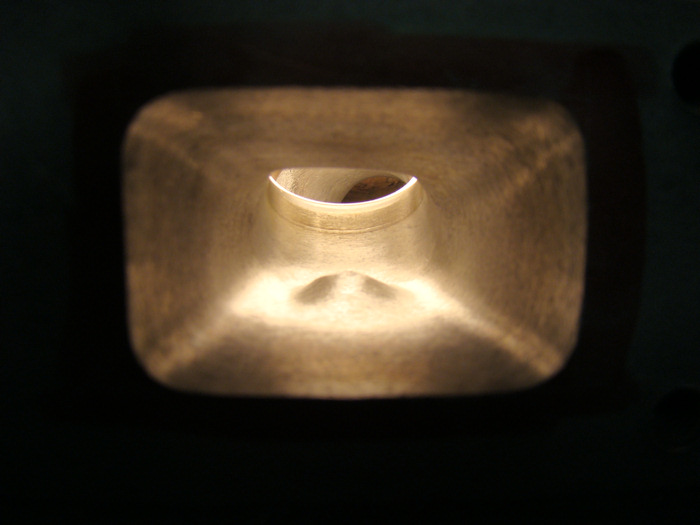
When we cut away the old exhaust seats, one of them showed evidence of corrosion. This usually means there is a crack (or porosity) in the seat pocket, which can allow coolant to leak through beneath the seat and into the combustion chamber. Fortunately, that proved not to be the case with your head. The first photo below shows the 'rusty' seat after it had been cut out.I have also included some photos of Chris porting your cylinder head. The last two photos show what a (CJ) ported runner looks like. Once the valve job has been lapped in, the transition between the runner and the base of the seat will be smoothed out so that it is barely visible. I am looking forward to seeing what this head flows when we put it on the bench next week!
 |
 |
 |
|
|
|
|
 |
 |
 |
|
|
the factory |
|
 |
 |
|
|
|
|
Stage One engine rebuild underway...
|
|
 |
 |
|
|
|
Time to get this project underway!
|
|
 |
 |
|
|
|
|
 |
 |
 |
|
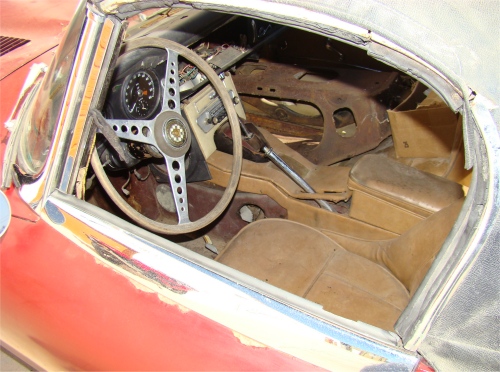
closer examination |
on firewall |
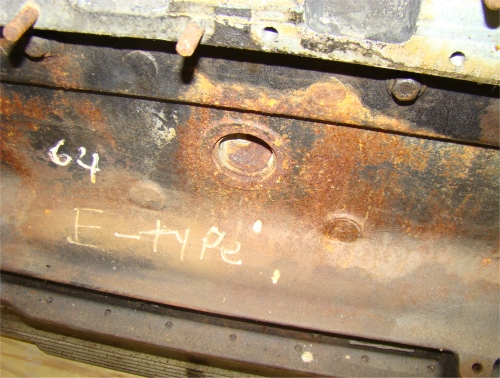
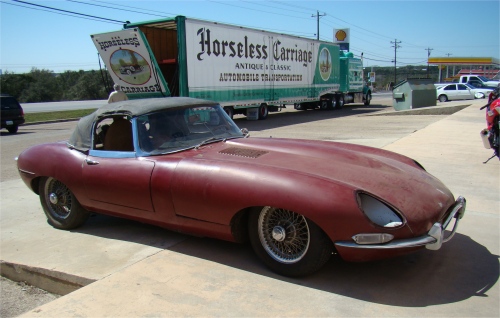
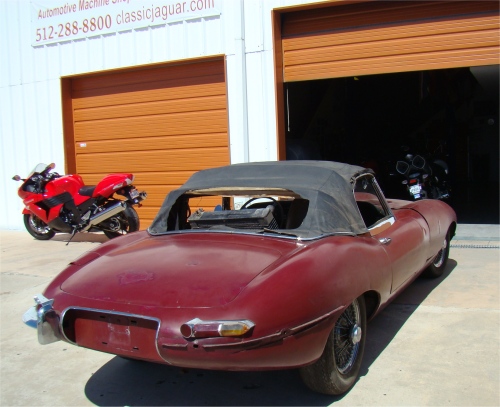
I am pleased to report that your car arrived safely at CJ earlier this morning. We will have your restoration underway very shortly!
 |
 |
 |
