| 1966
E Type roadster (PP)
Team CJ restoration |
|
| 1966
E Type roadster (PP)
Team CJ restoration |
|
|
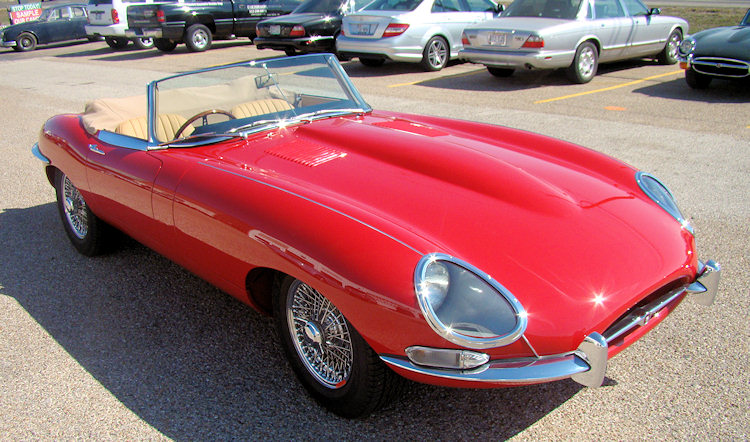
Update report - November 3, 2011
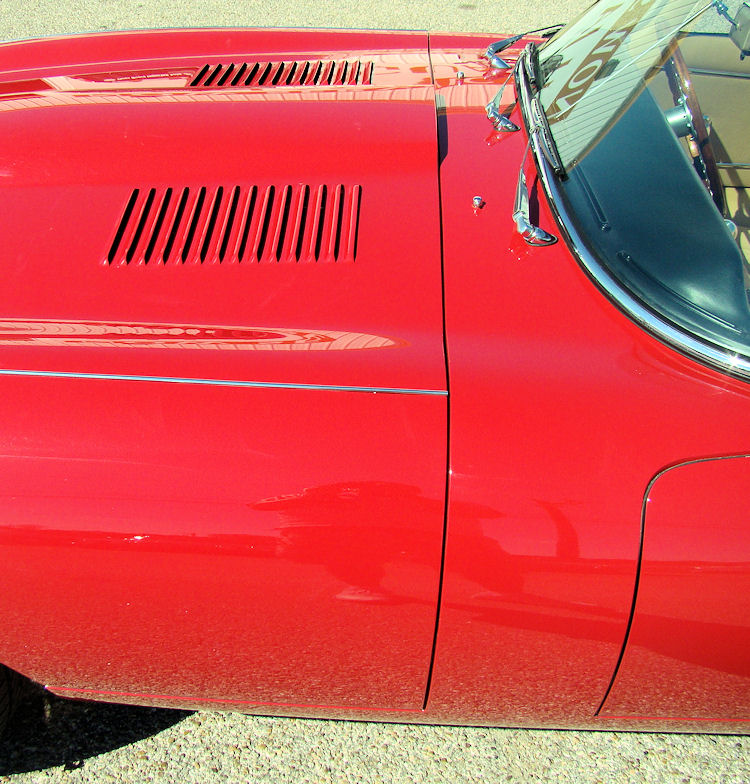
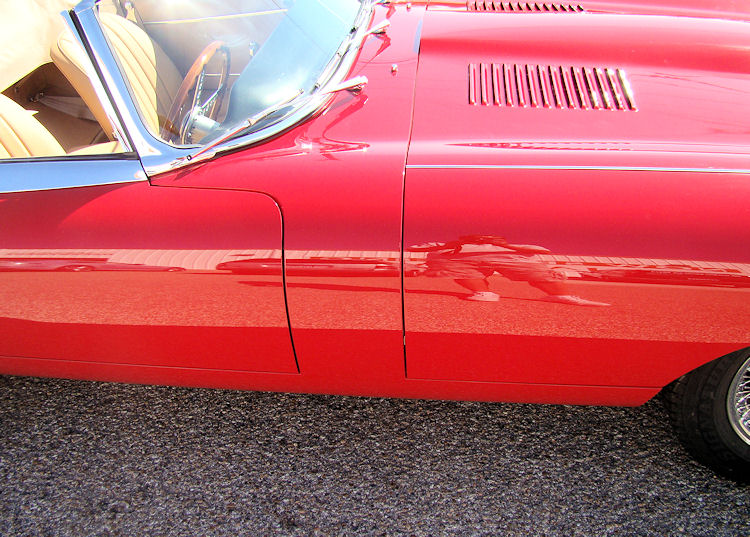
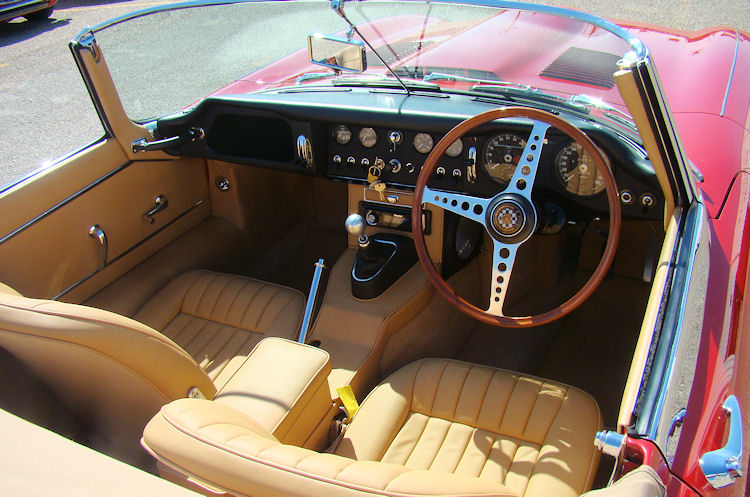
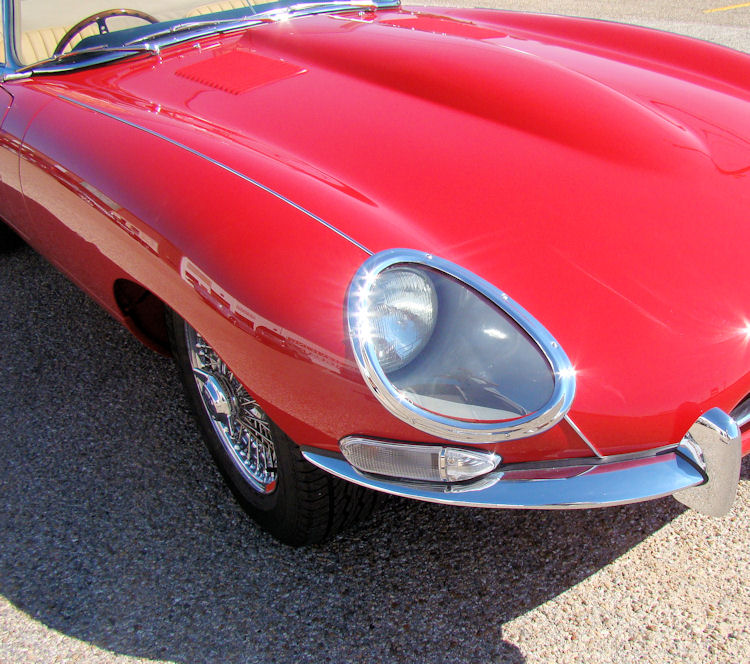
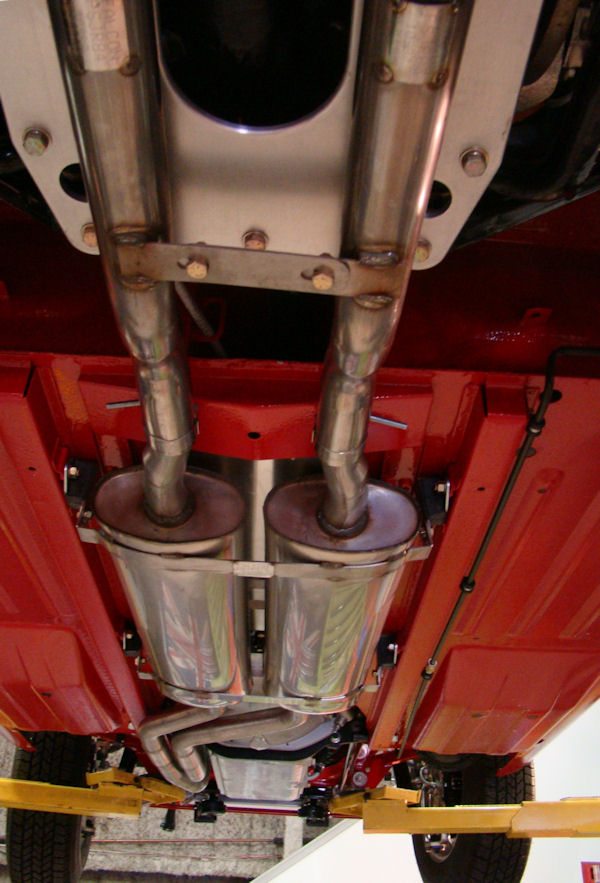
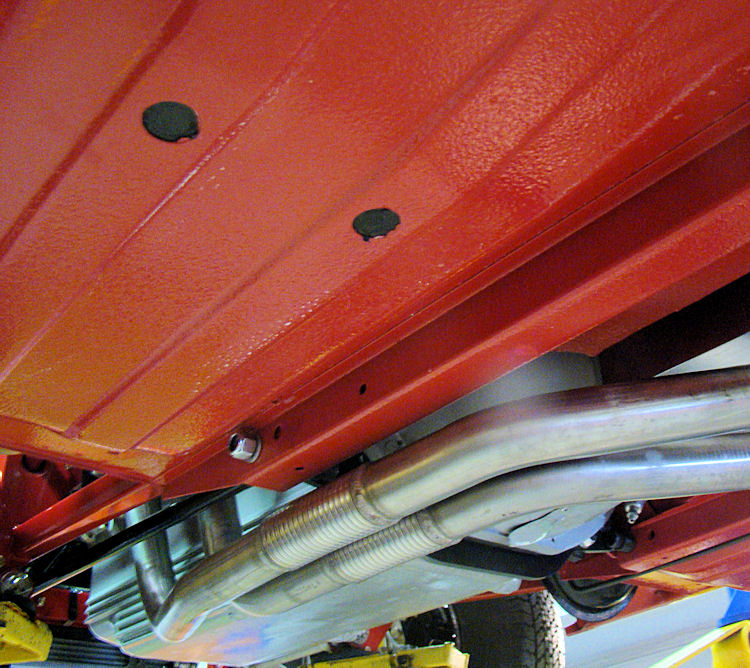
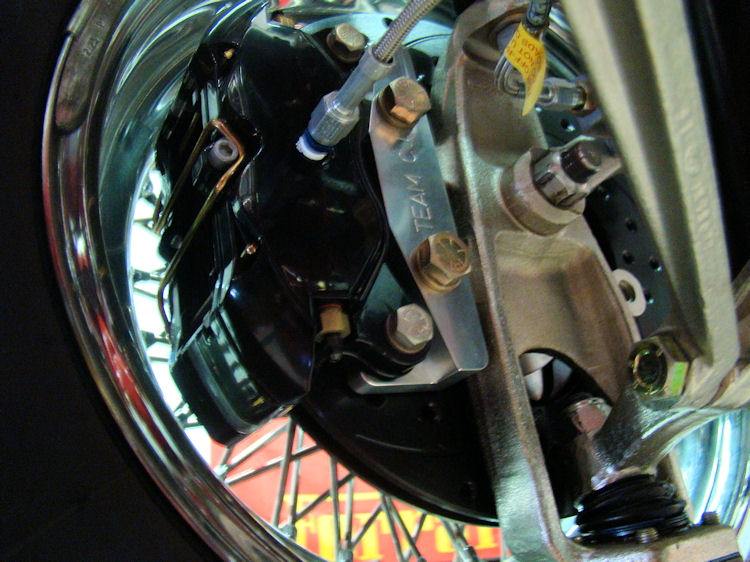
With extensive road testing completed, it is time for another total CJ restoration to head home!
 |
 |
|
|
|
 |
 |
|
|
|
 |
 |
|
|
|
 |
 |
|
|
|
 |
 |
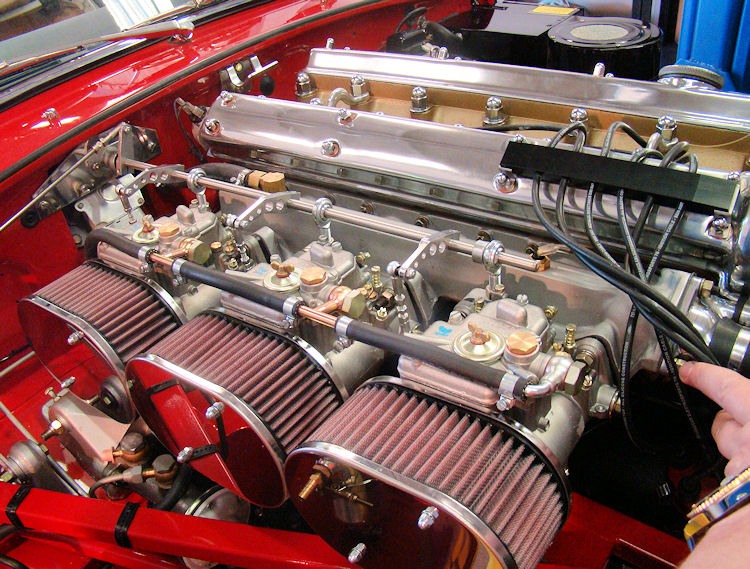
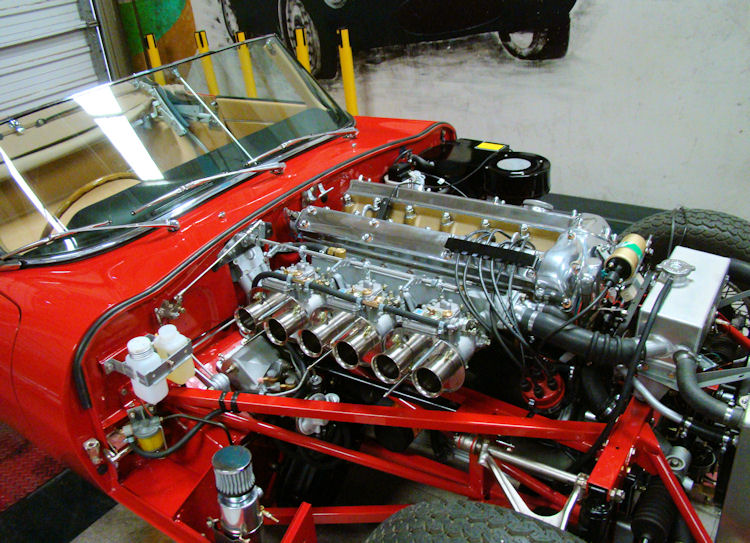
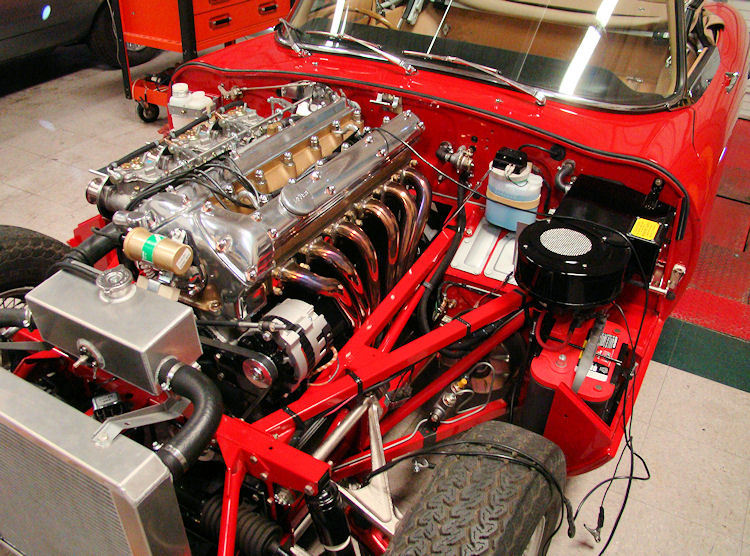
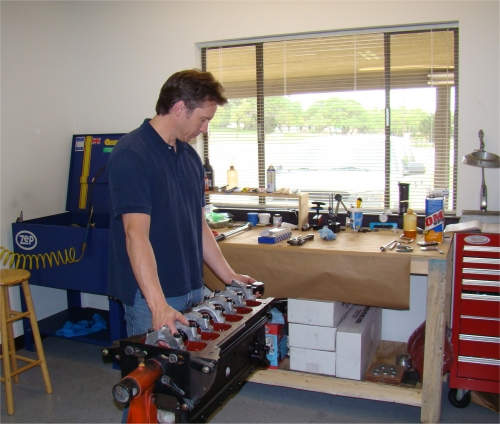
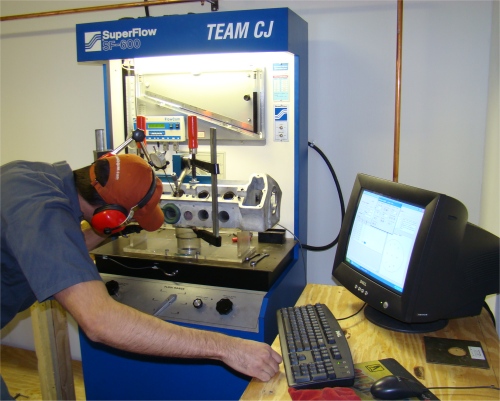
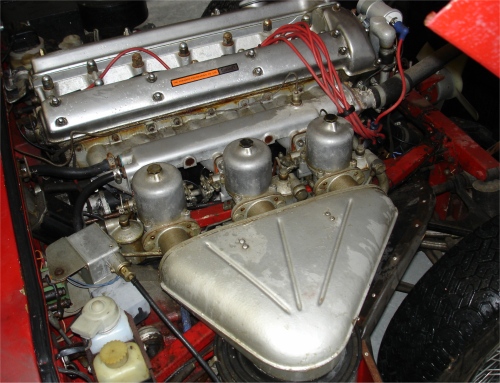
We have now installed the rebuilt engine and have been busy breaking it in on the dyno. So far, everything is running perfectly!I will post a video clip of a dyno pull for you next week.
 |
 |
|
|
|
|
|
|
 |
 |
|
|
|
|
|
|
 |
 |
|
|
|
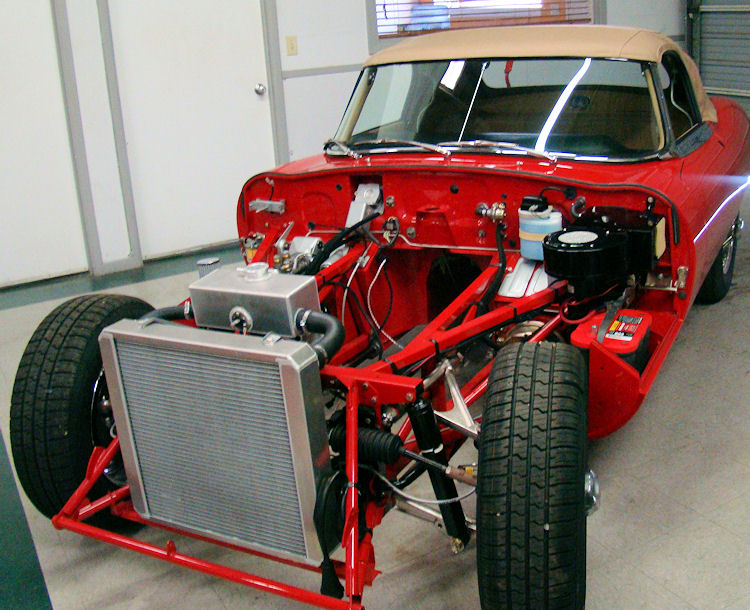
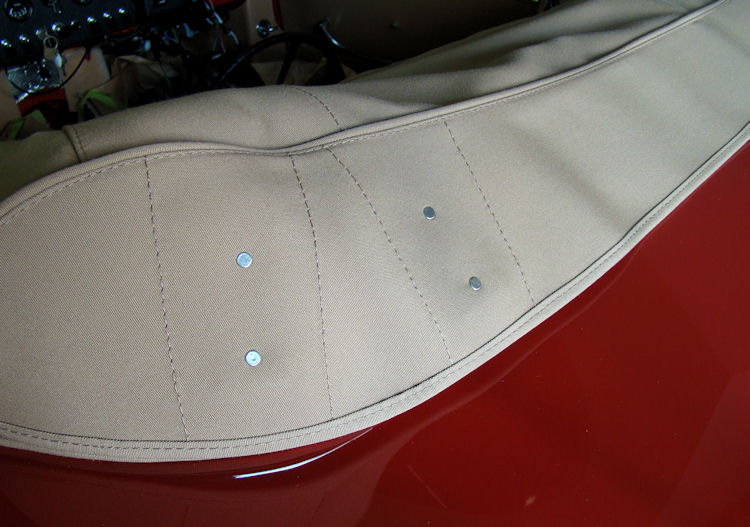
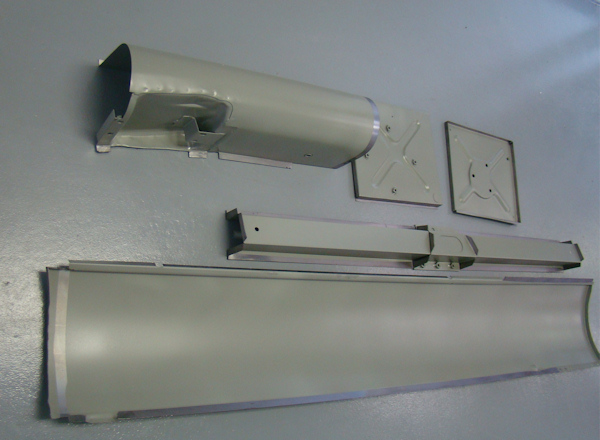
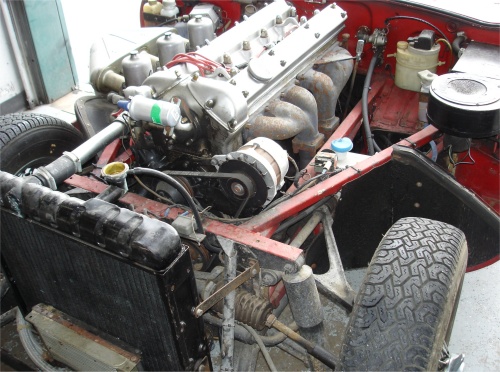
Your convertible top has now been installed and the engine bay is ready to receive the rebuilt engine and new CJ5/600 transmission.
 |
 |
|
|
|
|
|
|
 |
 |
|
|
|
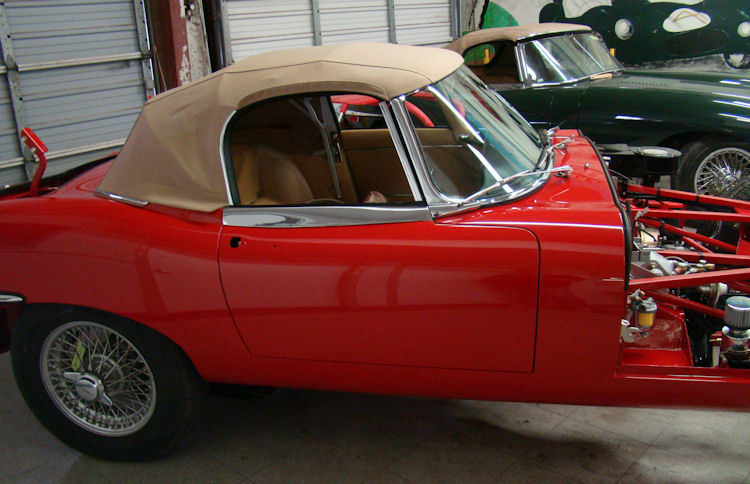
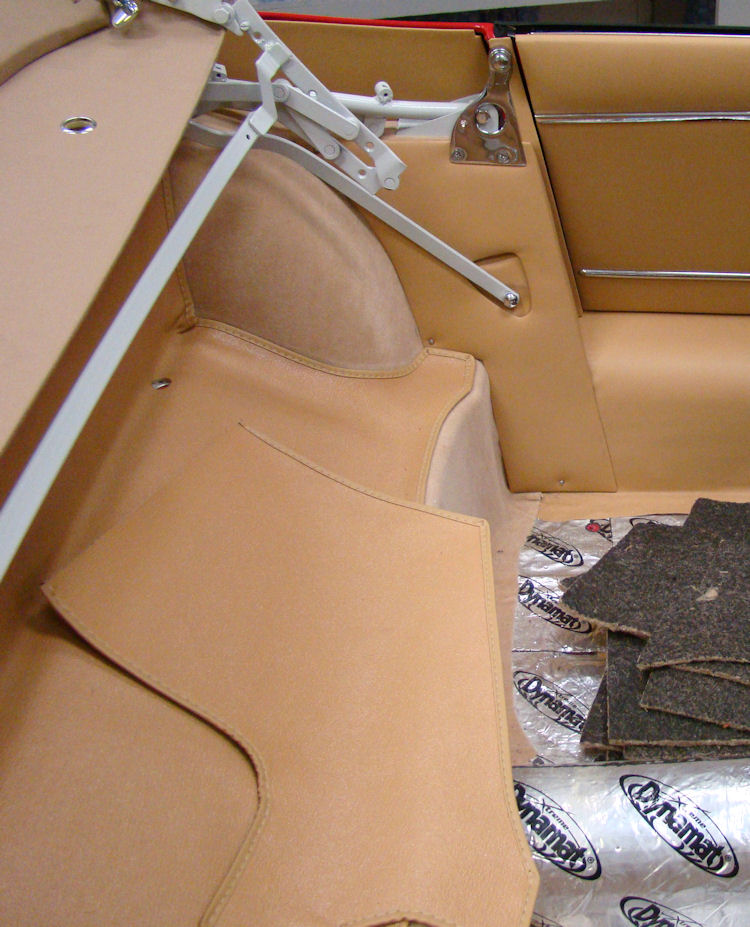
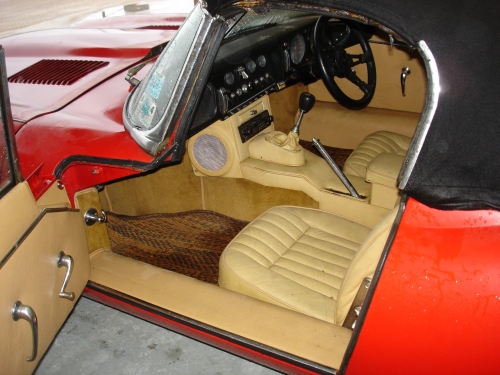
The doors and interior door trim, as well as the windscreen and surrounding chrome have all now been installed, along with the convertible top frame. Next up will be the installation of the engine and CJ5/600 five speed.
 |
 |
 |
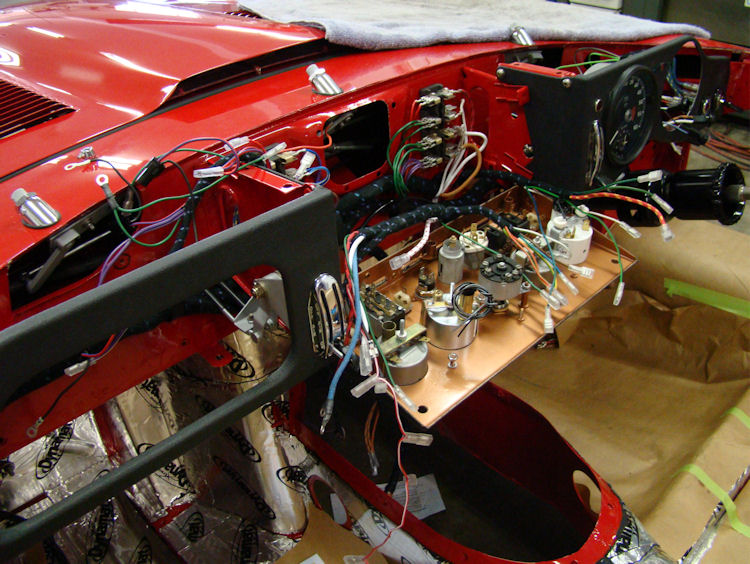
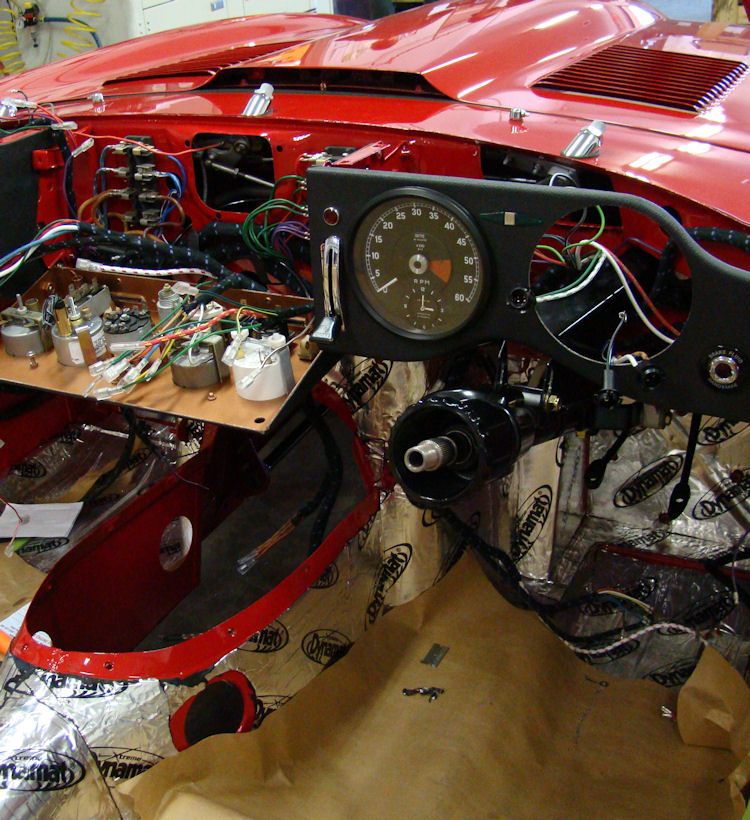
Wiring the dash, gauges, etc...
 |
 |
 |
|
|
|
|
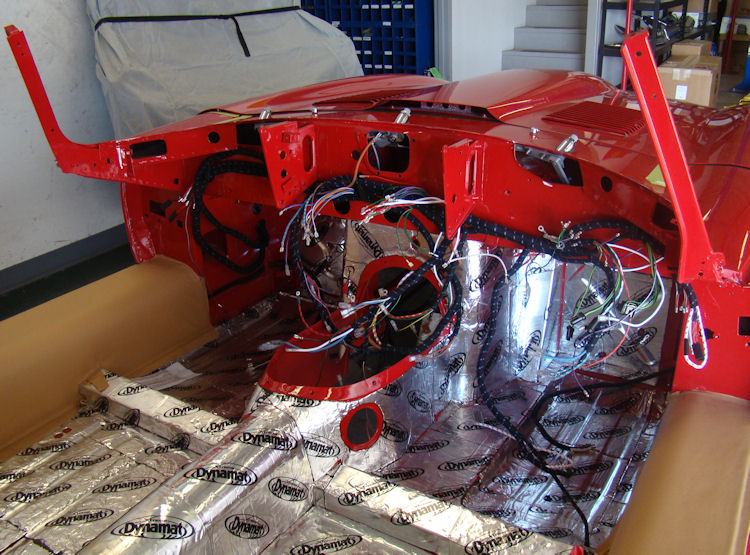
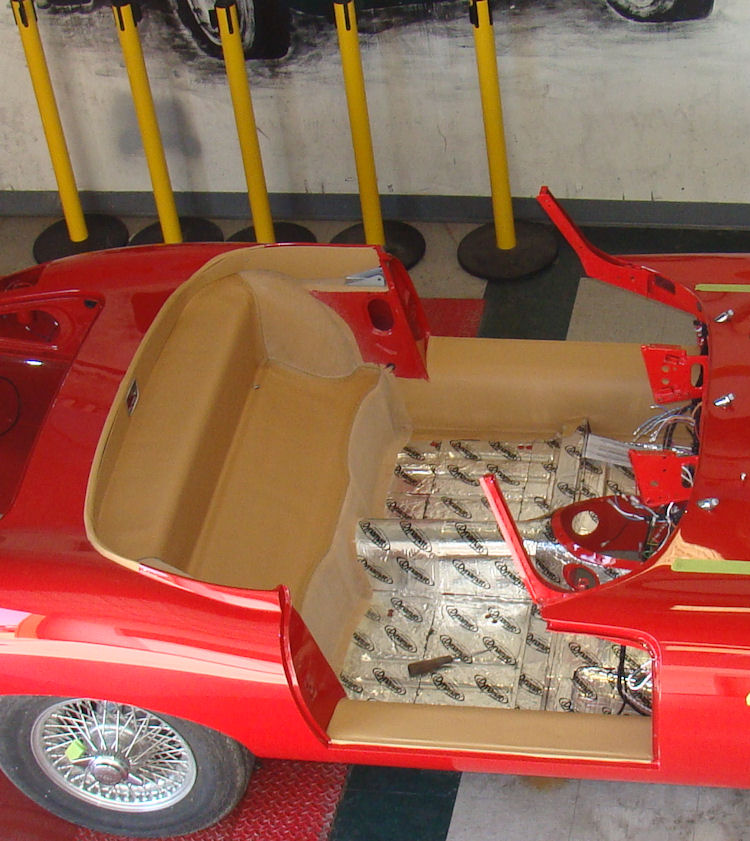
Back on its wheels, installing new wiring harness...
 |
 |
|
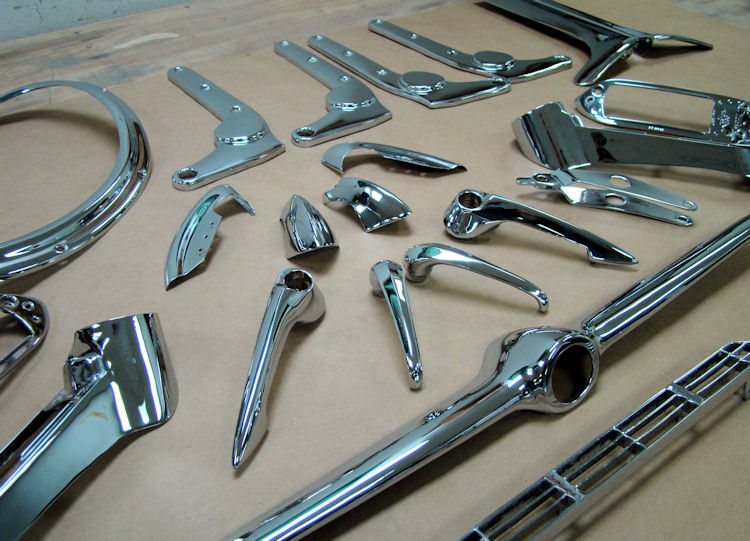
Time to start going back together with this car...
 |
 |
|
of replated chrome.. |
|
 |
 |
|
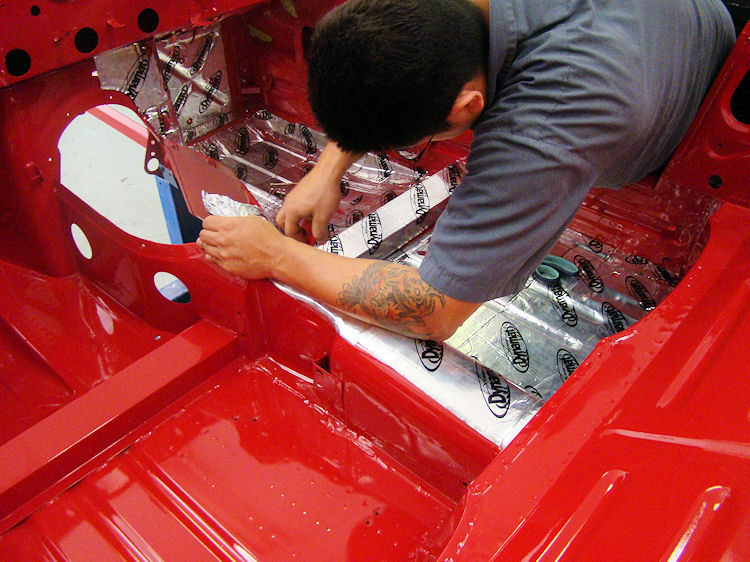
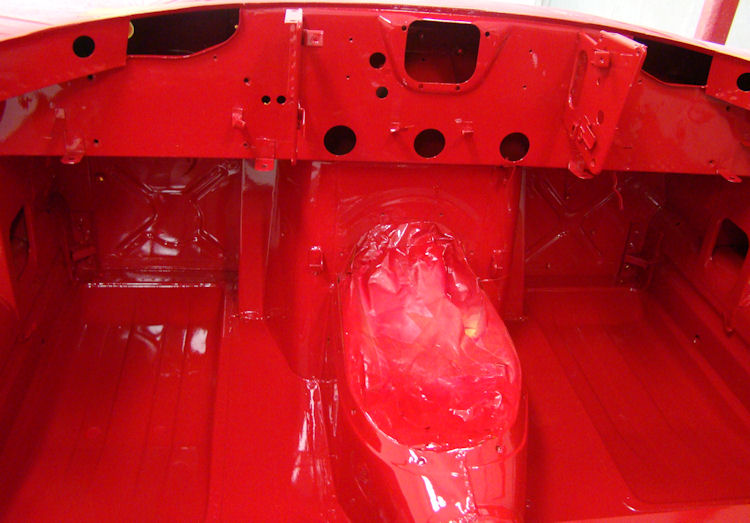
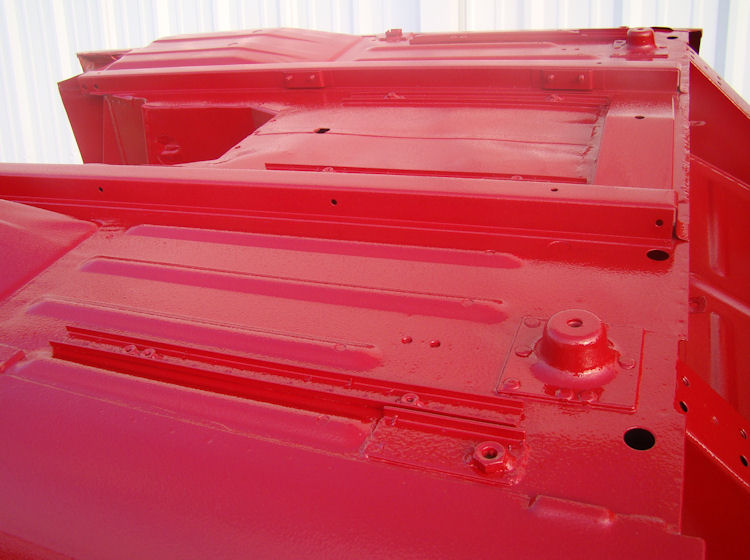
cabin floor |
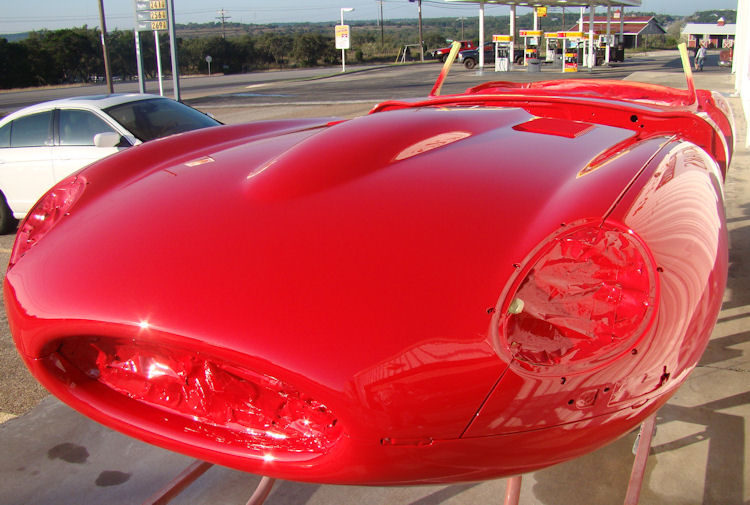
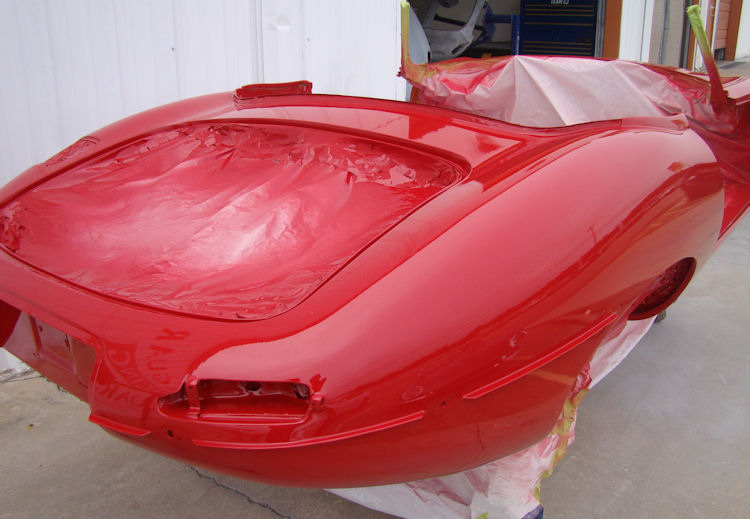
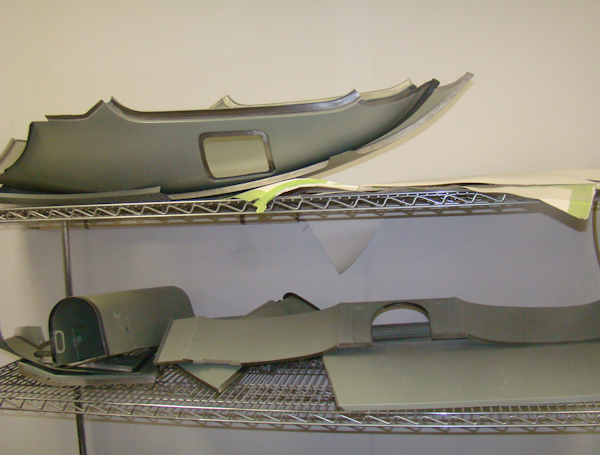
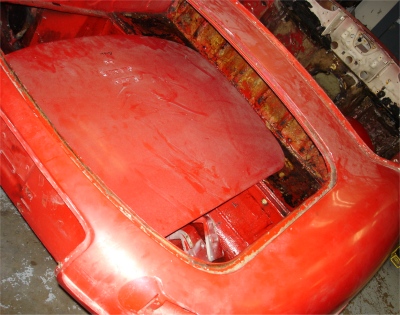
The bonnet is the last thing to be painted...
 |
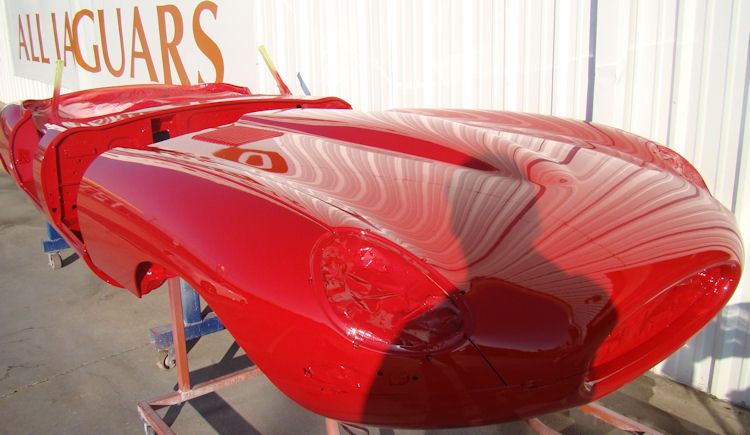 |
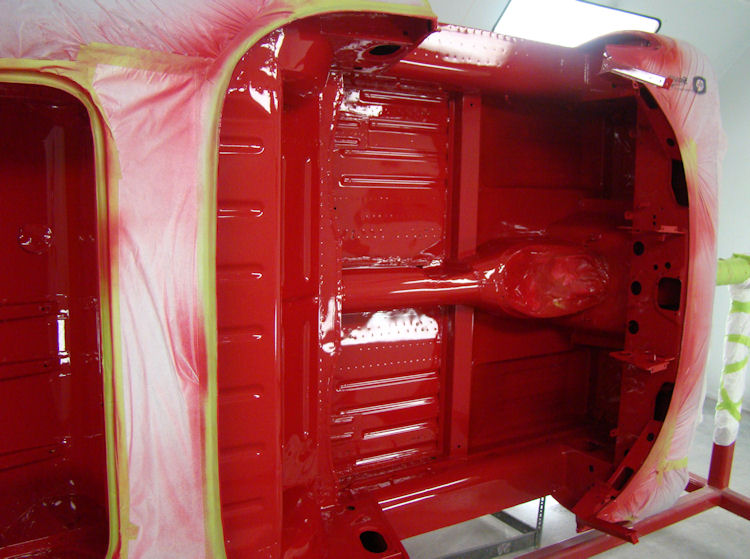
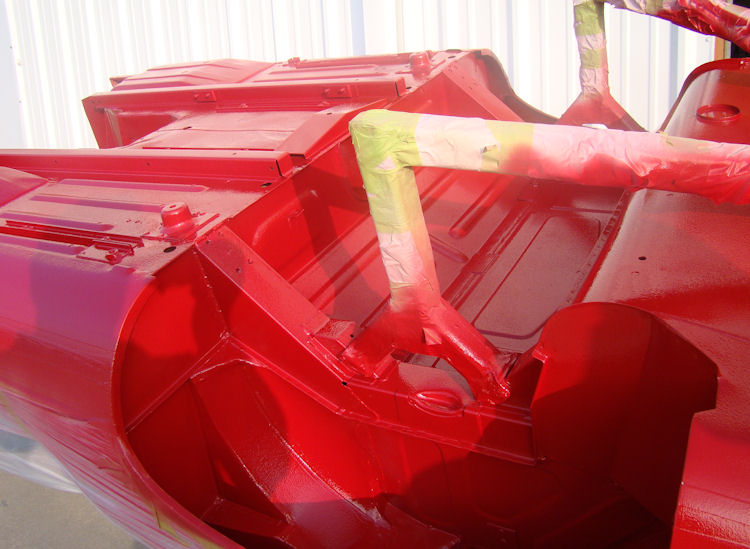
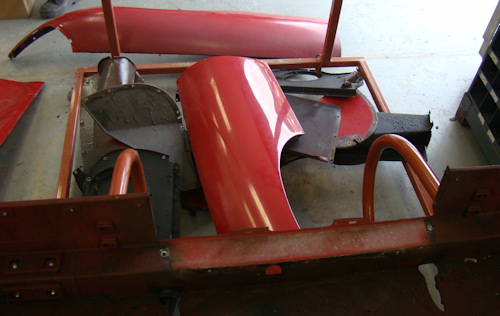
More Signal Red paint...
 |
 |
 |
 |
 |
|
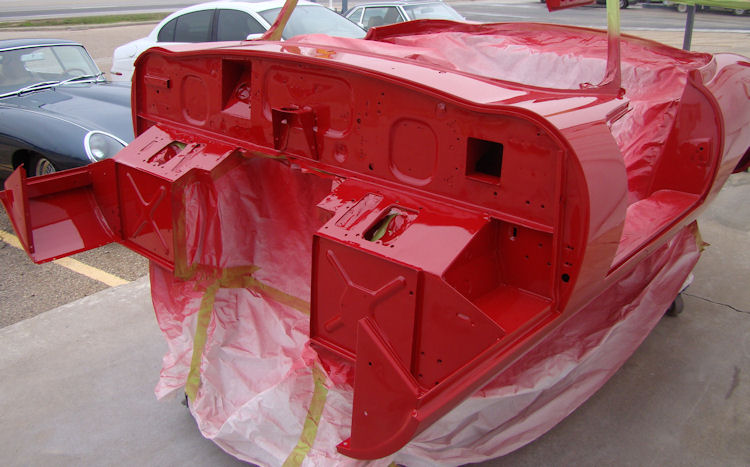
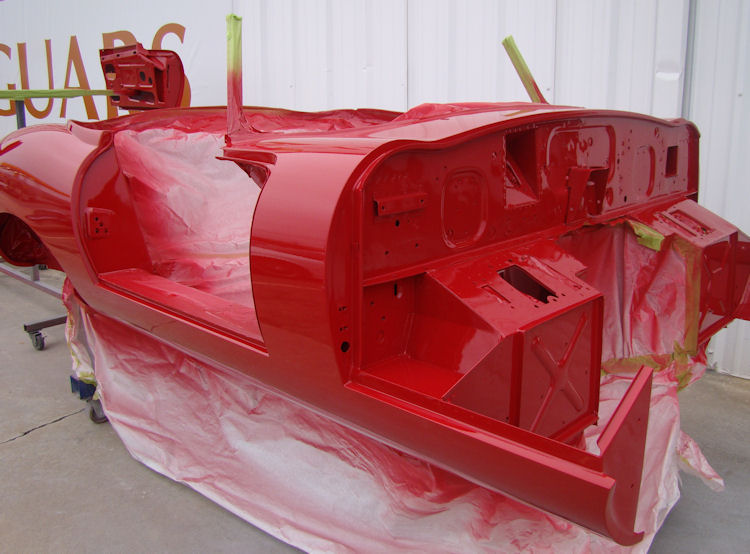
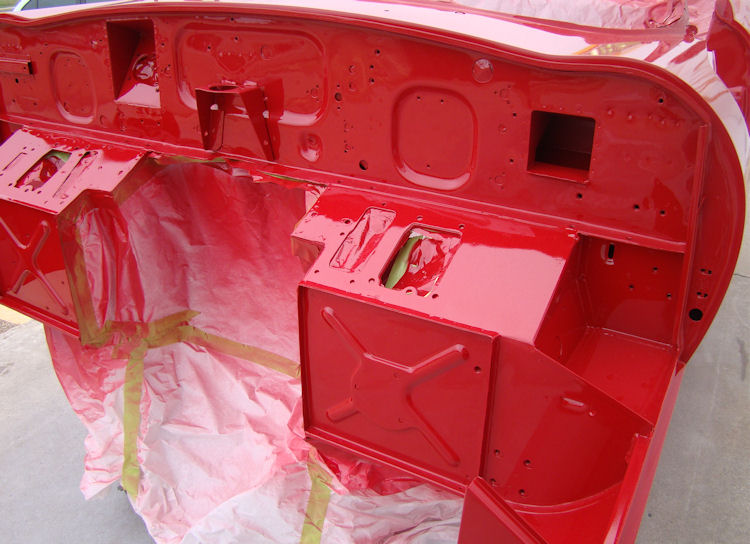
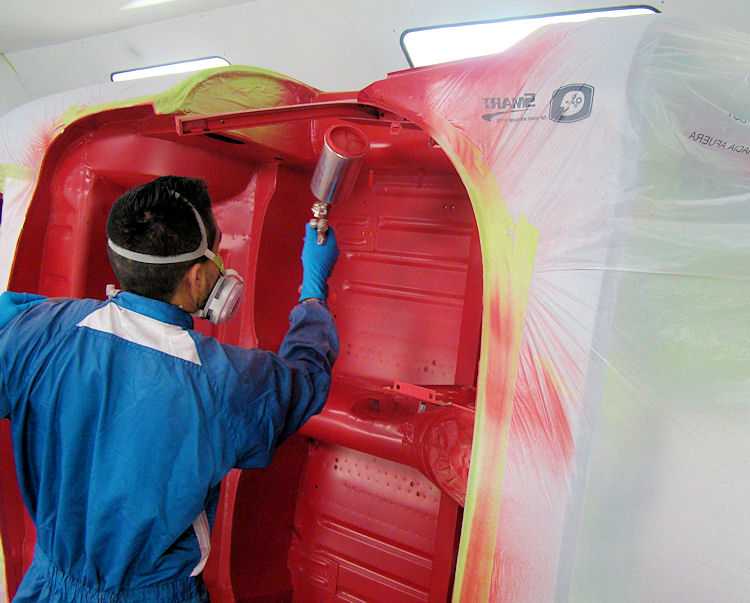
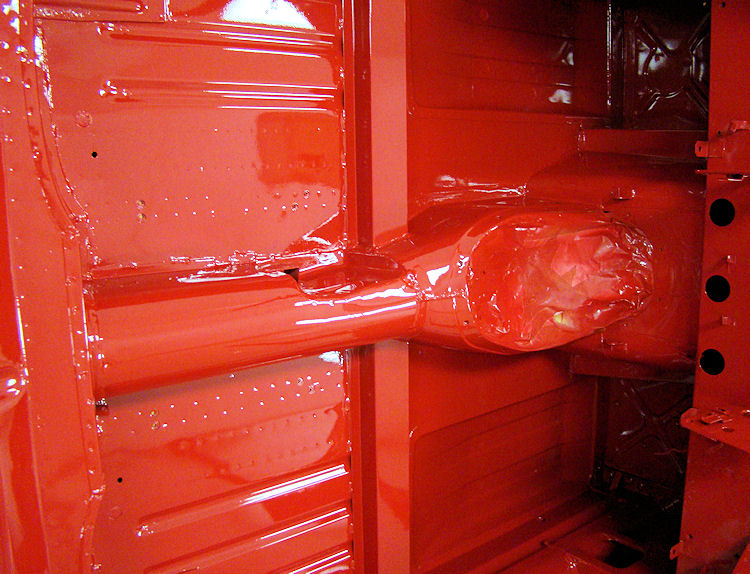
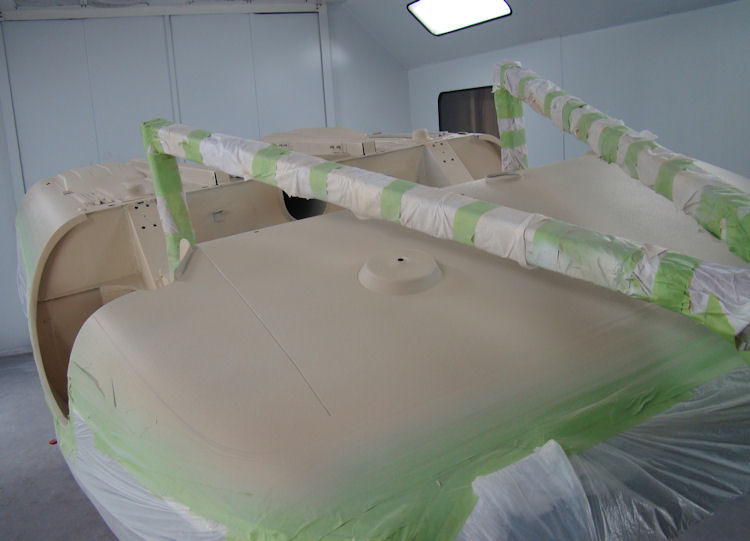
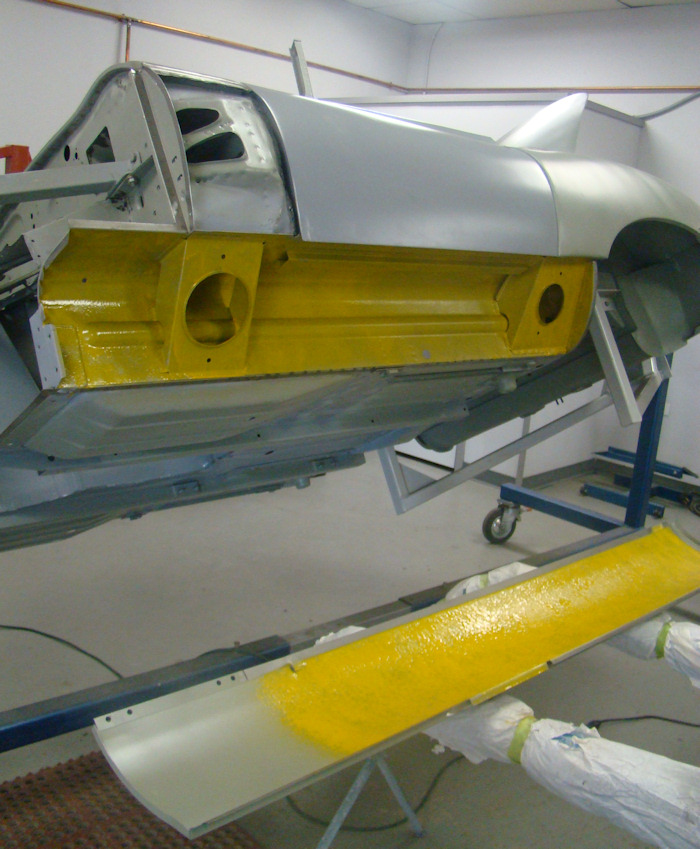
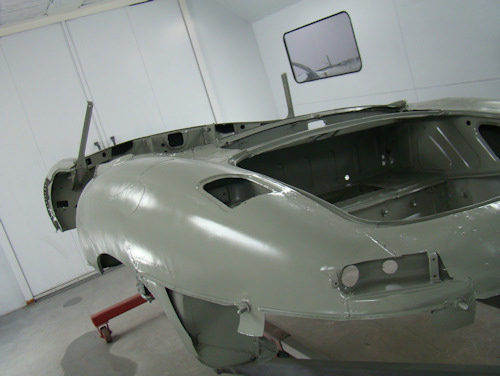
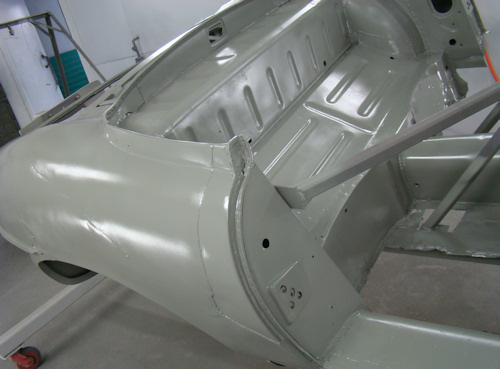
Painting inside the cabin and boot compartment...
 |
 |
 |
|
|
base coat |
|
 |
 |
 |
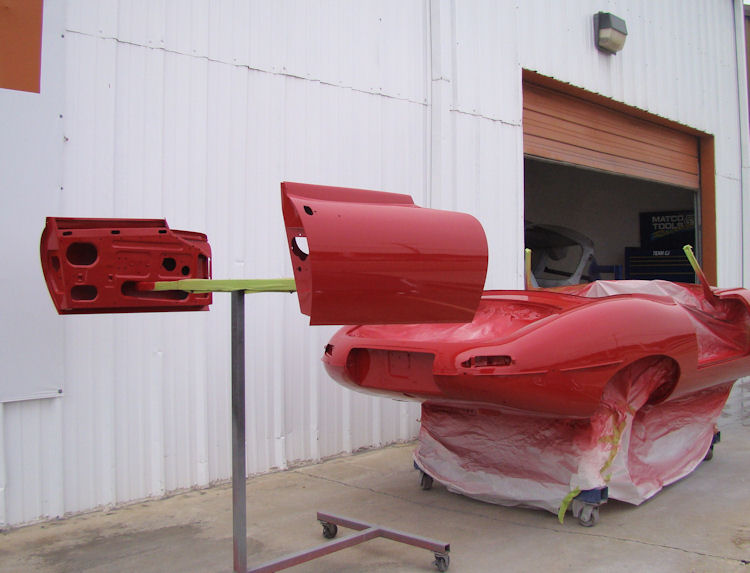
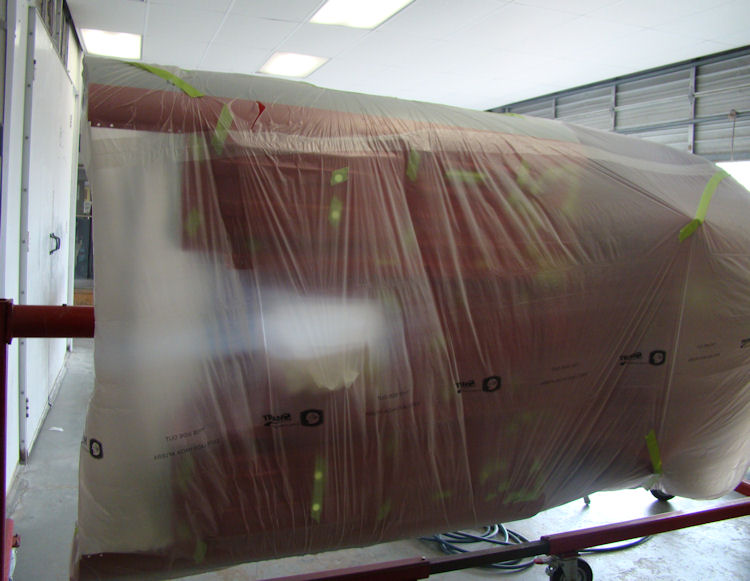
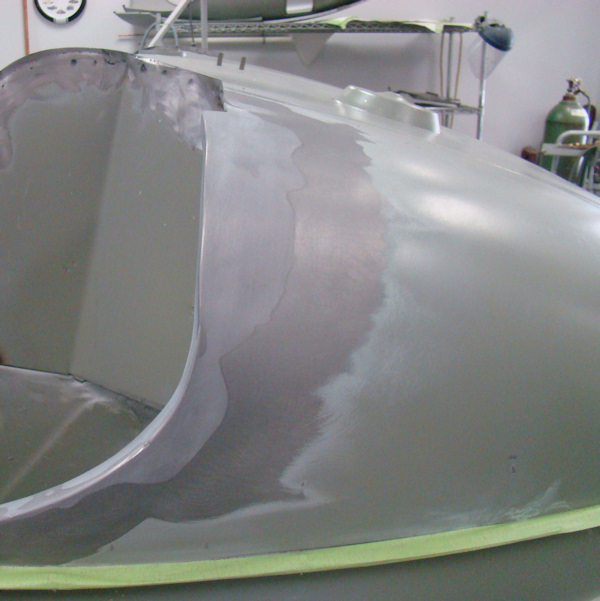
Time to apply the first of the Signal Red paint...
 |
 |
 |
|
|
red base coat |
|
 |
 |
 |
|
|
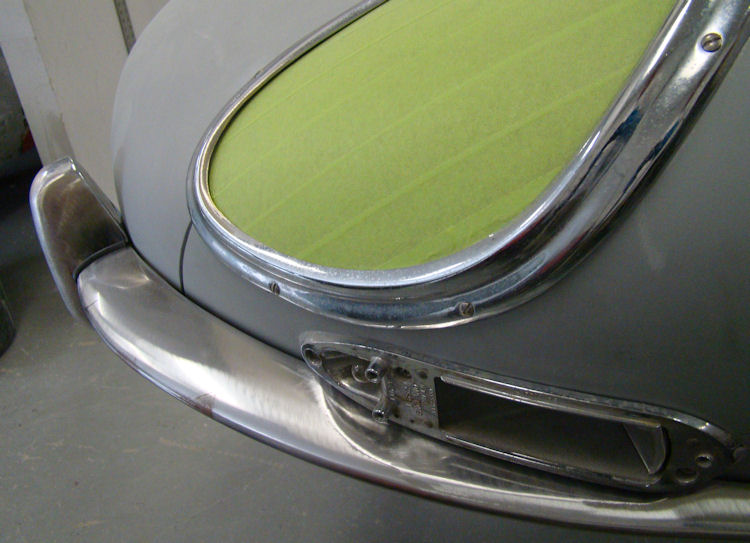
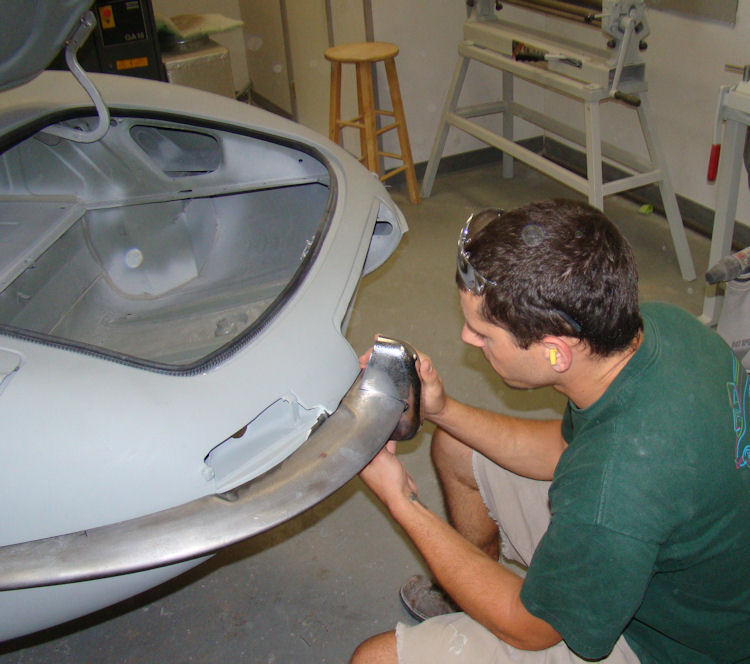
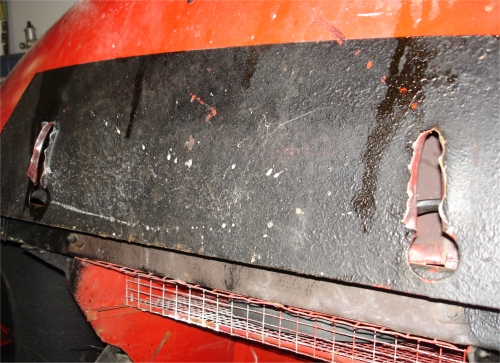
More chrome trial fit, repairing a rust damaged front bumper blade...
 |
 |
 |
 |
 |
 |
 |
 |
 |
Trial fitting the chrome and brightwork...
 |
 |
 |
|
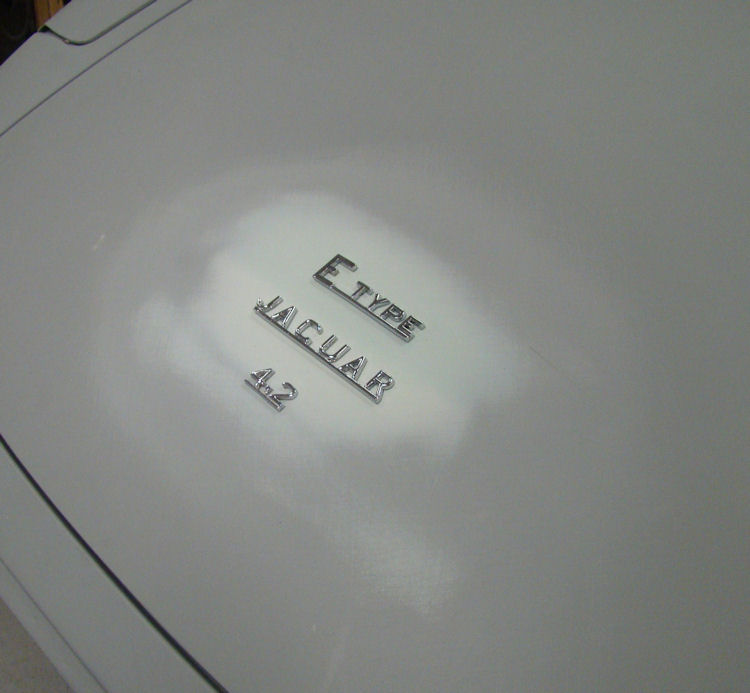
holes for boot lid insignia |
|
|
|
|
|
|
 |
 |
 |
|
|
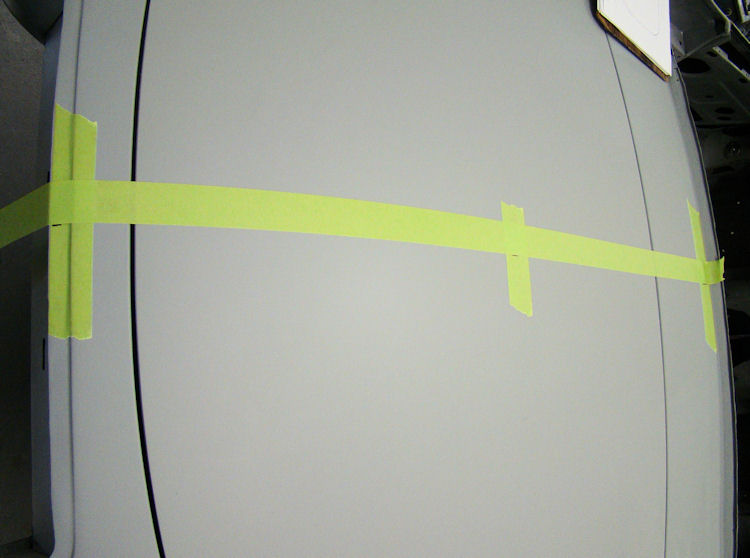
be the same height... |
|
|
|
|
|
 |
 |
 |
|
|
|
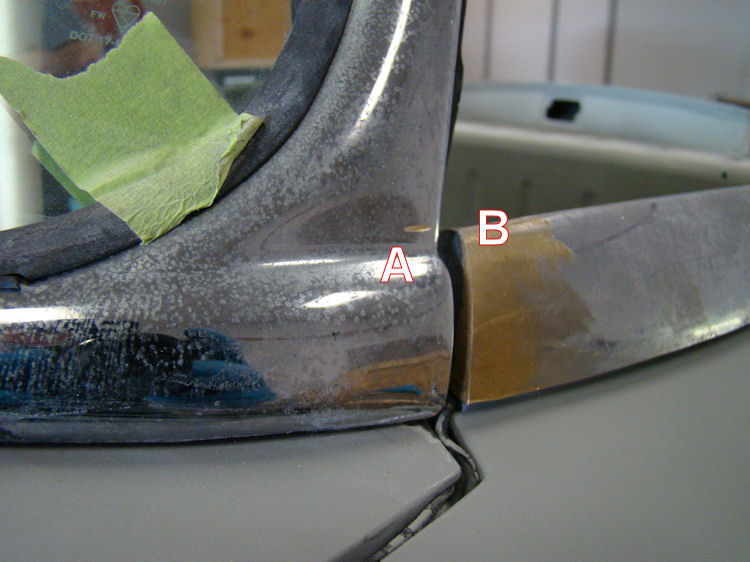
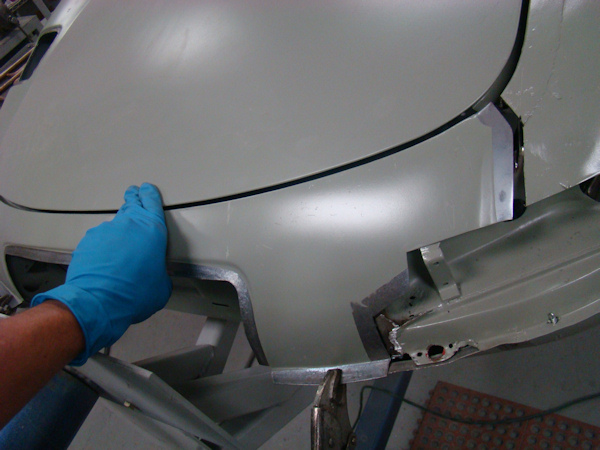
flows into screen pillar chrome |
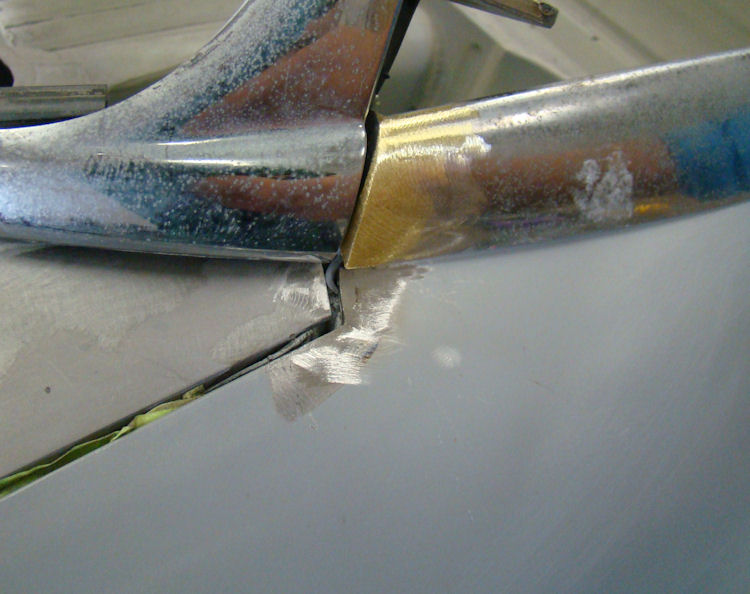
More sheet metal repairs...
 |
 |
 |
|
of rh 1/4 panel |
||
 |
 |
 |
|
|
rh door opening |
poorly with screen pillar chrome |
 |
 |
 |
|
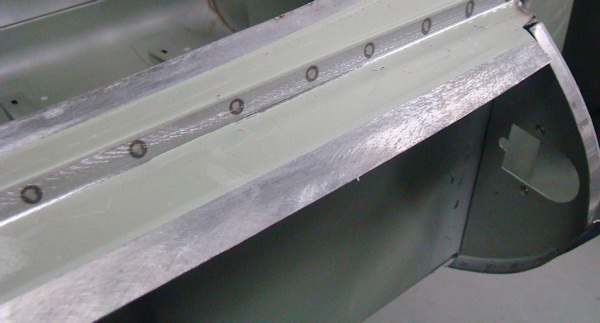
hammering, chome now fits well |
lh 1/4 panel |
|
 |
||
|
|
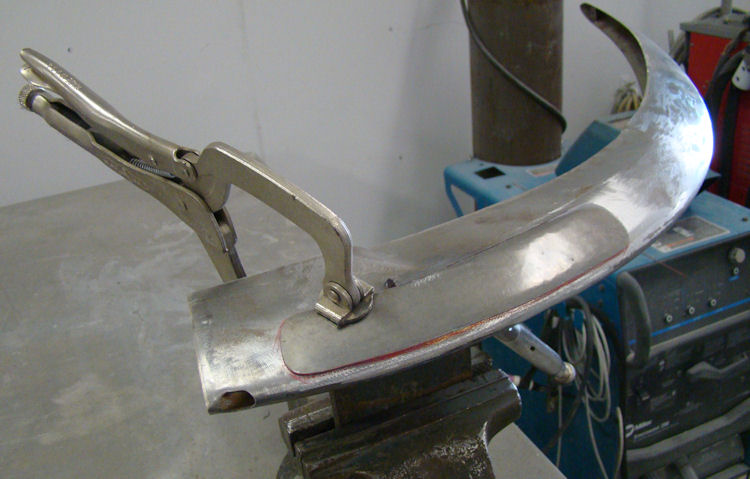
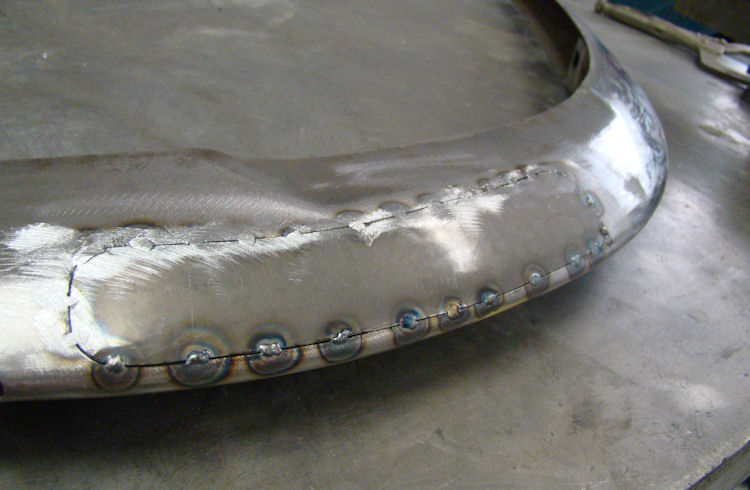
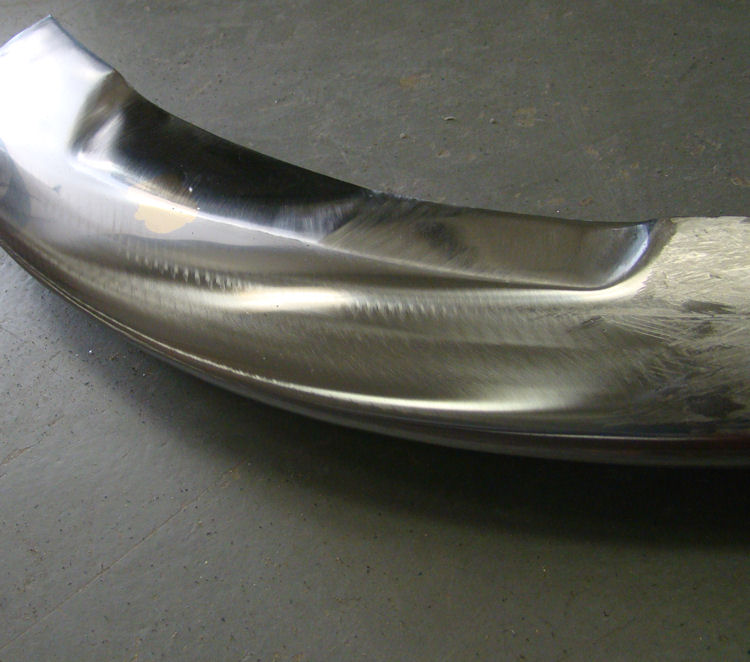
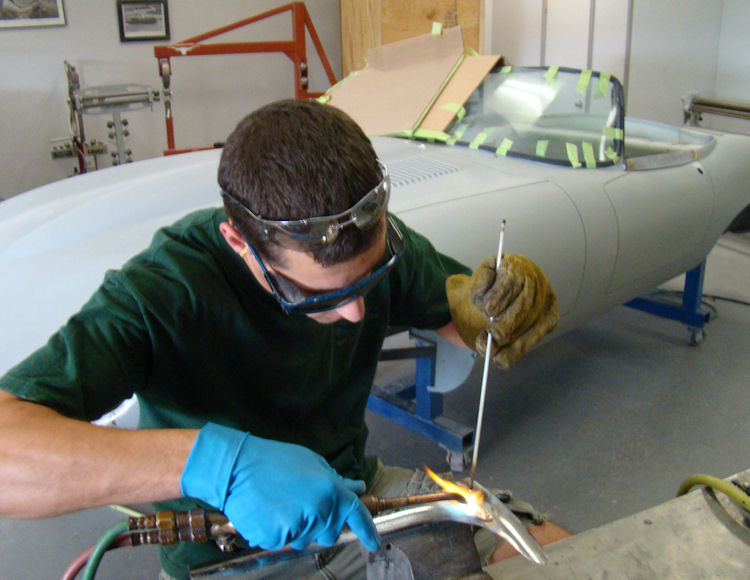
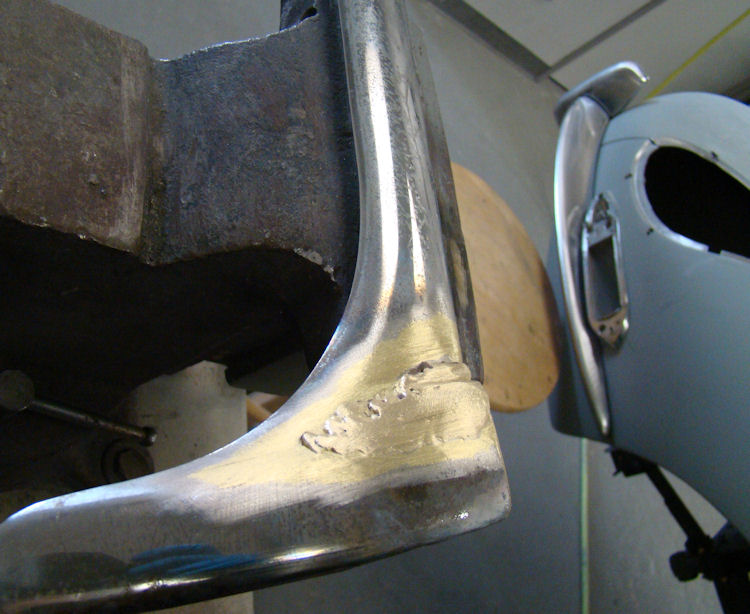
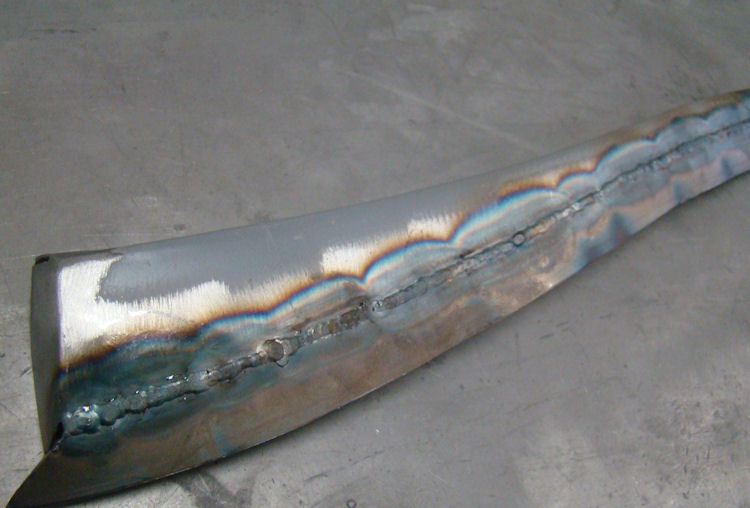
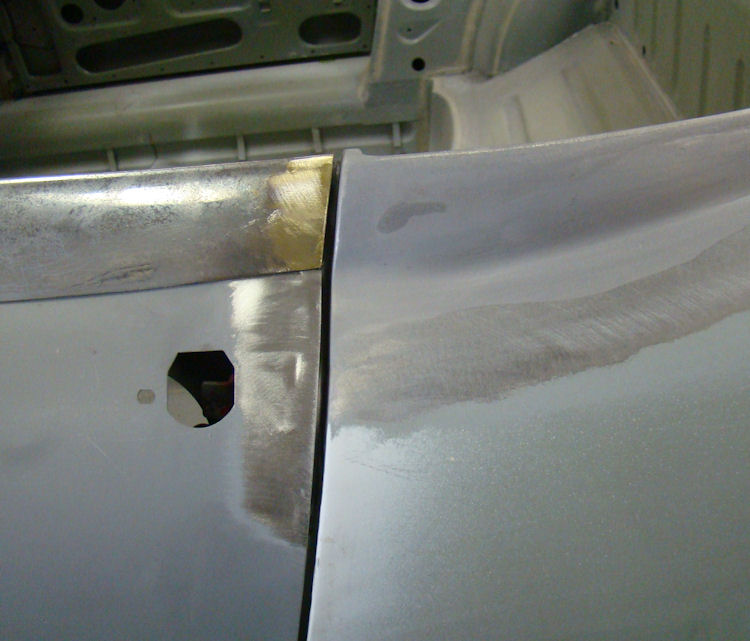
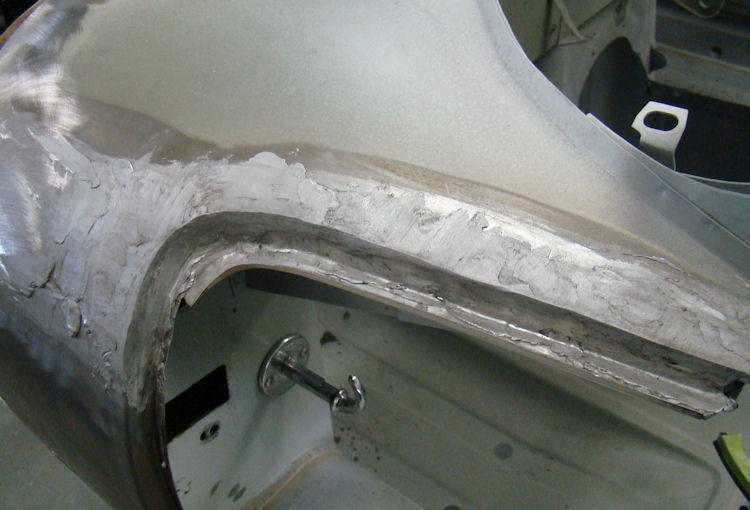
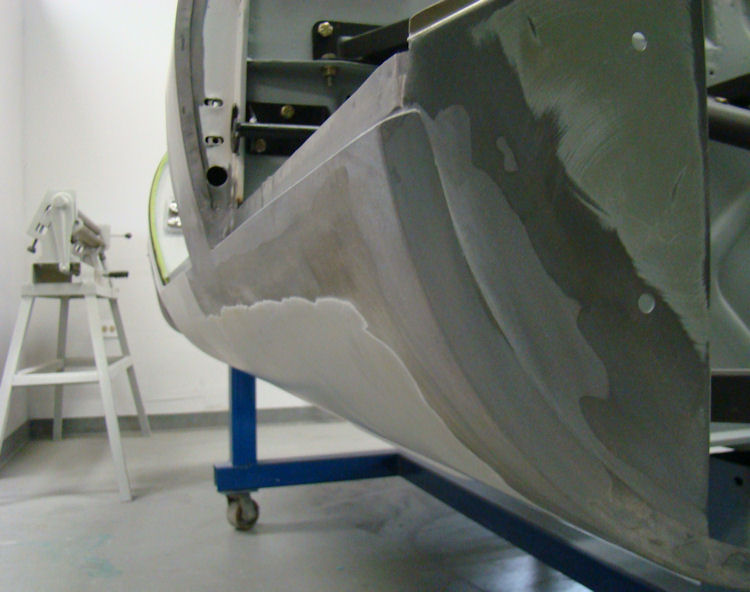
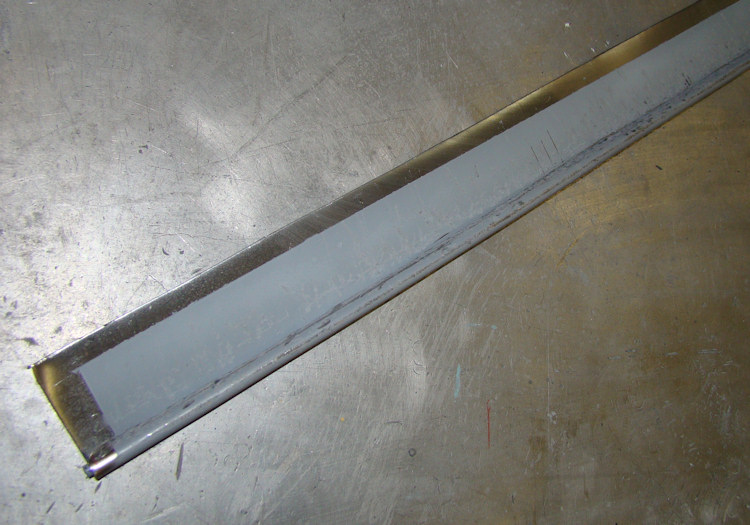
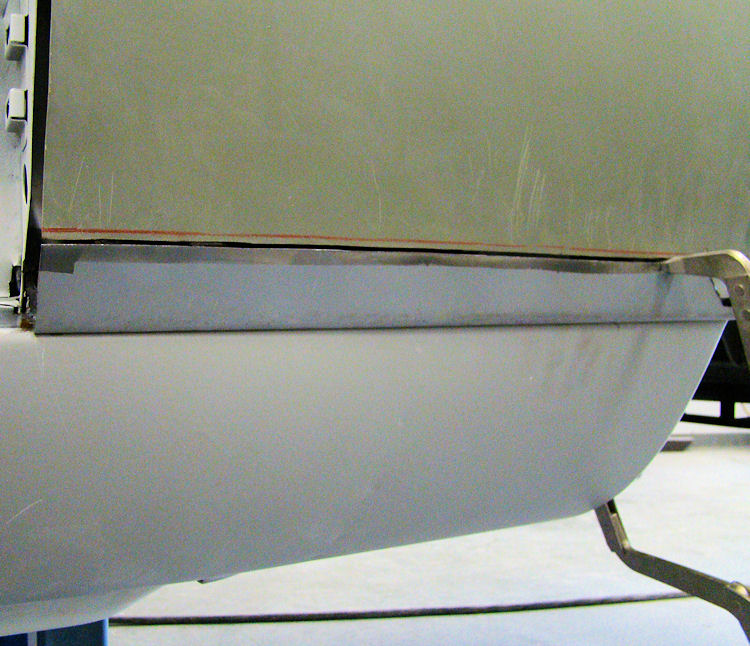
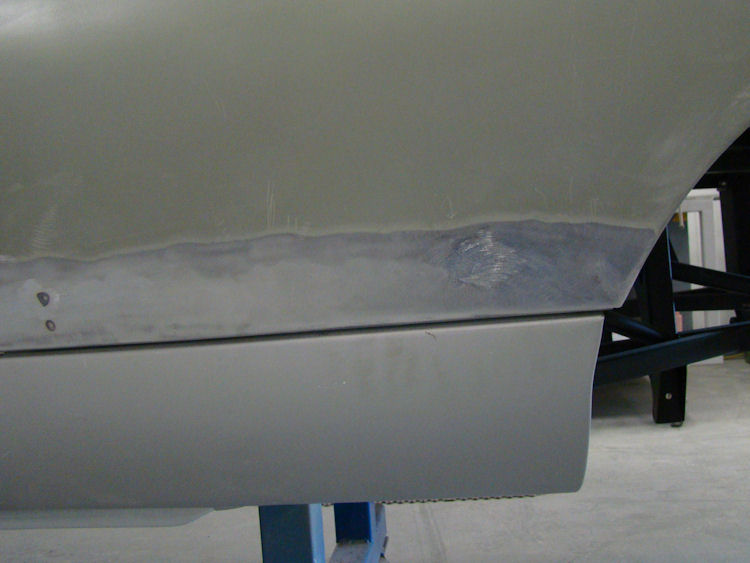
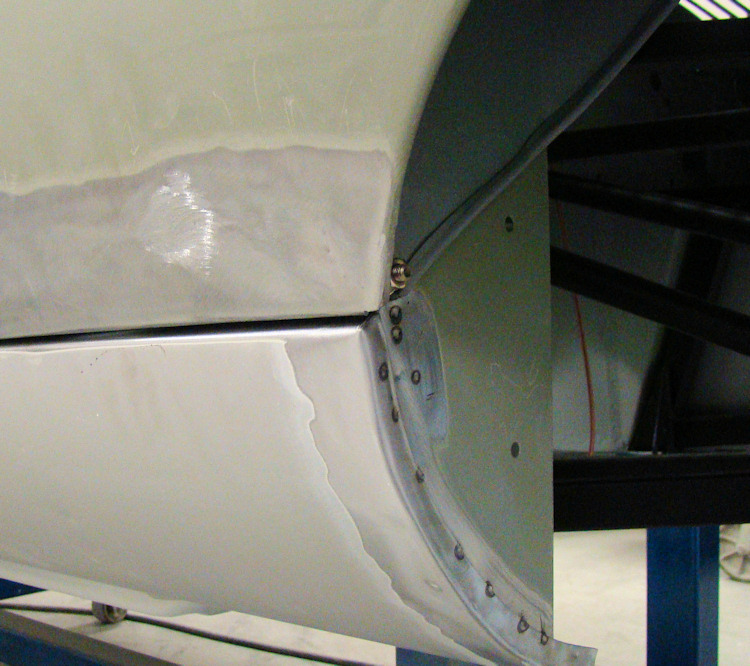
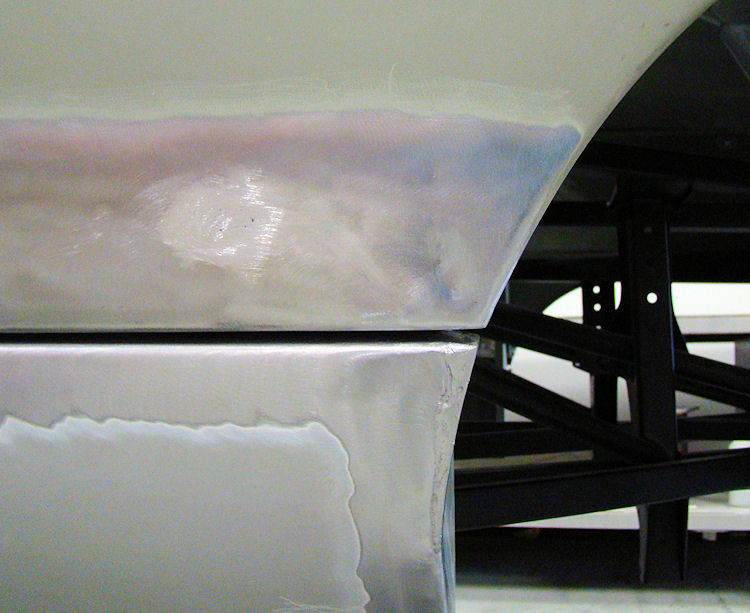
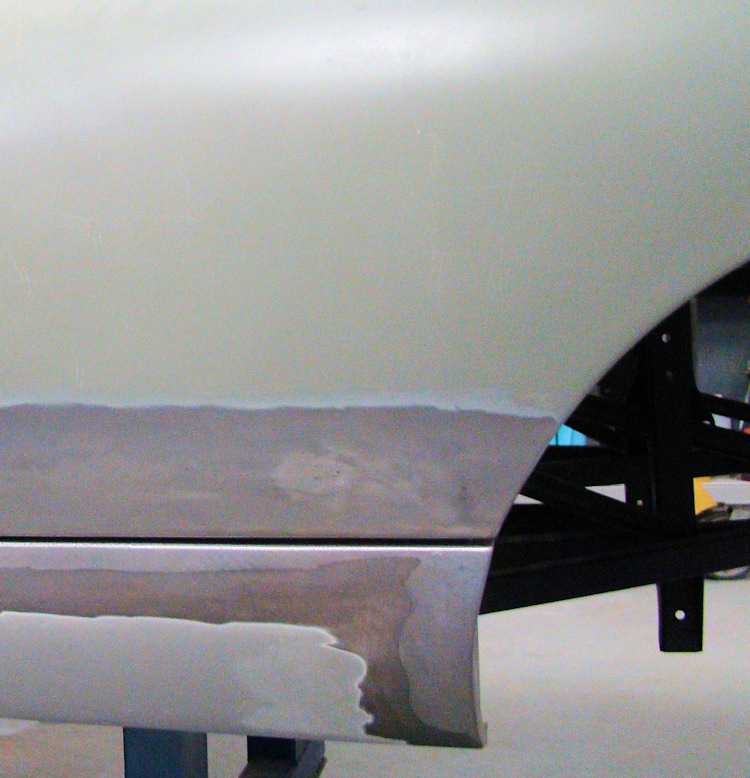
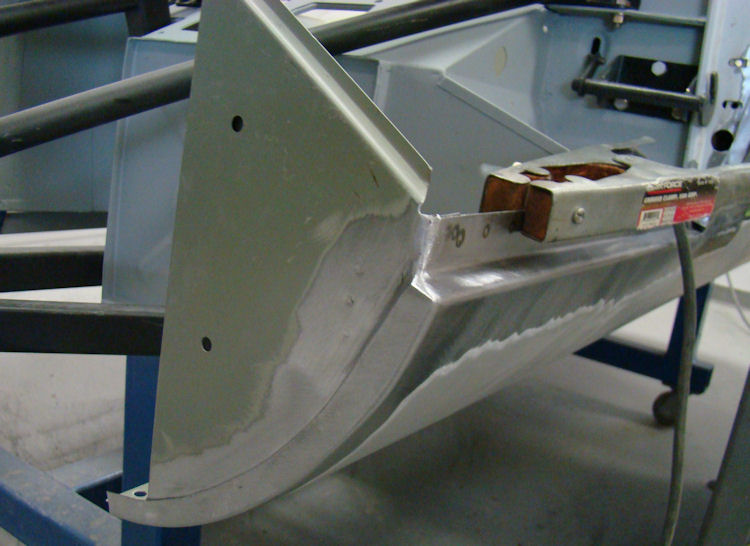
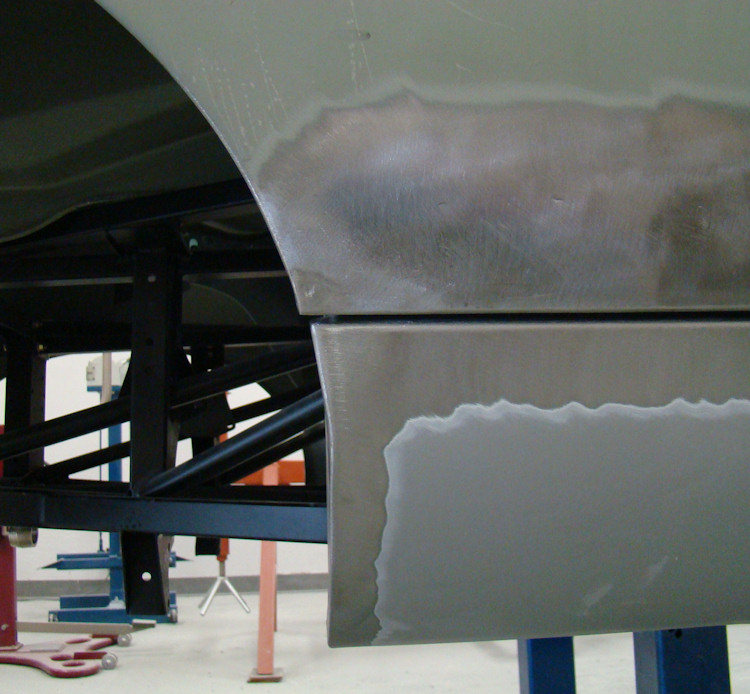
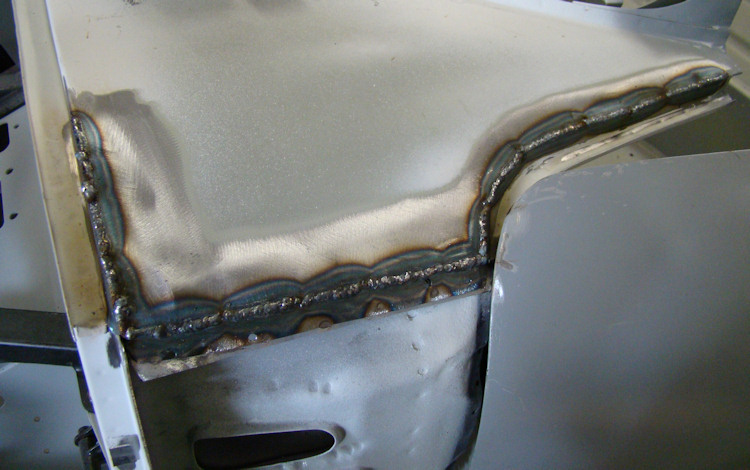
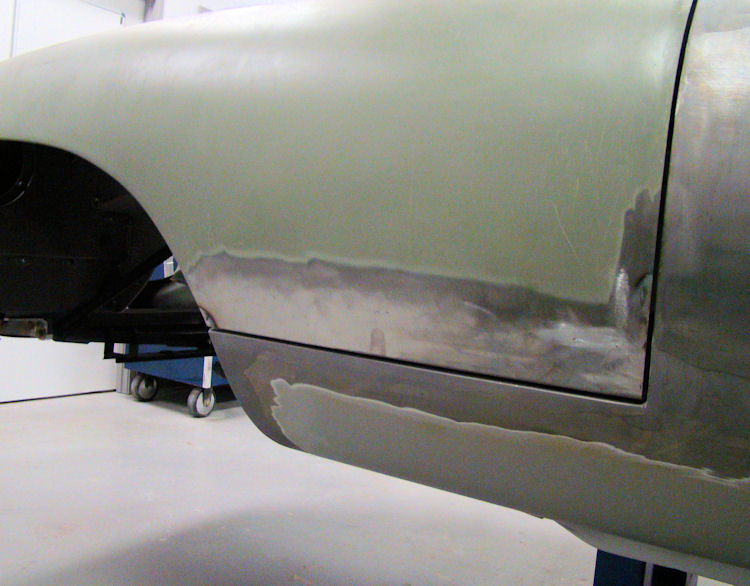
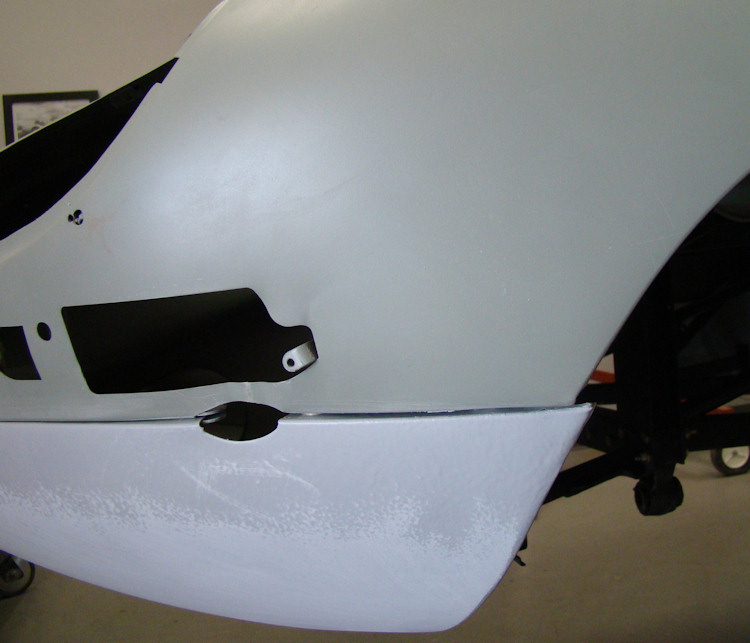
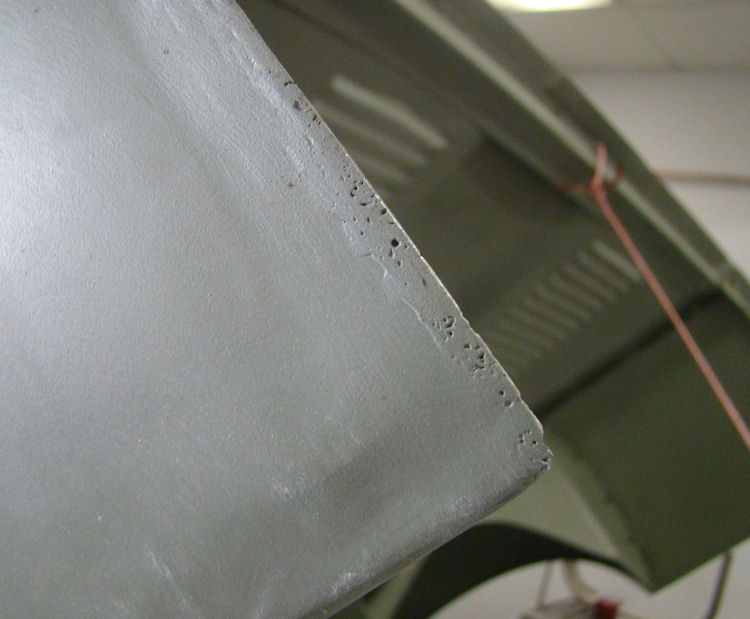
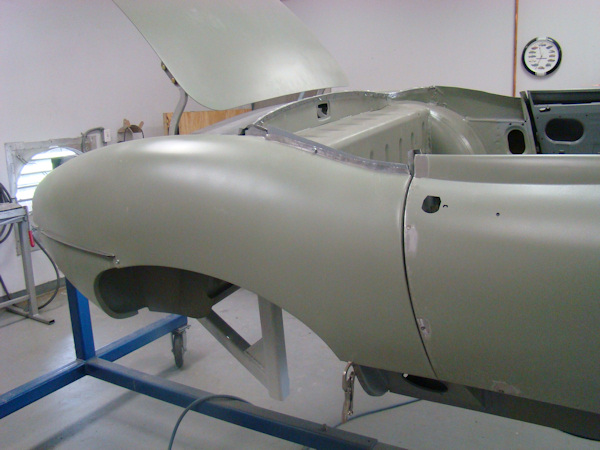
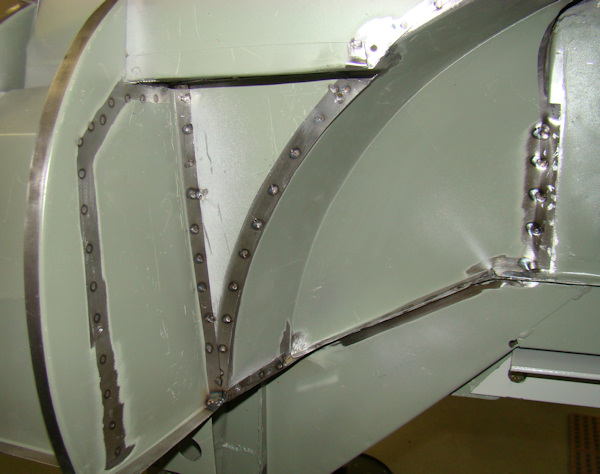
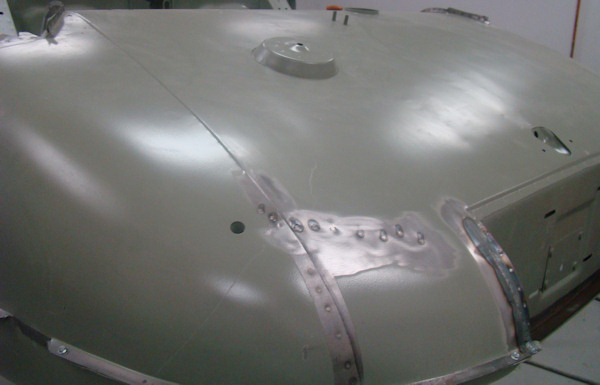
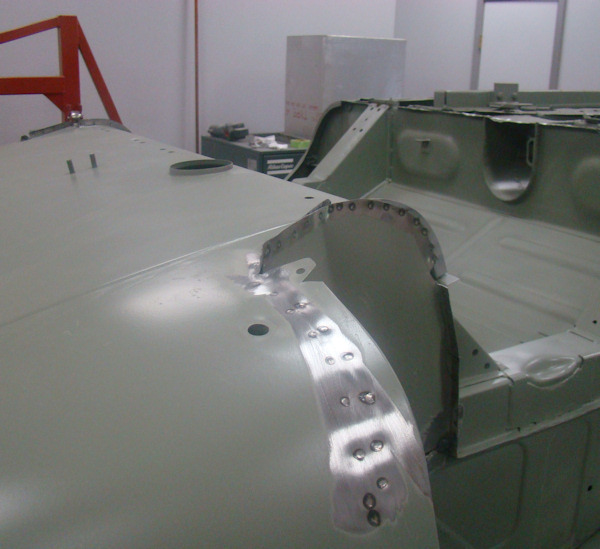
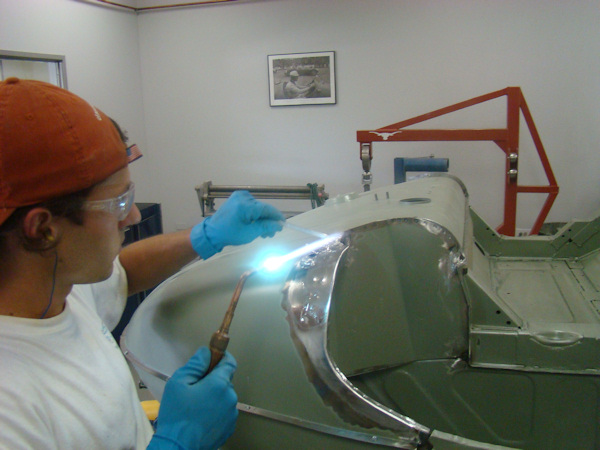
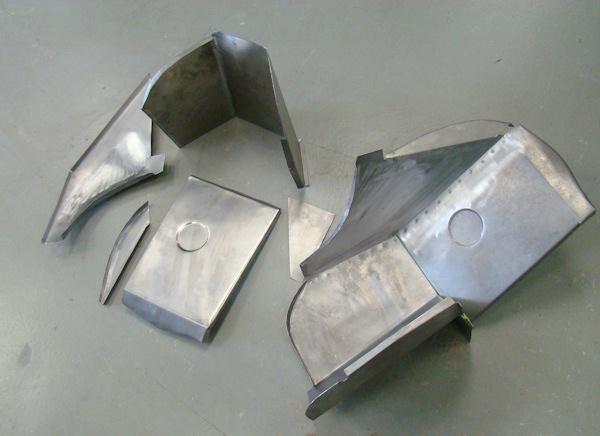
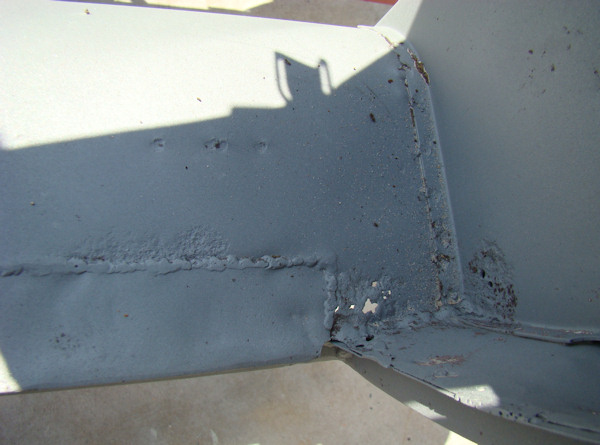
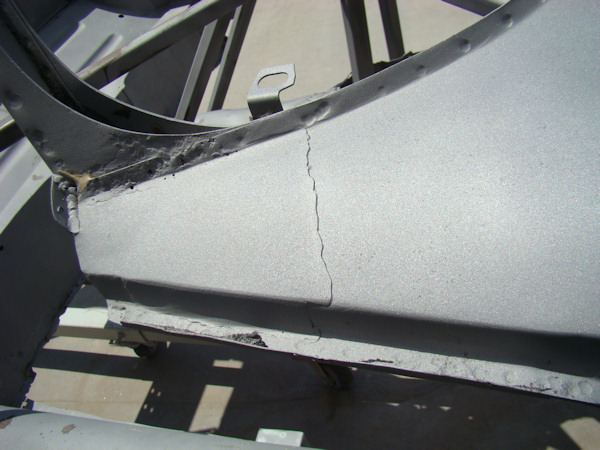
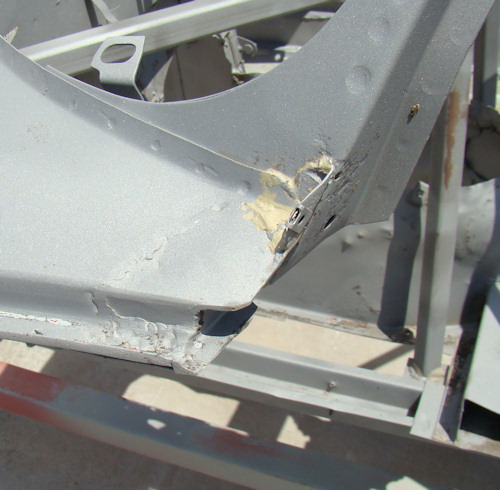
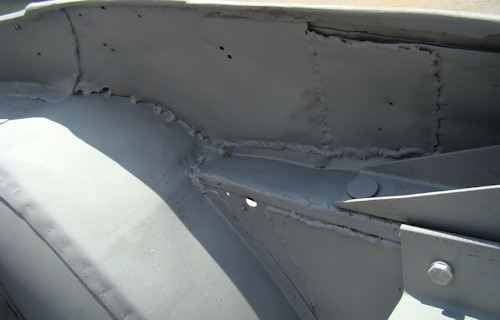
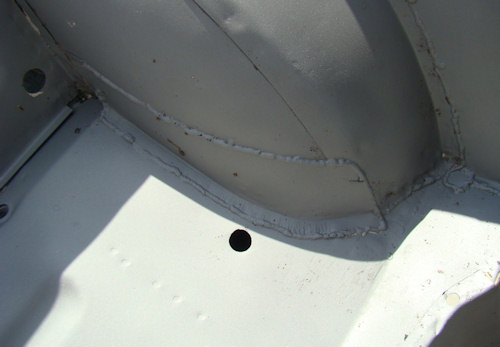
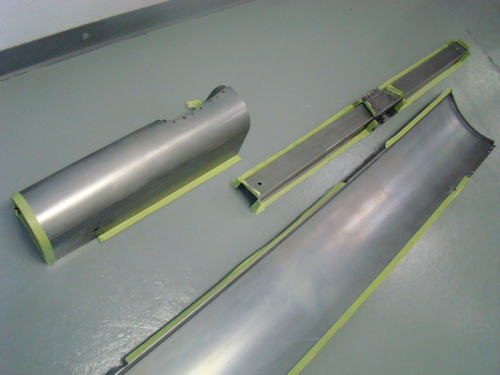
The following sequence of photographs show Darrell replacing the lower edges of both front wings...
 |
 |
 |
|
are cut away |
fabricated |
beading |
 |
 |
 |
|
|
up with weld to meet front wheel arch |
|
 |
 |
 |
|
|
on left hand side of car |
|
 |
 |
 |
|
|
|
into place |
 |
||
|
virtually complete |
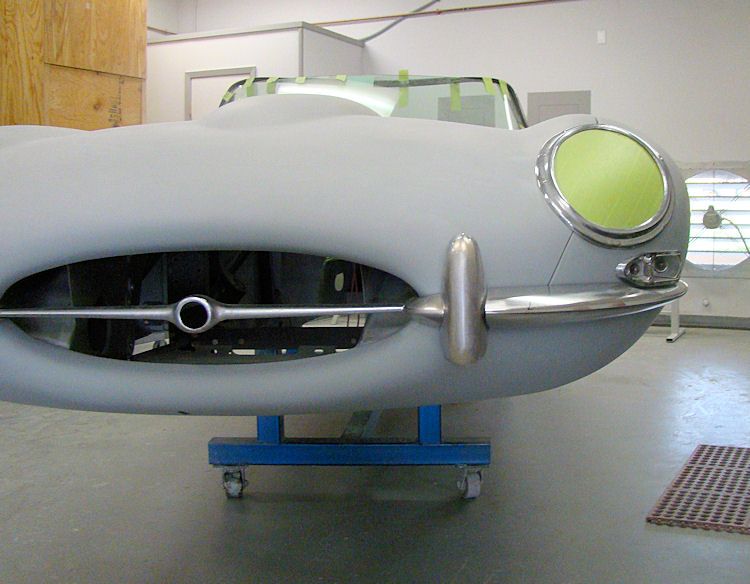
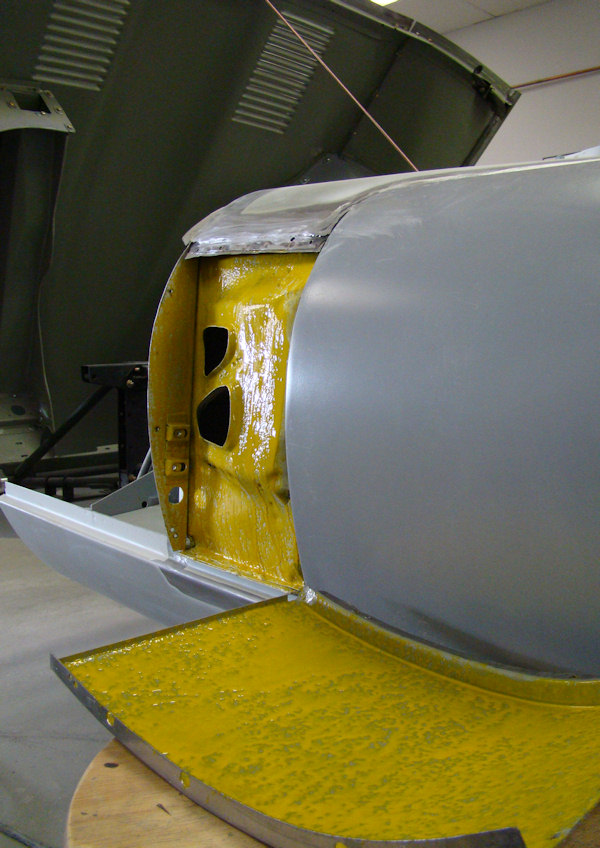
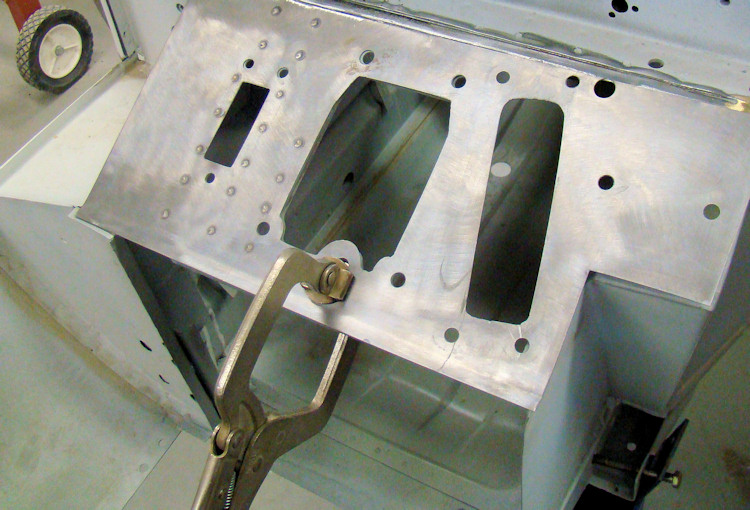
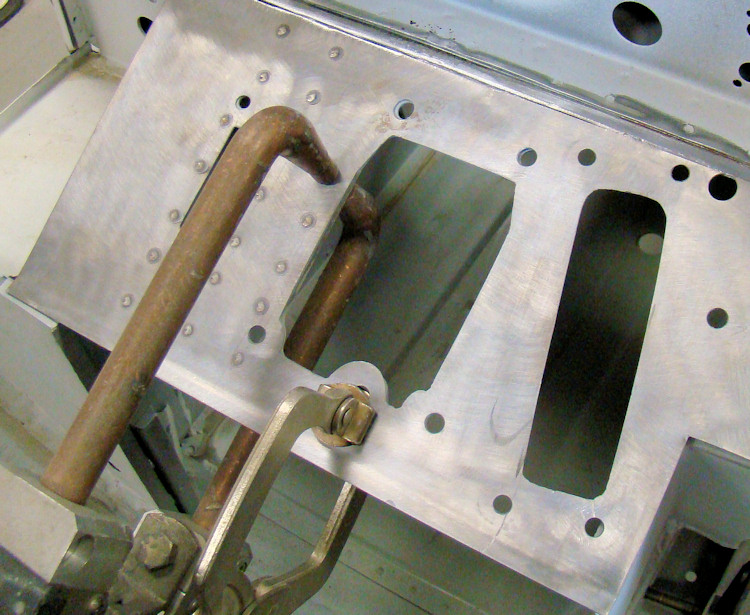
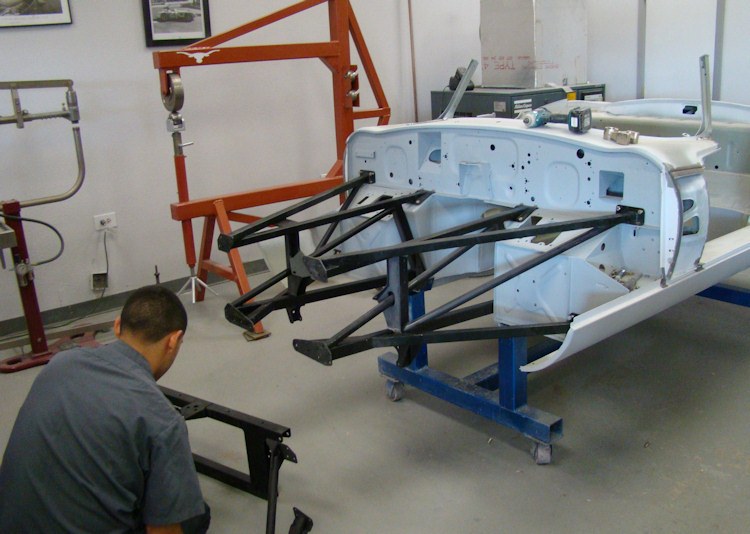
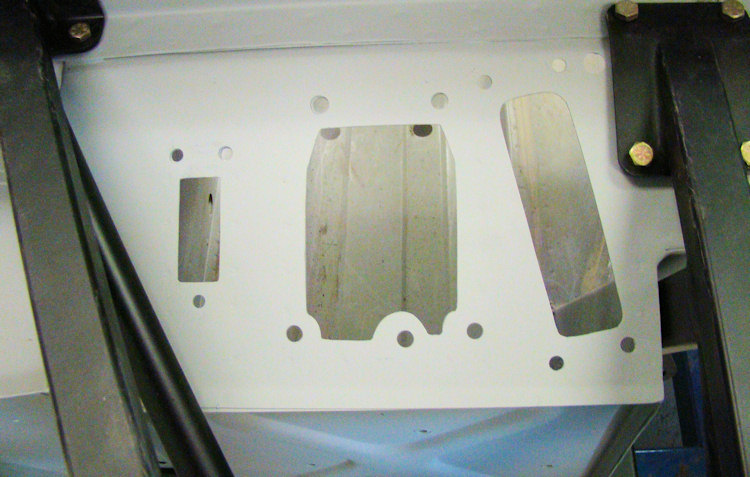
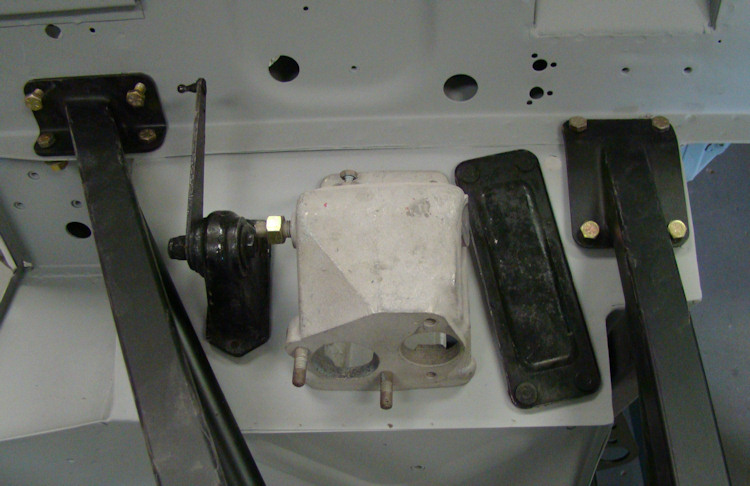
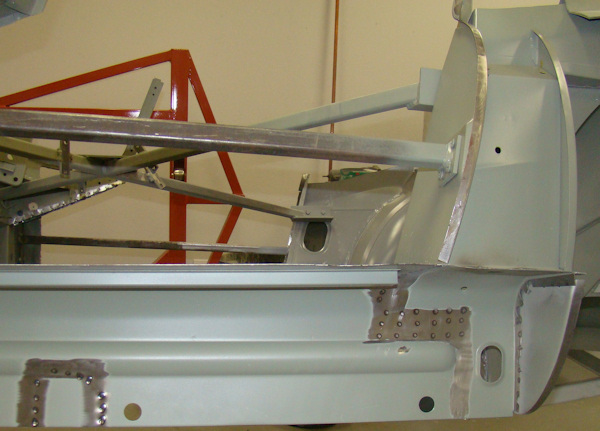
Time to install the new engine frames and begin the process of fitting your bonnet. Fitting the bonnet, in this case, is going to be a bit of a challenge. With absolutely no fore/aft shims installed, there is still a huge gap where the bonnet meets the cowl. However, with a little ingenuity and a pair of CJ bonnet hinges, we should be fine...
 |
 |
 |
|
right side of firewall |
|
|
 |
 |
 |
|
|
pedal box to new panel |
|
|
|
|
|
 |
 |
 |
|
well with front wings |
|
|
|
|
|
|
 |
 |
 |
|
|
throw will help |
pretty nasty and need work |
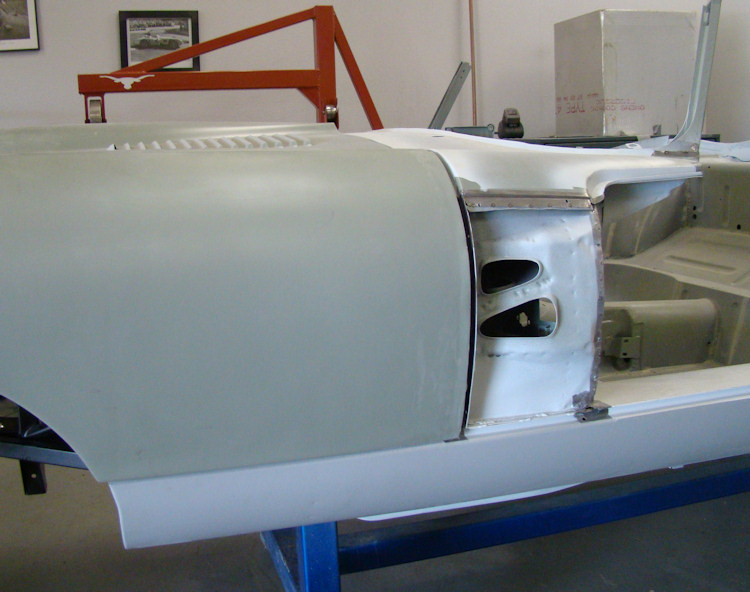
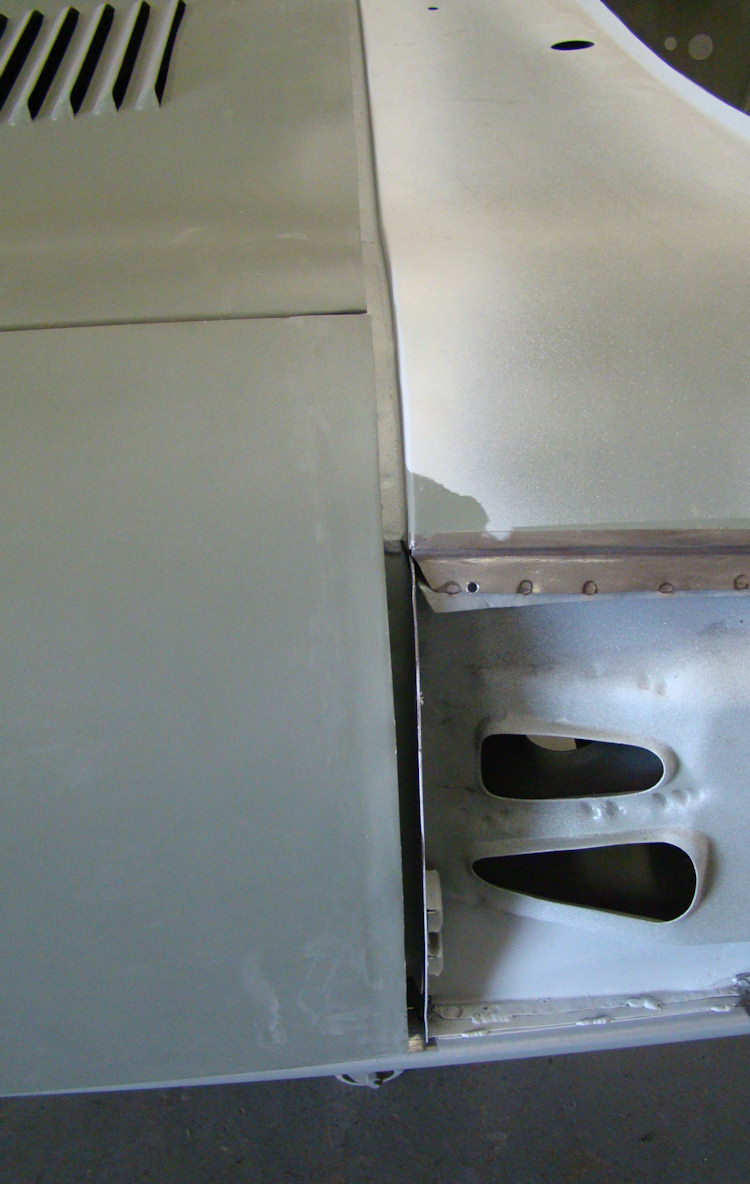
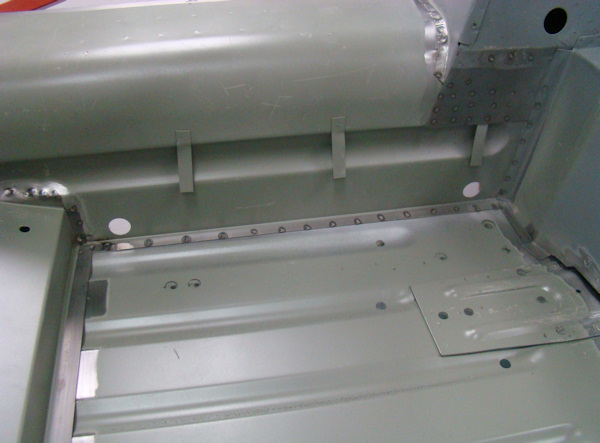
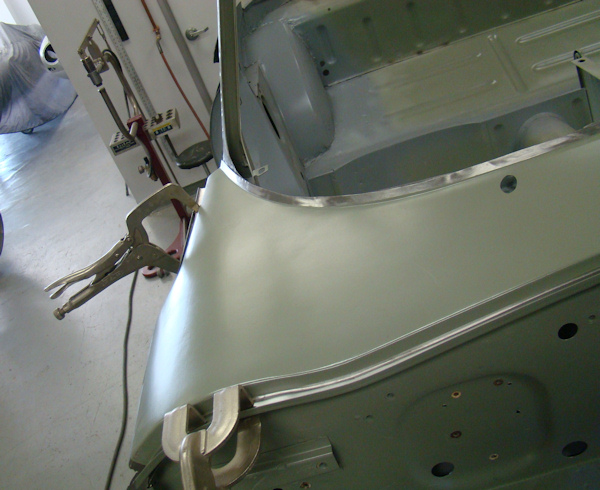
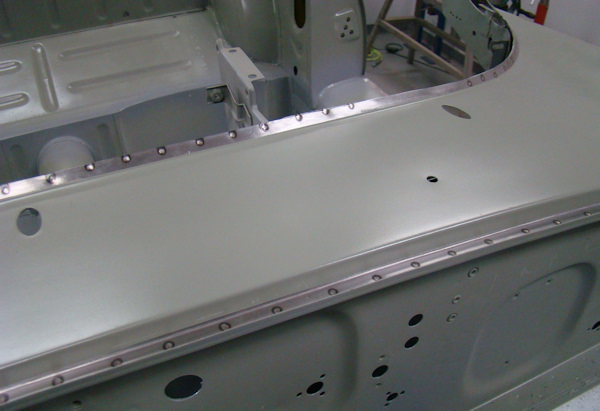
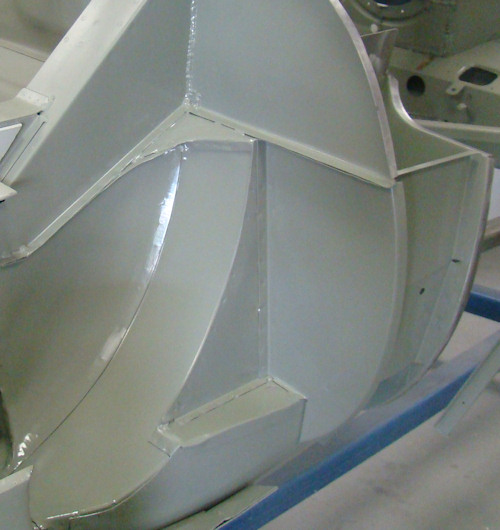
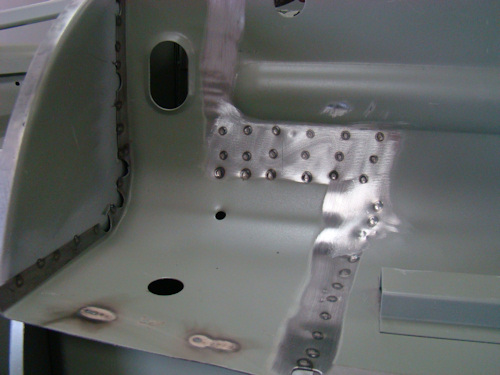
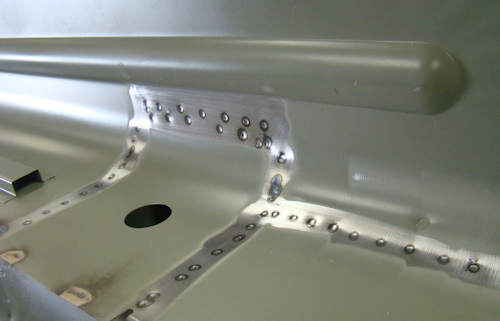
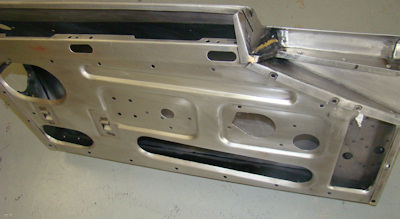
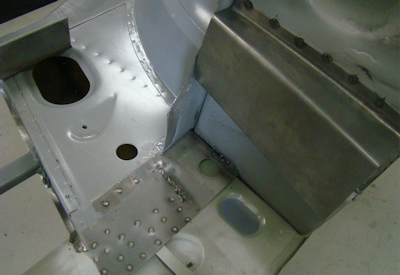
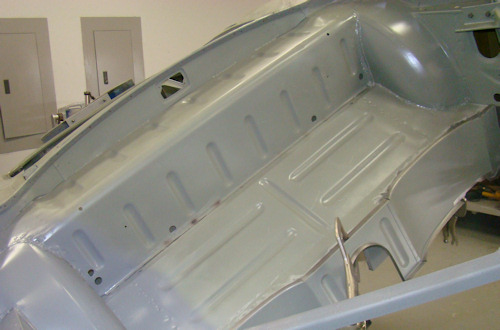
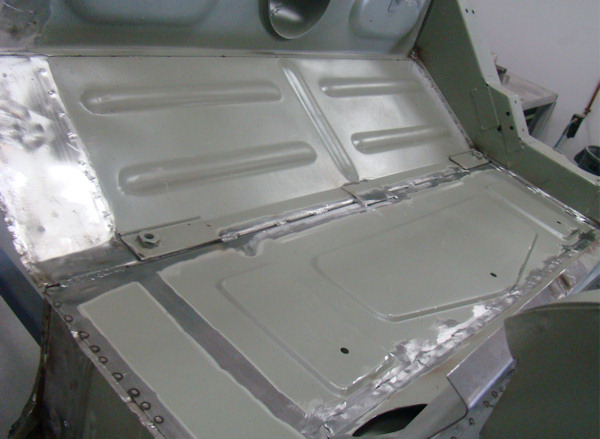
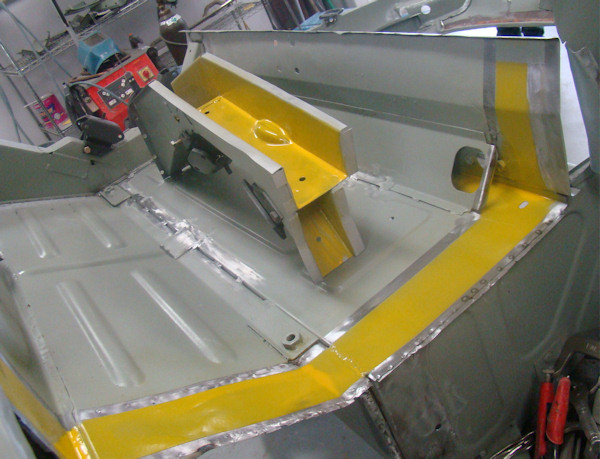
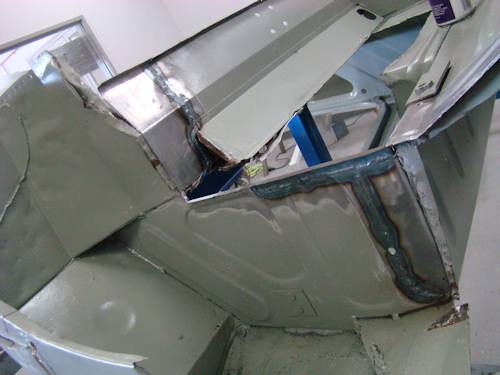
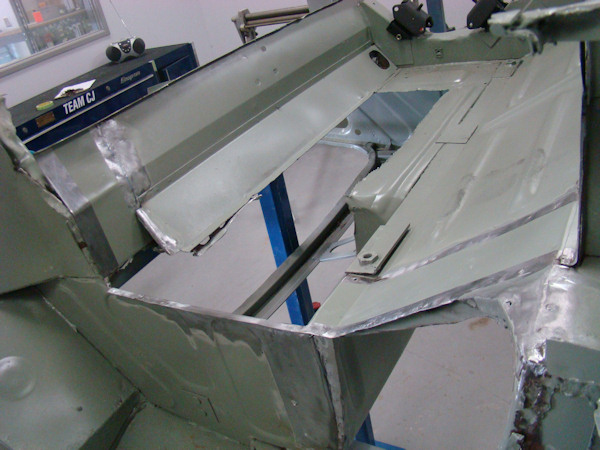
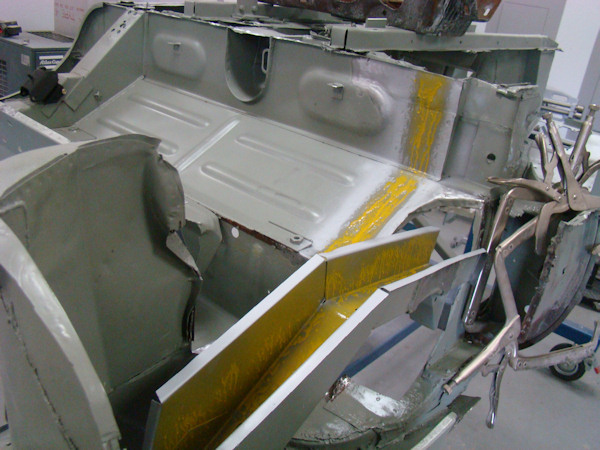
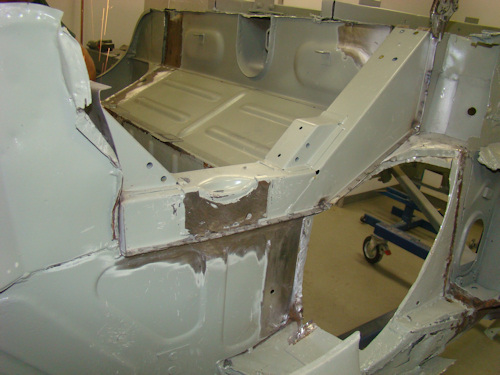
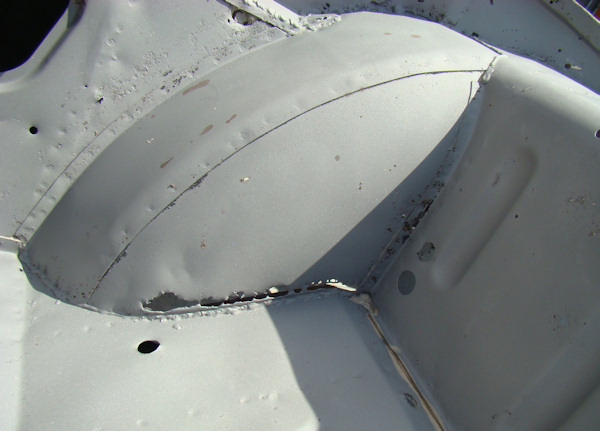
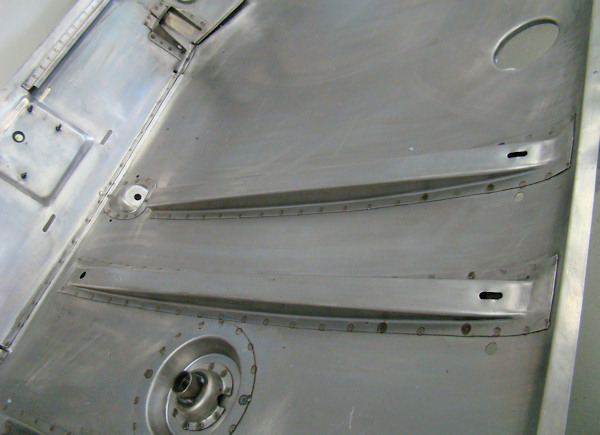
Installing the new floors, rear quarters, outer sills, upper cowl, etc, etc.
 |
 |
 |
|
|
|
|
|
|
|
|
 |
 |
 |
|
side panels into place |
|
|
|
|
|
|
 |
 |
 |
|
metal then coated with epoxy |
|
|
|
|
|
|
 |
 |
 |
|
place |
|
|
|
|
|
|
 |
 |
 |
|
cowl panel are all trial fitted together |
fitted outer sill |
inner surfaces |
|
|
|
|
 |
 |
 |
|
a hospital operating room |
roof panel in place |
|
|
|
|
|
 |
 |
|
|
new 1/4 panels in place |
side of the car... |
|
Lots of progress over the last few days..
 |
 |
 |
|
firmly into place |
then sealed with epoxy primer |
inner box sections |
 |
 |
 |
|
|
||
 |
 |
 |
|
|
|
and trans tunnel |
 |
 |
 |
|
|
|
|
 |
 |
 |
|
shipping primer |
|
bulkhead support brackets |
 |
||
|
|
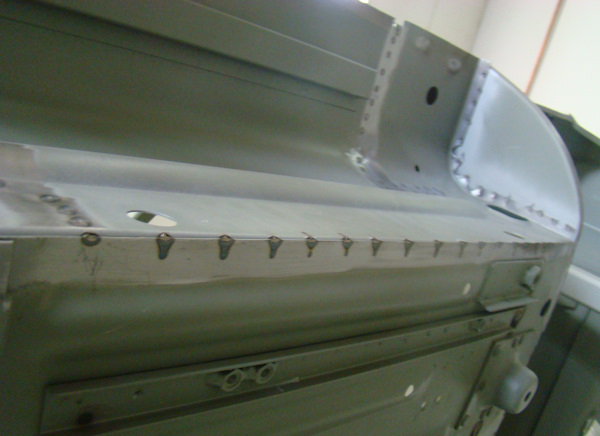
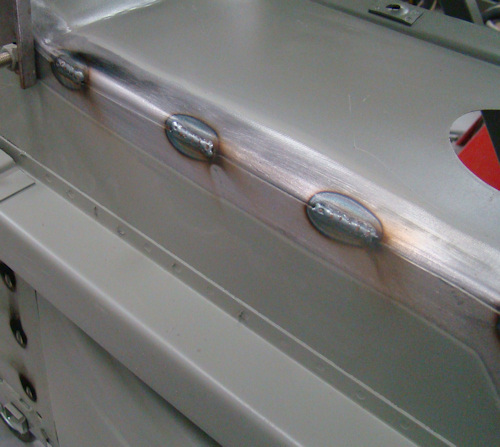
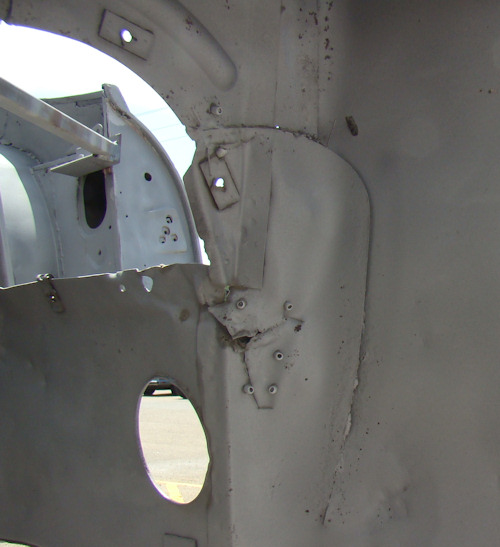
Fabricating, assembling, trial fitting and installing the entire left side B pillar assembly.
 |
 |
 |
|
separate panels welded together |
|
|
 |
 |
|
|
into place |
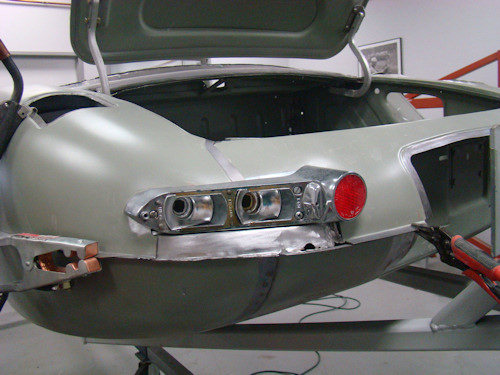
Reconstructing the rear end of your car...
 |
 |
 |
 |
 |
 |
 |
 |
 |
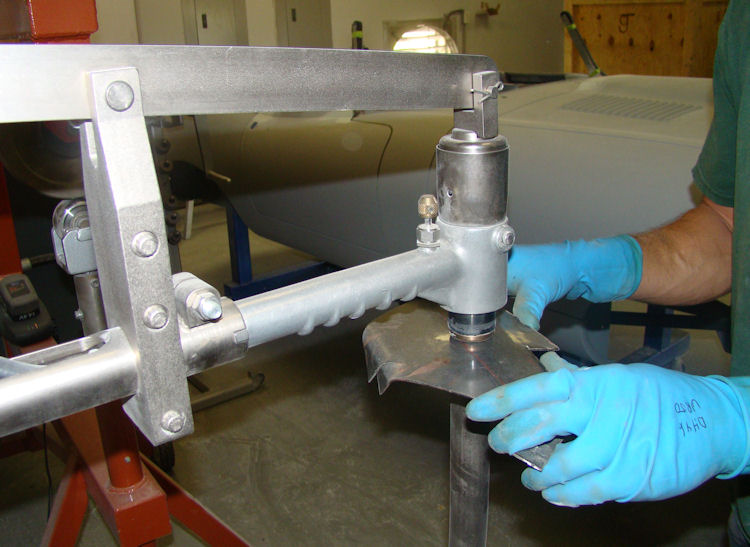
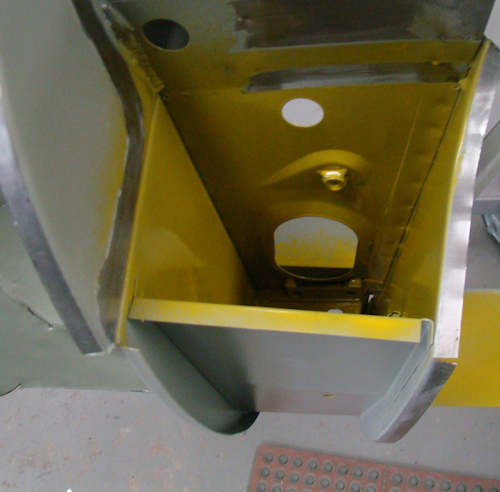
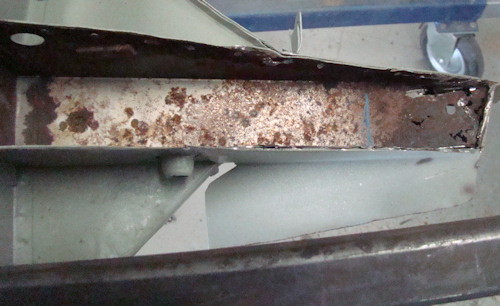
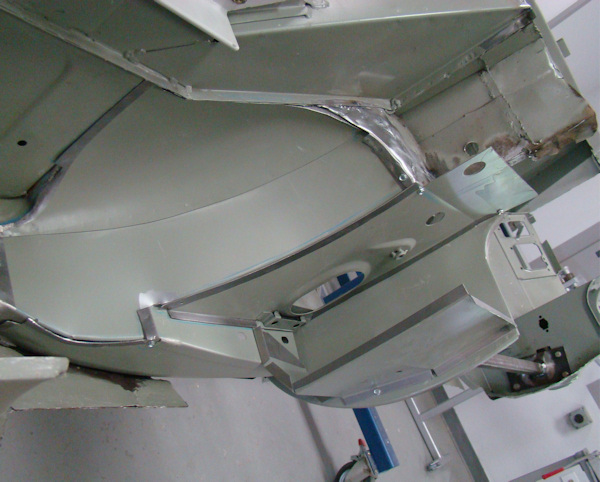
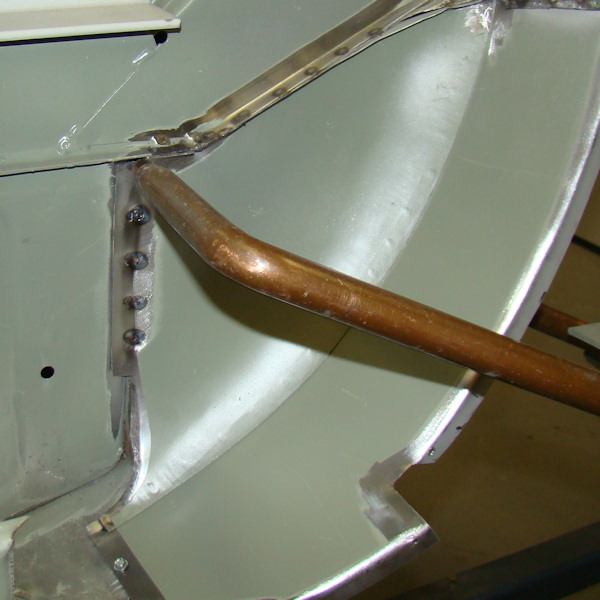
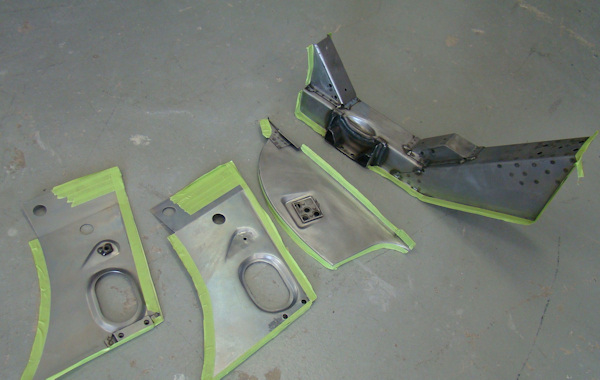
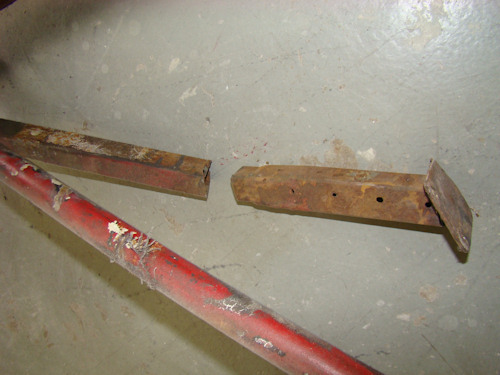
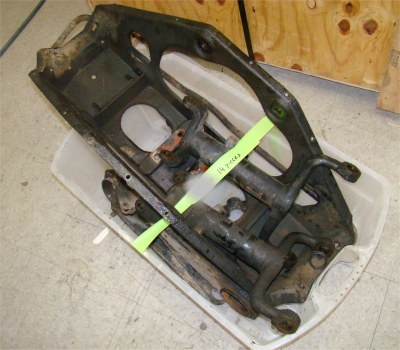
We have had to buy and/or fabricate more panels to restore this car than any other E Type we have ever rebuilt. As well as showing some of the new replacement panels, the following photos show Darrell reconstructing the IRS chassis legs, which were paper thin and literally crumbling away.
 |
 |
 |
|
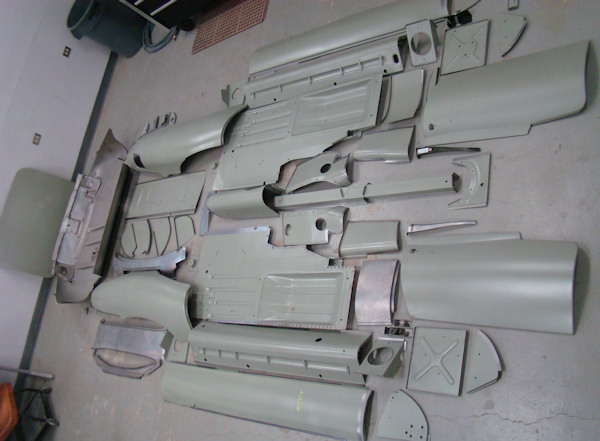
panels are masked before priming |
|
replacement body panels |
|
|
|
|
 |
 |
 |
|
|
|
fabricated and installed first |
|
|
|
|
 |
 |
 |
|
|
|
|
|
|
|
|
 |
 |
 |
|
|
section |
|
|
|
|
|
 |
 |
 |
|
|
|
|
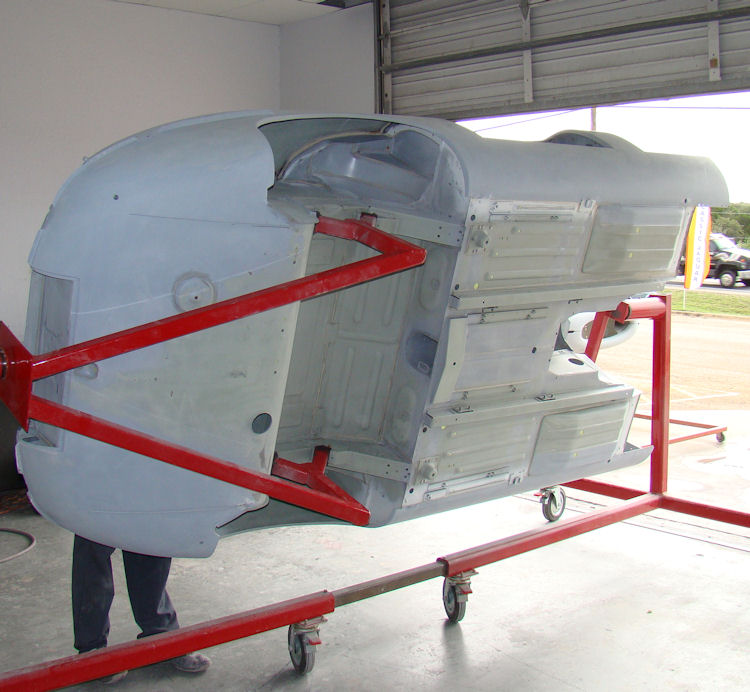
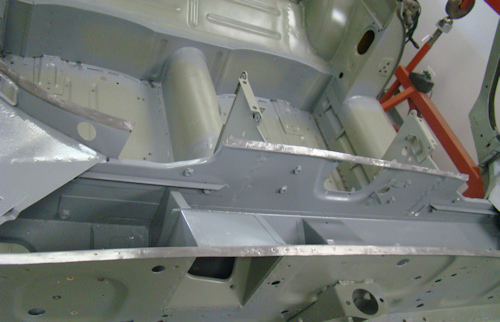
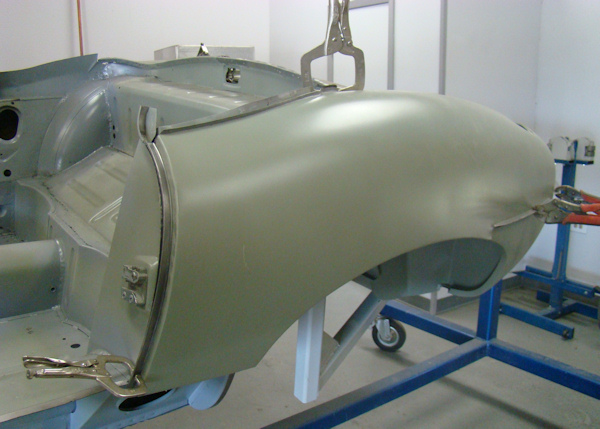
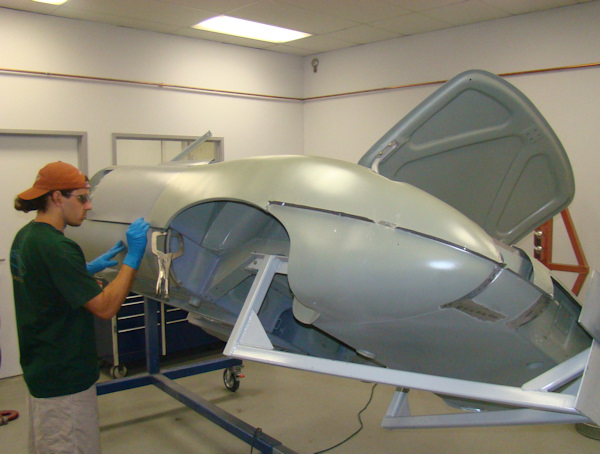
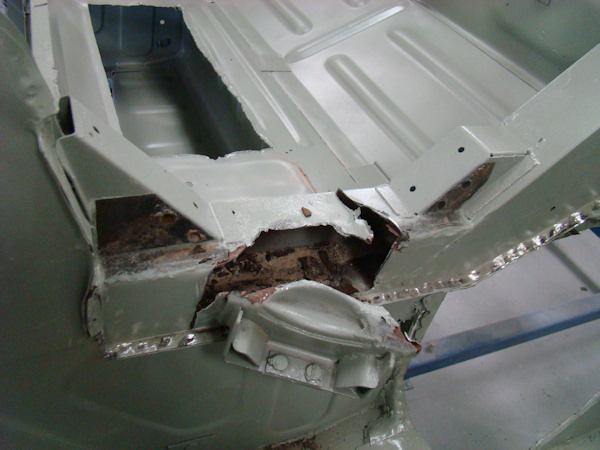
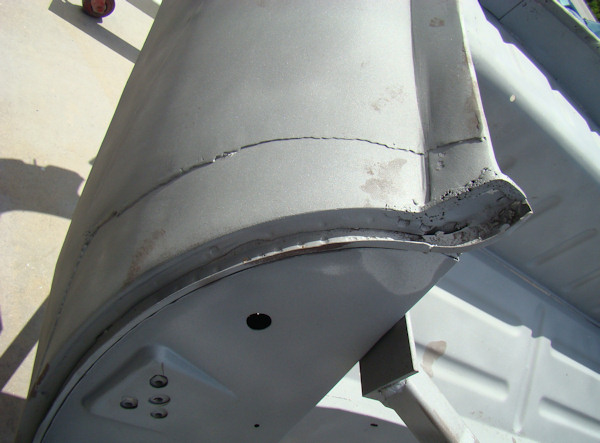
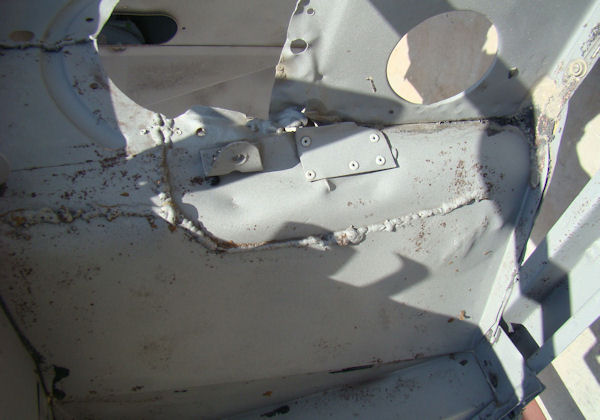
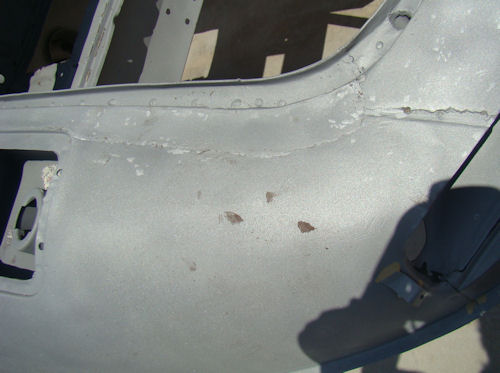
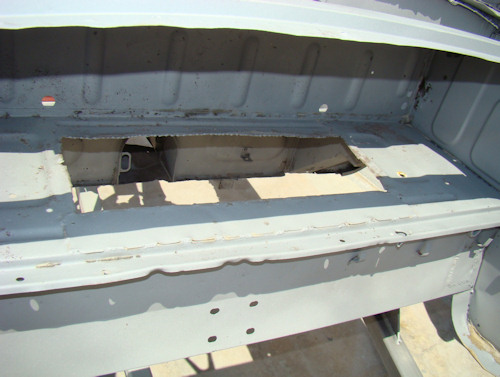
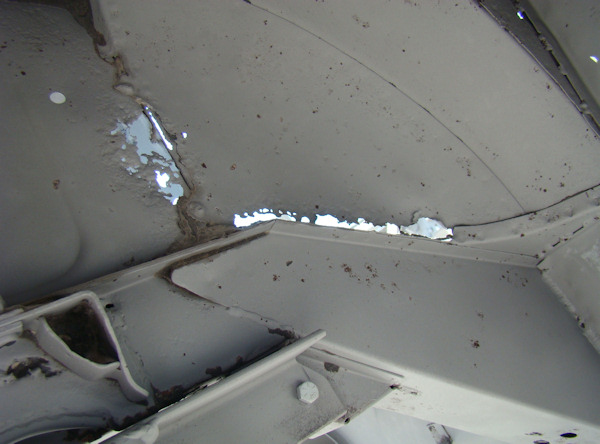
We now have your car back from being media blasted and unfortunately, as we suspected would be the case, the news is not good. Virtually every square inch of the body is corroded and/or crudely patched. The good news is that we already have the restoration underway and it will be plain sailing from here on in
 |
 |
 |
 |
 |
 |
 |
 |
 |
 |
 |
 |
 |
 |
 |
 |
 |
 |
 |
 |
 |
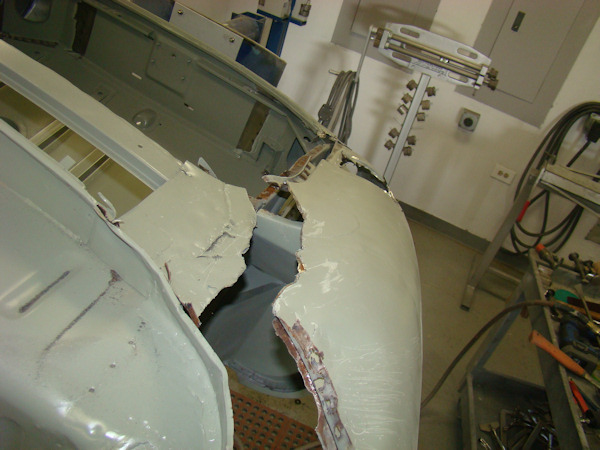
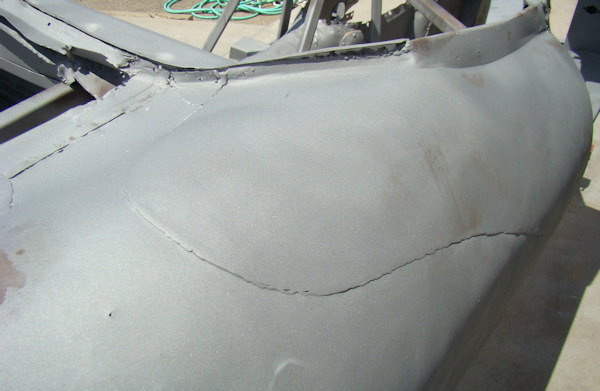
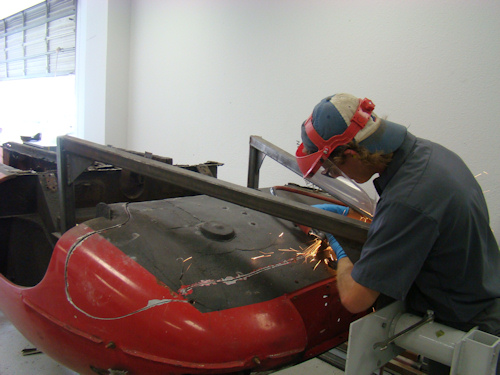
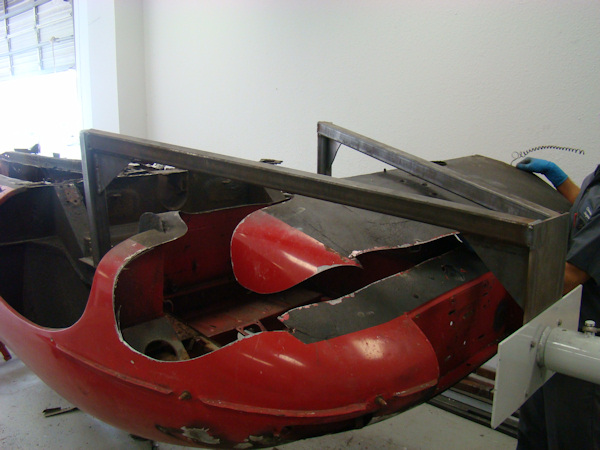
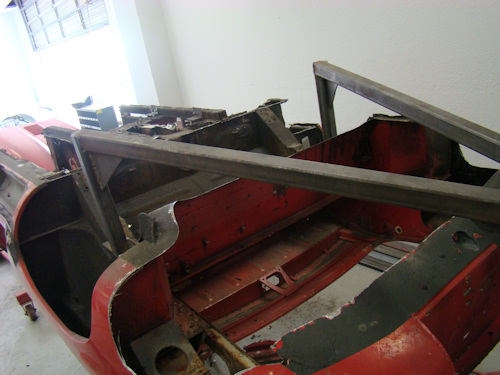
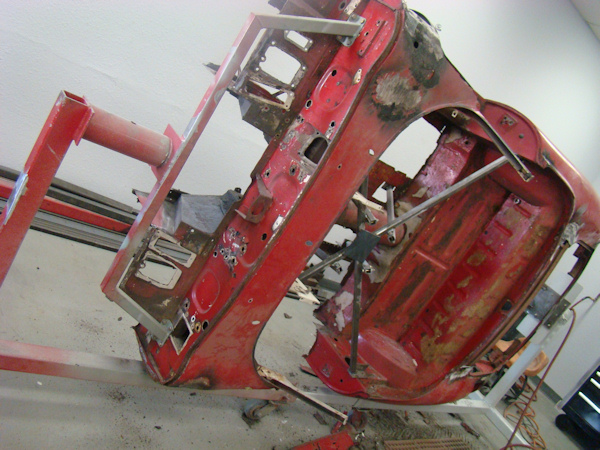
We have now reached the point where we have to tackle the bodywork on this project. Having spent the best part of a week cutting out mangled and corroded sheet metal, I have to say this is one of the worst condition cars we have seen. It is really, really nasty. Replacement panels have been crudely installed directly over the top of rusted origial panels - and there is barely any good sheet metal left to send off for media blasting. Having said all of that, rest assured that this car will be better than new when we are finished with it.
 |
 |
 |
|
media blasting |
|
|
 |
 |
 |
|
economical repair |
panels everywhere |
|
 |
 |
 |
|
new replacement panels |
|
|
 |
 |
 |
|
epoxy primer |
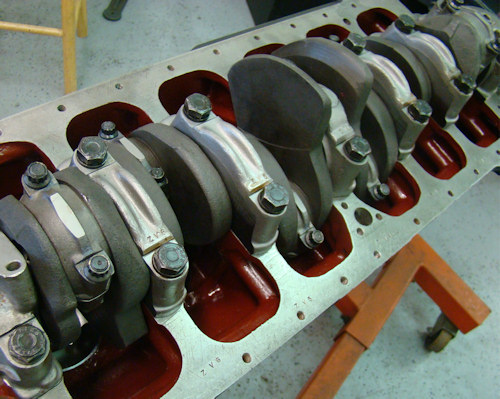
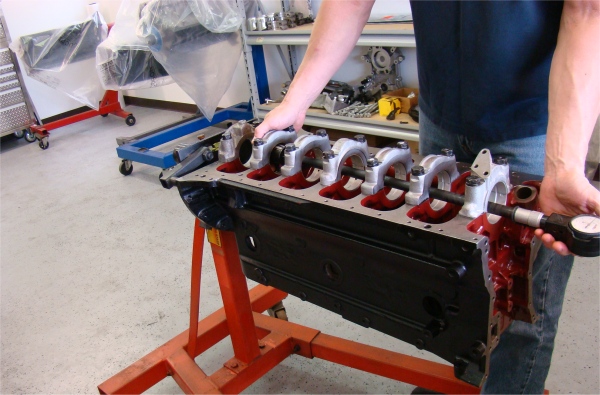
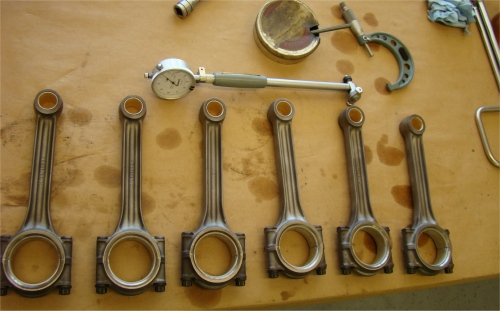
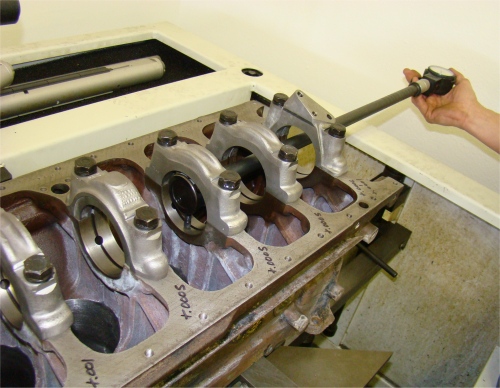
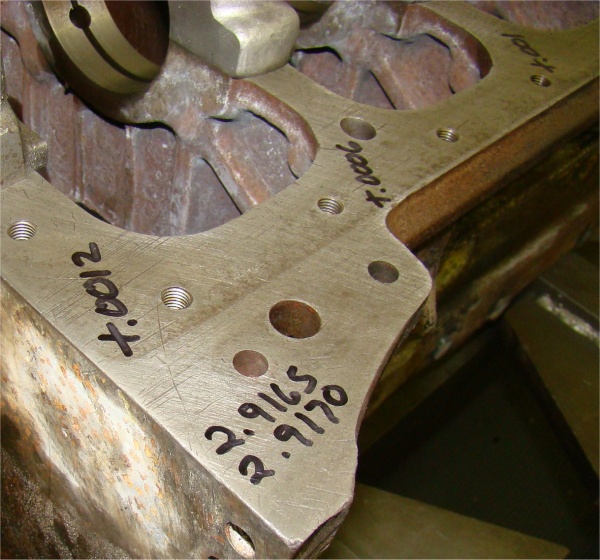
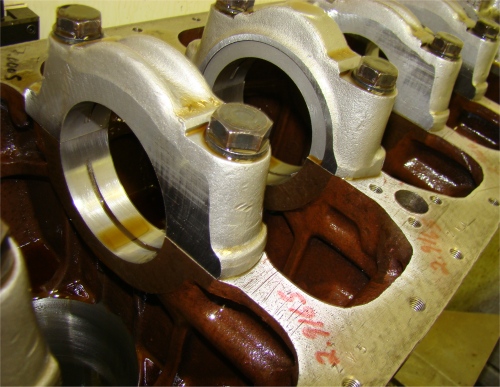
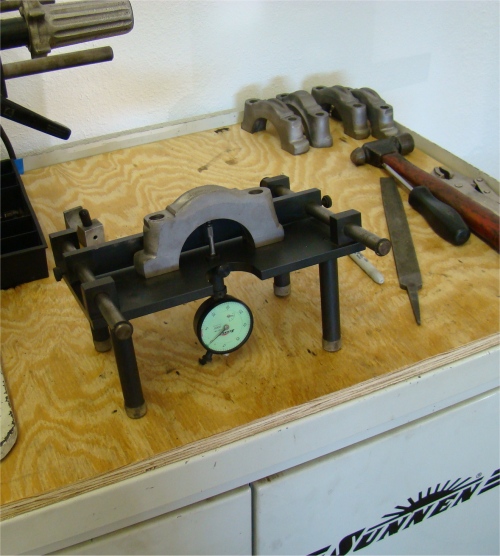
Time for final reassembly of the short block. The following pics show Harold carefully checking your main and rod bearing clearances.
 |
 |
 |
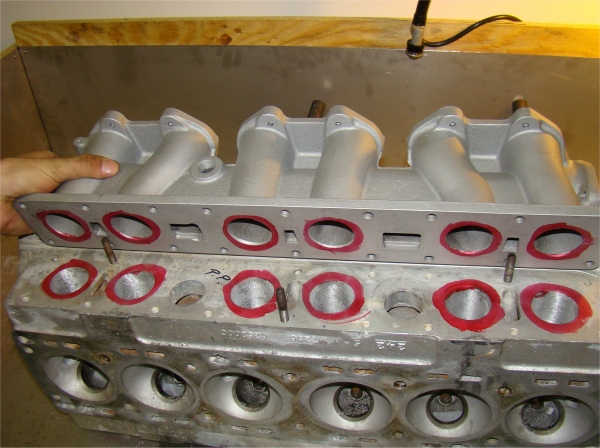
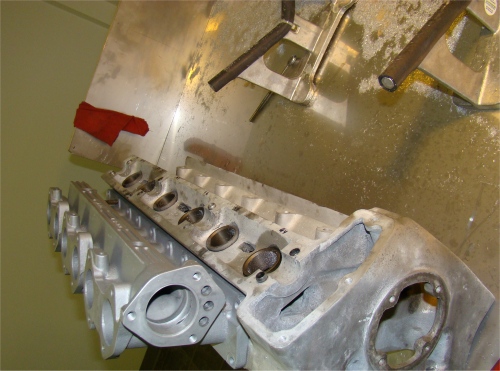
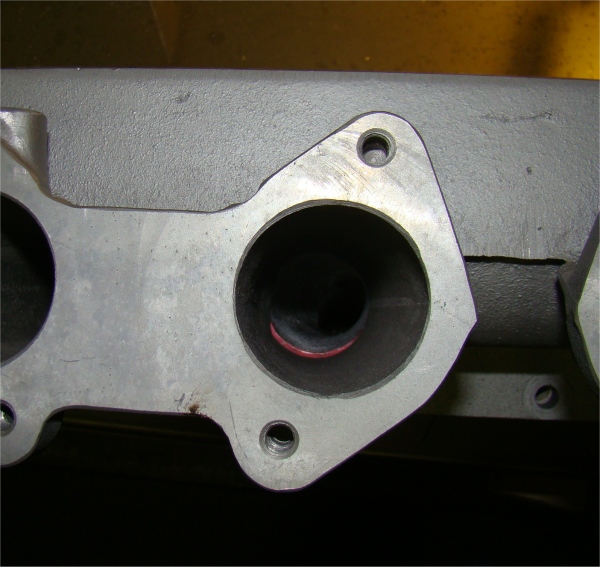
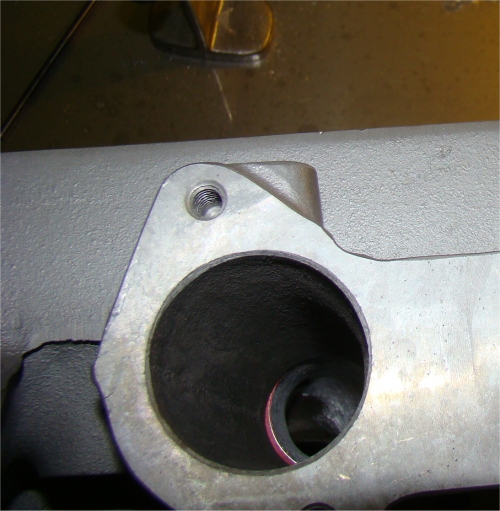
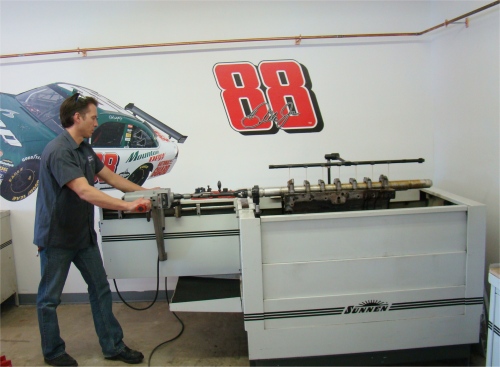
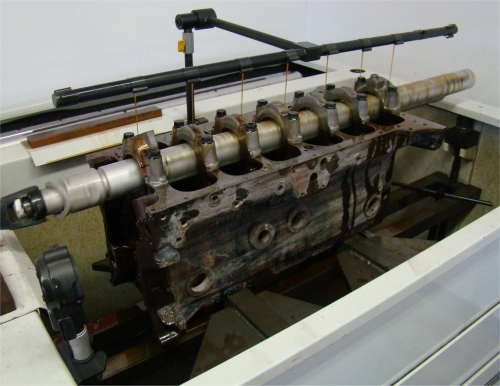
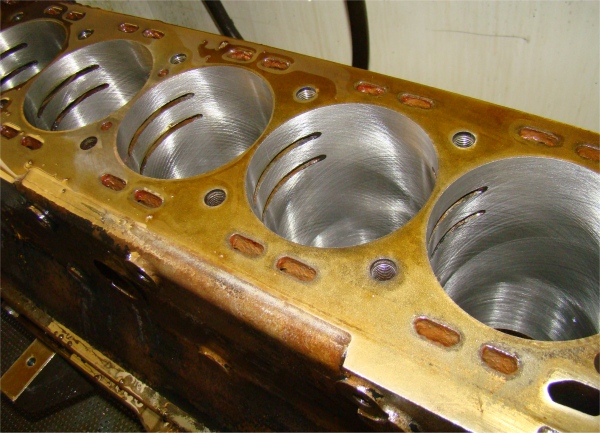
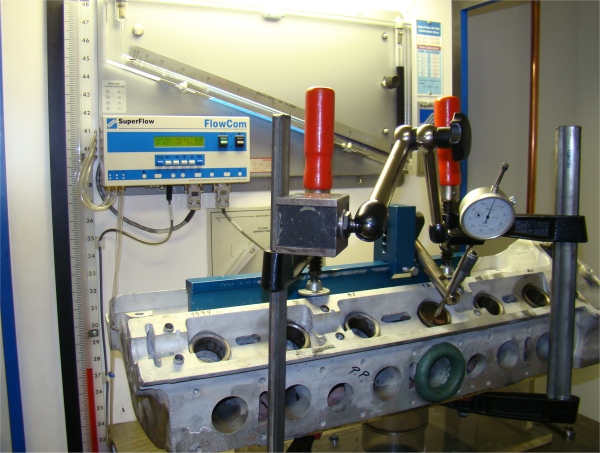
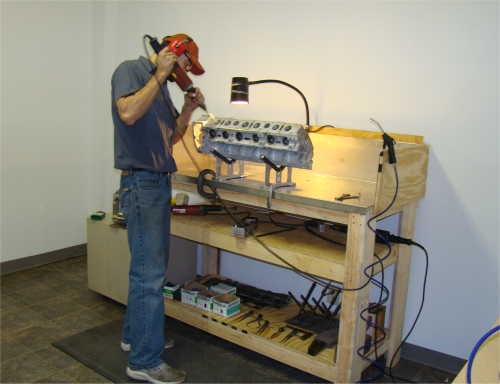
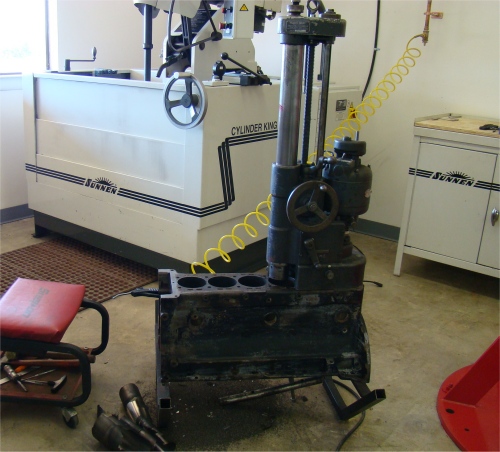
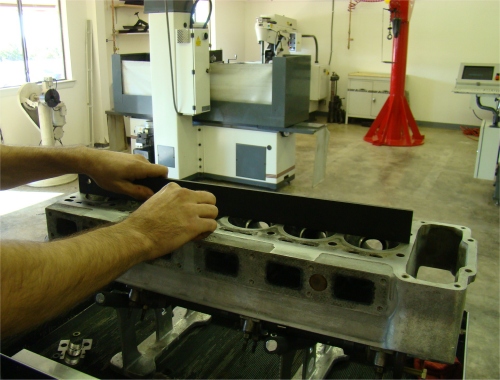
Align honing the block, porting your cylinder head and Weber intake manifold.
 |
 |
 |
|
|
cyl head ports, as closely as possible |
|
 |
 |
 |
|
carefully ground away |
SU, rarely match intake ports very well |
tolerance) |
 |
 |
 |
|
|
|
|
|
|
|
|
 |
 |
 |
|
|
|
|
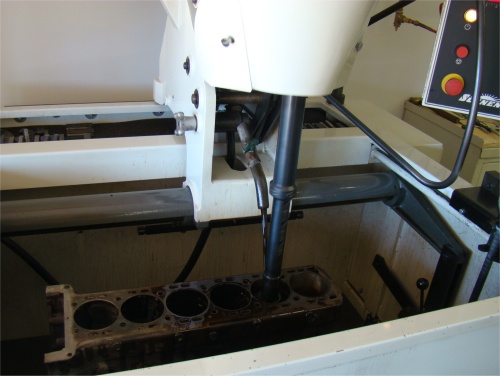
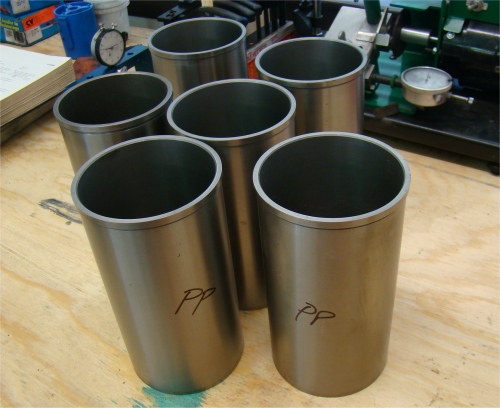
More progress with your Stage One engine rebuild...
 |
 |
 |
|
for the new sleeves |
|
|
 |
 |
 |
|
|
|
test on your head before porting |
 |
 |
 |
|
|
to align honing |
|
 |
 |
|
|
|
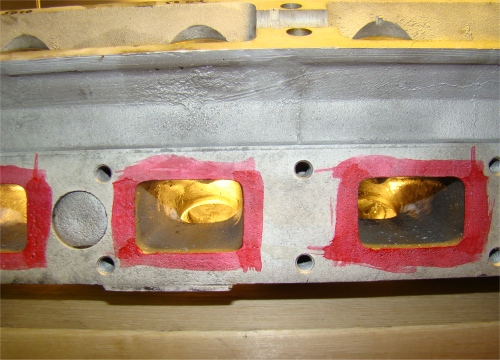
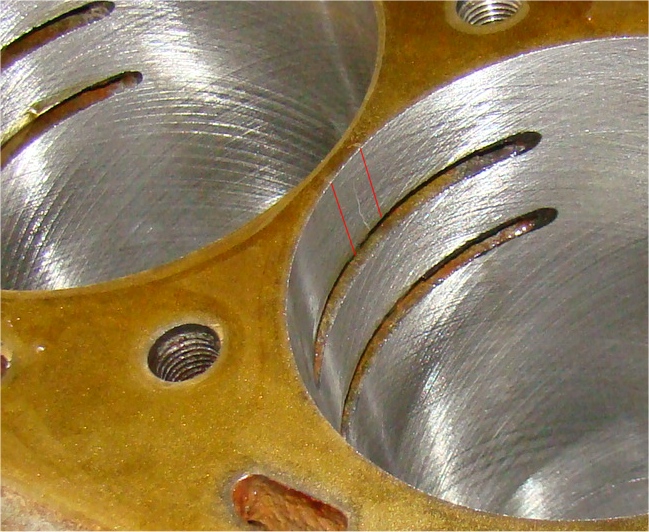
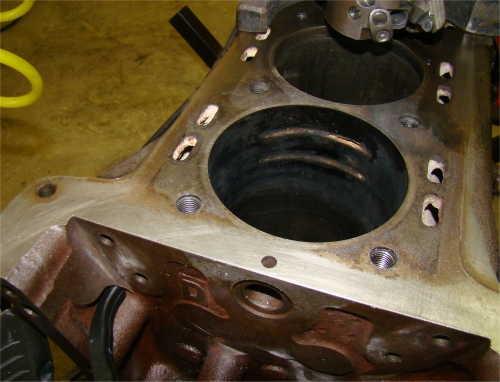
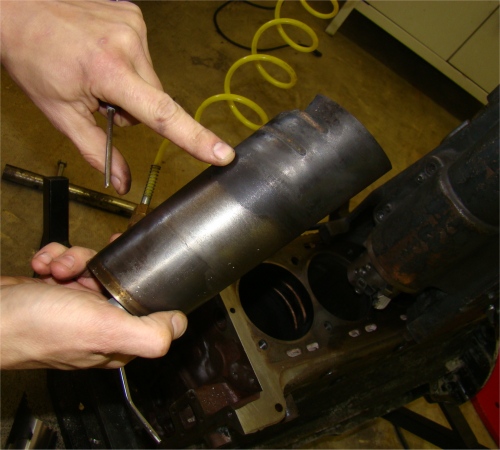
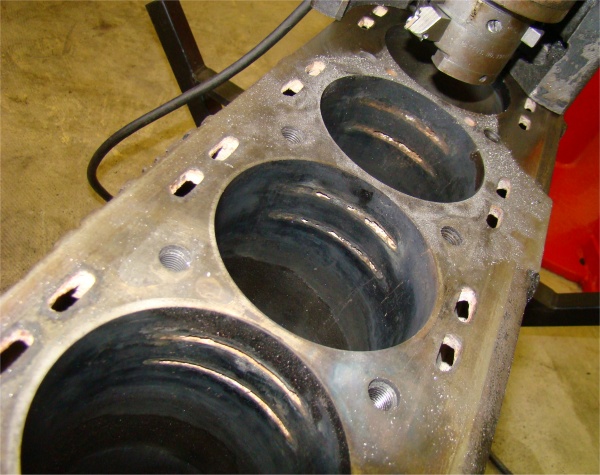
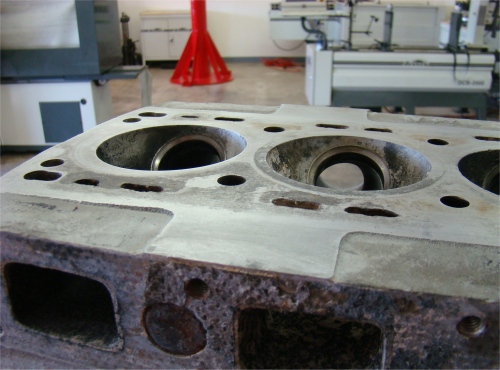
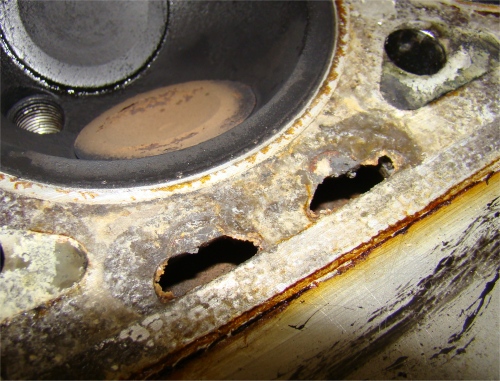
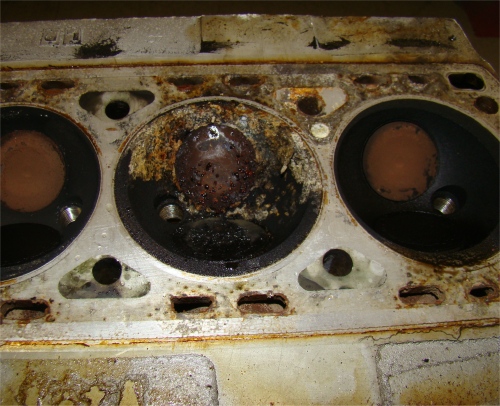
The following sequence of photographs demonstrate very clearly why all Jaguar (3.8 and 4.2) XK engine blocks should be re-sleeved during the course of a full rebuild. The need arises because of concealed water jackets that are cut into the block, behind each of the cylinder walls (see photos below). These water jackets become blocked with sediment which petrifies over time and cannot be removed with the cylinder sleeves in place.In photo # 4 below you can clearly see 'hot spots' on the reverse side of the sleeve Harold has just removed from # 6 cylinder of your engine. All CJ built engines are re-sleeved as a matter of course - and now you know why
 |
 |
 |
|
|
|
completely blocked up |
 |
 |
|
|
correspond to the blocked water jackets |
be re-sleeved during a rebuild |
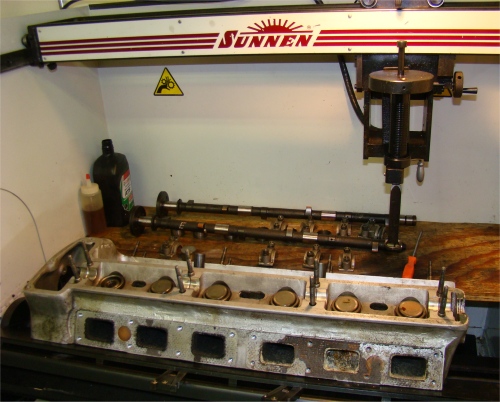
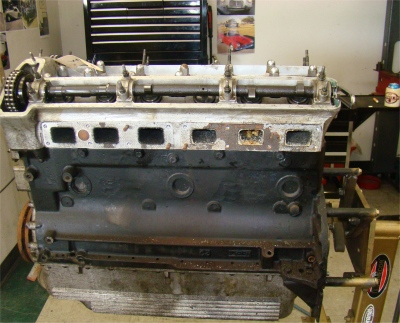
Unfortunately, your cylinder head is badly warped. On the top side, across the cam saddles, we are measuring a .035" bow. There is also a .005" bow on the lower deck surface. Compounding this problem is the fact that the head has already been extensively resurfaced, so even if we straightened it out (which is possible), there just isn't enough material left to resurface the deck once it is straight.OK, so that's the bad news. Fortunately, because this is not a 'matching number' head, we don't have to go to ridiculous extremes (and expense) to try to save it. The best solution is for us to provide you with a good core head and we will rebuild that instead.
 |
 |
|
|
|
 |
 |
|
|
isn't enough material left for us to resurface the bottom of the head after straightening |
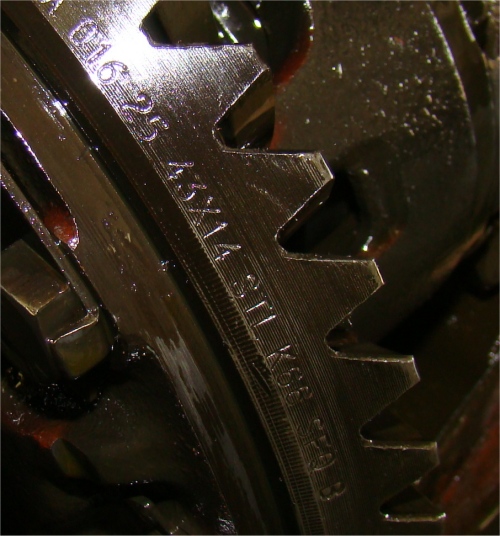
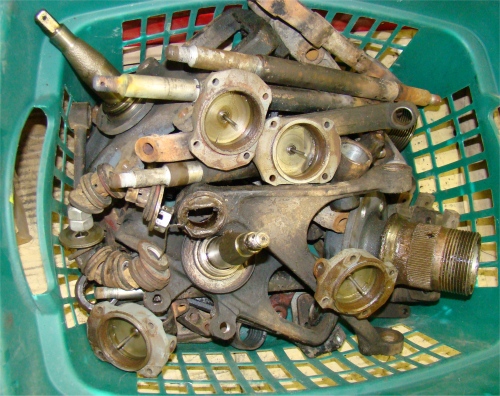
We have your engine, differential and IRS rebuilds well underway.
 |
 |
 |
|
|
|
coating |
 |
 |
 |
|
|
|
|
 |
 |
 |
|
|
be dealt with during rebuild |
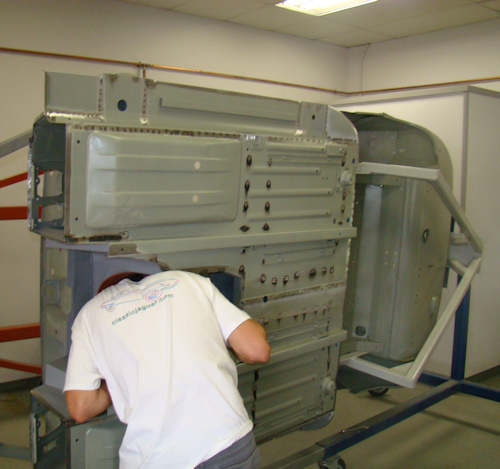
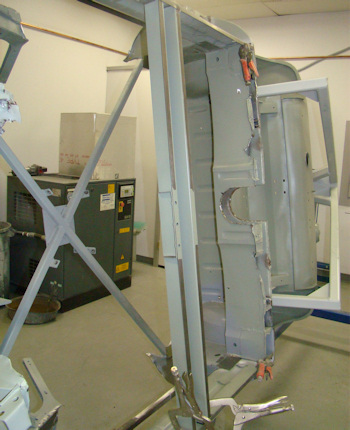
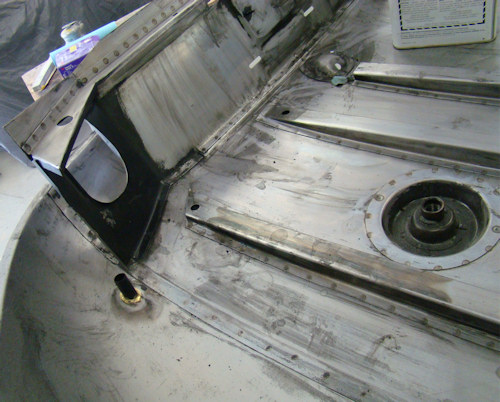
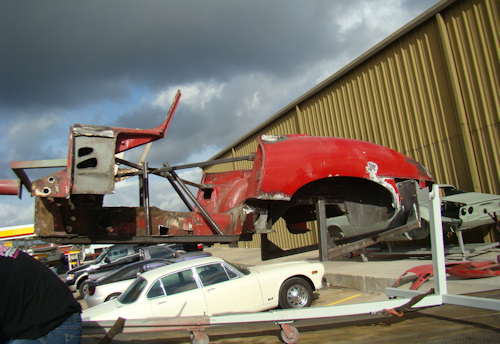
You are is now totally disassembled and ready for a trip to the sand blaster!
 |
 |
|
rebuild |
|
 |
 |
|
|
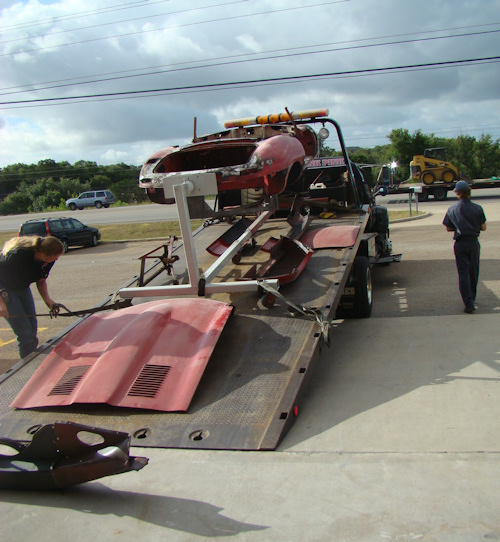
I am pleased to report that your car arrived safely at CJ earlier this morning. I hope you enjoy watching the restoration unfold in the months ahead!
 |
 |
 |
