Stage One (rolling chassis) restoration
| 1965
E Type roadster (OS)
Stage One (rolling chassis) restoration |
|
|
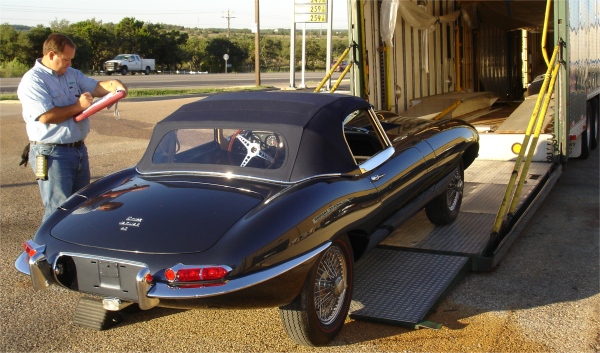
I am pleased to report that your E Type is homeward bound! It is now time for you to put your own finishing touches to this beautiful roadster. Many thanks and best wishes from all of us at Classic Jaguar!
 |
|
 |
 |
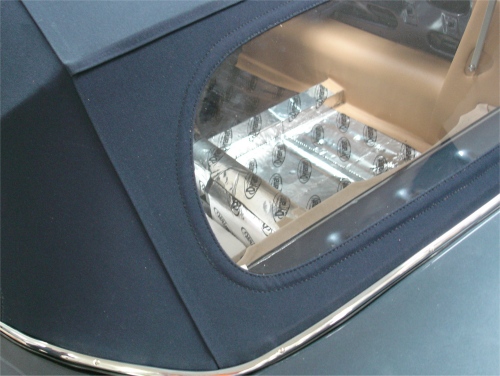
Installing your new canvas convertible top...
 |
 |
|
|
|
 |
 |
 |
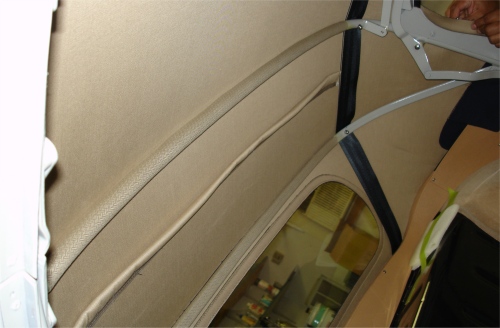
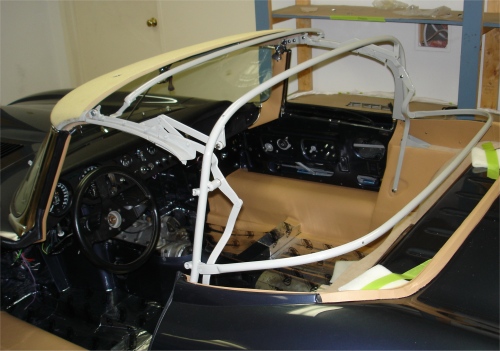
Installing the convertible top frame....
 |
 |
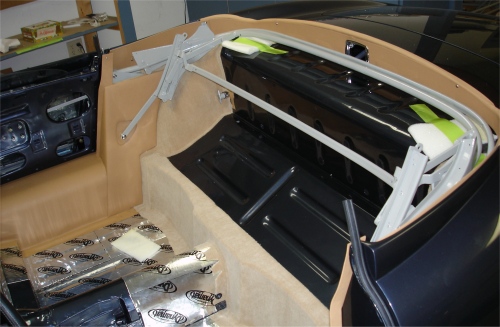 |
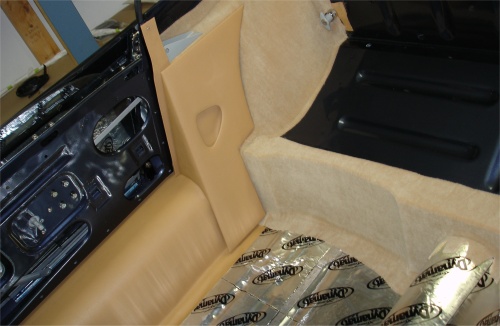
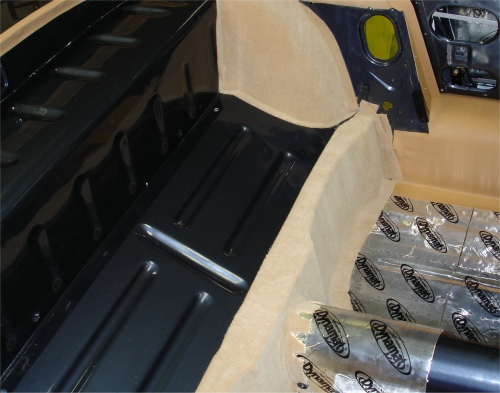
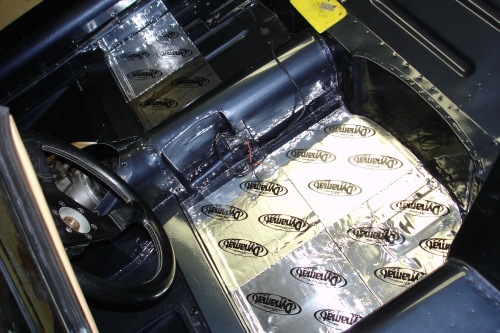
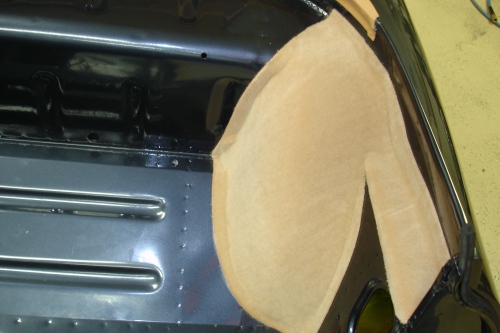
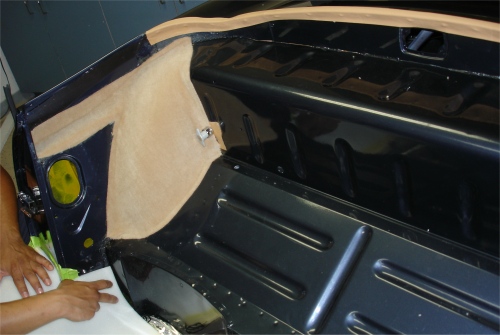
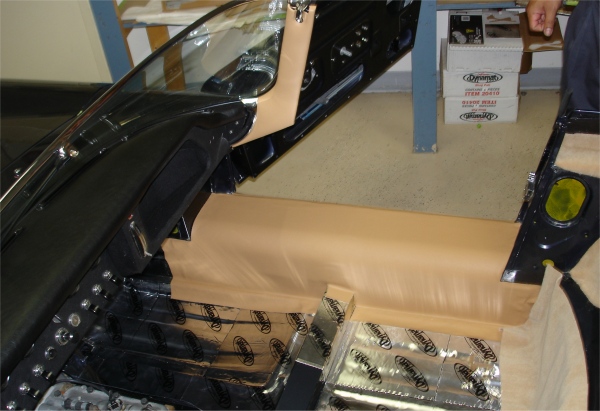
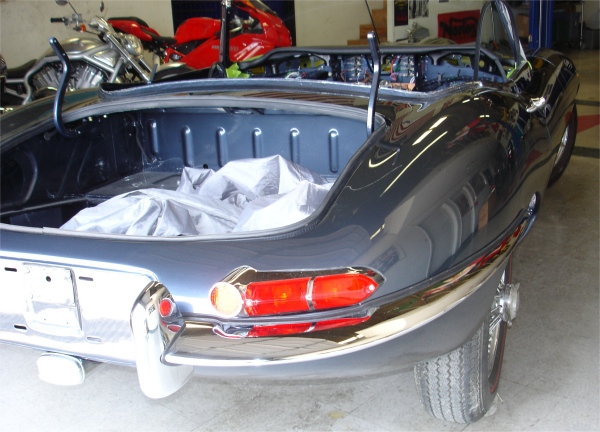
We have been busy installing those parts of the interior trim which have to be in plac before we can install the convertible top - something which should be completed early next week. Per your instructions, we have not installed any Dynamat on the rear bulkhead.
 |
 |
 |
|
|
|
|
|
|
|
|
 |
 |
 |
|
|
|
|
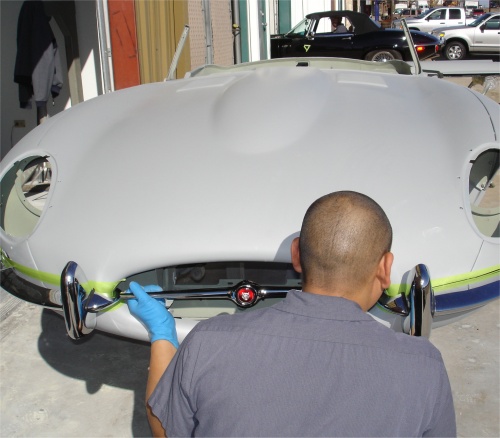
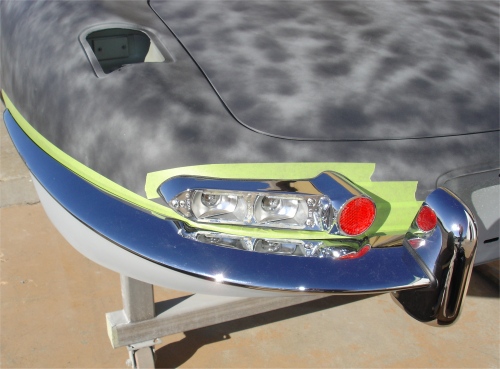
Installing the front bumpers....
 |
 |
 |
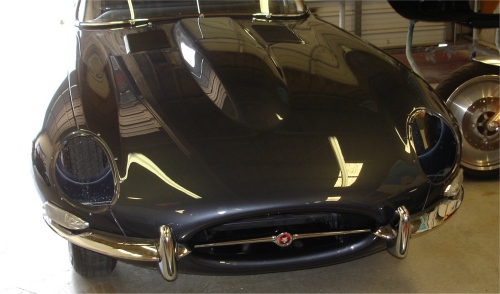
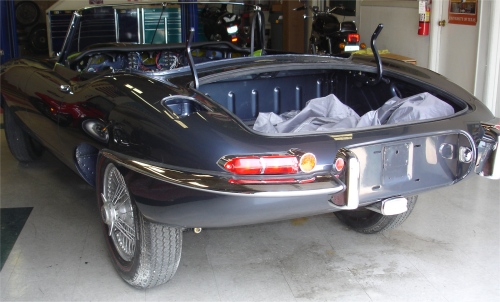
It is time for the final push to finish our part of the project and get your car back to you so that you can get her ready for the show circuit! During the coming week we will be installing the Dynamat, front lamps and bumpers, and the convertible top, etc.
 |
 |
|
has now been fitted and adjusted |
installed |
 |
 |
|
|
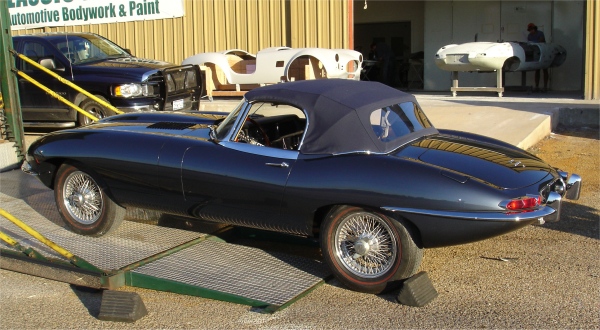
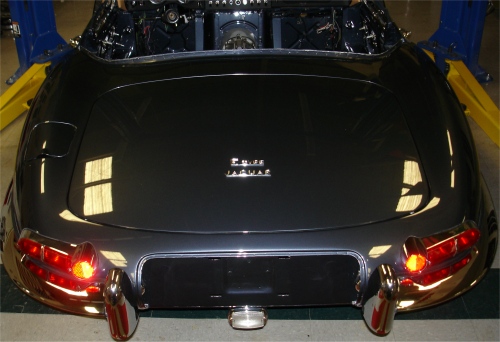
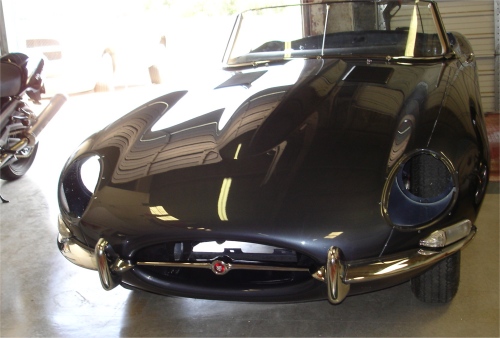
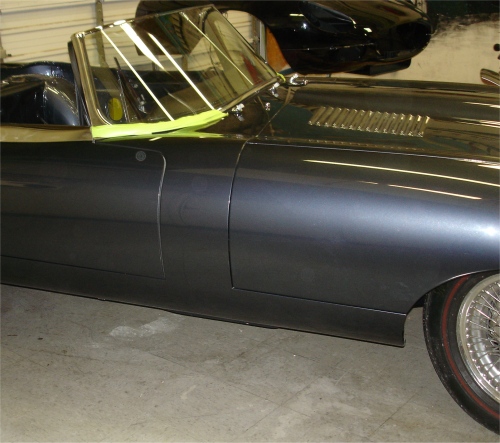
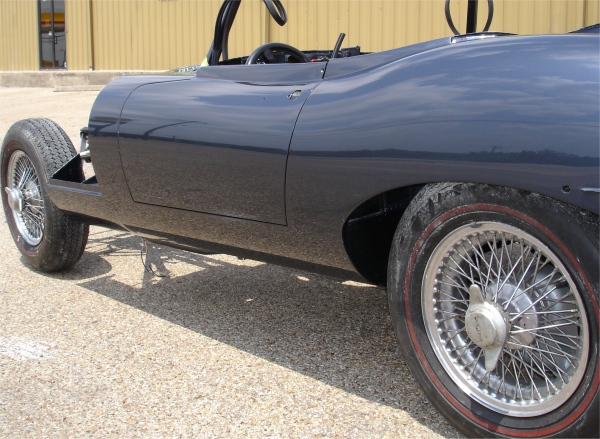
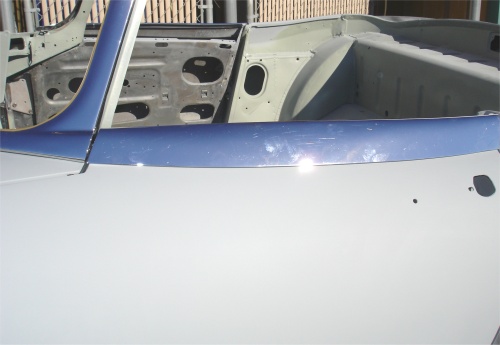
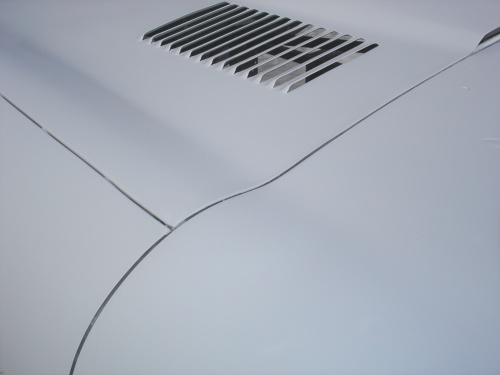
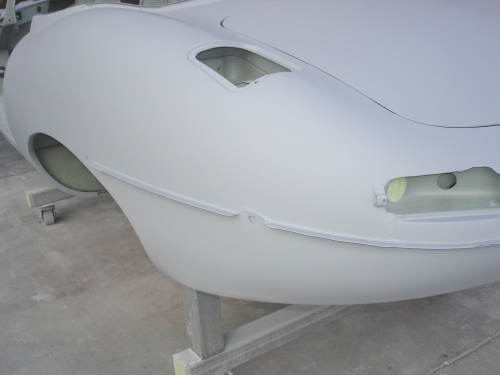
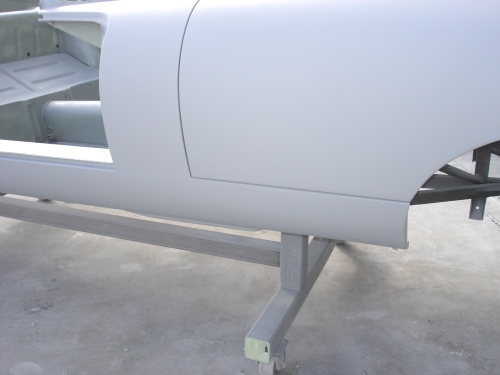
Your car has now been color sanded and buffed and is now back on its wheels. I tried to show in the photographs how straight the doors are, and how well they fit, although the pictures don't really do the car justice.

 |
 |
 |
|
|
|
|
 |
 |
 |
|
sunlight |
||
 |
|
|
|
|
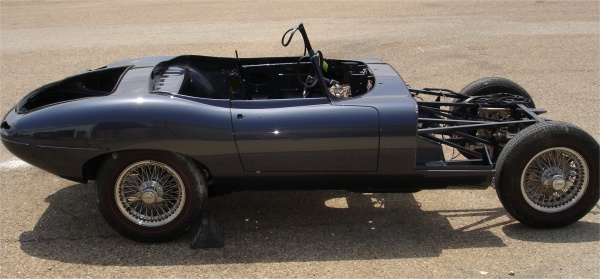
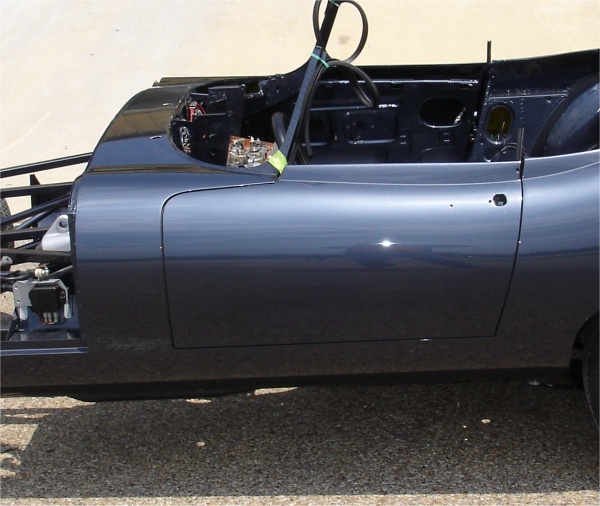
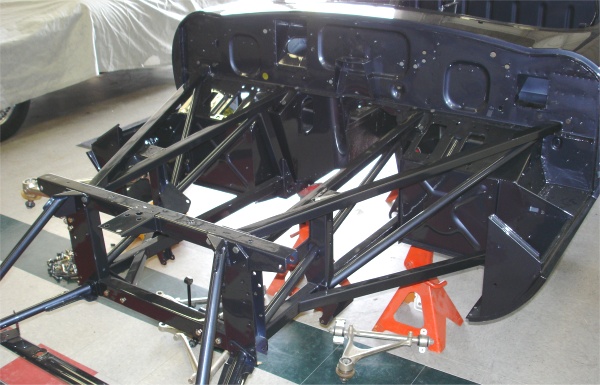
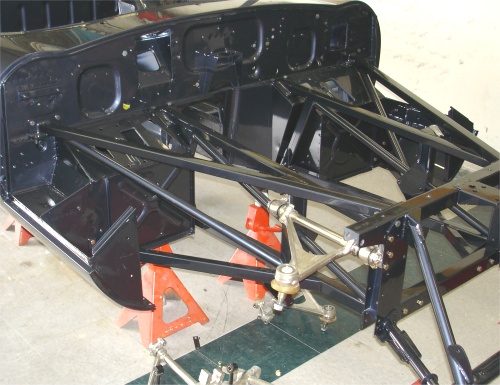
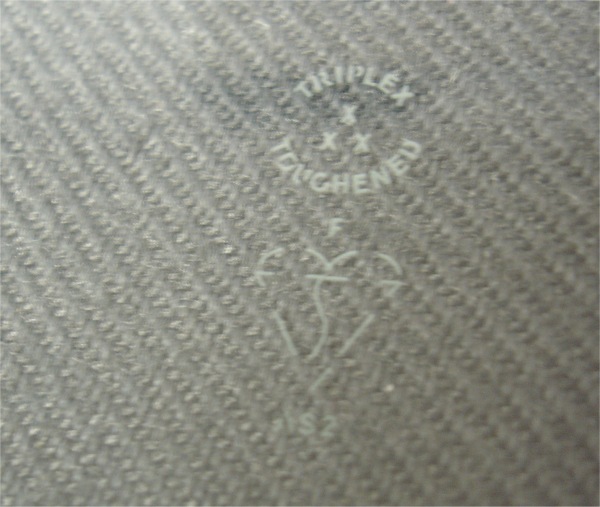
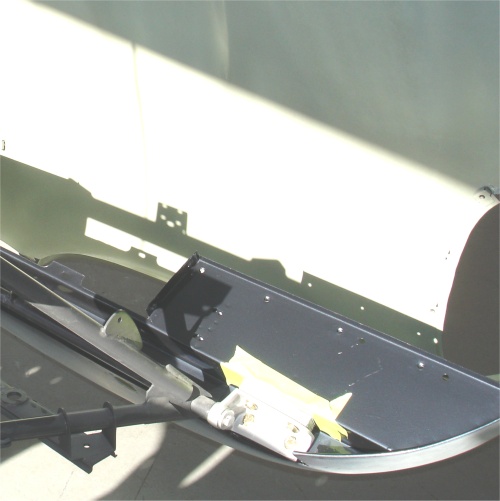
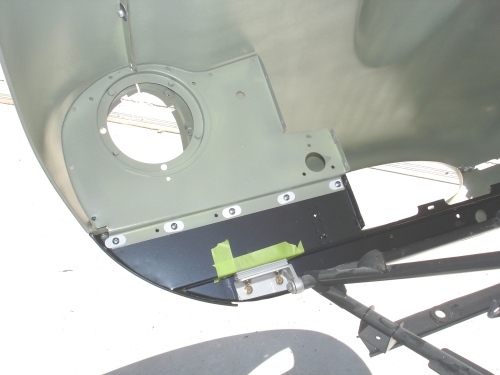
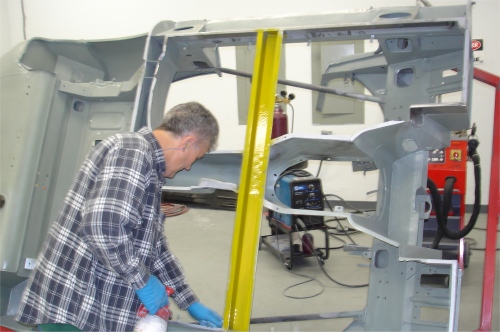
As you can see, we are now going back together with the front frames and suspension. We have been using your original, black anodized bolts where they can be seen, and new Grade 8 hardware down below. Your door glass arrived today and the Triplex window etching looks good, although one of the pieces of glass has a number of little chips on the upper edge. I don't know whether you are aware of this or not? Perhaps you could give us a call when you get a moment to discuss.
 |
 |
 |
 |
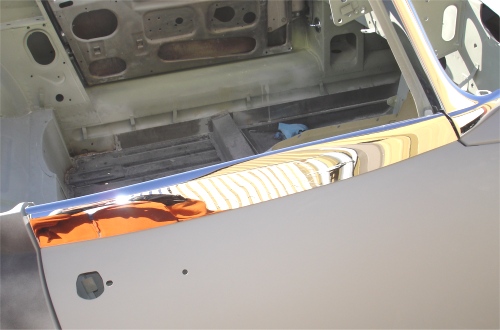
More beautiful Opalescent Dark Blue....
 |
 |
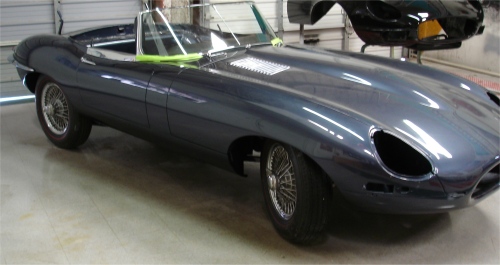
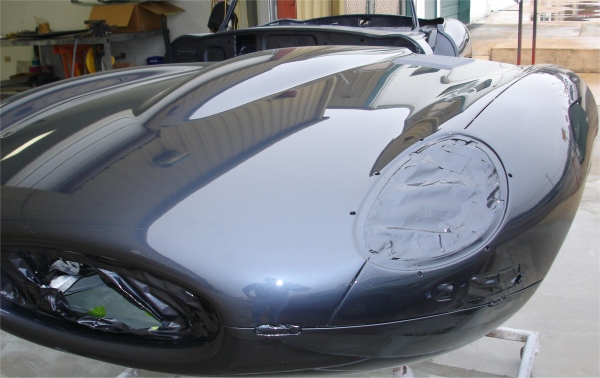
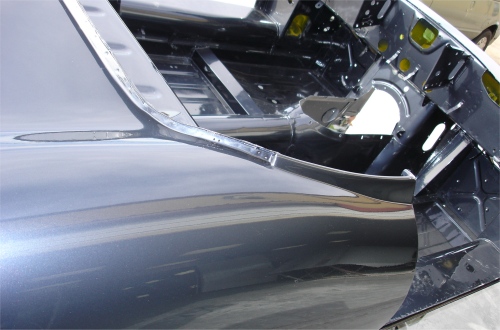
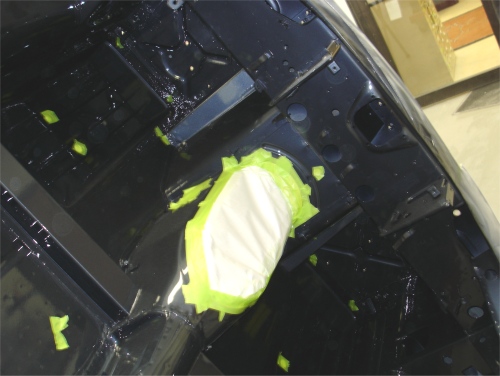
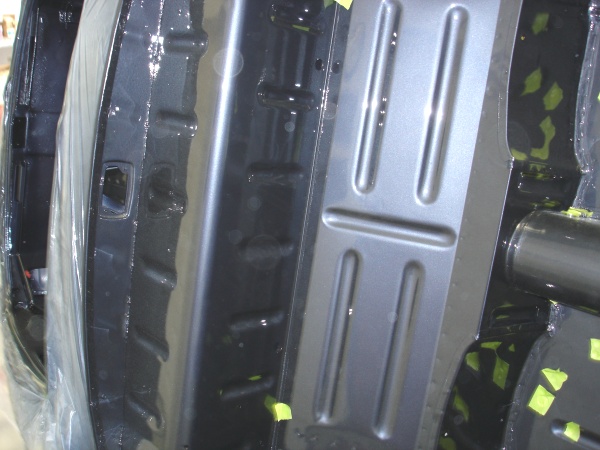
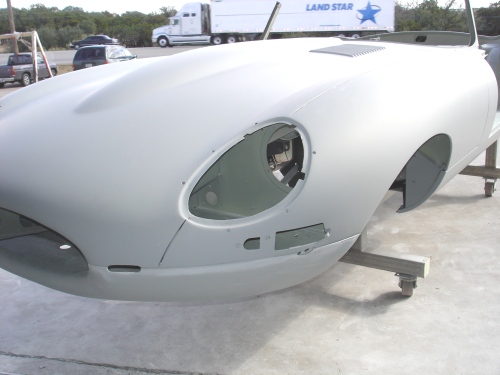
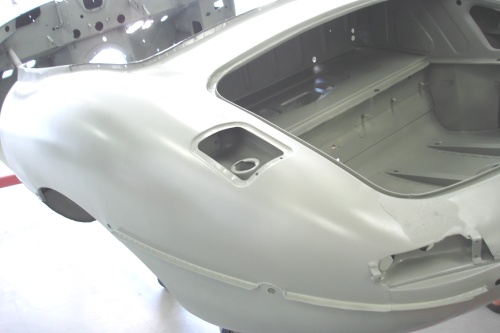
Yesterday your car turned Opalescent Dark Blue! The Glasurit paint is truly stunning in natural sunlight.
 |
 |
 |
|
|
||
 |
 |
 |
|
|
||
 |
 |
 |
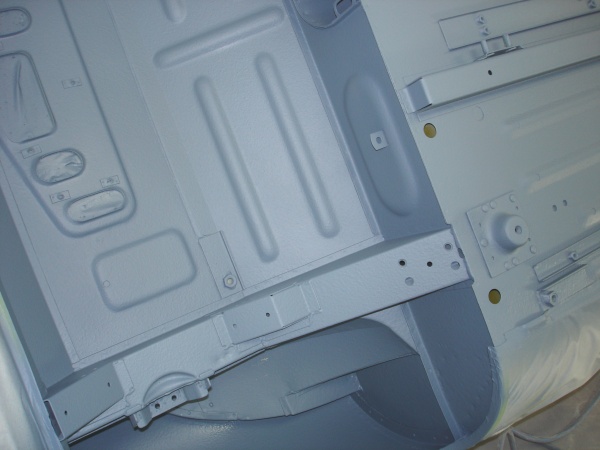
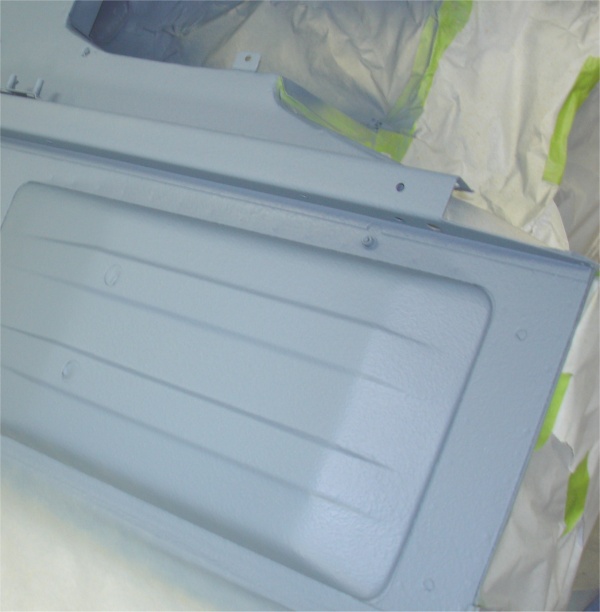
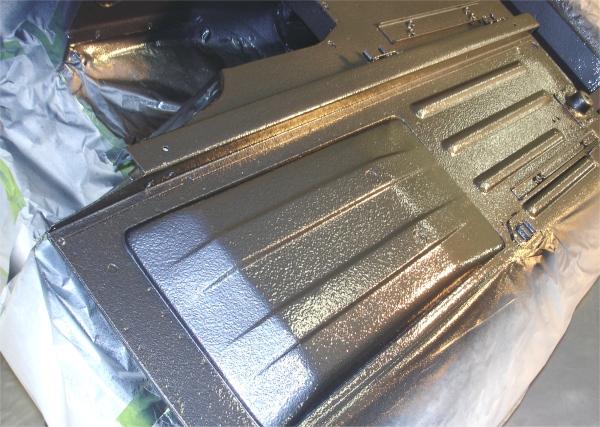
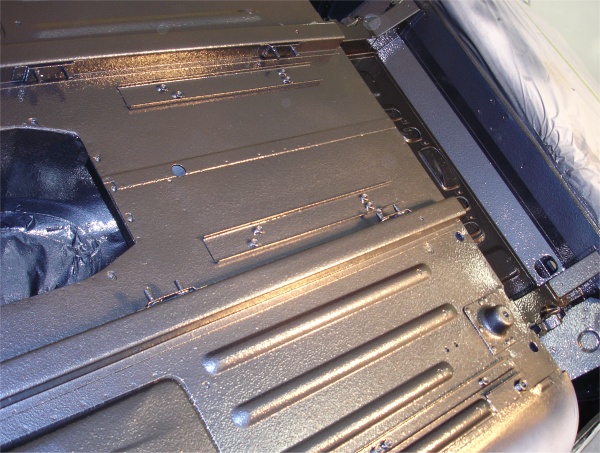
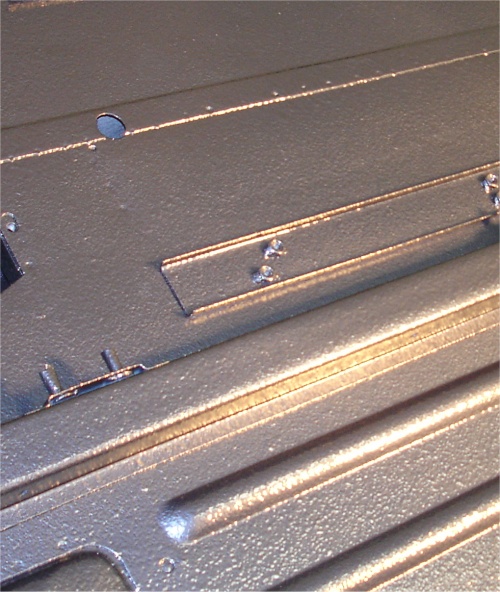
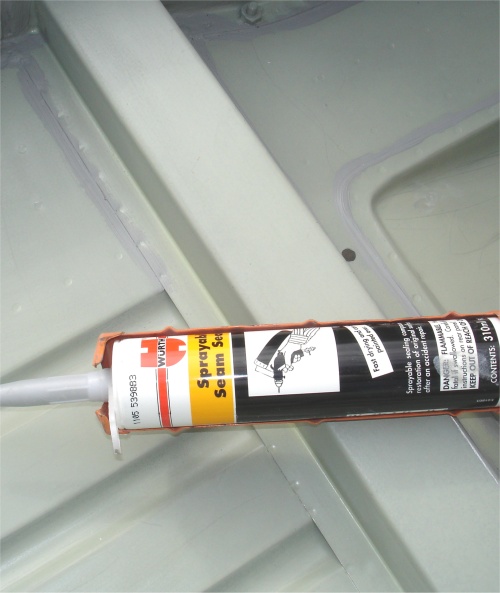
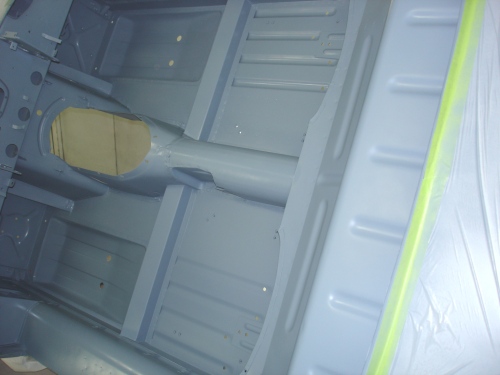
Undersealing and painting the underside of the floor.
 |
 |
 |
|
3M Rocker Guard |
|
|
 |
 |
 |
|
|
dark blue! |
|
 |
 |
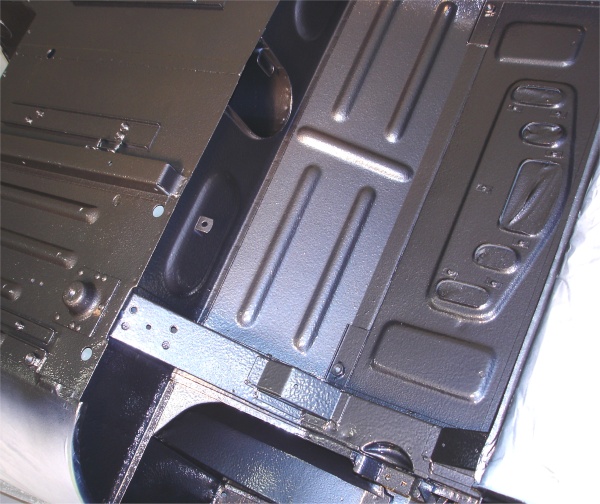 |
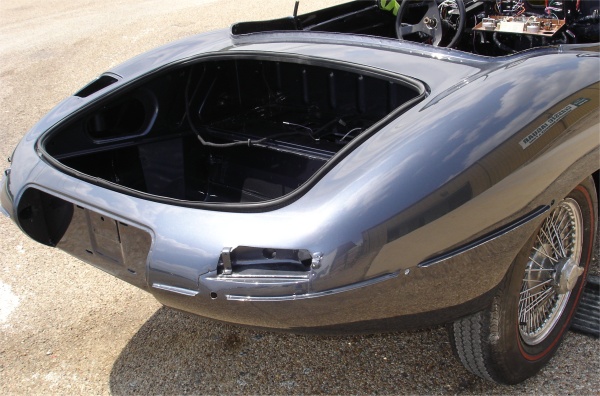
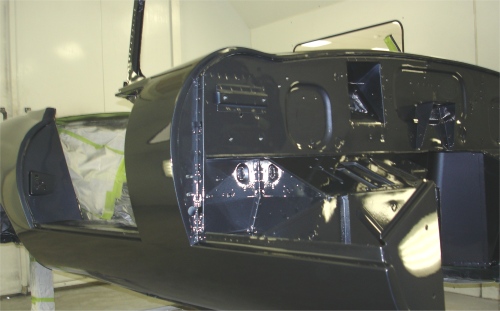
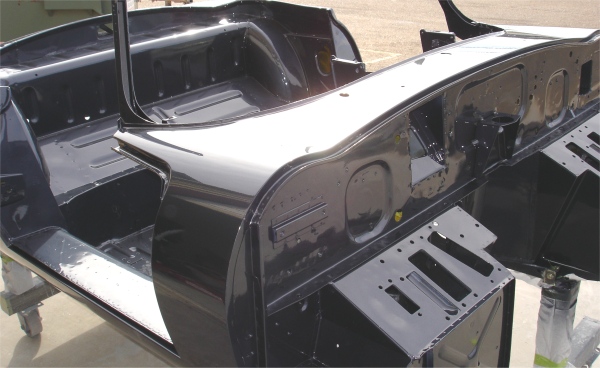
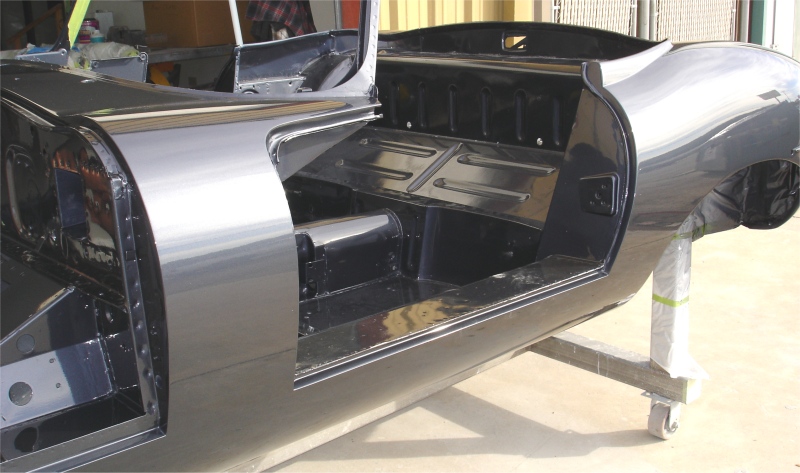
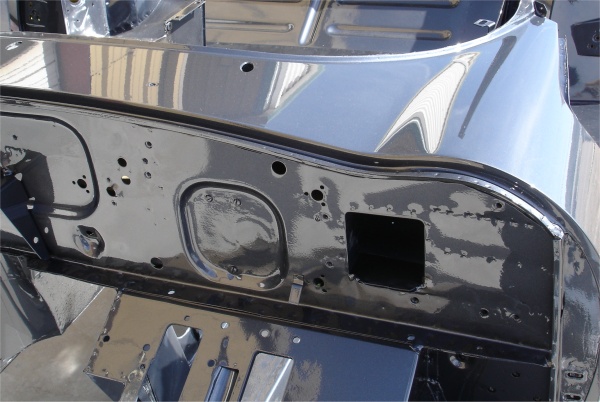
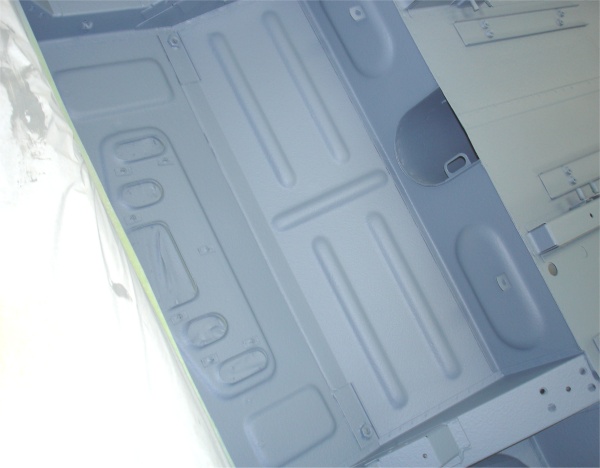
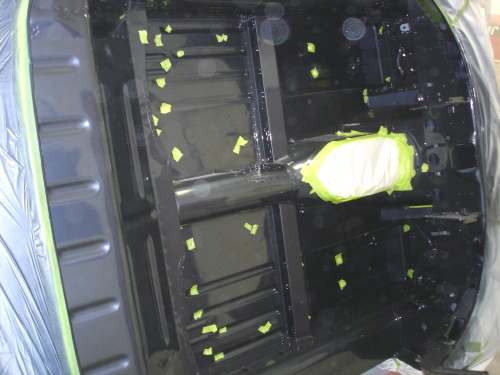
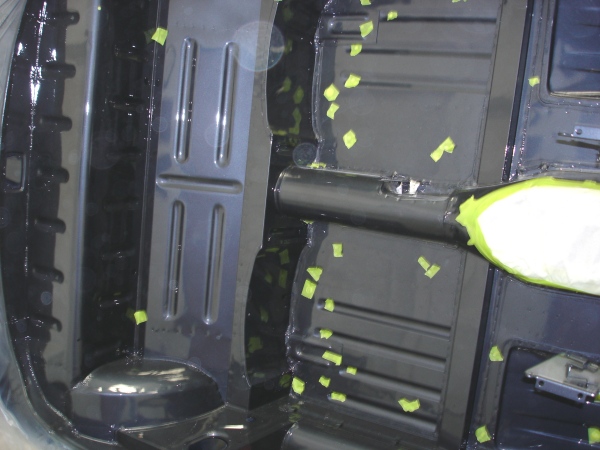
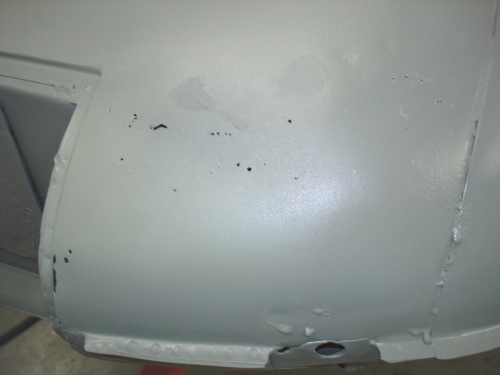
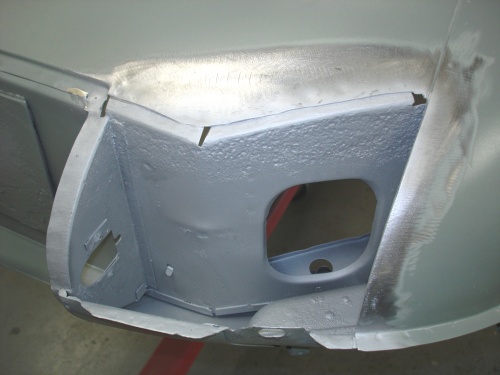
The inside of the cabin and the boot compartment have now been painted. Later today we will be refinishing the floor and the underside of the bonnet.
 |
 |
 |
|
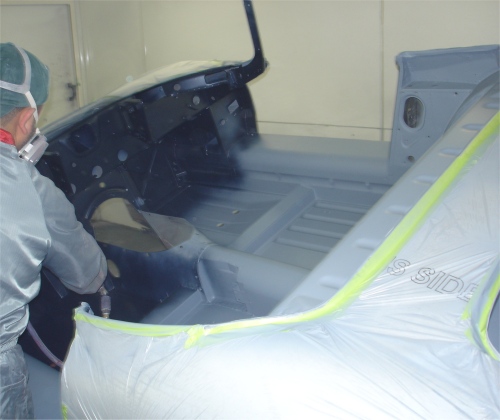
base coat |
||
 |
 |
|
We are painting inside the car this afternoon. Time permitting, I will upload some pictures of the Opalescent Dark Blue later this evening. Failing that, look for pictures first thing in the morning!
 |
 |
 |
|
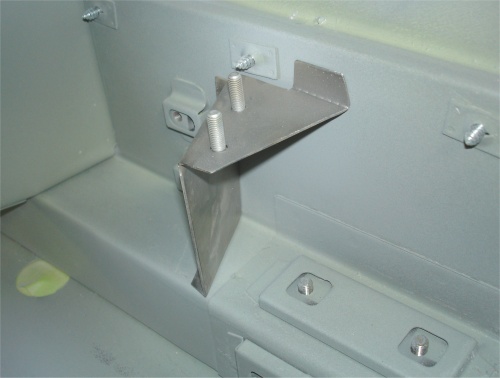
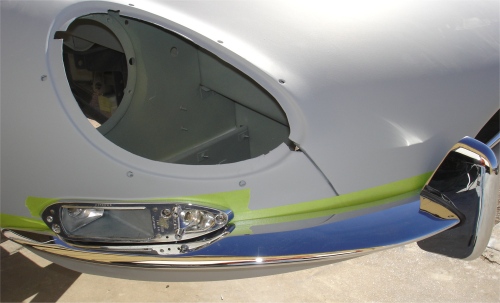
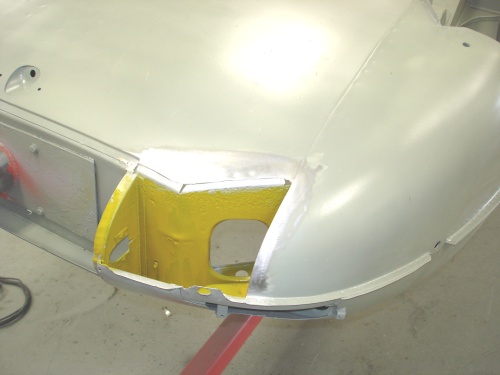
brackets |
into place behind the headlamps |
|
 |
 |
 |
|
to painting process |
|
|
|
|
|
|
 |
 |
|
|
|
|
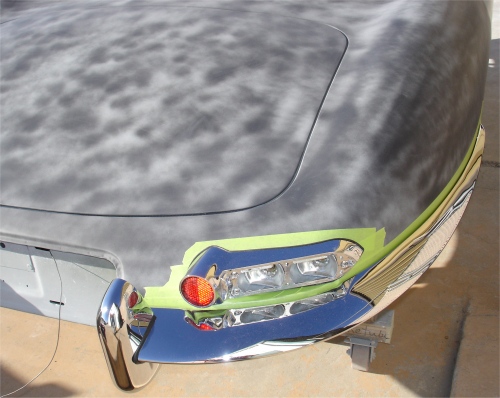
The following photographs show Sam trial fitting your chrome trim.
 |
 |
 |
|
|
|
|
|
|
|
|
 |
 |
 |
|
|
|
|
 |
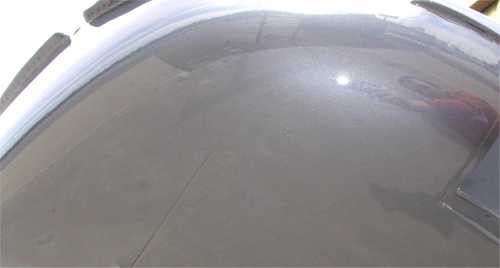
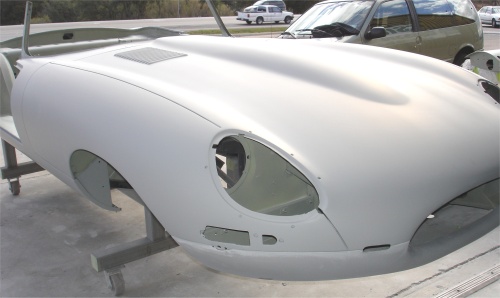
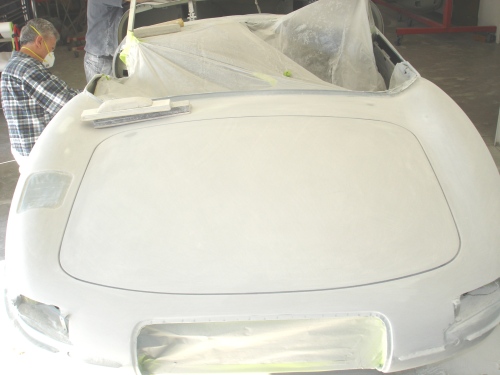
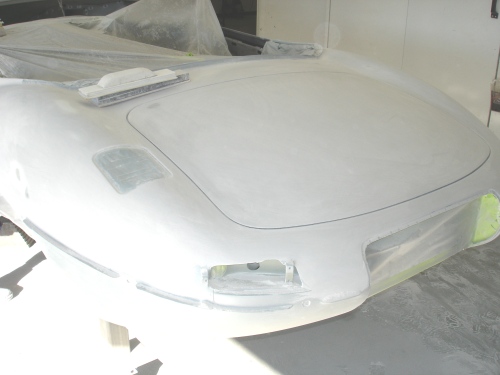
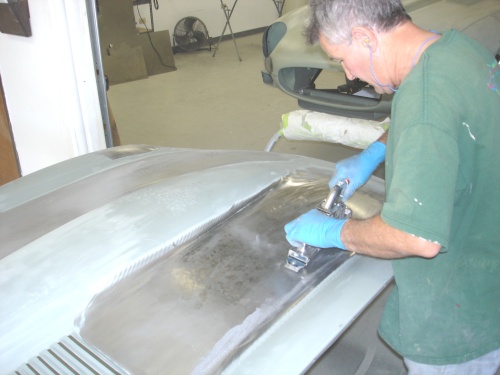
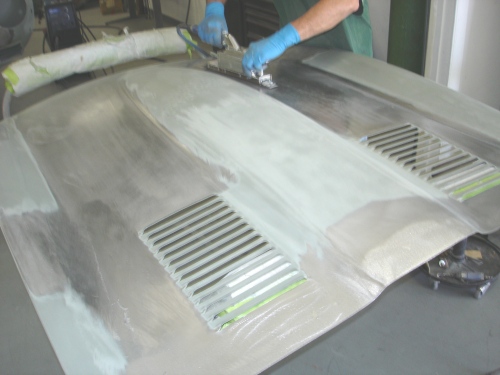
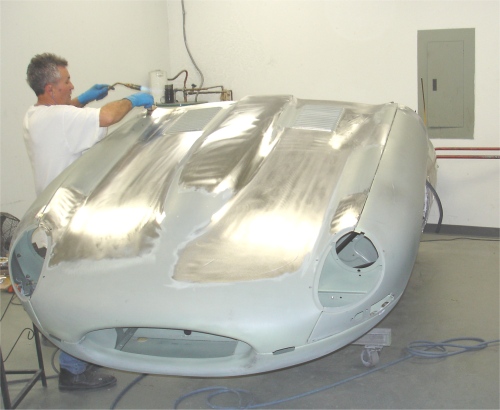
Your car is now in high build primer and the final sanding process will begin next week.
 |
 |
 |
 |
 |
 |
The filler stage has now been completed and your car is in Slick Sand and has the next round of blocking well underway. On Thursday or Friday of this week we will be applying two coats of high build primer, followed by yet more blocking.We are currently scheduled to complete the final paintwork in about 2 weeks time.
 |
 |
|
|
BASF etching primer |
 |
 |
|
|
|
 |
 |
|
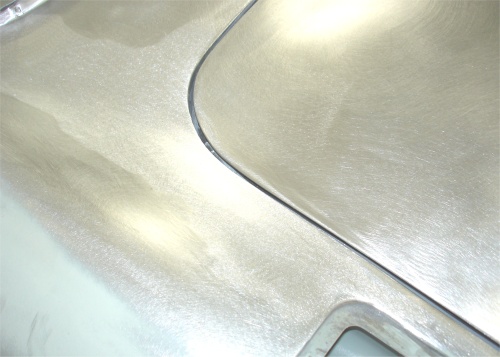
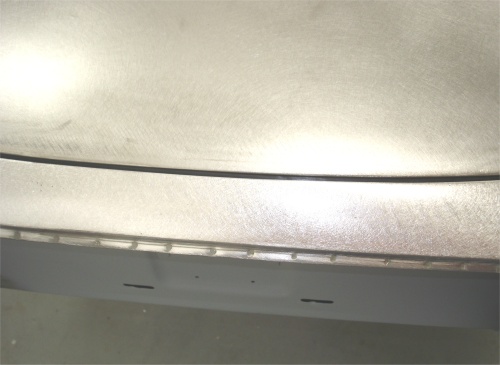
this round of blocking |
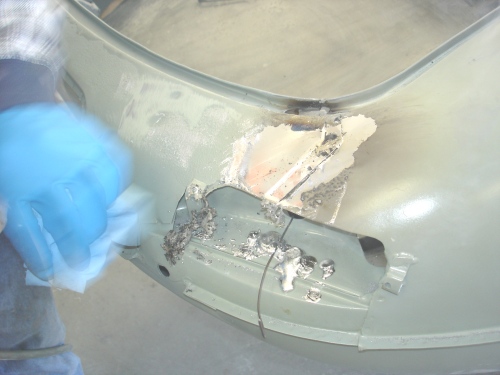
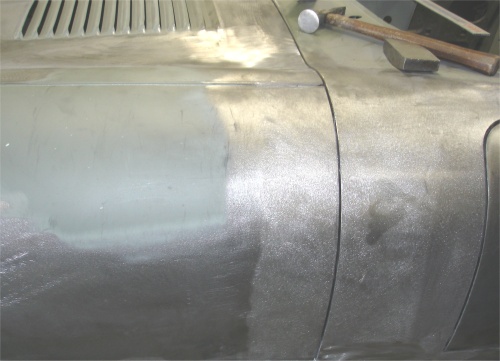
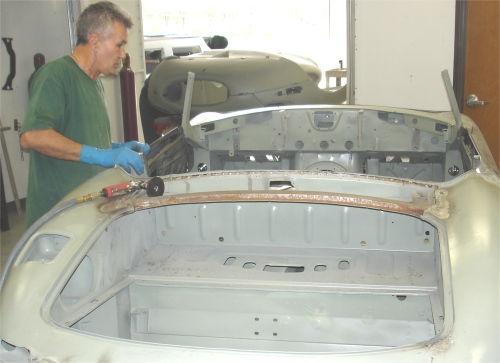
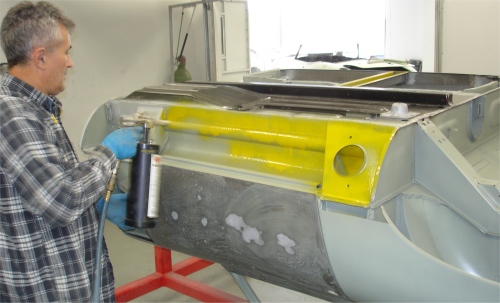
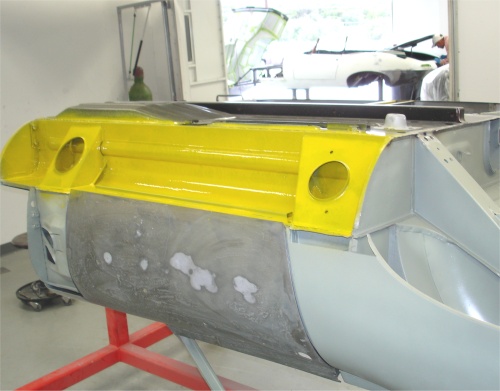
I am pleased to report that all of the sheet metal work and lead loading is now 100% complete. The following photos show Lawrence lead loading around the boot opening and the fitting of the bootlid itself. The old factory lead was melted out and replaced as we had to re-work the rear apron anyway.Next we will scuff the entire car and seal it with BASF etching primer before embarking on the filler and prep stage.
 |
 |
 |
|
|
||
 |
 |
 |
|
|
this stage |
|
 |
 |
|
|
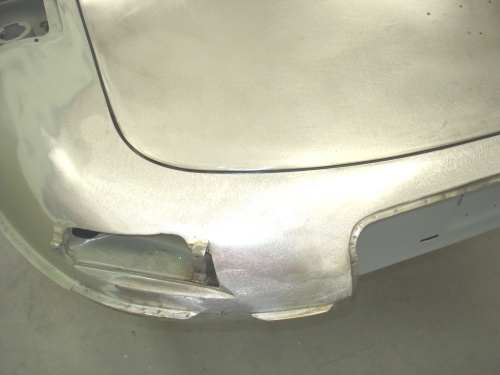
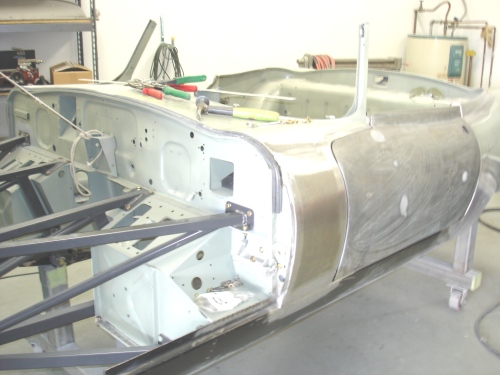
of old accident damage |
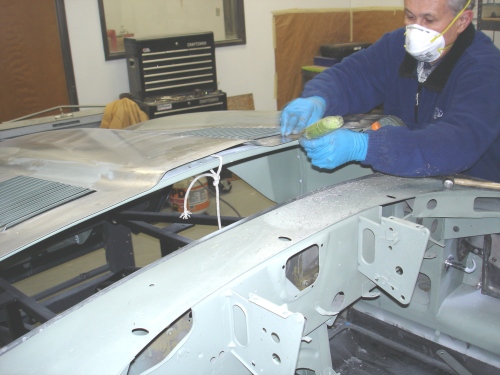
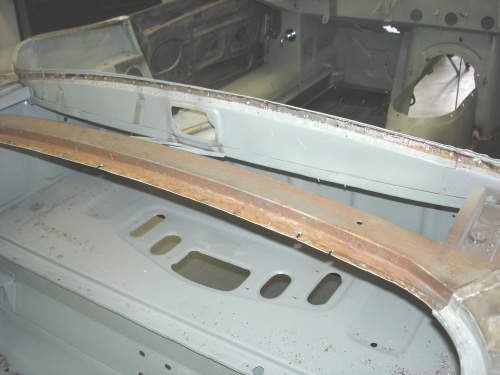
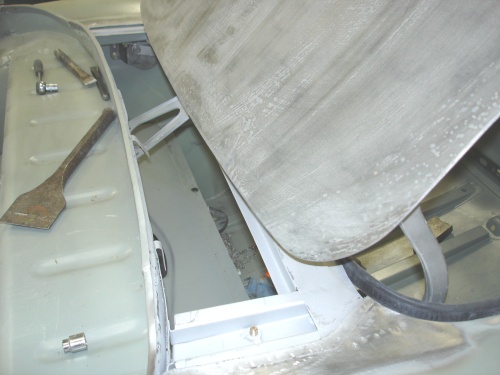
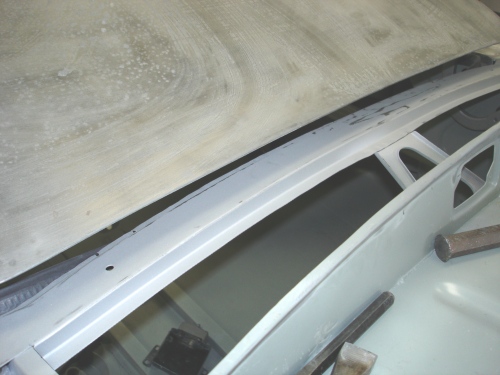
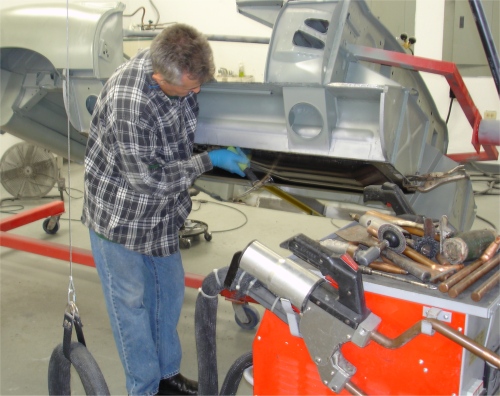
Lawrence has been busy reassembling the bonnet and fitting it to your restored tub. He is currently finishing off the lead loading around the bootlid opening and at the top of the rear wings where they meet the upper cowl.
 |
 |
 |
|
|
center section |
|
 |
 |
 |
|
we started assembly of bonnet |
|
|
 |
 |
 |
|
|
|
|
 |
 |
 |
|
metal and lead |
|
|
 |
 |
 |
 |
 |
 |
|
|
||
 |
 |
 |
|
sheet metal with a pick hammer |
|
from the inside |
 |
 |
 |
|
|
|
|
 |
 |
 |
|
|
|
|
 |
 |
 |
|
|
trial fitted |
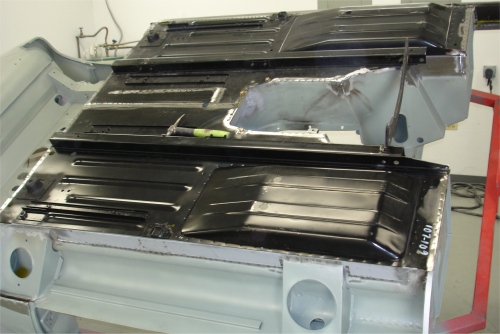
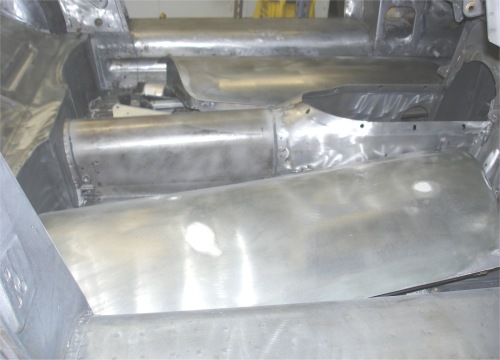
Installing the other floor and the outer sills....
 |
 |
 |
|
sill area |
floor |
|
|
|
|
|
 |
 |
 |
|
|
|
|
|
|
|
|
 |
 |
 |
|
|
|
|
|
|
|
|
 |
 |
 |
|
|
|
|
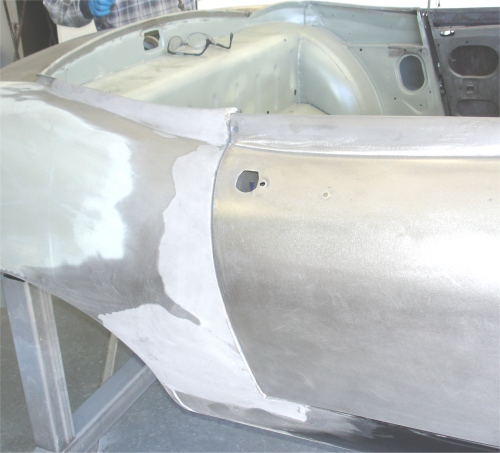
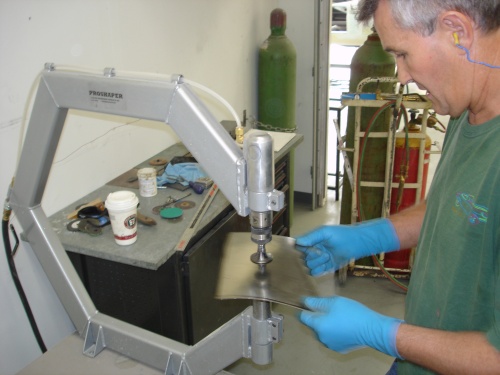
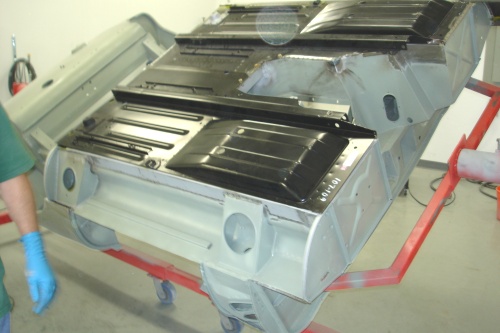
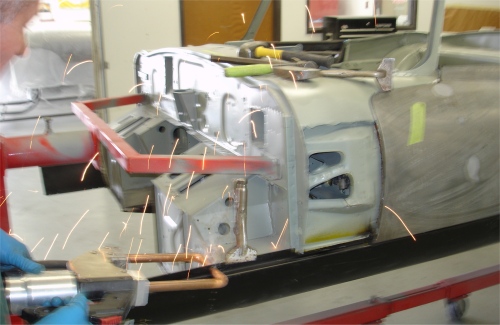
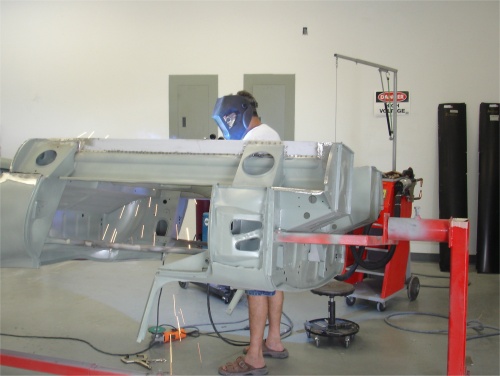
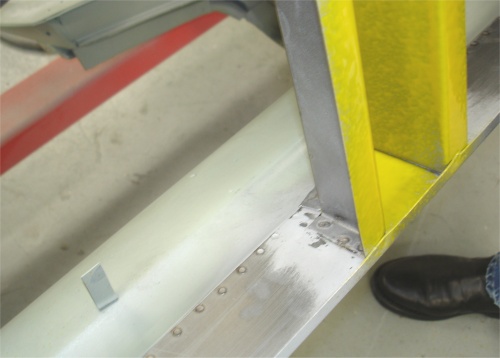
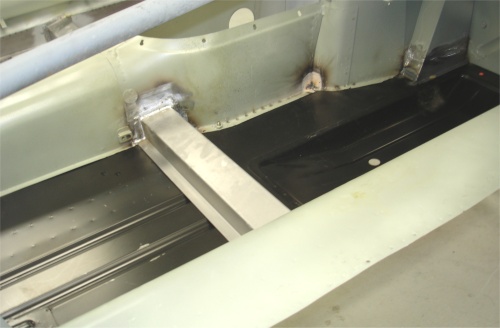
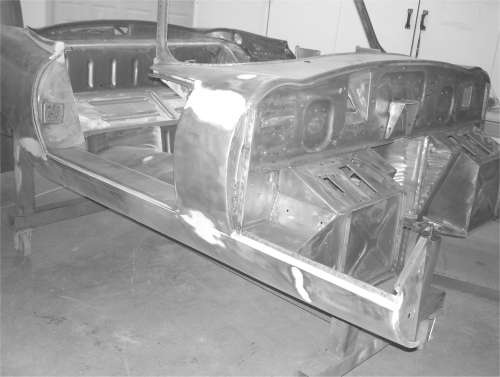
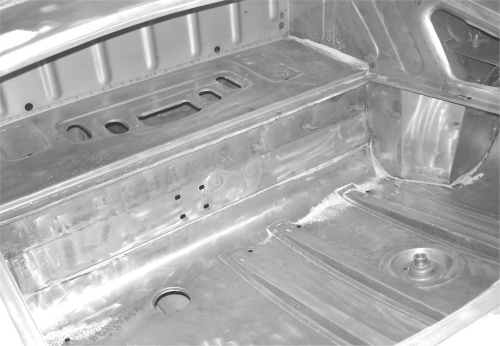
I am pleased to report that we have now begun the sheet metal repairs to your car. The following photographs show Lawrence installing inner sill repair panels, followed by a new cross-member and a new passenger side floor. I hope you enjoy watching as Lawrence does his thing over the next few weeks!
 |
 |
 |
|
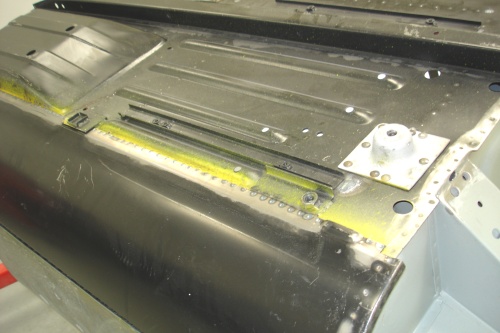
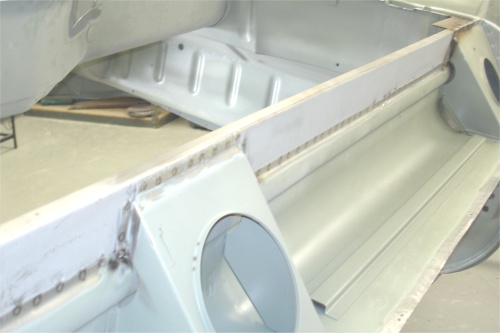
the inner sills |
spot welded into place |
new passenger side floor |
|
|
|
|
 |
 |
 |
|
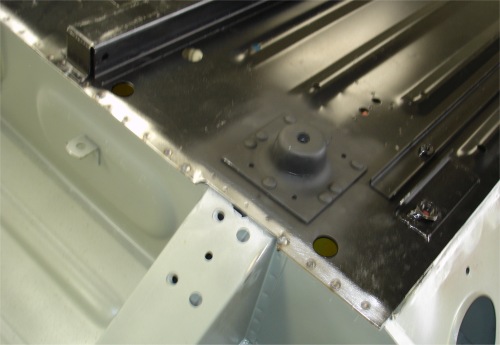
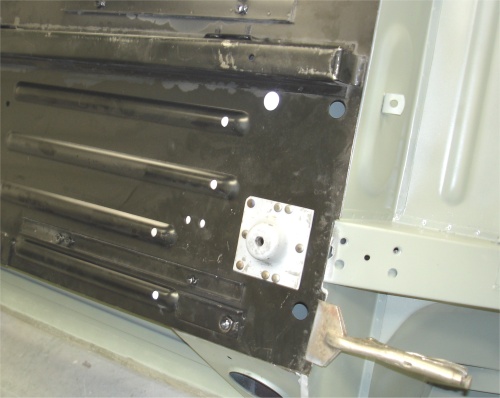
inside of the new cross-member |
needed new lower edge |
passenger floor into place |
|
|
|
|
 |
 |
 |
|
up beautifully |
|
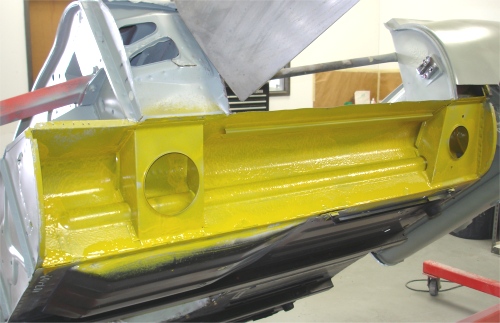
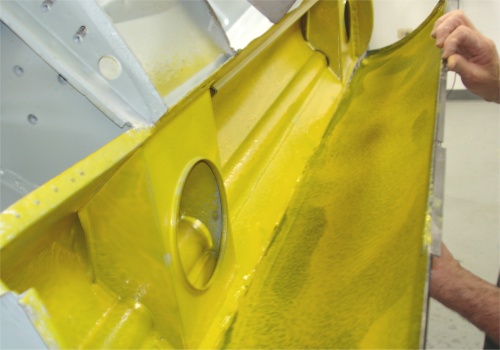
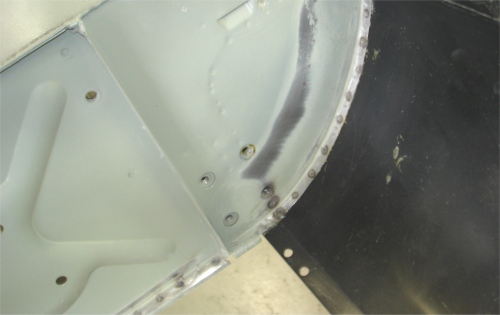
Body Wax before outer sill is installed |
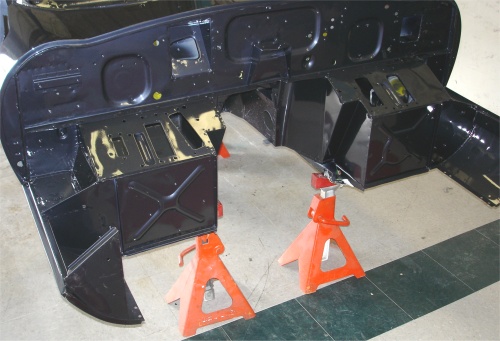
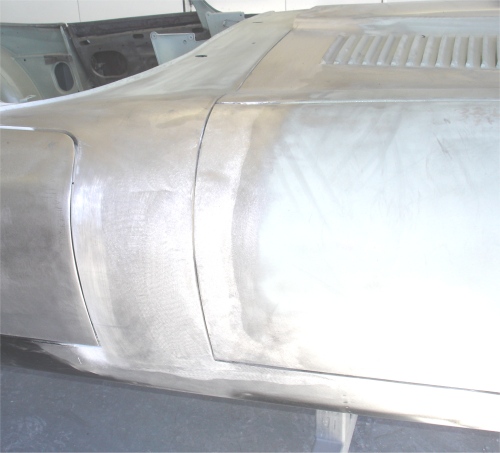
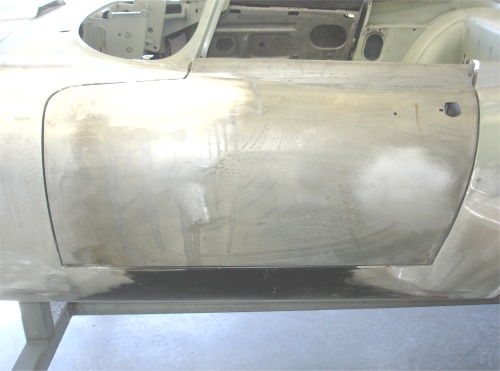
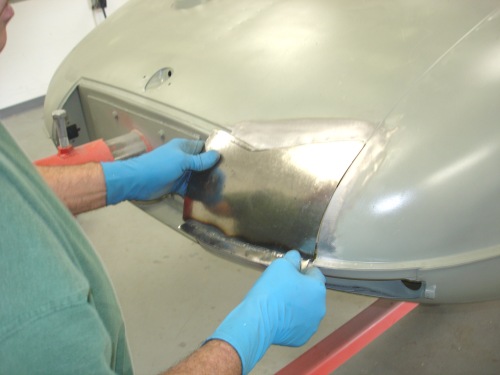
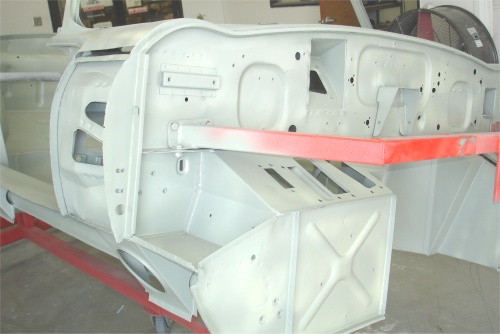
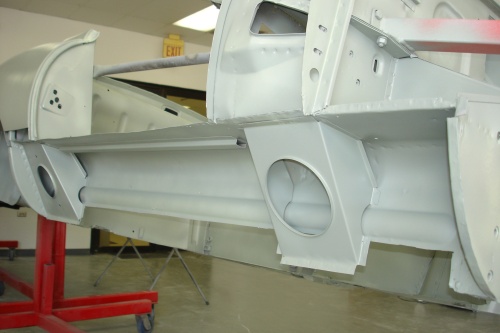
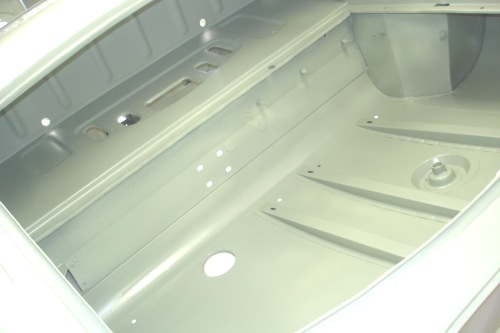
The following photographs show your car after we cut away the outer sills, which were paper thin in places. We also removed the side cowl panels and the main floors, all of which will be replaced. After blasting the inner sill box sections, we carefully sealed the entire monocoque using BASF etching primer.
 |
 |
 |
 |
 |
|
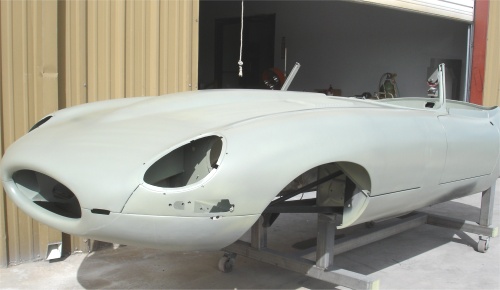
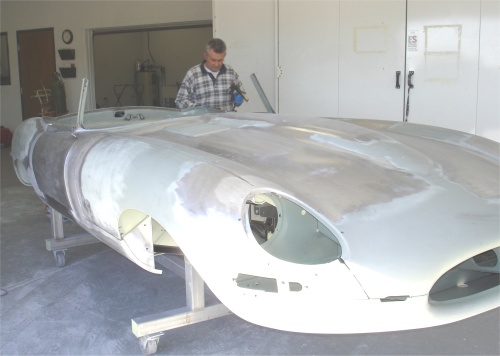
I am pleased to report that we now have your E Type back from being plastic media blasted. Next week, after spending a few hours with the industrial vacuum cleaner removing all the plastic beads from the various box sections, we will be scrubbing all the welds, seams and joints with acid in readiness for the bodywork ahead.This project will be getting underway in earnest very soon!
 |
 |
 |
 |
 |
 |
