Auto to 5 speed conversion
| 1972
E Type Coupe (MW)
Auto to 5 speed conversion |
|
|
Update report - March 12, 2002
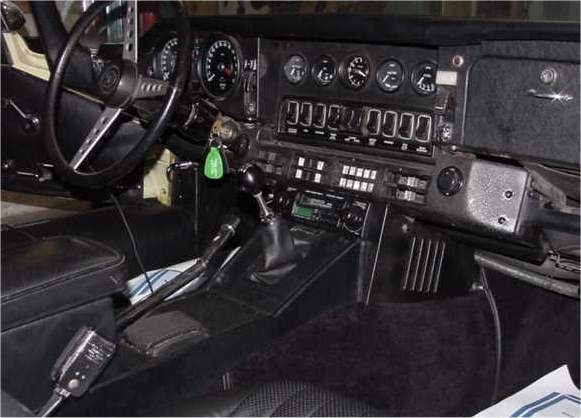
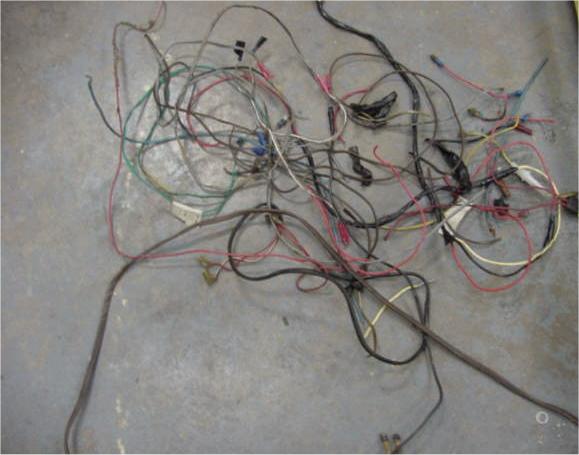
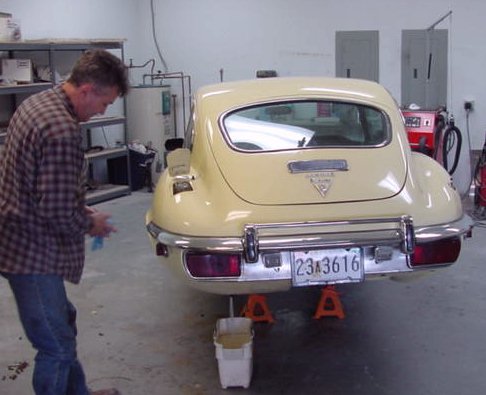
The five speed has been installed for some time now and all that is left is to sort out the nasty mess of wiring that a previous owner left for you! The electrical system on this car really was in a bad way.The plan is to wrap up the wiring issues in the next day or so, test drive the car and basically have it ready for collection/delivery some time next week.
 |
 |
 |
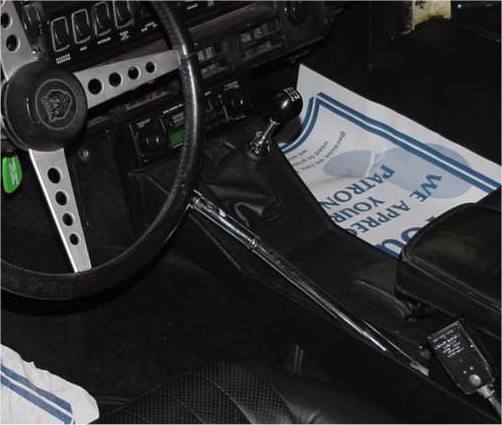 |
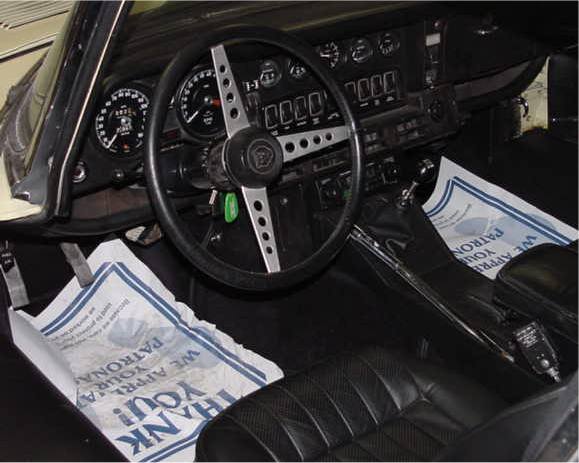
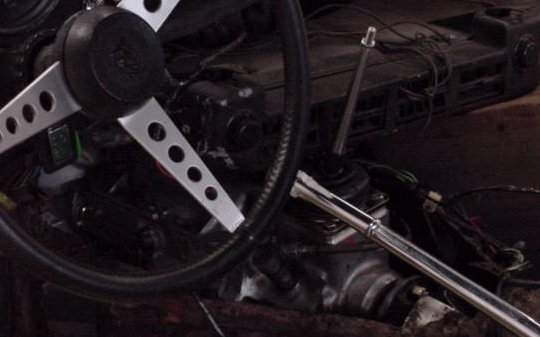
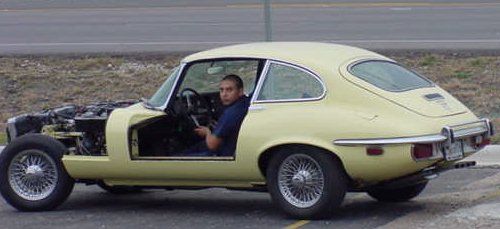
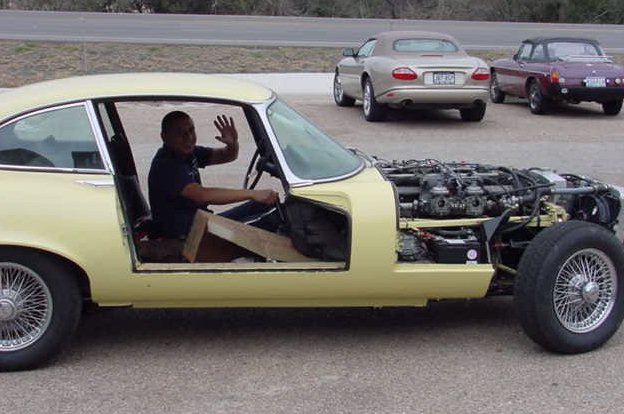
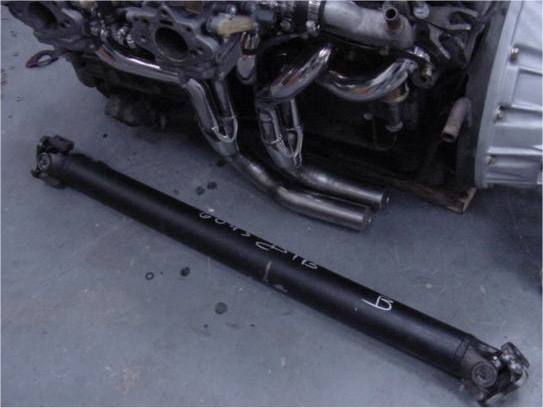
Finally time for the maiden voyage with the new JT5 five speed! John had the bulk of the mechanical components reinstalled before he had to return to England, but Sam has now completed the task - including a carb rebuild and the trouble shooting of various component failures along the way.The new carpet and underfelt set has now arrived and should be installed later this week. Today should see the dash and new console finished off and the AC hooked up and recharged. Once David has installed the carpets we will get Lawrence to reinstall the doors and the bonnet then set about some serious road testing.
 |
 |
|
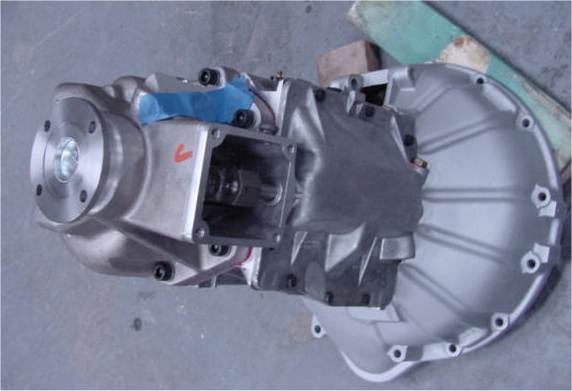
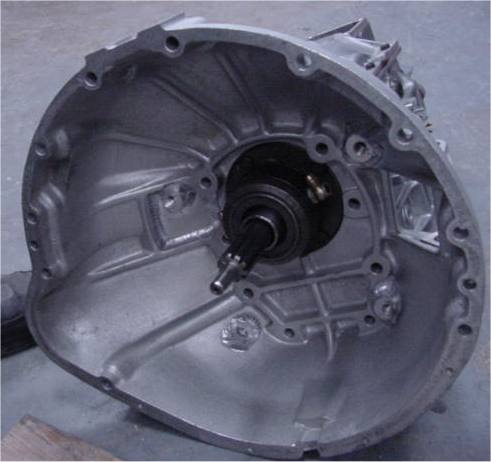
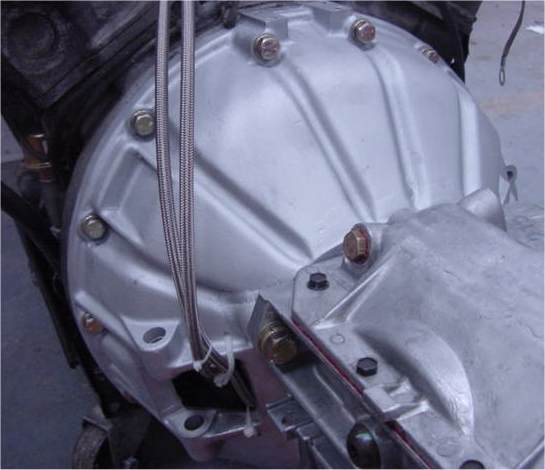
out the JT5 5 speed |
|
|
|
|
 |
 |
|
|
|
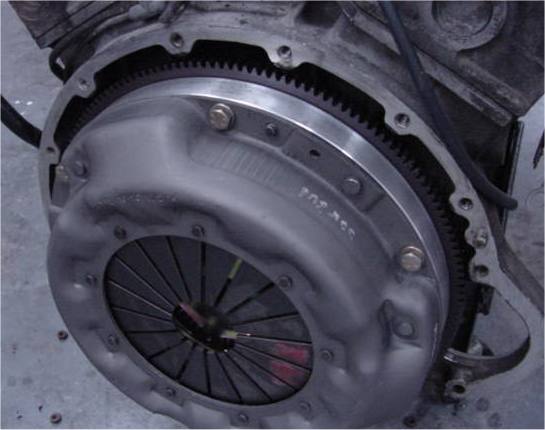
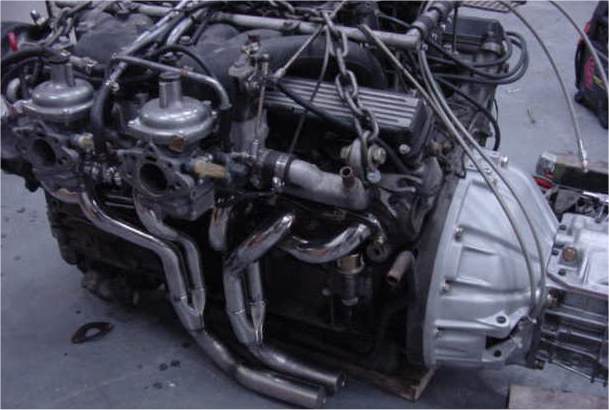
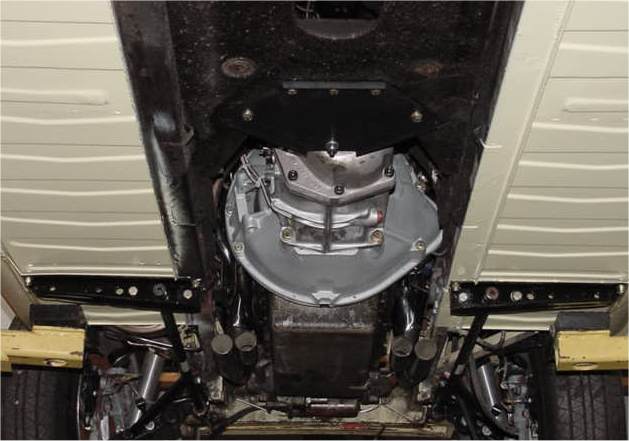
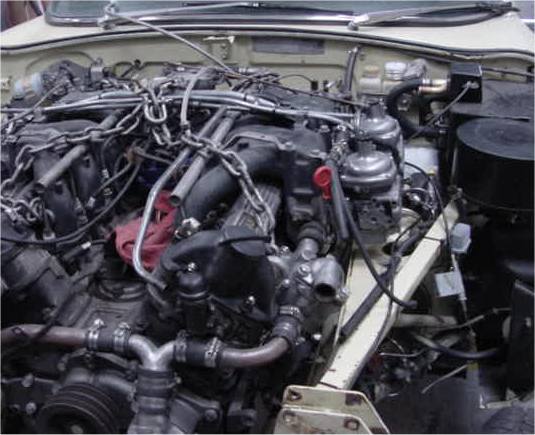
We now have the engine and five speed installed and are should have the mechanical side of things buttoned up in the next few days. We are still waiting on a new carpet set that should be here late next week.
 |
 |
|
|
|
 |
 |
|
|
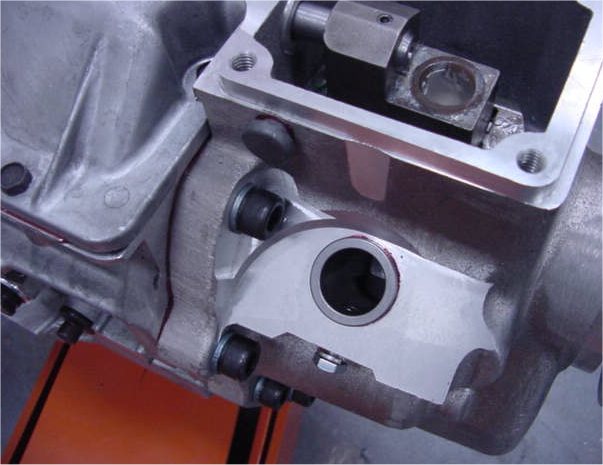
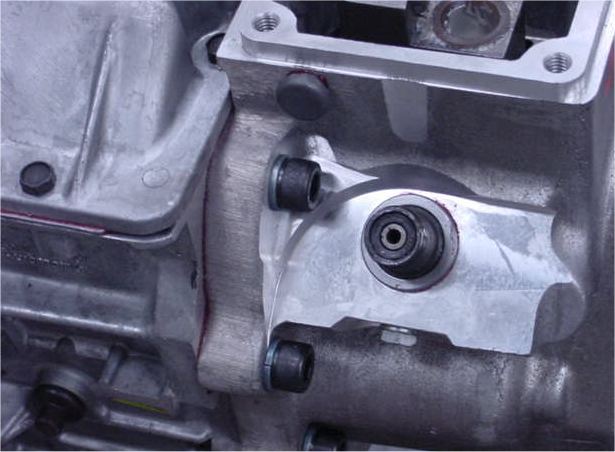
fouling against pressure plate fingers |
 |
 |
|
|
|
 |
 |
|
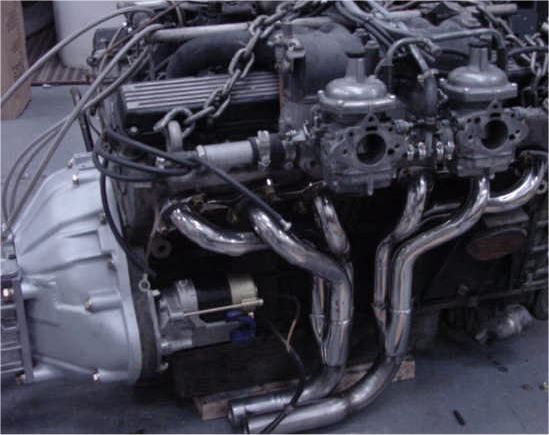
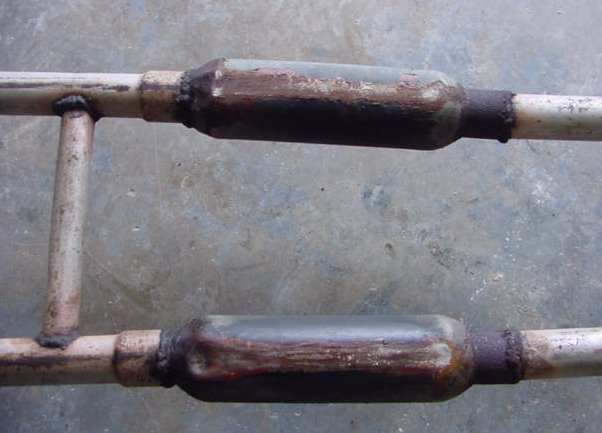
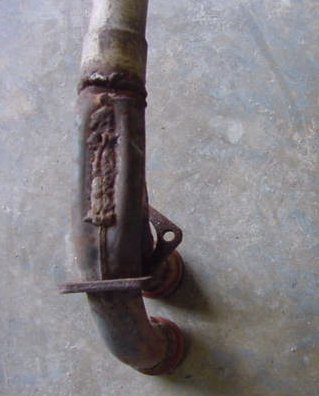
and more headers...... |
|
 |
 |
|
|
|
 |
 |
|
|
|
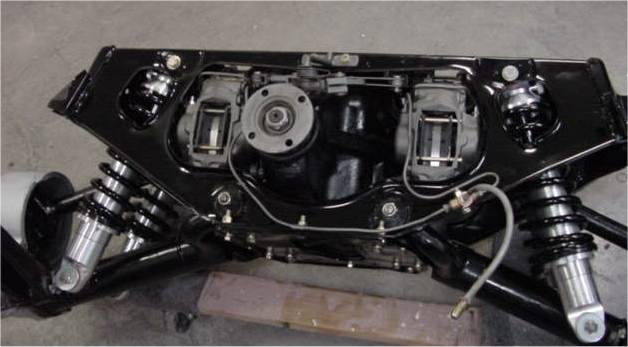
The IRS has now been completely rebuilt and is ready to go back under the car.
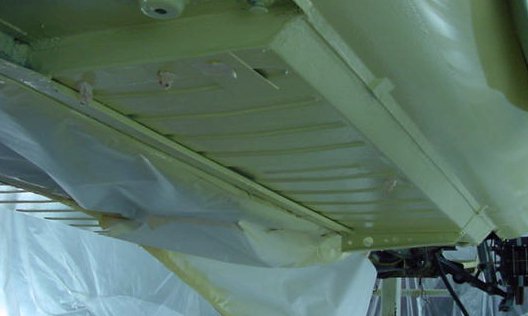
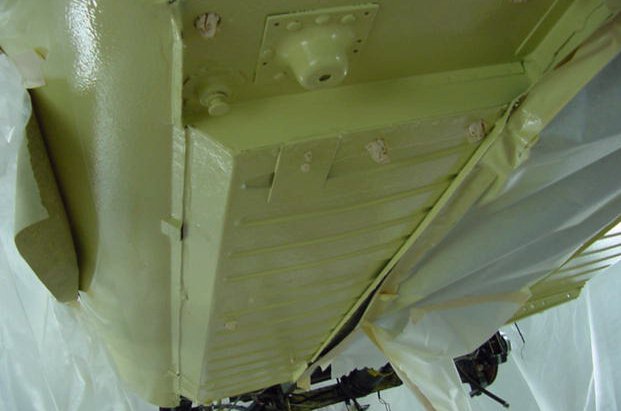
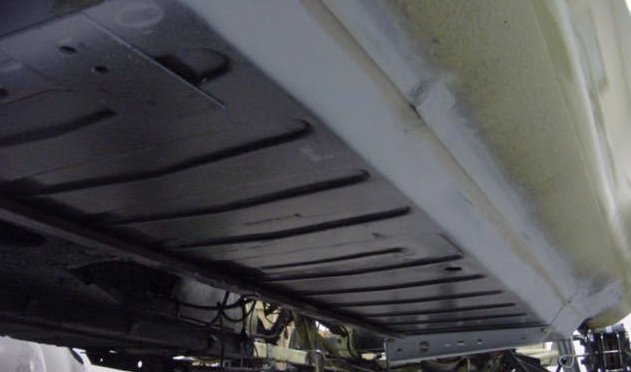
I am pleased to report that the floor replacement has now been completed (on schedule) and your car is ready to have the mechanical work carried out. Lawrence applied Body Wax to the inner panels and Cosme painted the underside of the car with 3M Body Schutz (stone guard) before applying a coat of Pale Primrose.
 |
 |
|
|
|
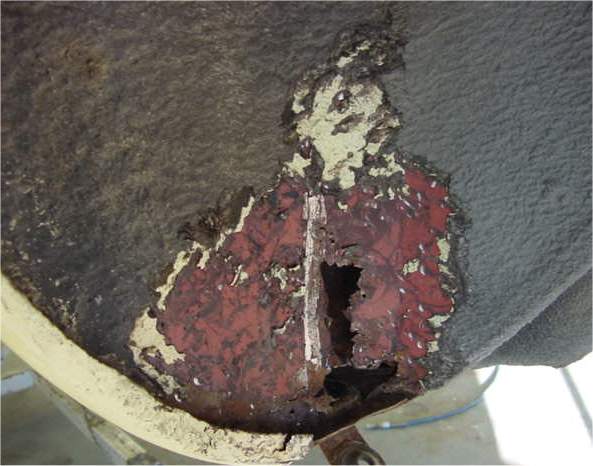
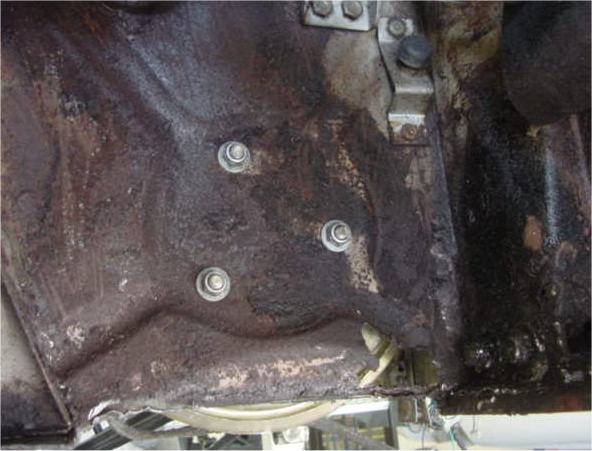
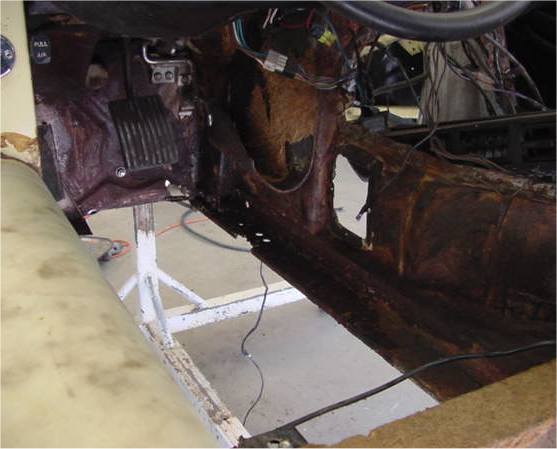
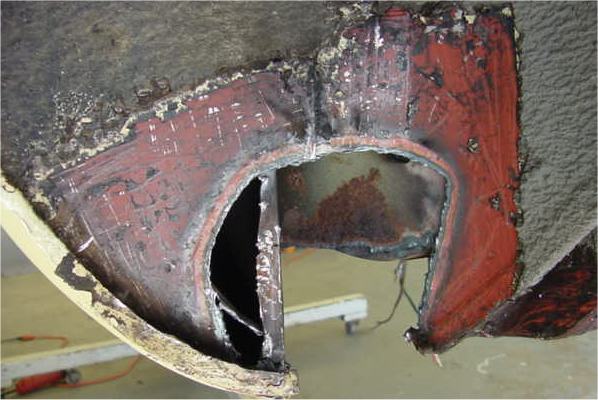
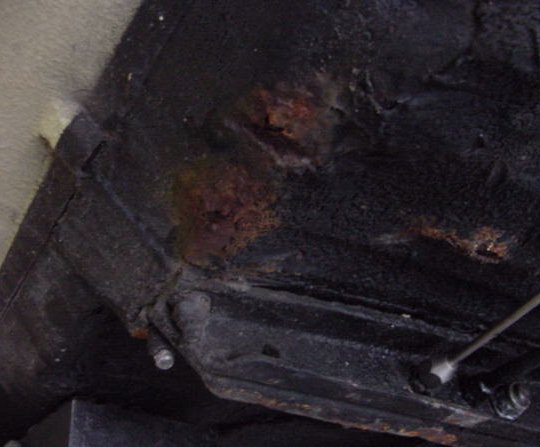
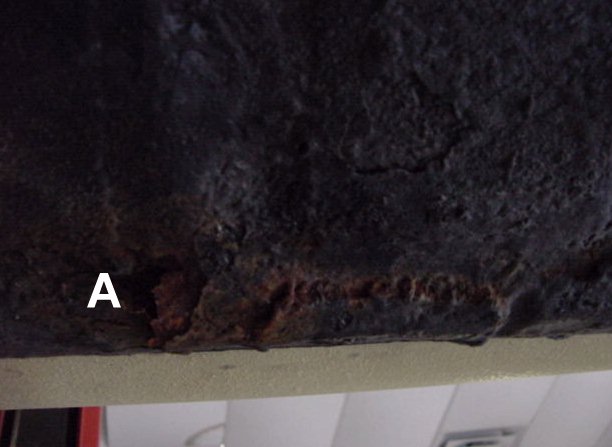
Moving to the left side of the car......not such good news. Lawrence has uncovered a number of areas that are going to require his attention, most notably at the rear sill closing panel (inside the left rear wheel arch - see photograph # 1) and the lower portion of the driver's kick panel (see photograph # 2). Although these don't look very pretty, they are actually quite simple repairs with the floors removed.
 |
 |
|
amazing what liberally applied underseal can hide..... |
panel will have to be replaced |
 |
 |
|
also need a localized repair |
|
 |
 |
|
closing panel |
|
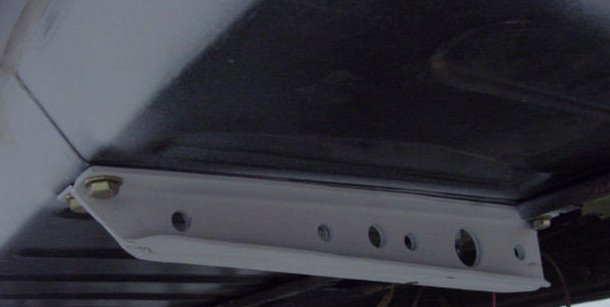
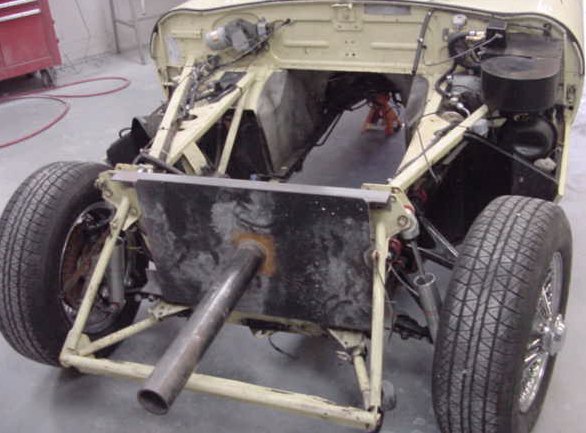
We now have the right hand floor buttoned up and have turned our attention to the driver's side. Notice the torsion bar support bracket has now been straightened and reinstalled.
 |
 |
Gradually cutting away the old floors is a slow and laborious business on an assembled car. Here you can see Lawrence has removed the right hand floor and has also identified a couple of areas (see photograph # 4) that will need repairing before the new panels can be installed. At this stage everything is progressing on schedule and we have not found any nasty surprises.
 |
 |
|
|
|
 |
 |
|
scraped off by hand |
tunnel that will need his attention |
Here you can see the floor replacement getting underway. Notice also how one of the IRS radius arms was so badly corroded that it literally snapped as we were removing the assembly from the car!
 |
 |
 |
 |
|
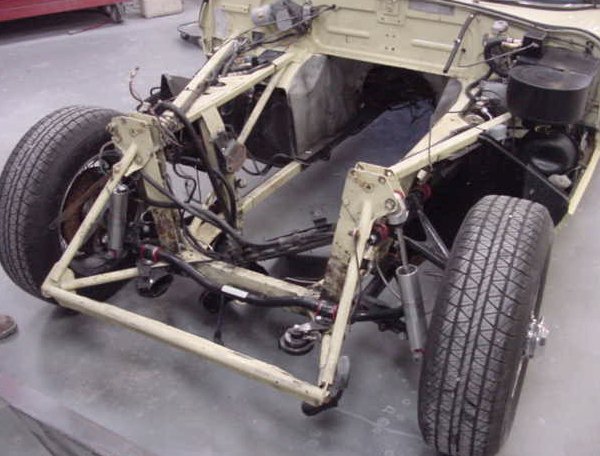
put the car on one of our jigs fully assembled |
snapped radius arm |
 |
 |
|
|
|
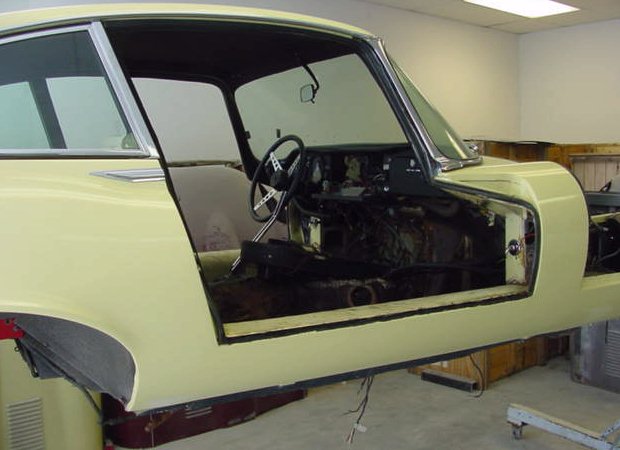
It had been hoped that this project would be a simple five speed conversion. Unfortunately, however, with the vehicle elevated we identified some serious corrosion and structural damage issues which needed to be taken care of before any Team CJ upgrades could be installed.Ordinarily we would not feature relatively routine projects such as this on the webpage, but we thought the conversion from automatic to five speed manual would be interesting to many - perhaps even more so now that we are replacing the floors on a fully assembled car.
The car is scheduled to have the floors replaced during the coming week.
 |
 |
|
|
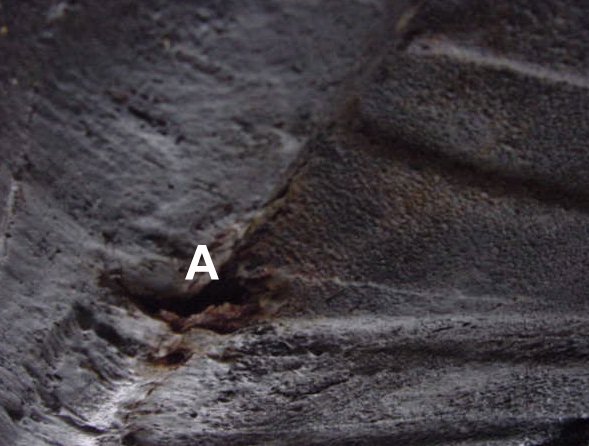
the floor - with worse to come |
 |
 |
|
|
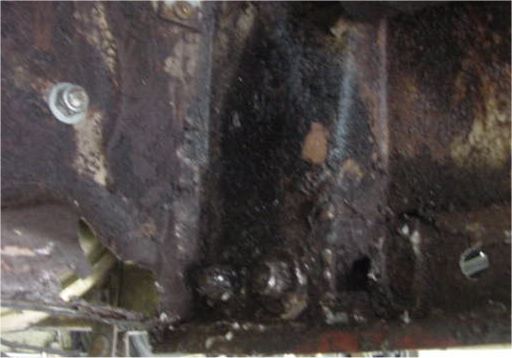
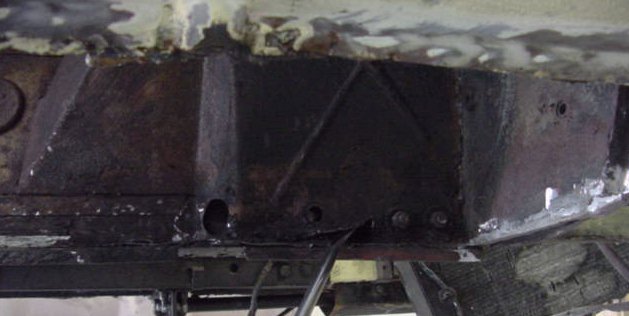
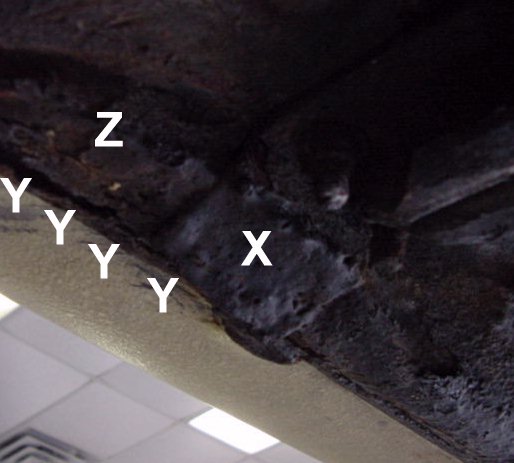
'X' is a previous inept repair 'Z' can be perforated with a finger |
 |
 |
|
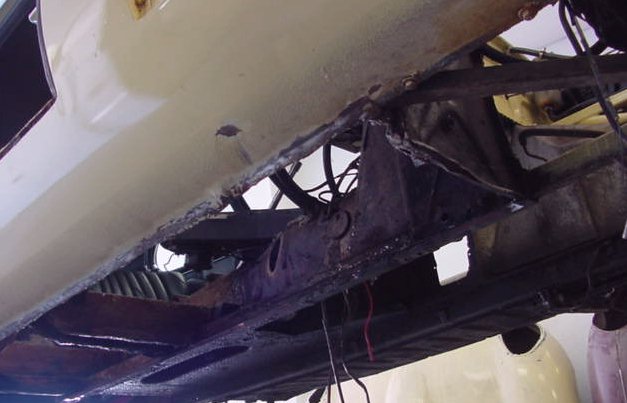
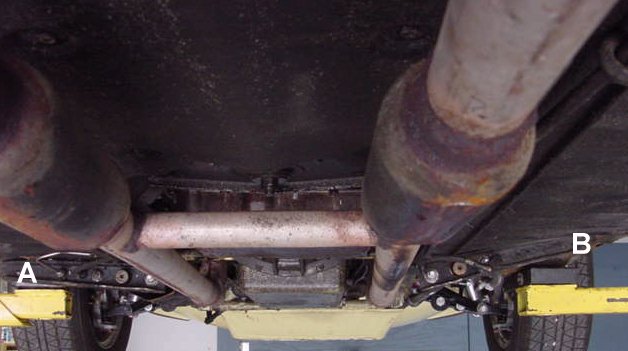
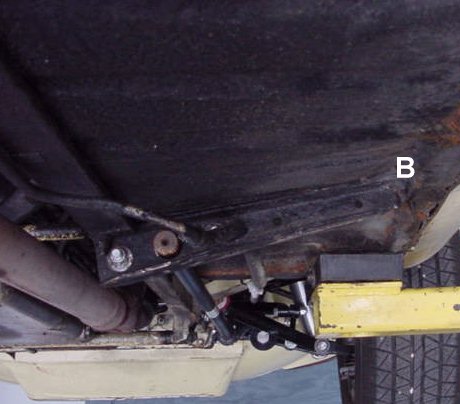
underneath the car |
|
 |
 |
|
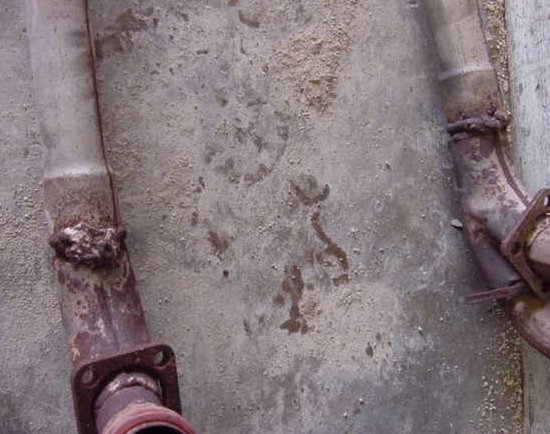
the torsion bars are secured. Notice how B has been forced upwards and is at a completely different attitude to A.... |
|
 |
 |
|
|
|
 |
 |
|
set of Team CJ headers |
|
