| 1963
E Type roadster - Total Team CJ restoration
This vehicle is now sold - thank you. |
|
| 1963
E Type roadster - Total Team CJ restoration
This vehicle is now sold - thank you. |
|
|
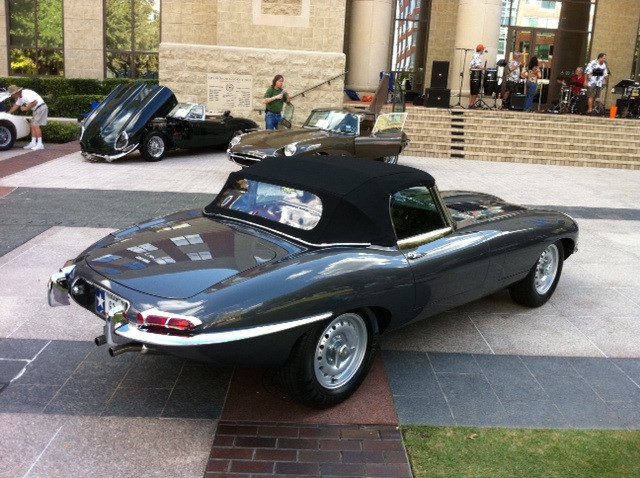
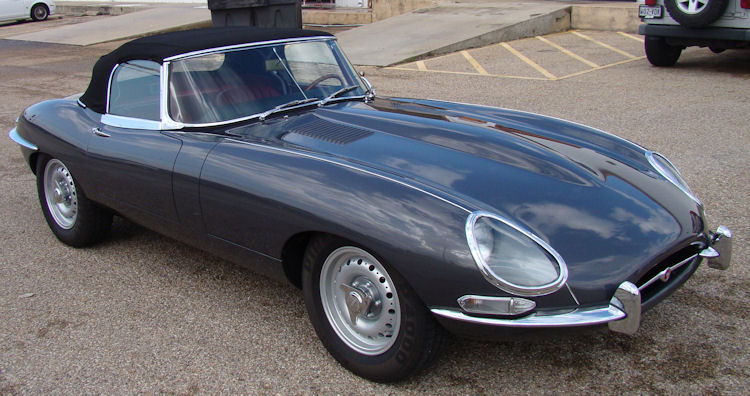
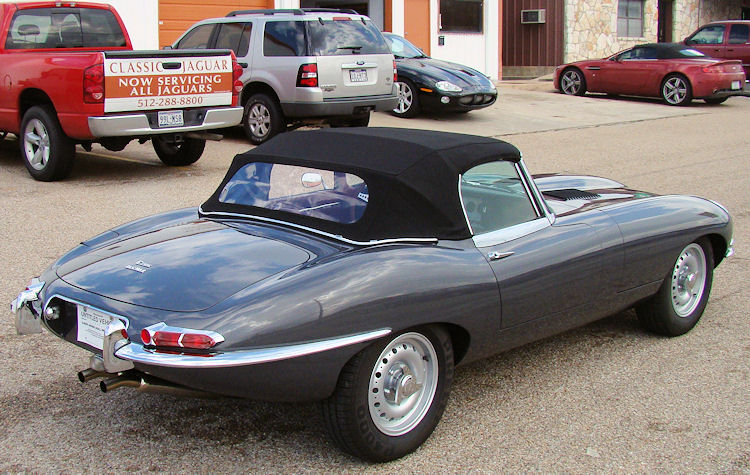
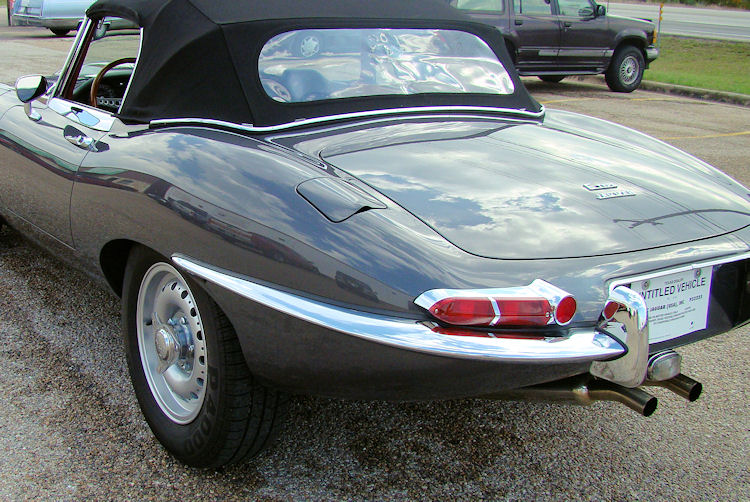
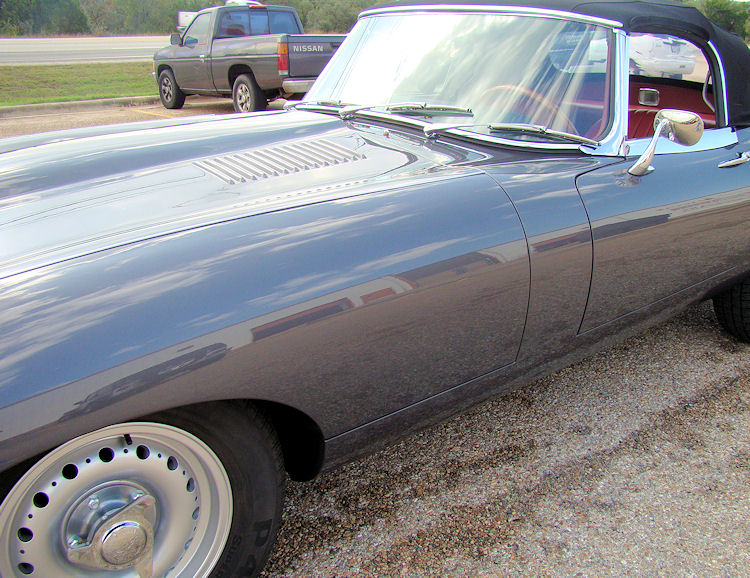
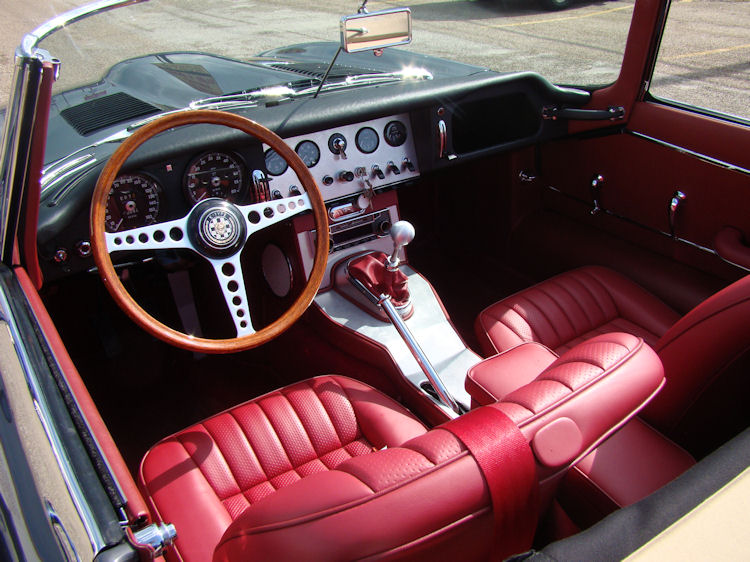
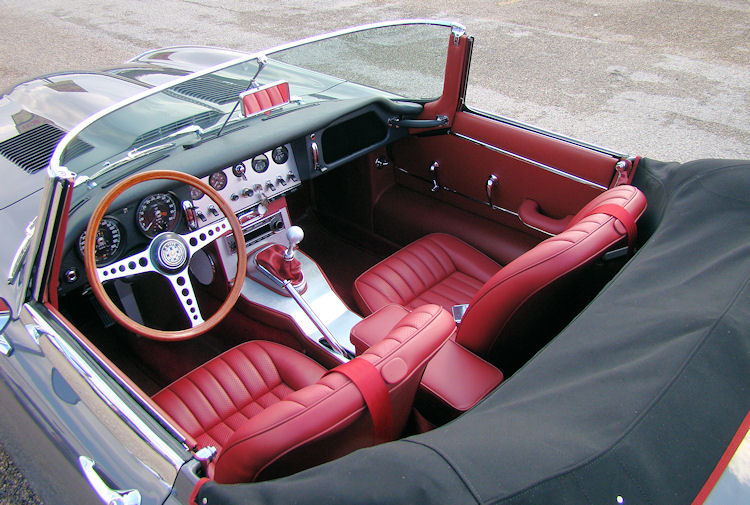
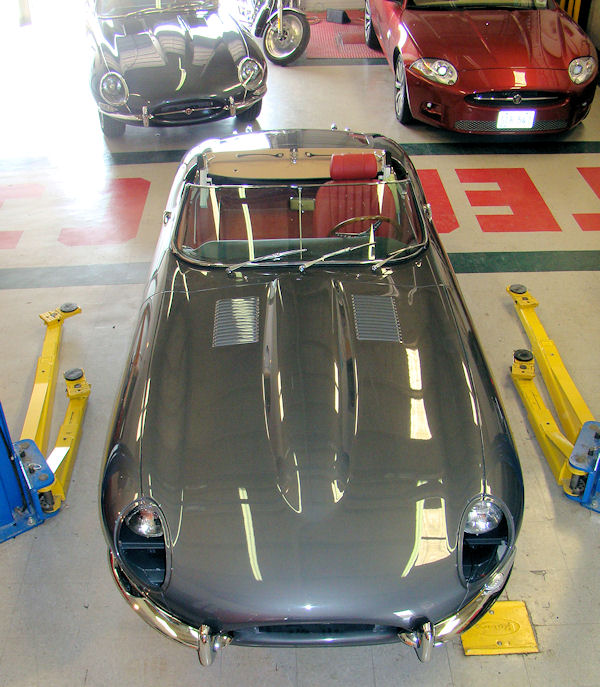
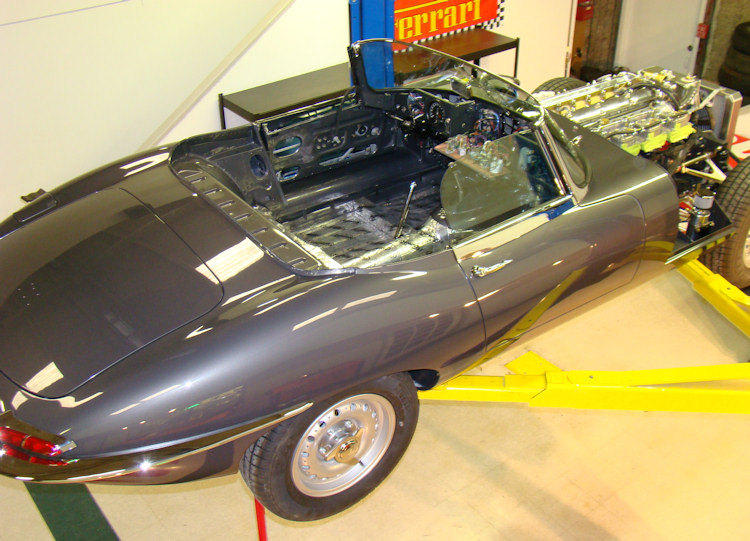
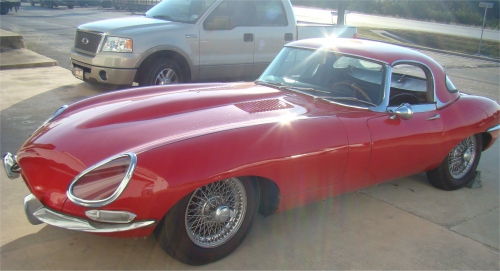
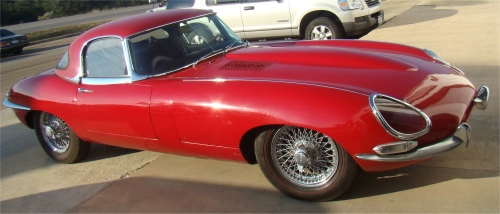
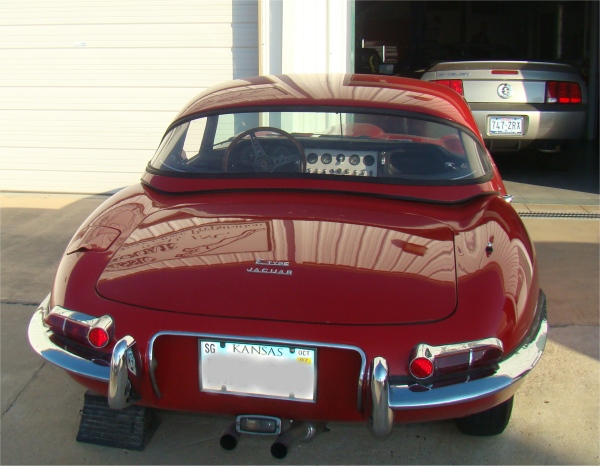
This vehicle is now for sale!A little over three years removed from the completion of a total Team CJ restoration, this spectacular E Type Jaguar is now being offered for sale. This car has been pampered since it was delivered, and remains in superb condition throughout. It has scored 100 points in its last two JCNA Concours outings, the most recent of which was in October 2012.
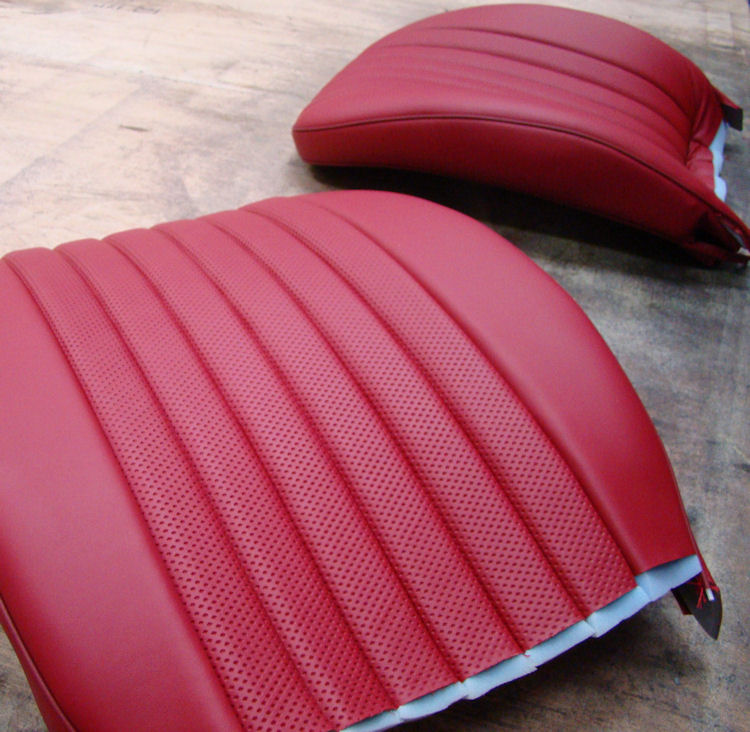
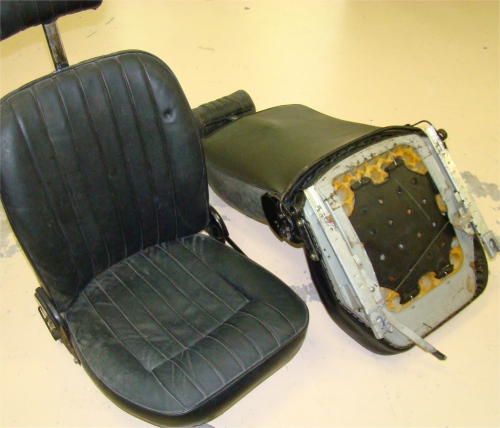
The sale includes the original bucket seats and a totally restored factory hardtop. This page includes the photographic record of the restoration undertaken in the CJ Workshops.
Price: $210,000
This vehicle is now sold - thank you.
This vehicle is sold 'as is, where is', with no warranty of any kind being offered by the seller. Inspections are actively encouraged.
Please contact Dan Mooney at Classic Jaguar for an appointment to view.
On 10/23/11, this CJ restored E Type received a perfect 100 point score at the Houston Jaguar Club Concours. Congratulations to the car's owner and driver, John Knock. By a strange twist of fate that day, John beat another CJ alum, Chip Keener and his 1955 XK140 roadster, into second place.Chip will no doubt take some consolation in his defeat from the fact that his 99.99 point score, when added to his two previous 100 point scores, makes him a lock for a National Championship in his class.
Congratulations to both John and Chip - and thanks for flying the CJ flag!
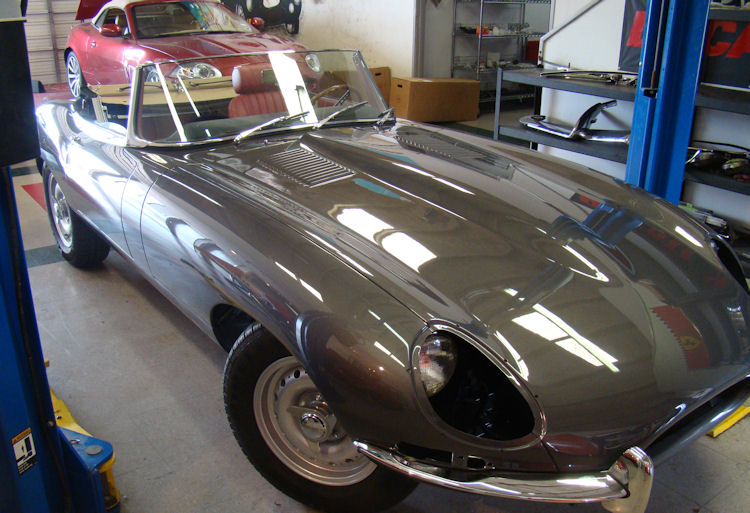
Another completed project ready for delivery....
 |
 |
 |
 |
 |
 |
 |
 |
 |
 |
 |
 |
|
|
||
 |
 |
 |
 |
 |
 |
Only a few finishing touches remain...
 |
 |
 |
|
|
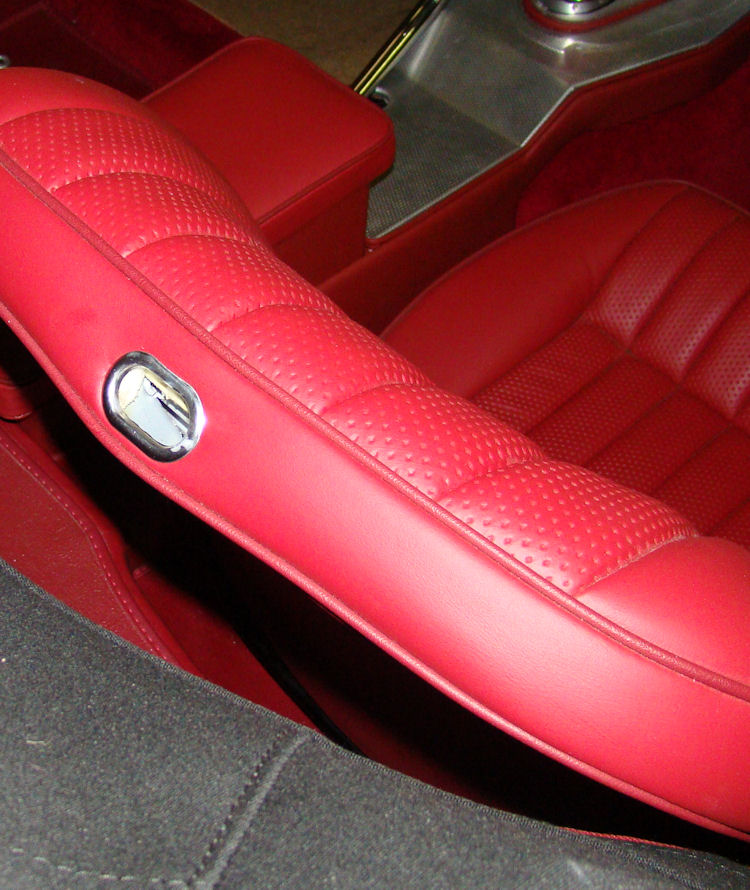
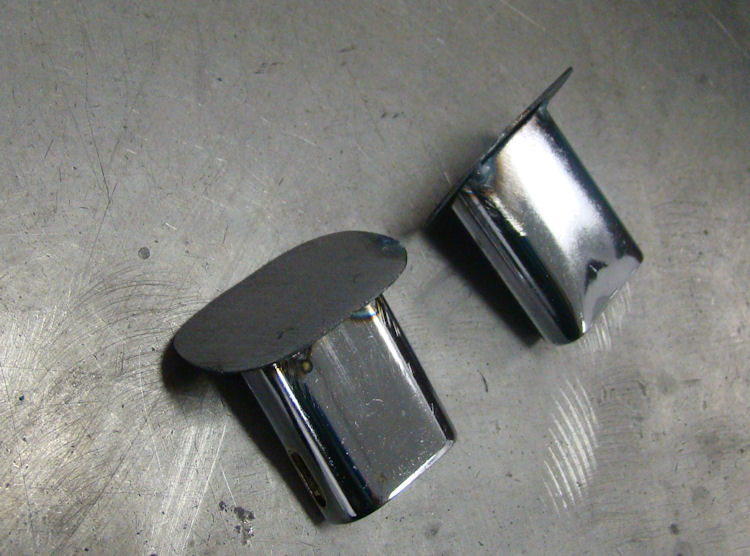
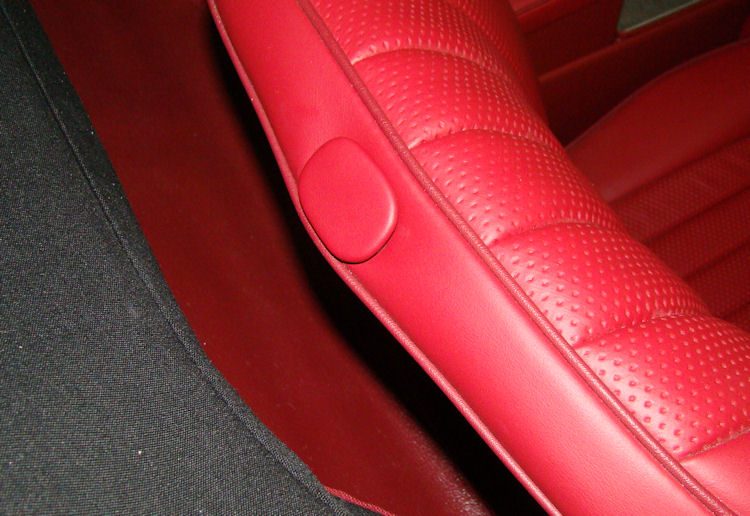
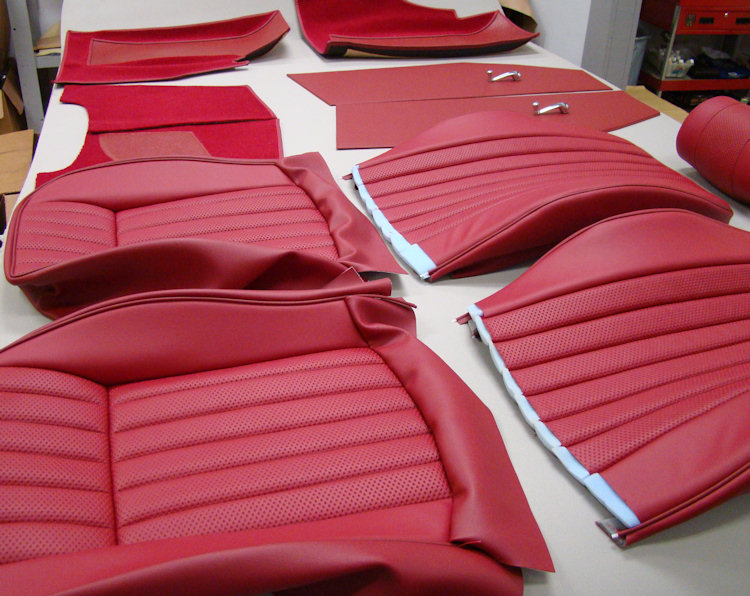
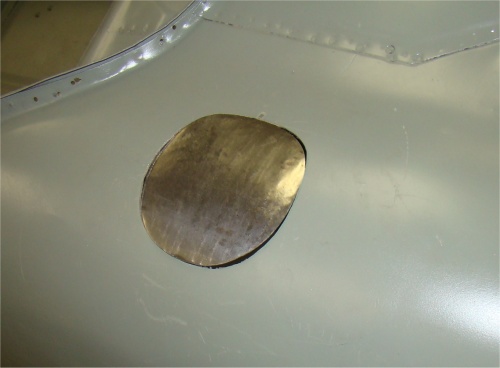
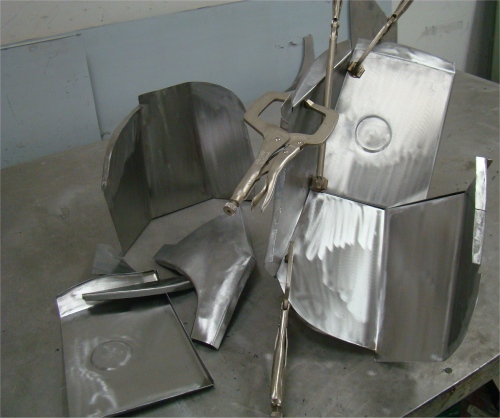
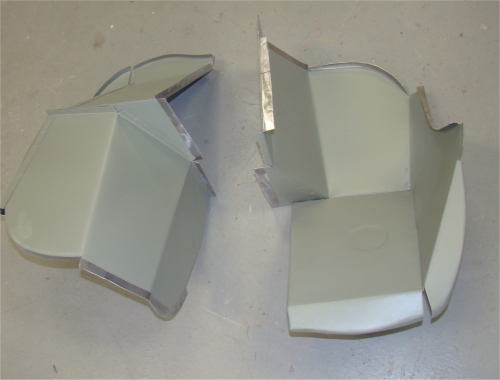
we fabricated plugs for the seat backs |
|
 |
 |
|
|
|
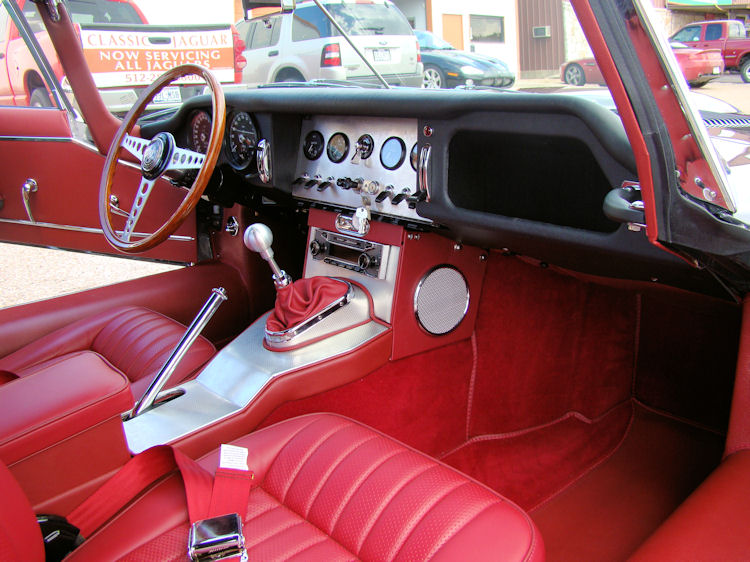
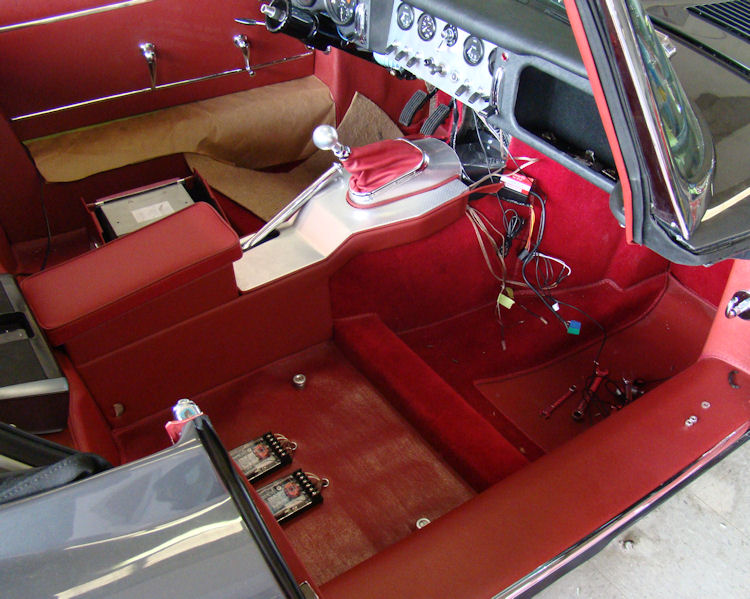
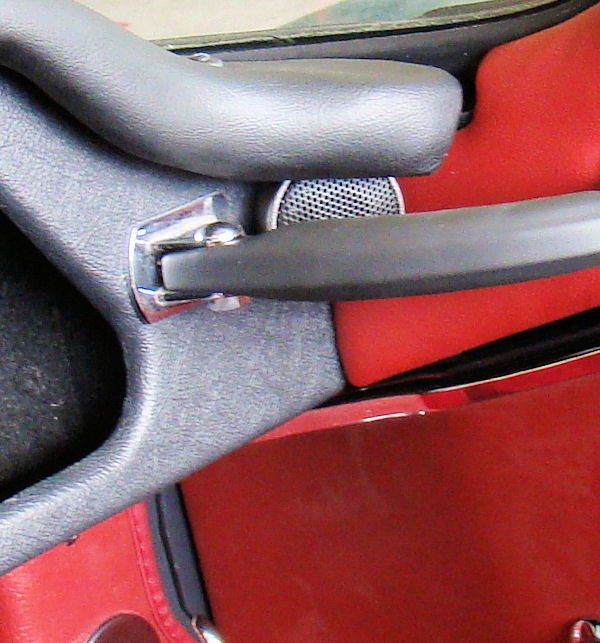
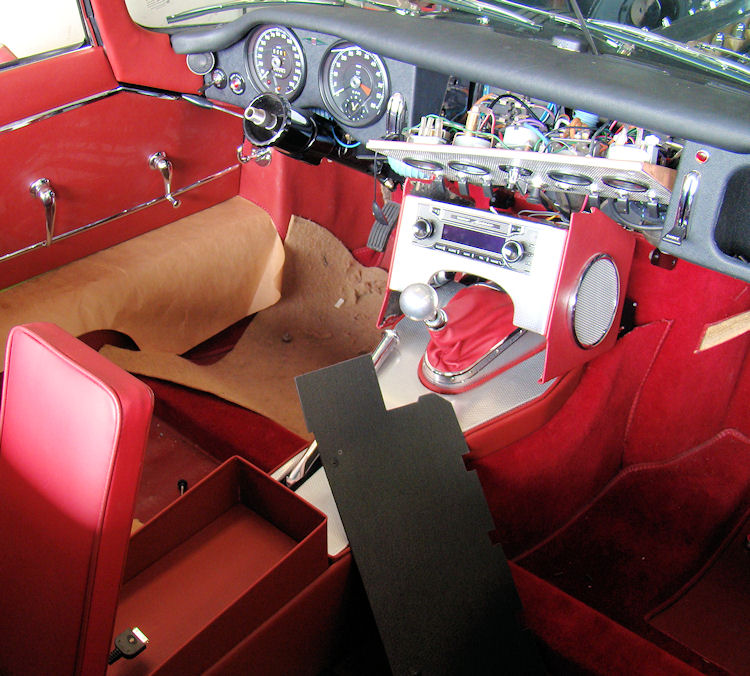
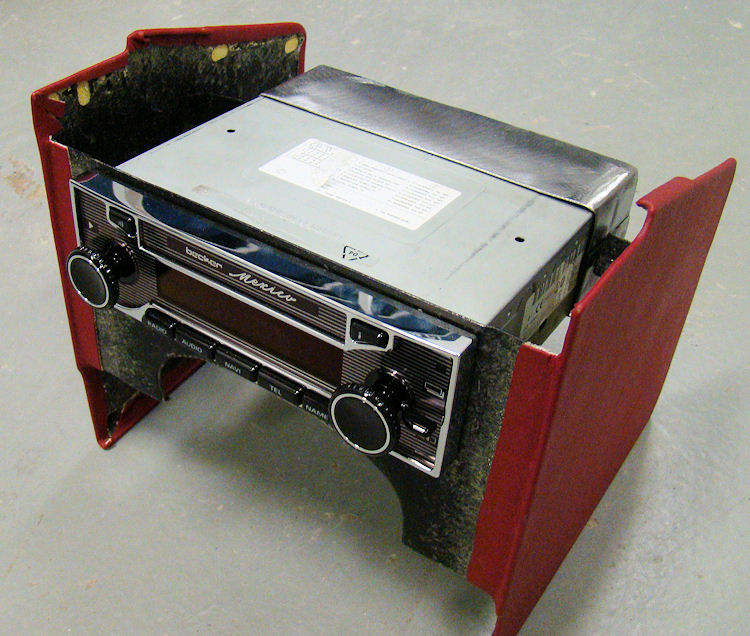
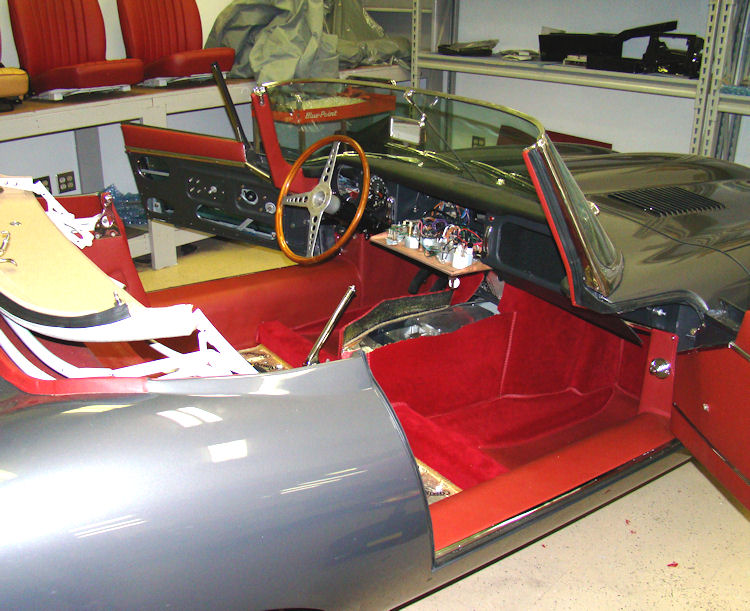
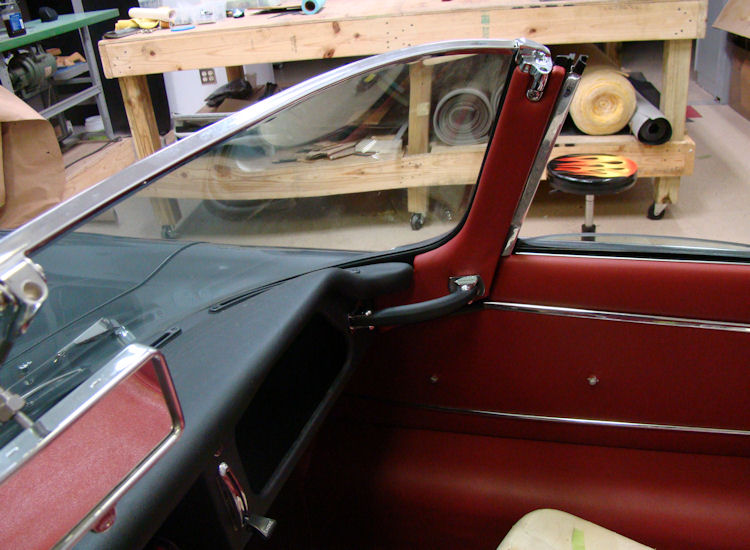
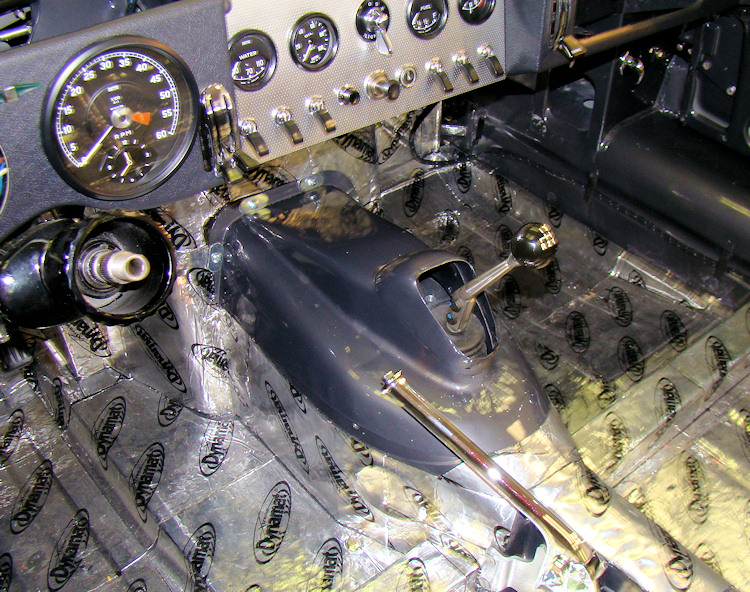
Wiring in the Becker Mexico and installing the center console...
 |
 |
 |
|
|
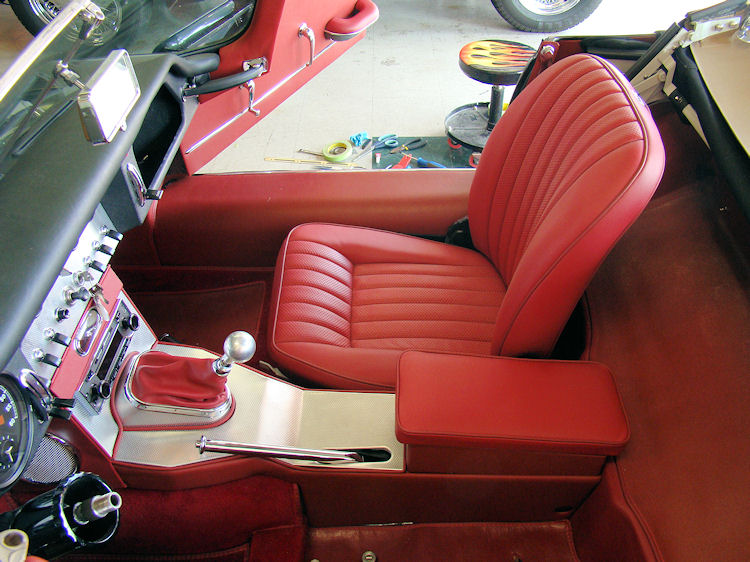
driver's seat |
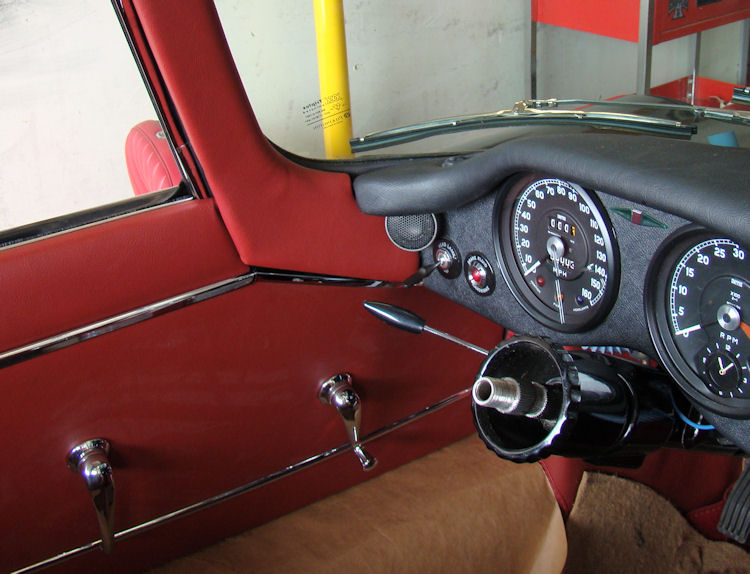
of the dash |
|
|
|
|
 |
 |
 |
|
|
|
|
|
|
||
 |
 |
 |
|
|
|
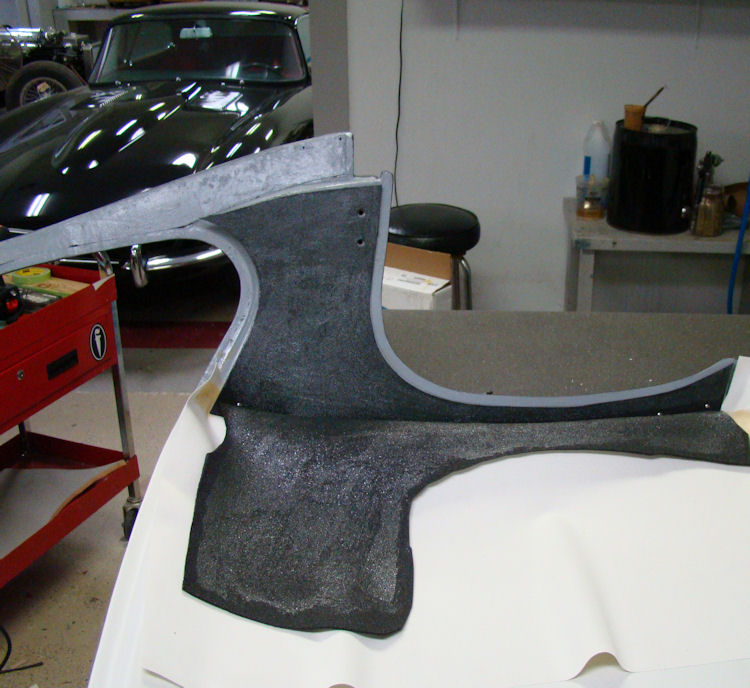
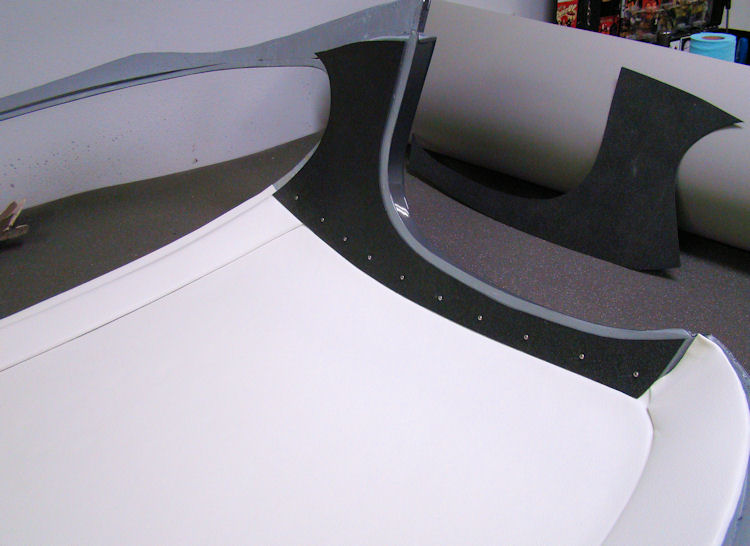
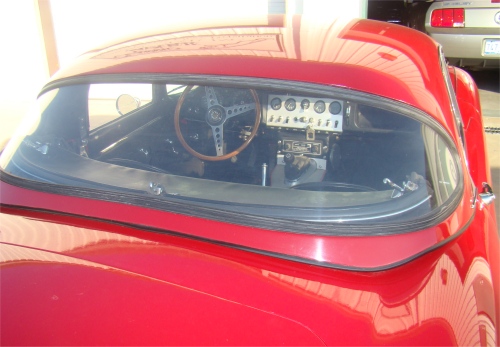
Trimming out the interior of your hardtop....
 |
 |
 |
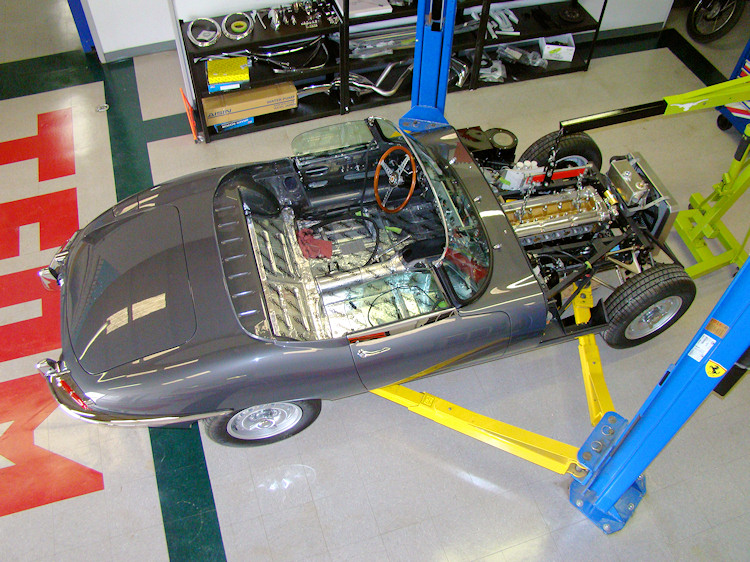
We now have road testing and shakedown underway...
 |
 |
 |
 |
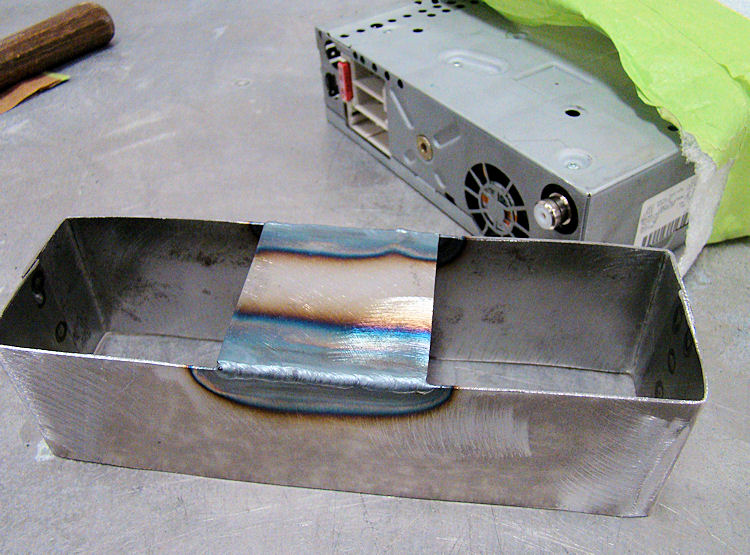
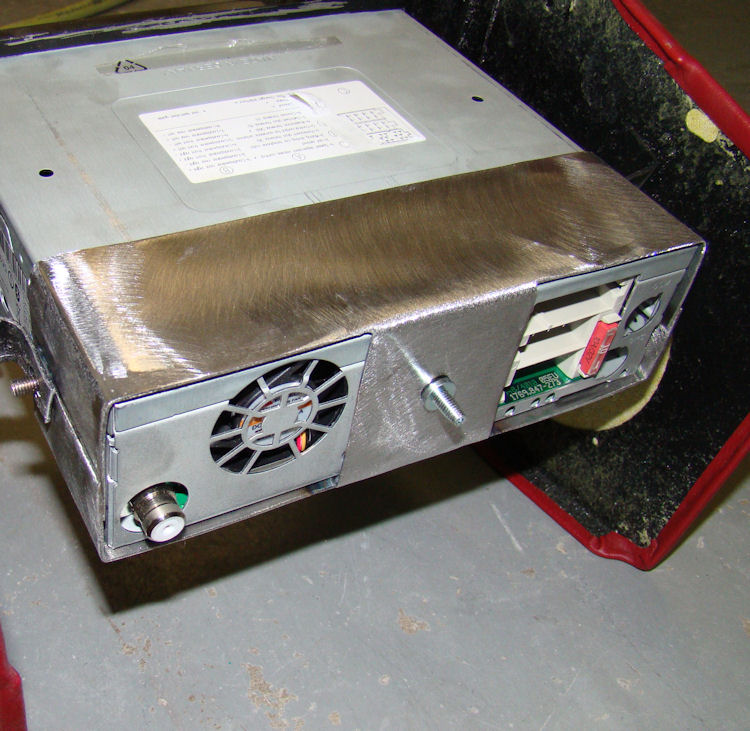
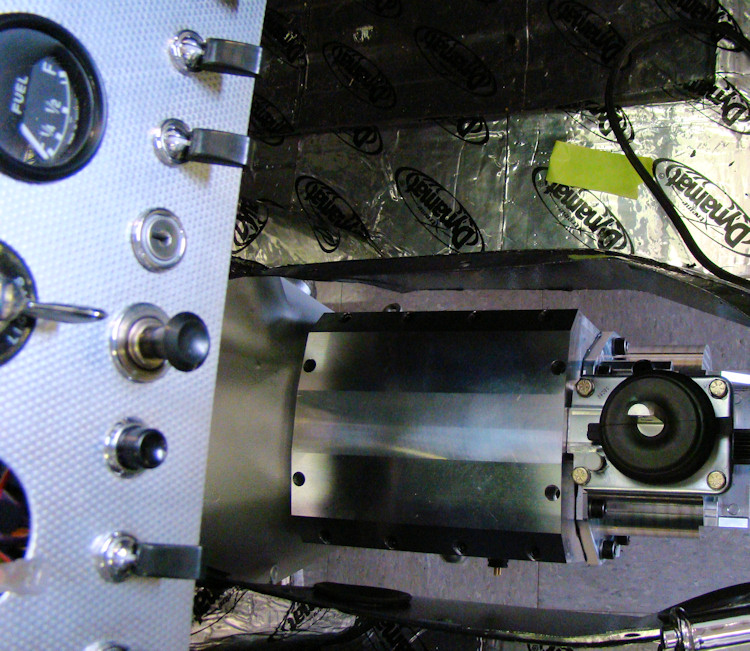
Fabricating a custom bracket to hold the new Becker radio unit, trimming out restored center console...
 |
 |
 |
 |
|
|
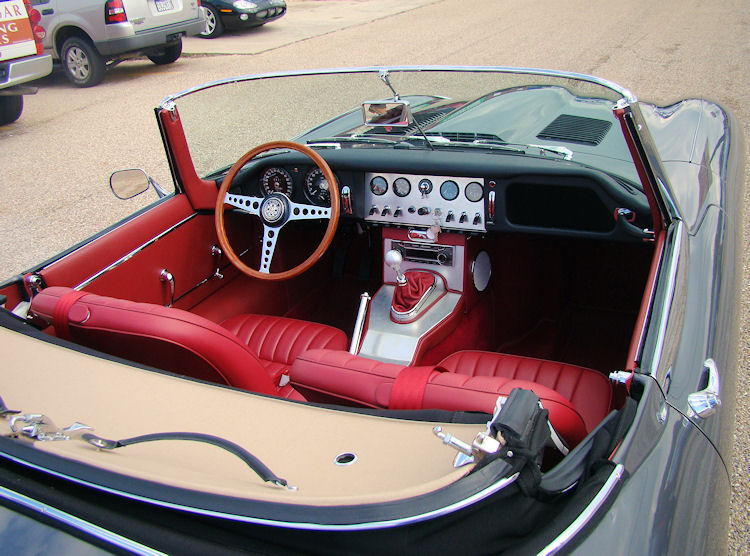
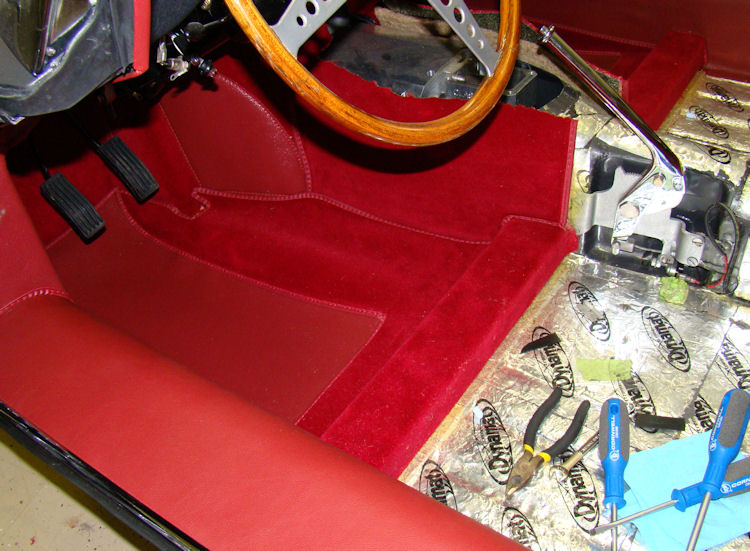
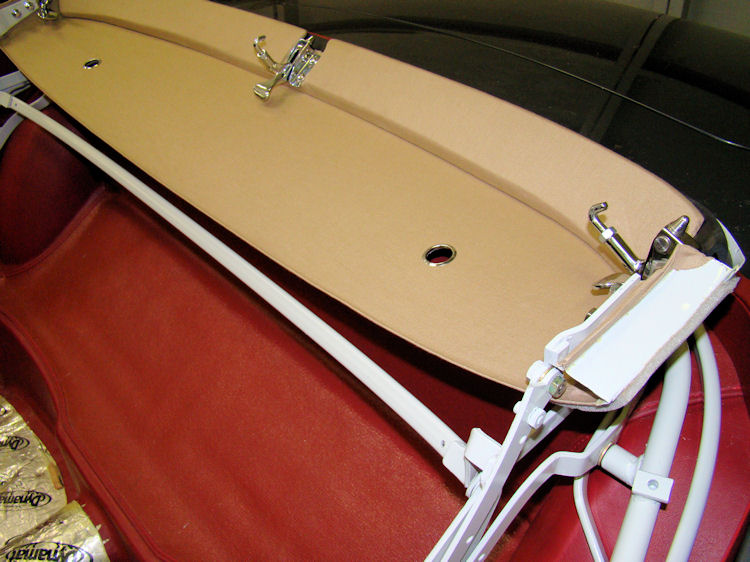
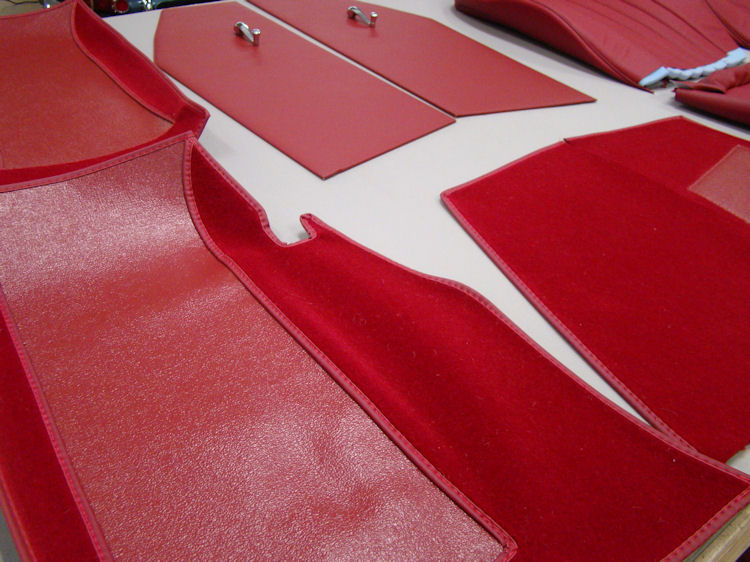
Installing the the new carpets, convertible top frame, etc...
 |
 |
 |
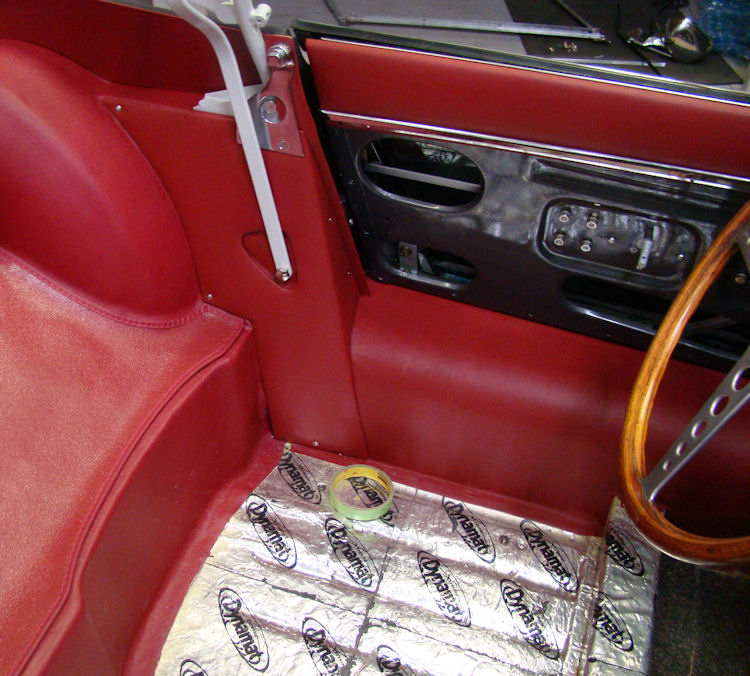
Lots of progress in the interior trim room over the last week or so...
 |
 |
 |
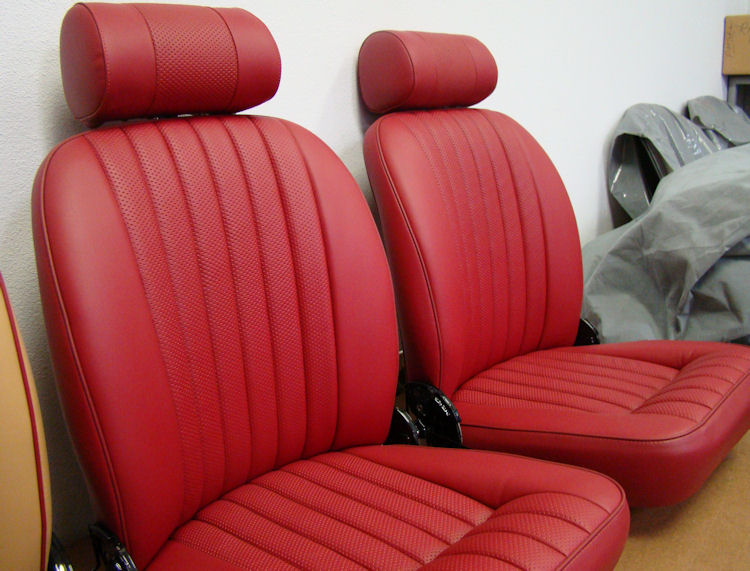 |
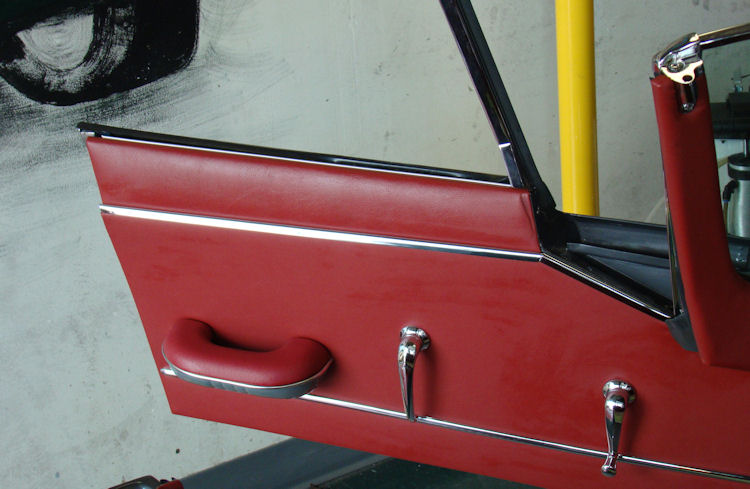
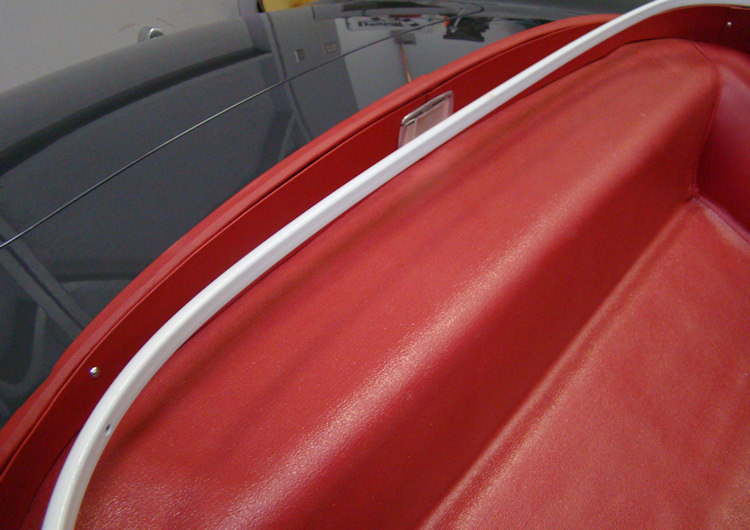
I am pleased to report that we have now begun the process of installing your custom interior.
 |
 |
|
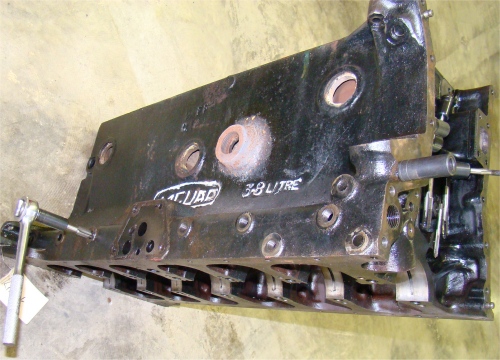
being used in this 3.8 roadster |
|
 |
 |
|
|
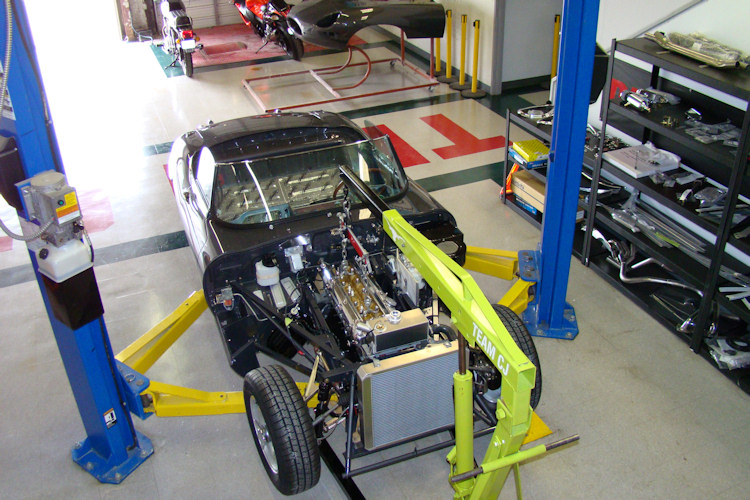
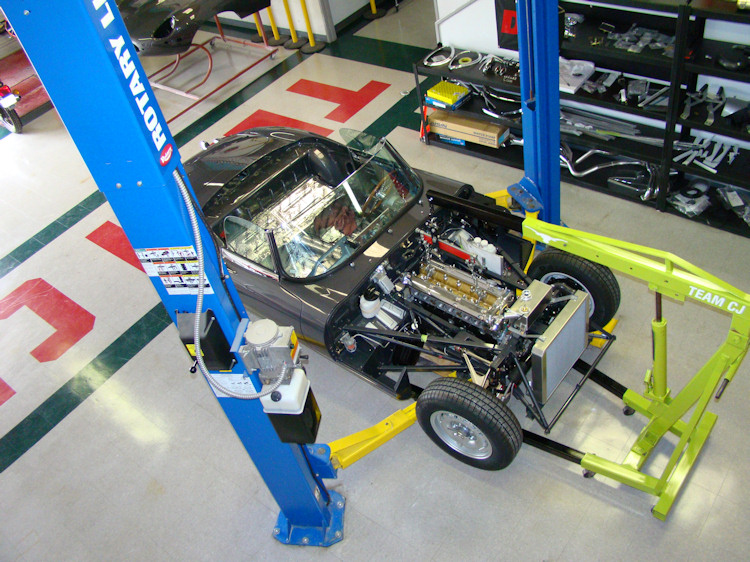
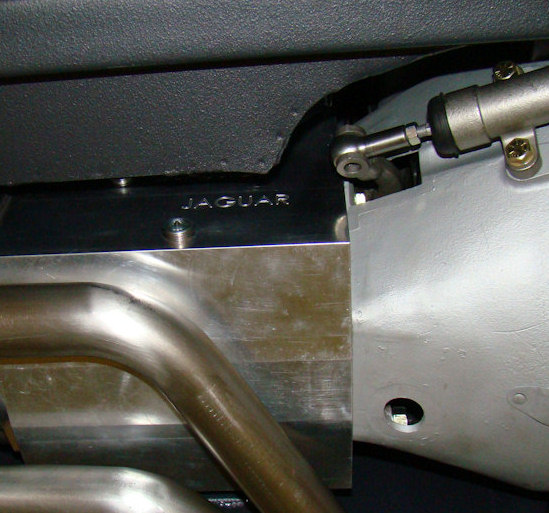
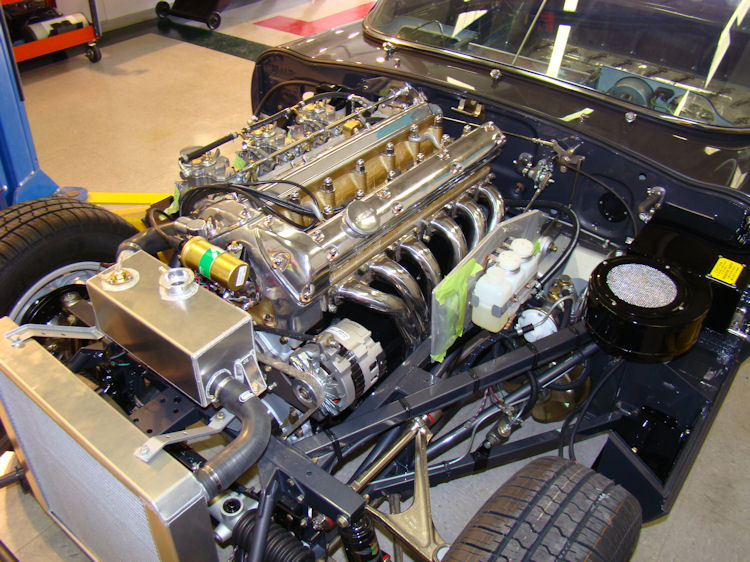
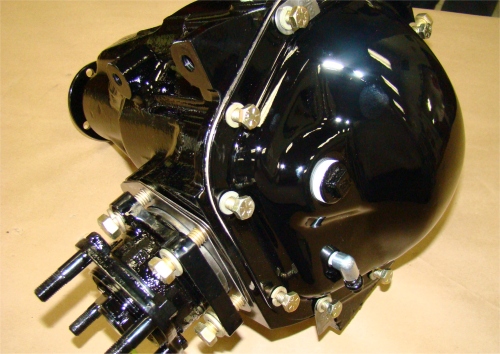
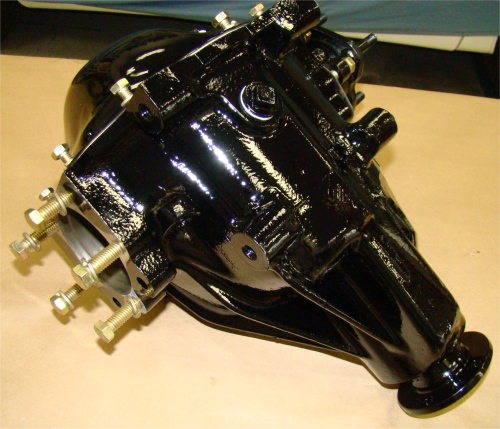
We have now installed your engine and the all new CJ5/600 five speed transmission. With lots of sunshine forecast for next week, the test driving and shake down will begin!
 |
 |
 |
|
|
|
|
|
|
|
|
 |
 |
 |
|
|
transmission tunnel |
|
|
|
|
|
 |
 |
 |
|
|
|
and uses OEM clutches |
|
|
|
|
 |
 |
 |
|
now installed |
|
|
Good to see you earlier today, John. I'm glad you got to hear the engine in person as my camera doesn't do justice to the noise coming out of those open headers on the test rig!
 |
 |
 |
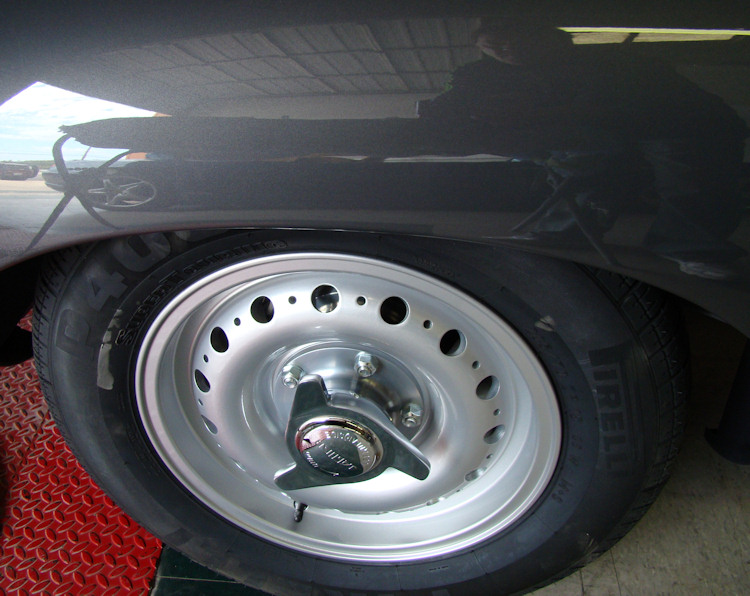 |
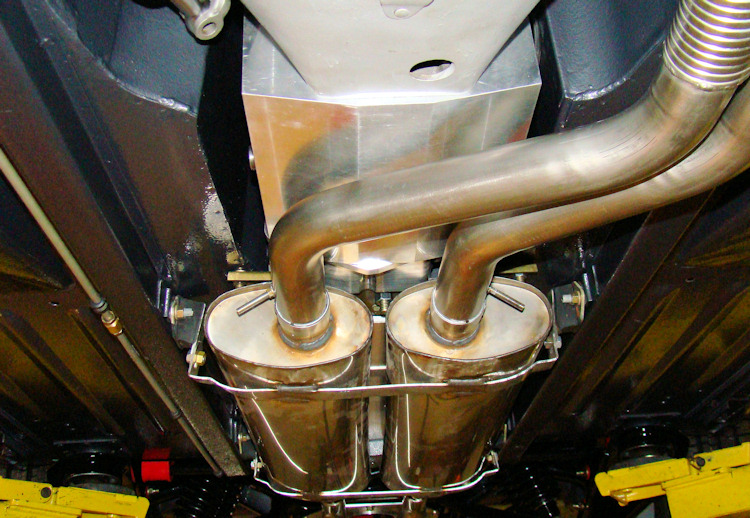
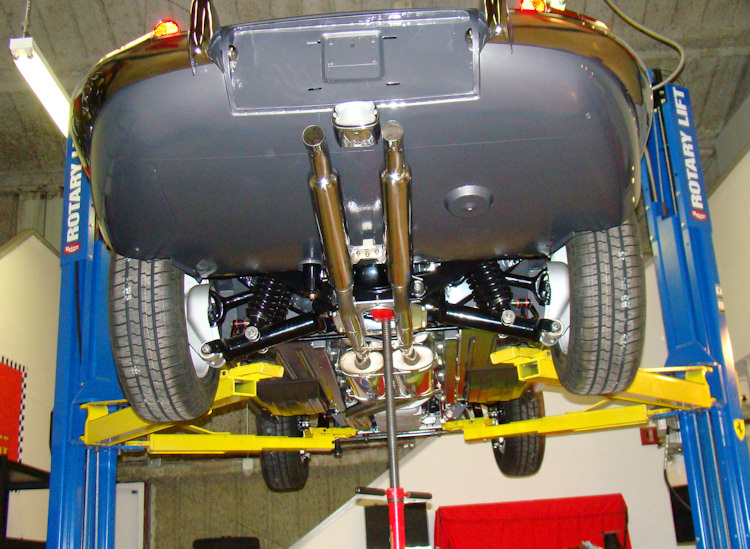
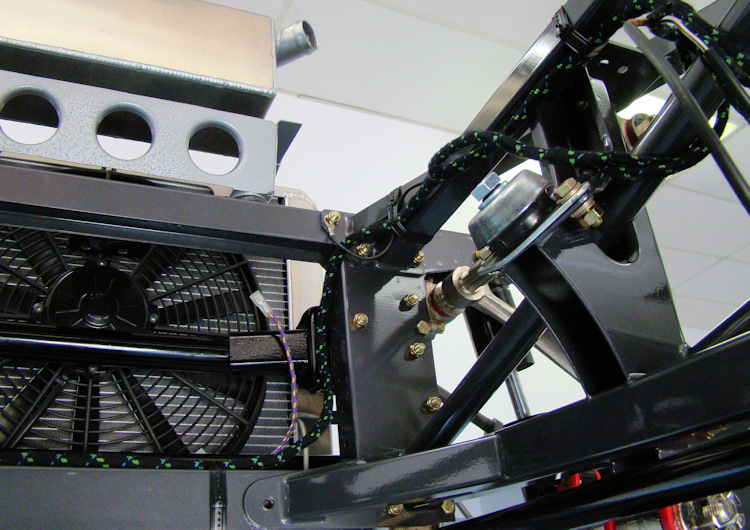
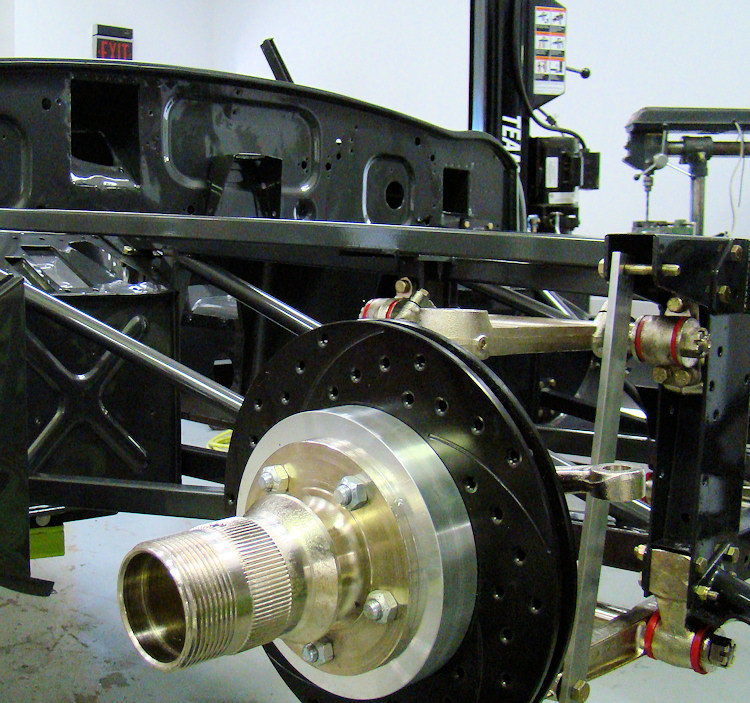
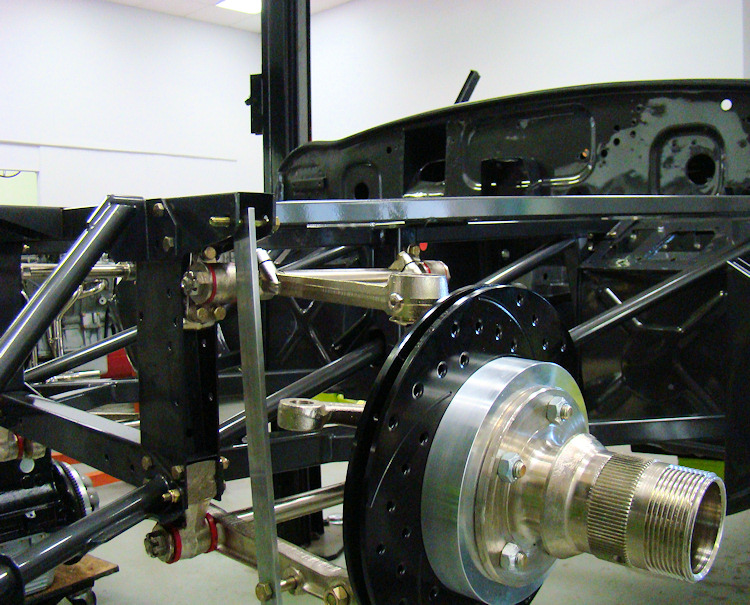
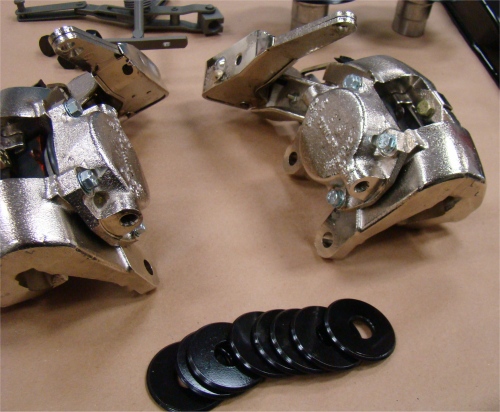
Your Dunlop replica alloys arrived safely and we trial fitted them over the vented Wilwood brakes, encountering no clearance problems whatsoever. I hope you like the the 3 eared spinners, too!

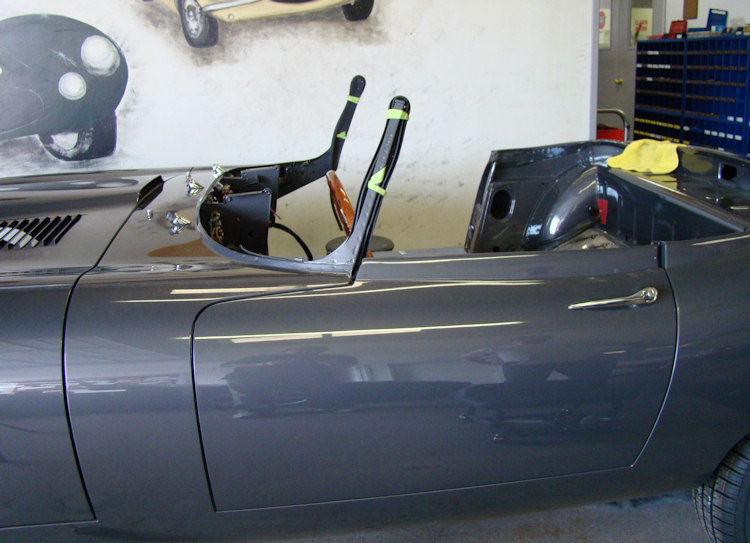
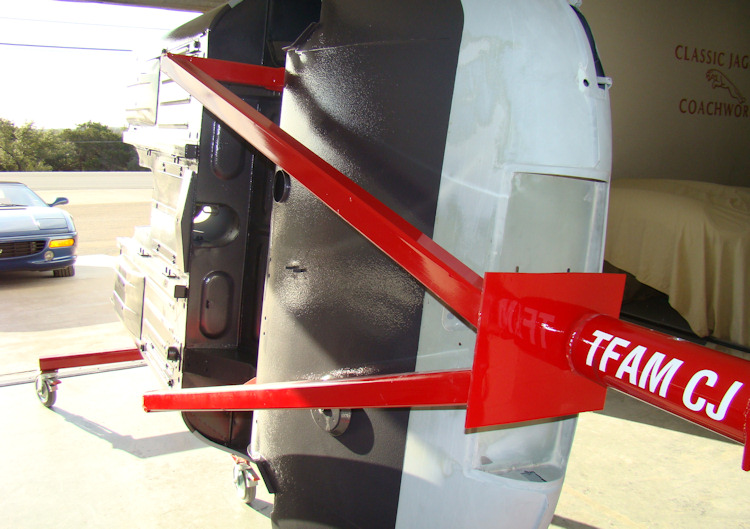
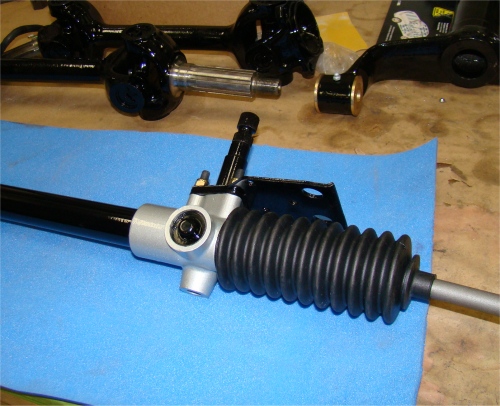
Reassembly underway...
 |
 |
 |
 |
 |
 |
 |
 |
 |
Now for the fun part - going back together...
 |
 |
 |
 |
 |
|
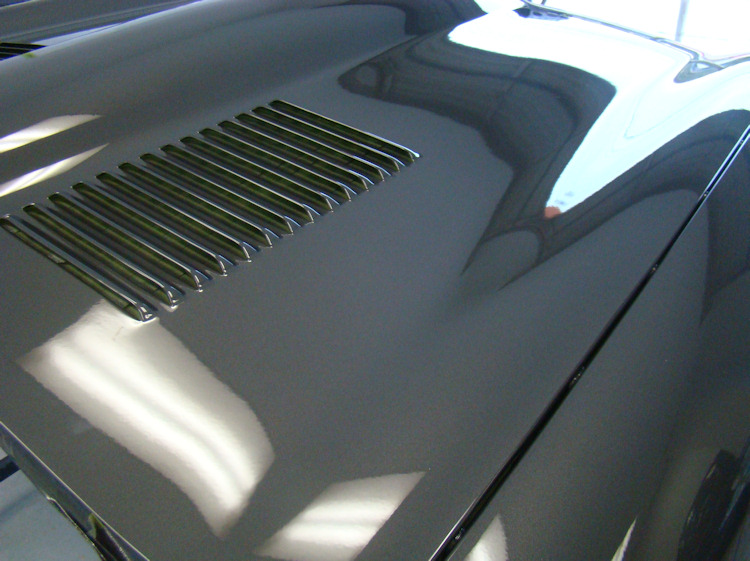
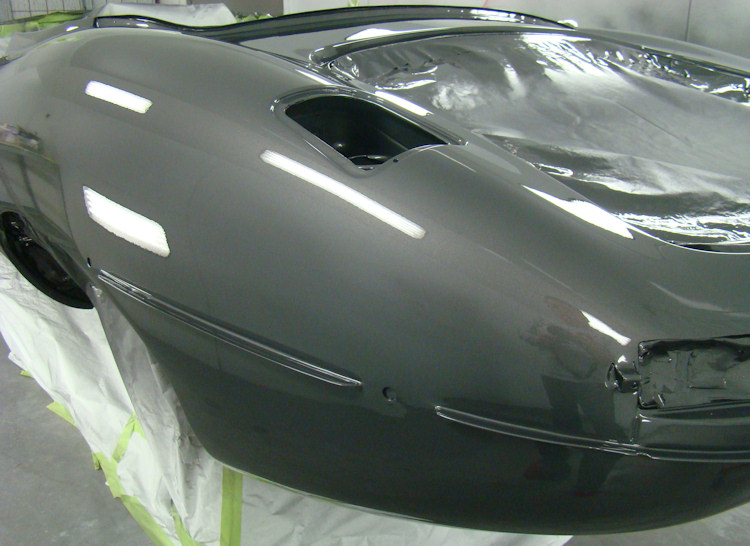
Painting your bonnet....
Javier applying the first pass of clear coat...
 |
 |
 |
|
|
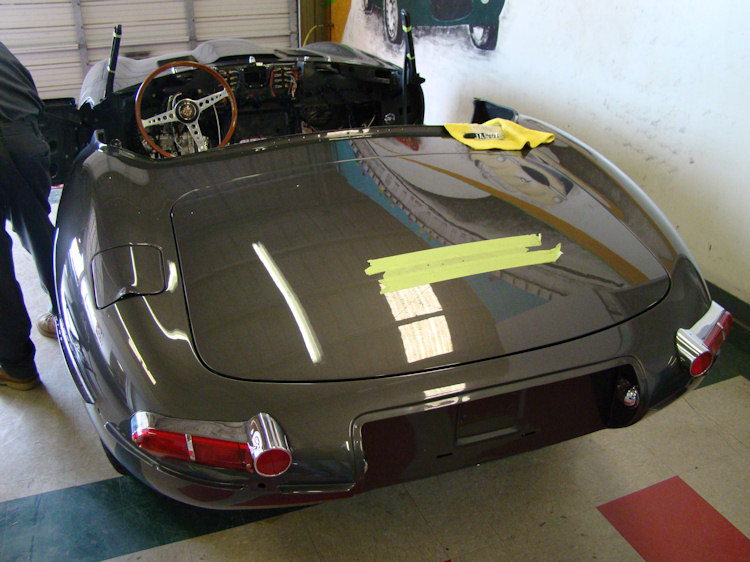
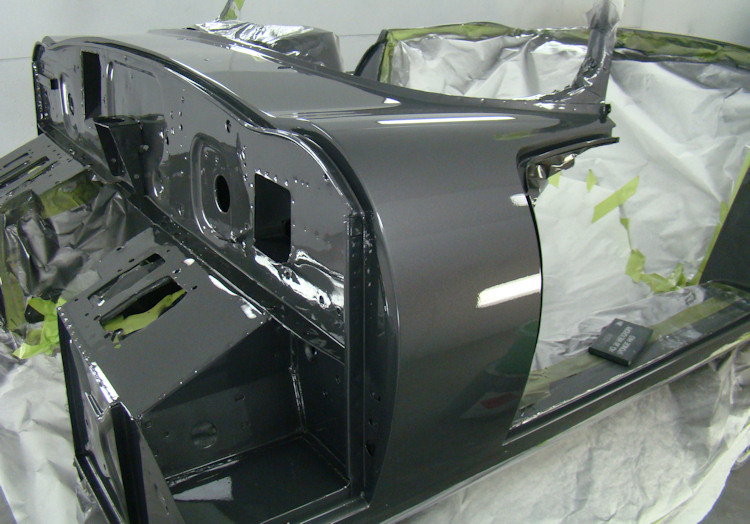
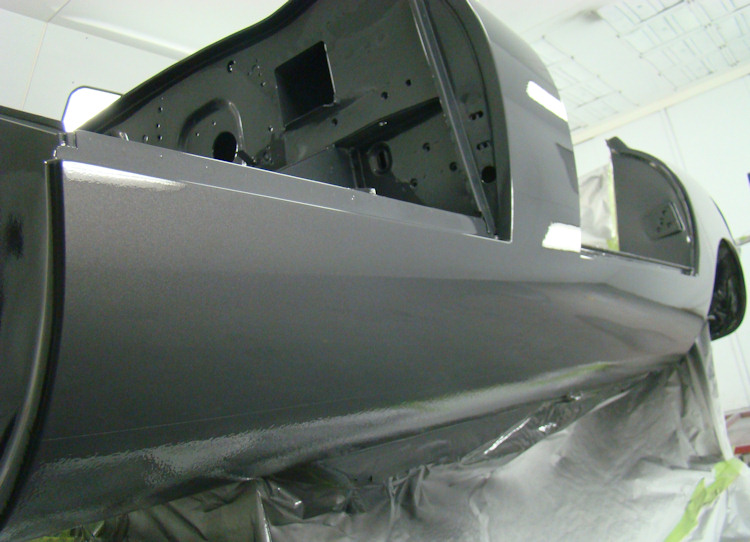
I am pleased to report that we painted your car this afternoon and the finished results looks great. I will post more pictures tomorrow but I know I promised you a couple tonight before I went home - so here they are!
 |
 |
 |
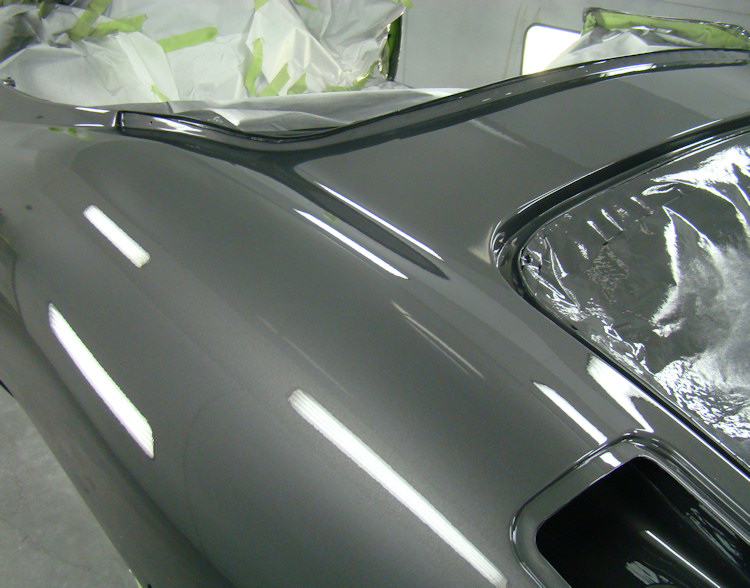 |
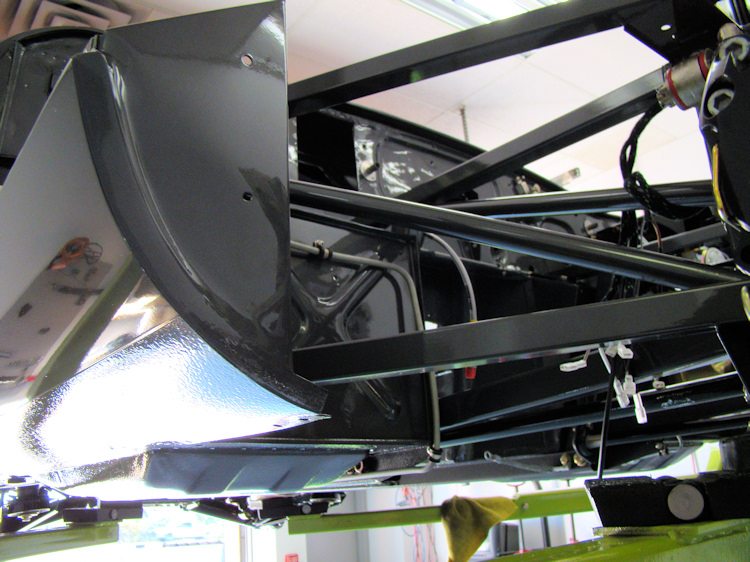
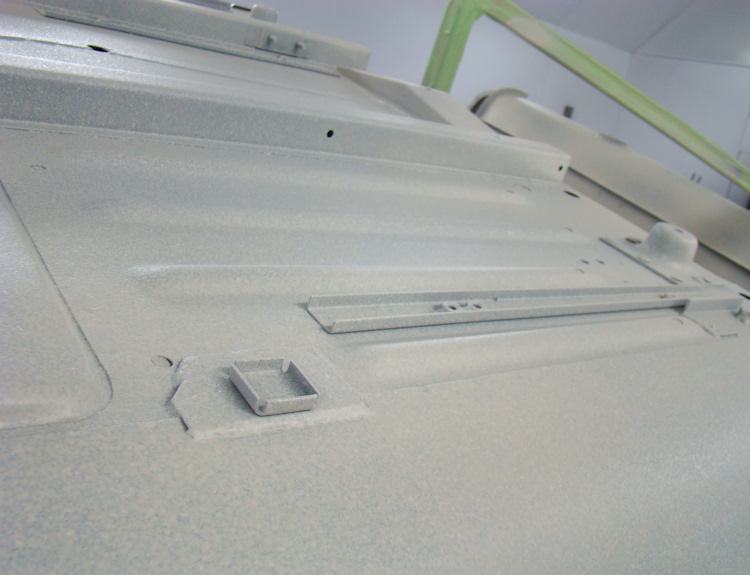
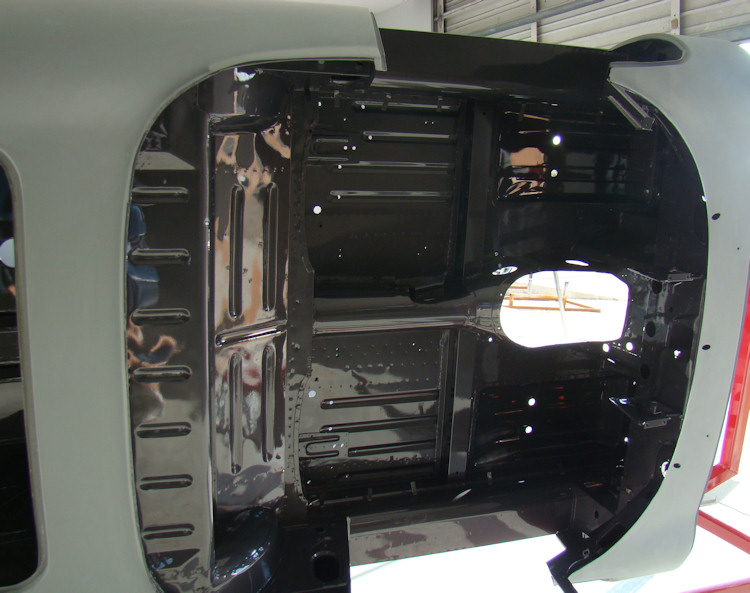
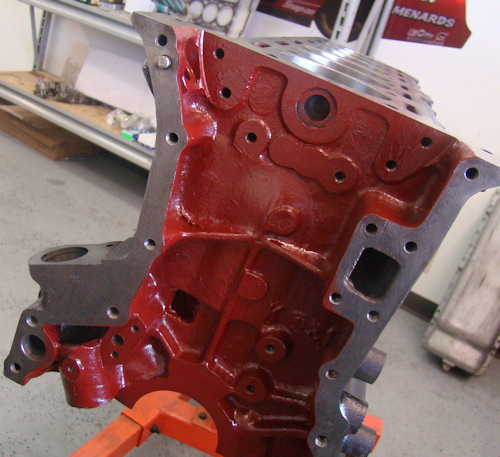
I am delighted to report that we have now begun applying the first of the Opalescent Gunmetal paint. We have already painted the underside, the cabin, the engine frames and the boot compartment. Later this week we should have the rest of the repainting process completed.
 |
 |
 |
 |
 |
 |
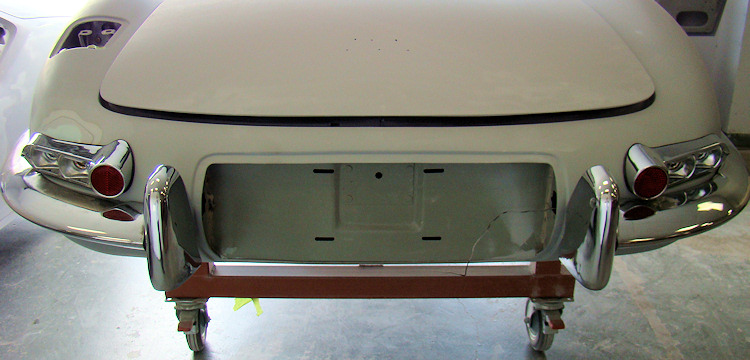
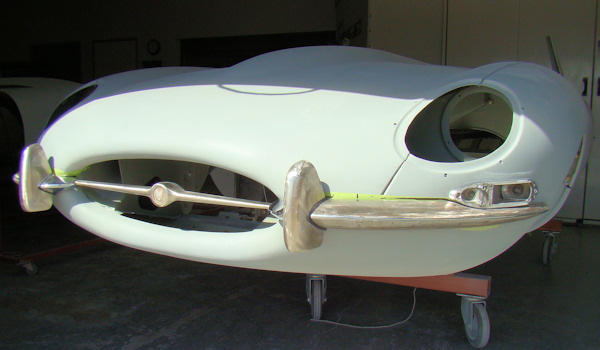
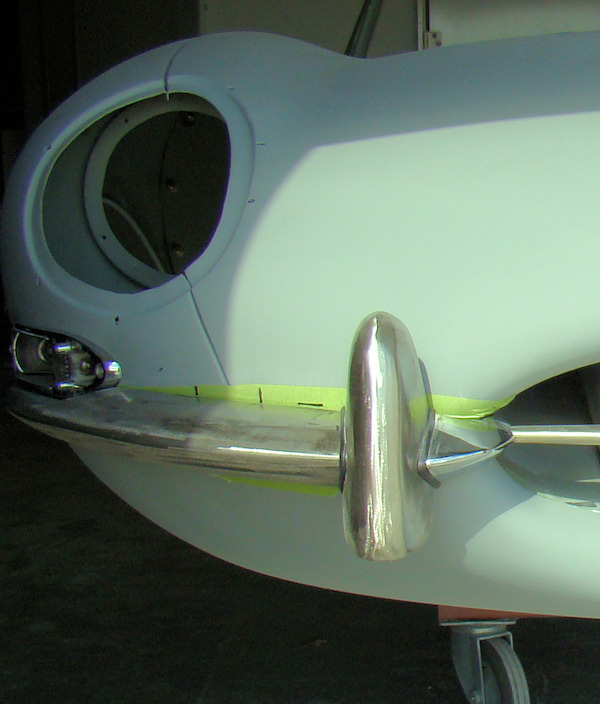
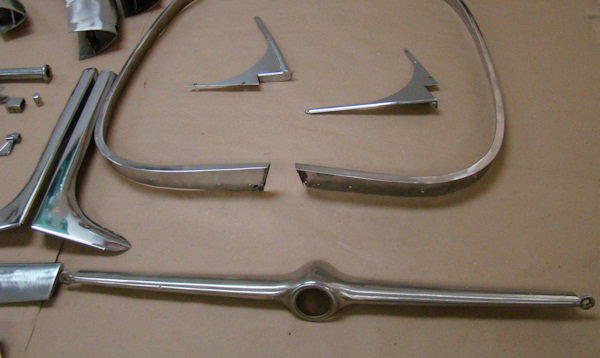
Trial fitting chome and brightwork before submitting for replating.
 |
 |
 |
|
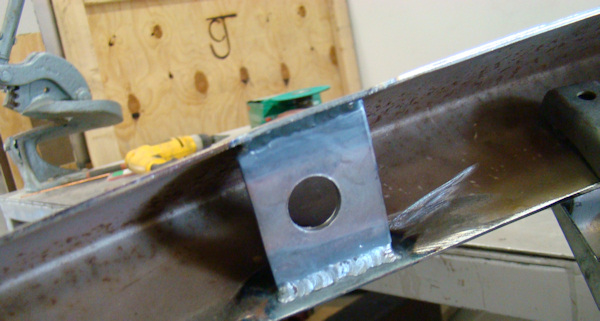
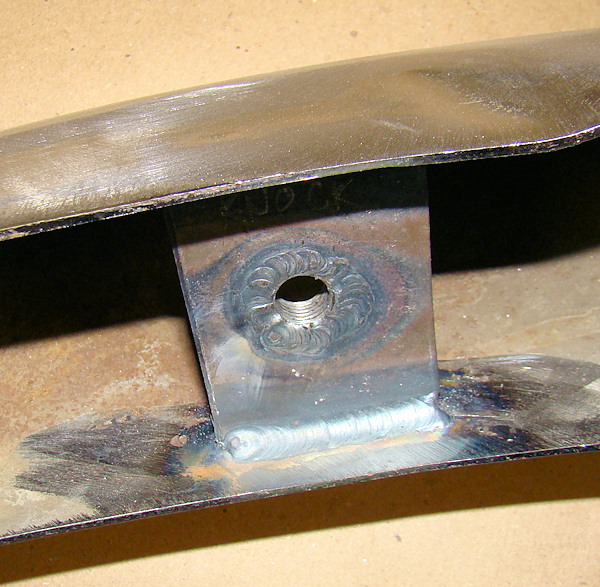
had to be replaced |
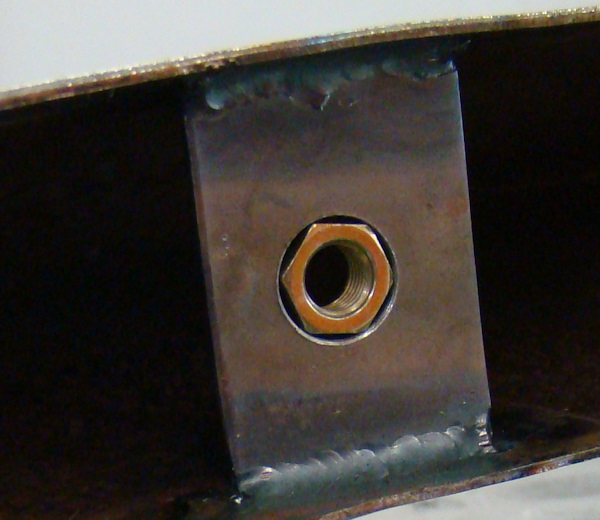
had appropriately sized nuts installed |
the repair |
|
|
||
 |
 |
 |
|
|
particular challenge |
|
|
|
||
 |
 |
 |
|
|
|
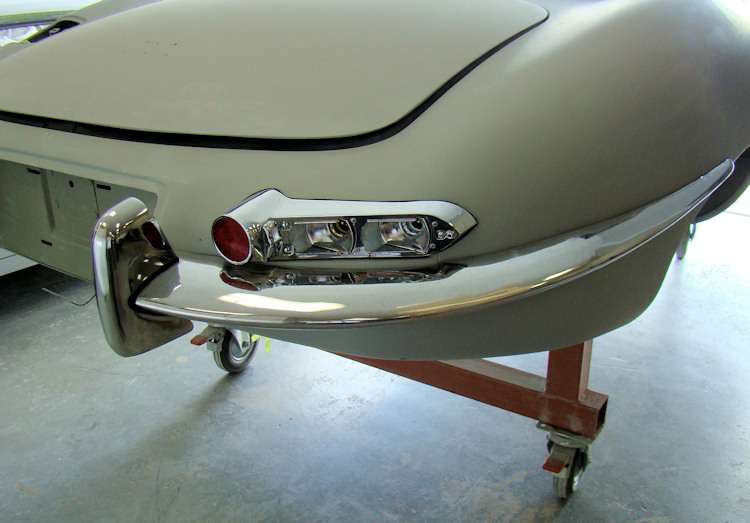
sanding, front bumpers now fit perfectly |
|
|
||
 |
 |
 |
|
|
|
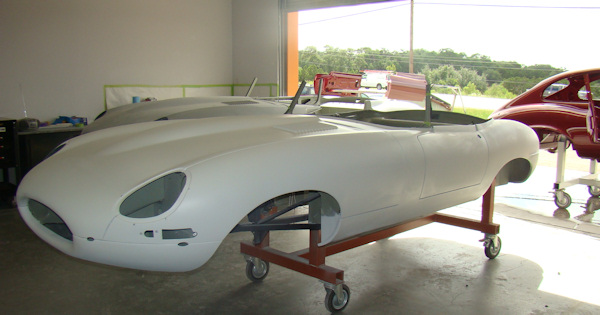
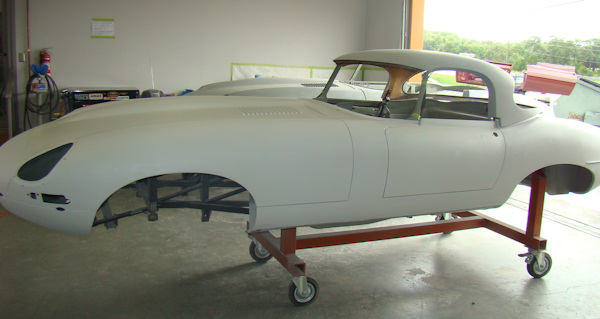
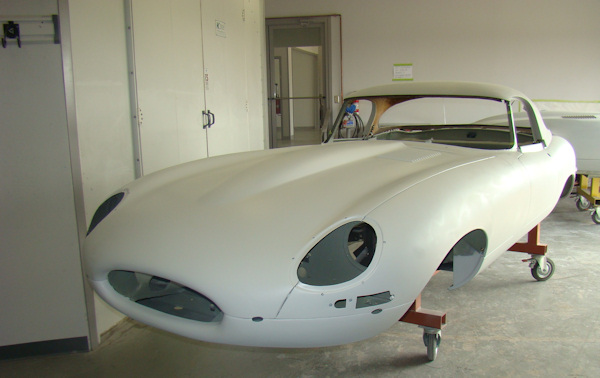
Starting to look like a car again after a few weeks of intensive care in the CJ Coachworks...
 |
 |
|
|
|
 |
 |
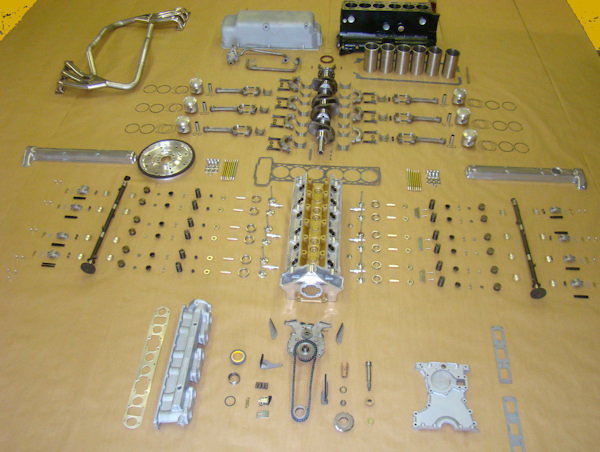
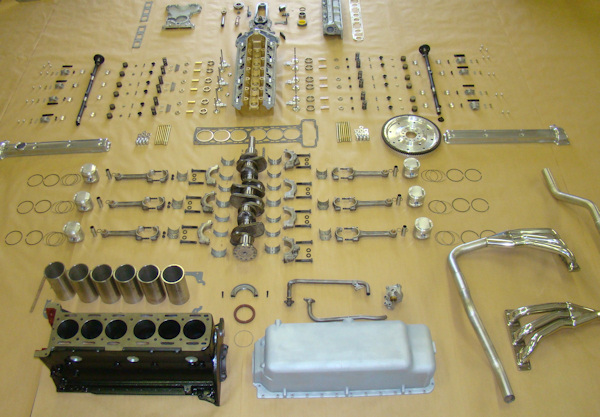
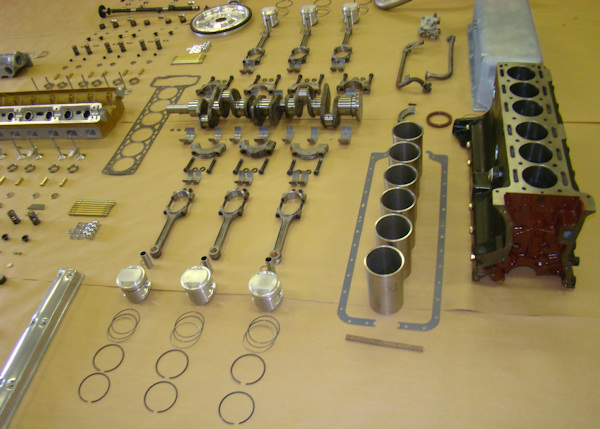
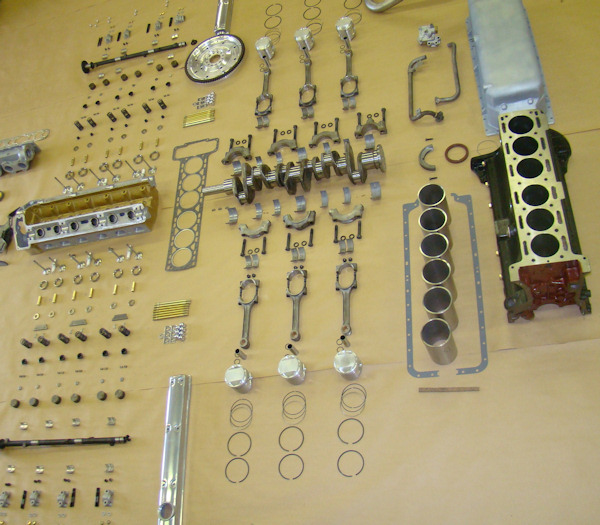
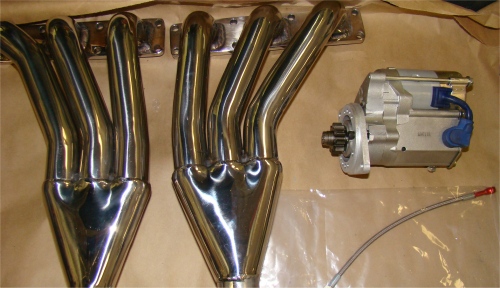
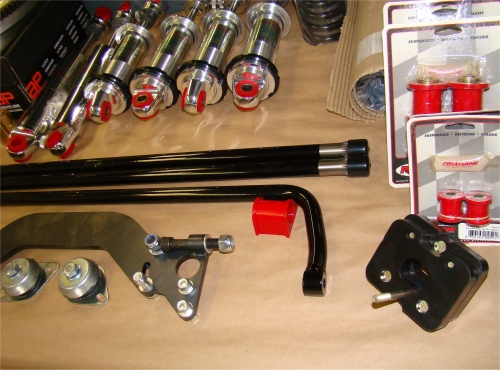
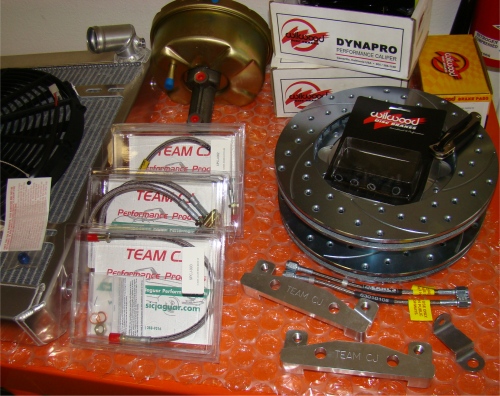
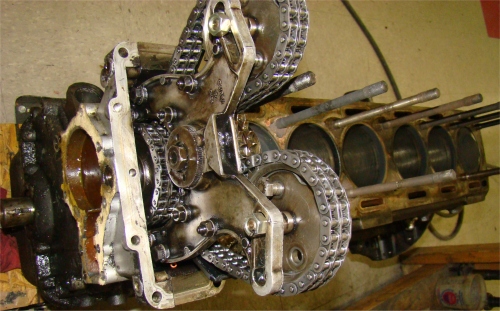
We thought it might be cool to lay out and photograph every component for your engine before we put everything together over the next couple of days.


 |
 |
 |
|
|
|
|
|
|
|
|
 |
 |
 |
|
|
|
|
|
|
|
|
 |
 |
|
|
|
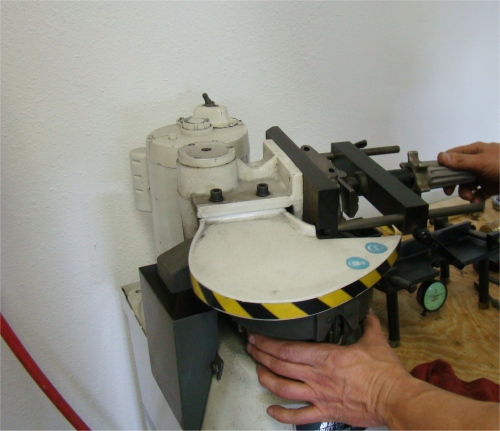
Harold machined the new Venolias in order to obtain the precise compression we were looking for.
 |
 |
|
at home to your new Venolia pistons! |
deburred to prevent hot spots |
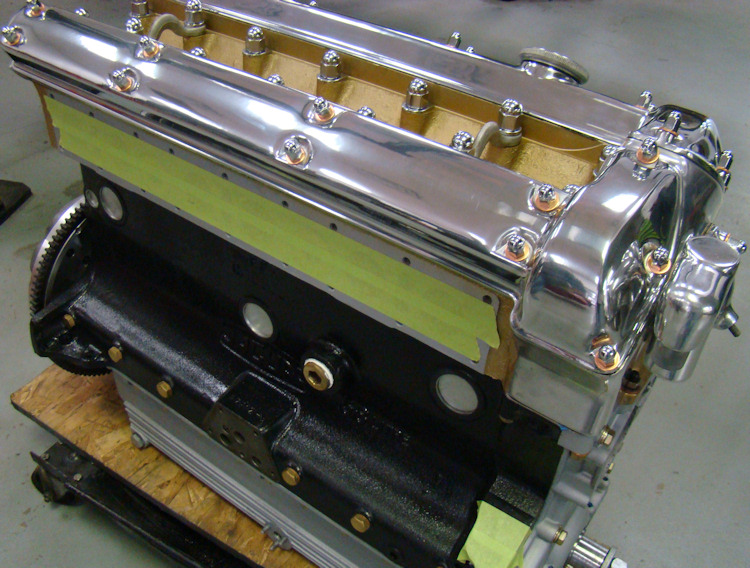
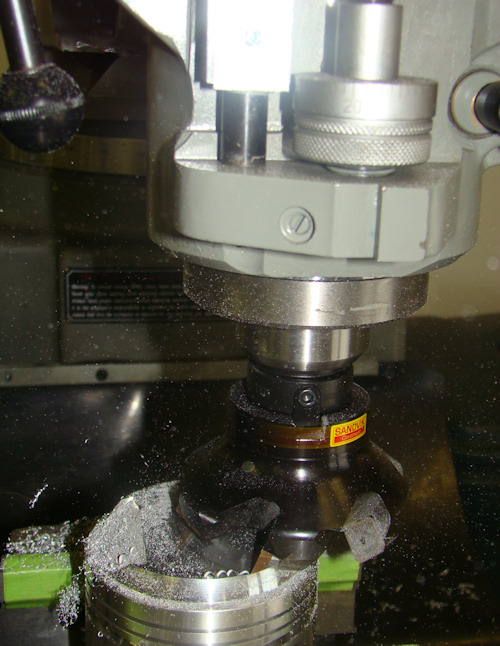
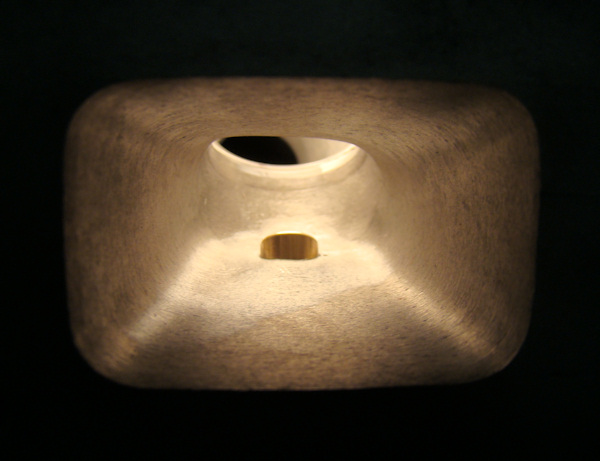
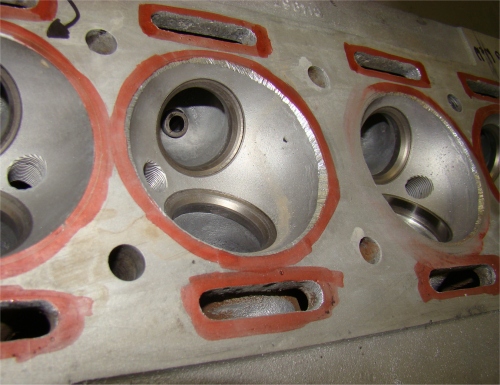
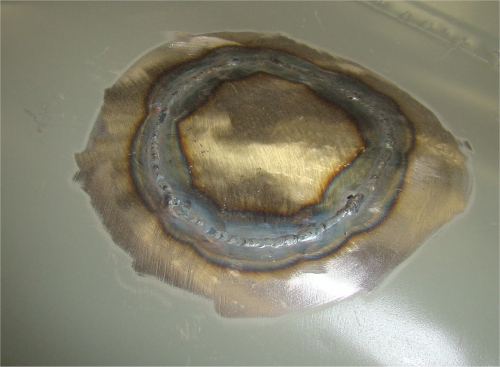
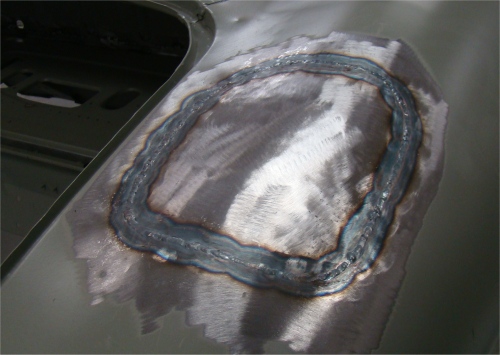
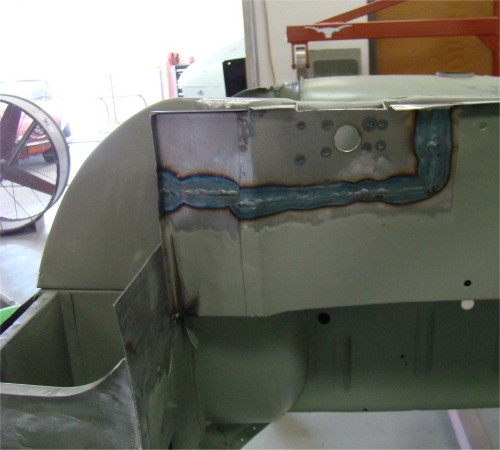
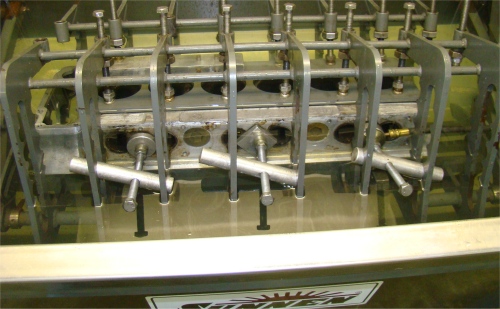
We ran into problems with the water jacket plugs in the valley of your cylinder head because of badly corroded heads. To be on the safe side, we decided to weld them up and cut new threads.
 |
 |
 |
|
freeze plugs |
||
|
|
||
 |
 |
 |
|
final assembly |
|
be re-threaded |
|
|
||
 |
||
|
on the mill |
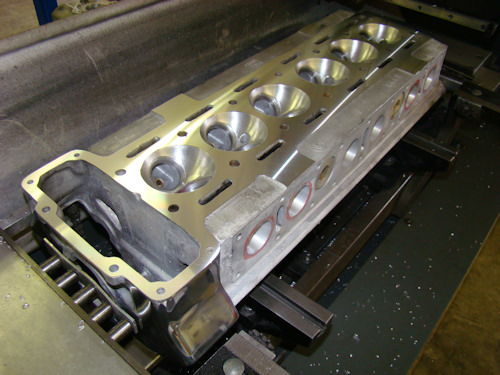
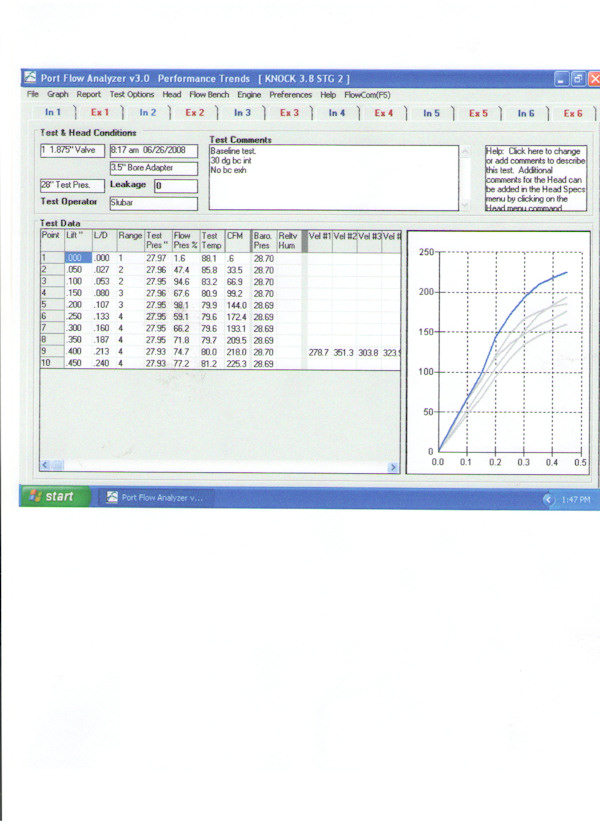
Engine rebuild progress - and some spectacular flow numbers...
 |
 |
 |
|
|
|
|
|
|
|
|
 |
 |
 |
|
|
|
|
|
|
|
|
 |
|
|
|
spectacular gain) |
|
|
|
|
|
|
Lots of good progress in the Coachworks since my last update!
 |
 |
 |
|
|
|
|
|
|
|
|
 |
 |
 |
|
|
|
|
|
|
|
|
 |
 |
 |
|
|
|
|
|
|
|
|
 |
 |
 |
|
|
|
|
|
|
|
|
 |
 |
 |
|
|
|
|
|
|
|
|
 |
 |
 |
|
|
|
|
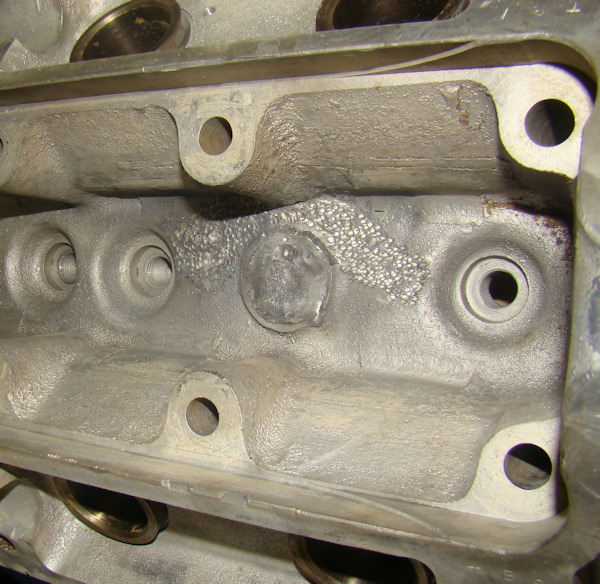
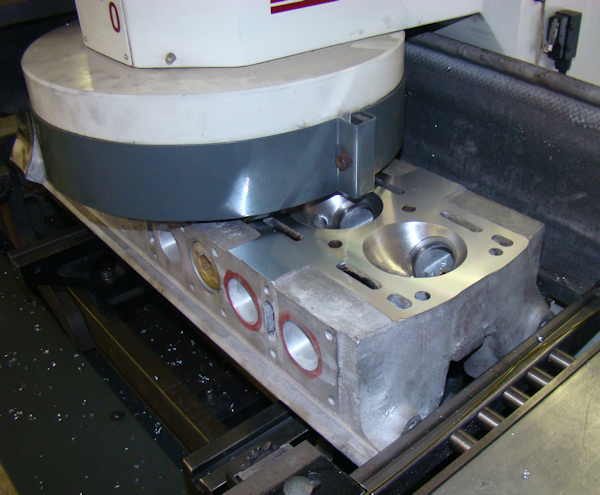
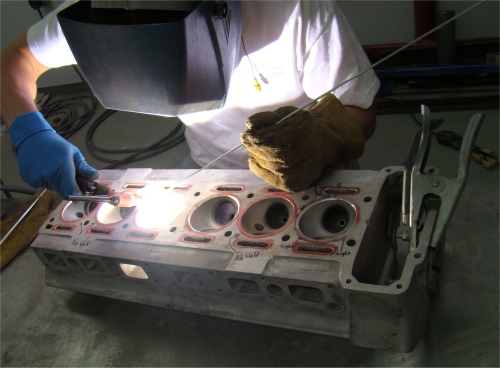
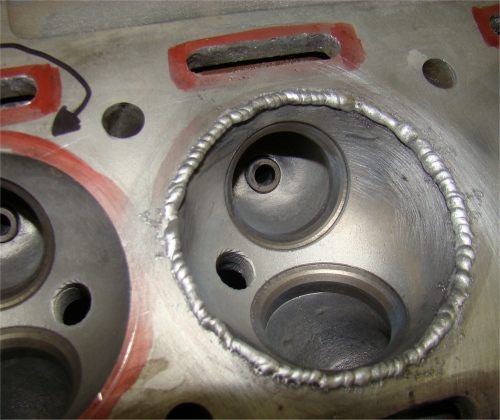
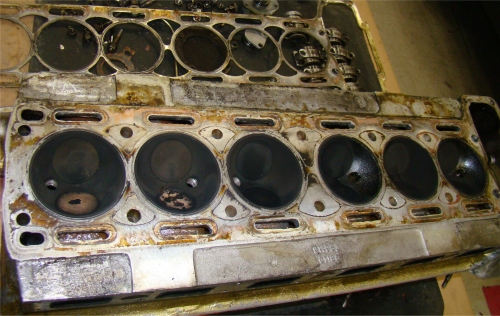
The following photos show Darrell welding up the damage around the edges of two of your combustion chambers.
 |
 |
|
an old head gasket |
|
|
|
|
 |
 |
|
the edges of the damaged bowls |
on the mill |
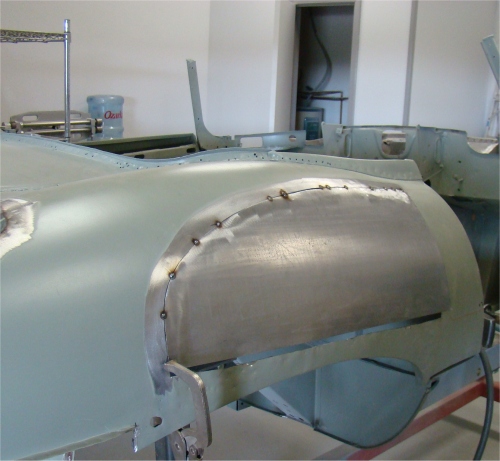
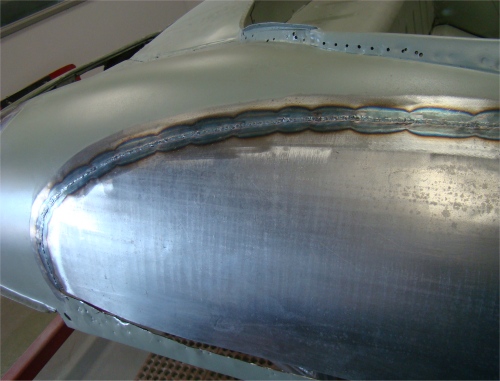
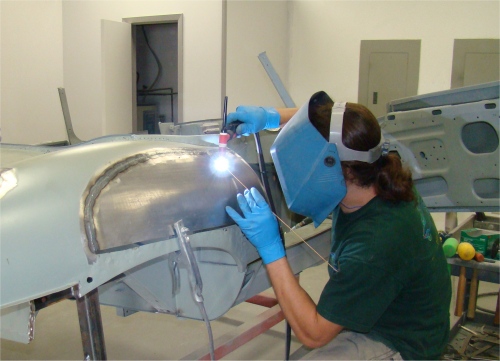
The following photographs show Darrell making some highly skilled repairs look deceptively easy.
 |
 |
 |
|
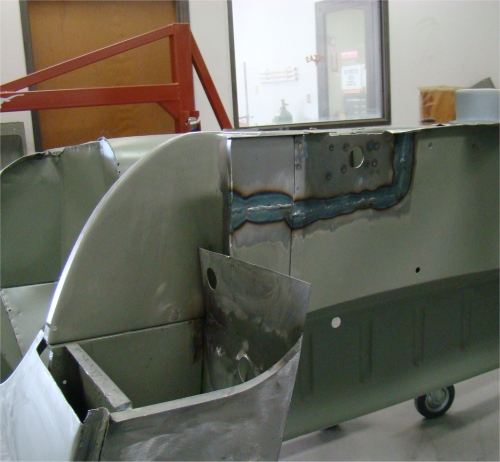
the left rear quarter |
|
new bonnet |
|
|
||
 |
 |
 |
|
the right rear quarter |
and tack welded in place |
|
 |
 |
 |
|
is next |
metal, acid washed and sealed |
|
 |
 |
 |
|
|
|
|
 |
 |
 |
|
|
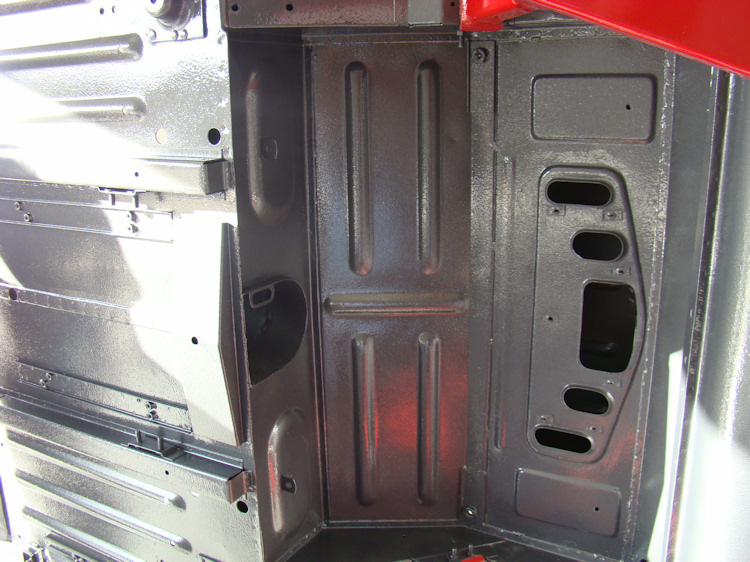
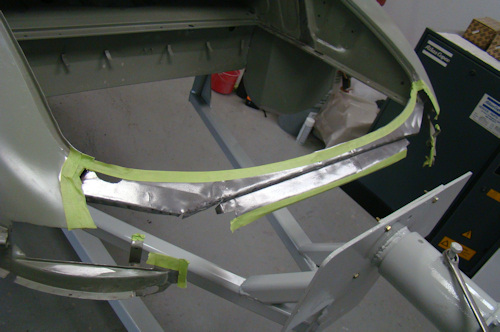
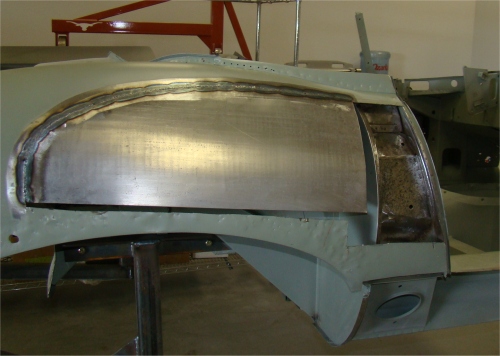
and rear cowls |
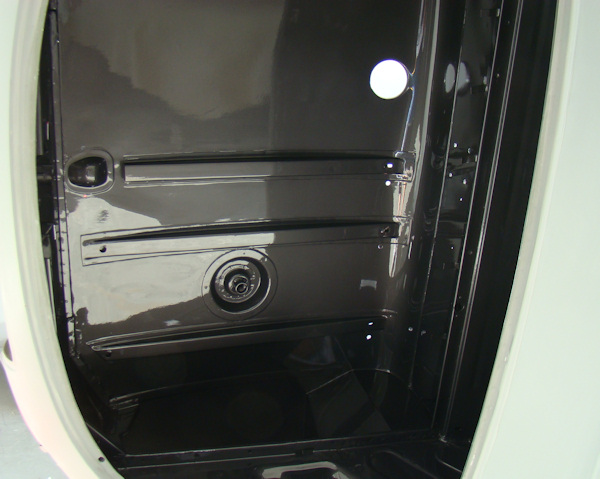
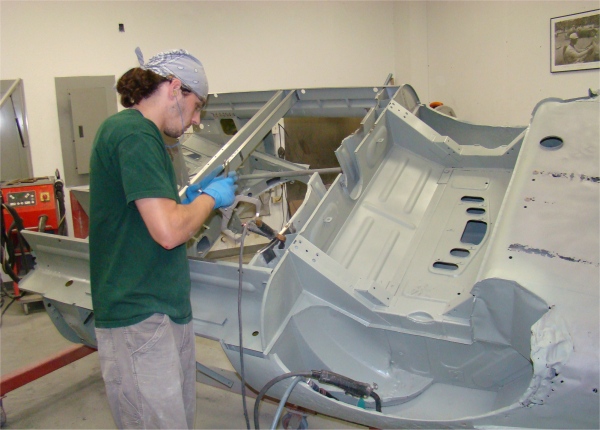
being sealed with epoxy primer |
 |
 |
 |
|
|
and out |
|
|
|
||
 |
 |
|
|
|
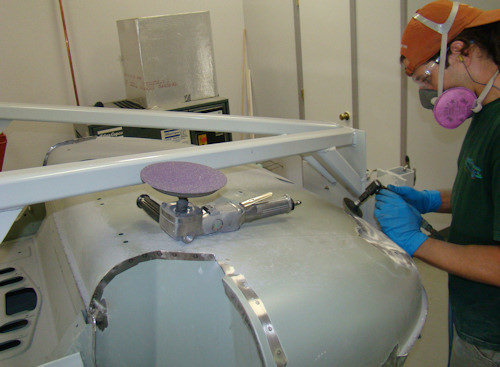
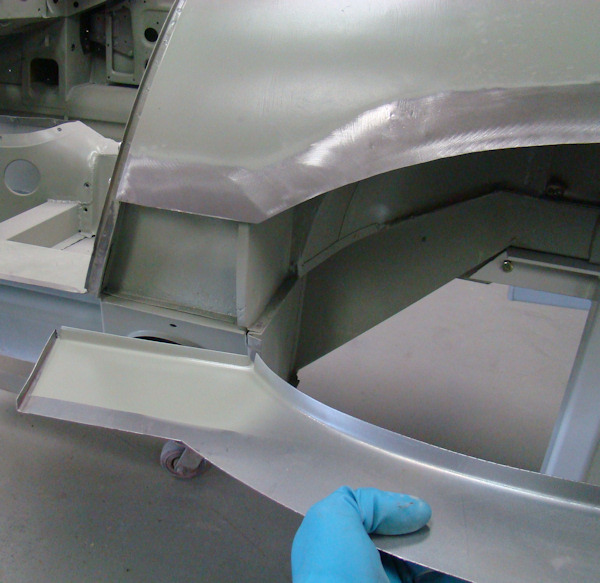
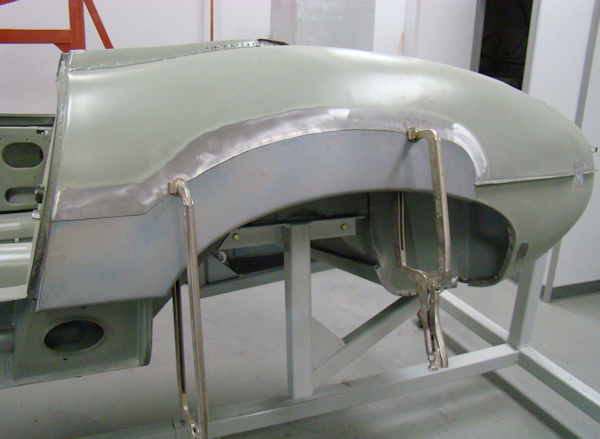
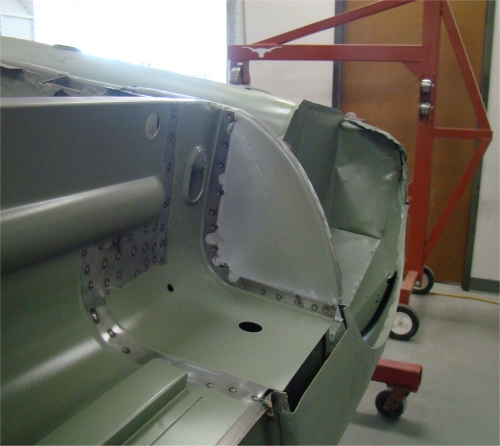
More bodywork progress...
 |
 |
 |
|
|
epoxy primer |
and replacement panel |
 |
 |
 |
|
into the new replacement panel |
|
|
 |
 |
 |
|
in place |
rear clip! |
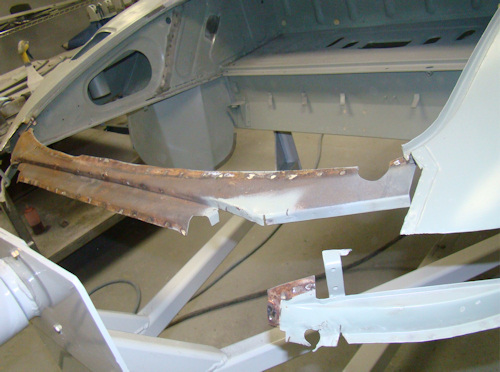
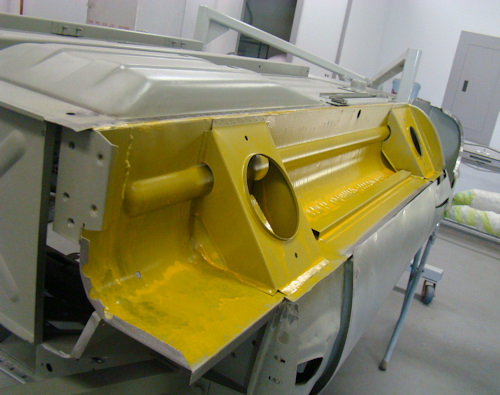
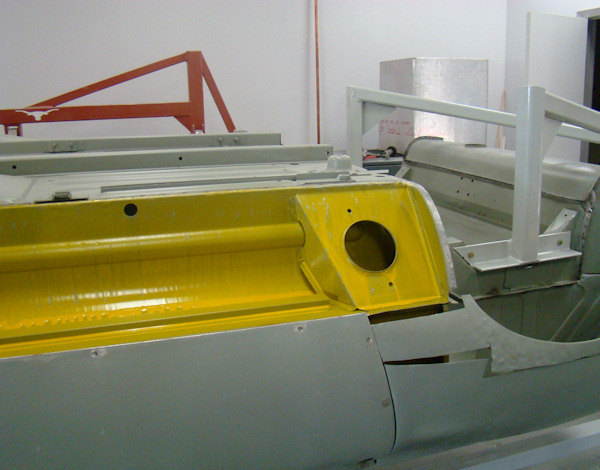
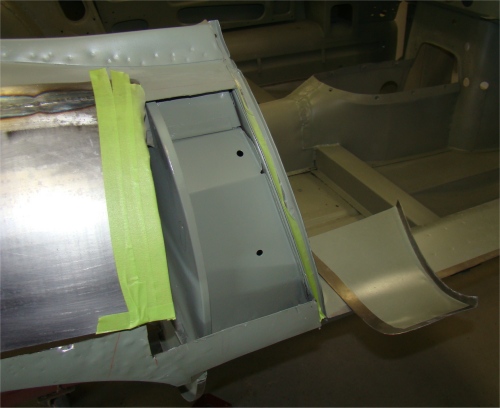
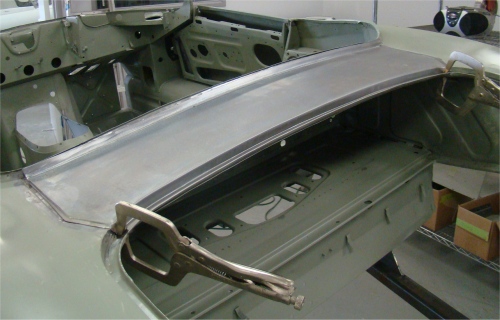
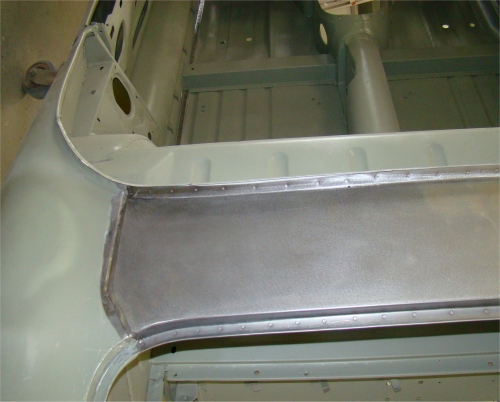
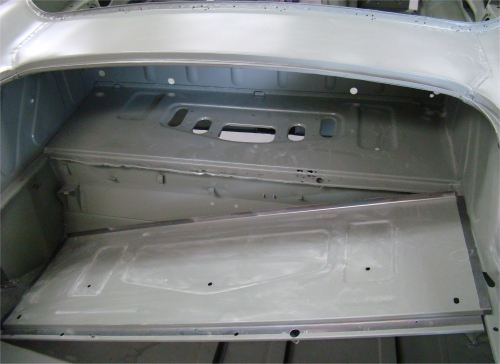
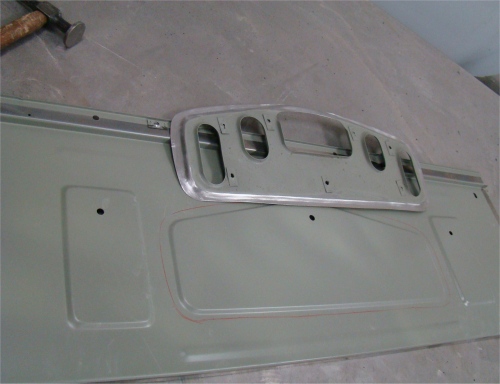
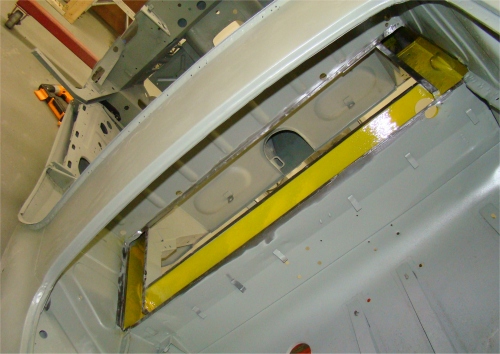
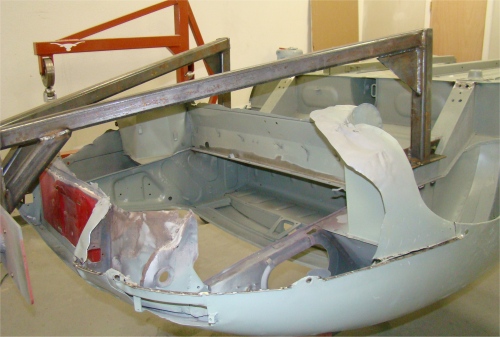
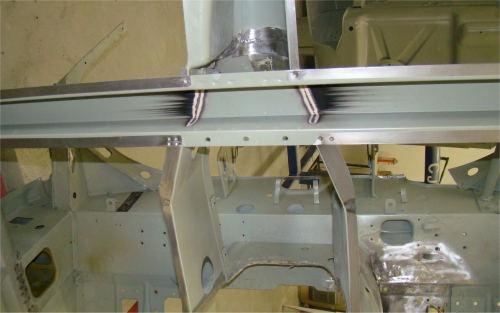
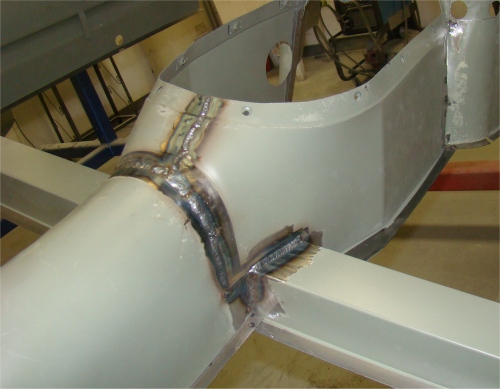
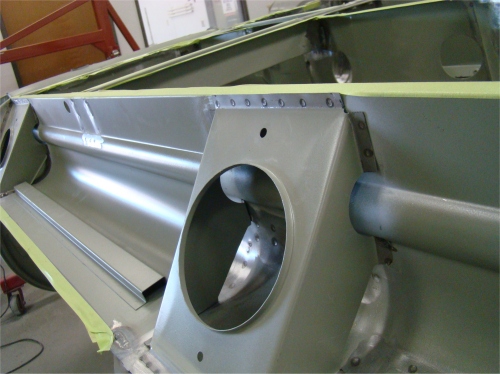
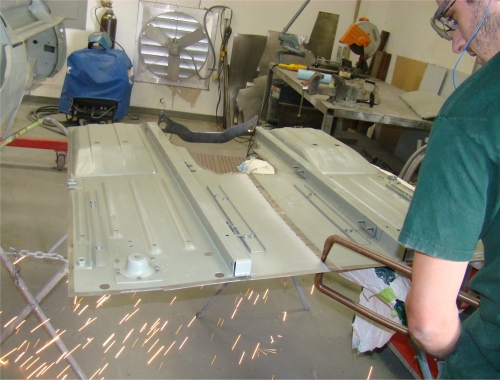
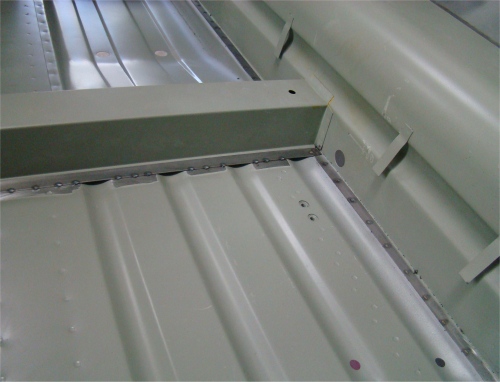
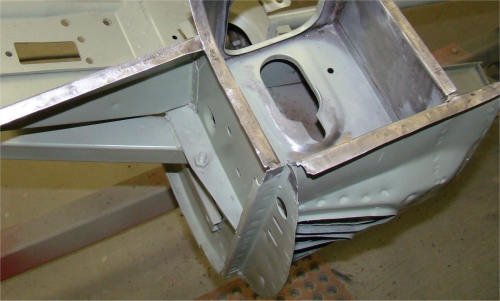
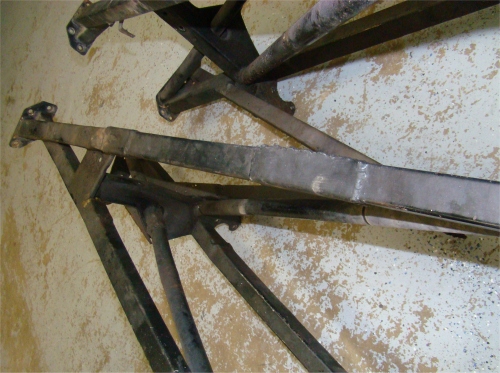
Fitting and welding your transmission tunnel and new floors into place...
 |
 |
 |
|
into position |
rigidity to the structure |
|
 |
 |
 |
|
|
||
 |
 |
 |
|
|
box sections |
|
 |
 |
 |
|
|
|
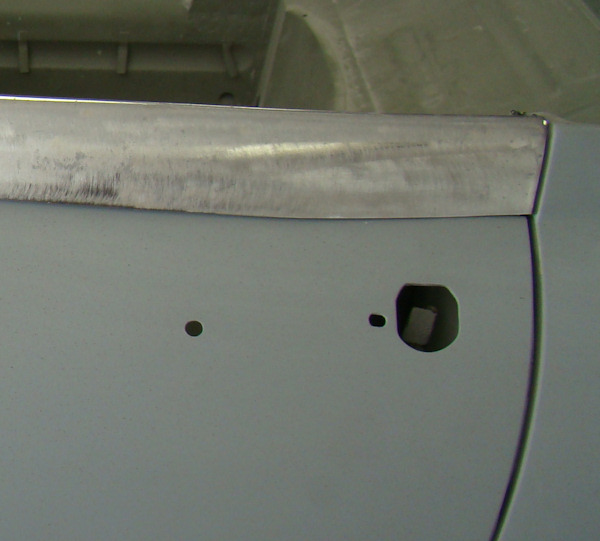
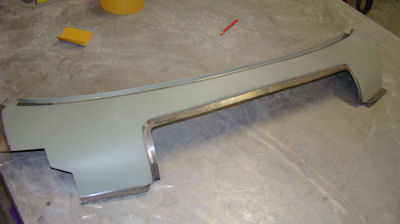
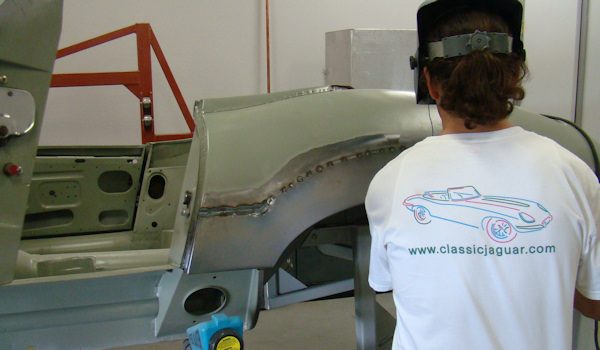
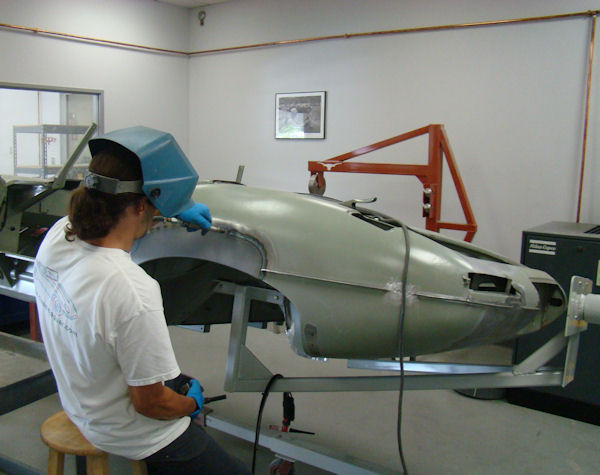
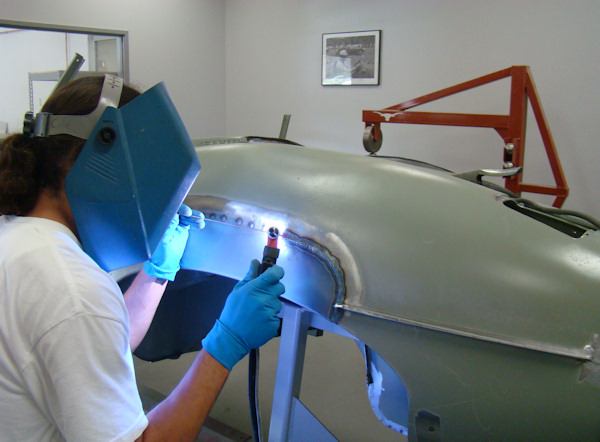
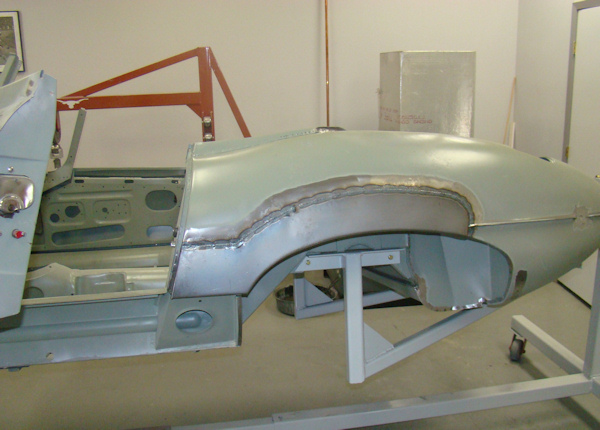
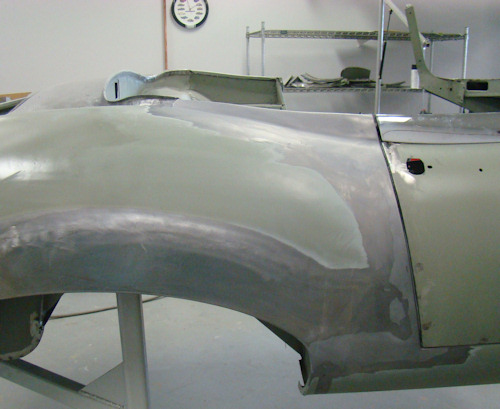
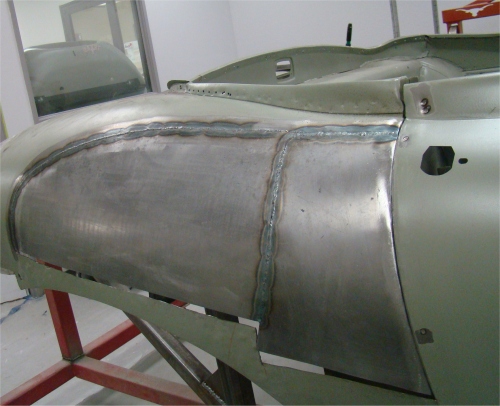
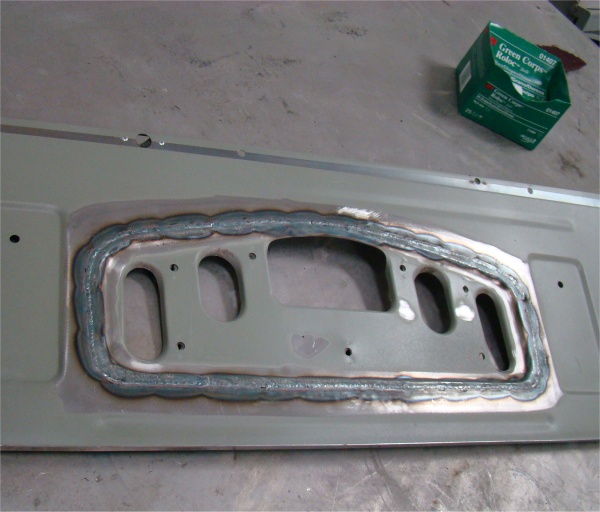
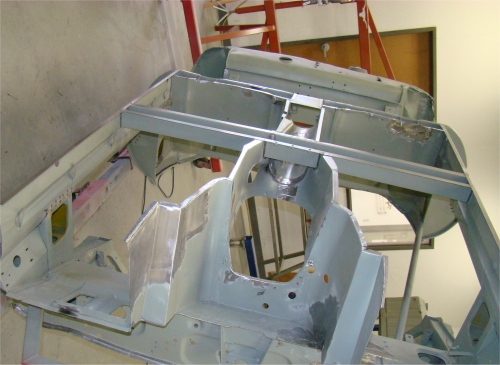
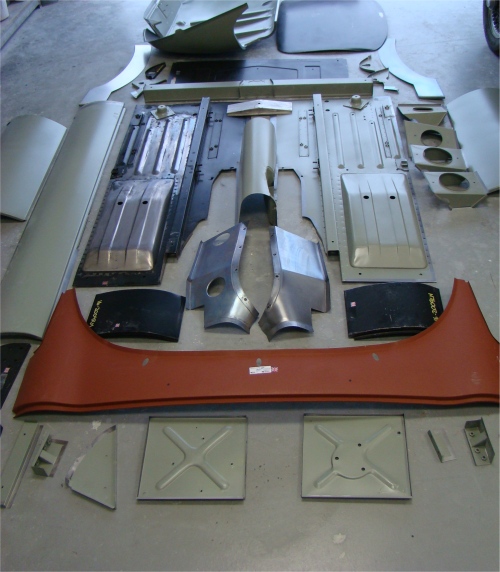
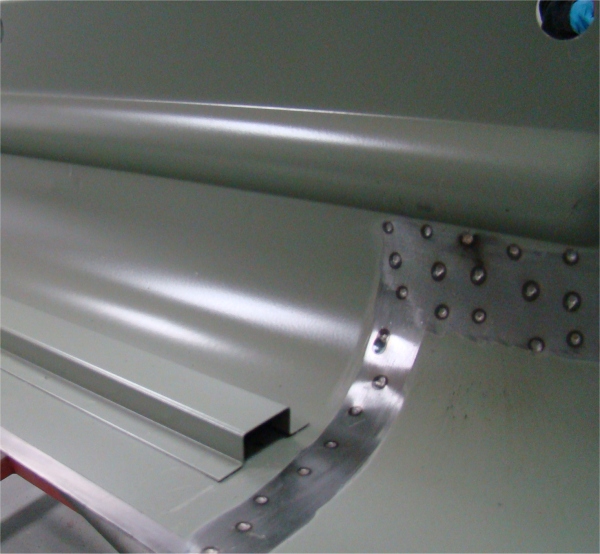
Darrell has started welding your expansive collection of new body panels together.
 |
 |
 |
|
|
now in place |
we trim out the interior |
|
|
|
|
 |
 |
|
|
|
|
Lots of progress this week in both the mechanical workshop and the Coachworks.
 |
 |
 |
|
|
|
|
 |
 |
 |
|
|
|
|
 |
 |
 |
|
moved to rear |
|
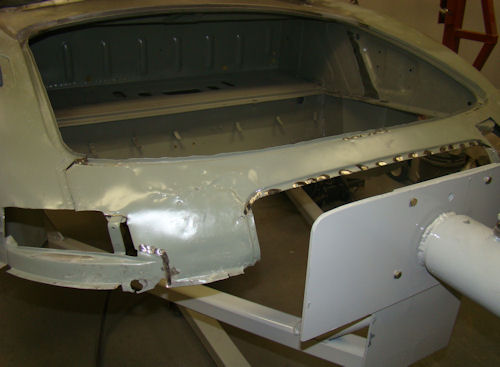
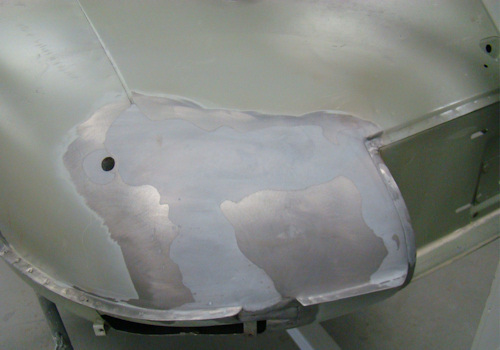
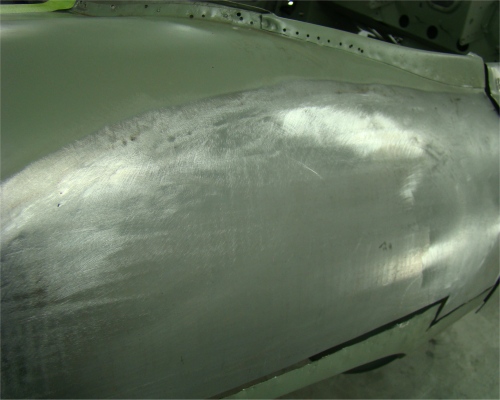
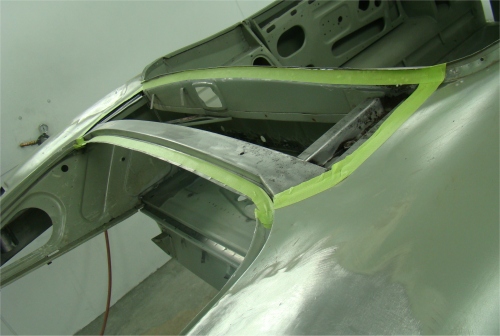
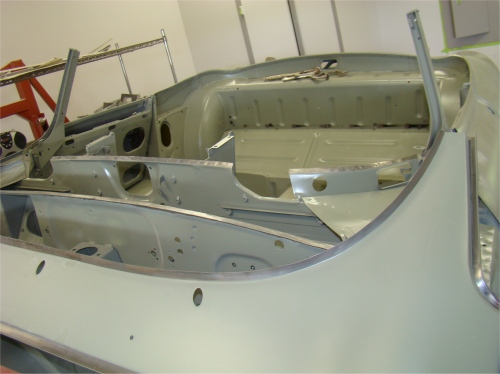
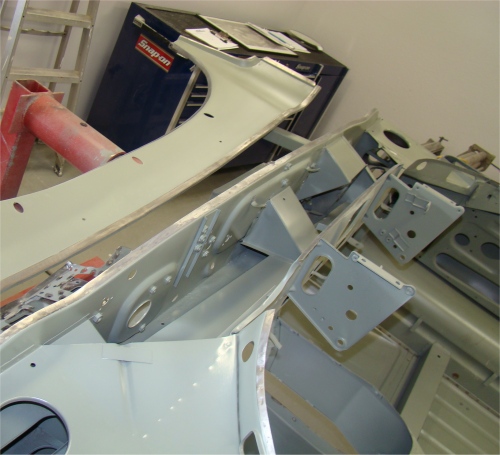
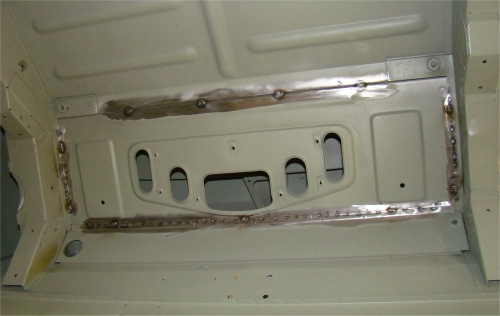
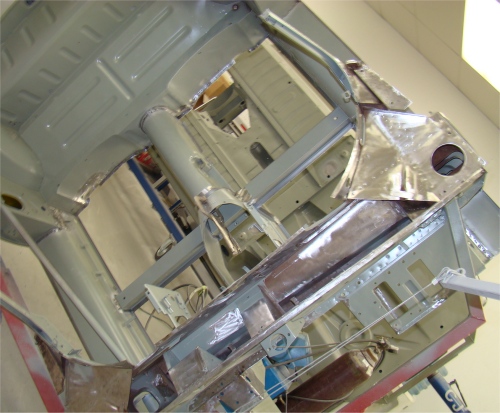
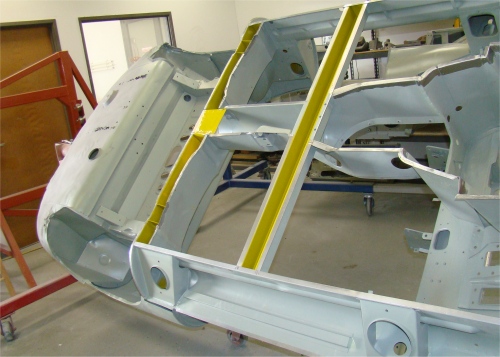
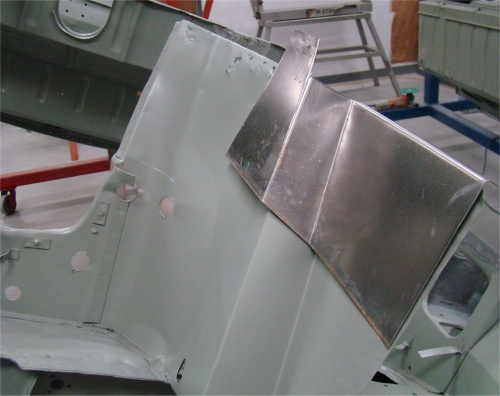
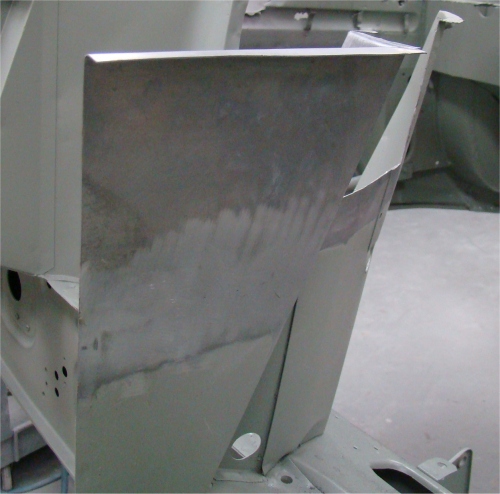
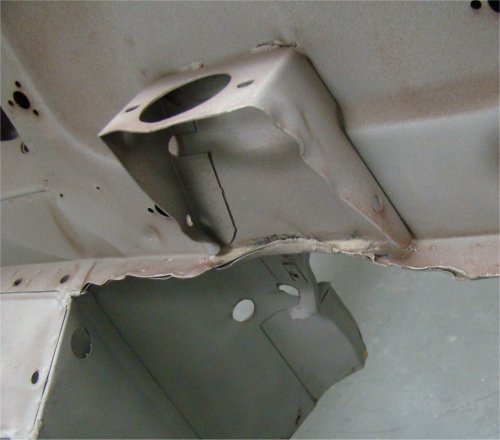
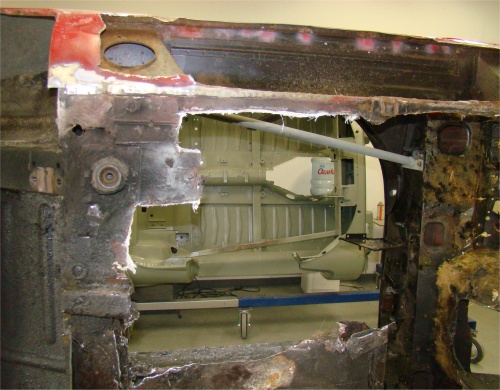
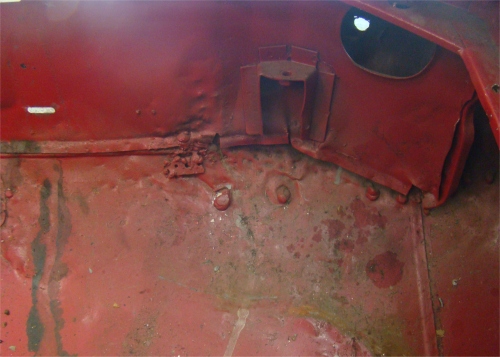
As bad as things looked after media blasting, I thought you might be encouraged to see some new sheet metal going into place.
 |
 |
 |
|
stripped away by hand |
the transmission tunnel |
into place |
|
|
|
|
 |
 |
 |
|
|
|
the inner box section with Wurth Body Wax |
|
|
|
|
 |
 |
 |
|
|
|
|
|
|
|
|
 |
|
|
|
|
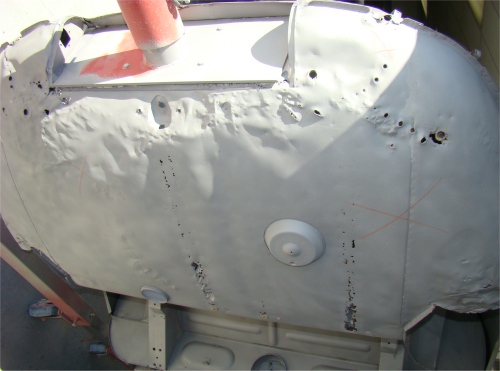
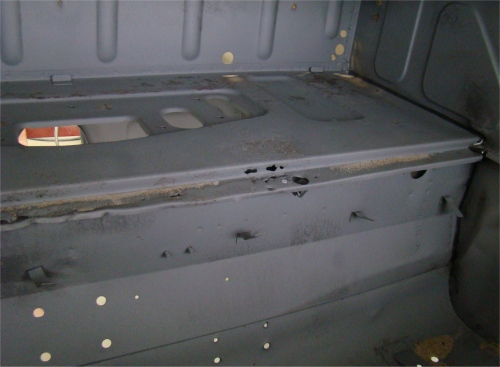
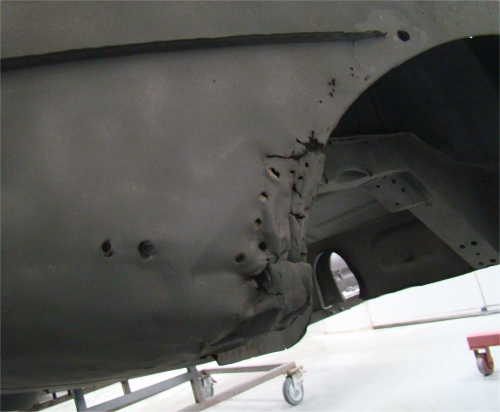
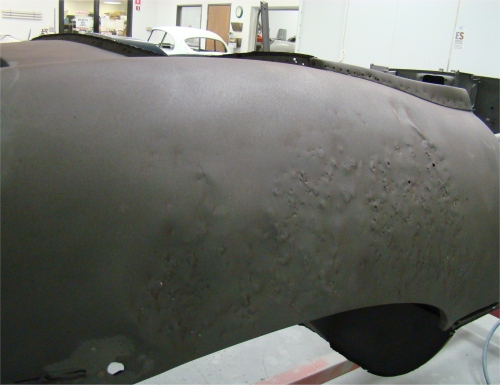
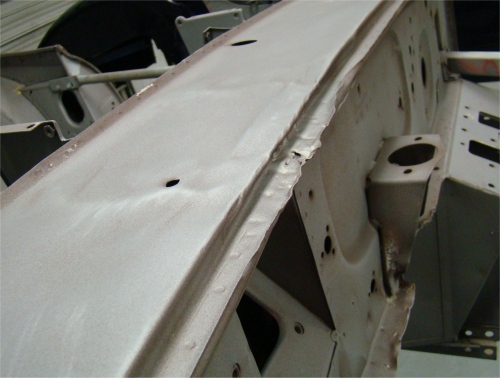
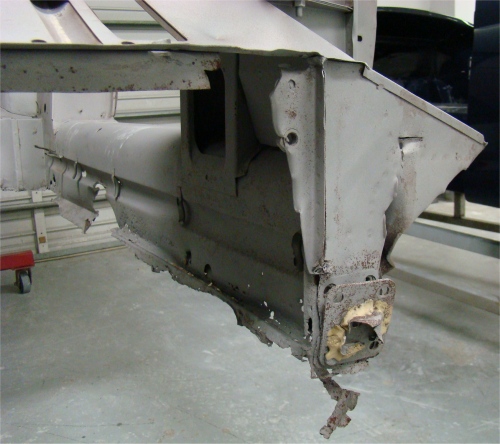
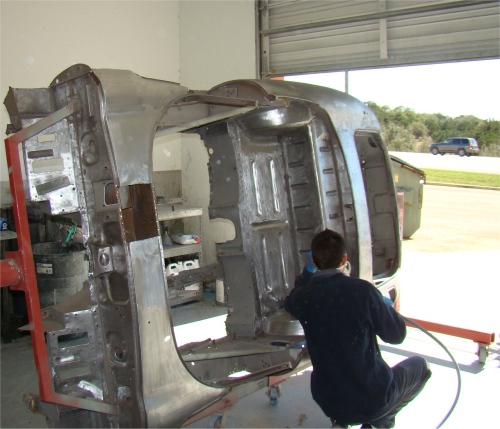
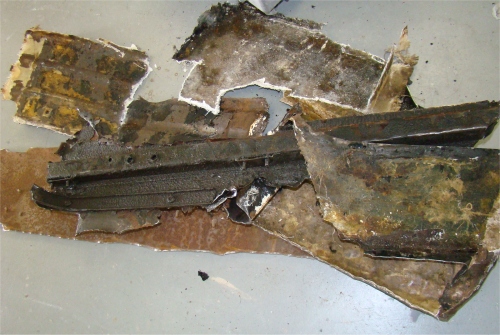
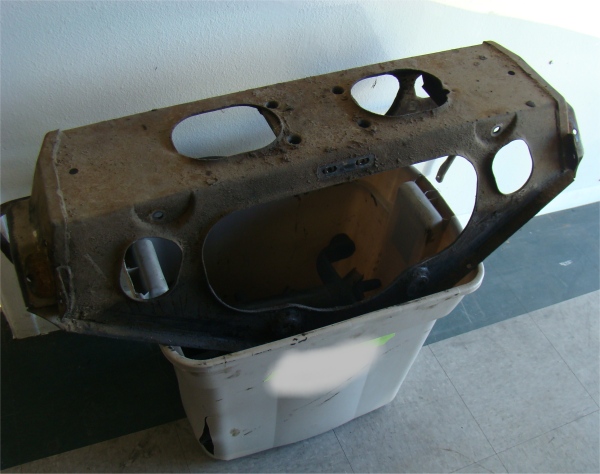
Further to our telephone conversation, I will not subject you to too many photographs of the bodyshell, as received back from being media blasted. Suffice it to say that it is absolutely horrible...
 |
 |
 |
|
|
|
|
 |
 |
 |
|
|
|
|
 |
 |
 |
|
into the shop |
|
|
 |
 |
 |
|
|
|
|
 |
 |
 |
|
to keep |
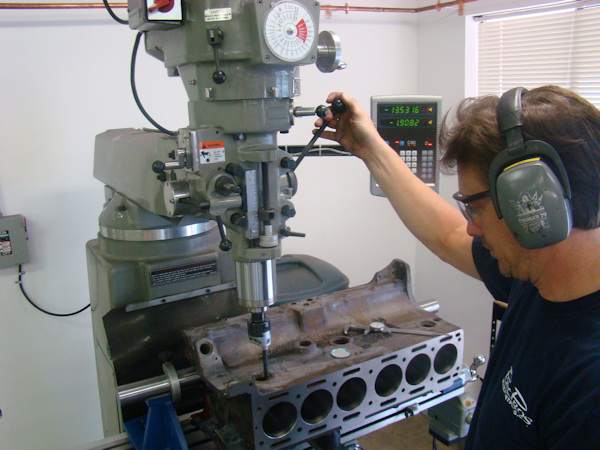
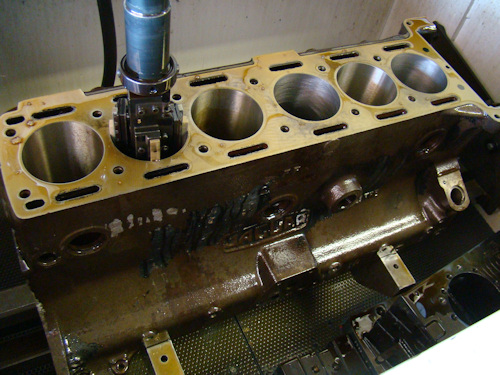
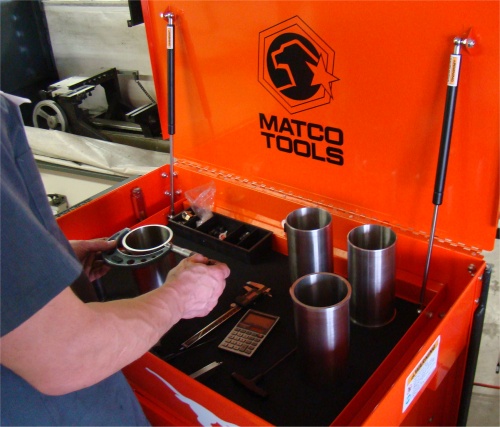
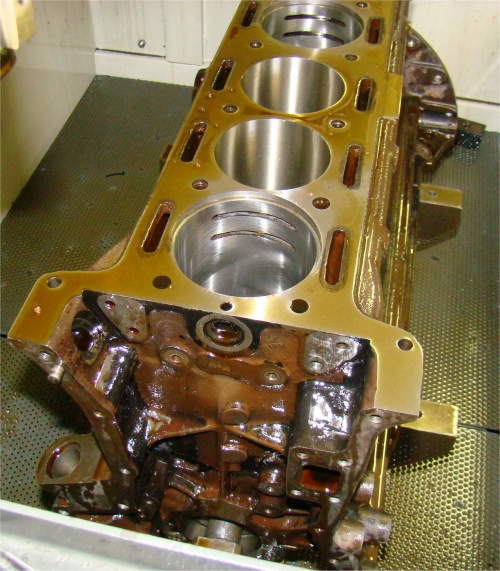
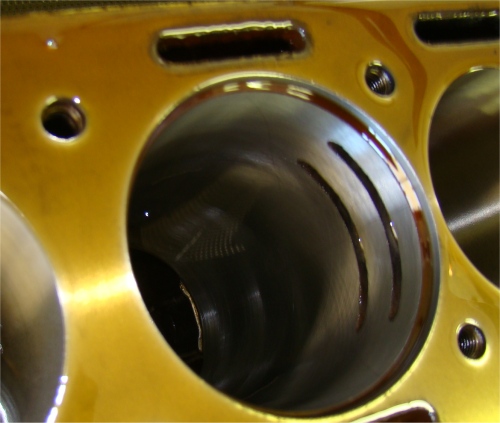
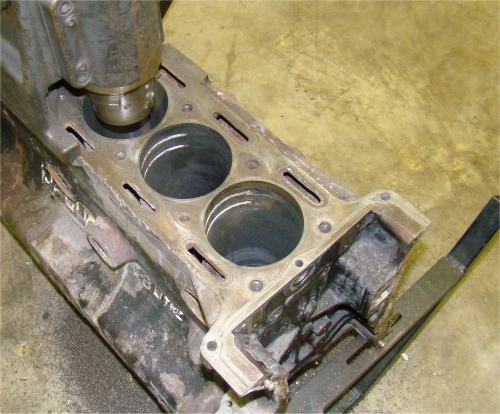
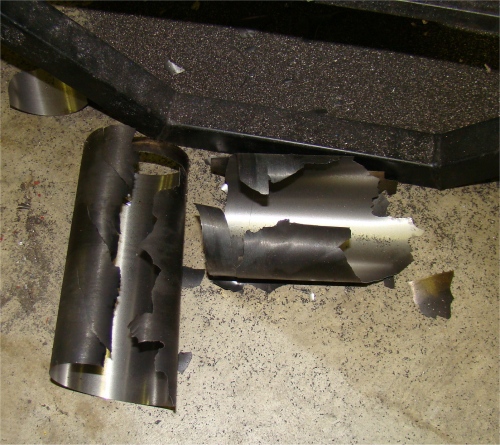
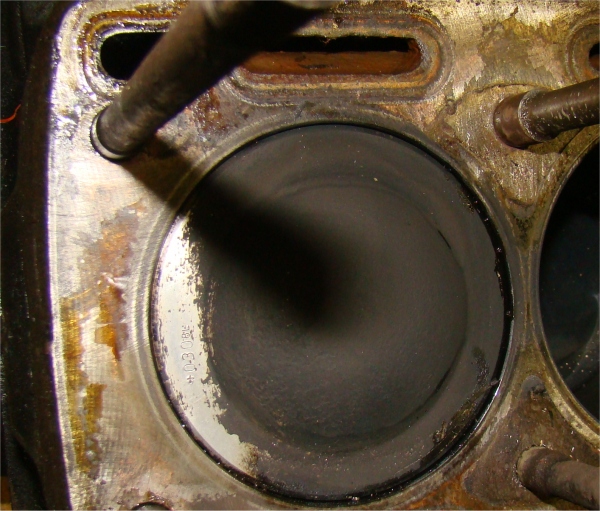
More progress in the CJ machine shop. Your block has now been align honed and four of the new sleeves have been installed. This afternoon we will be installing the two custom oversized sleeves, the need for which was explained in your last invoice.
 |
 |
 |
|
|
|
|
 |
 |
 |
|
|
oversized top hat sleeves |
|
Sorry you had to cancel your visit at the last minute on Friday, although at least you can see from the following photographs that we were ready for you!
 |
 |
 |
|
|
||
 |
 |
 |
 |
 |
|
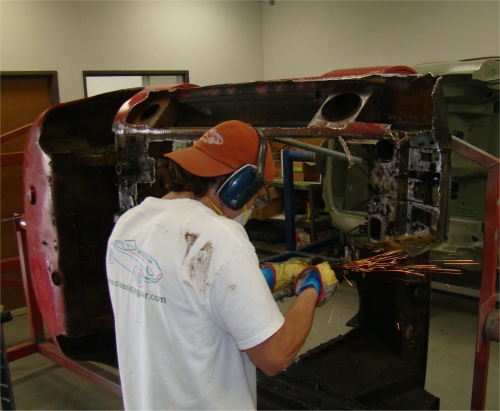
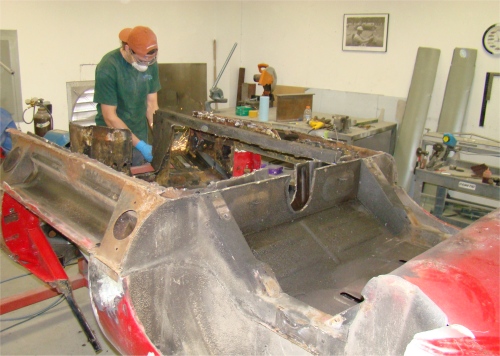
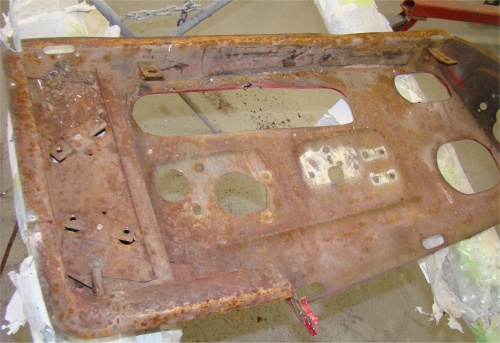
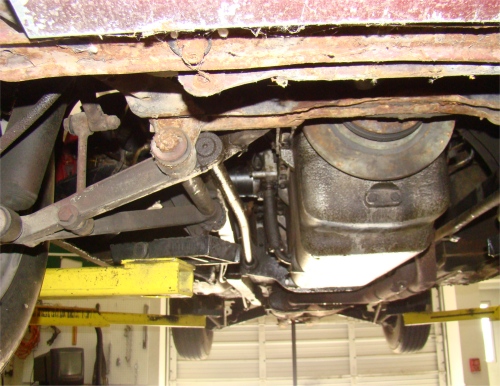
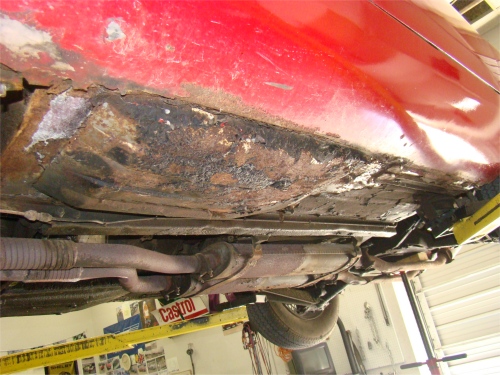
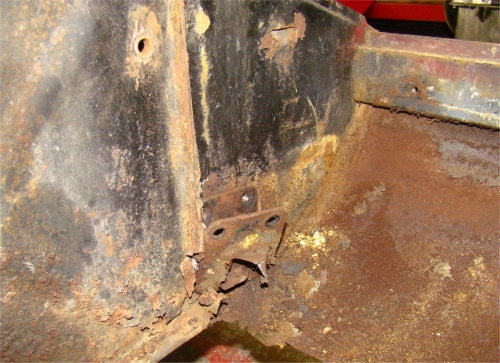
Time to prepare your car for blasting. This particular body is about as rough as you will ever see. Having said that, rest assured that it will better than new when we are finished with it.
 |
 |
 |
|
|
|
|
 |
 |
 |
|
for blasting, although they will be replaced |
blast! |
ever likely to see |
 |
 |
|
|
|
|
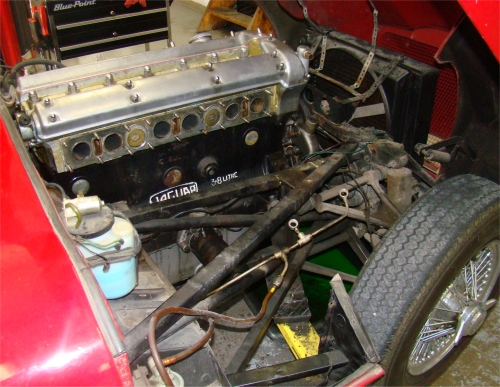
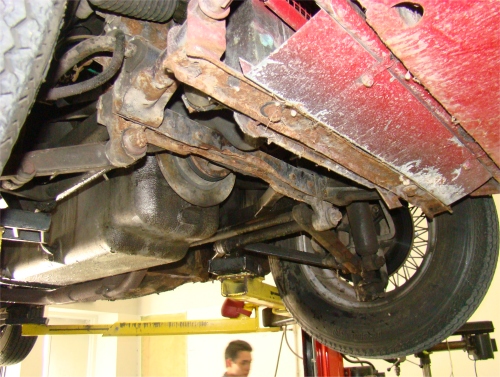
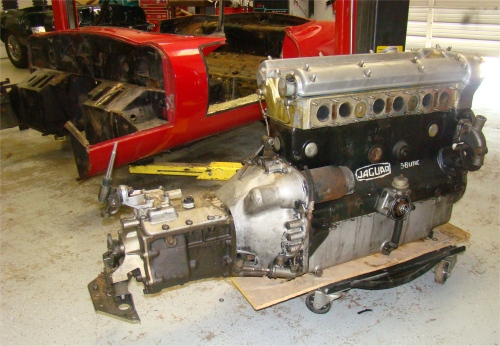
Car already completely disassembled....
 |
 |
 |
|
|
||
 |
 |
 |
 |
 |
 |
|
|
||
 |
 |
 |
|
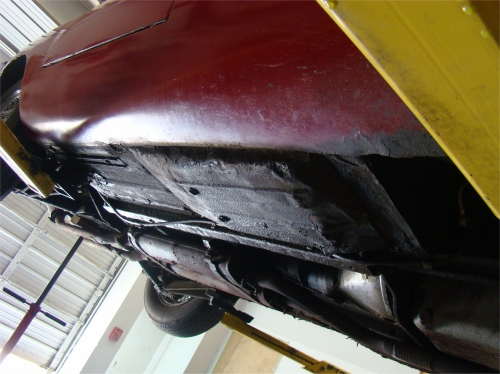
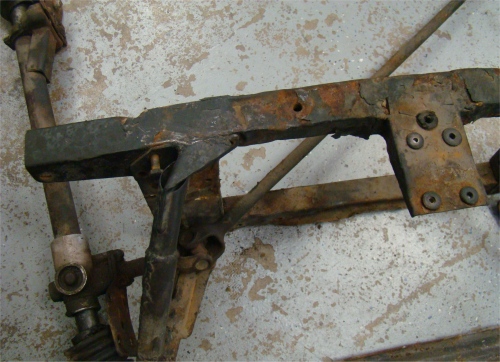
very poor repair work |
|
|
 |
 |
 |
|
|
||
 |
 |
 |
|
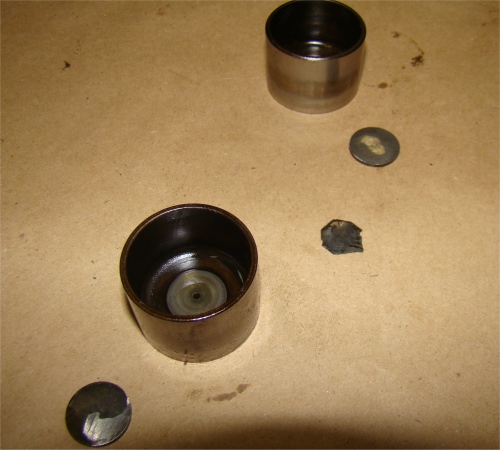
the tappets! |
||
 |
 |
 |
|
|
||
 |
 |
|
|
|
I am pleased to report that your car arrived safely at Classic Jaguar this morning and we will have this exciting project underway very soon. I hope you enjoy watching the restoration unfold over the coming months!
 |
 |
|
|
|
|
|
|
 |
 |
|
|
