| 1967
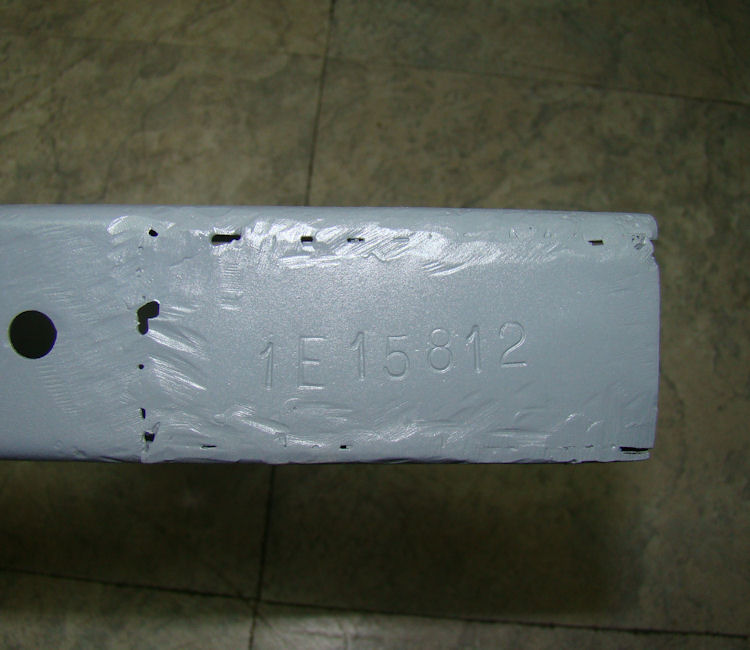
E Type roadster (1E 15812)
Complete driver restoration |
|
| 1967
E Type roadster (1E 15812)
Complete driver restoration |
|
|
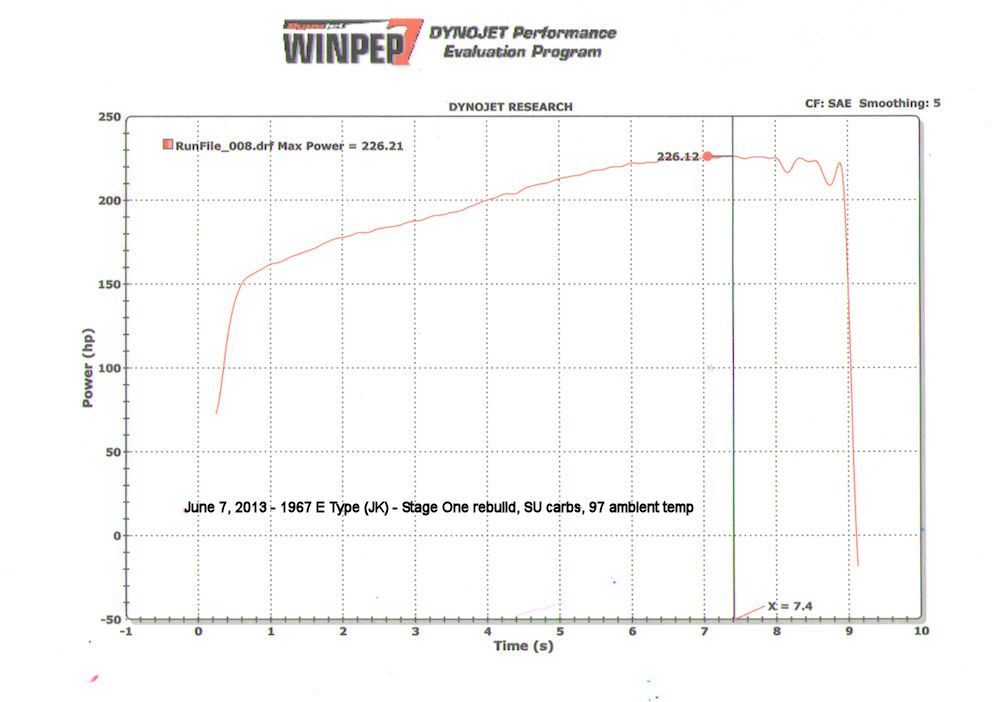
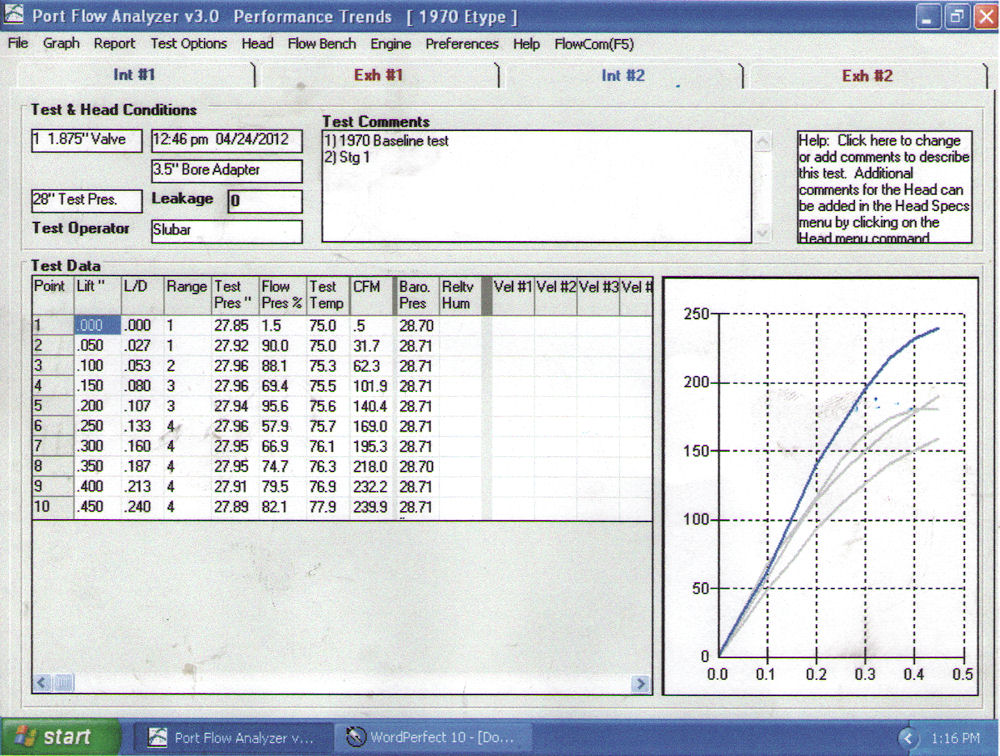
Note: 226.21 rear wheel HP represents approximately 283 HP at the flywheel
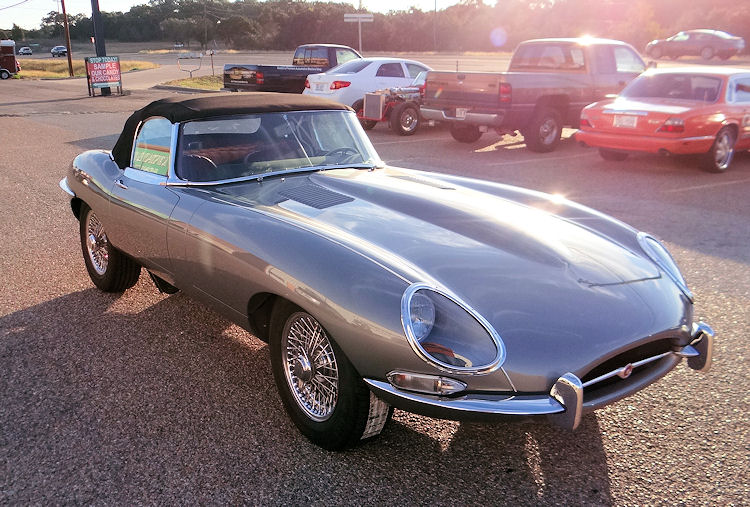
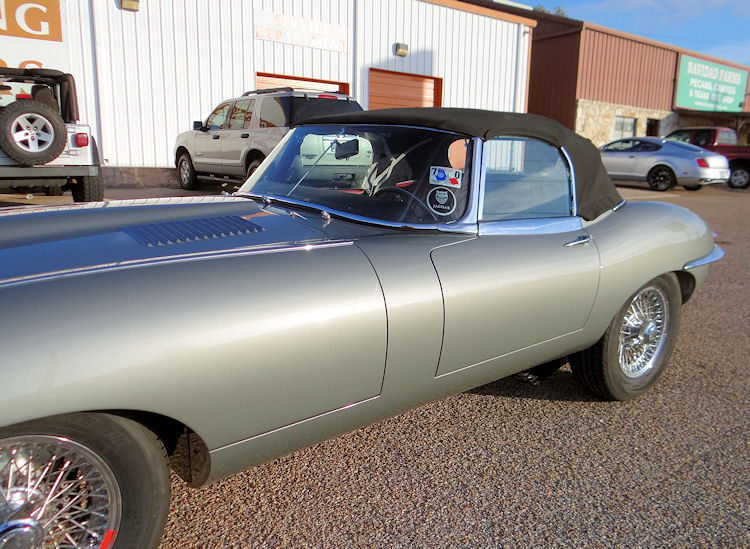
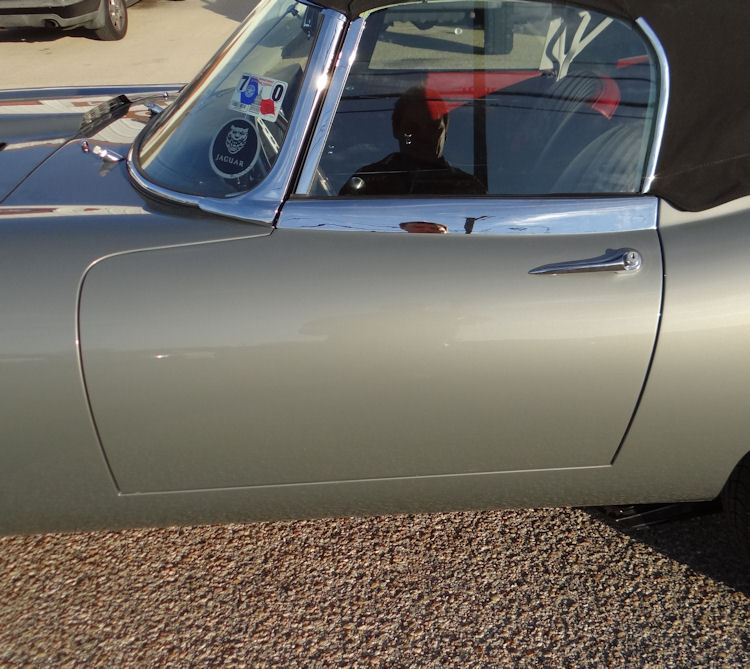
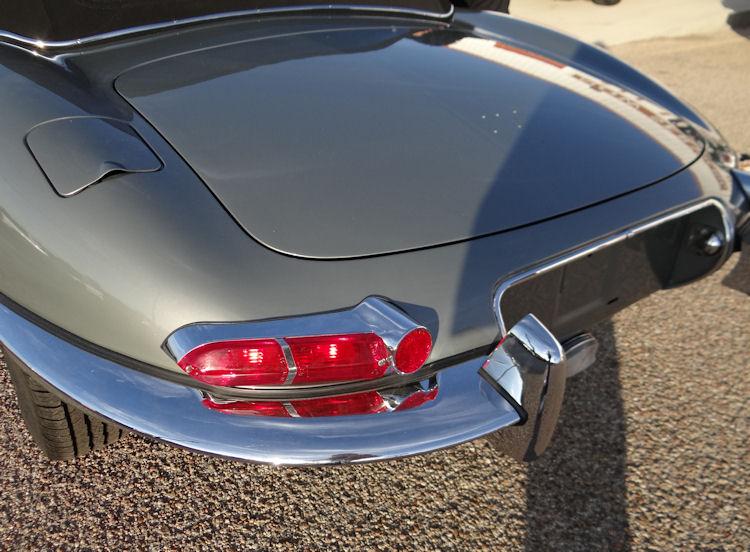
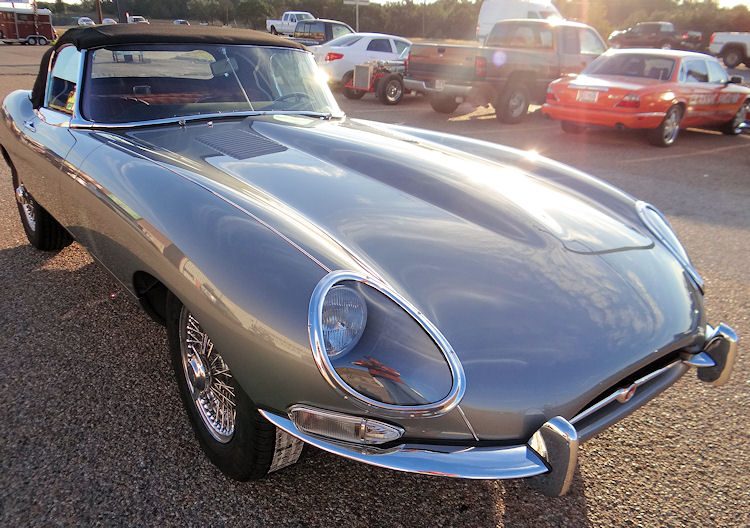
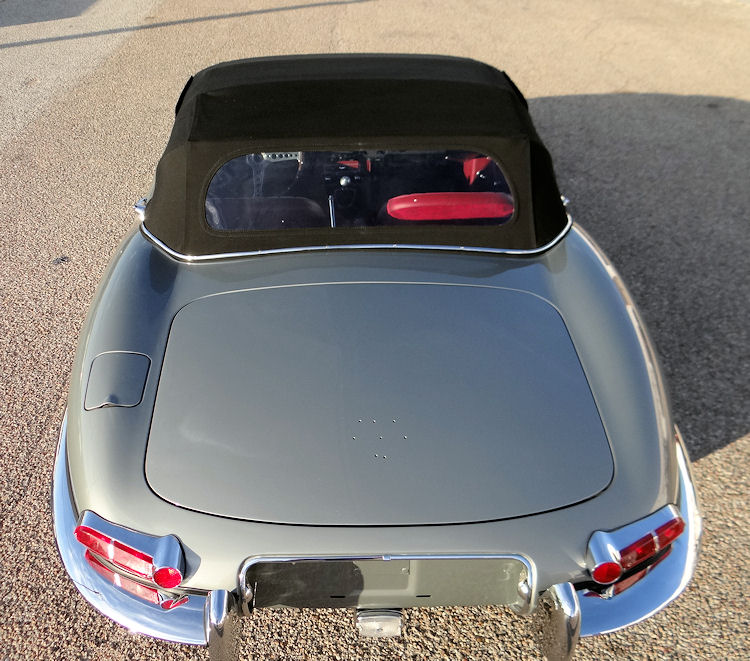
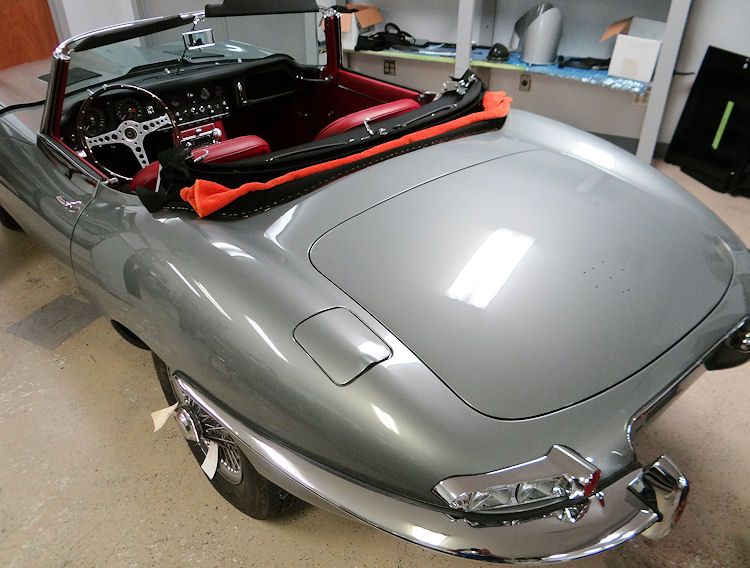
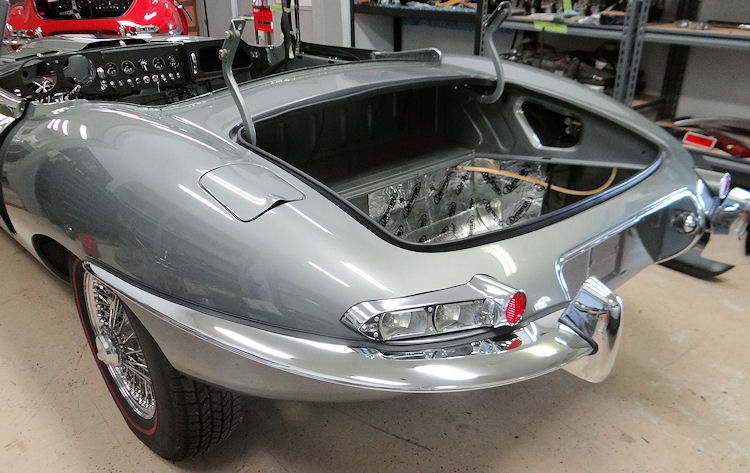
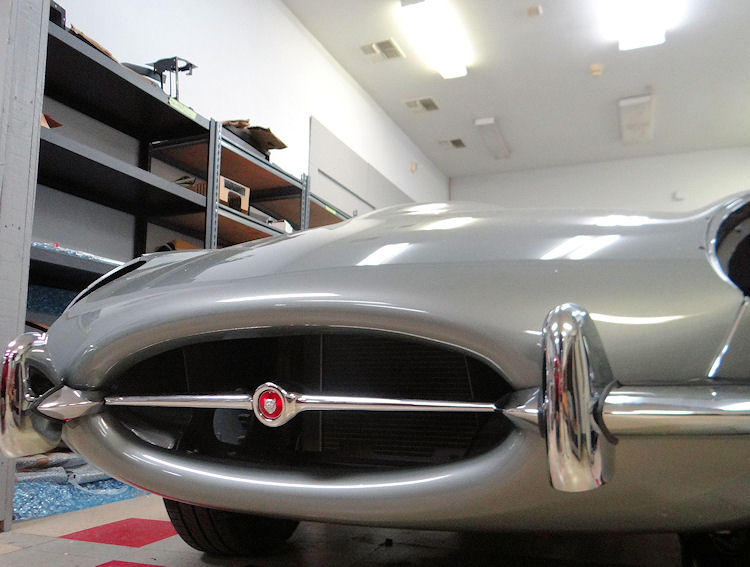
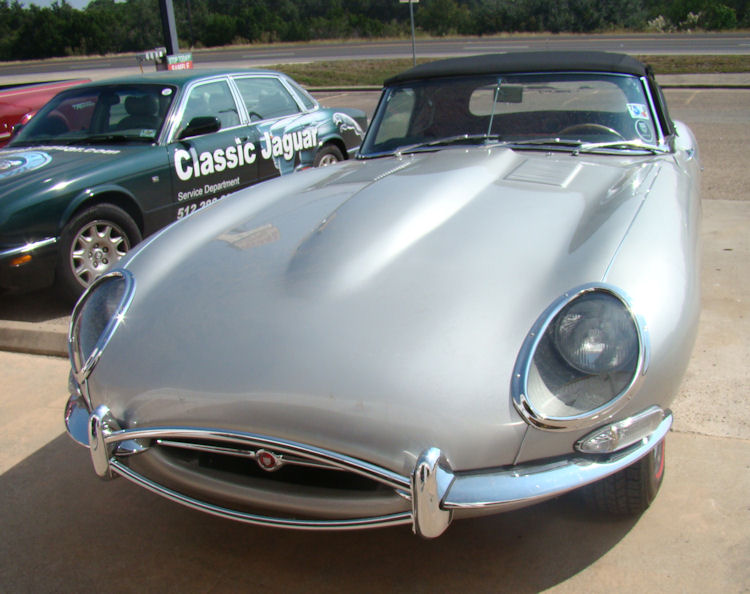
We are now down to the finishing touches on this project...
 |
 |
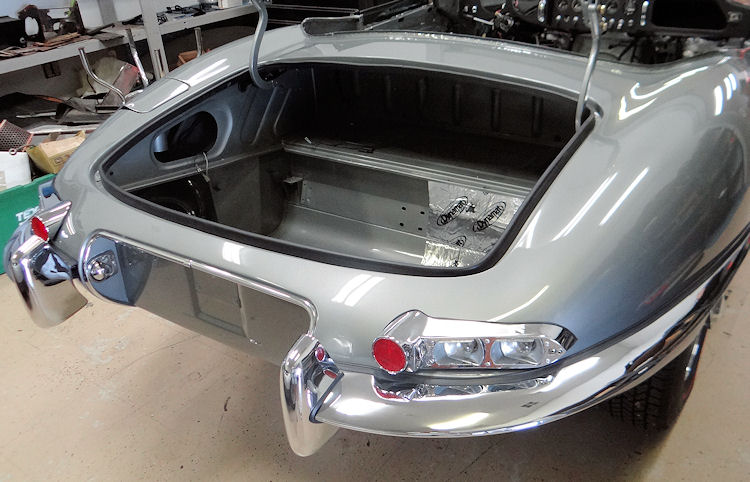
Although obviously not quite finished, your car is almost whole again, and certainly close enough to justify a few photos outside in the Texas sunshine...
 |
 |
|
|
|
 |
 |
|
|
|
 |
 |
|
|
|
 |
 |
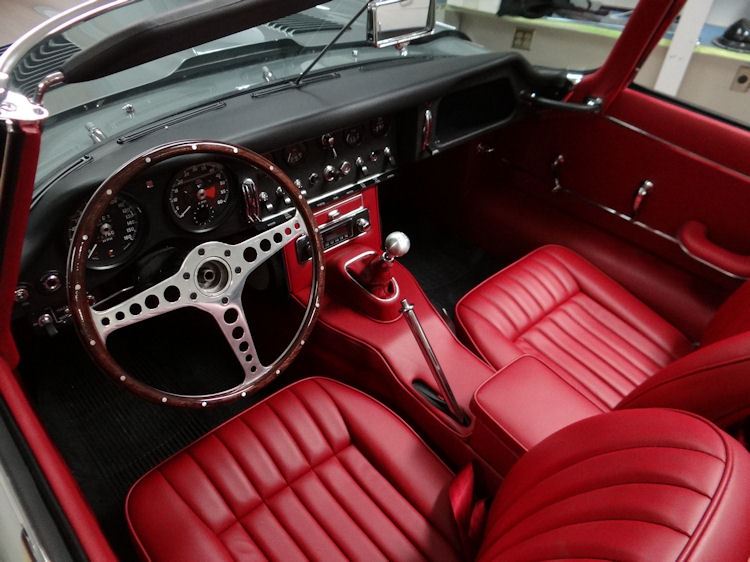
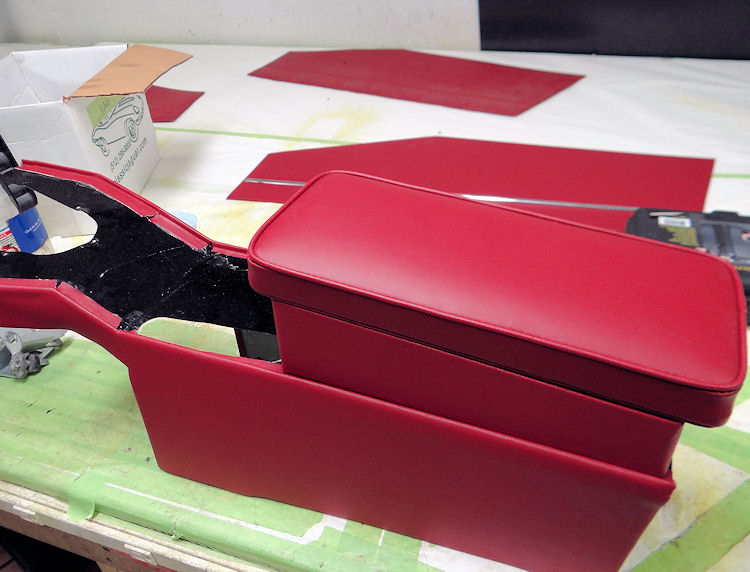
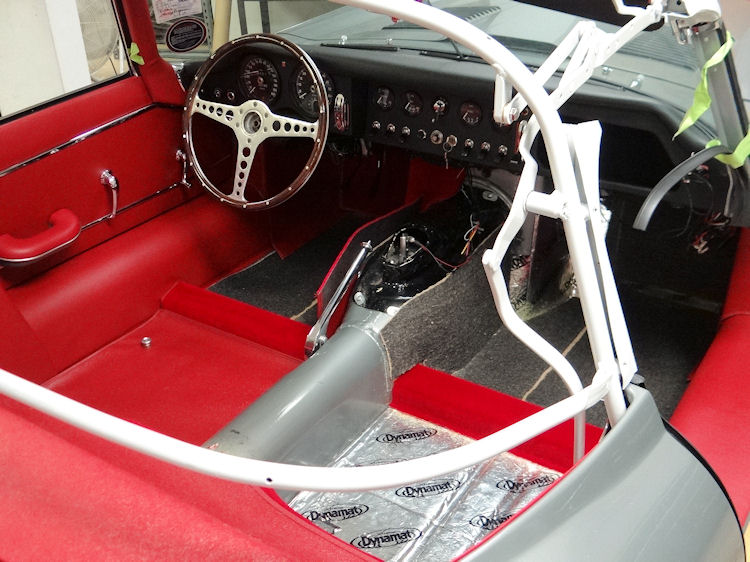
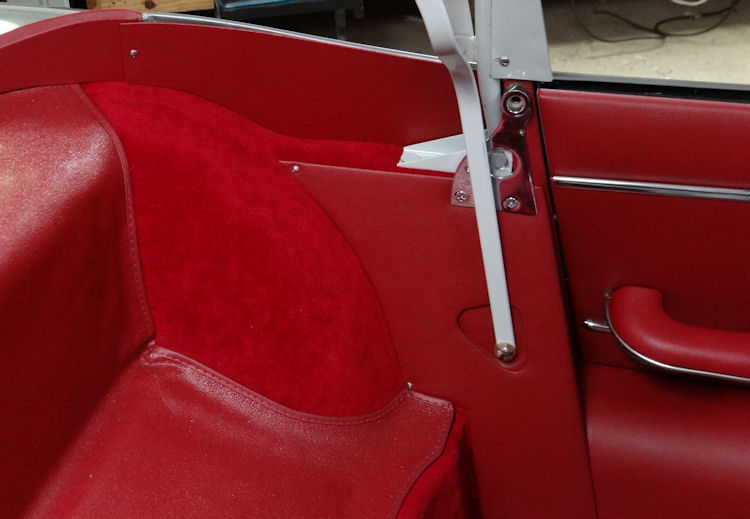
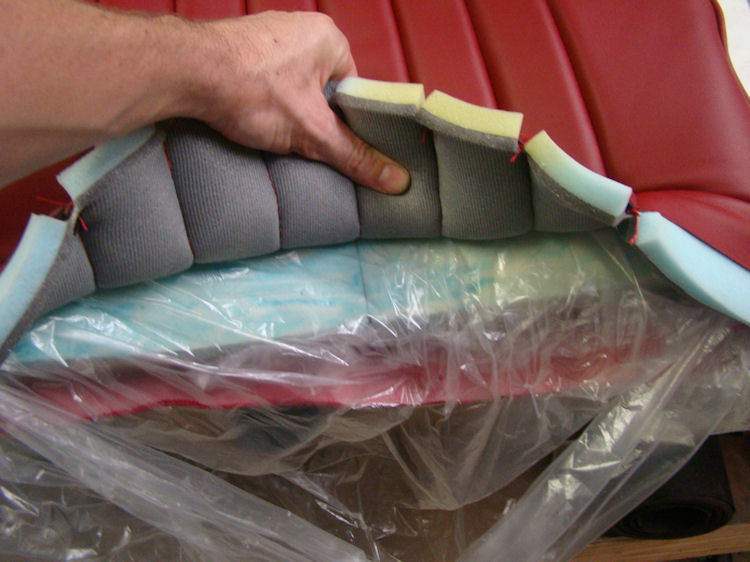
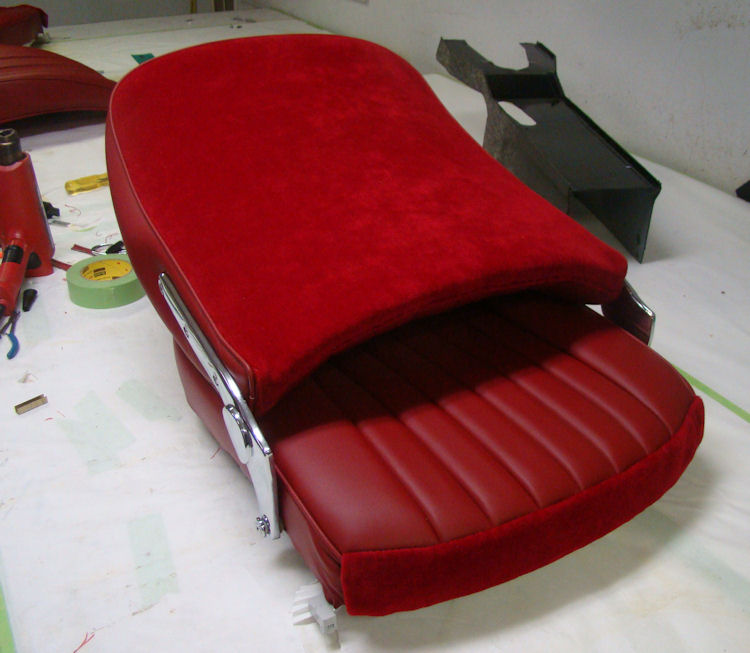
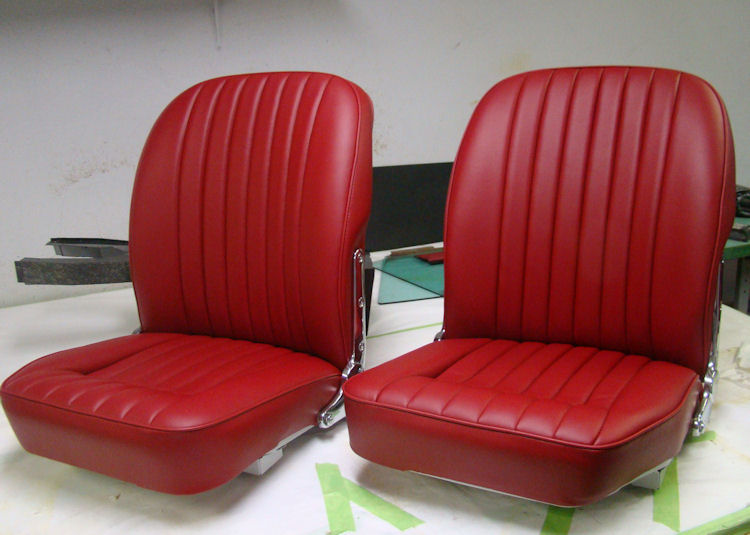
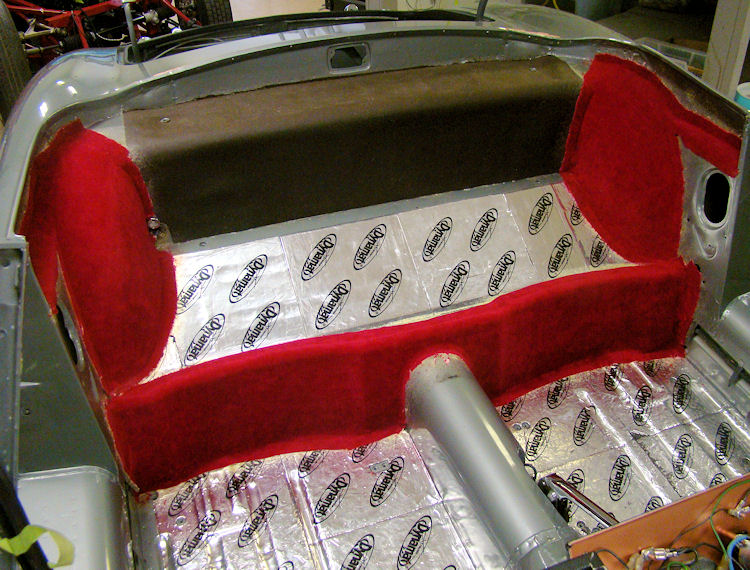
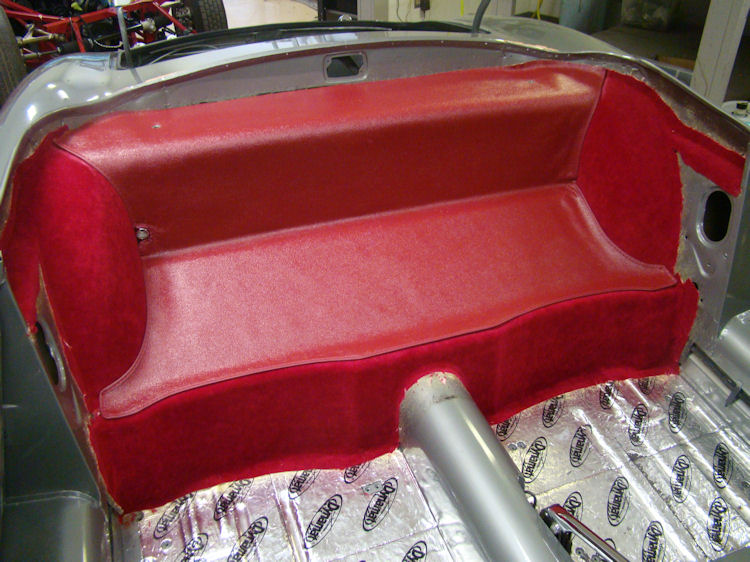
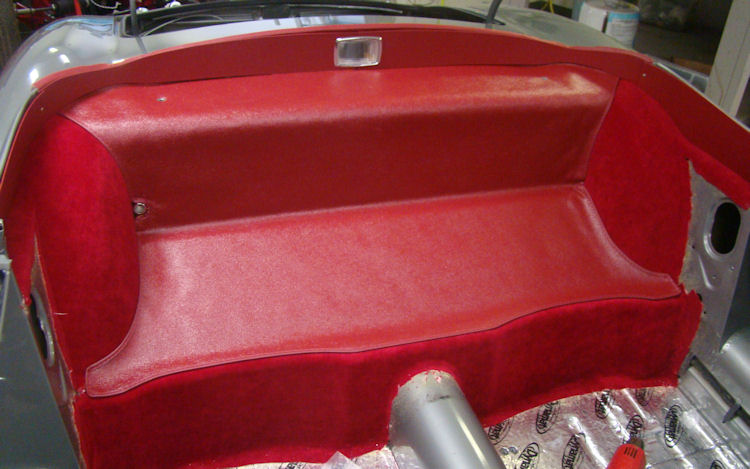
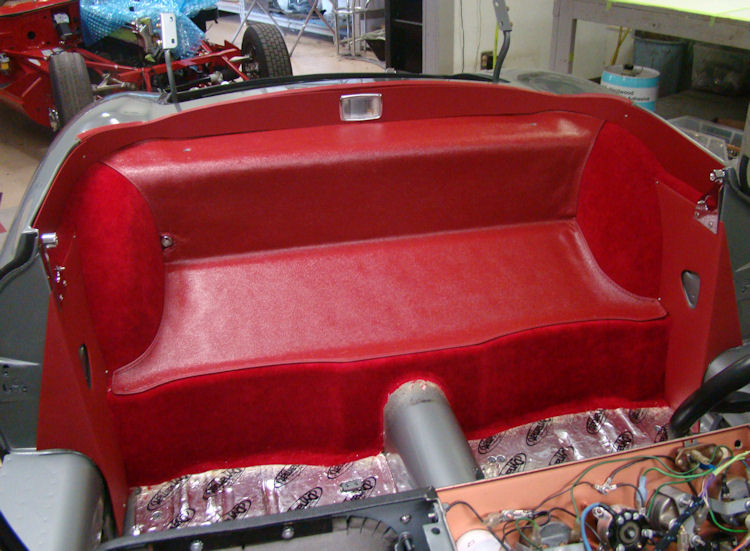
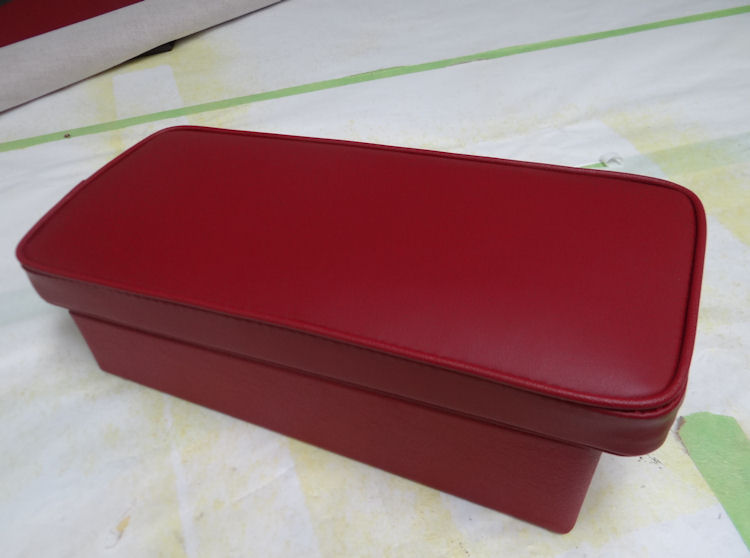
Interior retrim almost complete...
 |
 |
 |
 |
 |
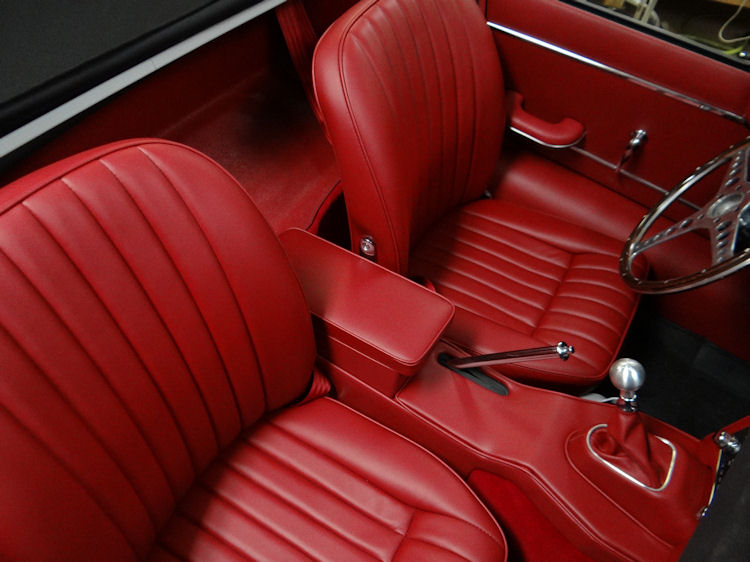 |
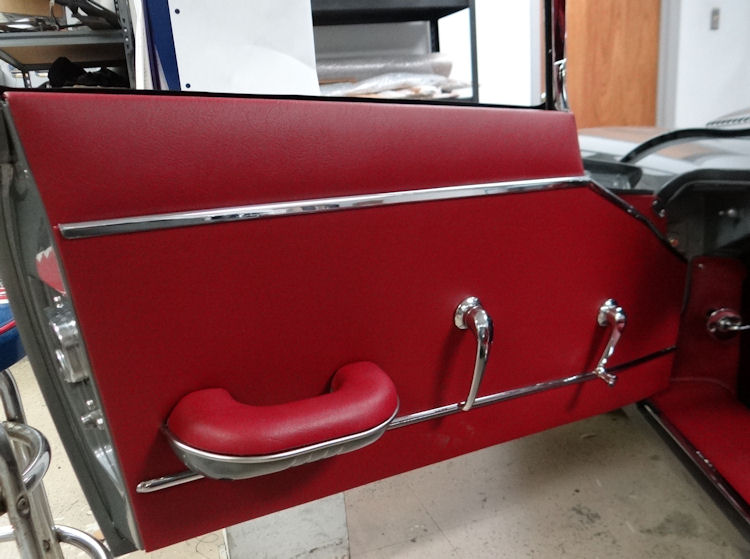
Lots of progress in the trim room...
 |
 |
|
|
|
 |
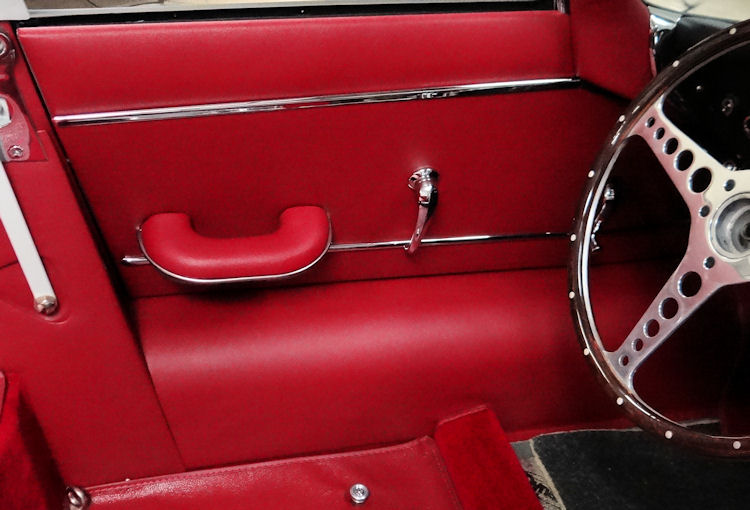 |
Installing the new Suffolk & Turley interior....
 |
 |
|
|
|
|
|
|
 |
 |
|
|
|
|
|
|
 |
 |
|
|
|
|
|
|
 |
 |
|
|
|
|
|
|
 |
 |
|
|
|
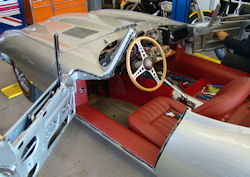
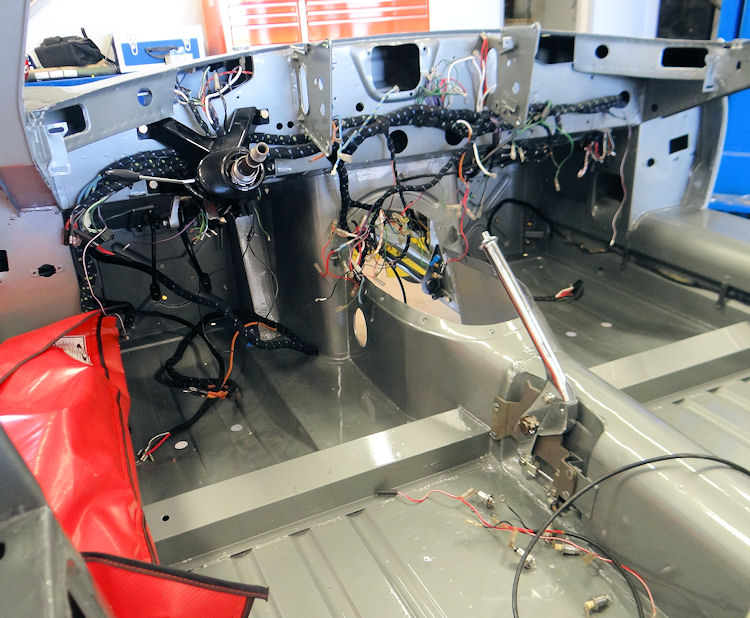
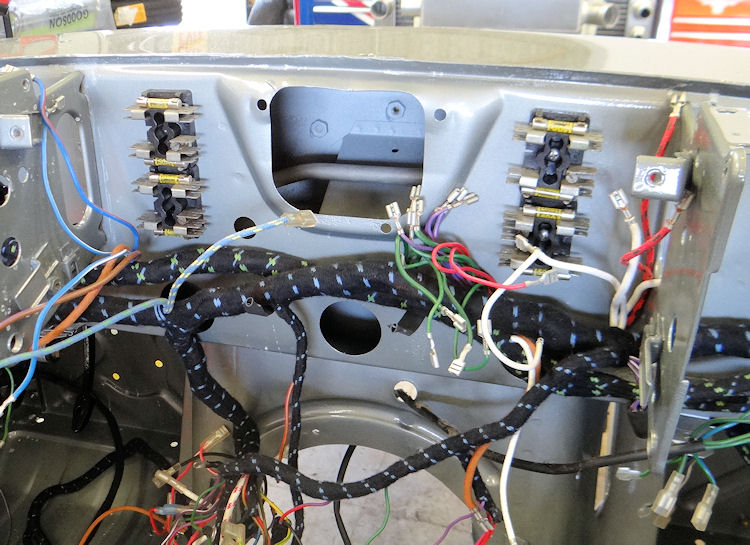
Installing replated bumpers, lamp housings, installing gauges and switches.....
 |
 |
|
|
|
 |
 |
|
|
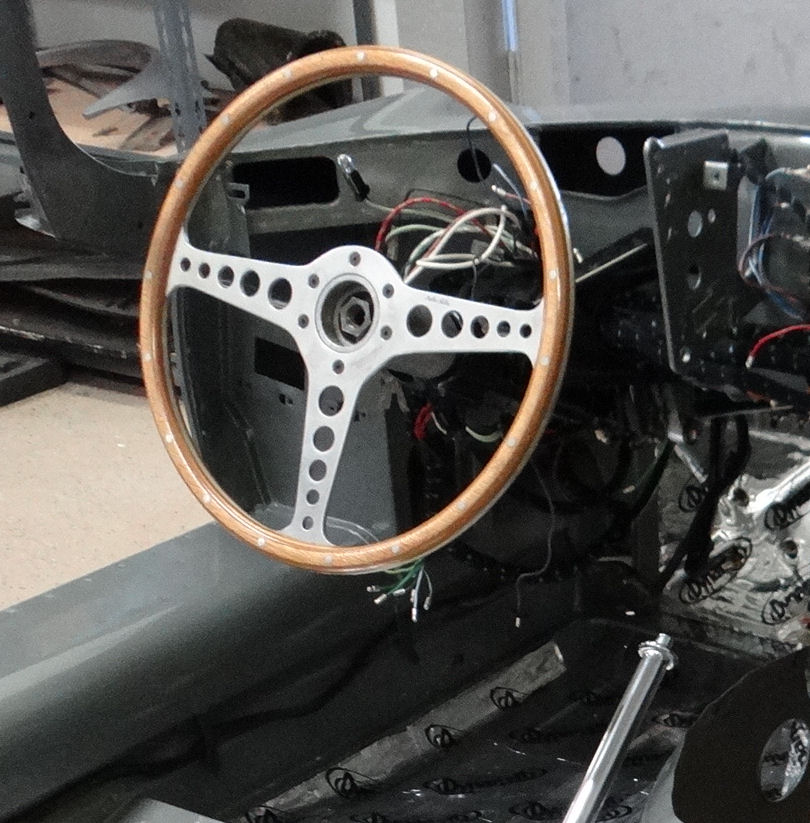
I know you didn't care for the light color of the steering wheel as received. Zakk has now sanded it down and re-stained it a much darker hue. Do you approve?
 |
 |
|
|
|
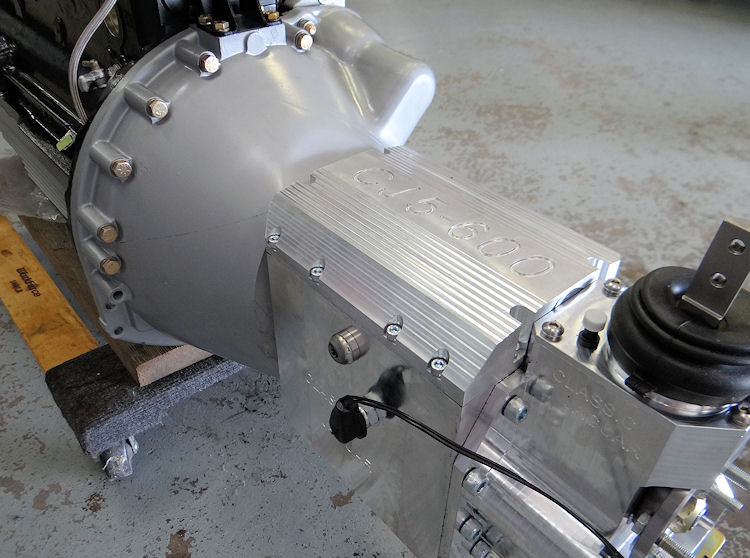
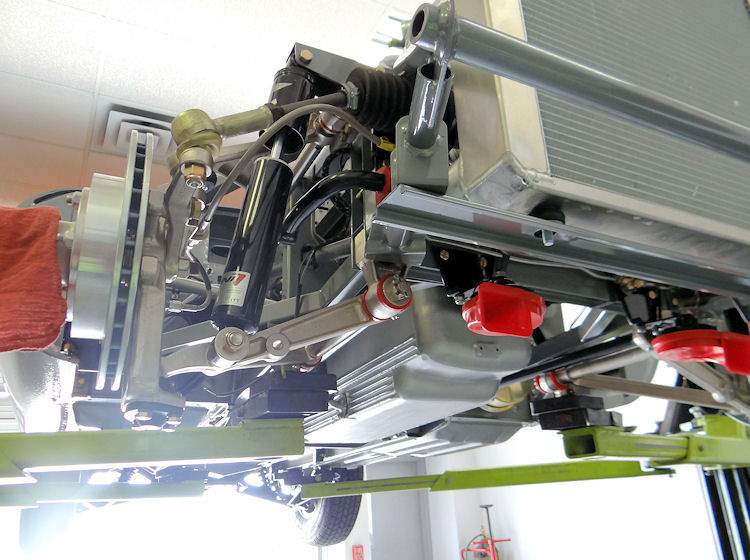
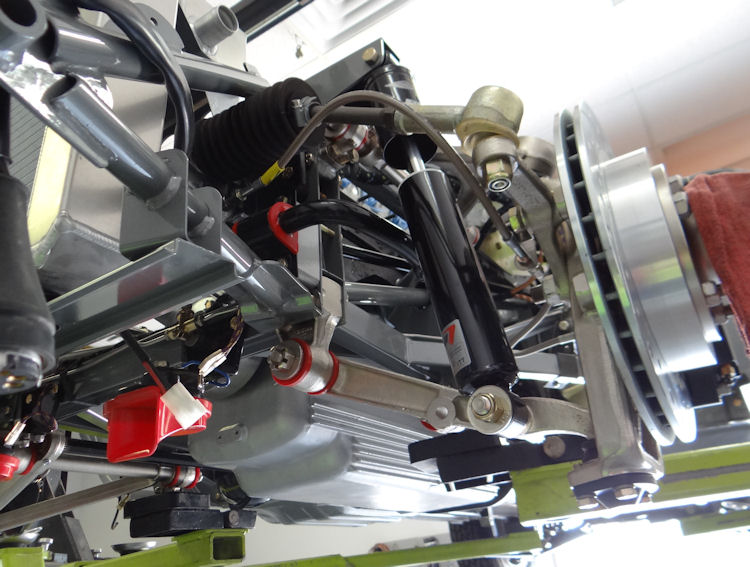
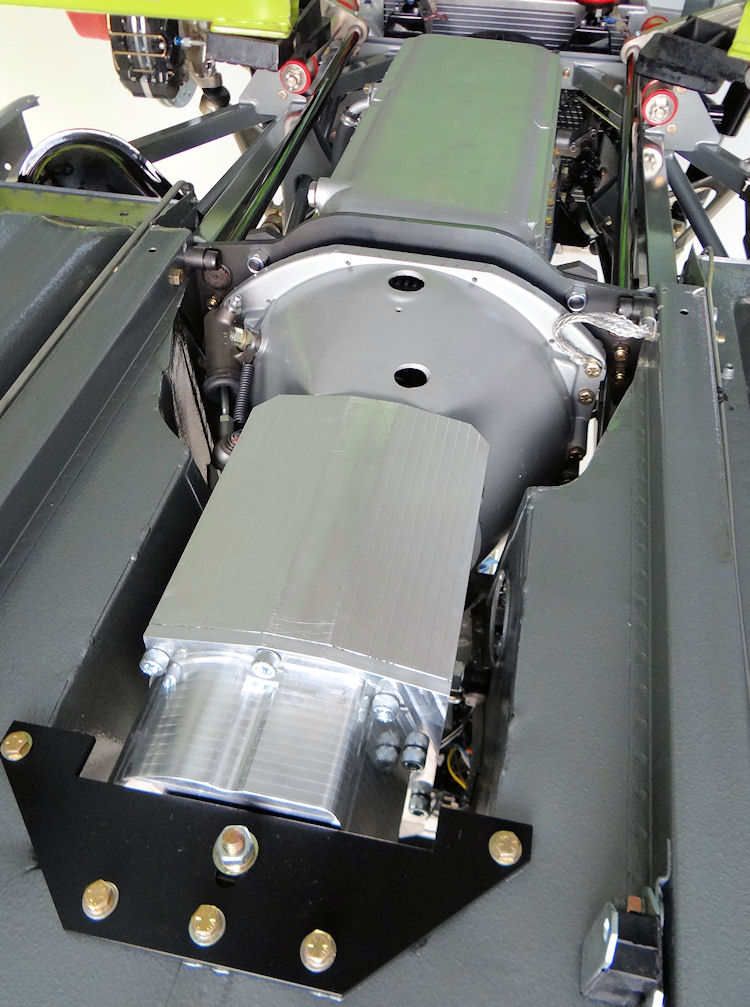
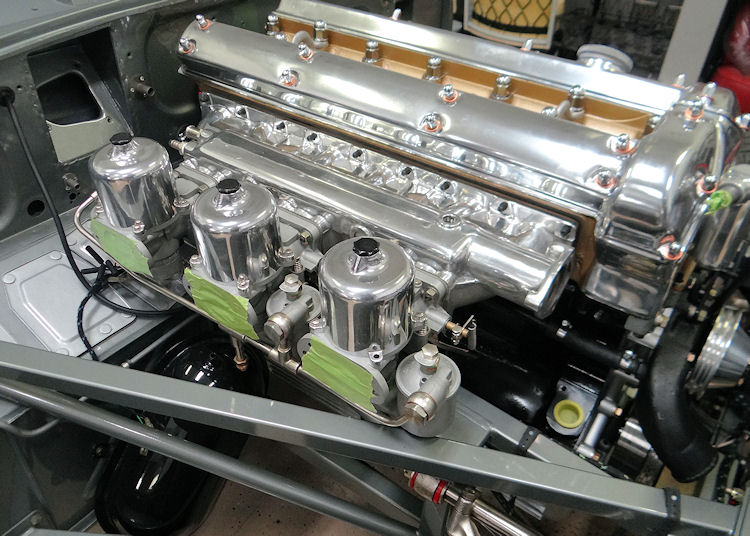
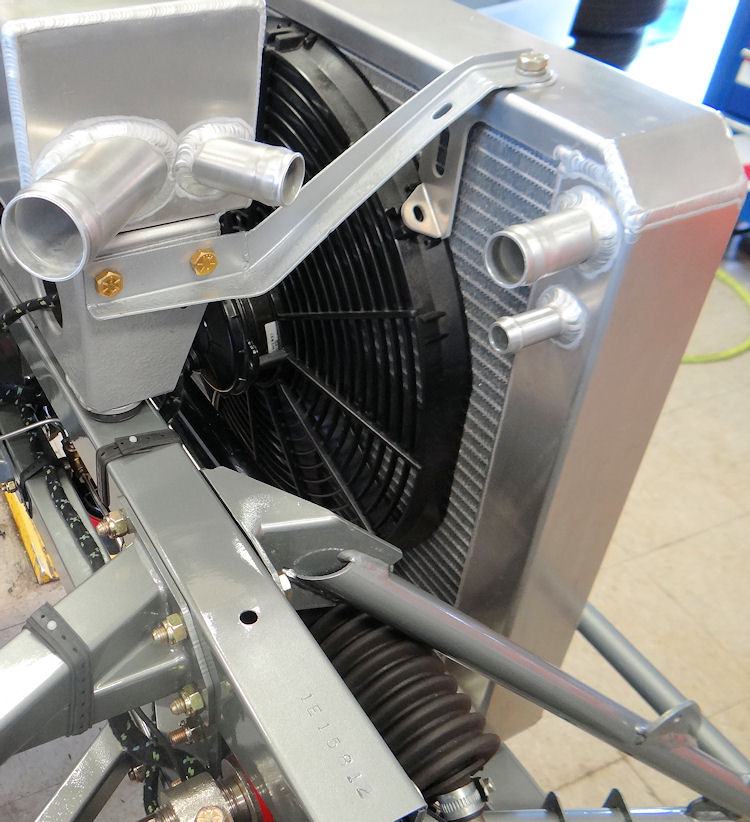
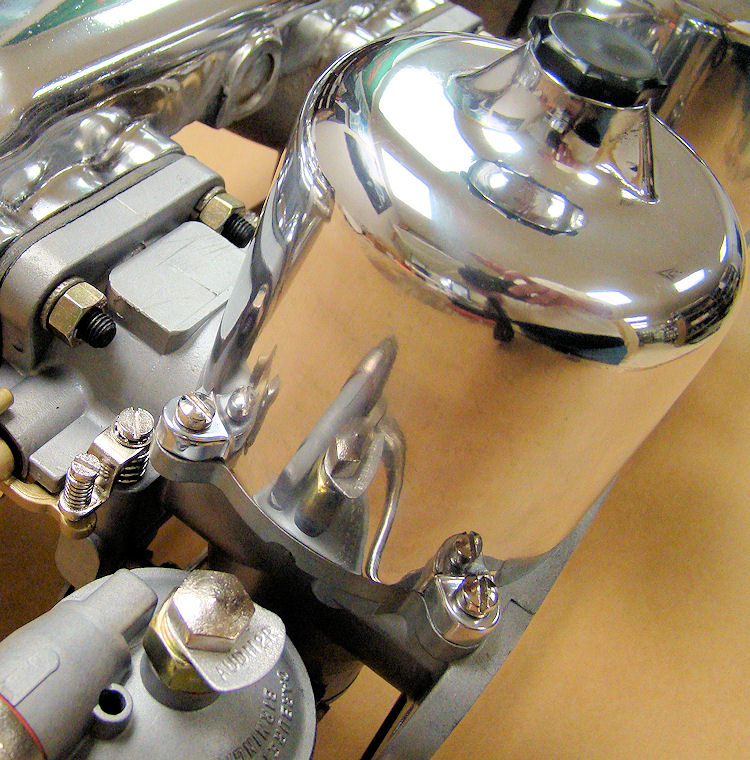
Maiden voyage time rapidly approaching...
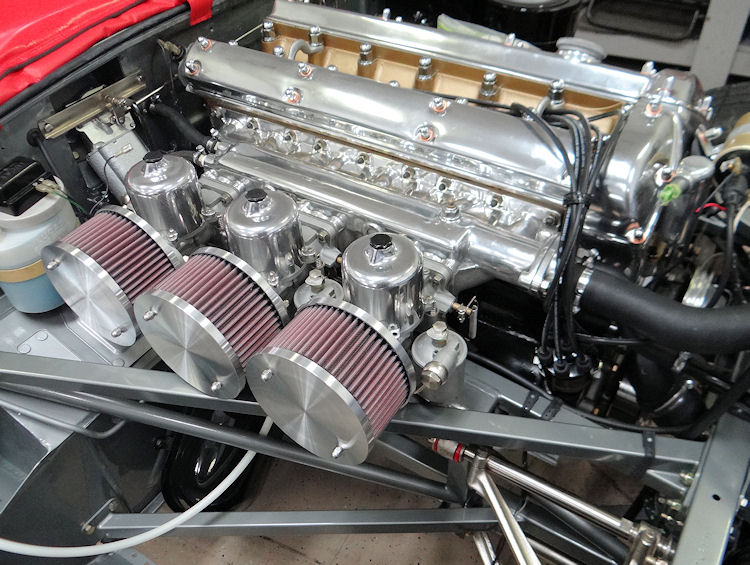
Installing the rebuilt engine, CJ5/600 five speed transmission, rebuilt carbs....
 |
 |
|
|
|
|
|
|
 |
 |
|
|
|
|
|
|
 |
 |
|
|
|
|
|
|
 |
 |
|
|
|
|
|
|
 |
 |
|
|
|
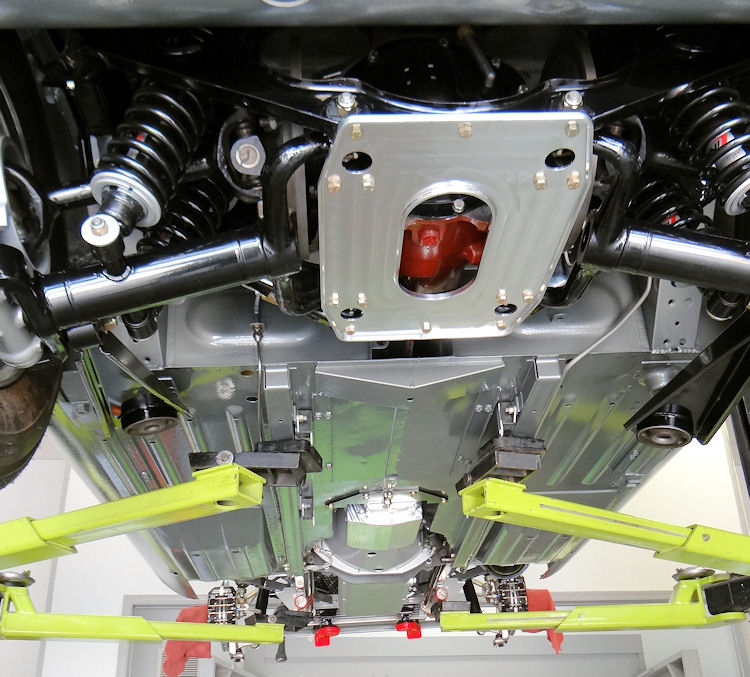
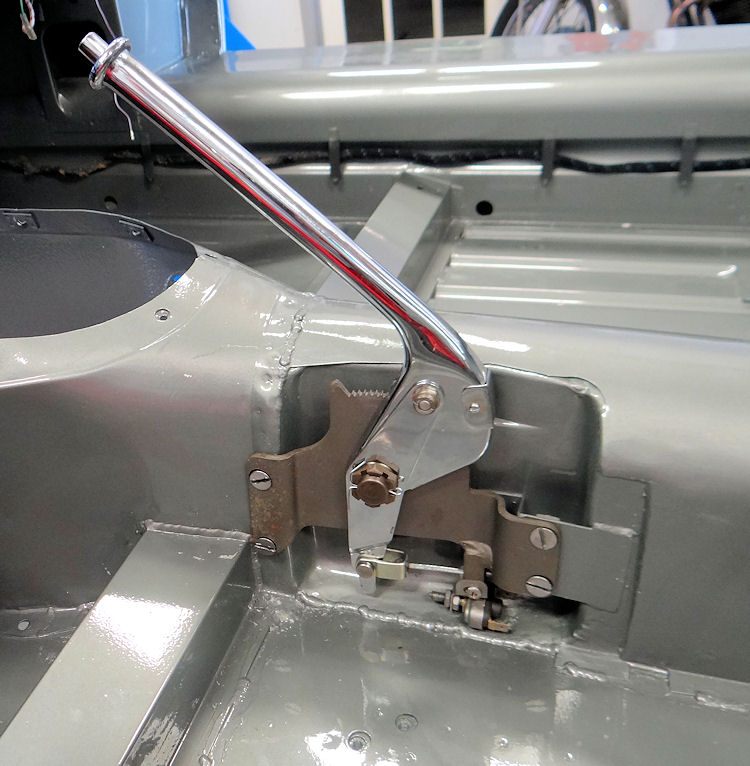
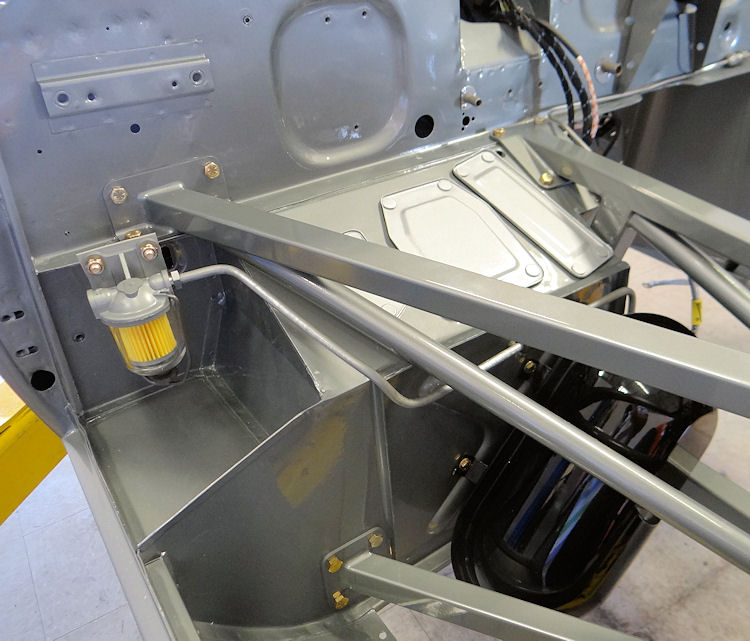
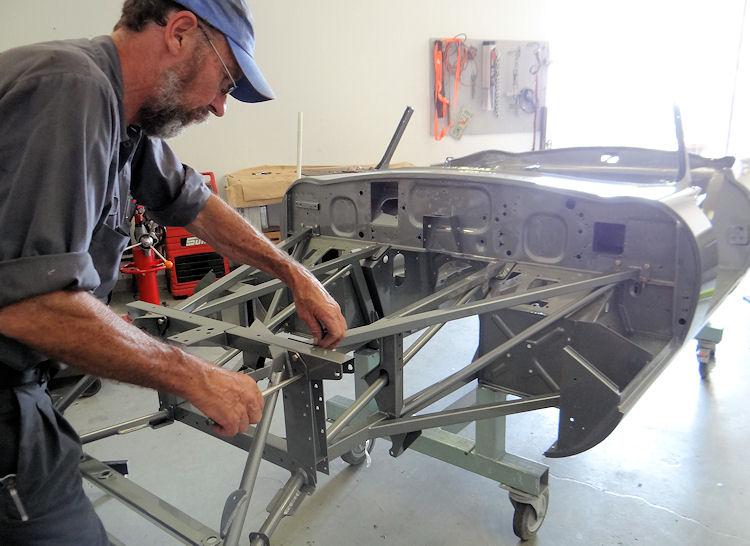
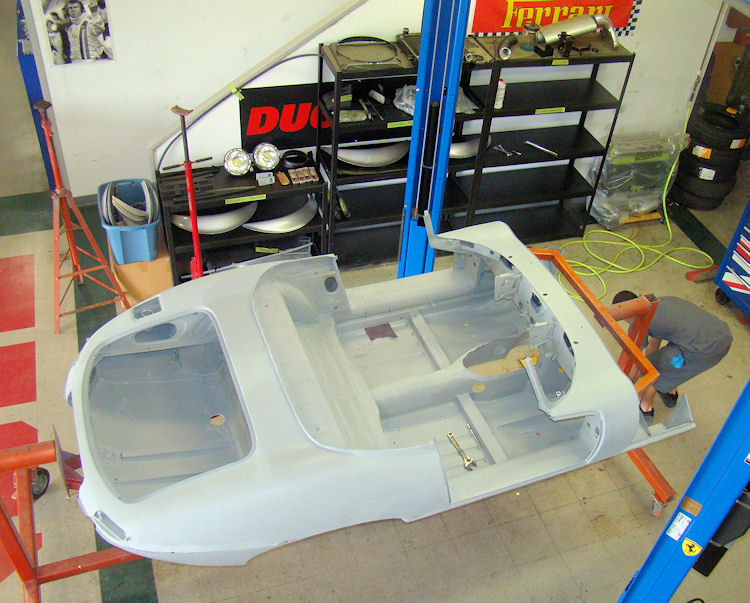
Going back together is the fun part!
 |
 |
|
|
|
|
|
|
 |
 |
|
|
|
|
|
|
 |
 |
|
|
|
|
|
|
 |
|
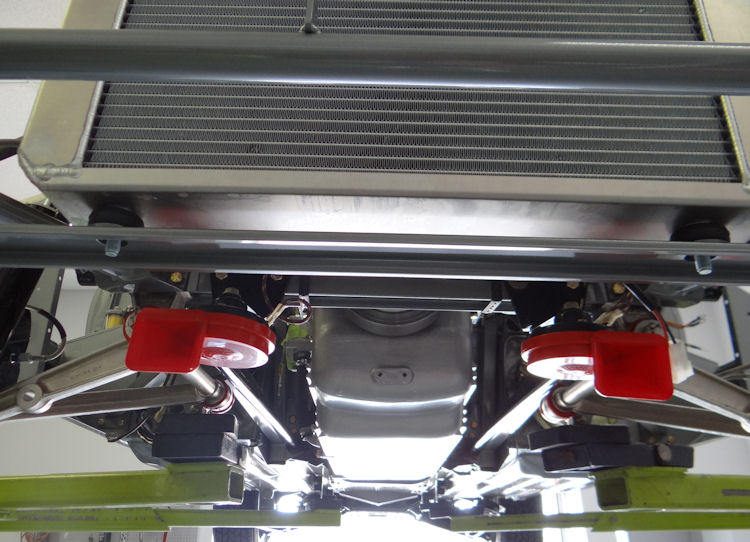
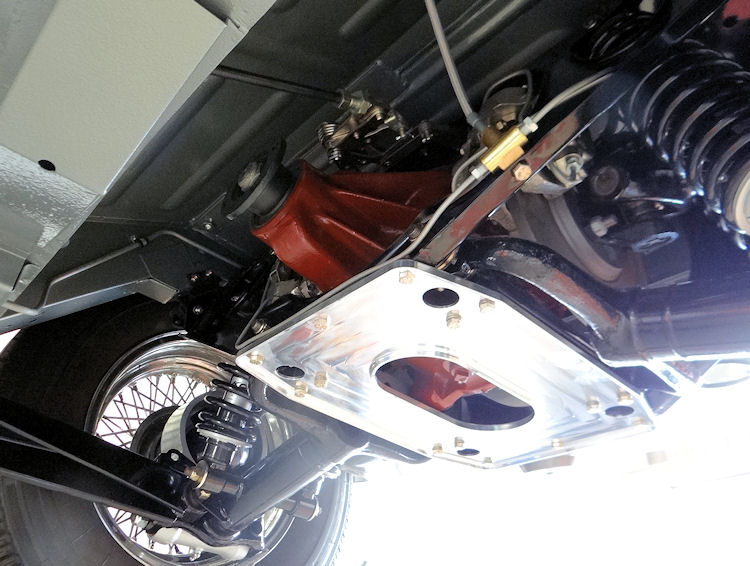
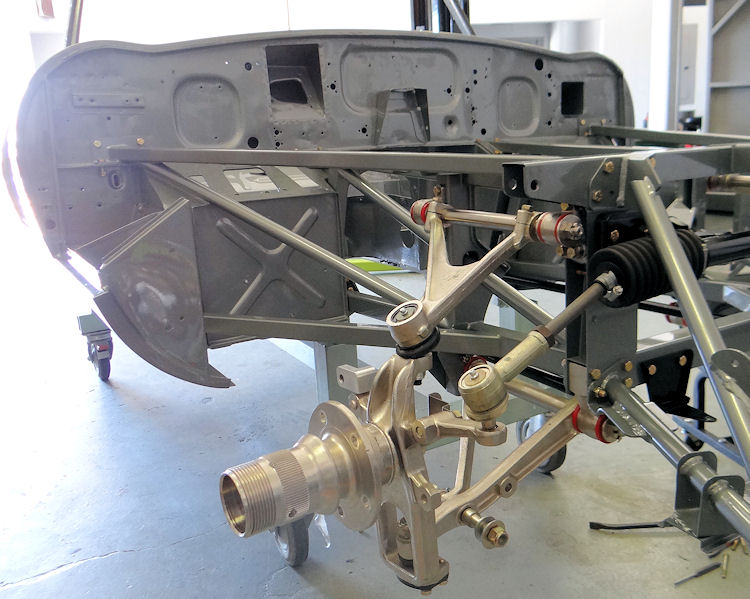
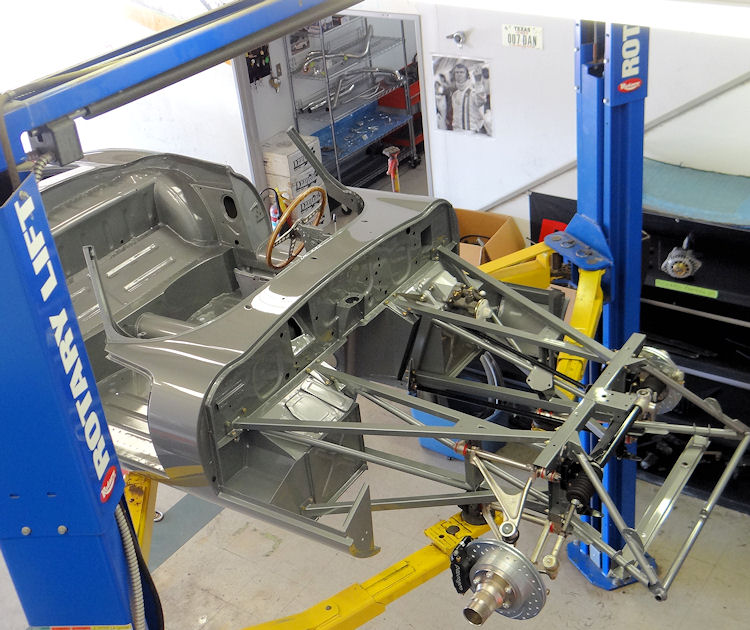
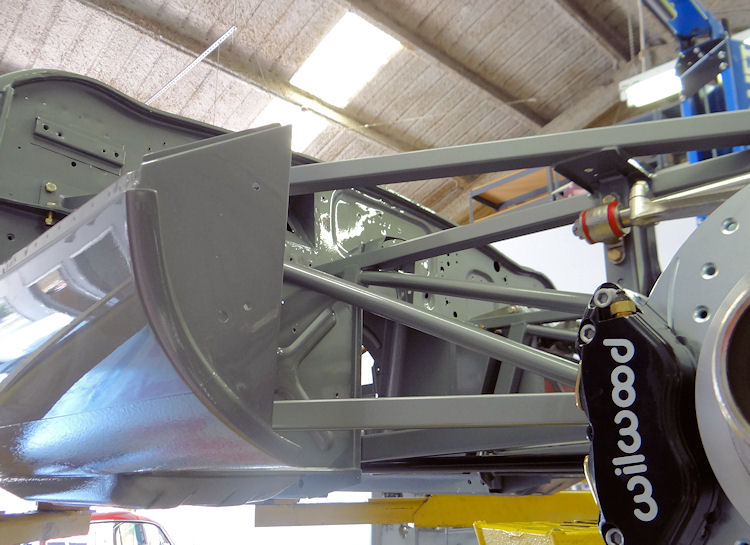
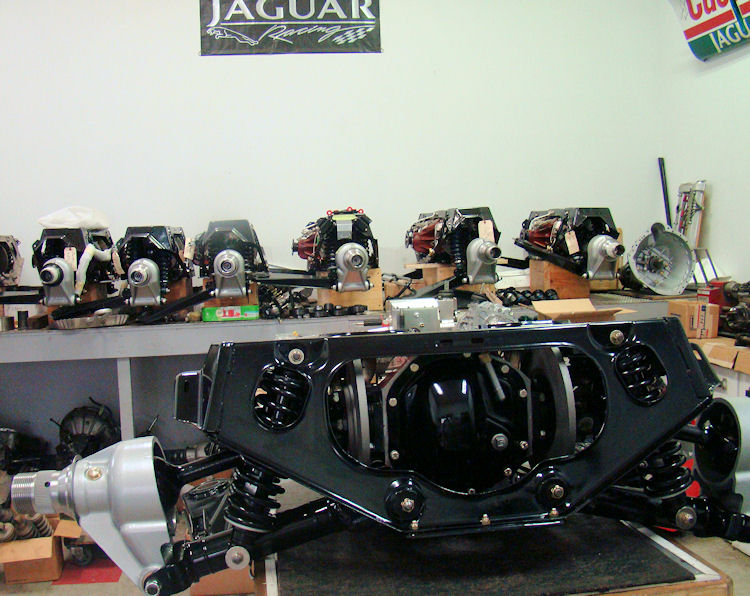
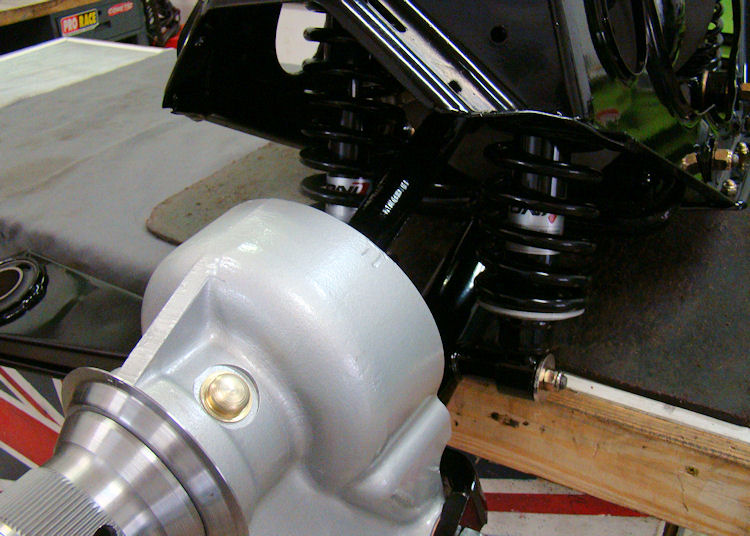
We have now installed your rebuilt front and rear suspensions and have your car back on it wheels...
 |
 |
|
|
|
 |
 |
|
|
|
 |
 |
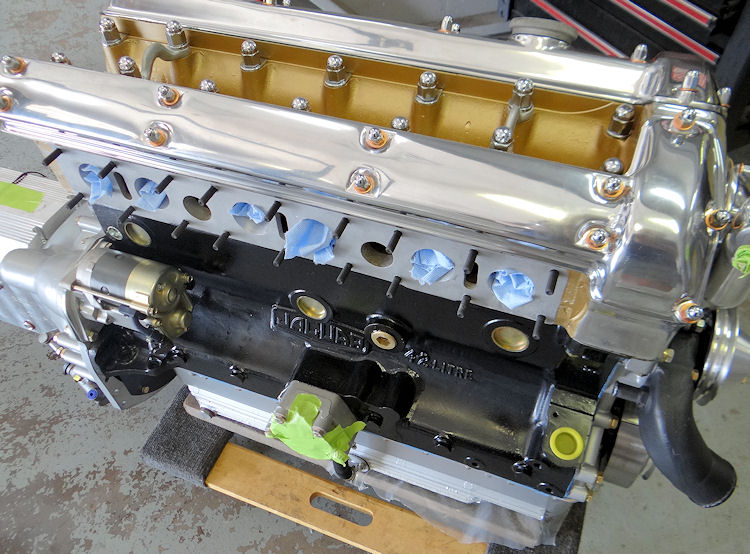
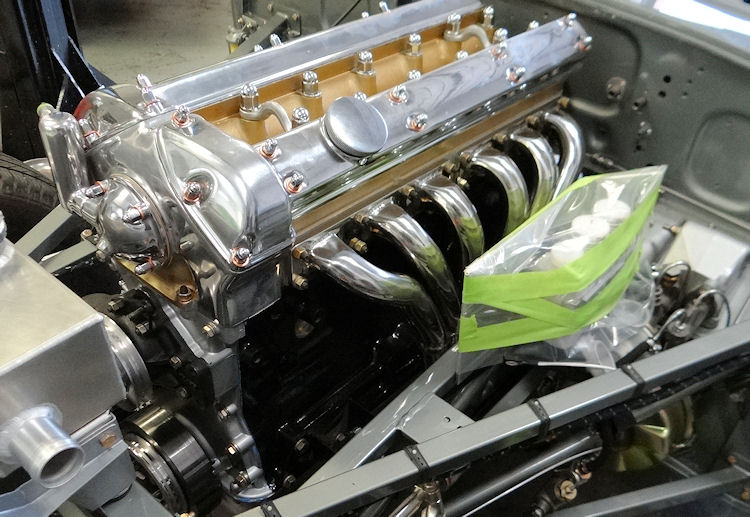
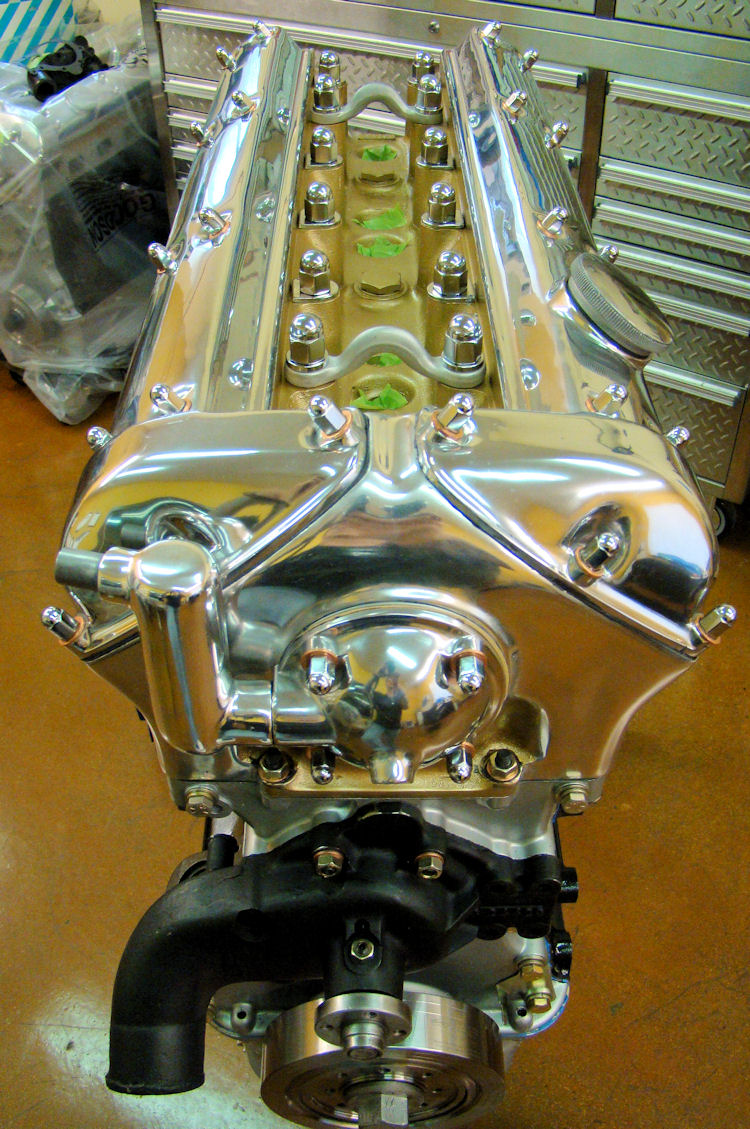
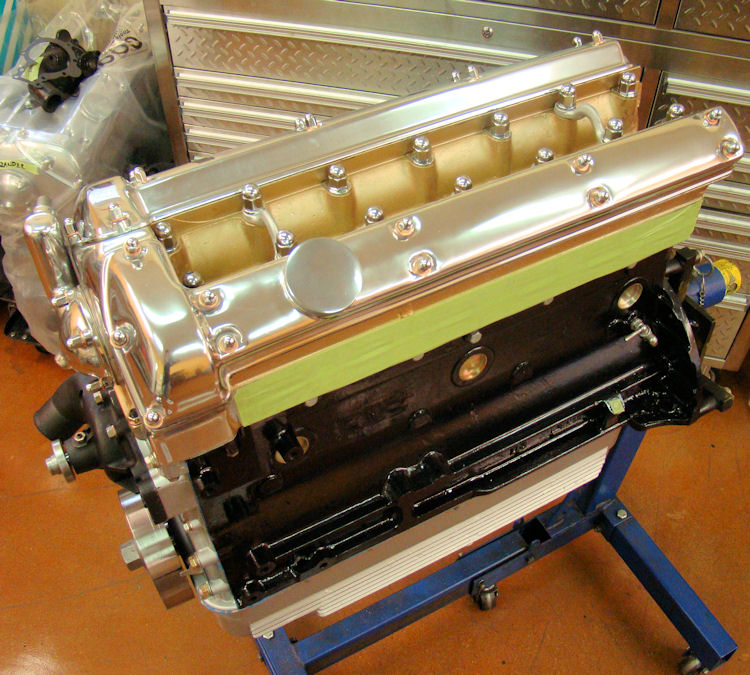
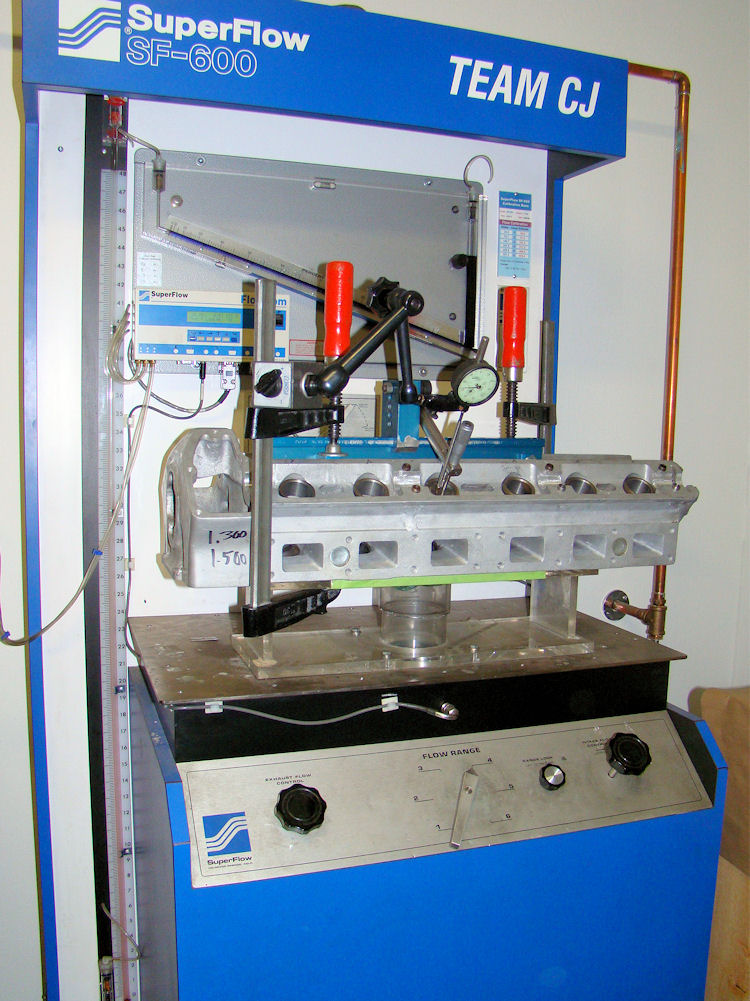
Stage One engine rebuild now complete....
 |
 |
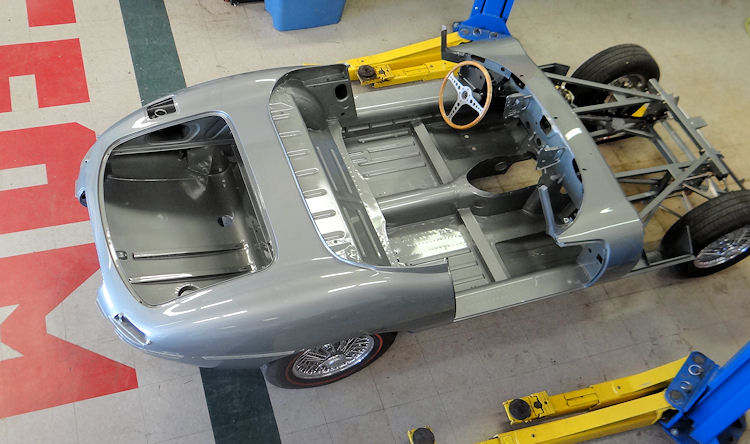
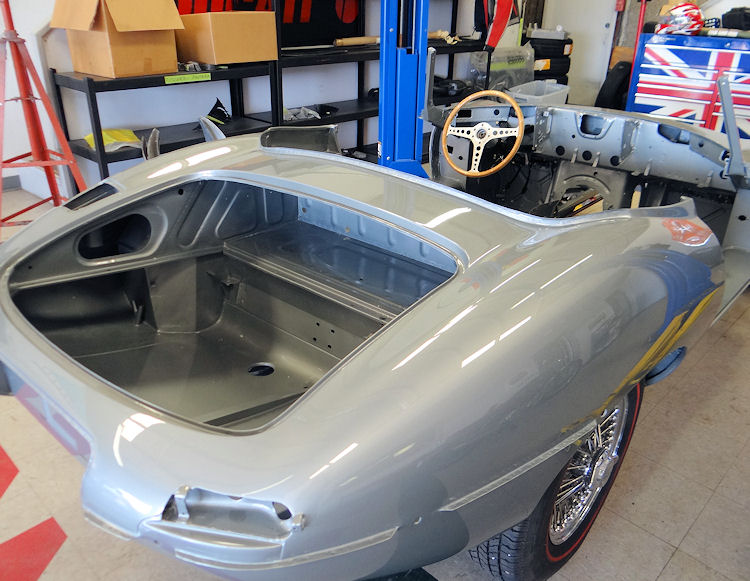
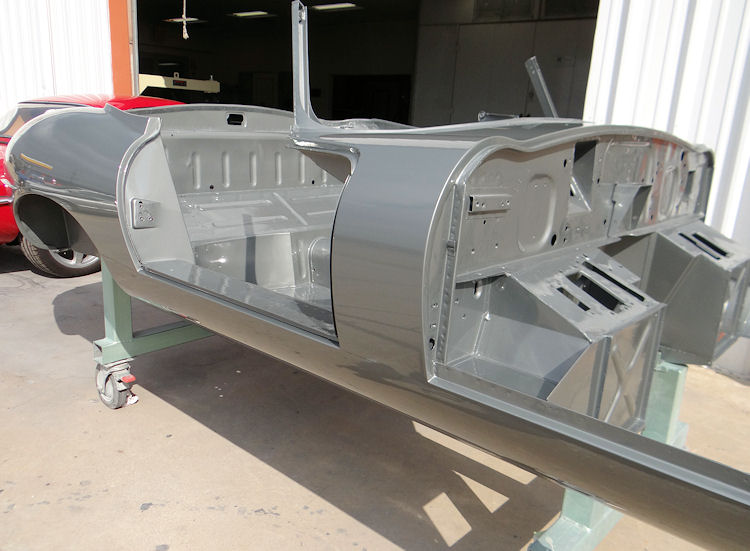
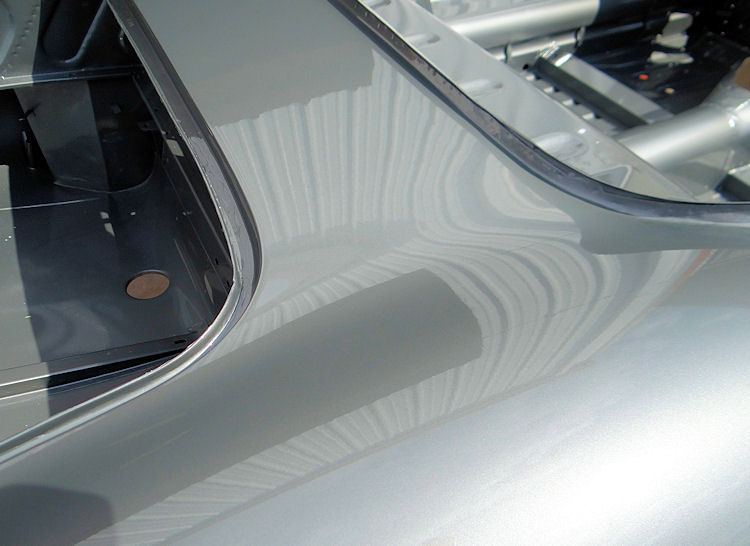
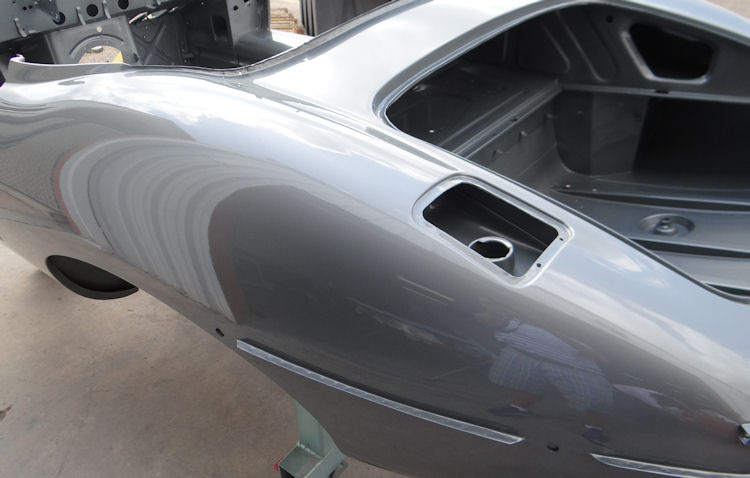
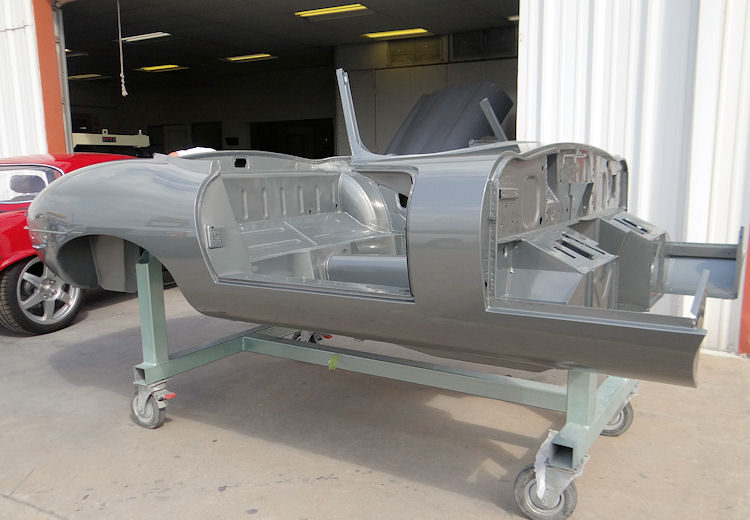
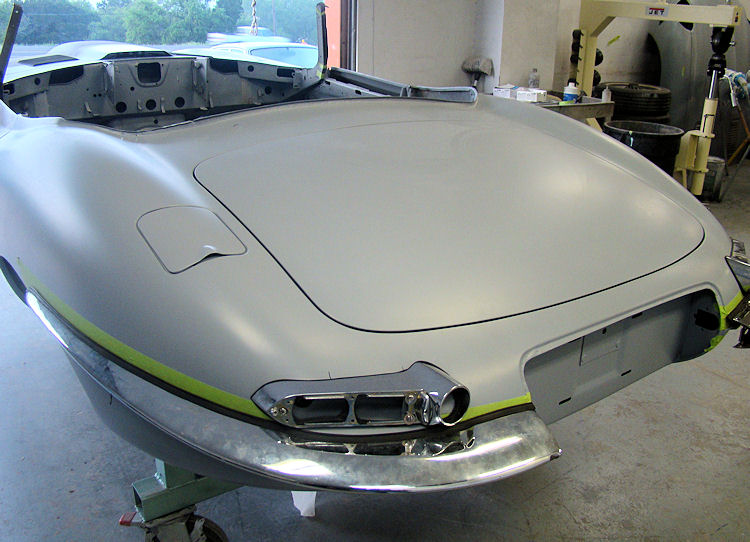
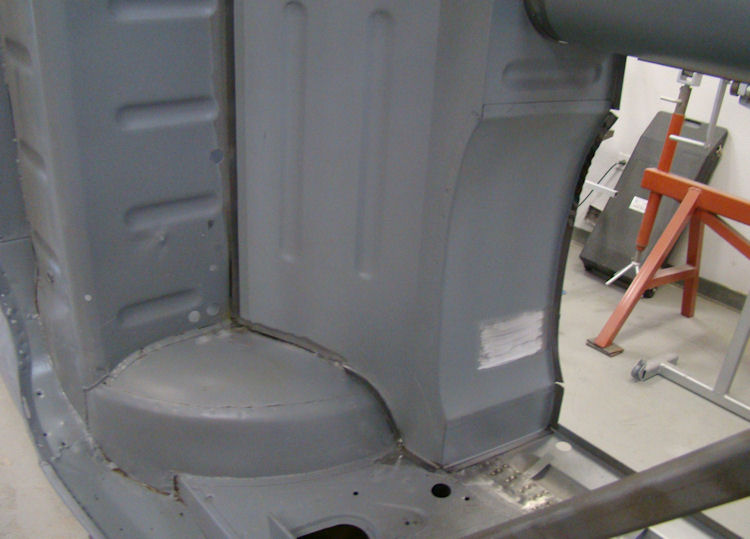
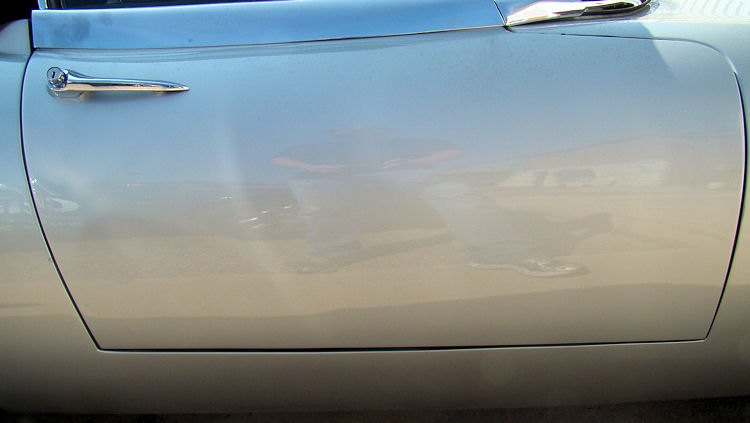
Bodyshell and doors now Opalescent Silver Grey...
 |
 |
|
|
|
 |
 |
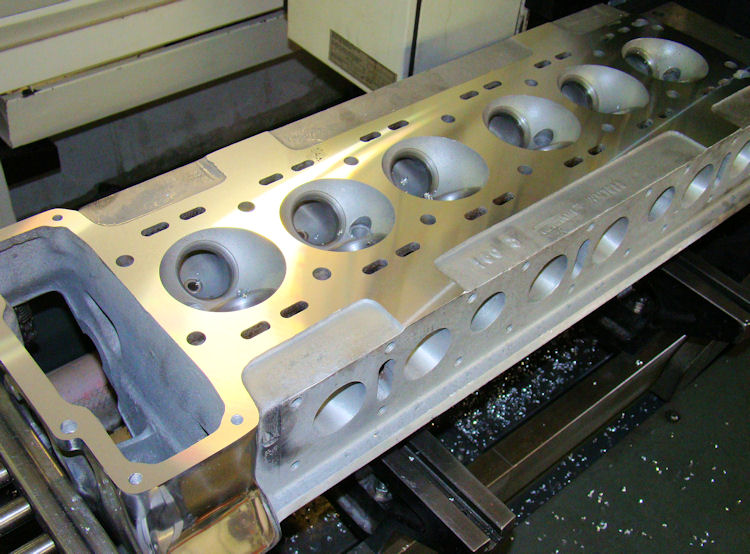
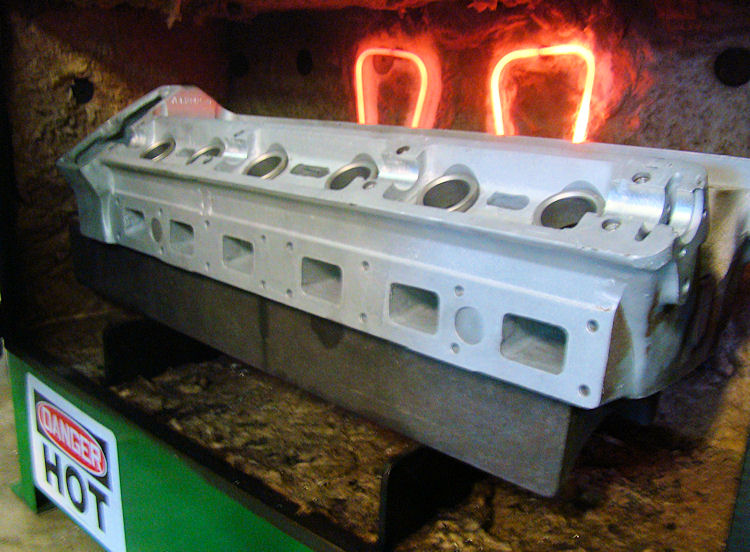
Stage One cylinder head rebuild now completed...
 |
 |
|
|
|
|
|
|
 |
 |
|
|
|
|
|
|
 |
 |
|
|
|
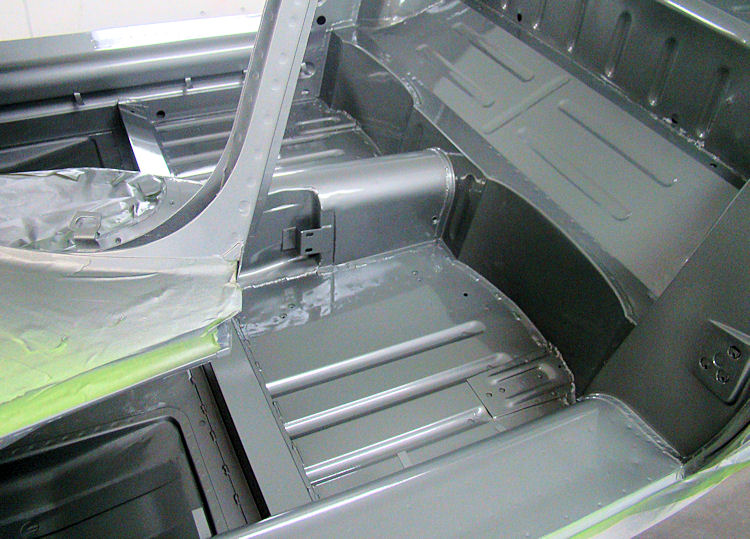
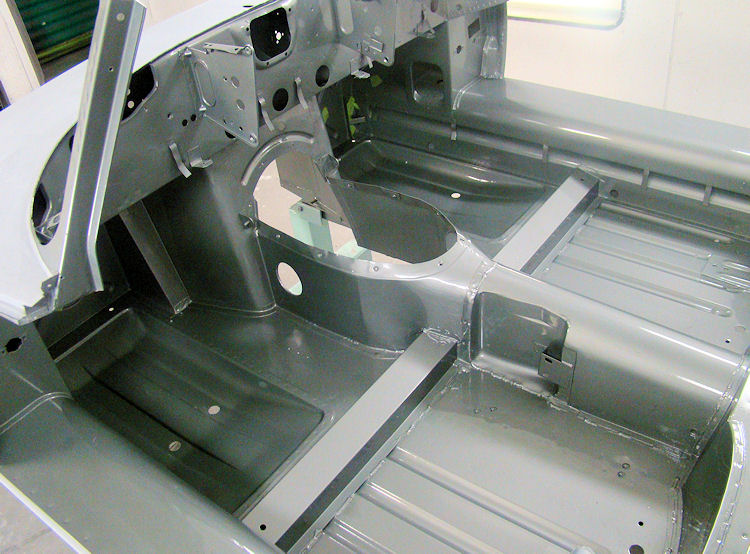
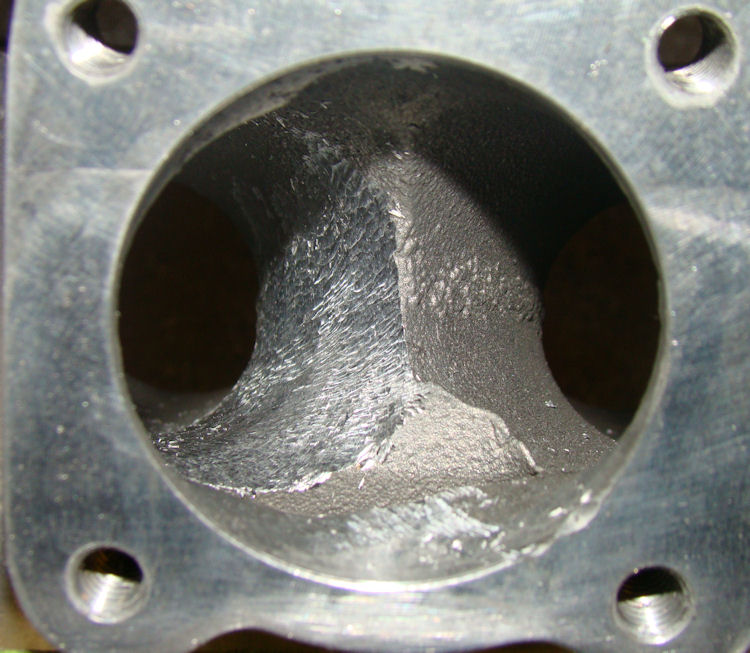
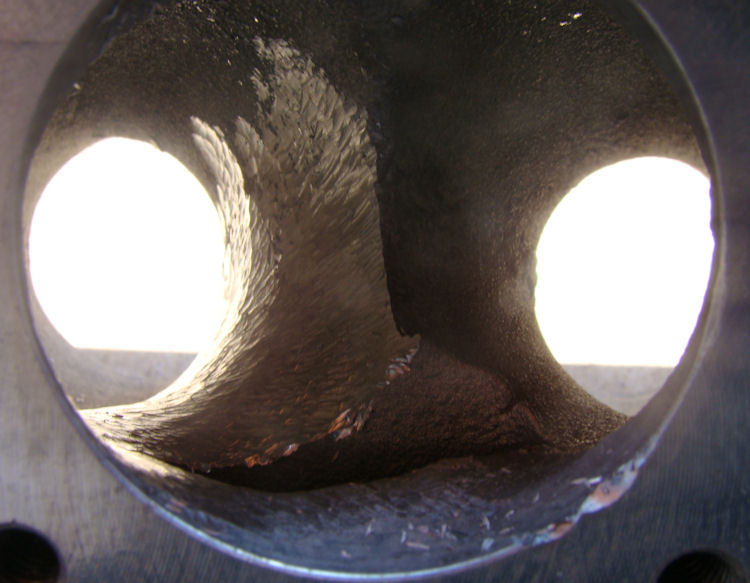
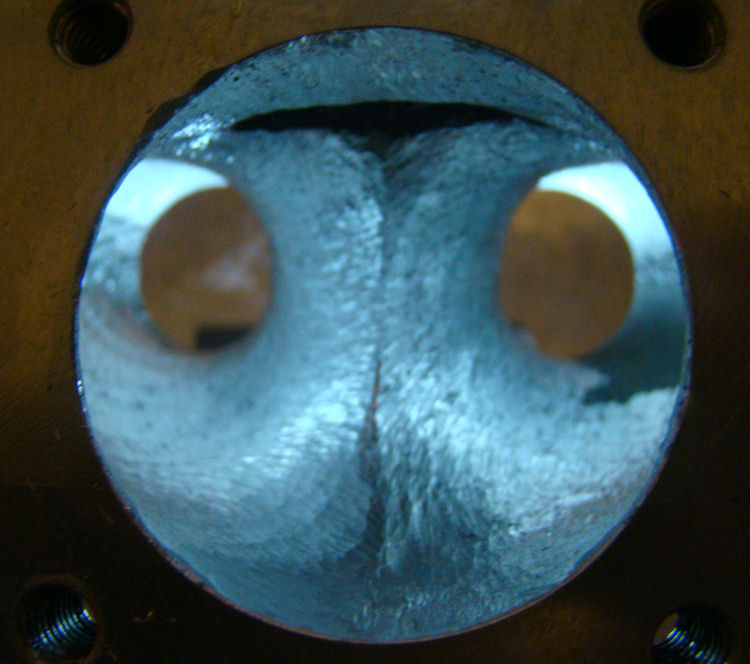
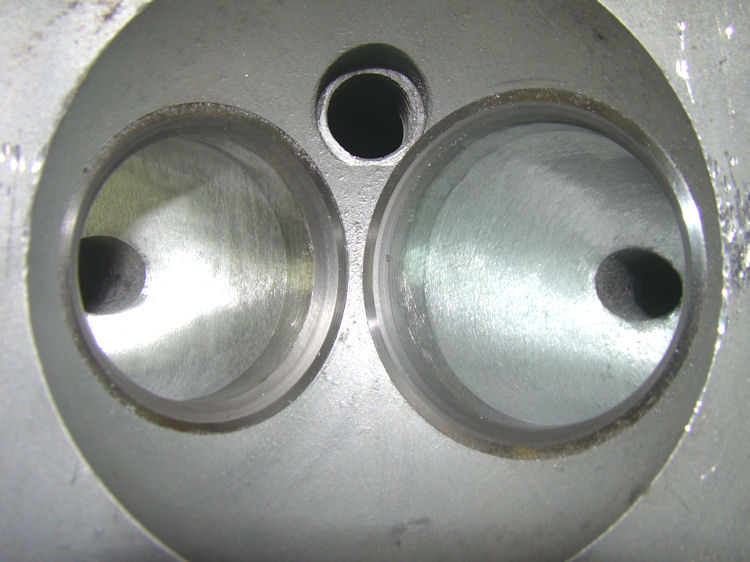
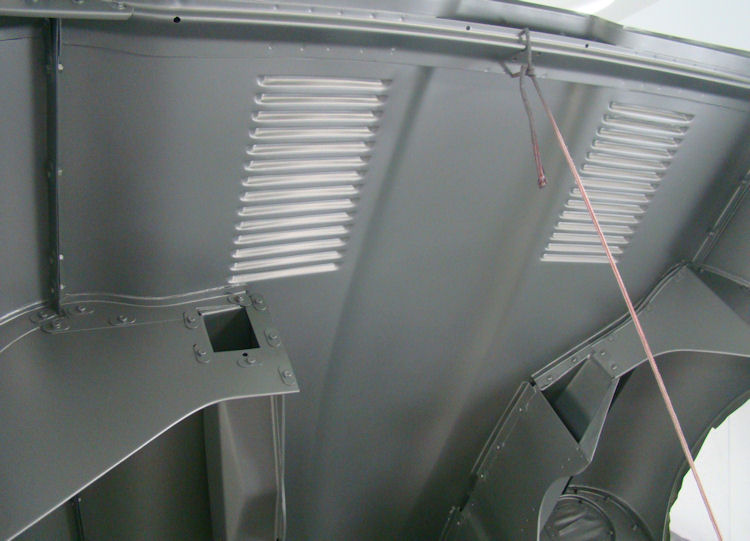
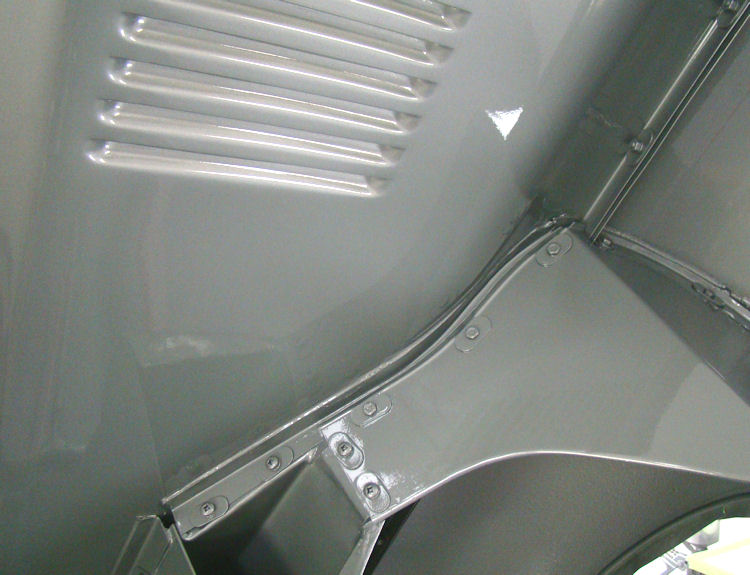
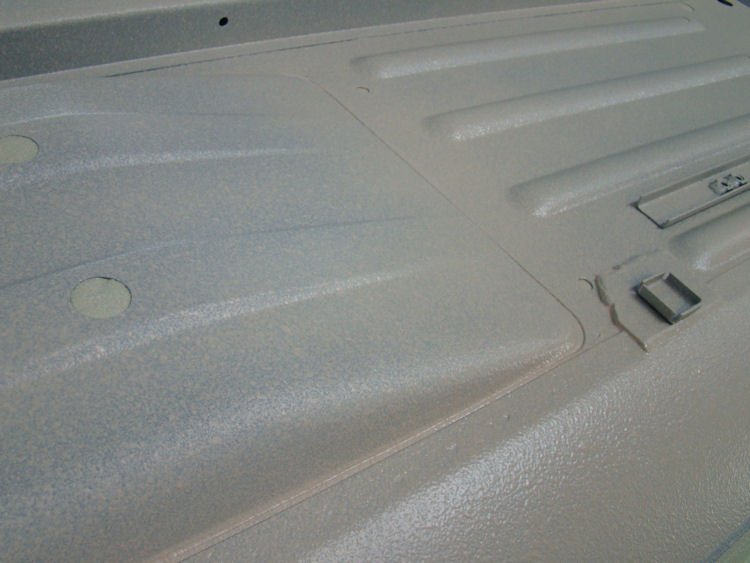
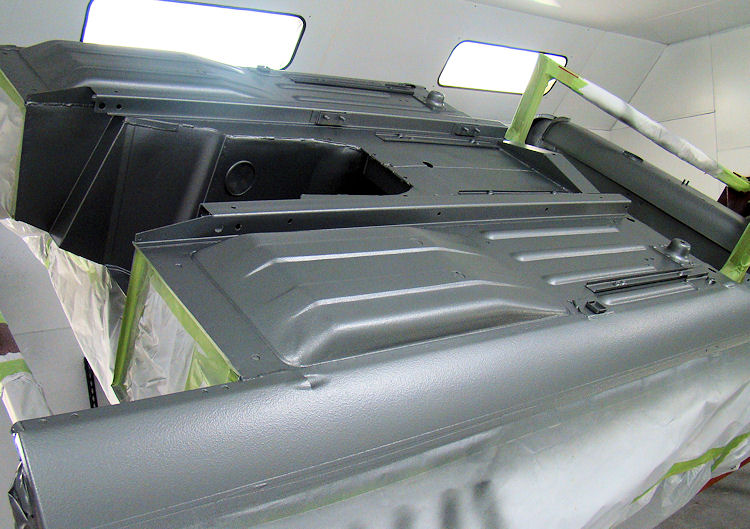
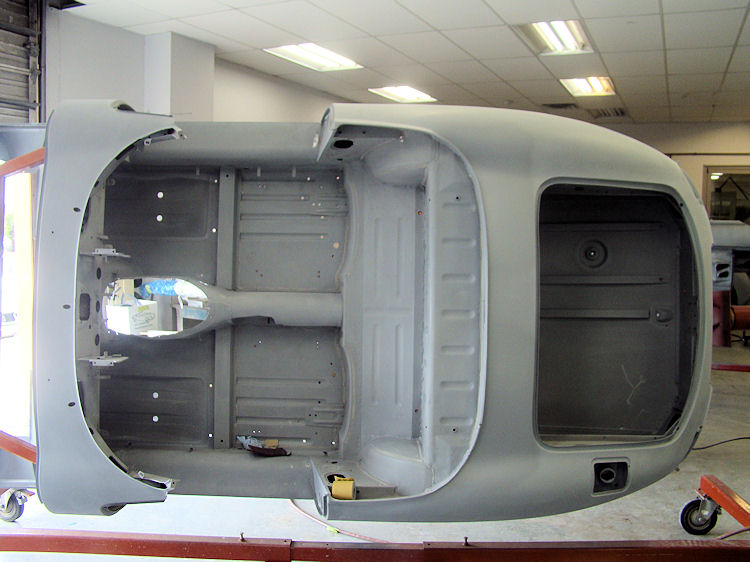
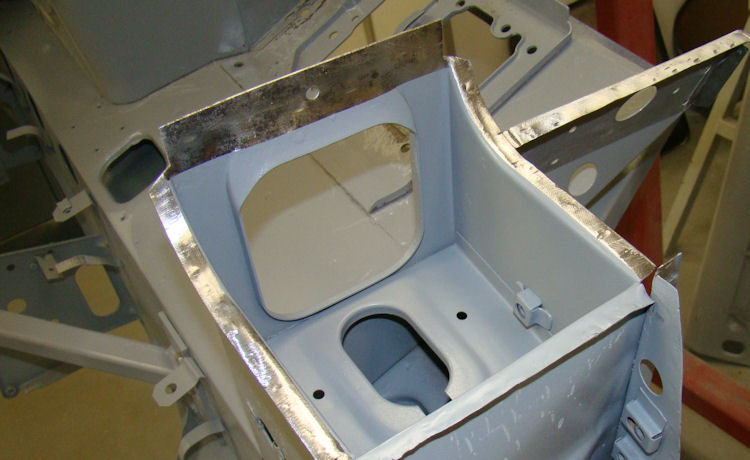
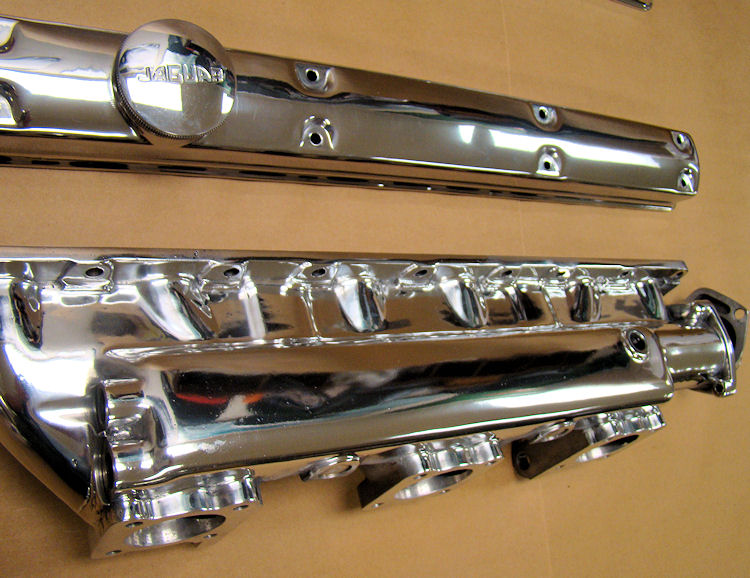
We have now painted the firewall, cabin and boot compartment. We will be painting the outer panels in the next few days. I have included a series of photographs showing the porting and polishing of your intake manifold. In the first photo in the porting sequence you can see how rough the casting is on the inside of the manifold, and how everything is gradually smoothed out during the porting procedure...
 |
 |
|
|
|
 |
 |
|
|
|
 |
 |
|
|
|
|
|
|
 |
 |
|
things are cleaning up nicely |
|
|
|
|
 |
 |
|
|
|
|
|
|
 |
 |
|
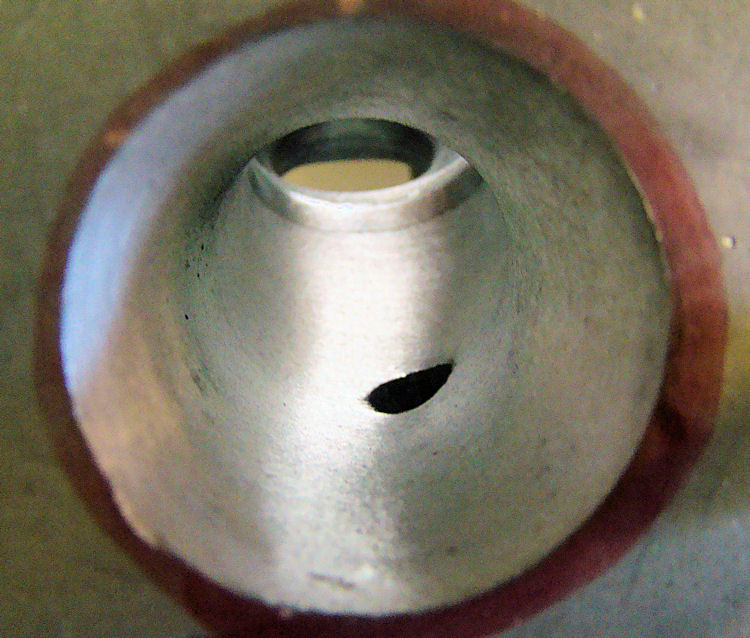
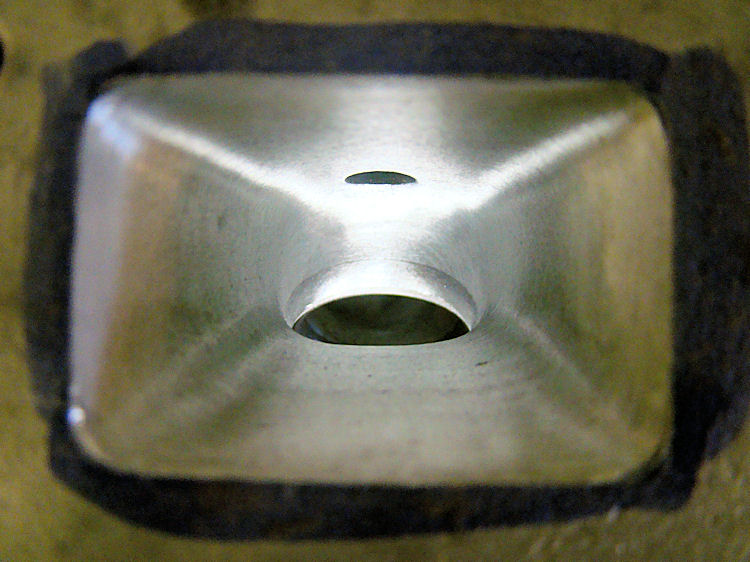
of the time spent in the porting room |
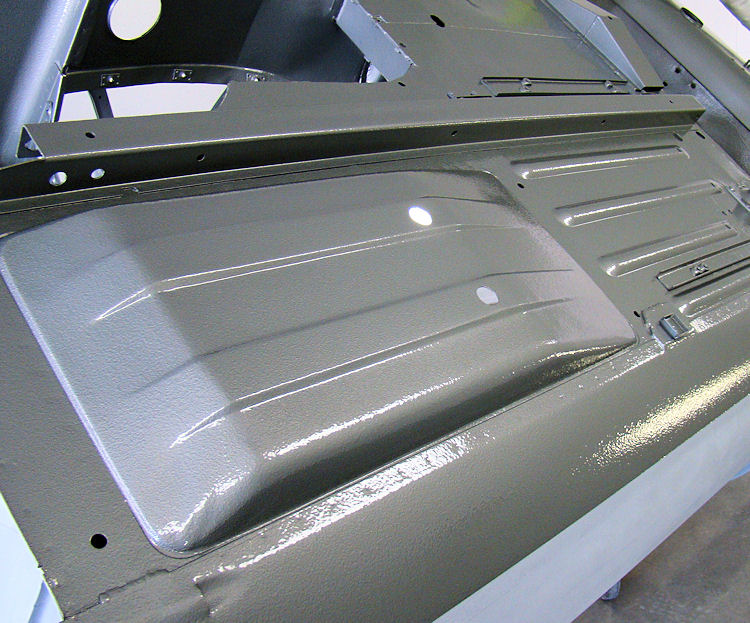
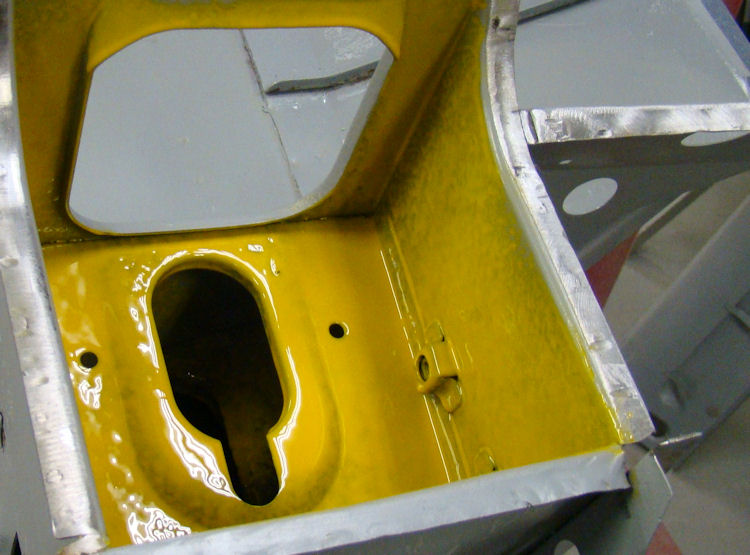
Applying the first of the Opalescent Silver Grey...
 |
 |
|
|
|
|
|
|
 |
 |
|
|
|
|
|
|
 |
 |
|
|
|
|
|
|
 |
 |
|
|
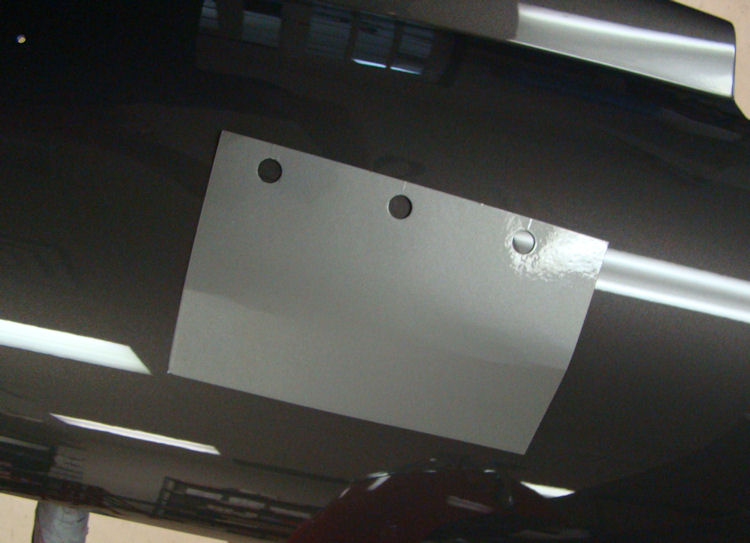
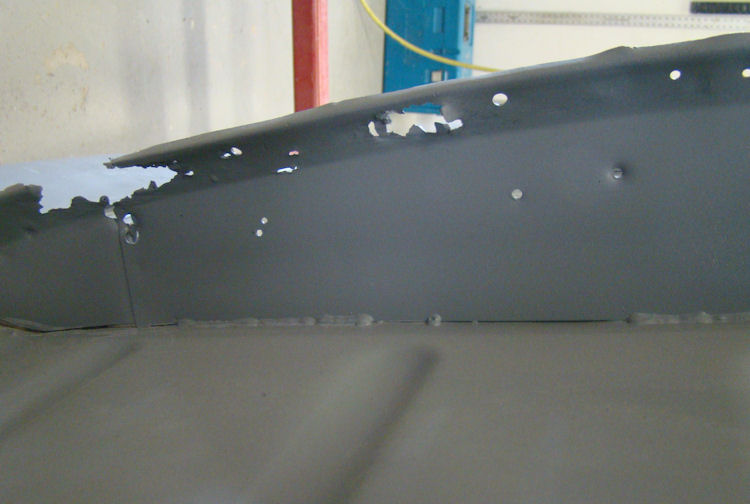
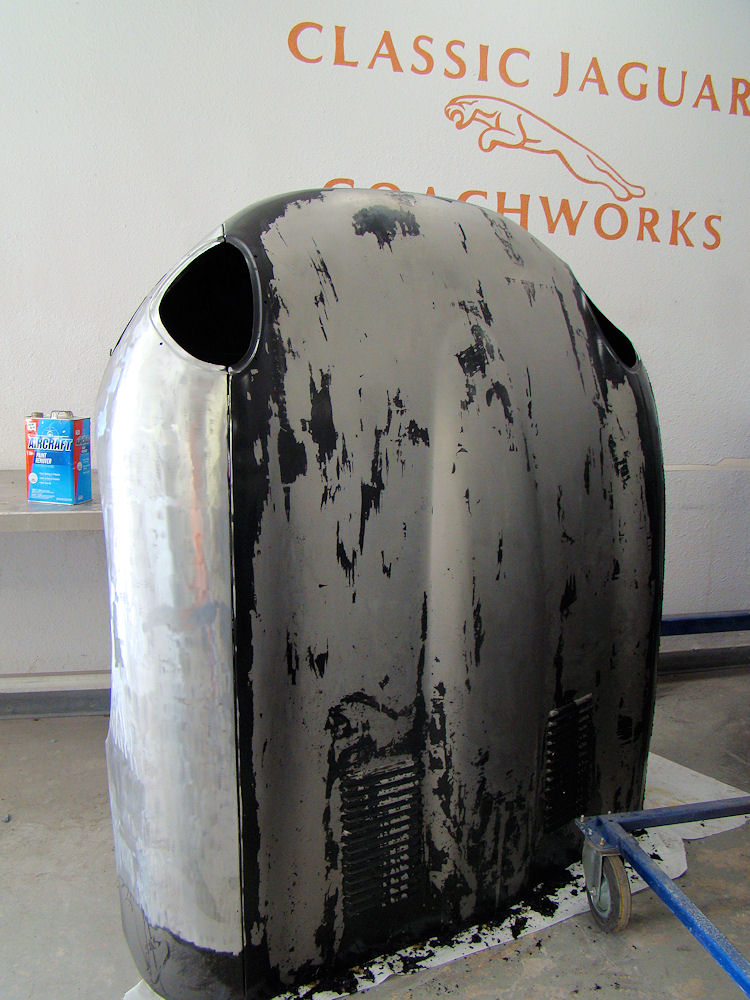
We will be applying the first of the Opalescent Silver Grey first of next week. The last photo in the sequence below shows the difference between Opalescent Silver Grey and Opalescent Gunmetal.
 |
 |
|
|
|
|
|
|
 |
 |
|
|
|
|
|
|
 |
 |
|
|
and Opalescent Silver Grey (door is Gunmetal) |
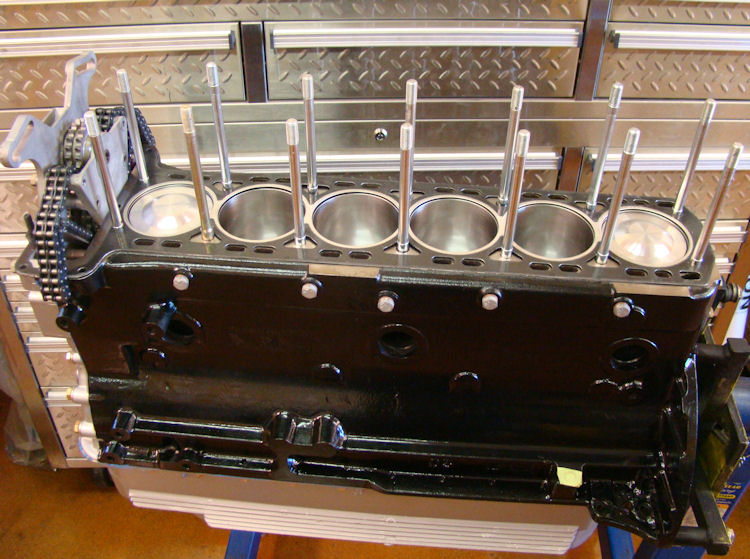
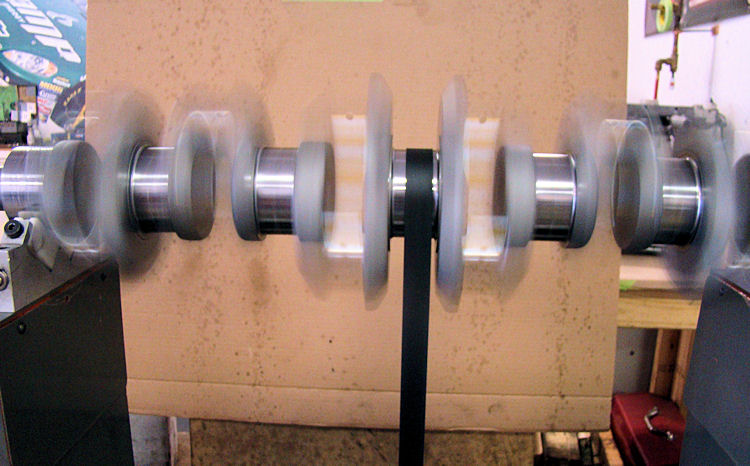
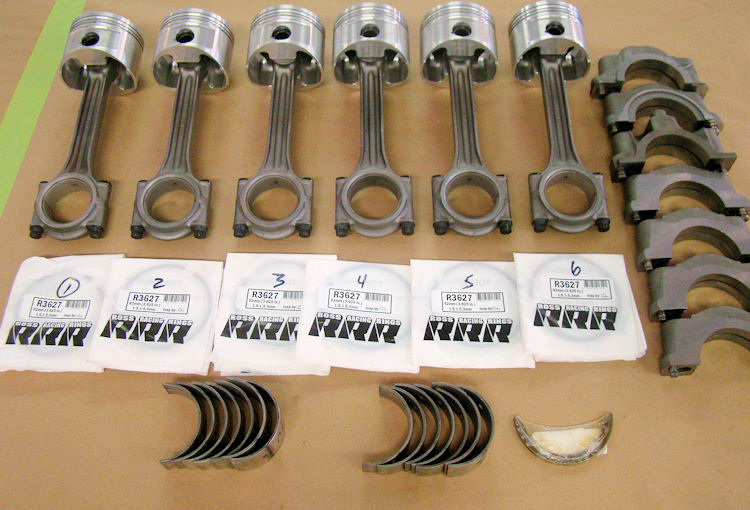
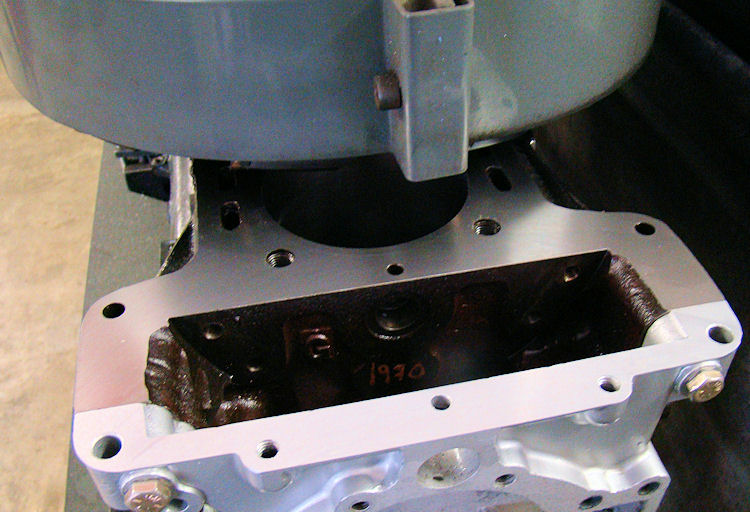
Short block assembly now complete...
 |
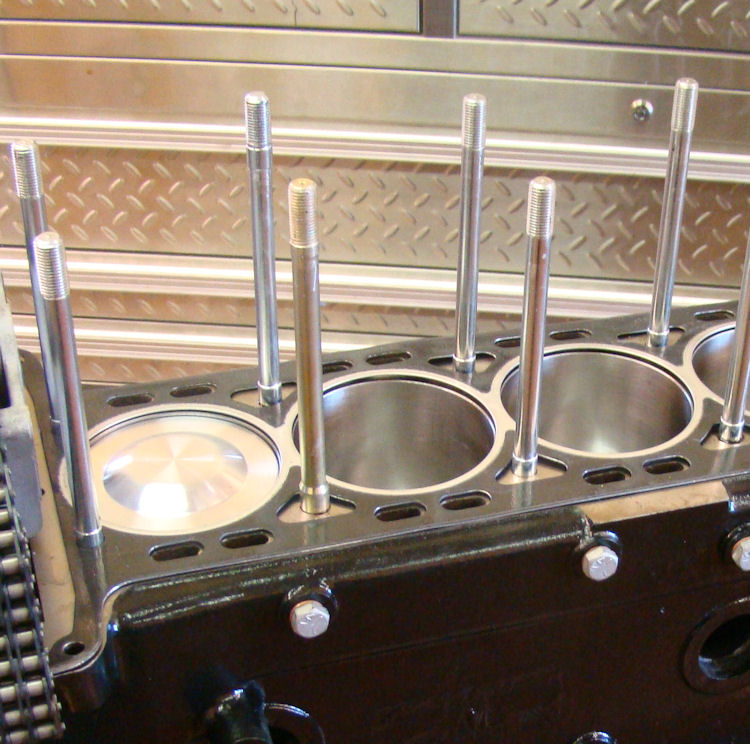 |
Assembling the short block in the CJ machine shop.
 |
 |
|
|
|
|
|
|
 |
 |
|
|
|
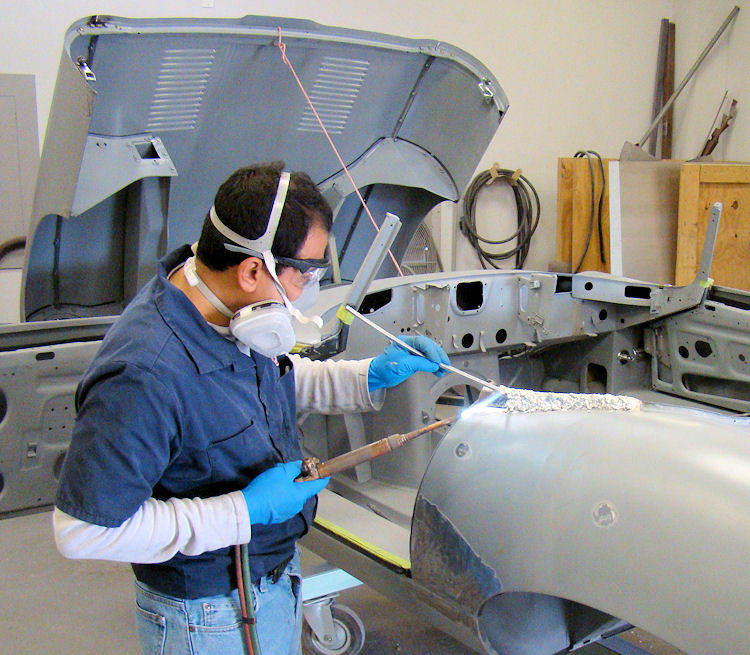
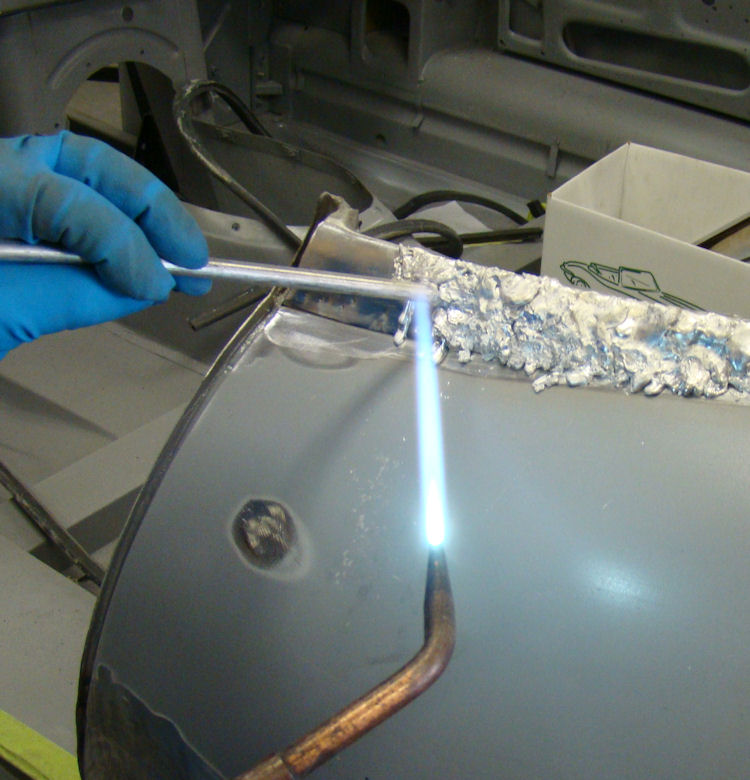
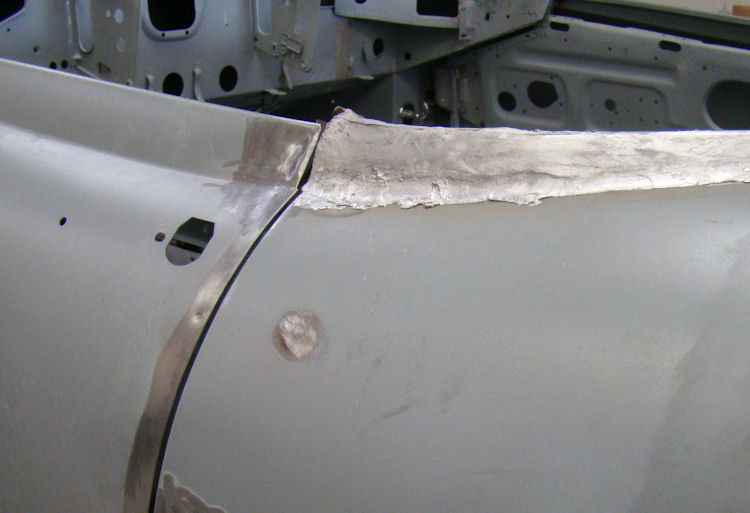
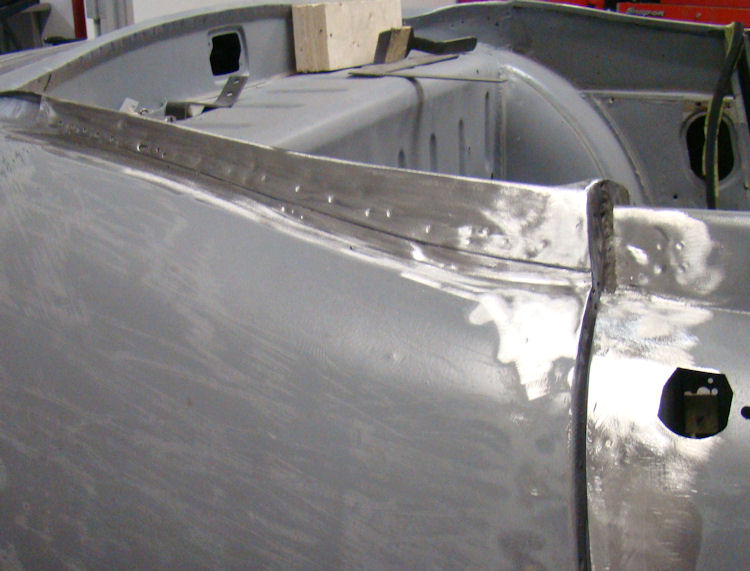
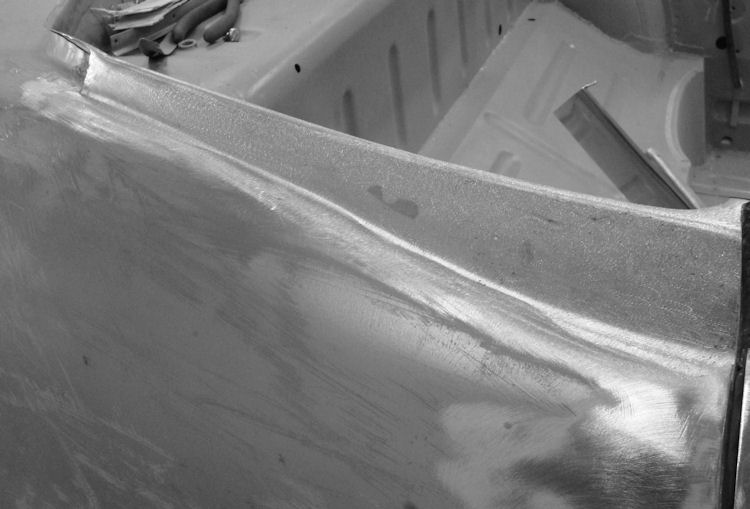
The following sequence of photos show Oscar getting the lead loading process underway.
 |
 |
|
|
|
 |
 |
|
|
|
 |
 |
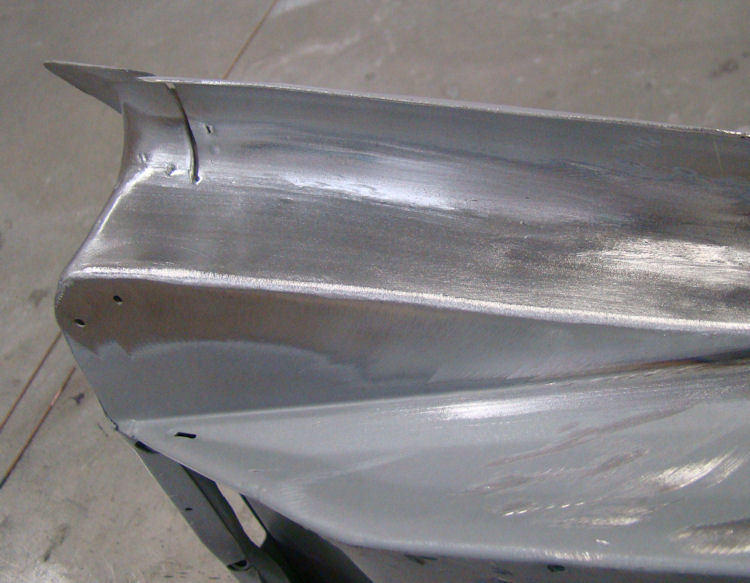
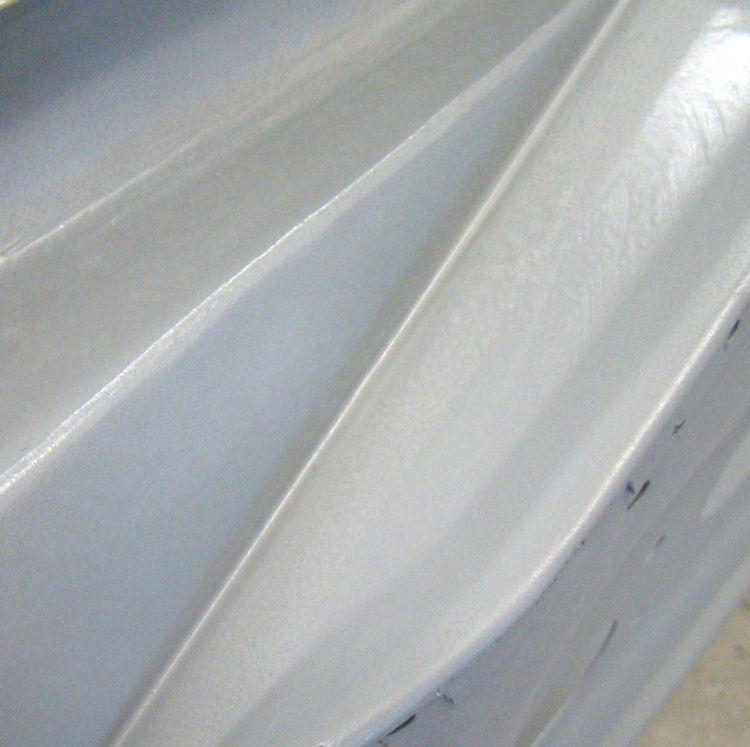
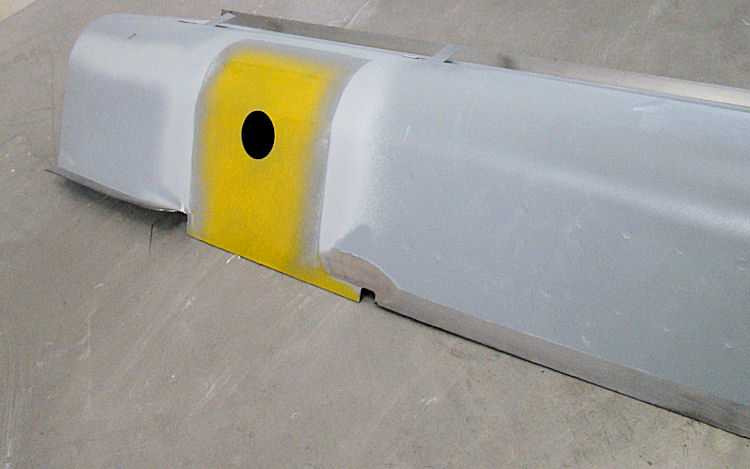
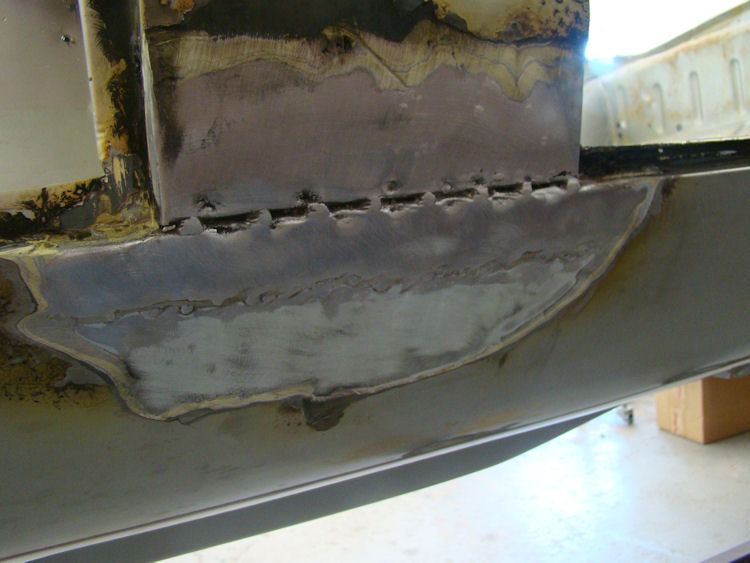
Installing new outer sills, repairing rust damage in left hand rear quarter panel...
 |
 |
|
|
doors and outer sill |
|
|
|
 |
 |
|
|
|
|
|
|
 |
 |
|
|
|
|
|
|
 |
 |
|
|
|
|
|
|
 |
 |
|
|
|
Your IRS has now been completely rebuilt and upgraded with CJ springs, Koni shocks, etc...
 |
 |
|
|
|
|
|
|
 |
 |
|
|
|
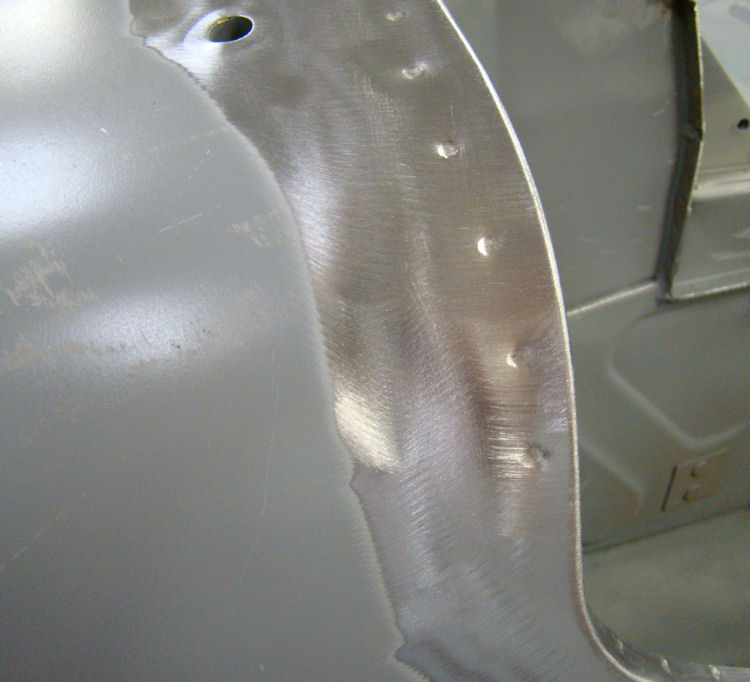
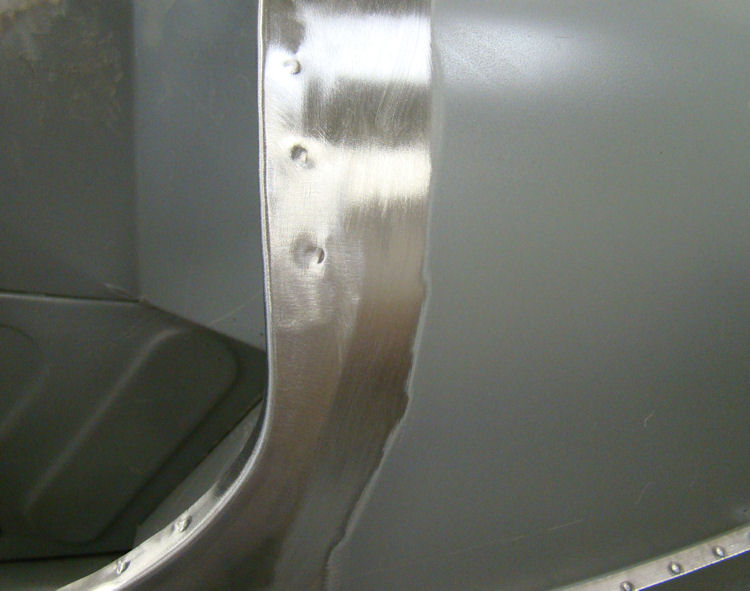
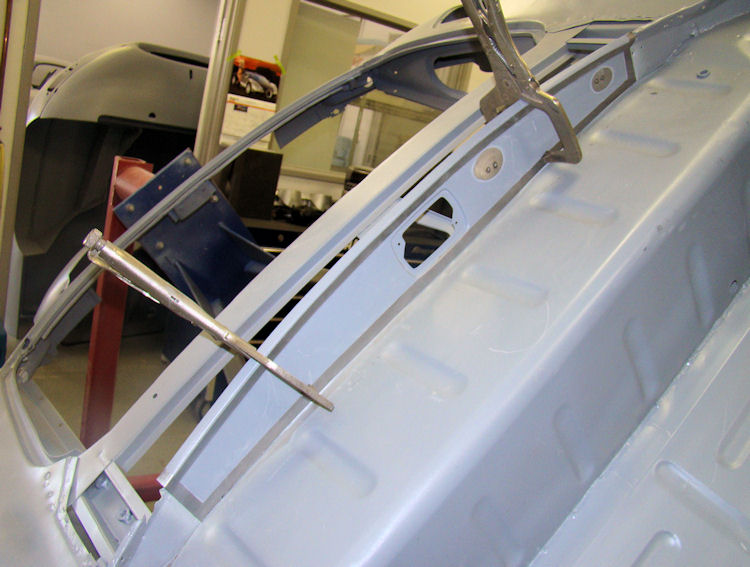
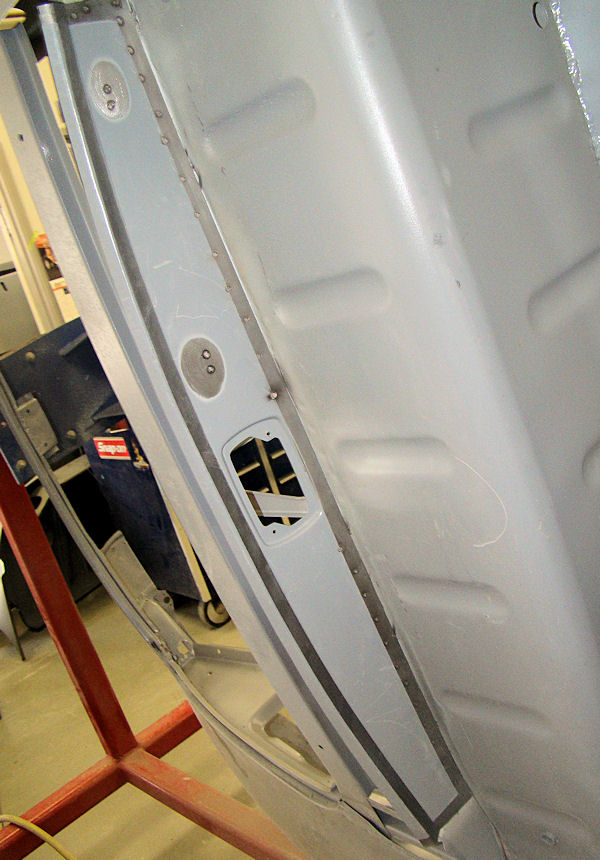
Darrell has been busy repairing your rusty door shells as well as dealing with some nasty corrosion beneath the screen pillars.
 |
 |
|
|
|
|
|
|
 |
 |
|
|
|
|
|
|
 |
 |
|
|
|
|
|
|
 |
 |
|
|
and welded in place |
|
|
|
 |
 |
|
|
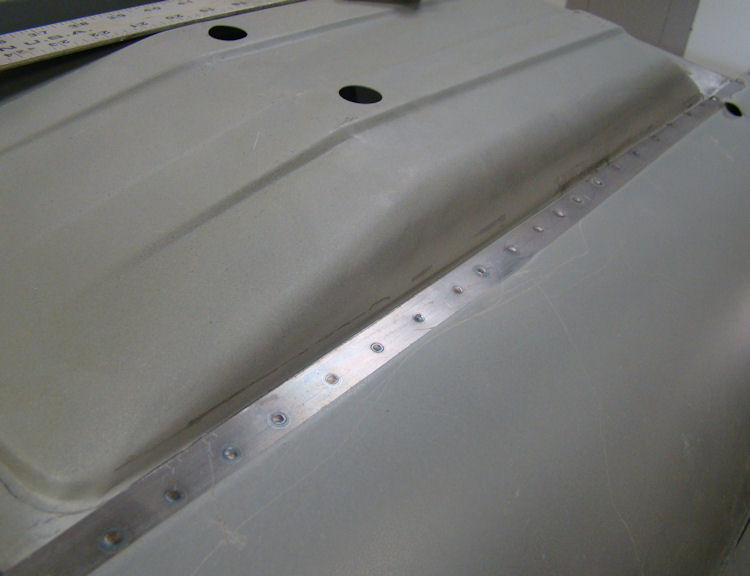
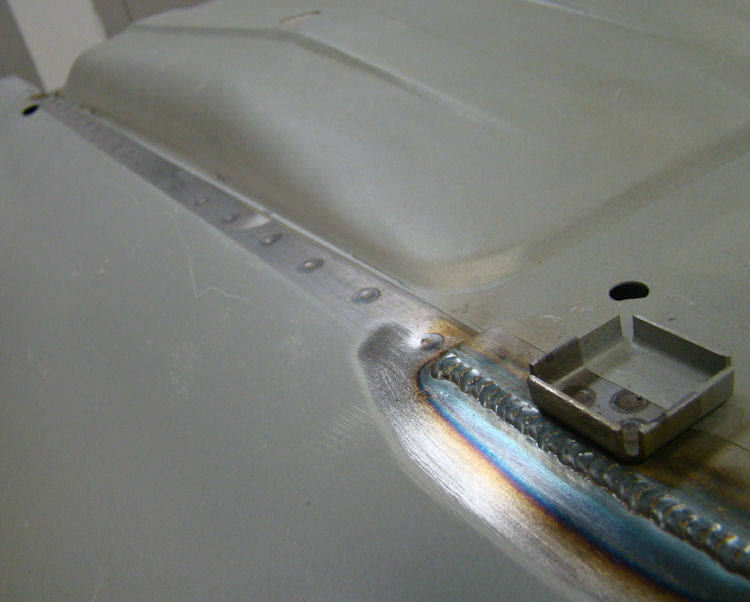
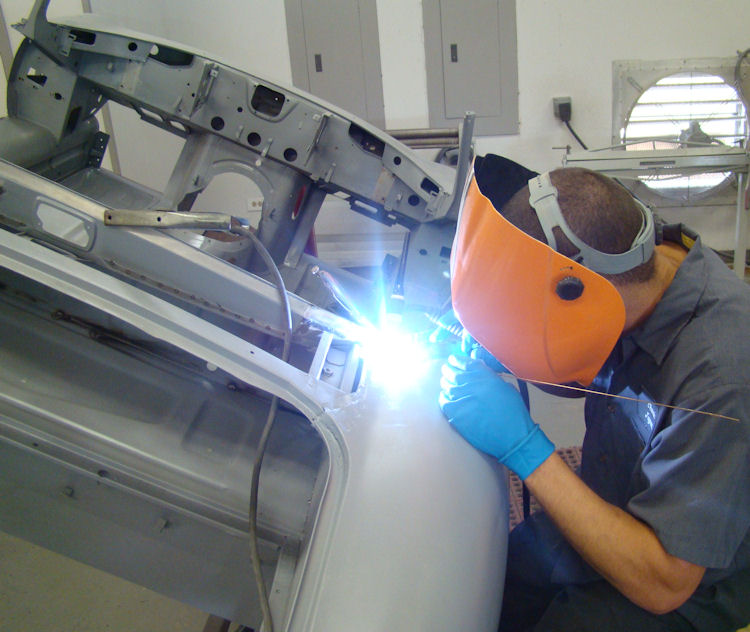
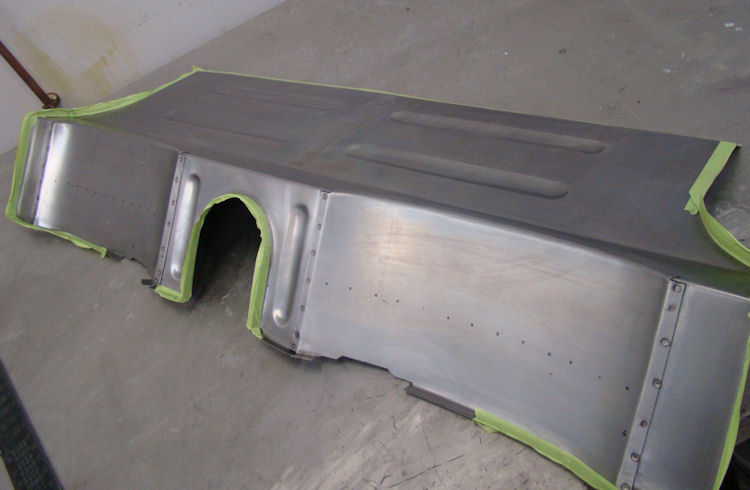
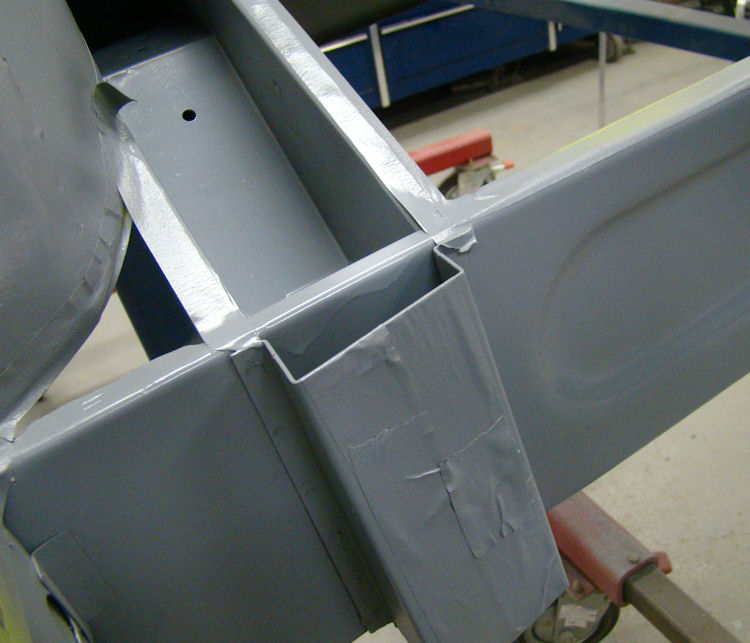
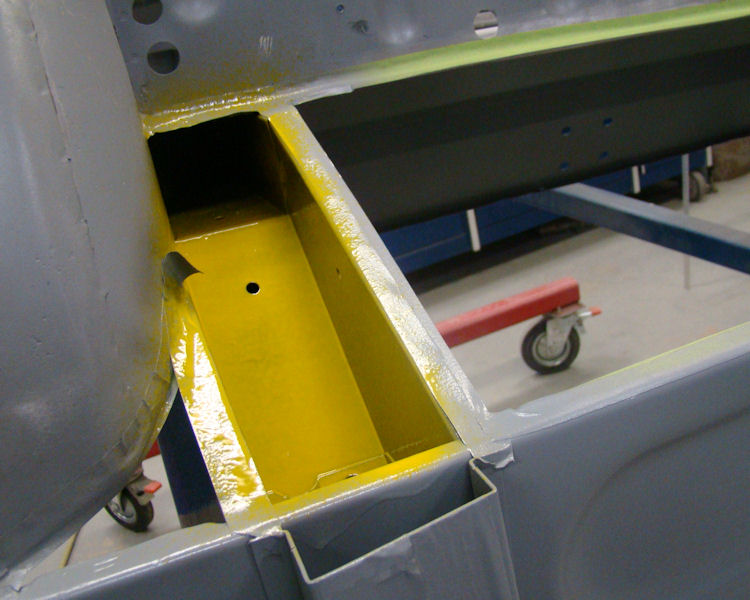
Welding new boot floor assembly in place.
 |
 |
|
|
|
|
|
|
 |
 |
|
|
|
|
|
|
 |
 |
|
|
|
Installing new courtesy light panel, door restoration underway.
 |
 |
|
|
|
 |
 |
|
|
|
 |
 |
|
|
Installing new floors...
 |
 |
|
|
|
|
|
|
 |
 |
|
of trial fitting floors |
|
|
|
|
 |
 |
|
|
|
|
|
|
 |
 |
|
|
|
|
|
|
 |
 |
|
|
|
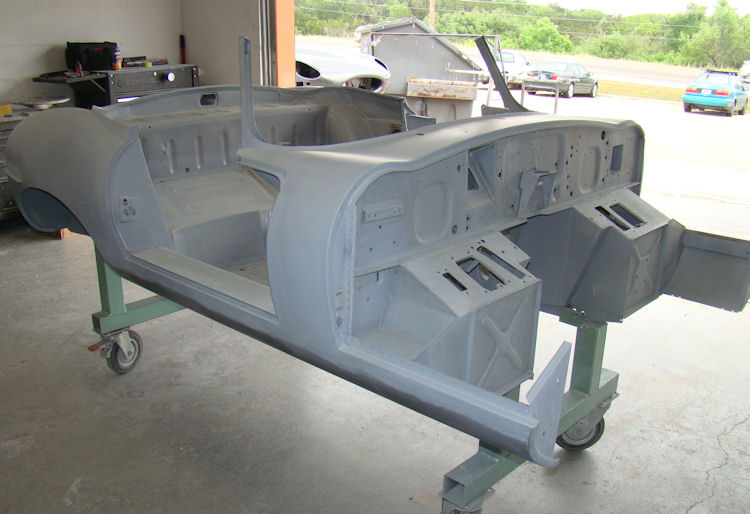
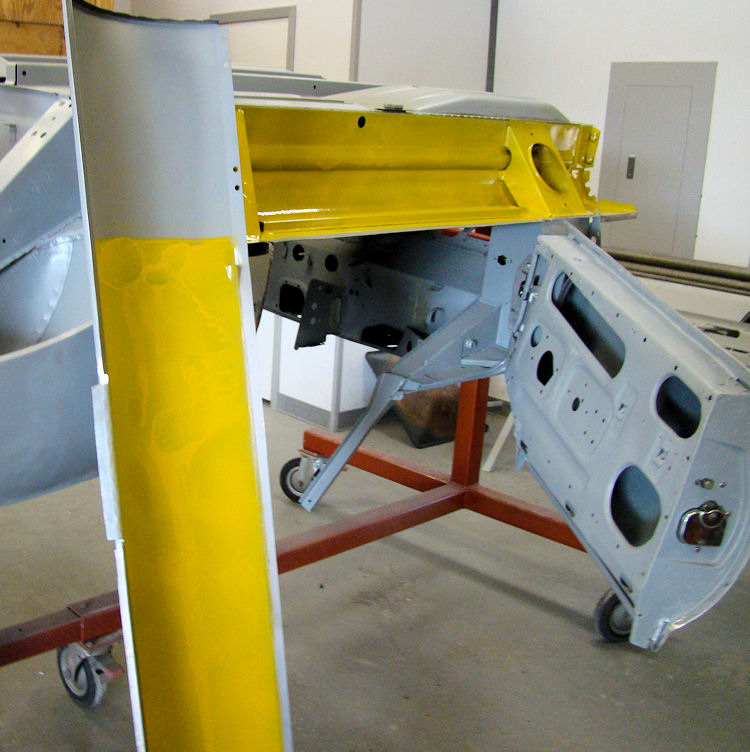
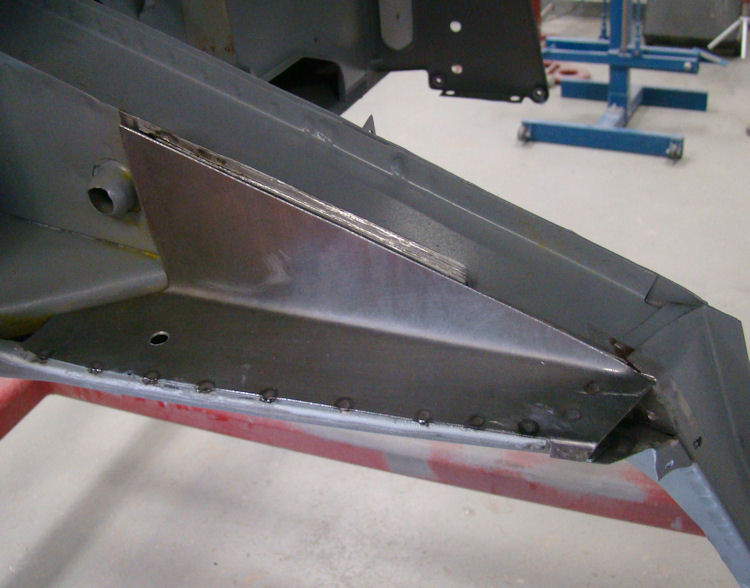
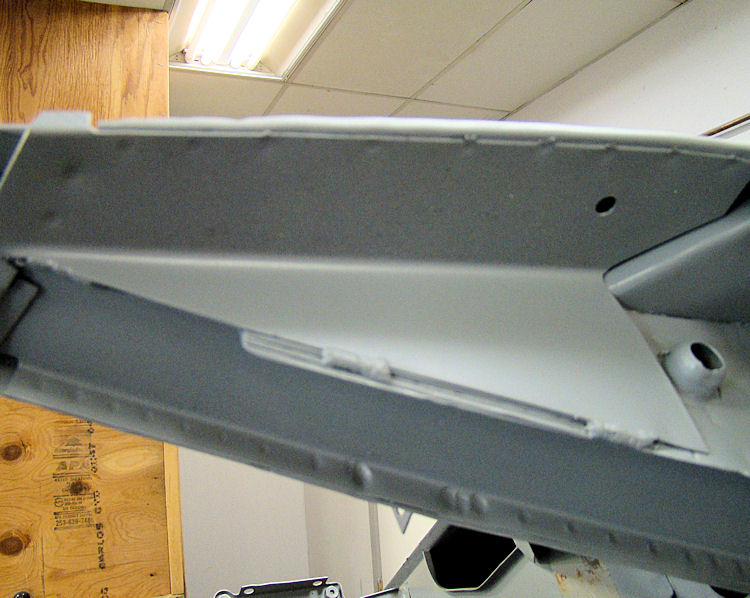
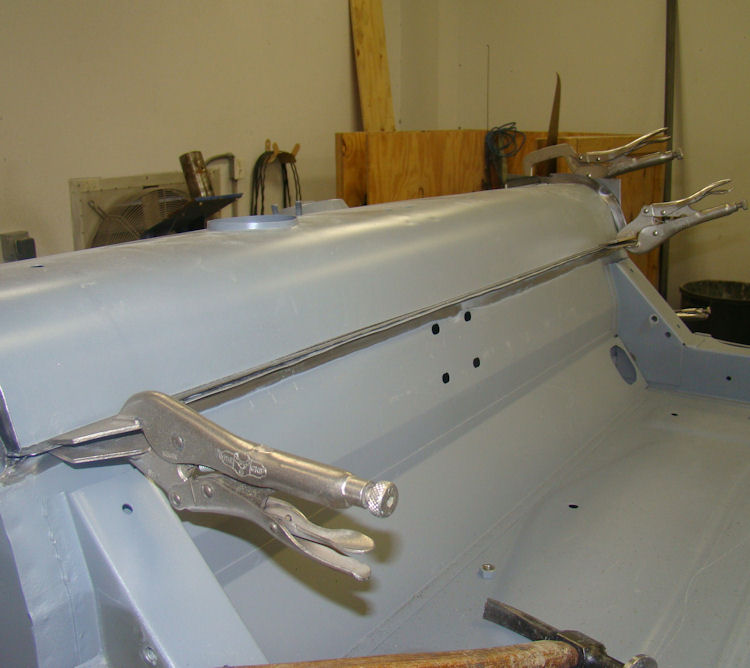
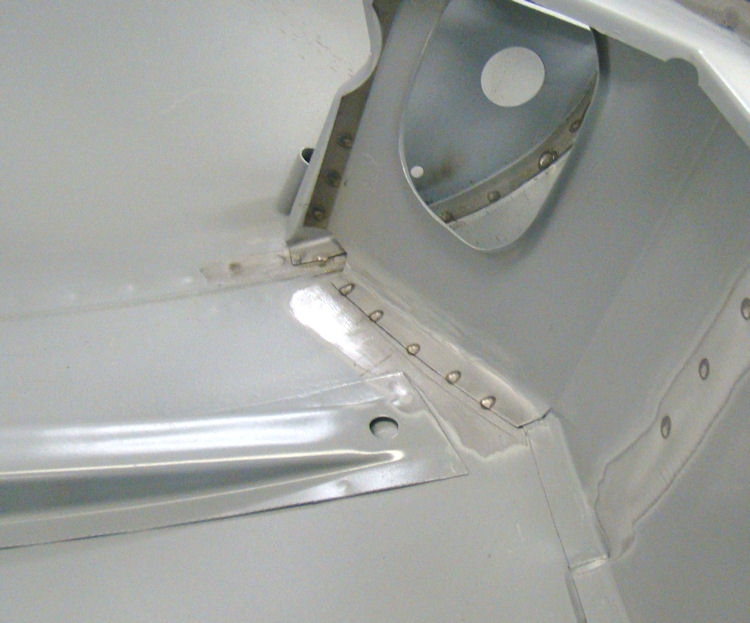
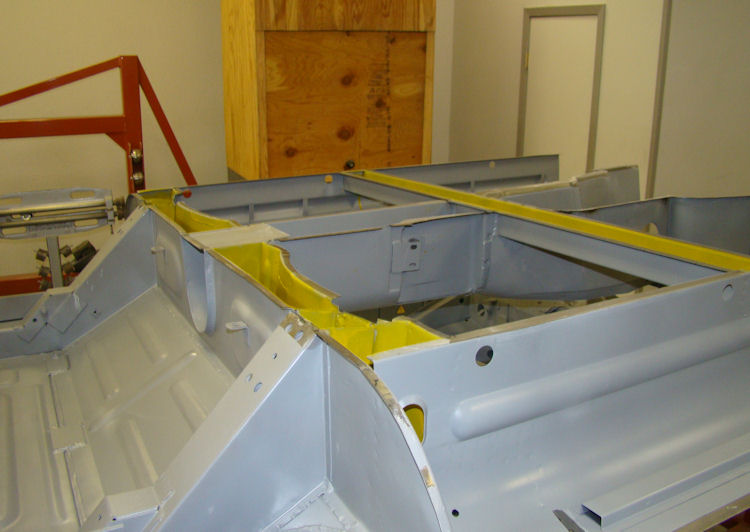
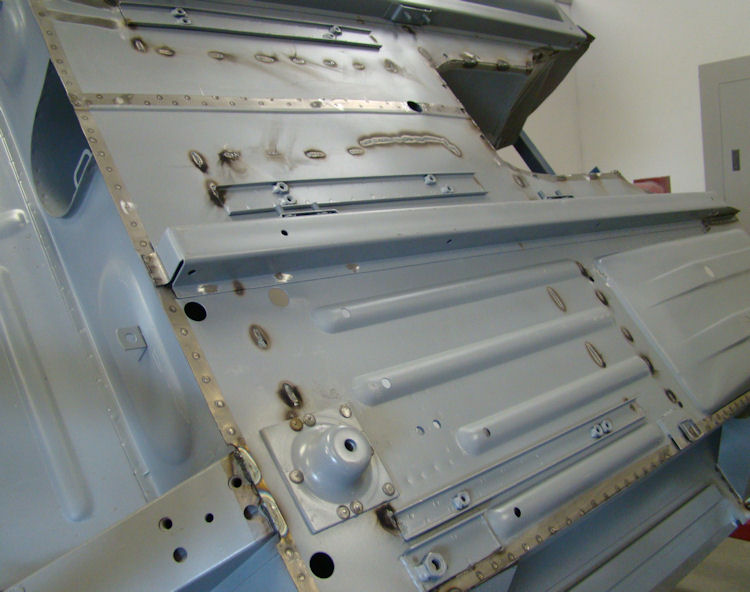
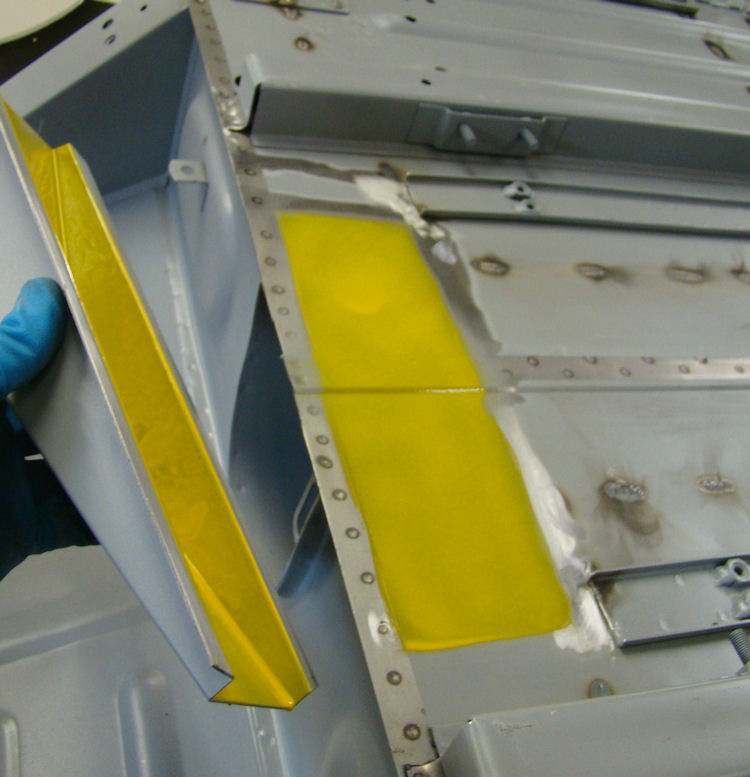
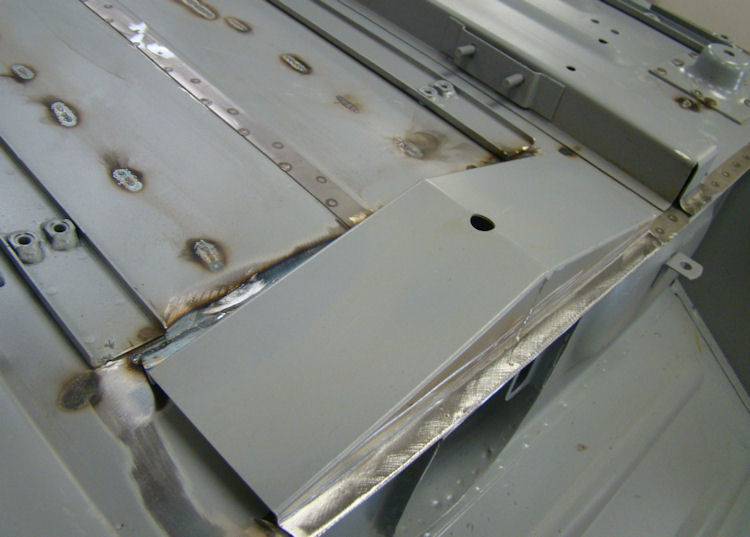
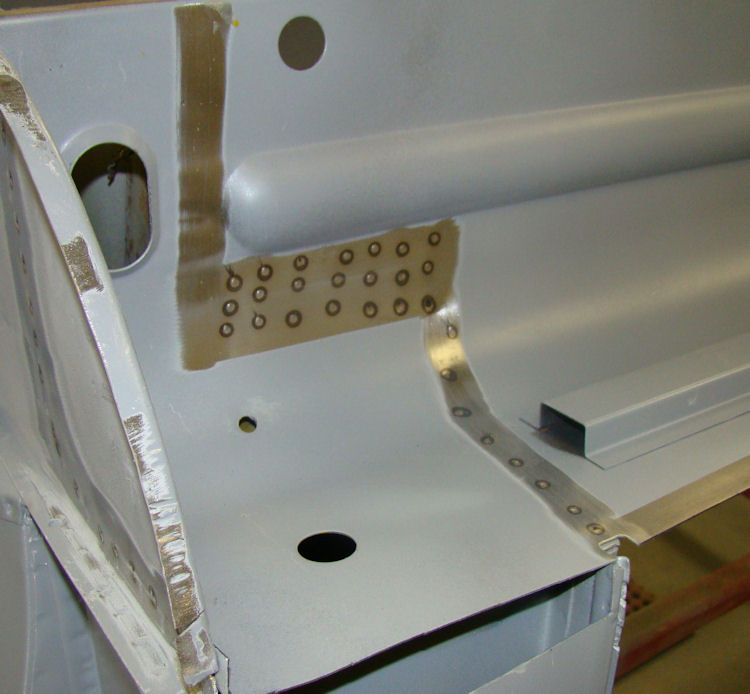
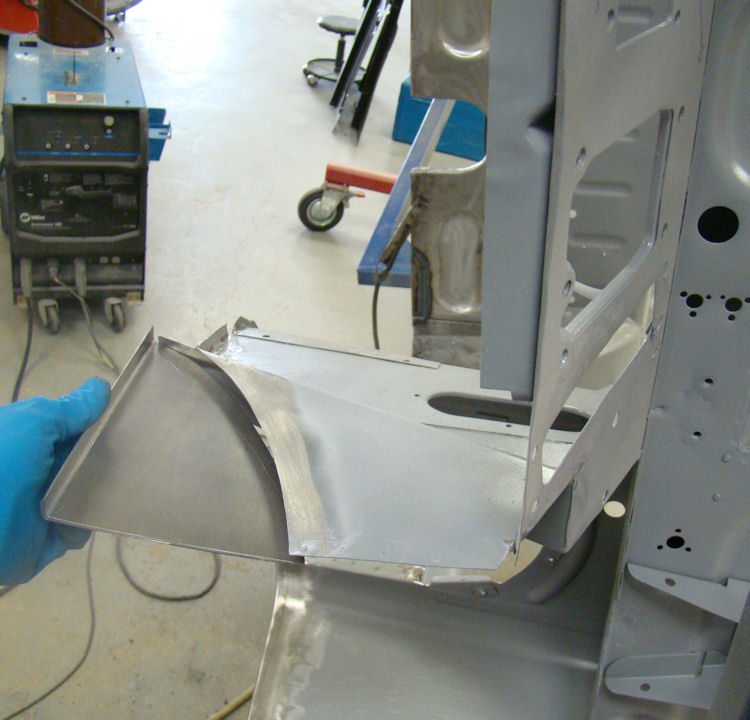
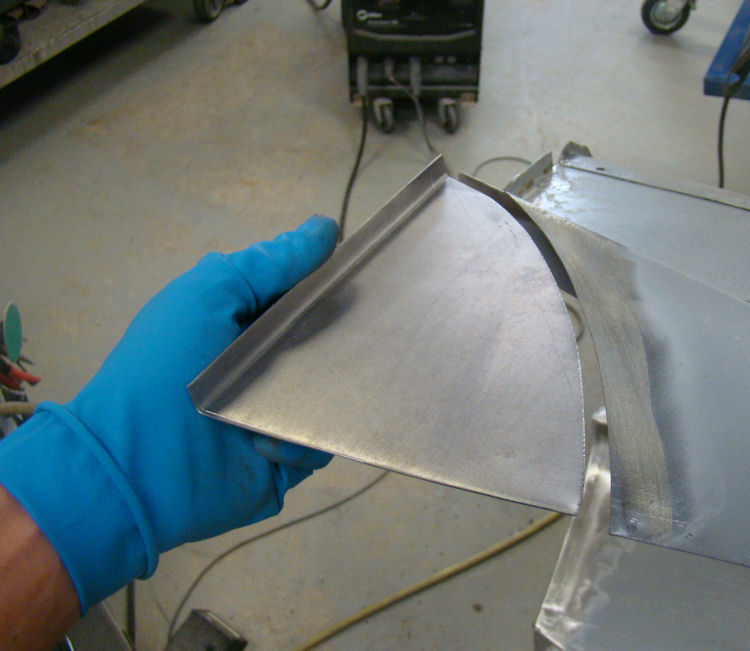
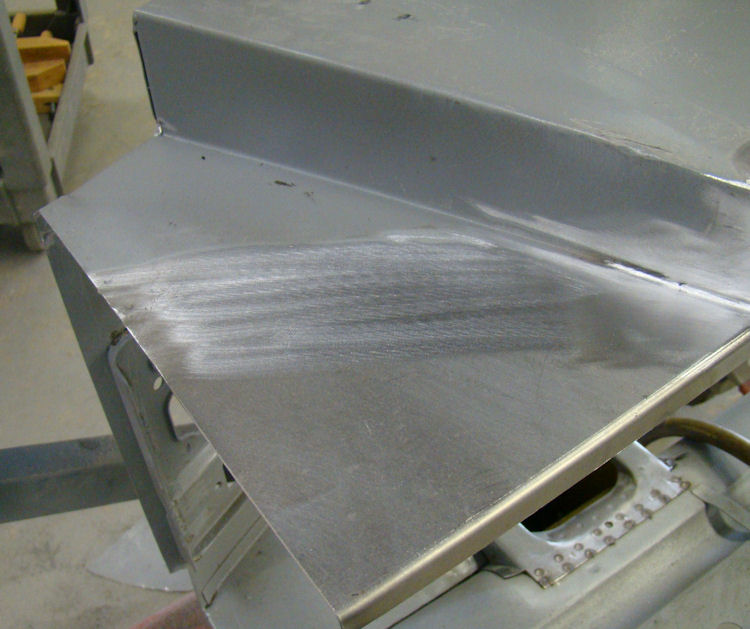
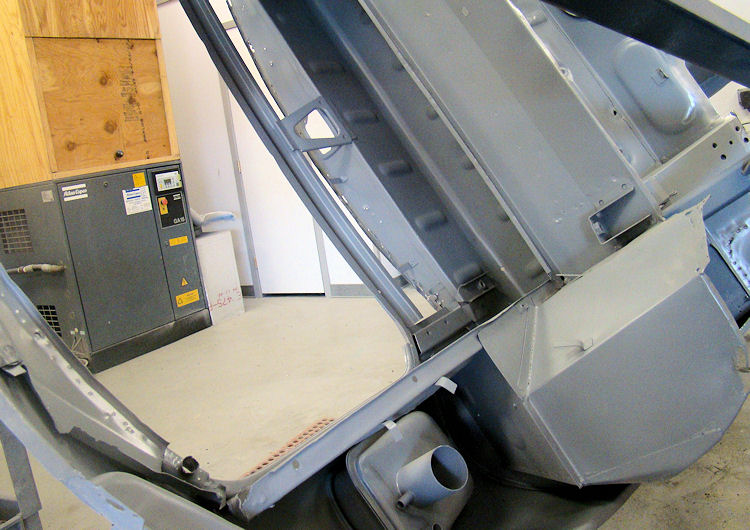
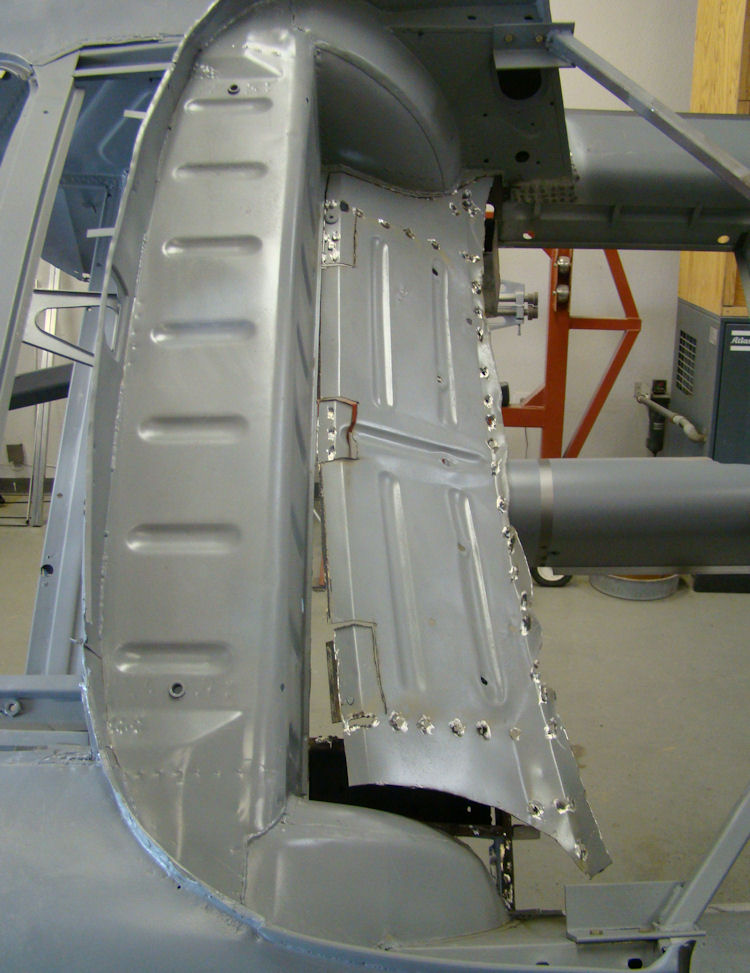
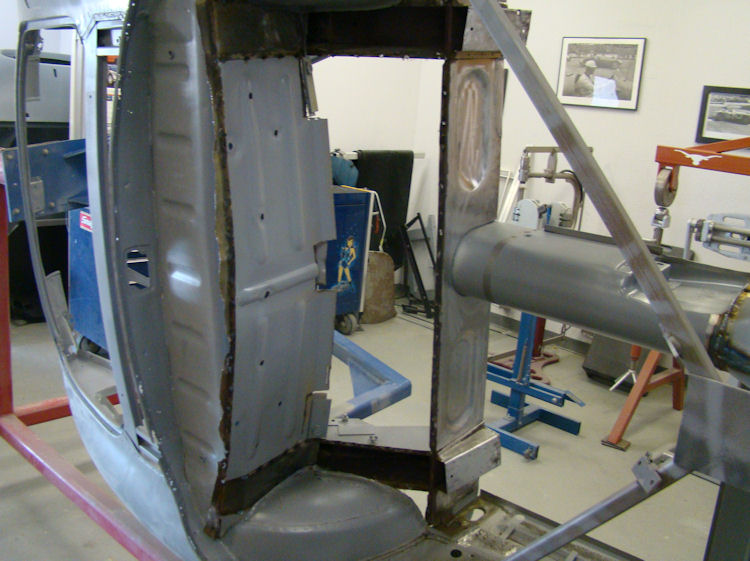
Installing new inner sills and a new rear bulkhead and upper floor section.
 |
 |
|
|
|
|
|
|
 |
 |
|
|
|
|
|
|
 |
 |
|
|
|
|
|
|
 |
 |
|
|
|
|
|
|
 |
 |
|
|
|
|
|
|
 |
 |
|
|
|
|
|
|
 |
 |
|
|
in place |
|
|
|
 |
 |
|
|
|
|
|
|
 |
 |
|
|
|
|
|
|
 |
 |
|
with Body Wax |
|
|
|
|
 ' ' |
 |
|
|
|
Block machine work completed, carbs fully rebuilt....
 |
 |
|
|
|
|
|
|
 |
 |
|
|
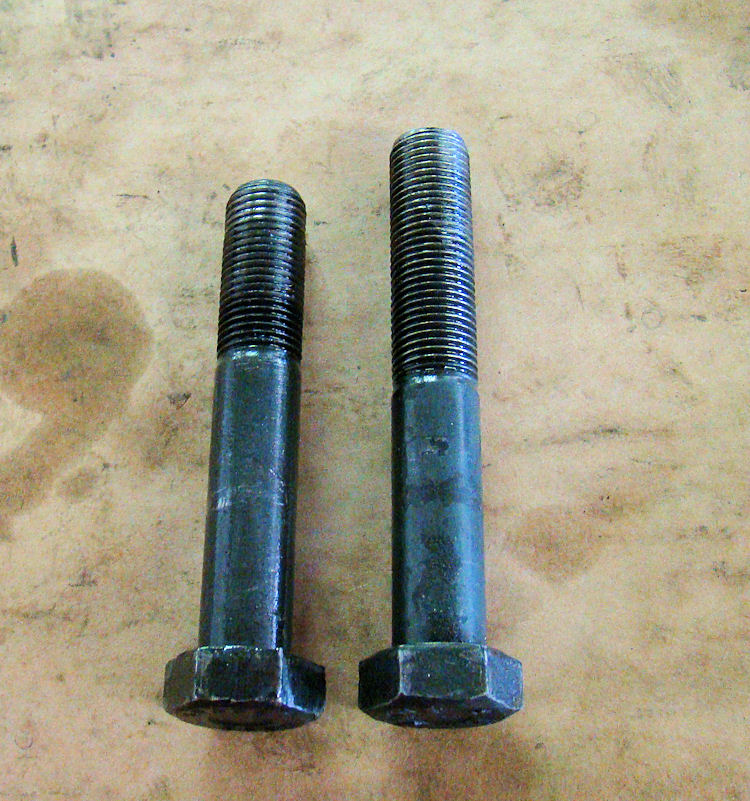
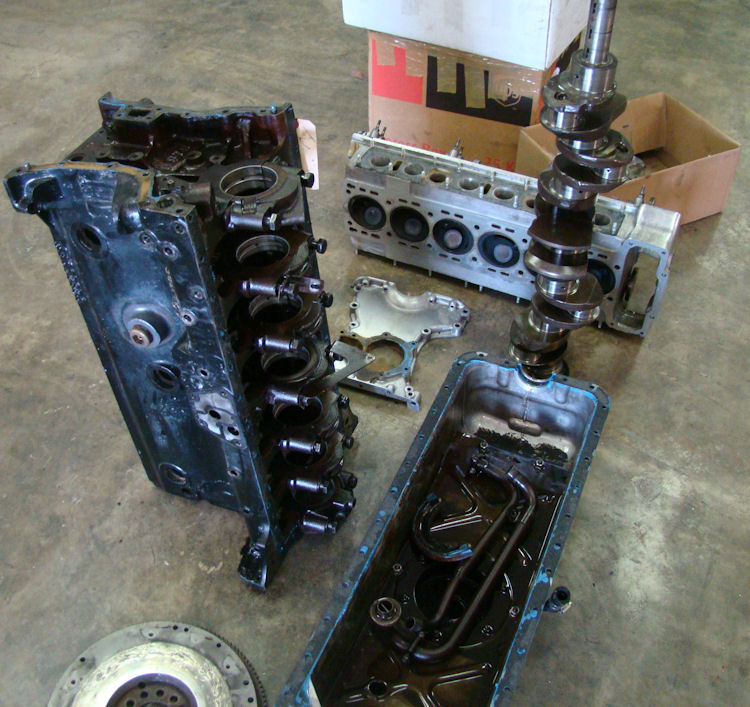
Lots of progress to report in the CJ machine shop. Unfortunately, your engine had mis-matched main cap bolts, which no doubt contributed to the housings being significantly out of spec. We upgraded you to a new set of ARP main bolts and performed an align hone, which has put everything right back where it needs to be.
 |
 |
|
|
|
|
|
|
 |
 |
|
|
|
|
|
|
 |
 |
|
|
|
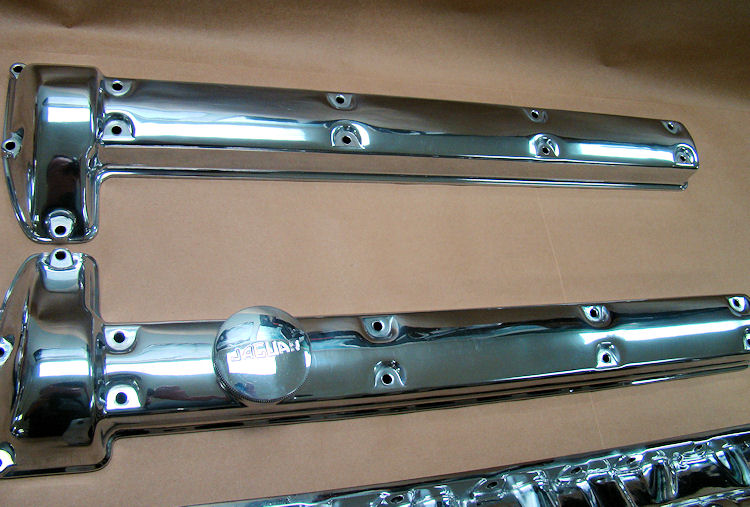
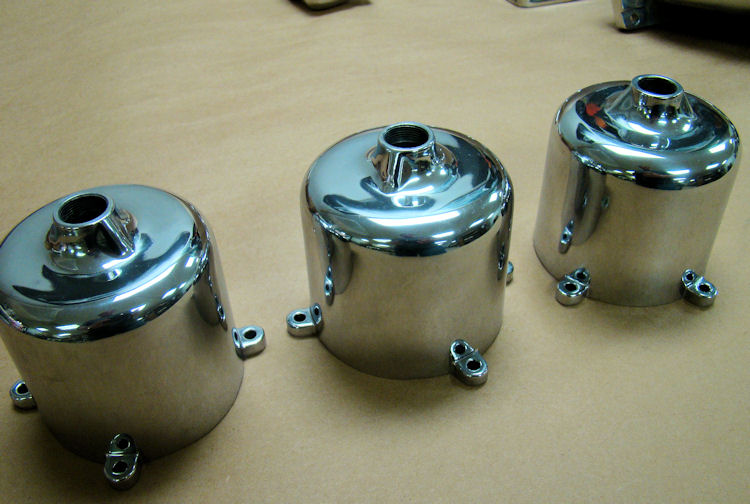
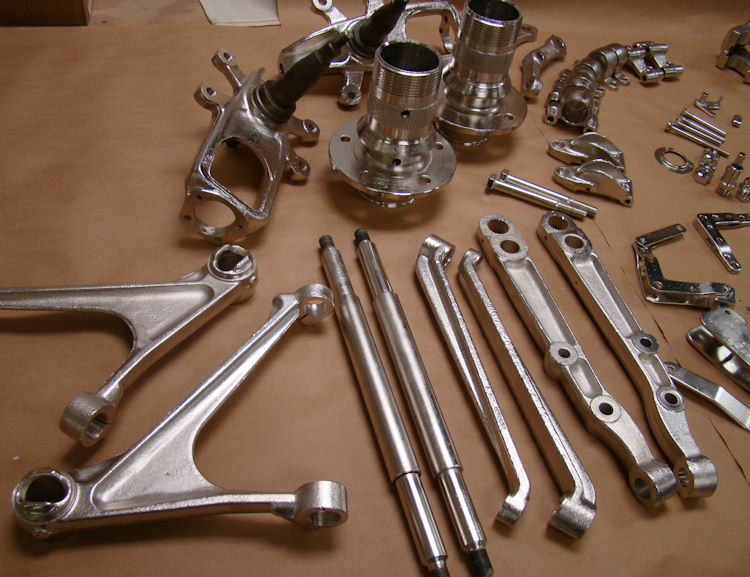
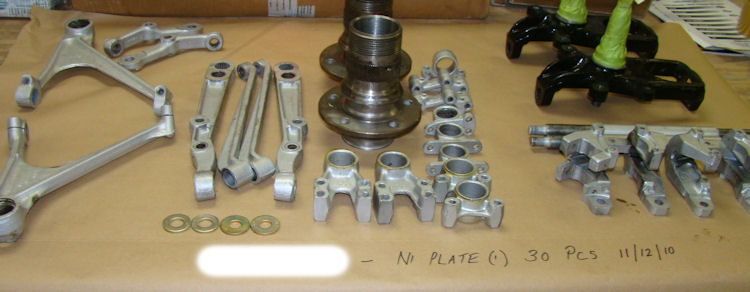
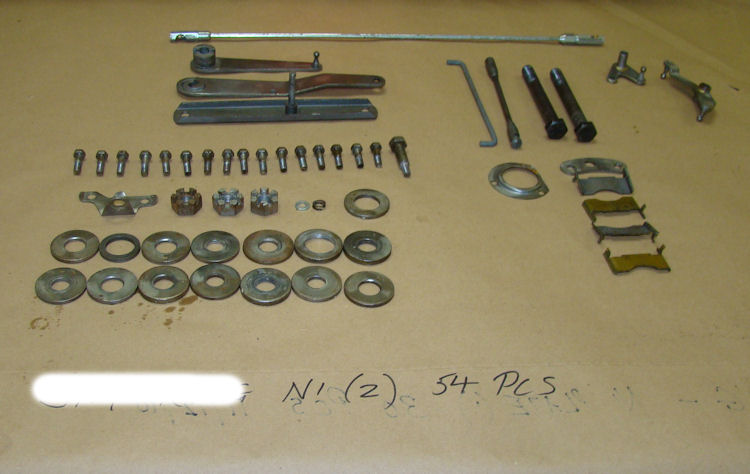
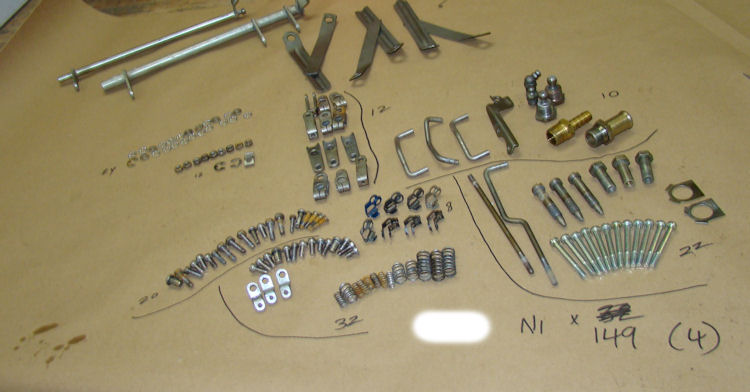
As your body awaits its turn in the Coachworks, we have been busy stripping, polishing and plating...
 |
 |
|
|
|
|
|
|
 |
 |
|
|
|
 |
 |
|
|
|
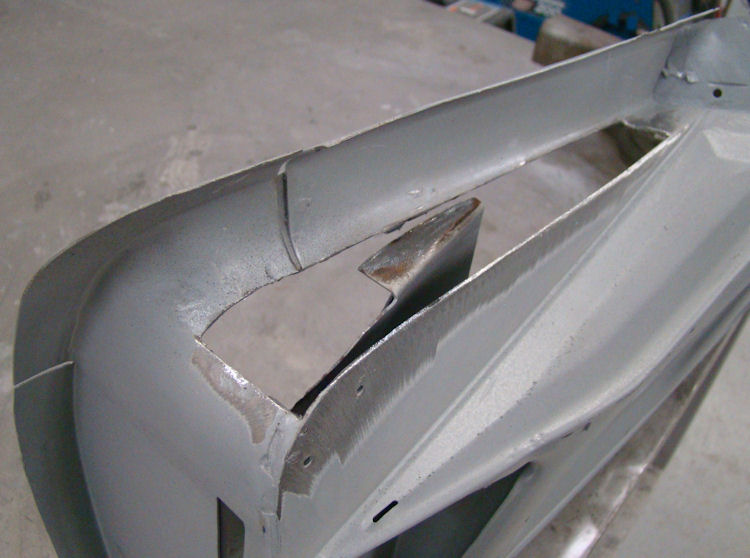
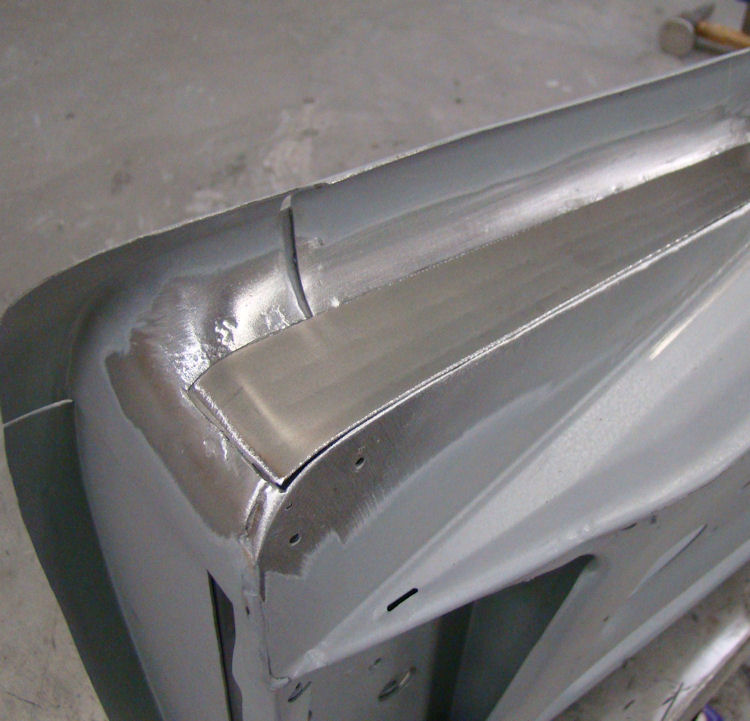
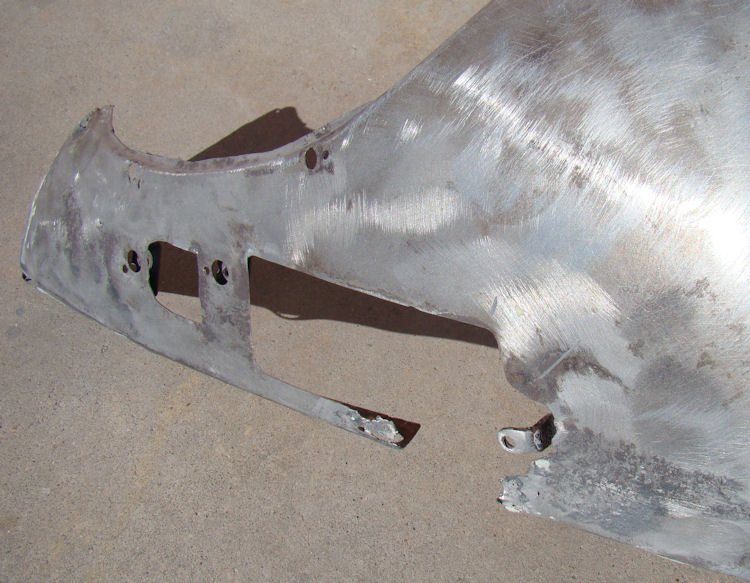
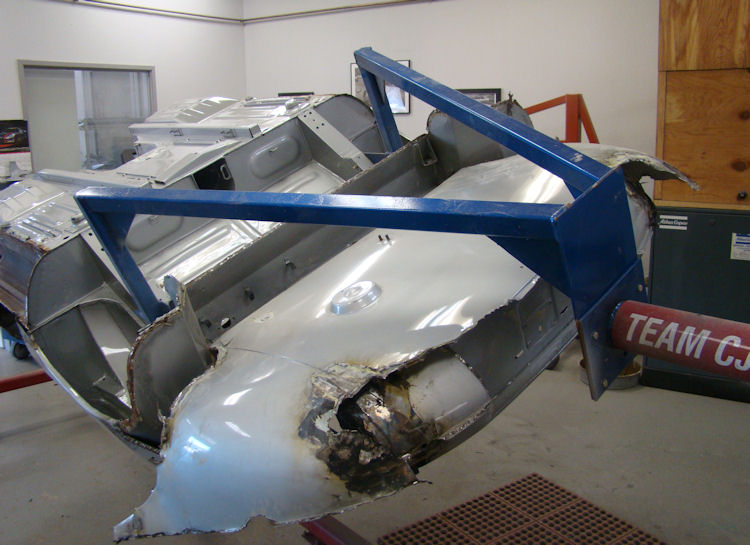
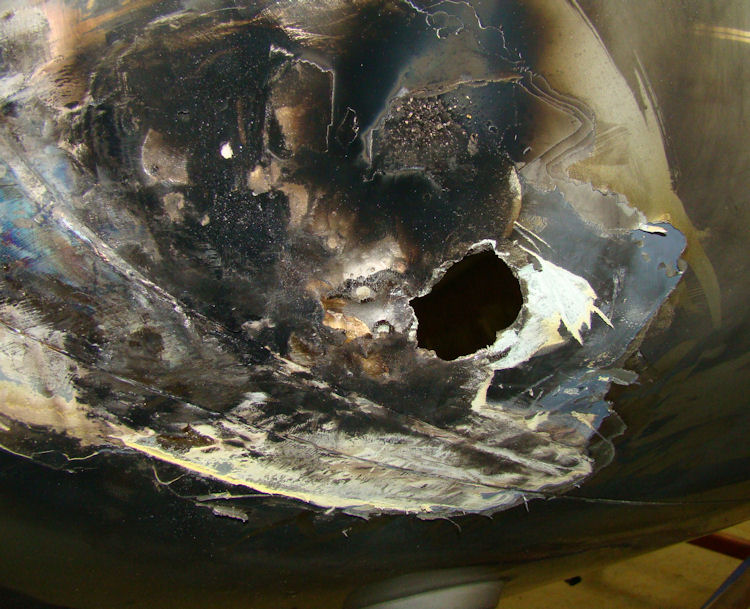
Back from the blasters, it is clear that this was an extremely rusty car that has been the victim of some extremely shoddy workmanship.
 |
 |
|
|
and welded to the frame on this car..... |
|
|
|
 |
 |
|
|
|
|
|
|
 |
 |
|
|
|
|
|
|
 |
 |
|
patch top right |
|
|
|
|
 |
 |
|
|
|
|
|
|
 |
 |
|
|
top is tacked in place - again, hidden beneath bondo |
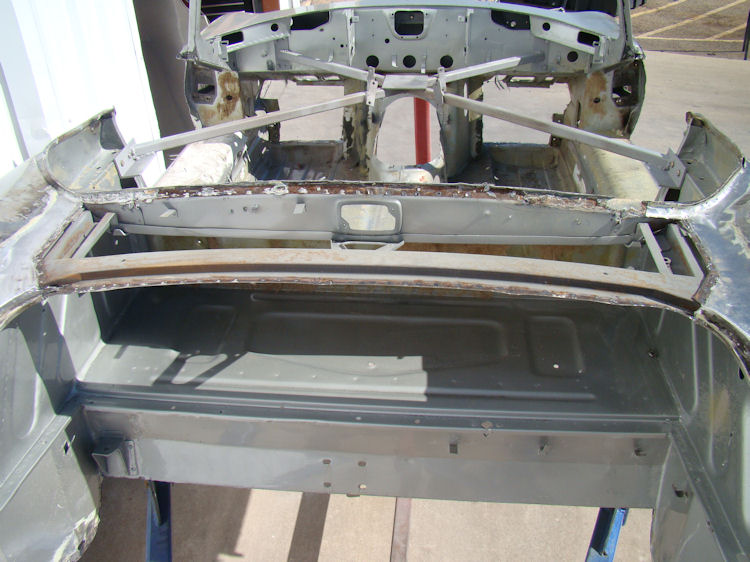
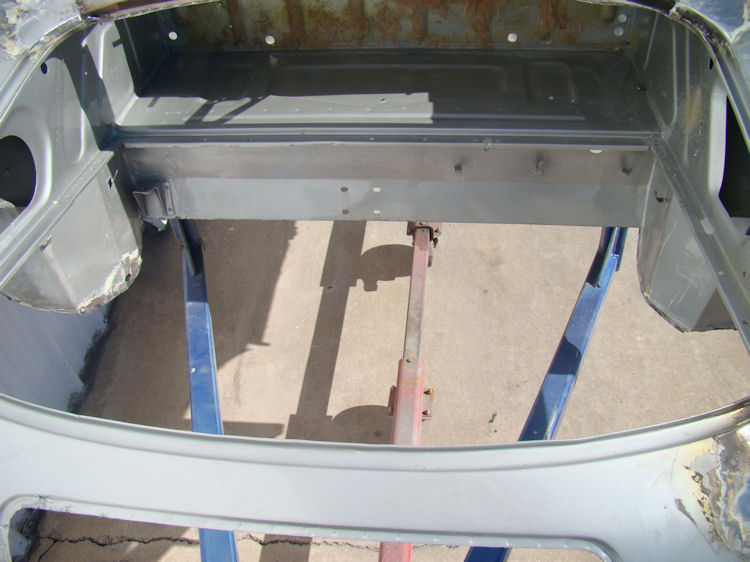
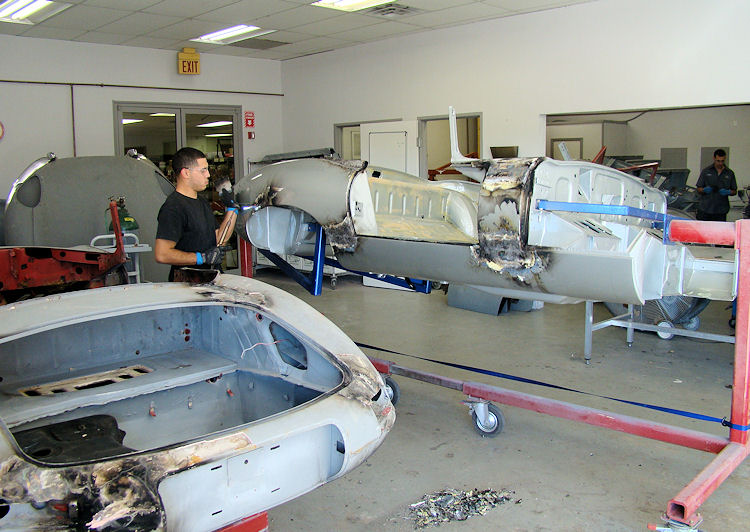
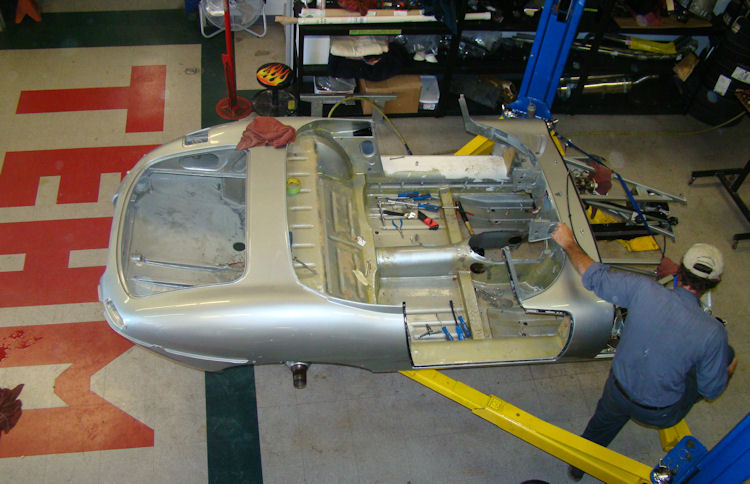
We have now finished cutting away corroded sheet metal and sent your car off for blasting.
 |
 |
|
|
|
|
|
|
 |
 |
|
|
|
 |
 |
|
|
|
|
|
|
 |
 |
|
|
|
|
|
|
 |
 |
|
|
|
|
|
|
 |
 |
|
|
|
|
|
|
 |
 |
|
|
|
 |
 |
|
|
|
|
|
|
 |
 |
|
|
|
|
|
|
 |
 |
|
|
|
|
|
|
 |
 |
|
|
|
 |
 |
|
|
|
 |
|
|
|
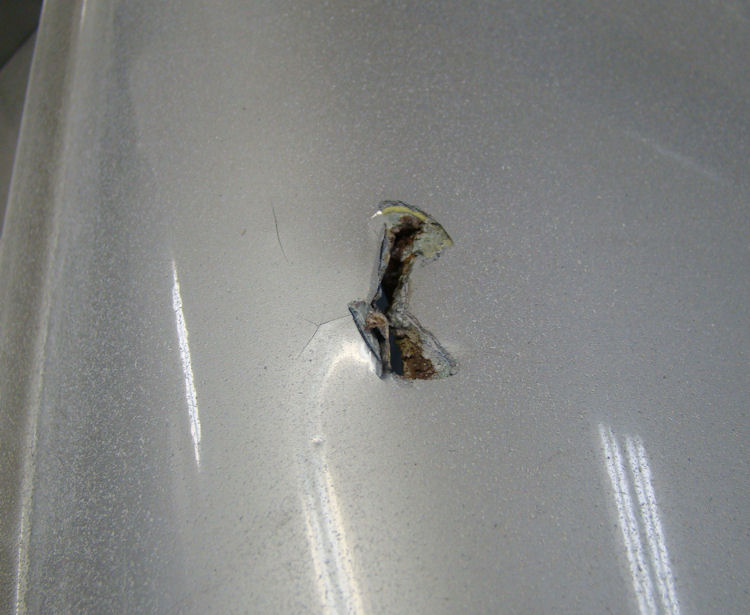
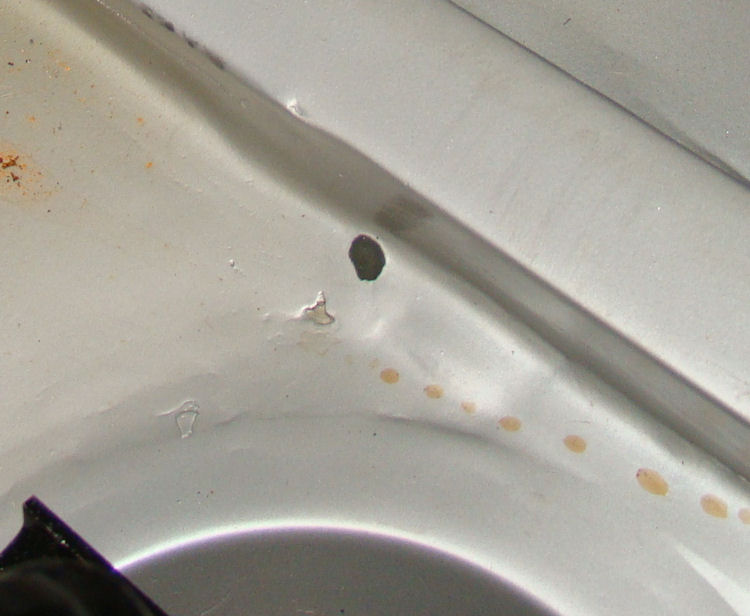
More ugliness...
 |
 |
|
hand quarter, where drain outlet should be? |
|
|
|
|
 |
|
|
|
|
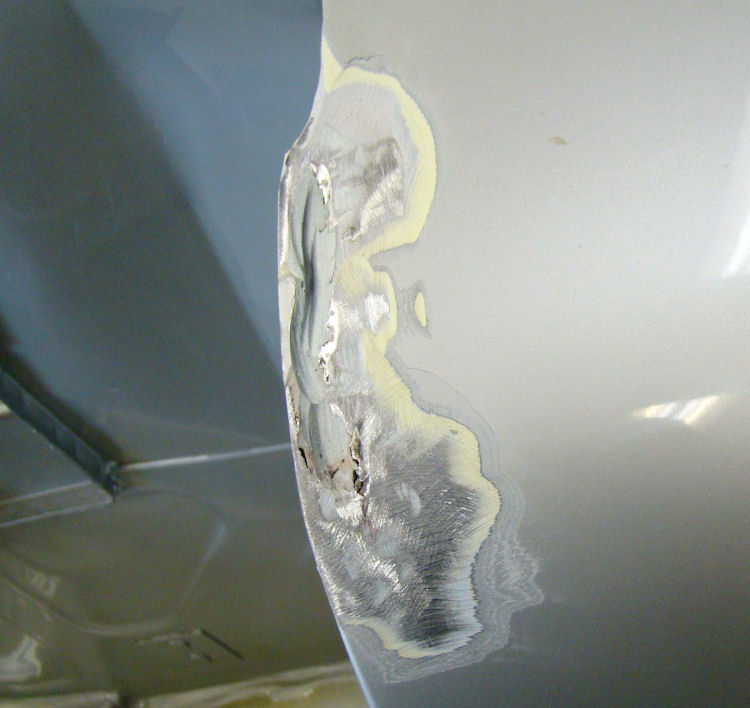
There is literally bondo everywhere on this car, including the engine frames....
 |
 |
|
|
|
|
|
|
 |
 |
|
beneath more bondo.. |
|
|
|
|
 |
|
|
|
|
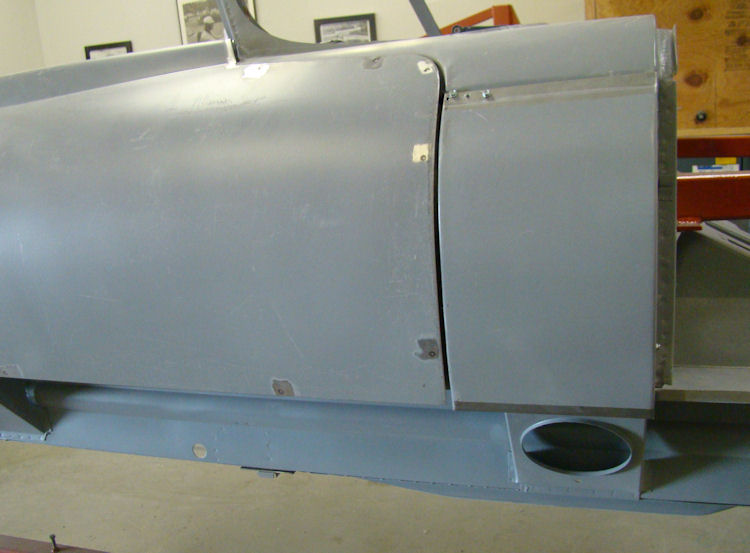
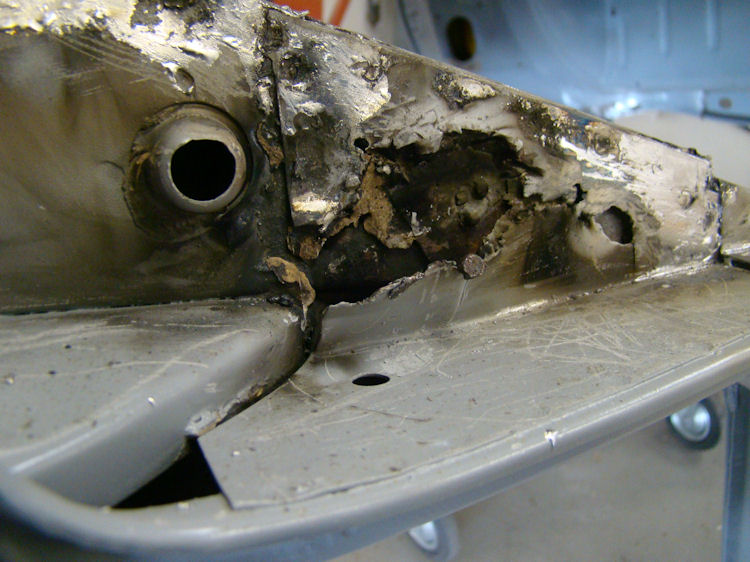
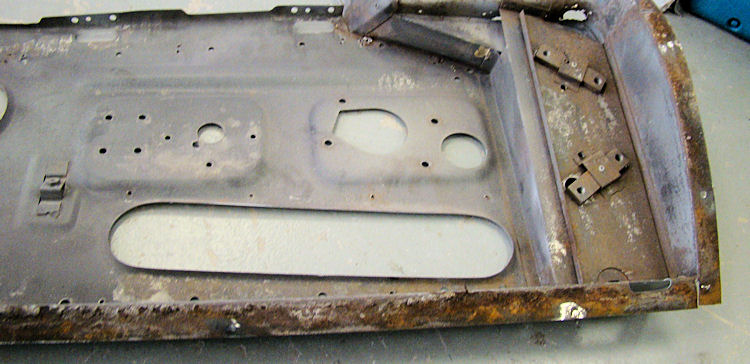
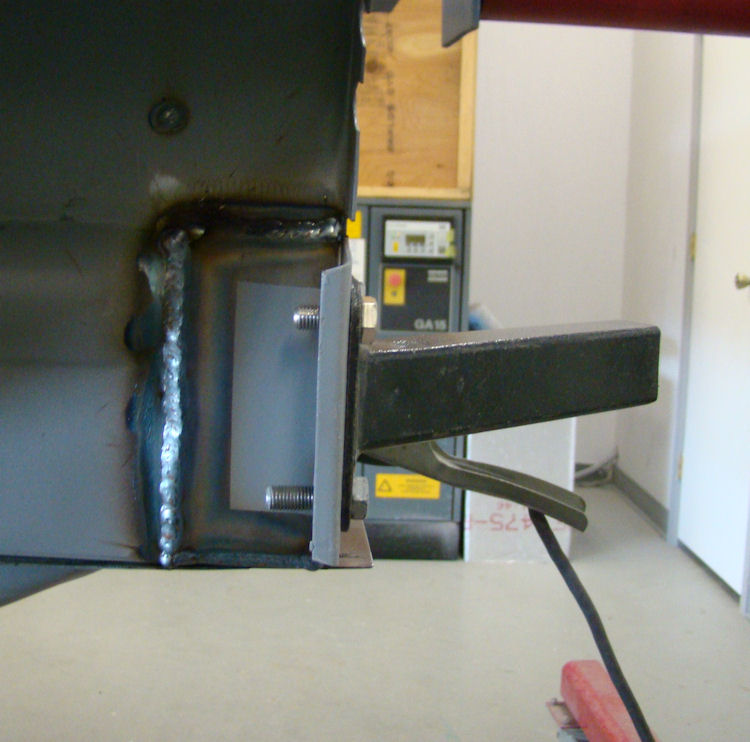
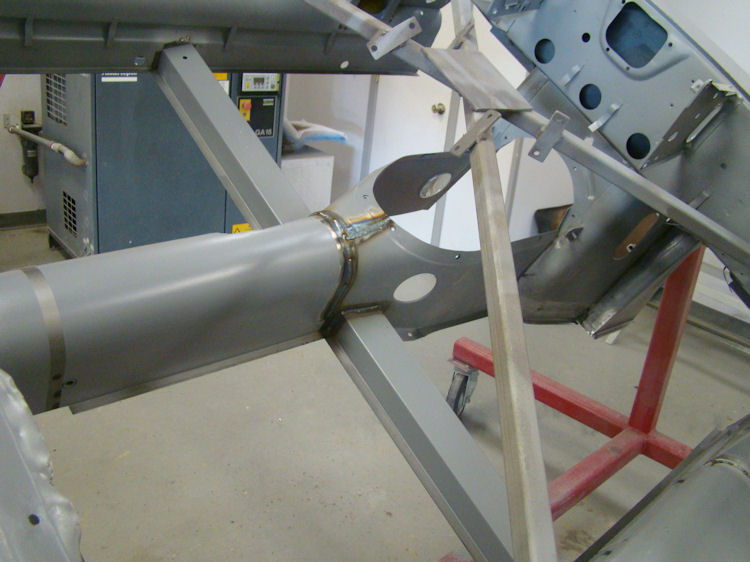
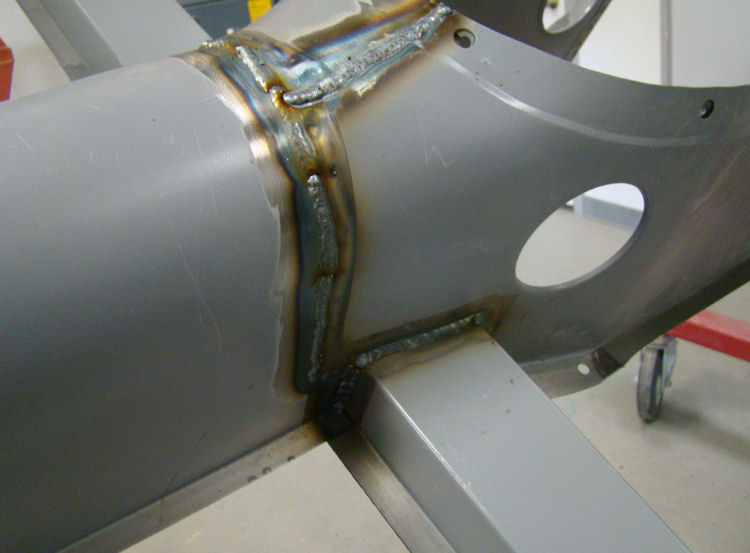
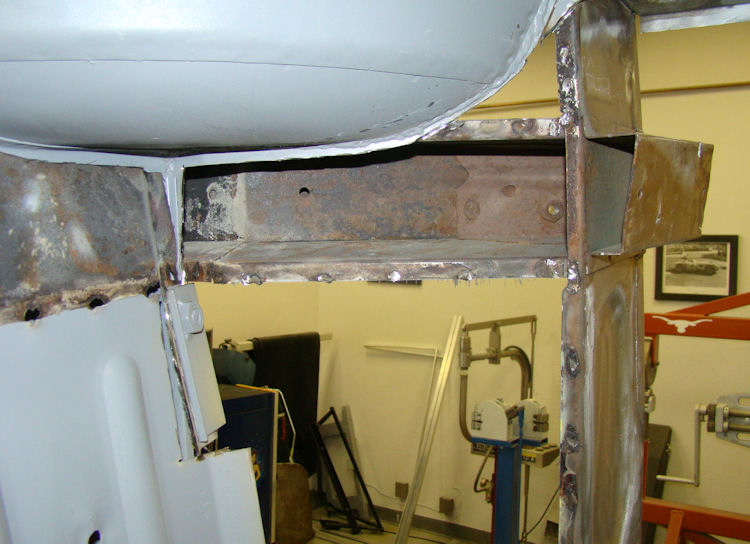
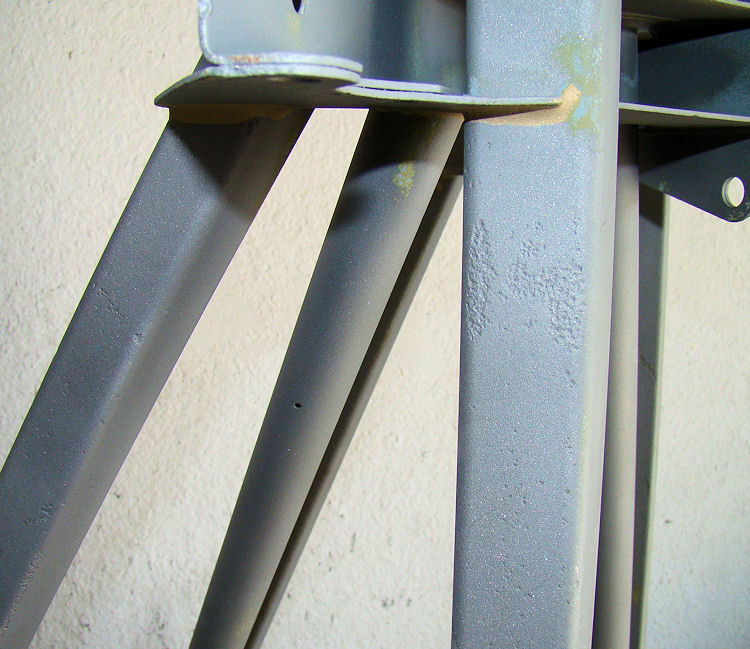
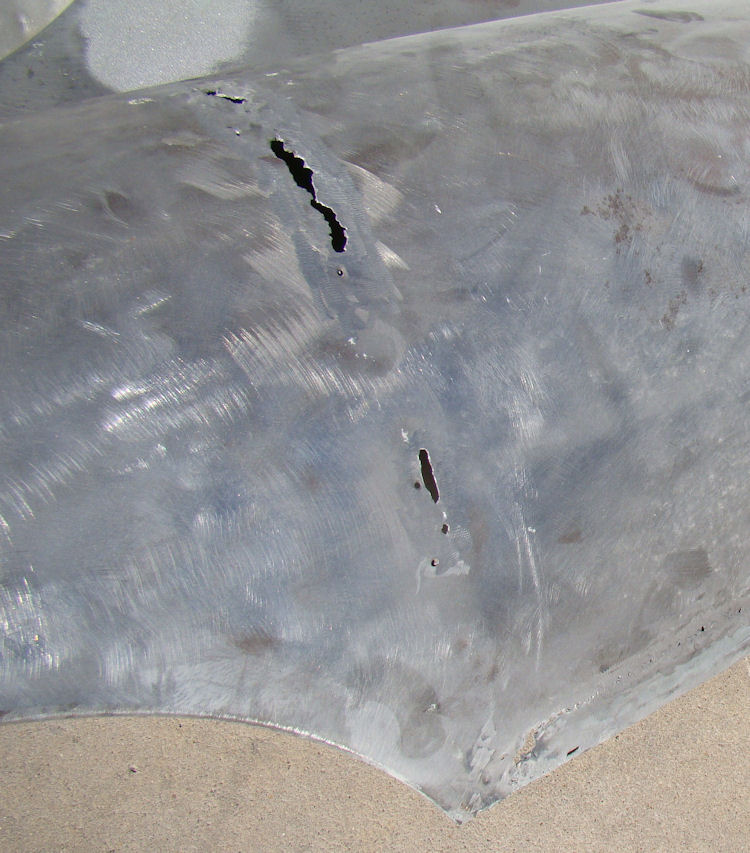
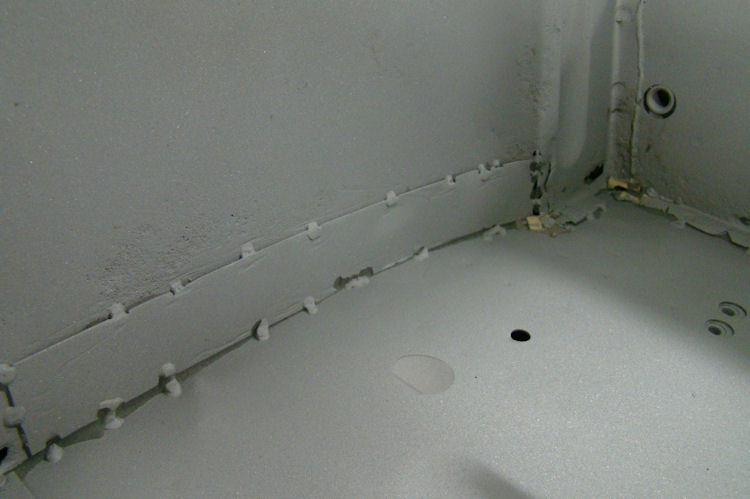
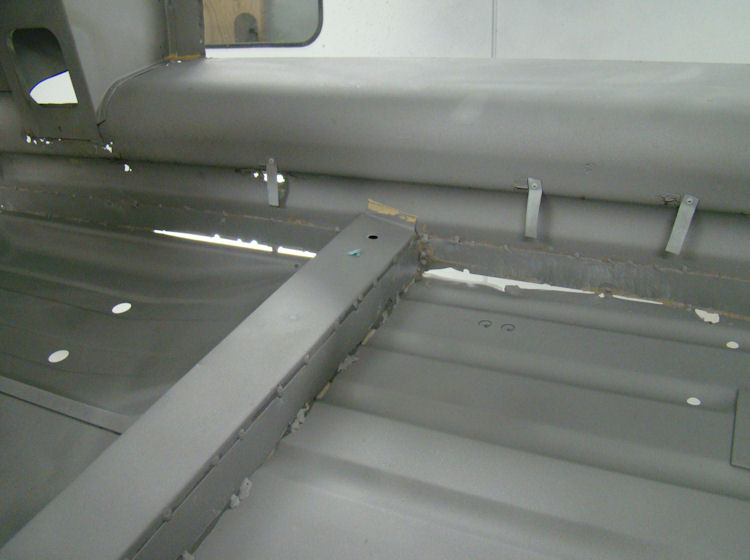
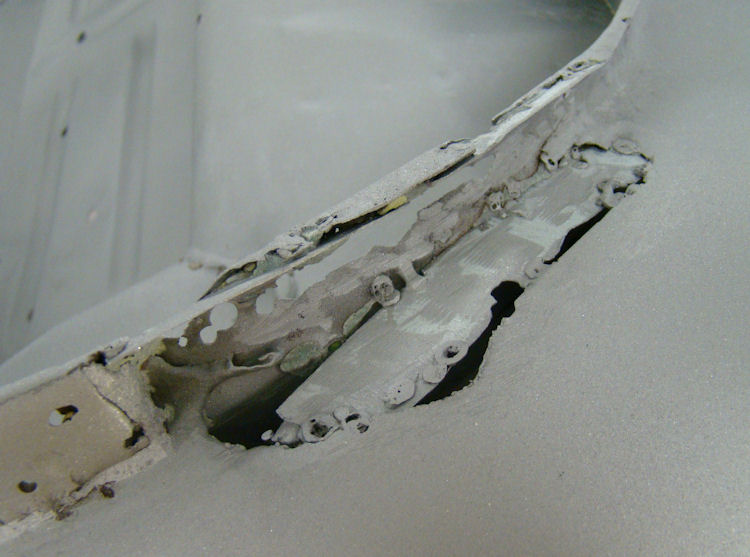
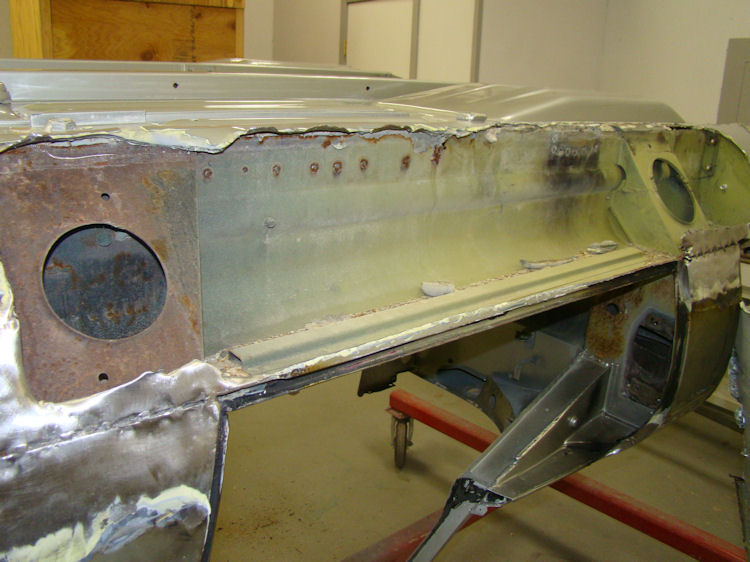
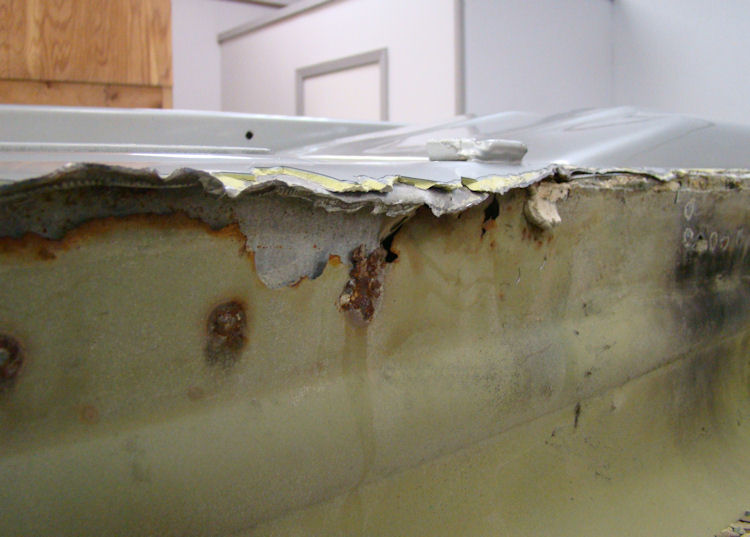
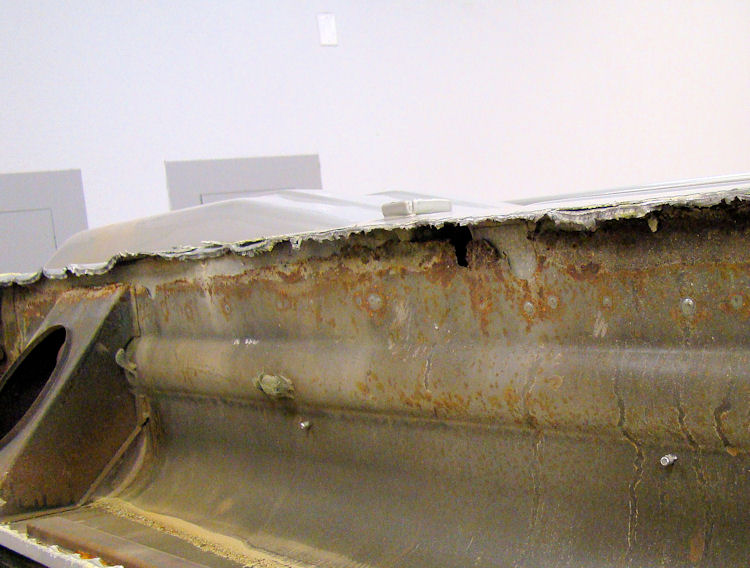
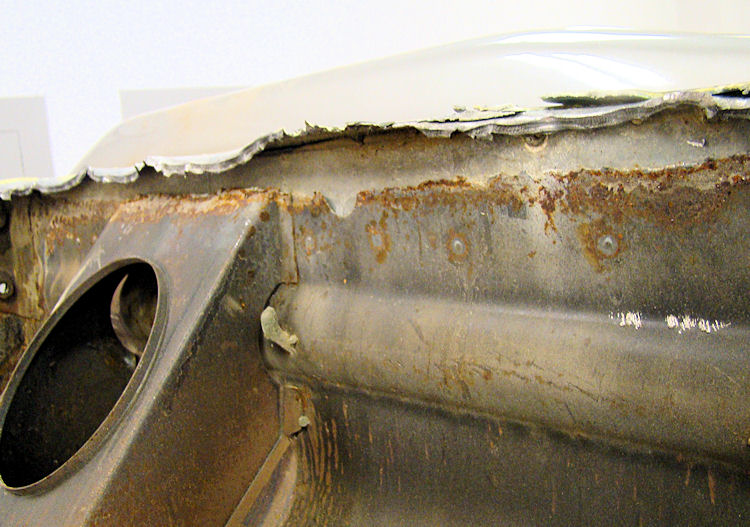
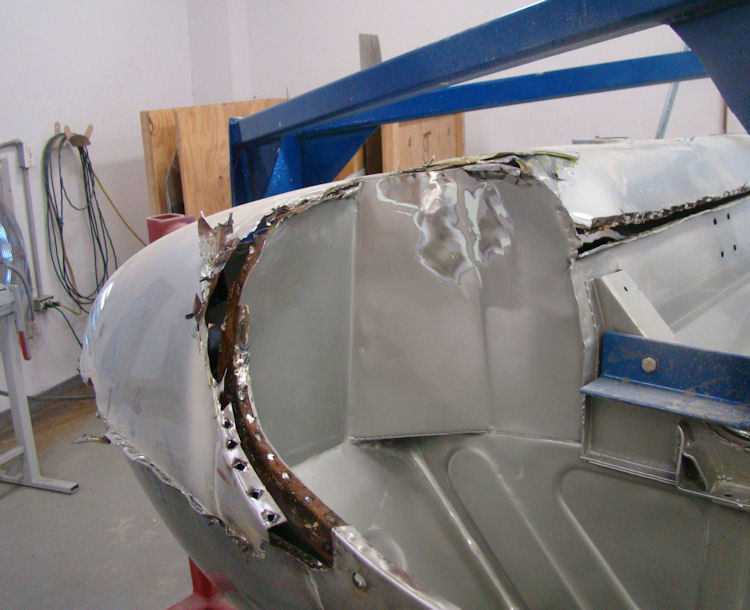
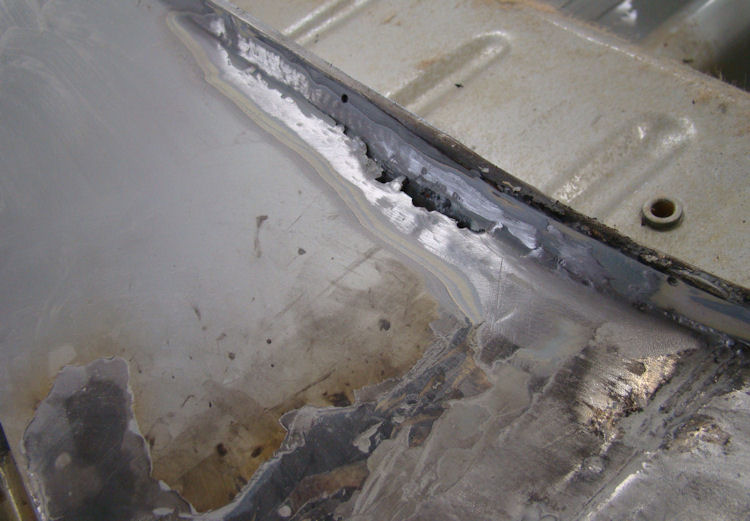
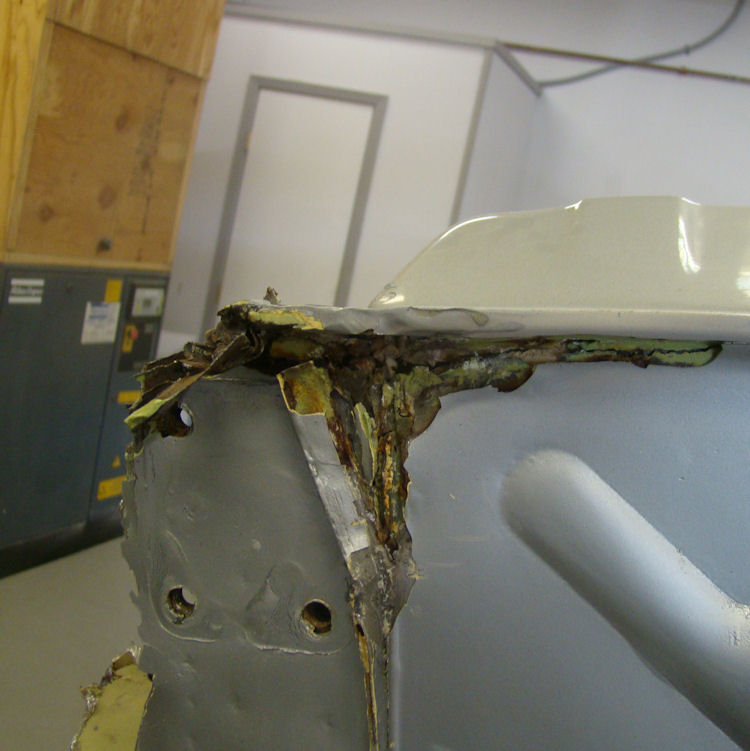
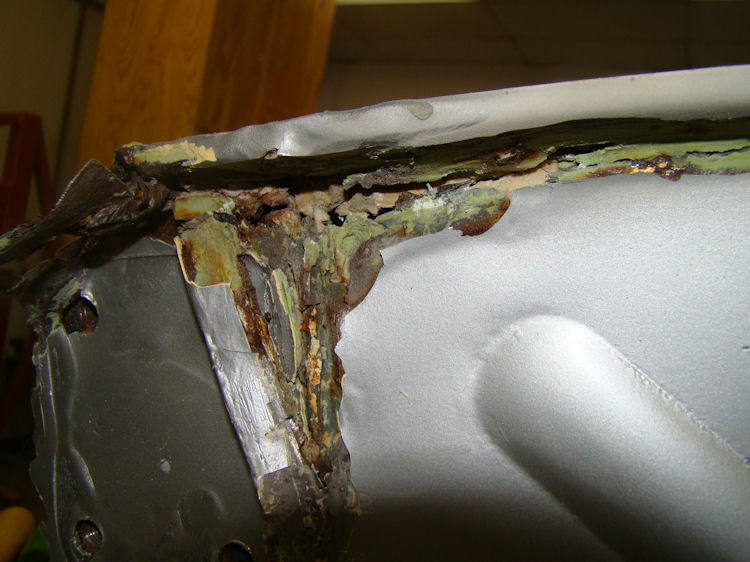
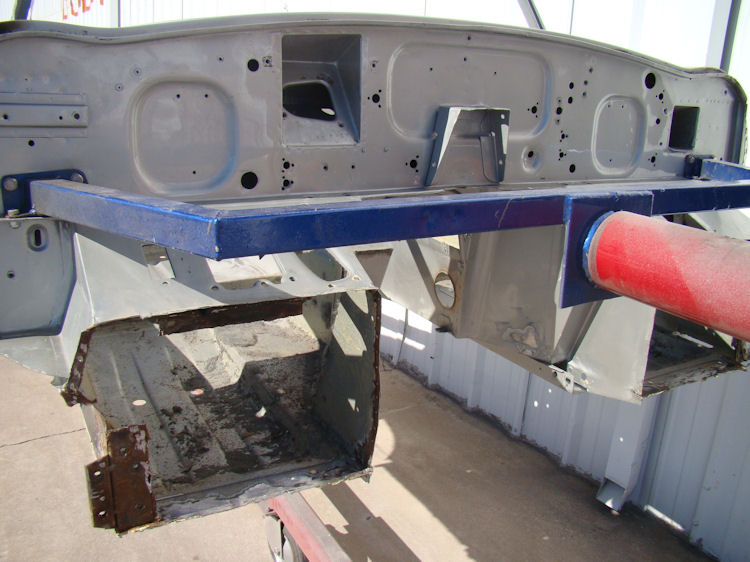
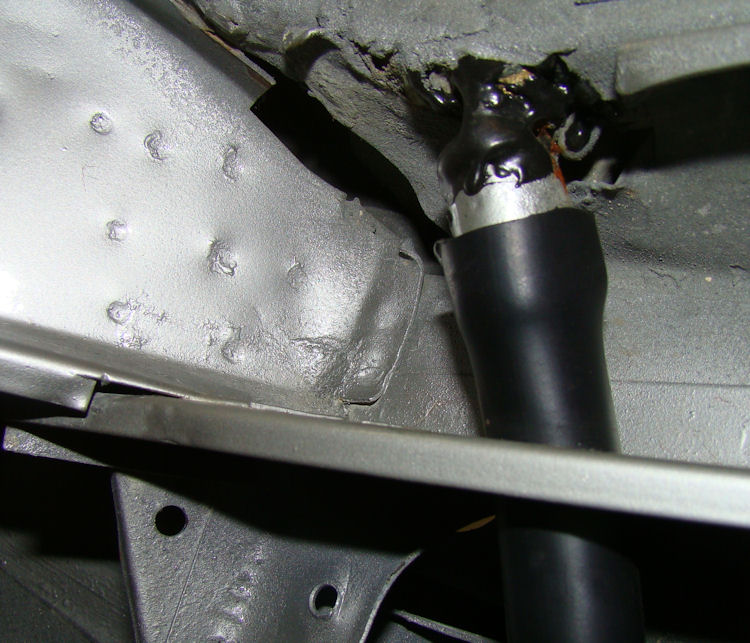
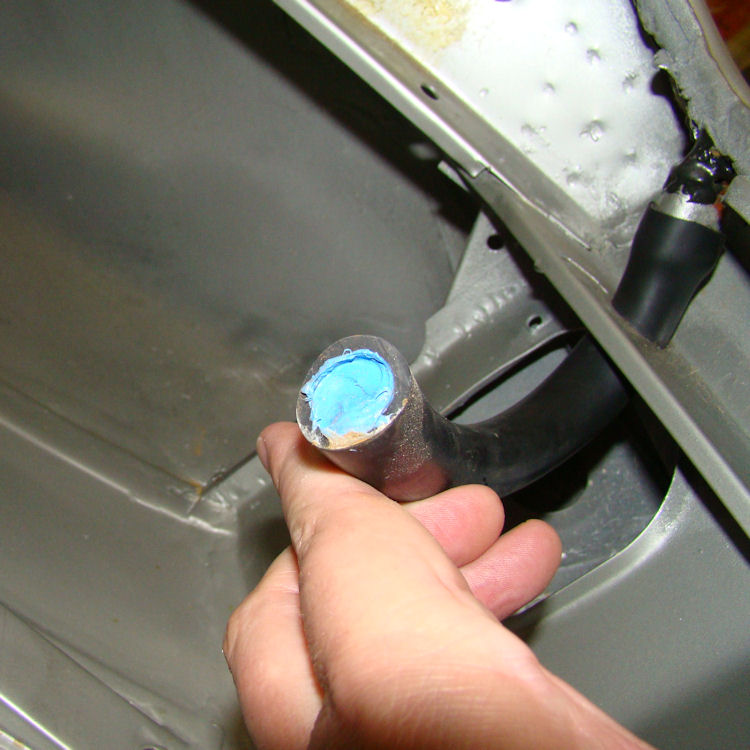
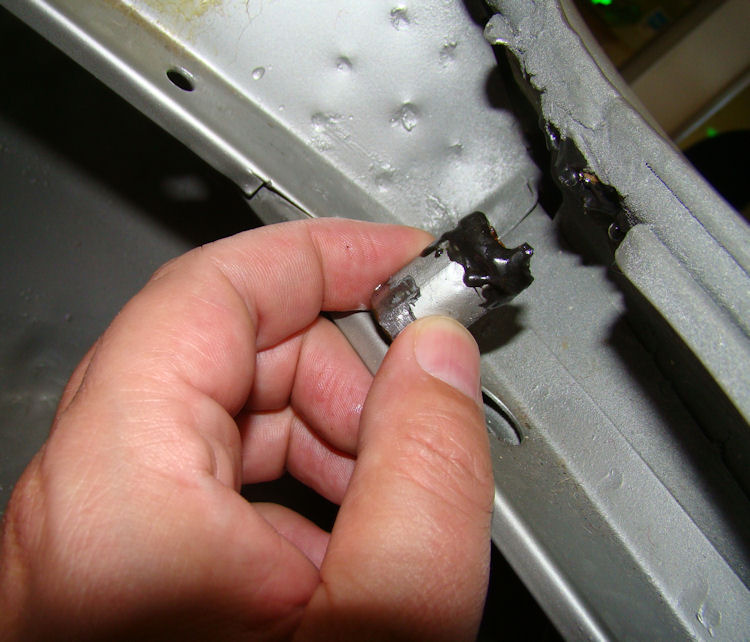
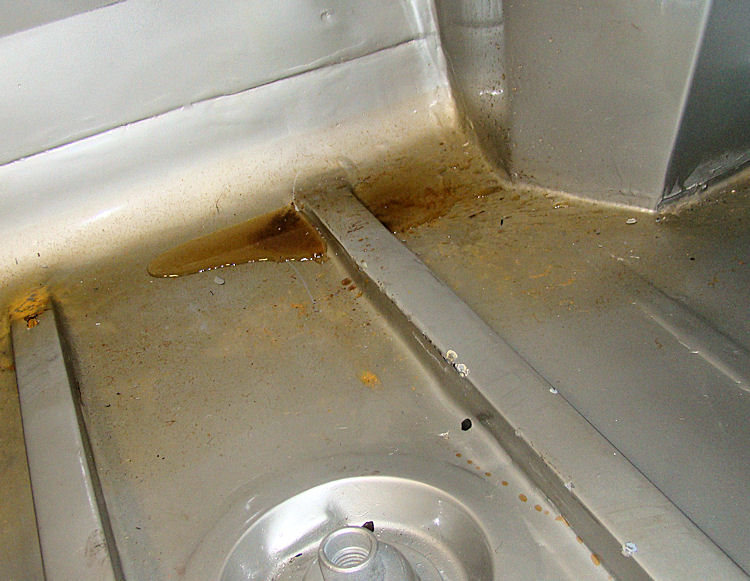
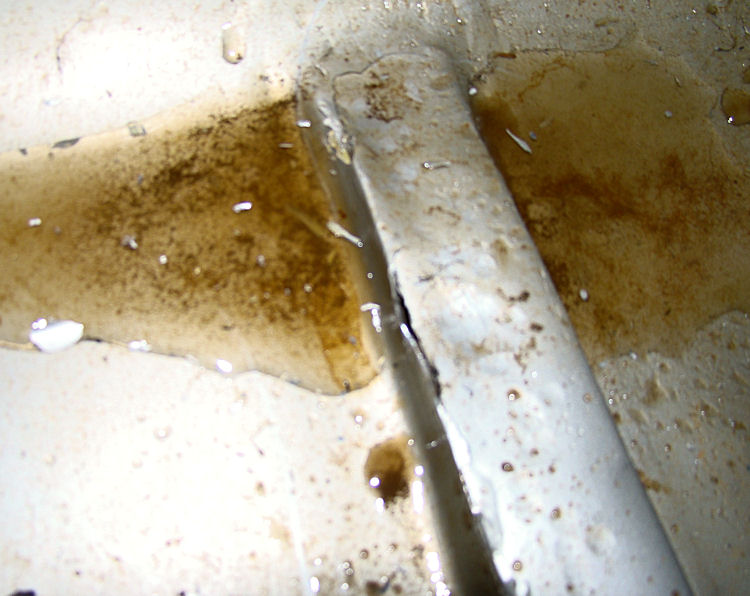
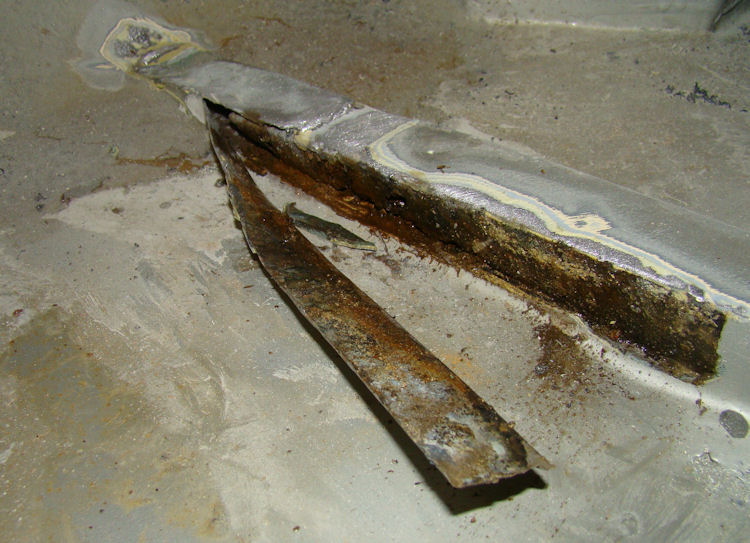
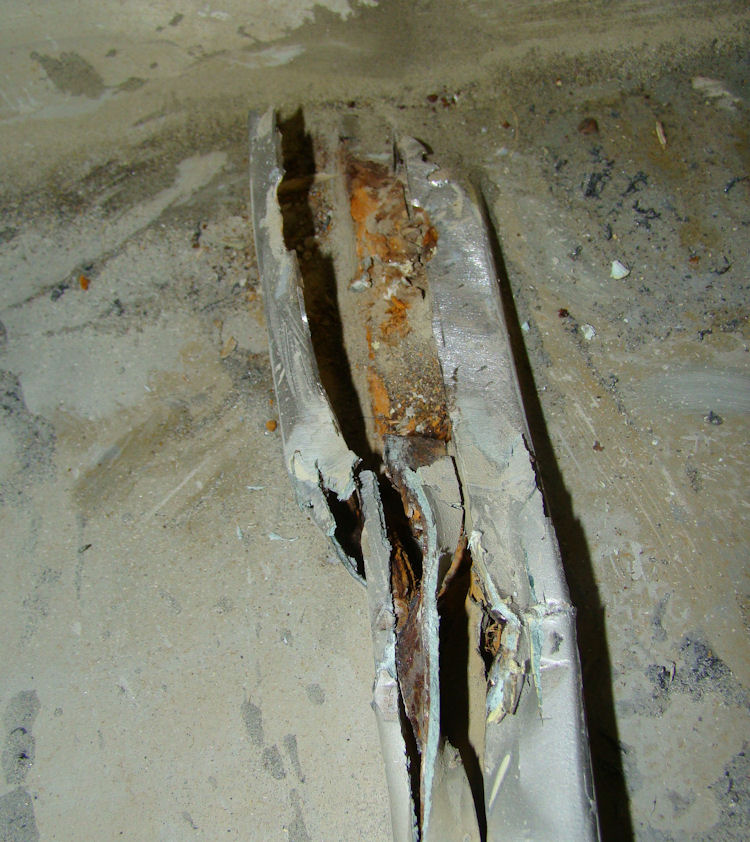
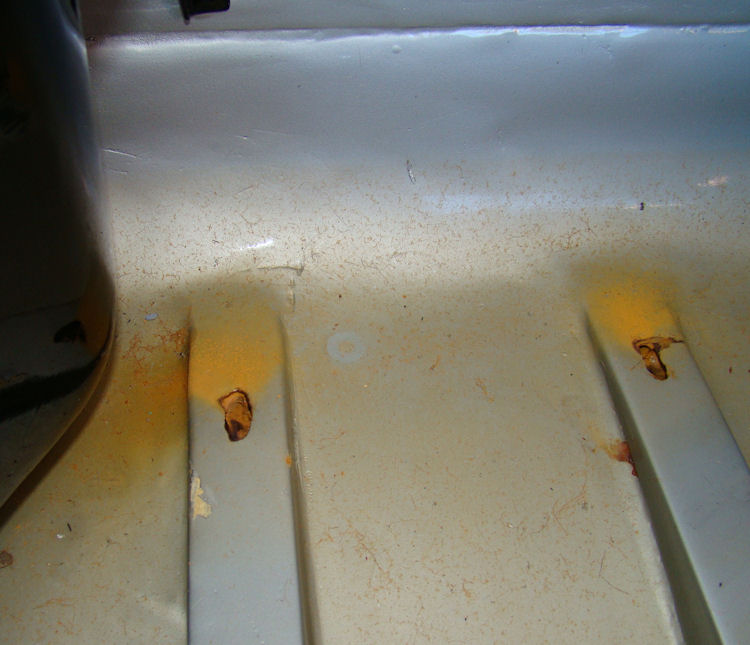
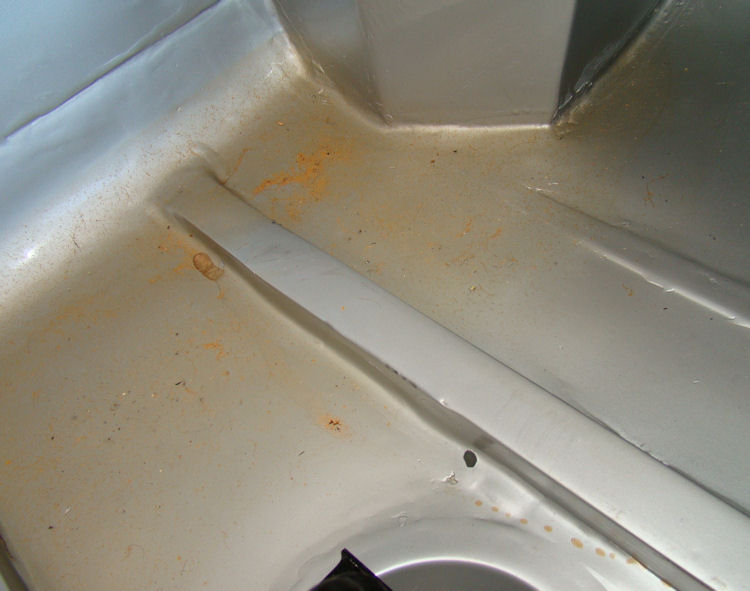
More evidence of just awful workmanship in the boot compartment, I'm sorry to say. Just tapping the right hand floor support rail with a body hammer caused rusty water to seep out of cracks that appeared in the bondo smothered all over the panel. Closer examination revealed that some shameless individual had welded thin strips of metal directly on top of the completely rotten support rails - then wiped bondo everywhere, to cover his tracks.
 |
 |
|
held on (barely) with some sort of epoxy |
|
|
|
|
 |
 |
|
|
|
|
|
|
 |
 |
|
appear from within |
|
|
|
|
 |
 |
|
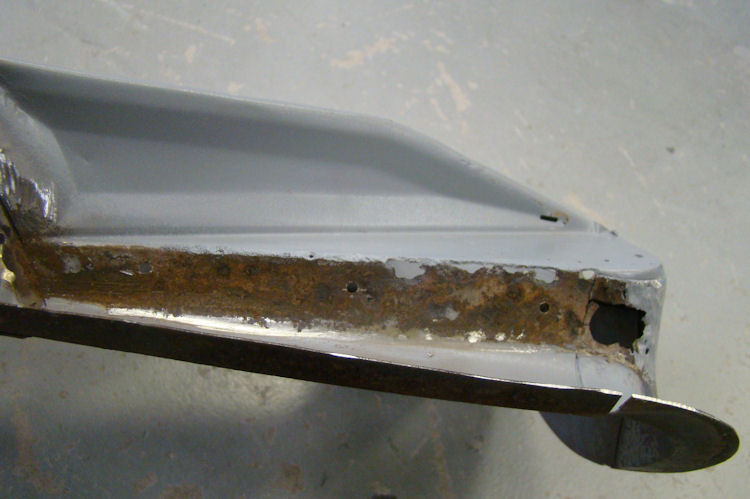
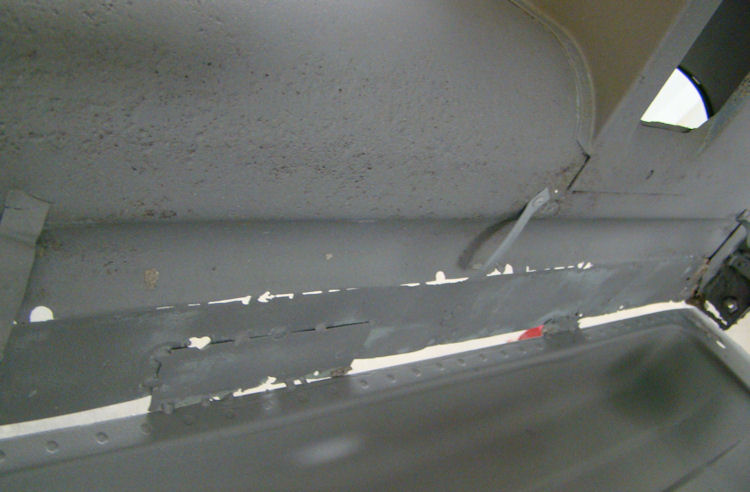
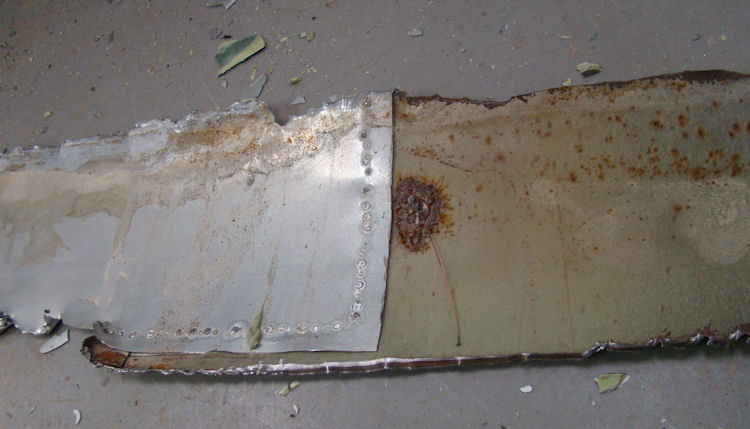
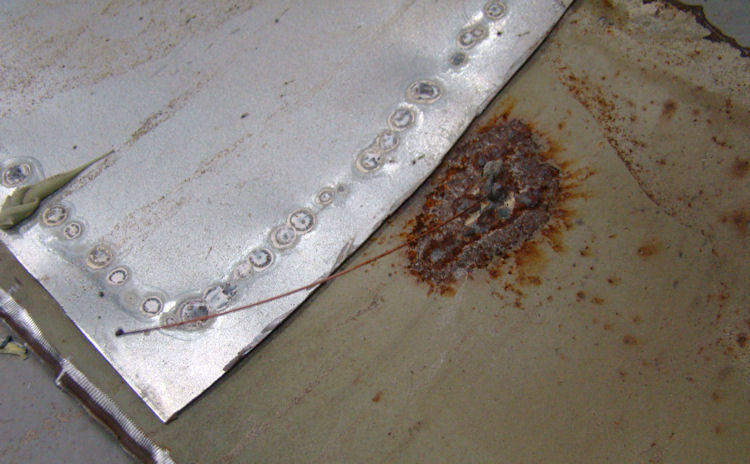
original support rail, then covered with bondo |
|
|
|
|
 |
 |
|
|
to the blaster |
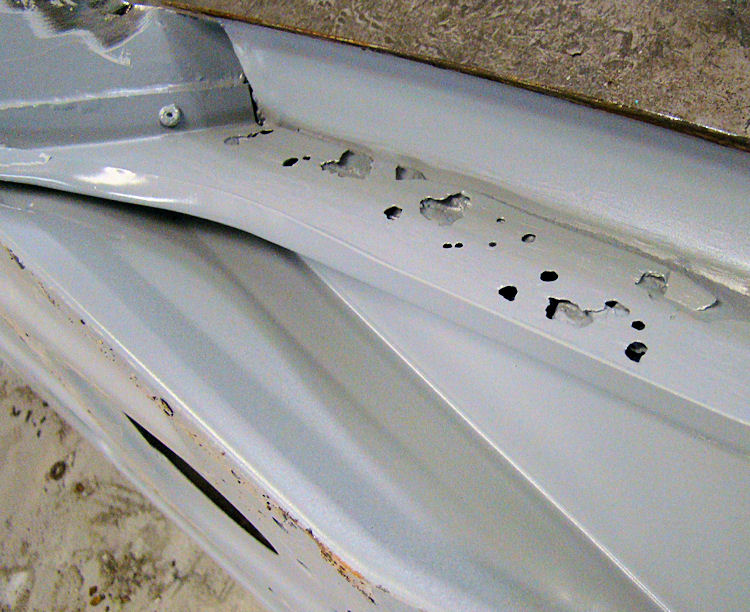
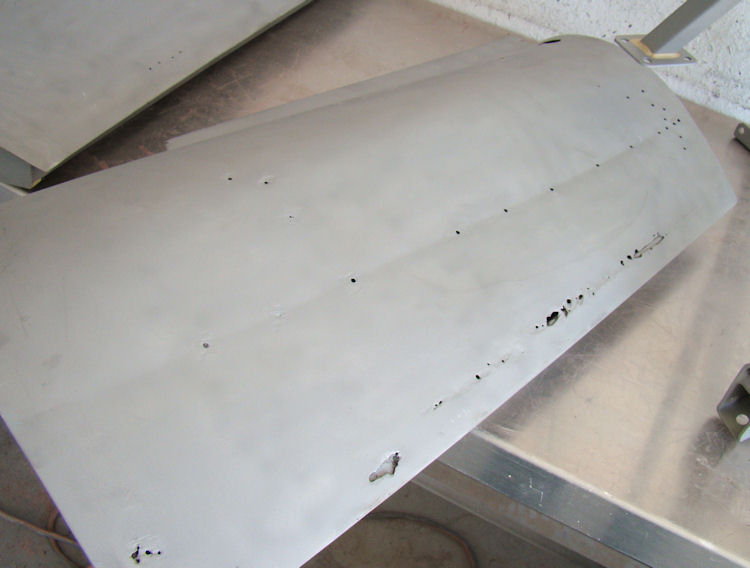
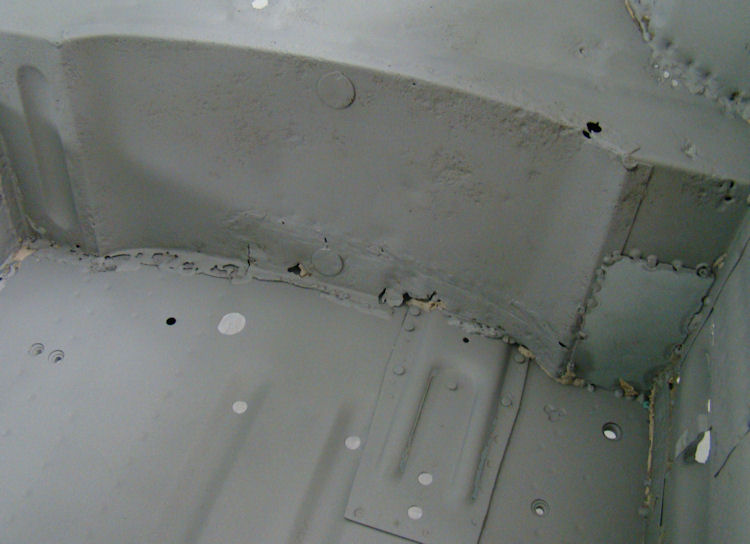
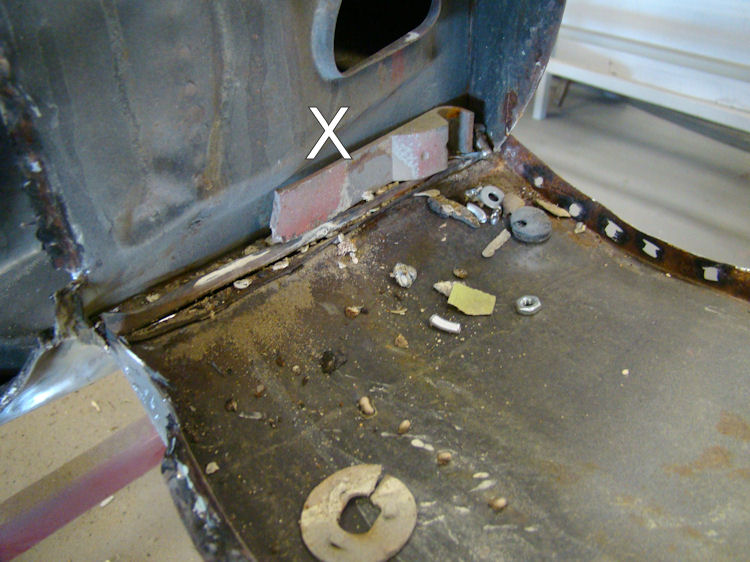
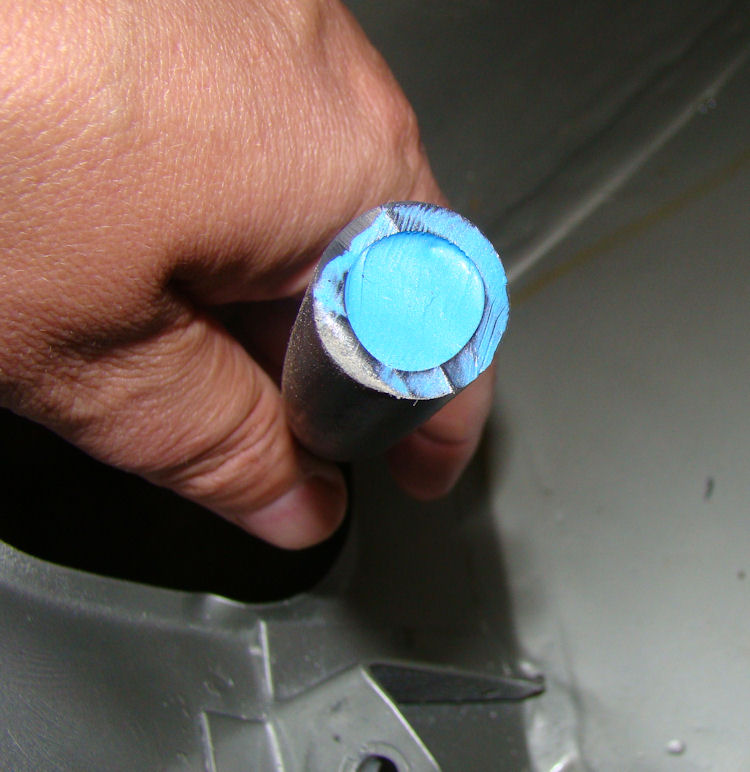
Not good news in the boot compartment, Jim. It looks as if the support rails have been carved from bondo....
 |
 |
|
|
|
|
|
|
 |
|
|
|
|
I am pleased to report that we now have this project underway. I hope you enjoy following the progress over the coming months!
 |
 |
|
|
|
|
|
|
 |
 |
|
|
|
|
|
|
 |
 |
|
|
|