Team CJ Stage One restoration
| 1967
E Type roadster (JC)
Team CJ Stage One restoration |
|
|
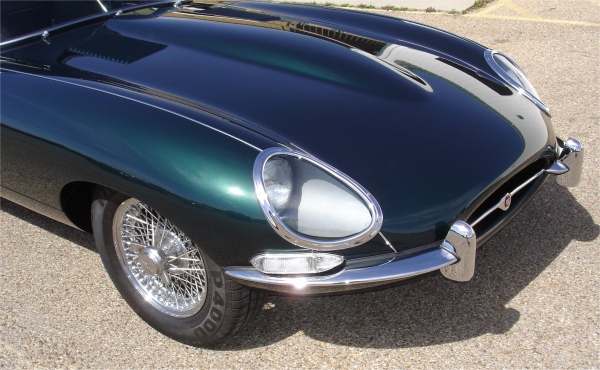
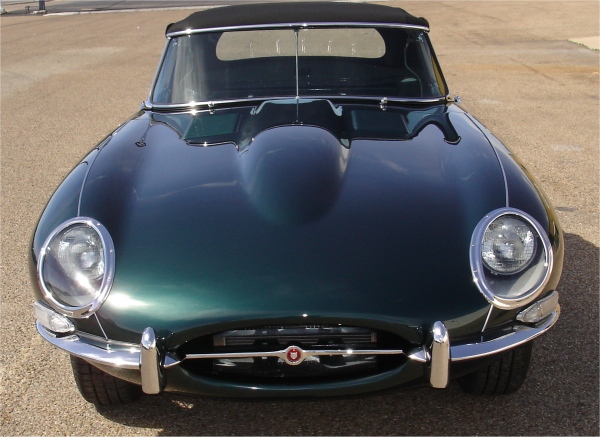
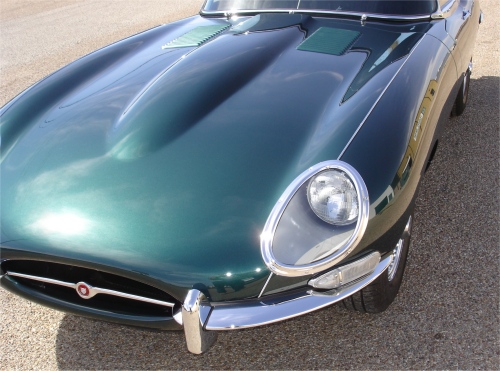
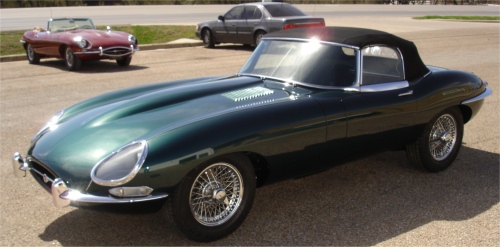
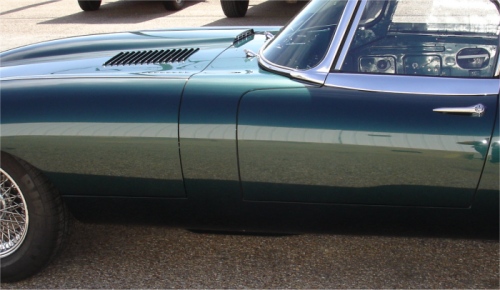
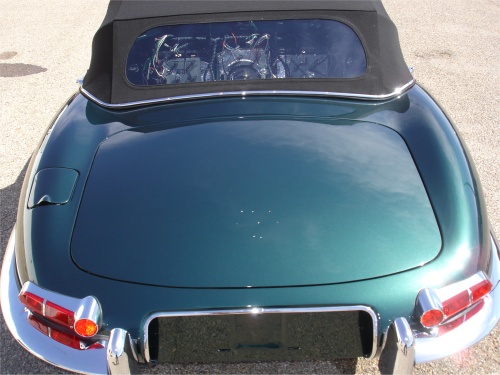
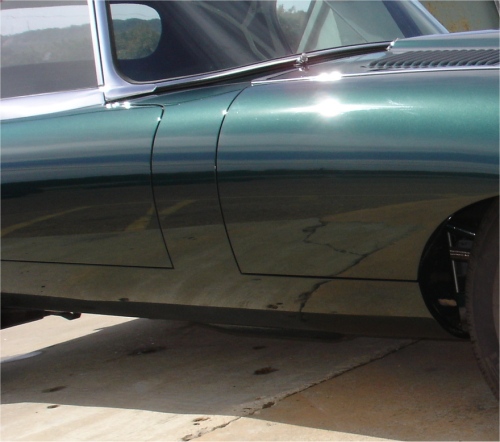
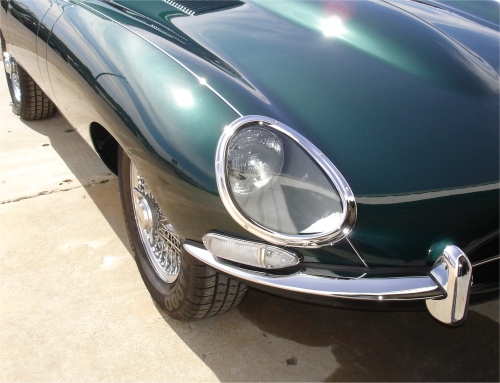
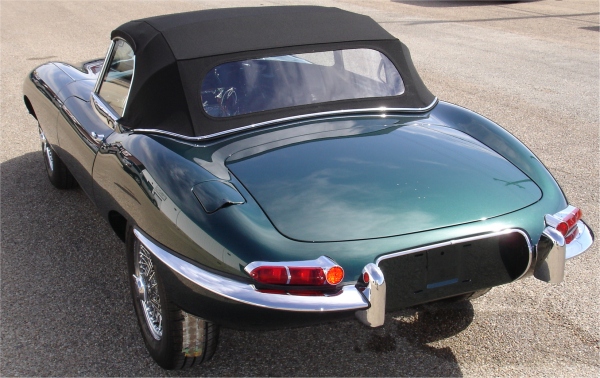
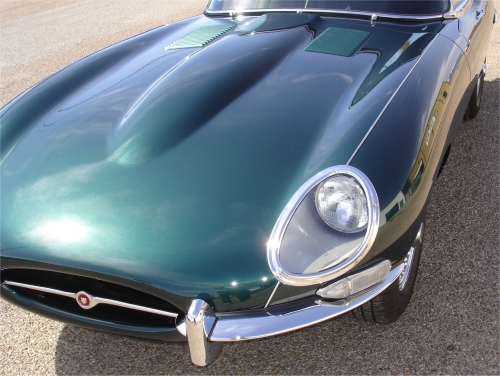
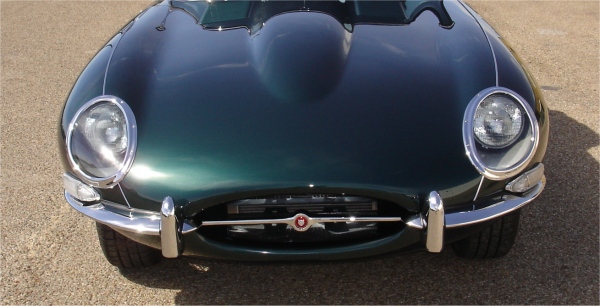
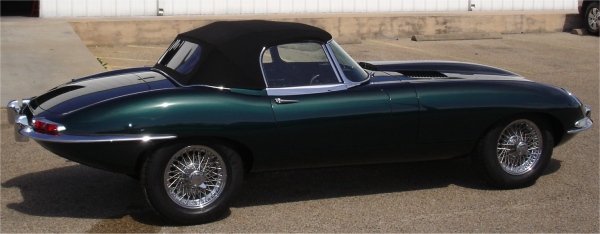
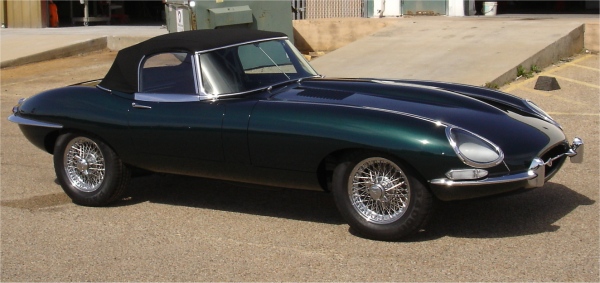
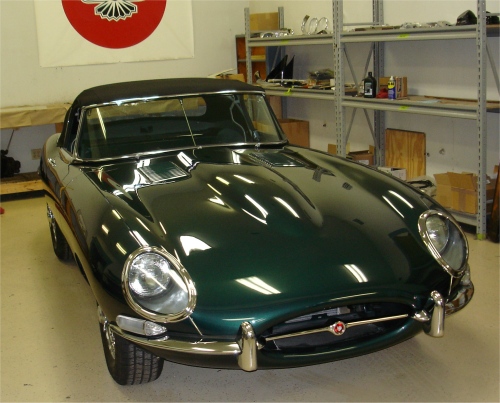
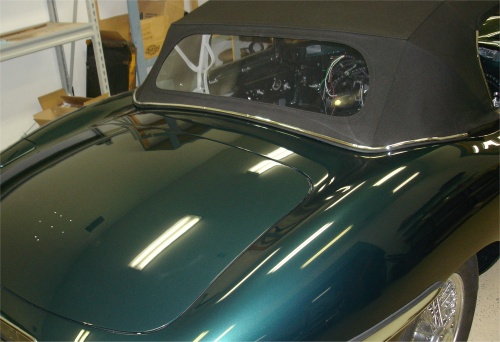
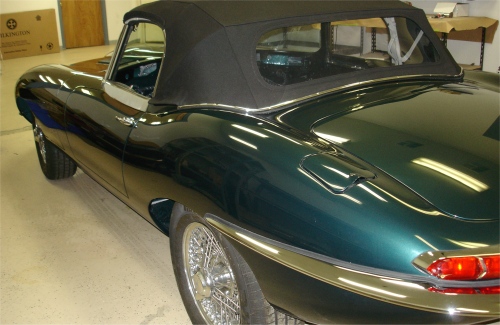
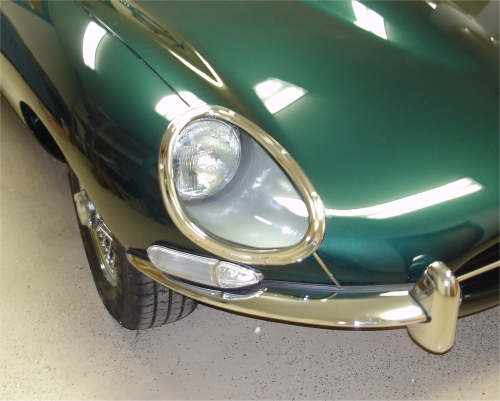
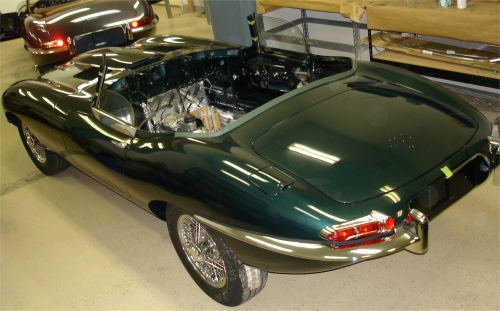
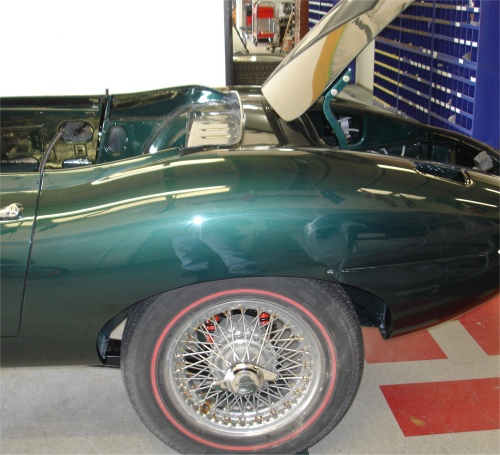
I thought you might like to see some photos of the car outside in the Texas sunshine. I understand that the car is being collected early next week.
 |
 |
 |
 |
 |
 |
 |
 |
 |
 |
 |
 |
 |
 |
 |
 |
 |
 |
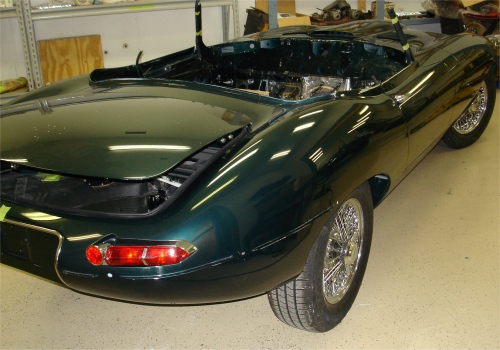
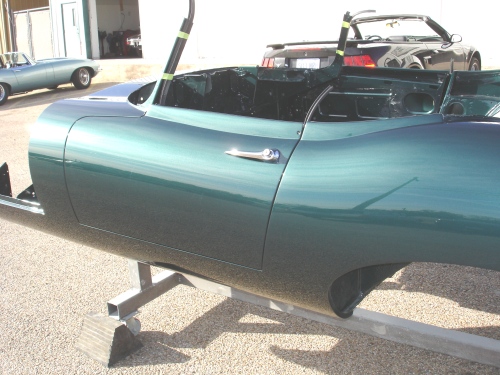
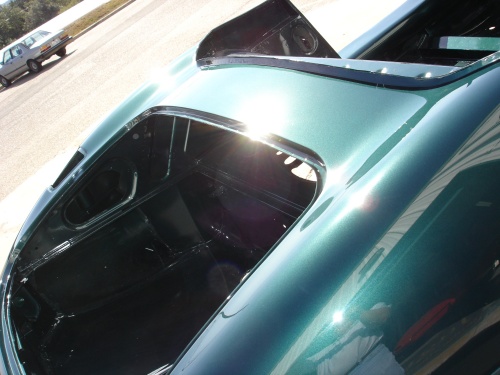
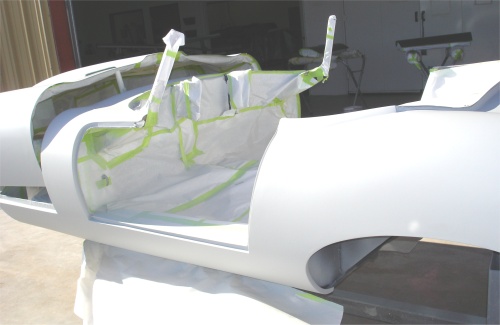
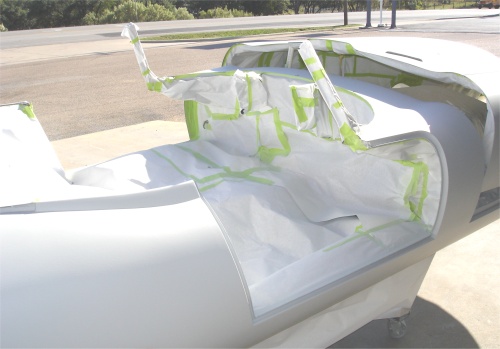
Installing the new convertible top was the last thing on our list of jobs to do before sending the car home for the rest of the interior to be trimmed out and installed by the proud owner.
 |
 |
 |
 |
 |
 |

 |
 |
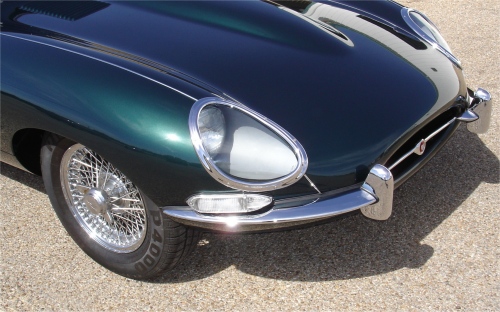
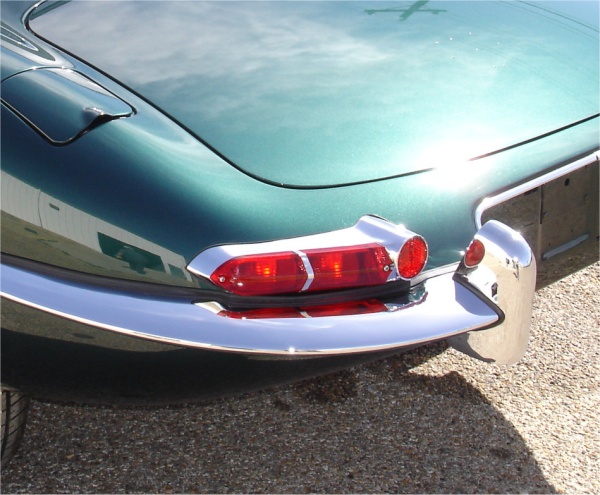
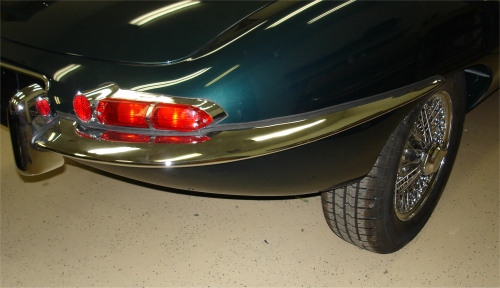
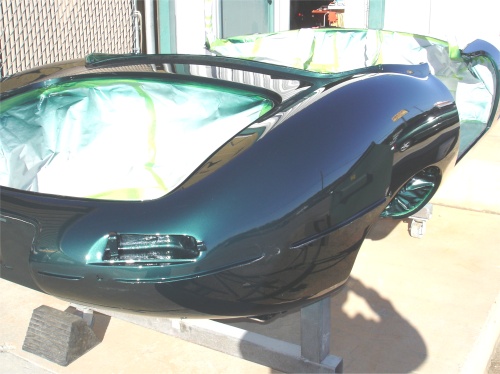
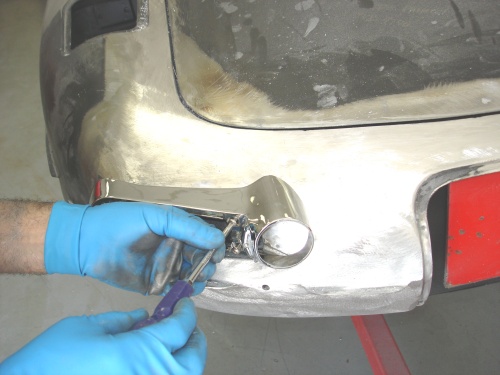
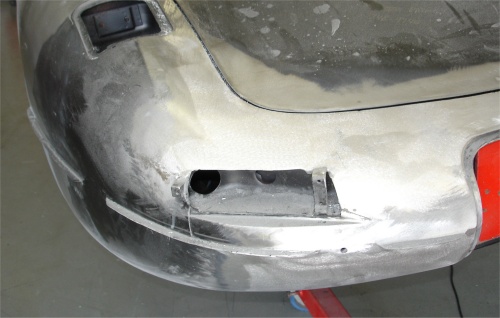
Door glass and chrome has now been installed, as well as the rear bumpers, etc.
 |
 |
 |
 |
 |
 |
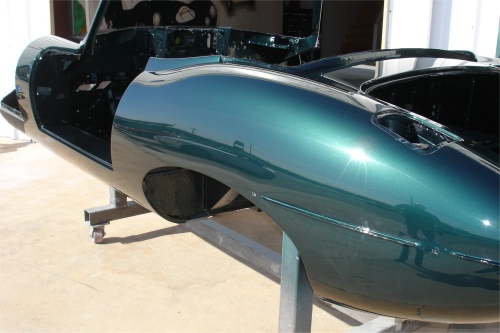
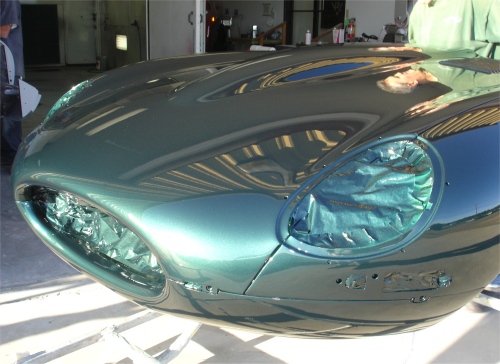
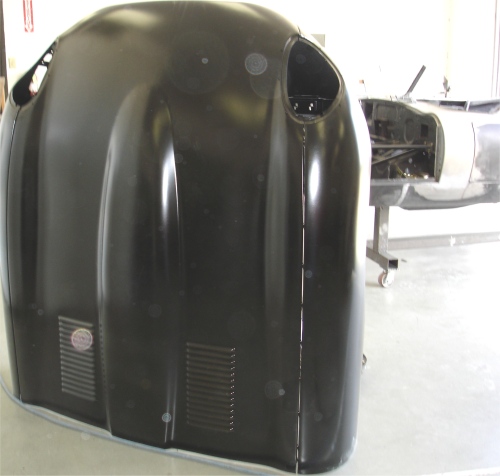
We now have your bonnet installed and adjusted and have begun installing your chrome and lights.
 |
 |
 |
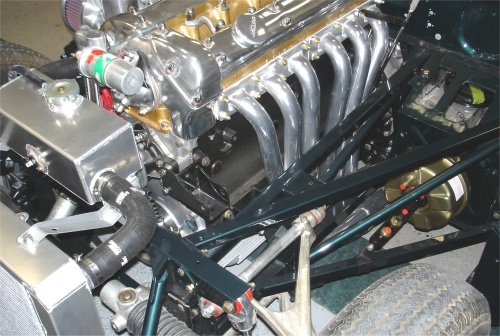
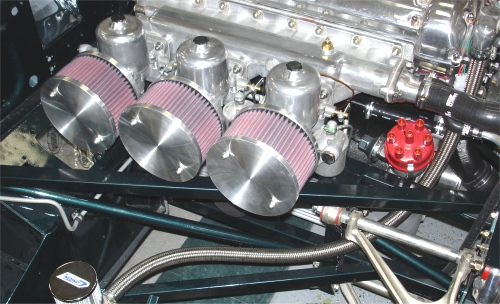
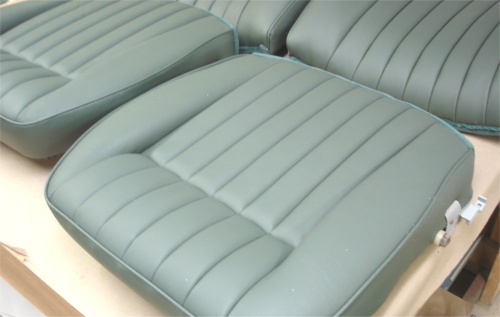
I am pleased to report that we now have your drivetrain installed, including your engine, CJ5 five speed, etc. Your seats have also been trimmed in your chosen suede green hides.
 |
 |
 |
|
|
|
|
 |
 |
 |
|
with Opalescent Dark Green |
||
 |
||
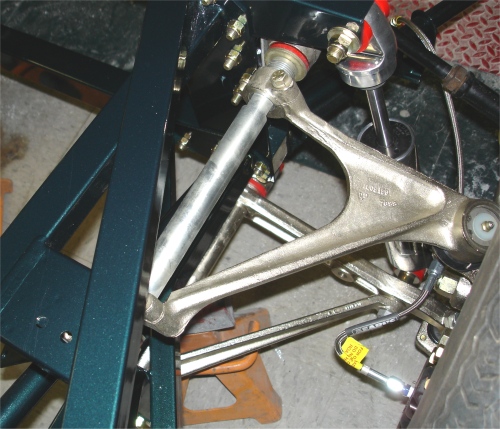
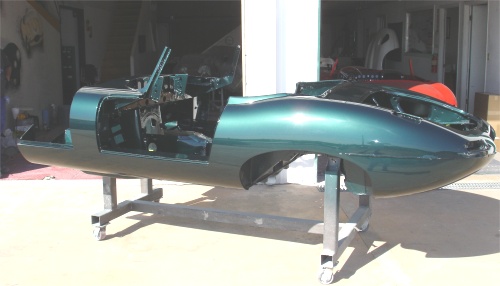
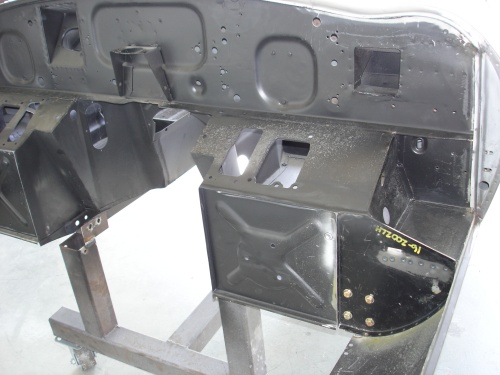
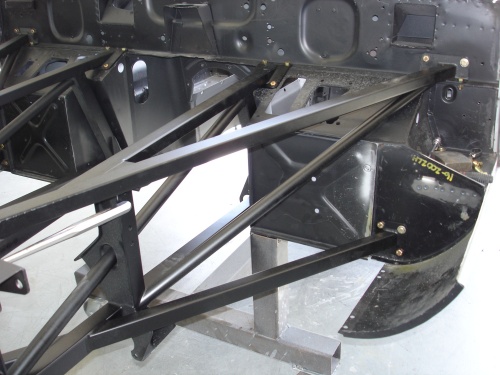
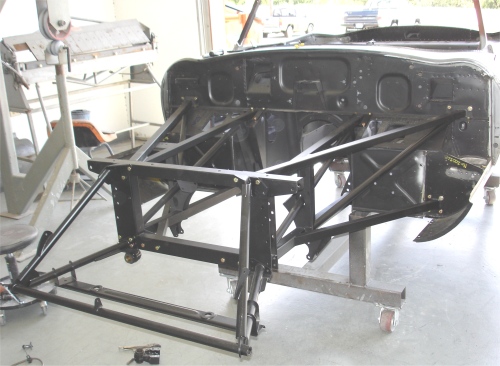
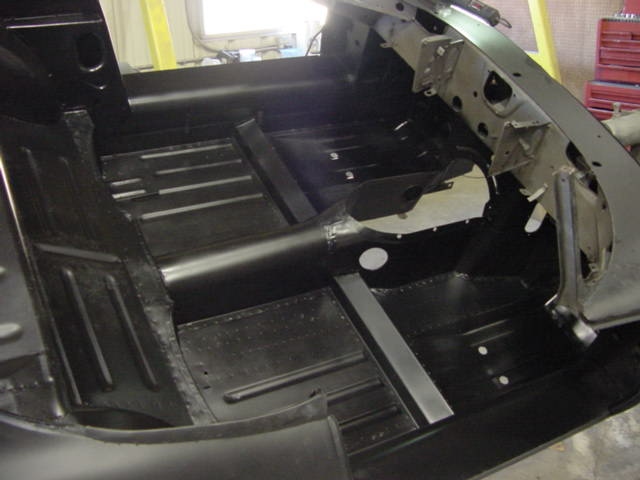
We have now installed the front frames and the re-plated front suspension. The steering rack and rear suspension unit that you rebuilt yourself are also now in place, so your car is on all four wheels for the first time in a while!
 |
 |
 |
|
|
has been assembled and installed |
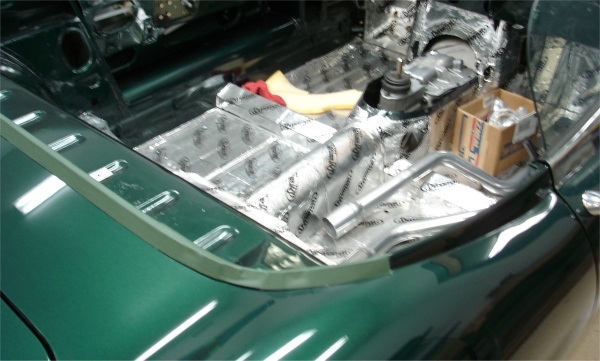
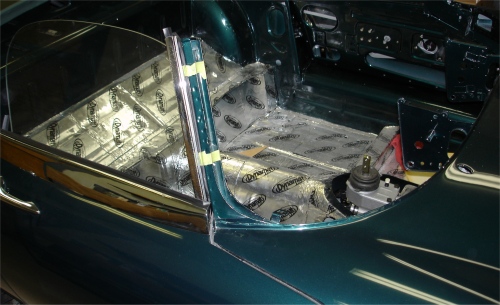
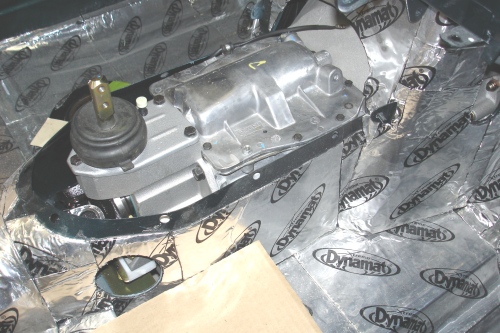
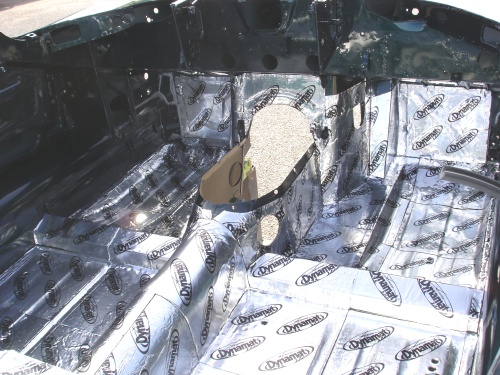
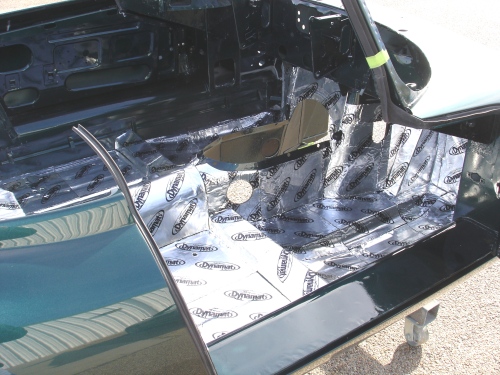
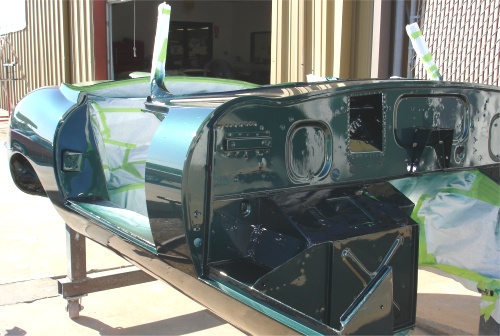
We now have the rubber seals installed, as well doors and boot lid fitted and latching. The interior has been insulated with Dynamat Xtreme. The next stage will be to install the IRS that you rebuilt yourself, along with the front suspension that is currently away being Nickel plated.
 |
 |
 |
 |
 |
 |
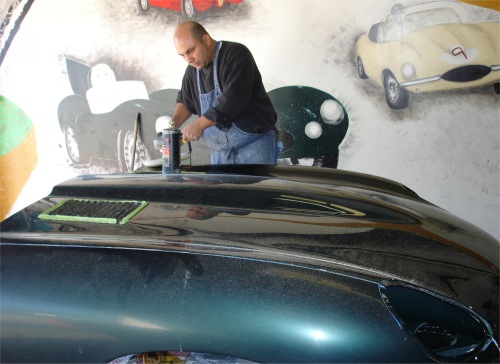
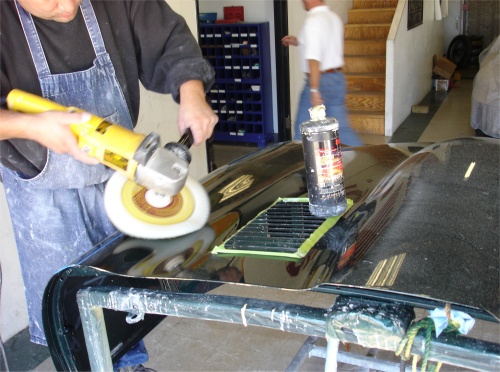
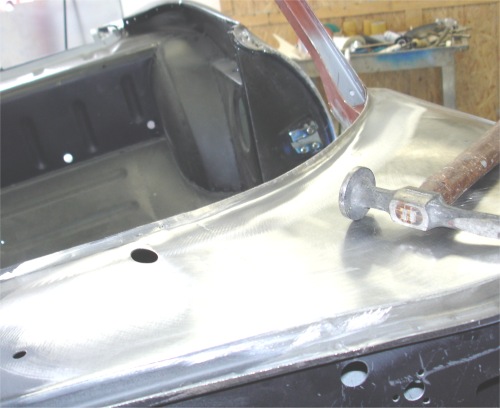
With the sanding and buffing now completed, it is now time to start re-assembling your car.
 |
 |
 |
 |
 |
 |
As you know, we painted your car last Wednesday, just before Thanksgiving, and already have the sanding an buffing process well underway.
 |
 |
 |
 |
 |
 |
|
and the buffing is underway |
||
 |
||
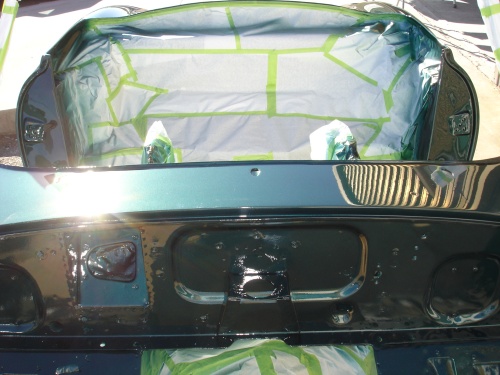
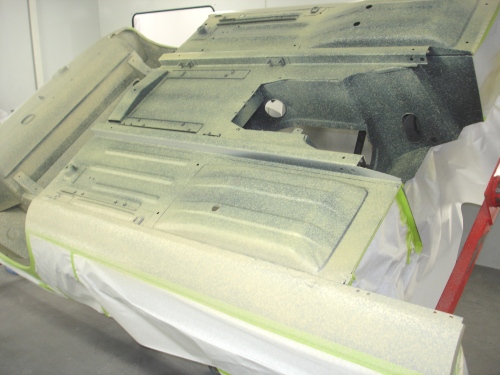
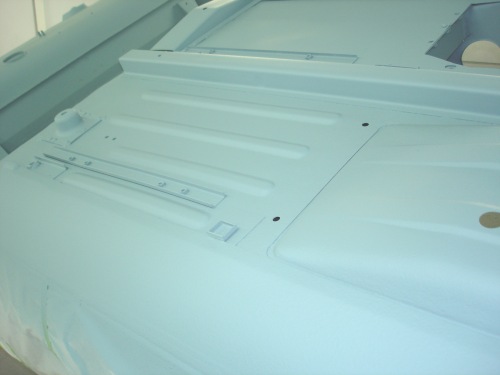
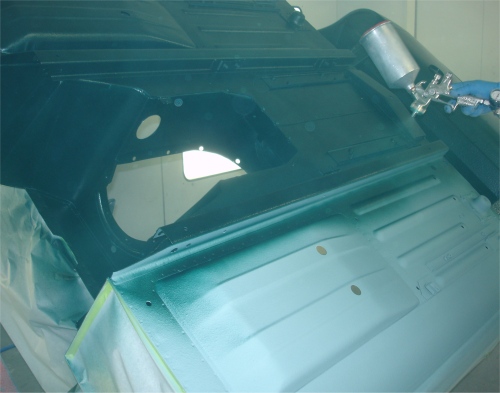
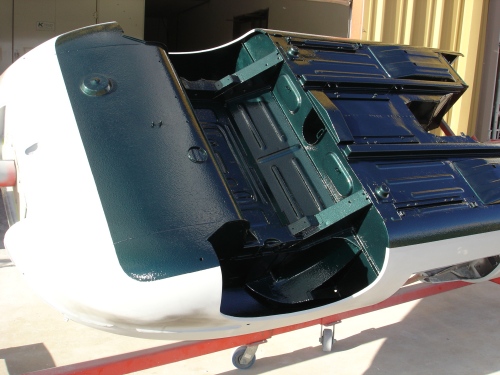
Time for some Opalescent Dark Green! First we painted the insides of the doors and the boot lid, then the underside of the floor pan. The metallic is subtle, but if you look closely at the enlarged photograph of the underside of the boot lid you will get an idea of how the finished car will look.
 |
 |
 |
|
|
|
|
 |
 |
 |
|
|
|
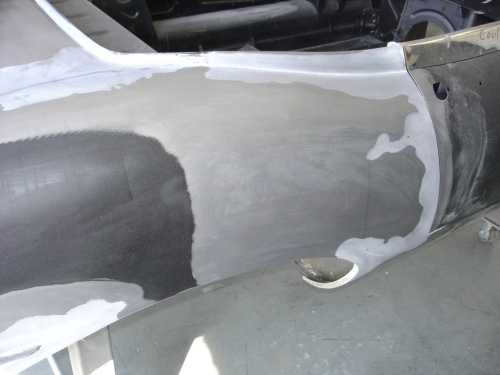
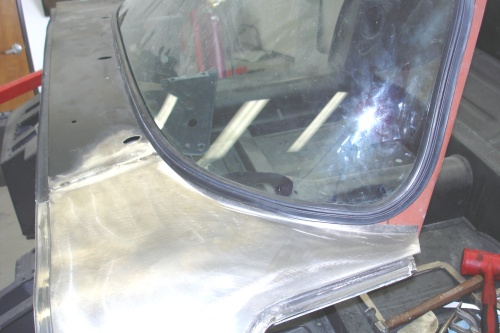
With the main bodywork now completed, the car has received two good coats of Evercoat Slick Sand sprayable primer filler. This will be dry blocked with 120 and 180 grit before the entire car is primed with DP26 sandable primer early next week.
 |
 |
 |
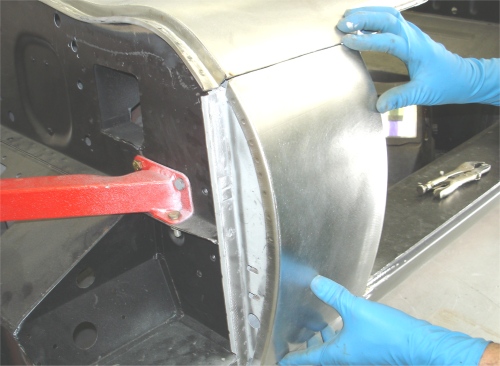
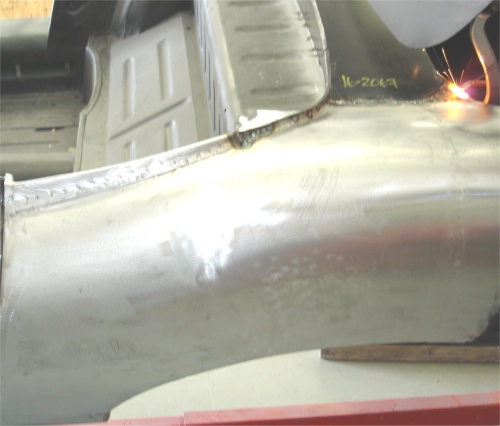
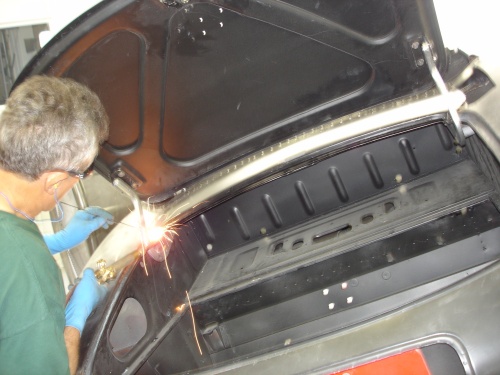
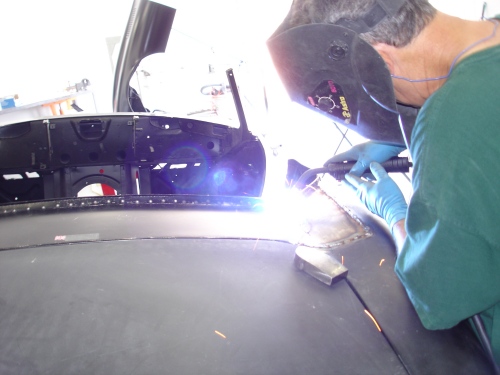
It is now time to put the welders away and to install your new bonnet.
 |
 |
 |
|
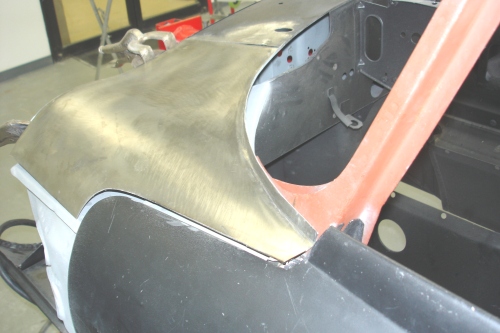
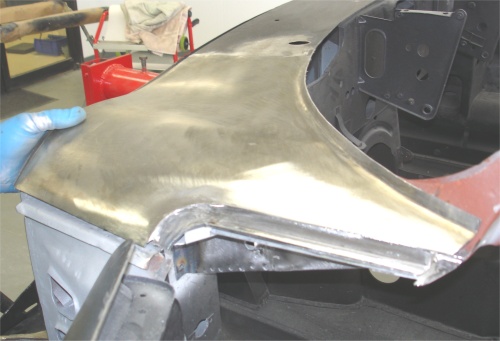
your RH side cowl panel |
|
and welded into place |
 |
 |
 |
|
perfect rear lamp fit |
||
 |
 |
 |
|
to pull a low spot from the bootlid |
||
 |
 |
 |
|
engine frame jig |
||
 |
 |
 |
|
frames |
|
 |
 |
 |
 |
 |
 |
 |
 |
 |
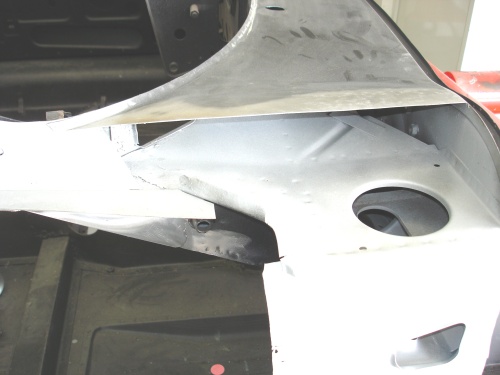
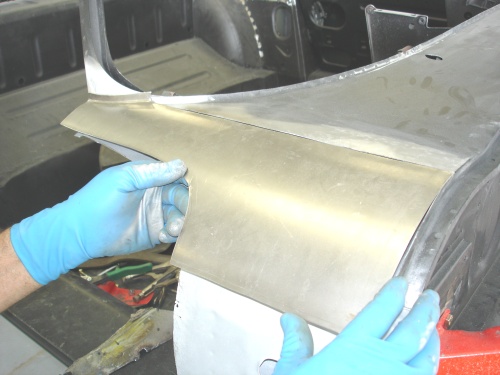
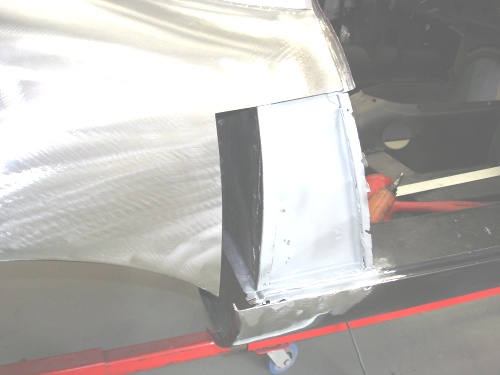
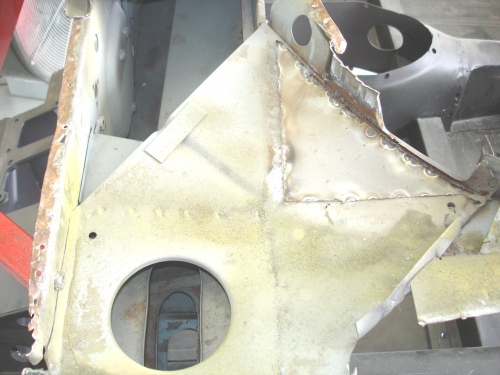
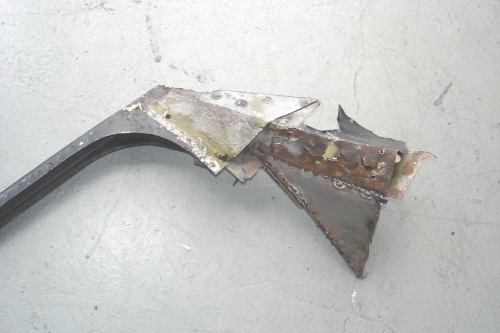
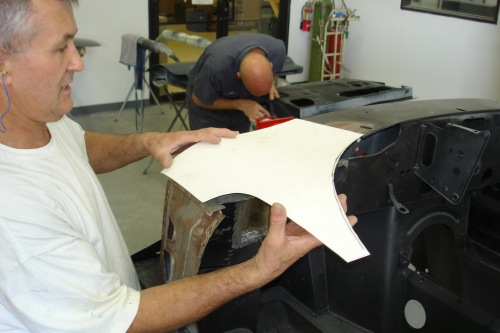
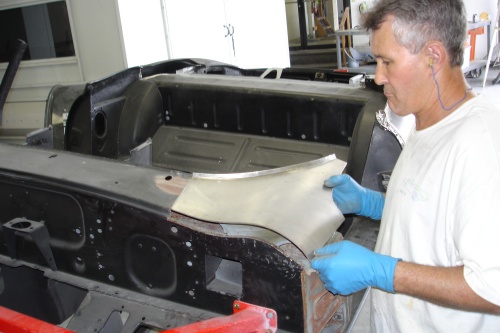
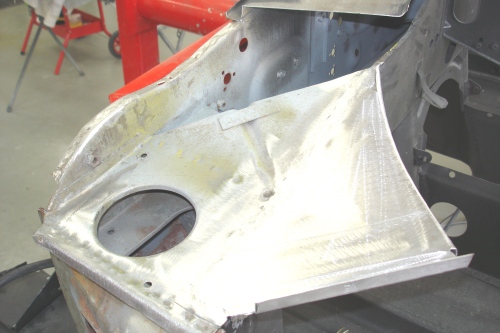
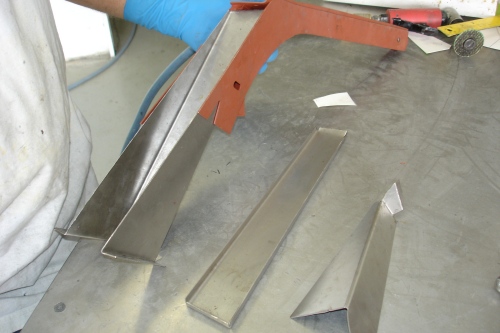
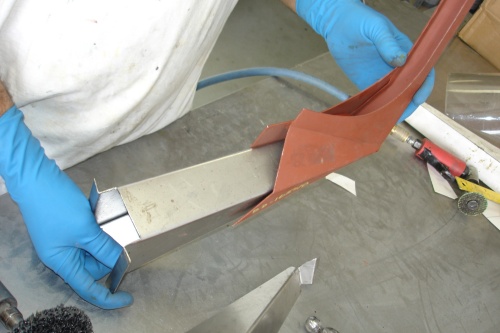
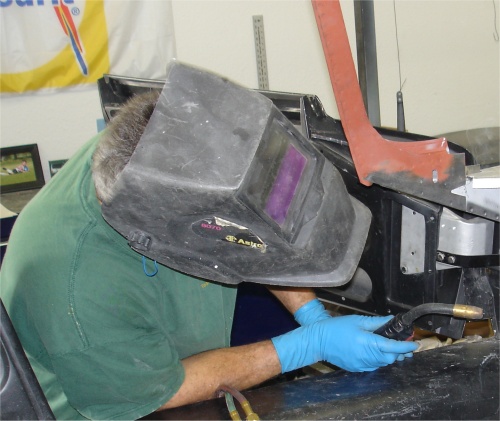
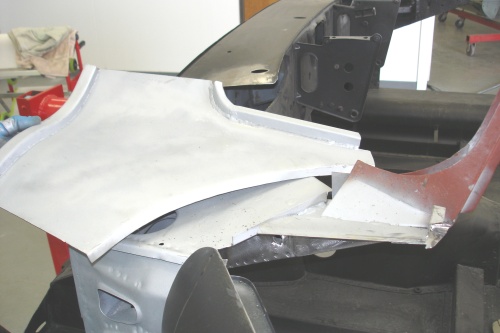
Lawrence has been dealing with the corrosion beneath the LH screen pillar and down into the pillar leg that extends beneath the dash. The following photographs show that area of the car, basically being fabricated piece by piece and going together like a 3D jigsaw!
 |
 |
 |
|
|
|
|
|
|
|
|
 |
 |
 |
|
|
of the panel to be replaced |
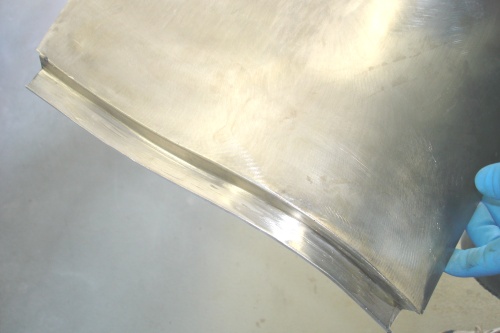
the English wheel |
|
|
|
|
 |
 |
 |
|
|
|
leg |
|
|
|
|
 |
 |
 |
|
|
|
|
|
|
|
|
 |
 |
 |
|
new pillar leg |
|
repair panel |
|
|
|
|
 |
 |
 |
|
|
|
|
|
|
|
|
 |
 |
 |
|
|
|
panel into place |
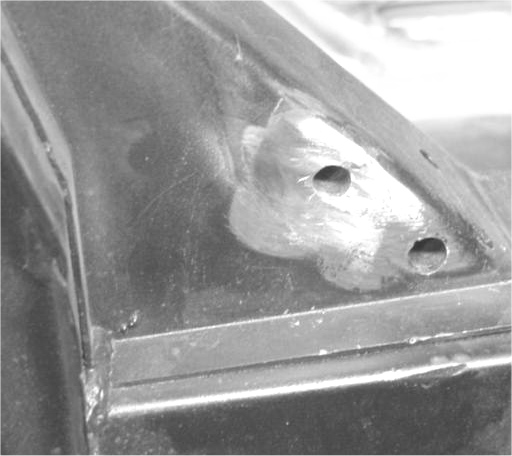
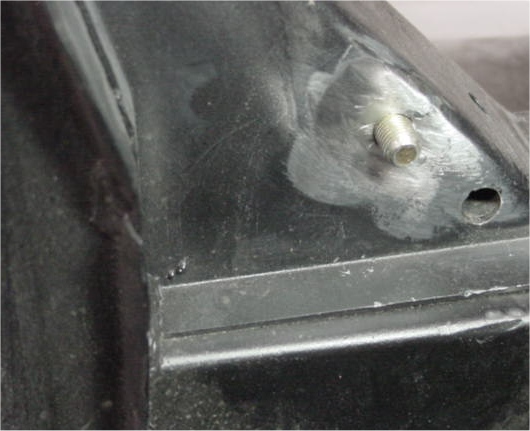
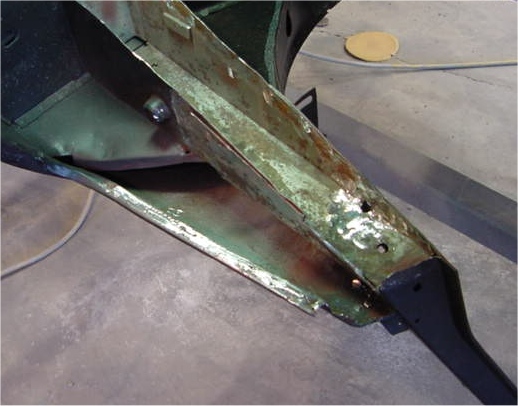
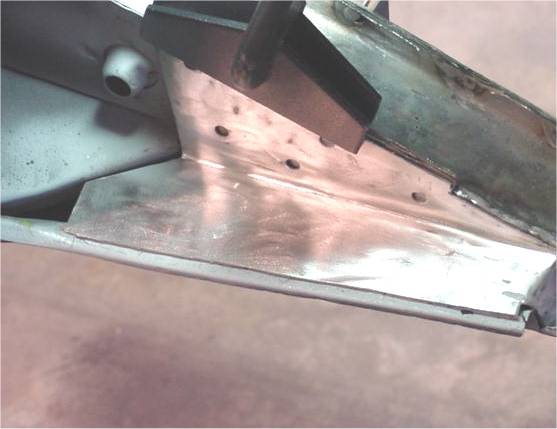
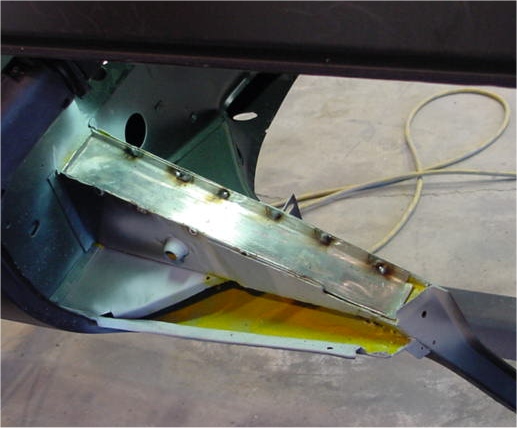
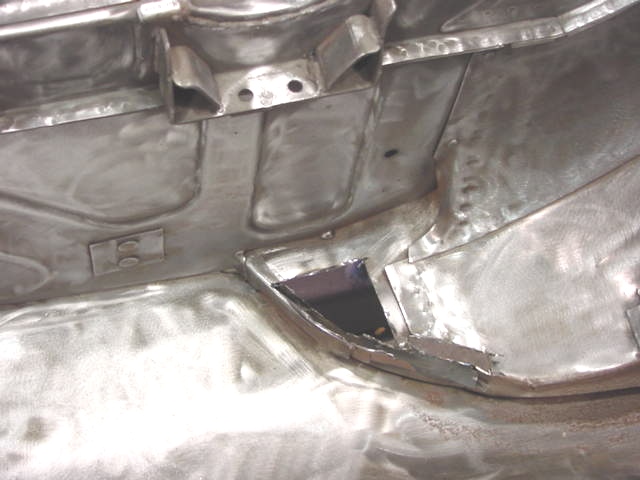
The rear bulkhead repairs to the handbrake access panel have now been completed, the IRS cage mount bolt sleeves have been replaced and we have turned our attention to the rust holes in the forward edge of the boot lid aperture.
 |
 |
 |
|
now completed |
also now been replaced |
|
 |
 |
 |
|
|
the forward edge of the boot opening |
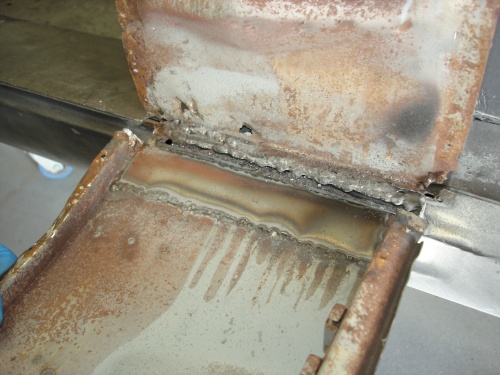
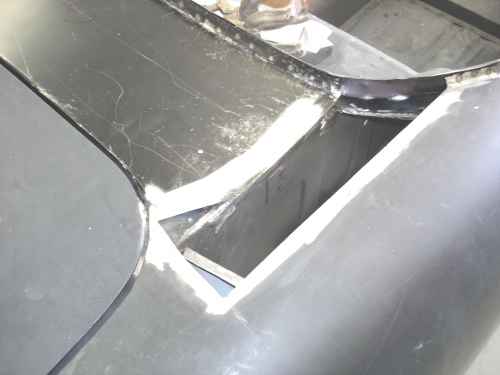
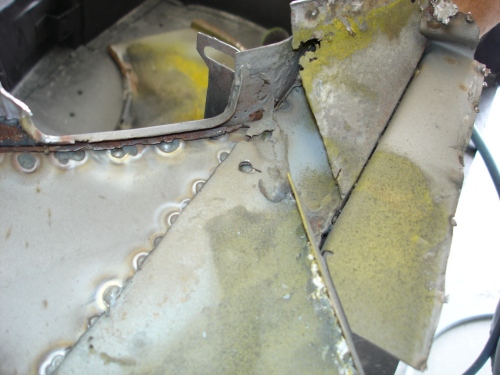
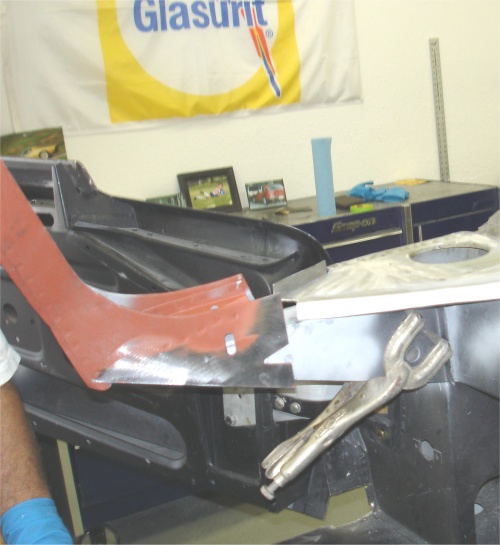
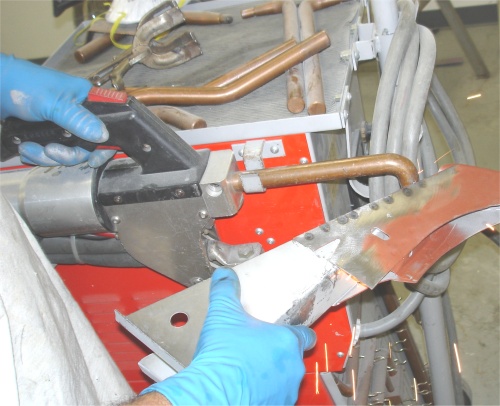
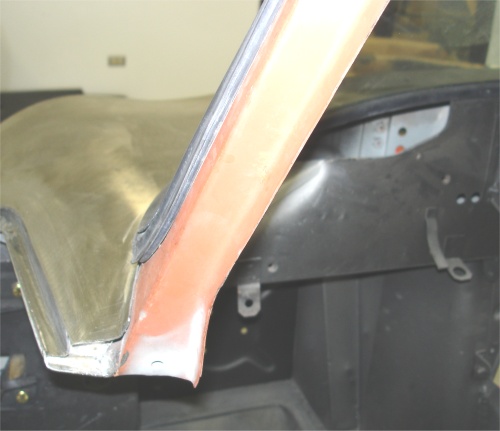
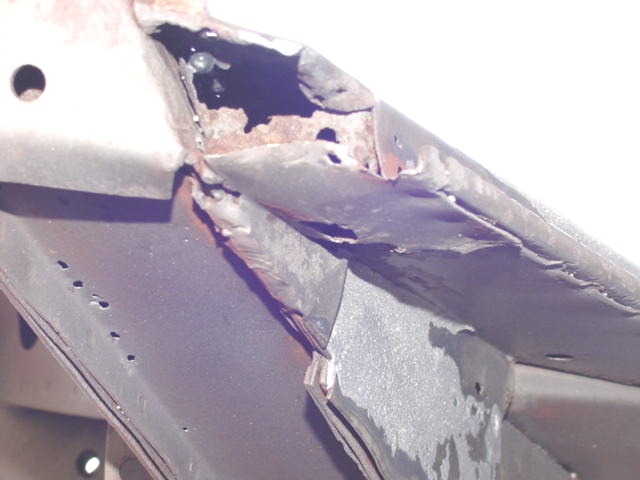
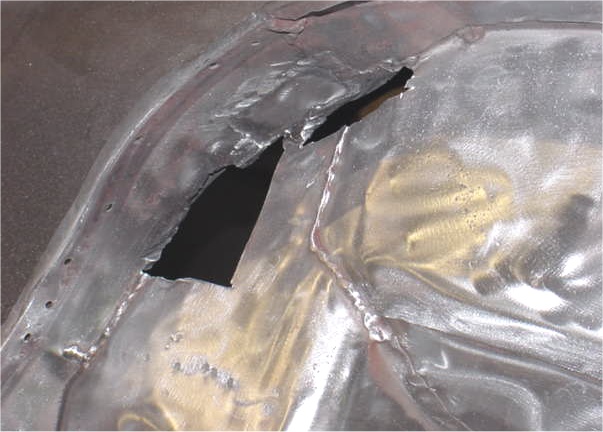
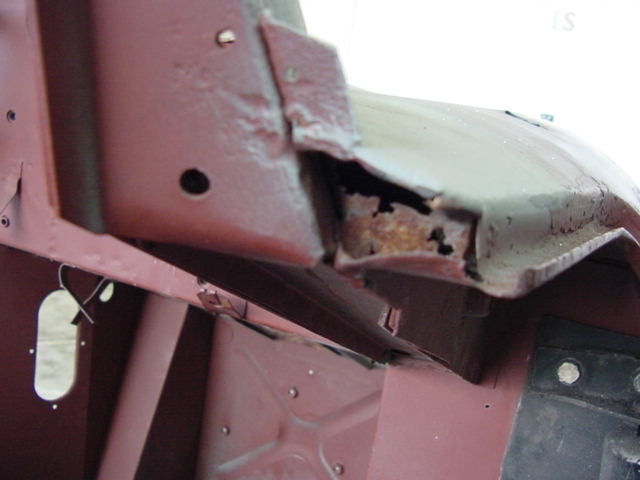
It is now time to address the rust under your RH A post and screen pillar. Once we have cut away all the corroded metal, we will treat all the exposed surfaces with Wurth Body Wax before fabricating replacement panels and welding them into place.
 |
 |
 |
|
|
|
|
 |
 |
 |
|
|
replacement panels required |
|
 |
 |
 |
|
|
|
|
 |
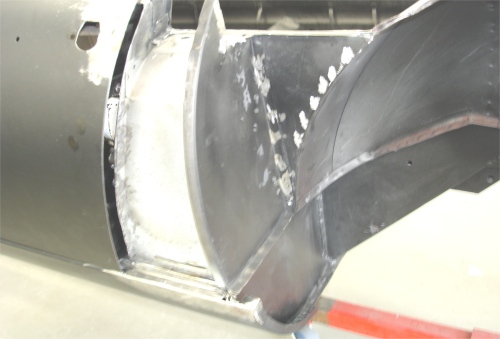
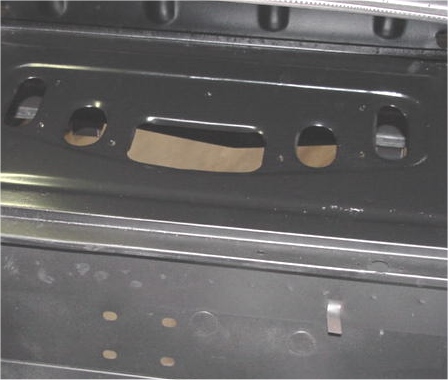
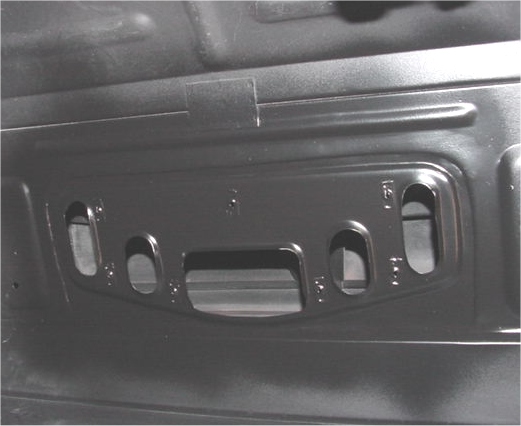
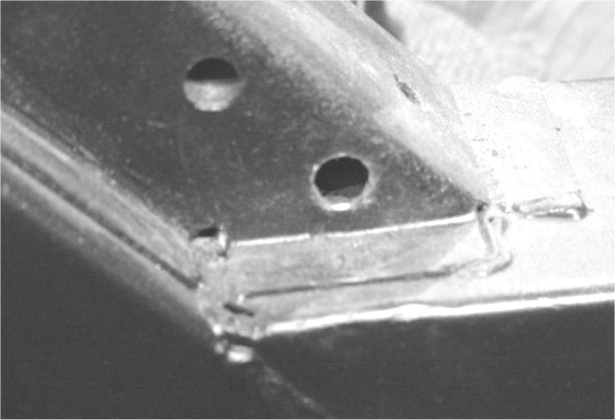
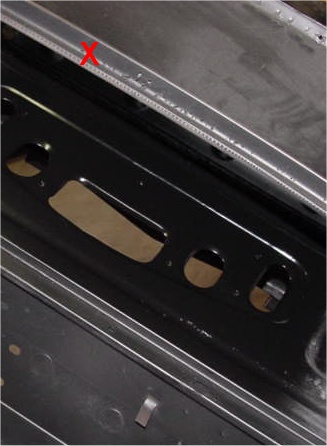
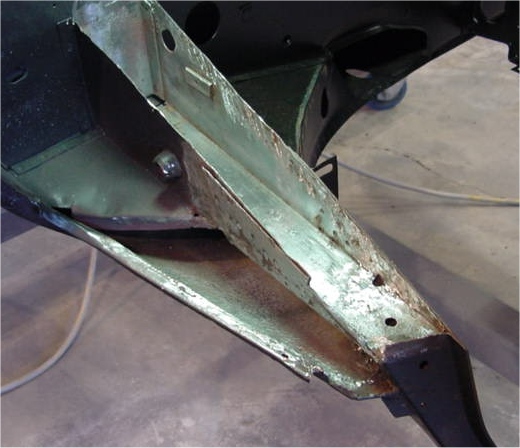
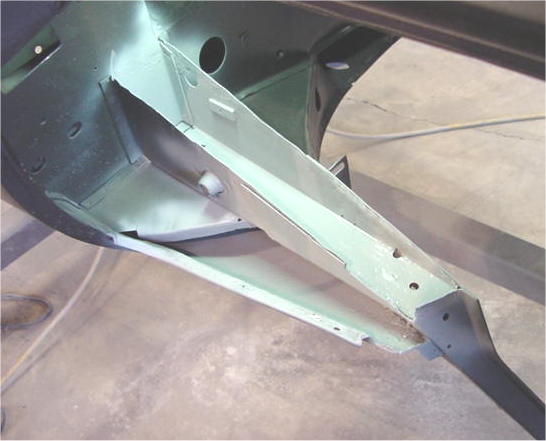
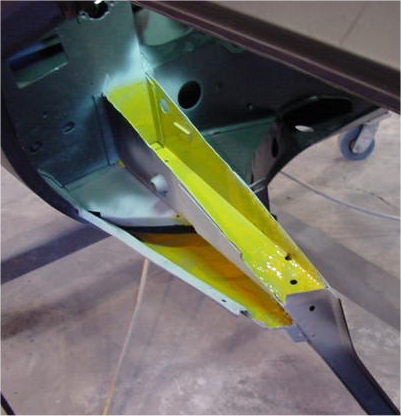
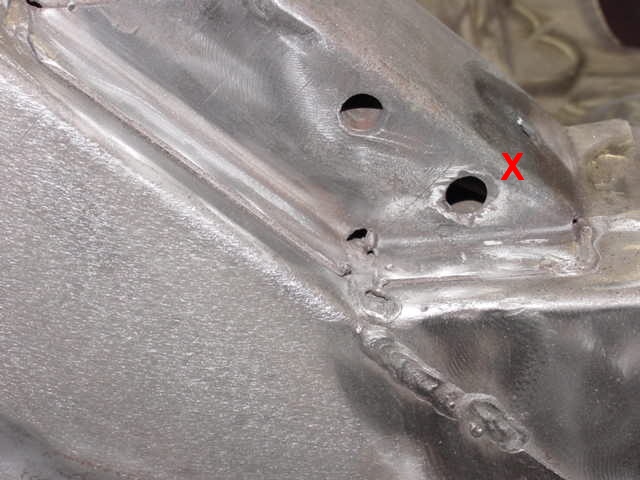
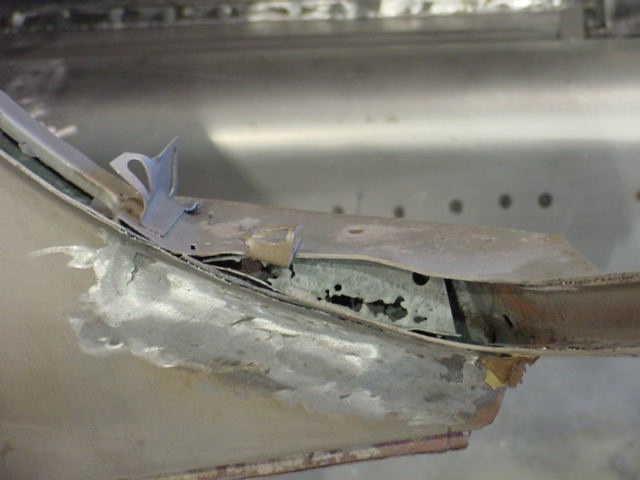
The following photographs show a few areas that will need some further sheet metal replacement, although nothing particularly serious. A couple of the internal sleeves are missing at the IRS mounting points. These will have to be attended to as this is obviously a structural concern.
 |
 |
 |
|
be cut away |
structural sleeves (x) |
of the car (y) |
|
|
|
|
 |
 |
 |
|
|
wheel arch |
|
|
|
|
|
 |
 |
|
|
repairs that are needed |
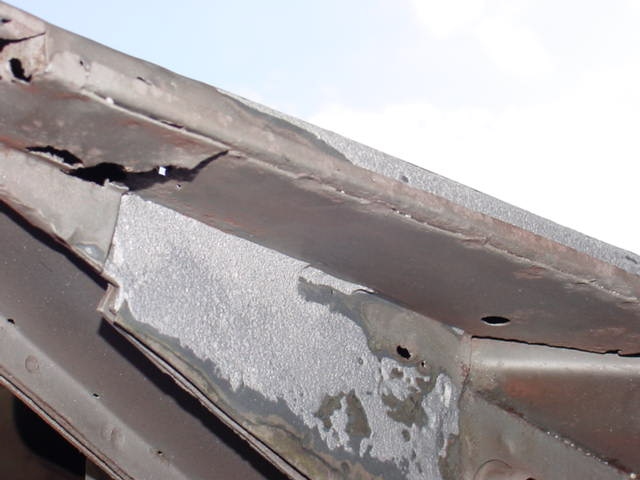
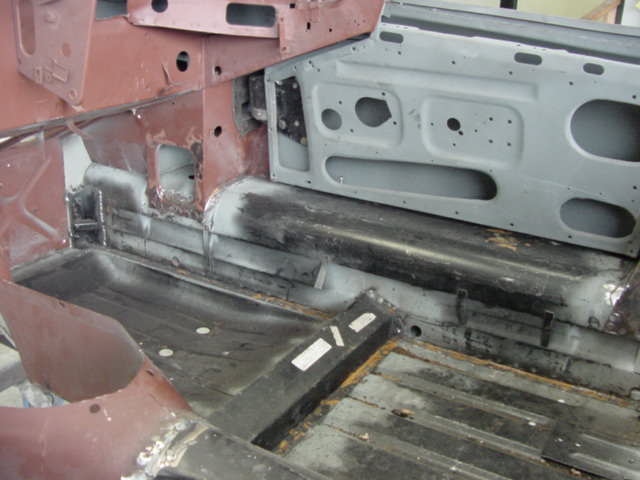
No too many nasty surprises after plastic media blasting, although obviously both doors have some problems and the corrosion underneath the A posts has actually spread beneath the screen. We have acid treated all of the welds and joints and will be sealing the entire body in DP90 on Monday.
 |
 |
 |
 |
 |
 |
 |
|
 |
 |
 |
|
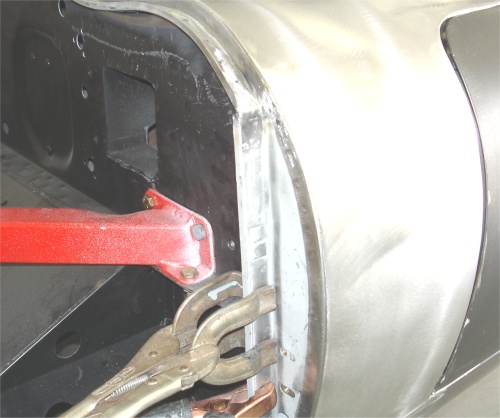
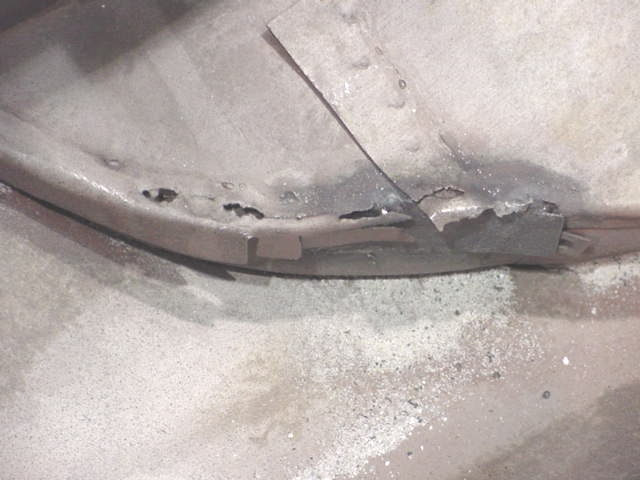
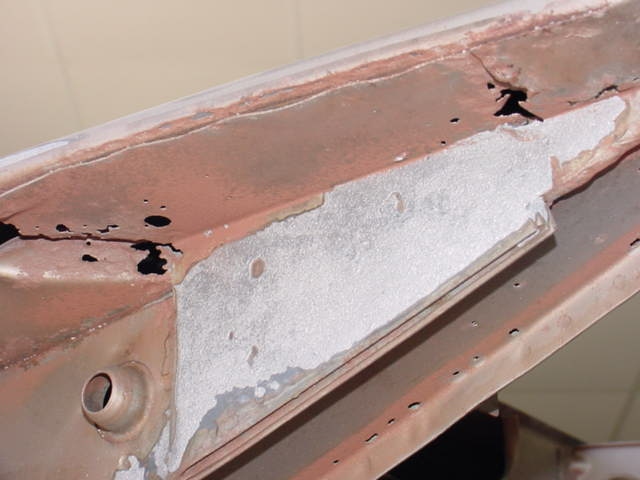
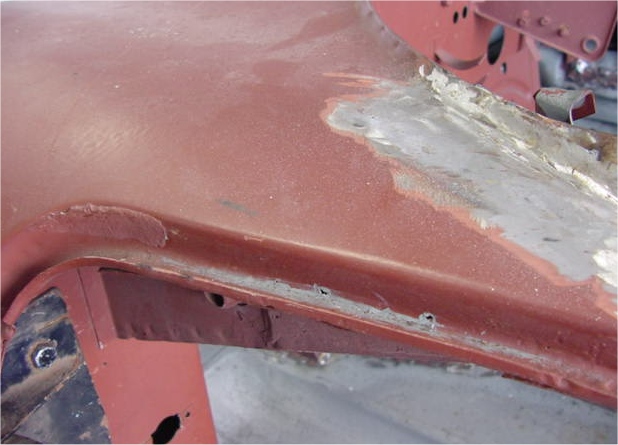
This E Type has had a lot of panel replacement done prior to arriving at CJ. Some of it is fine, although certain areas will undoubtedly require a little more care and attention. At this stage we are concerned about the corrosion up beneath the A posts and under the cowl. Once we have the shell back from plastic media blasting in few days, we will obviously know more.
 |
 |
 |
|
seal channel.... |
|
on both sides of car are bad |
|
|
|
|
 |
 |
 |
|
|
|
car has been media blasted |
|
|
|
|
 |
 |
 |
|
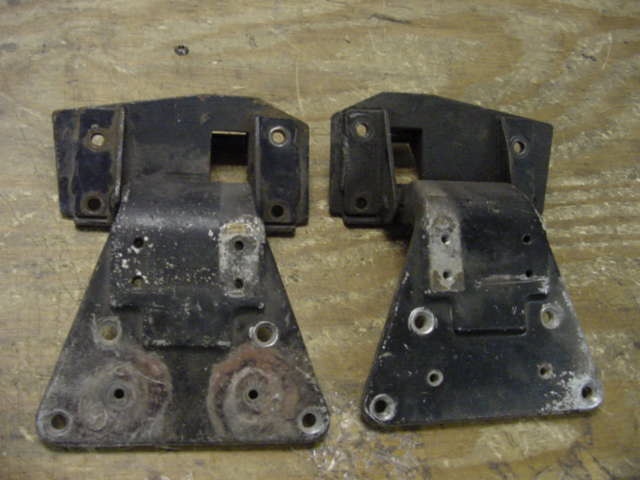
both hinge posts |
||
|
|
|
|
 |
 |
|
|
|
|
|
