Click anywhere on image to close window
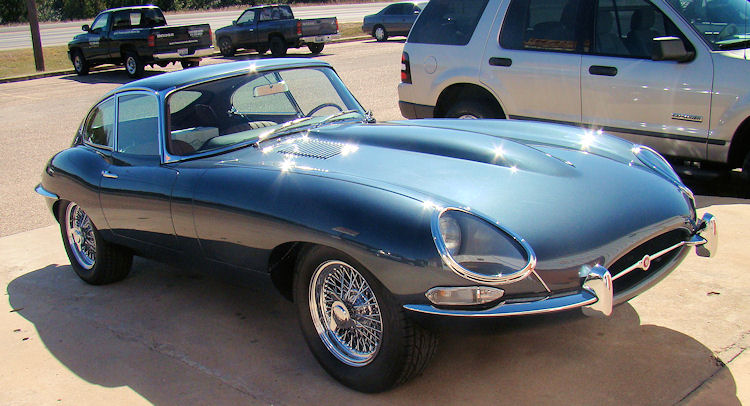
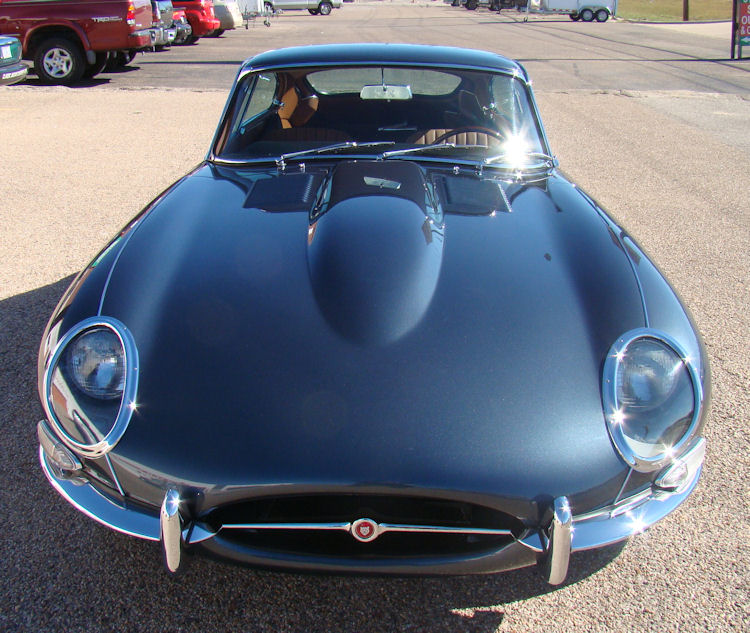
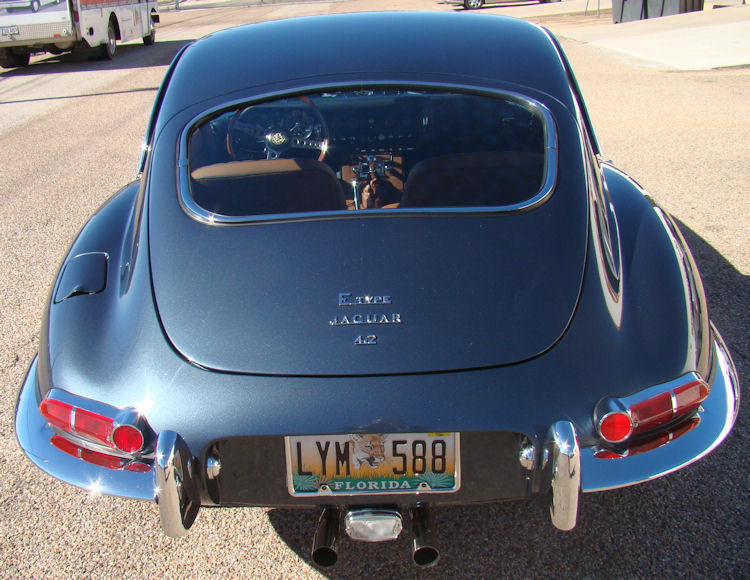
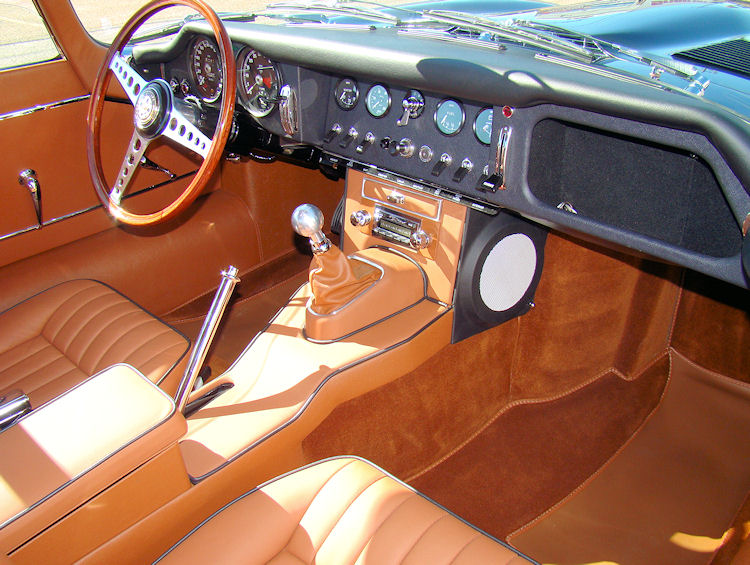
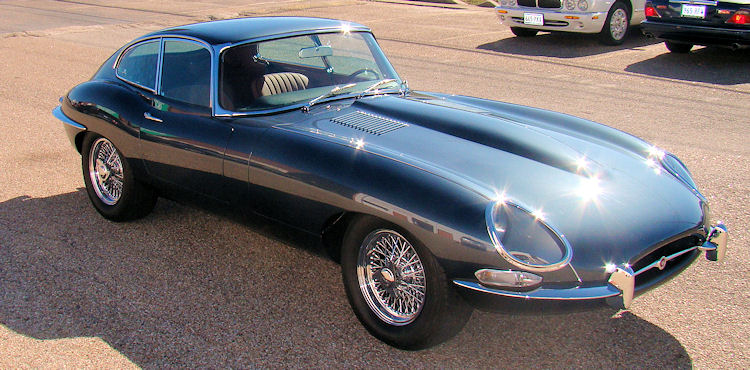
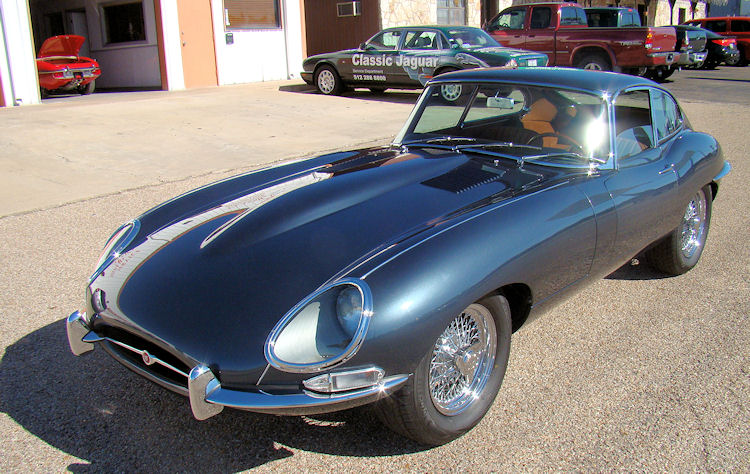
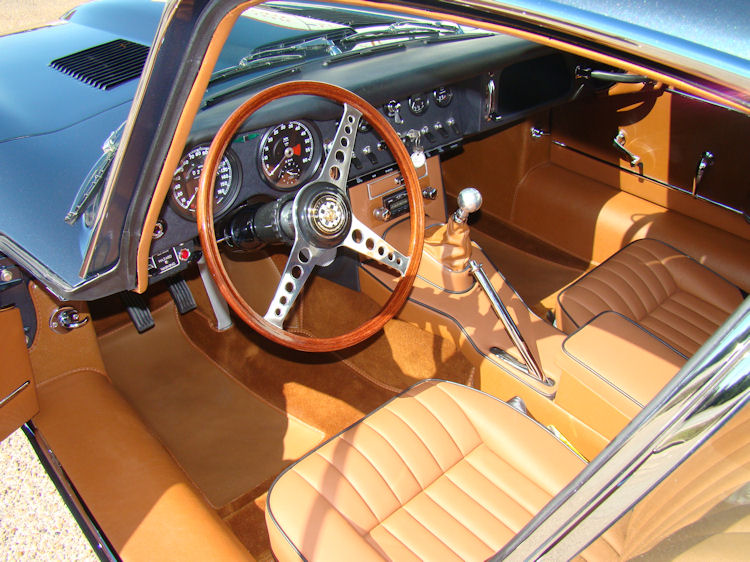
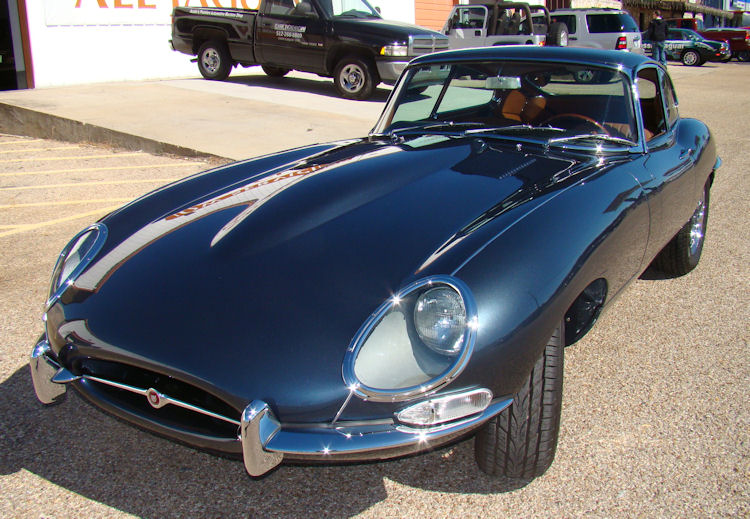
| 1966
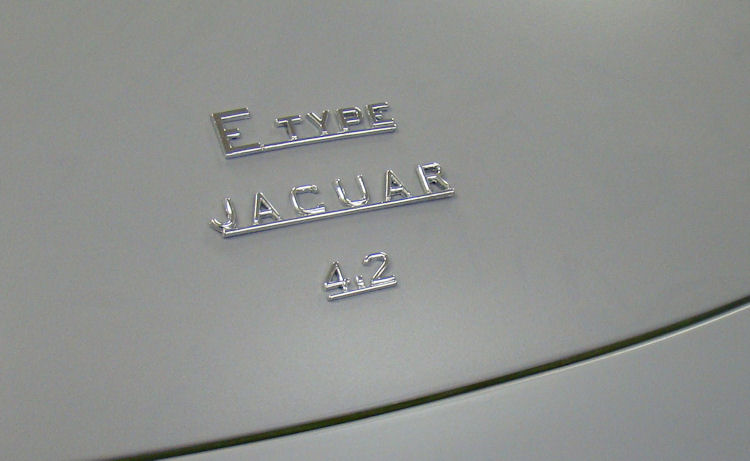
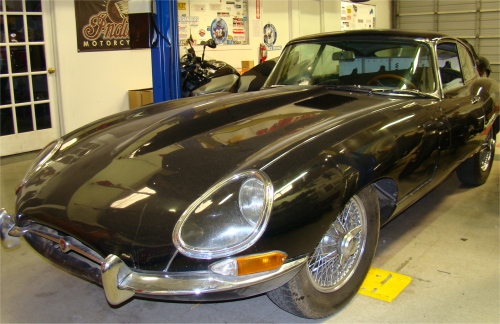
E Type FHC (JA)
Team CJ restoration |
|
April 19, 2012
I was saddened earlier today to hear that my long time friend and customer, Joe Arretteig, had lost his courageous battle with cancer. Joe had been a big CJ supporter for many years, and I always appreciated his enthusiastic input on all matters. The layout of this very website is partly a result of suggestions that Joe made to me when I first started feeling my way around cyberspace, way back when.Rest in peace, Joe.
Dan,
We lost Joe on Monday. I thought you would like to know.
You already know how much he loved the Jaguar. We took him and the car to the �Hands Across the Pond� car show two weeks ago and he won 1st place in his class. He was very proud of his car.
He valued your friendship a great deal.
Thanks for everything,
Christine Arretteig"Be kinder than necessary, for everyone you meet is fighting some kind of battle"
Obituary
U. J. �Joe� Arretteig III, M.D., age 69 of Jupiter, FL passed away on April 16th 2012 after a courageous 2 year battle with cancer.
Joe was the son of Lilly May and U. J. Arretteig Jr. and was born in Church Point, LA. He grew up in and around Lafayette, LA. He received his medical degree from Louisiana State University. Joe was a Captain in the US Navy and was stationed at Norfolk Naval Hospital, Bethesda Naval Hospital, and Pensacola Naval Hospital. After he retired, he was in the reserves at Naval Reserve Center in West Palm Beach, FL
A loving husband and father he is survived by his beloved wife of 36 years, Christine Arretteig; his daughters Amy Michelle Angelo and Elizabeth Renée Setzer; and his grandchildren, Jordan and Grace Angelo.
Joe was an excellent cook, which his neighbors, friends and family can attest to. He was an experienced wood worker, having built many pieces of furniture for the Arretteig home. He was an avid sailor, having been instrumental in the founding of a yacht club in Slidell, LA, where he participated in races and cooked for many of the yacht club events. He was also an avid reader and loved to fish. His passion and knowledge of exotic yesteryear automobiles was amazing and always provoked great conversations.
A memorial service will be held at the Coast Guard Station at the Jupiter Lighthouse from 5:30 till 7:00 on Monday the 23rd of April. In lieu of flowers donations in his memory may be made to: Hospice of Palm Beach County Foundation.
June 2011
Congratulations to Joe Arretteig for his class win at the recent "Wheels Across the Pond" concours held in Jupiter, Florida. This amazing event boasted an entry list of more than 200 classic cars!

Update report - October 29, 2010
I am pleased to report that your car was picked up earlier today and is headed towards Florida. Best wishes from all at CJ for a speedy recovery.

 |
 |
 |
 |
 |
 |
 |
 |
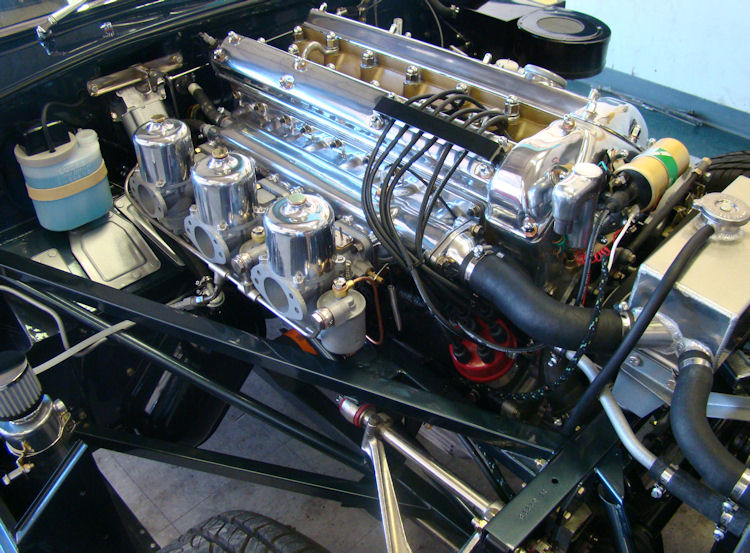
We have been busy breaking in the engine on the dyno and I am pleased to report that she is running beautifully. The following dyno run is at a very conservative (safe) state of tune, so once we are finished dialing everything in, I expect to see close to 300 HP. Even as it stands, we are already seeing 228 HP and 265 ft/lbs of torque at the back wheels, which equates to around 285 HP at the flywheel.Click on the photograph to see a video of the dyno pull. As it is such a large file, you may have to let the video run all the way through before you can watch it without interruption to the quality of the sound or video. Also the mic on my camera doesn't do a very good job with the audio, so the clip does not do justice to the sound your car is really making


 |
 |
|
|
|
 |
 |
|
|
|
|
|
|
 |
 |
|
|
|
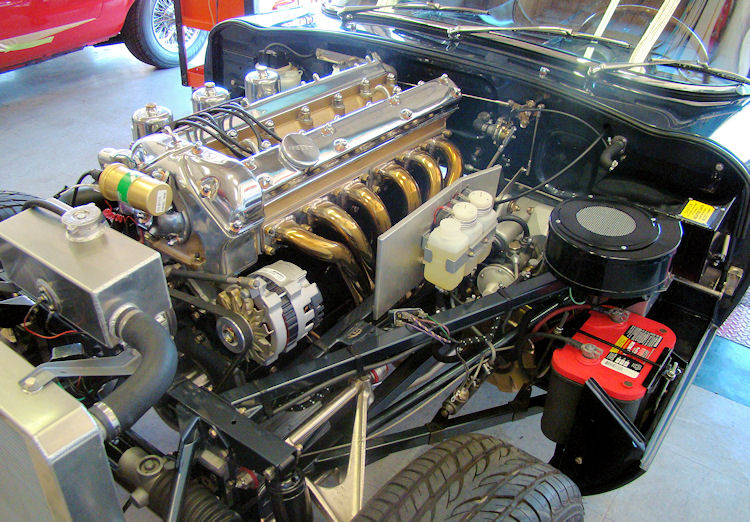
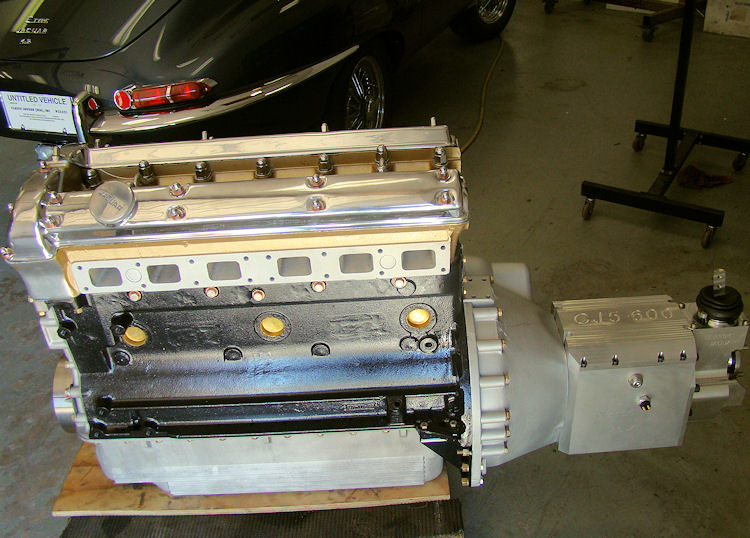
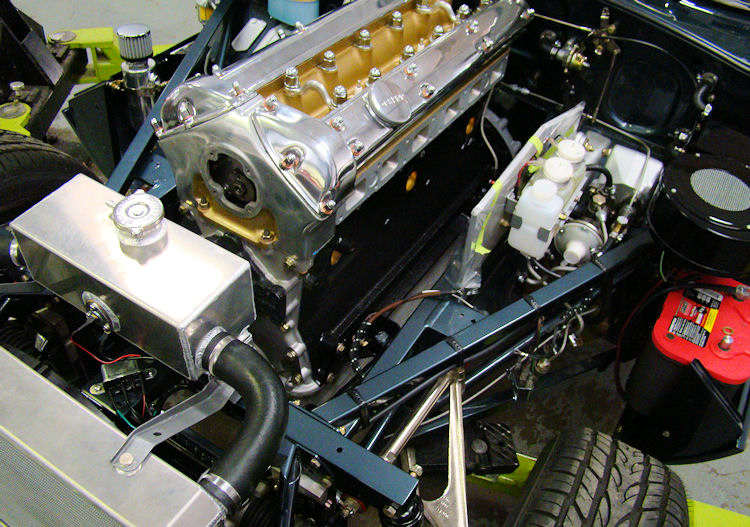
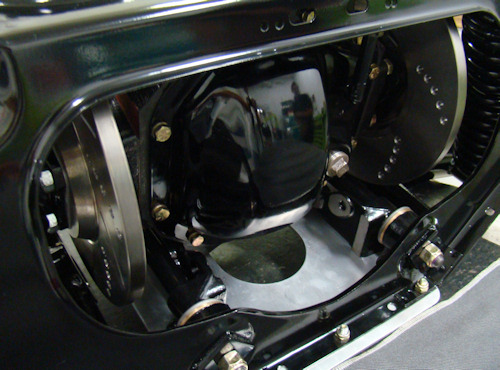
Engine and transmission now installed...
 |
 |
|
|
|
|
|
|
 |
 |
|
|
|
|
|
|
 |
 |
|
|
|
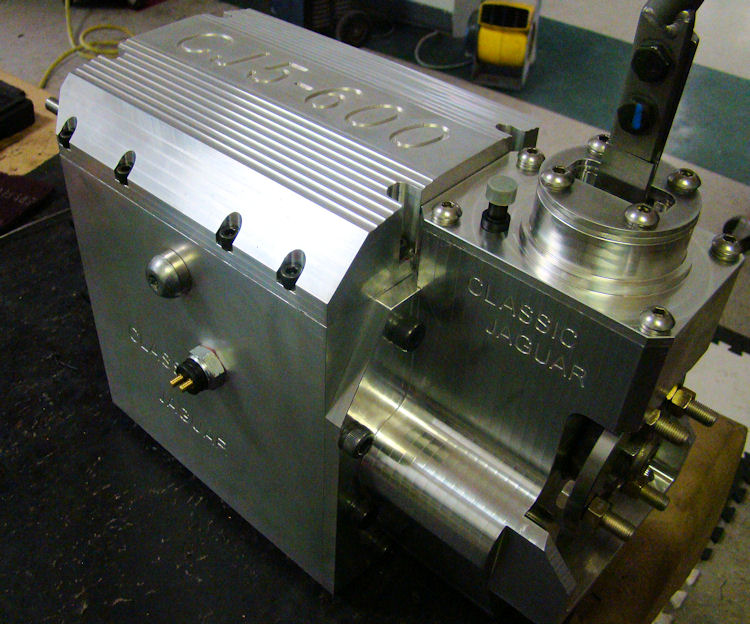
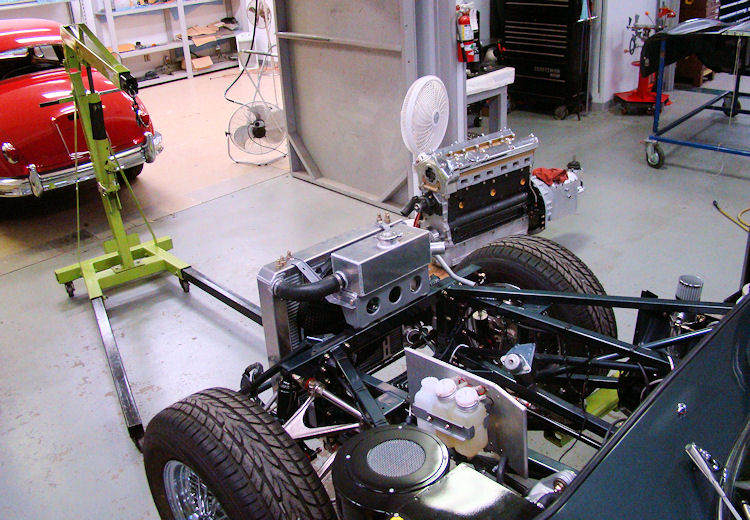
Over the next couple of days we will be installing and firing the engine and breaking everything in on the chassis Dyno. I hope to be road testing the car in about a week...
 |
 |
|
|
|
|
|
|
 |
 |
|
|
|
|
|
|
 |
 |
|
|
|
|
|
|
 |
 |
|
|
|
|
|
|
 |
 |
|
|
|
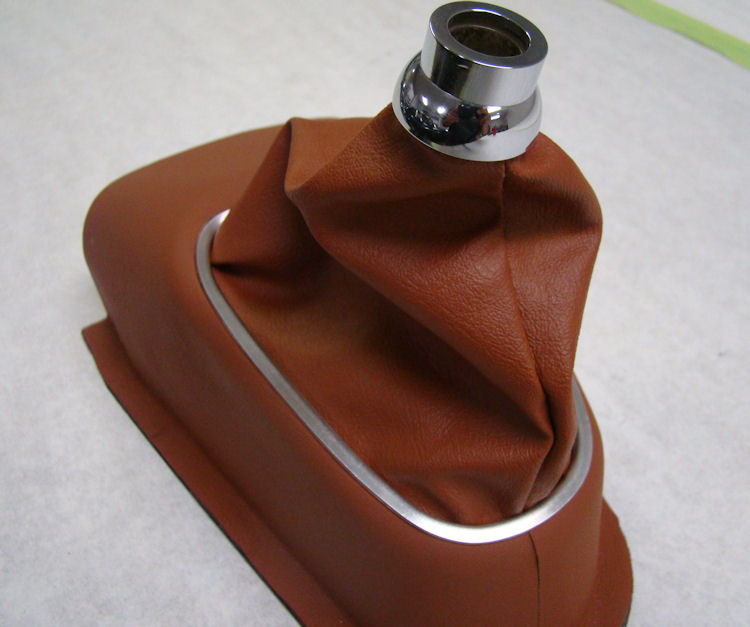
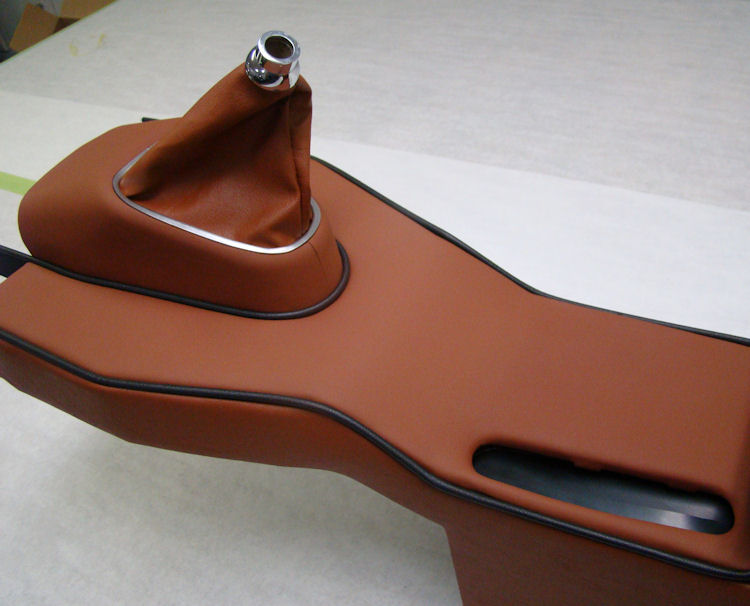
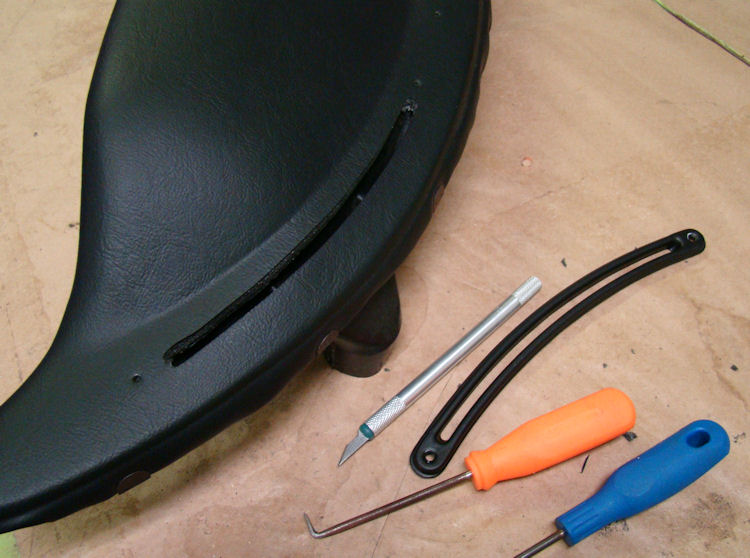
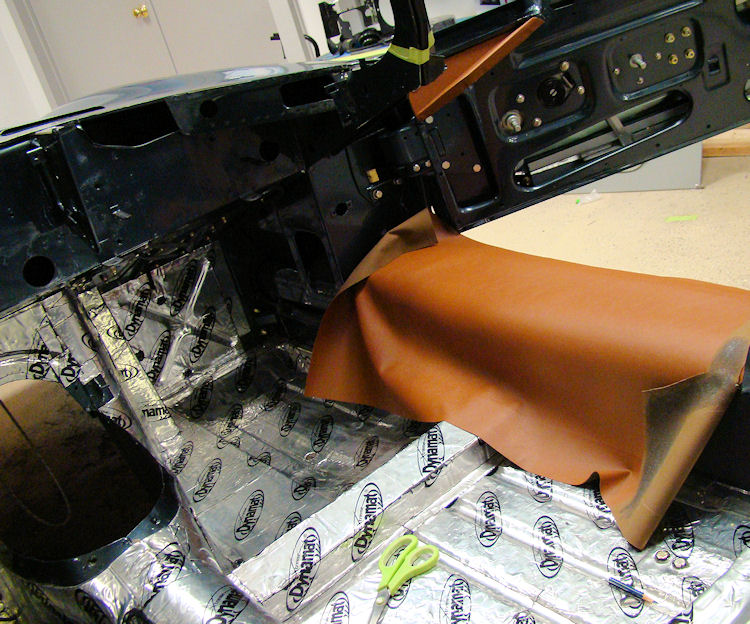
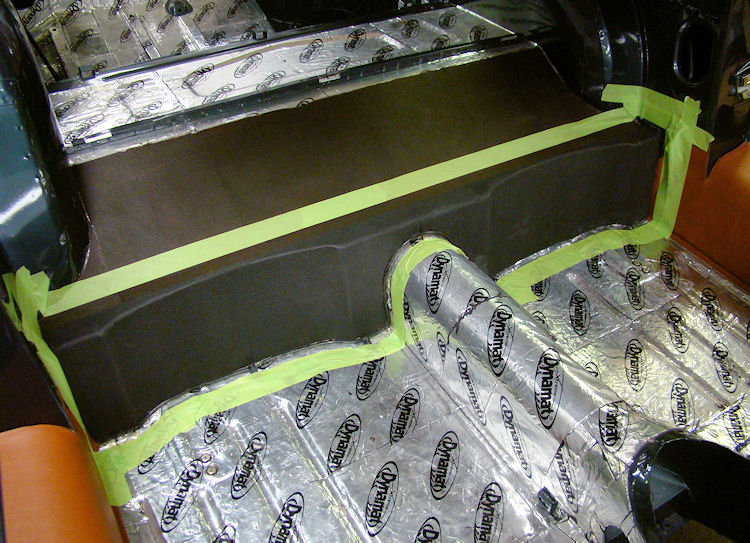
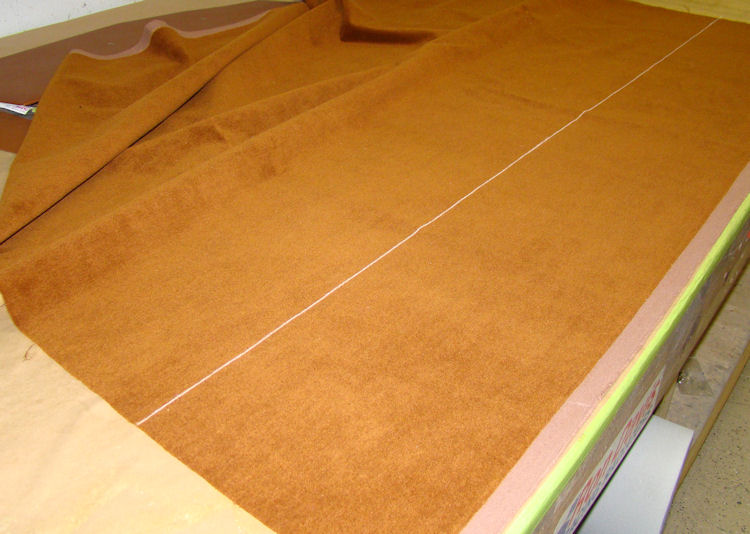
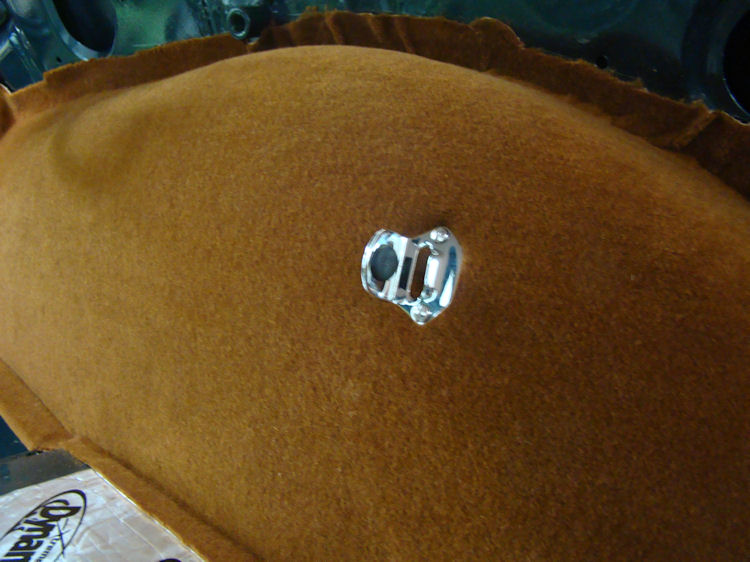
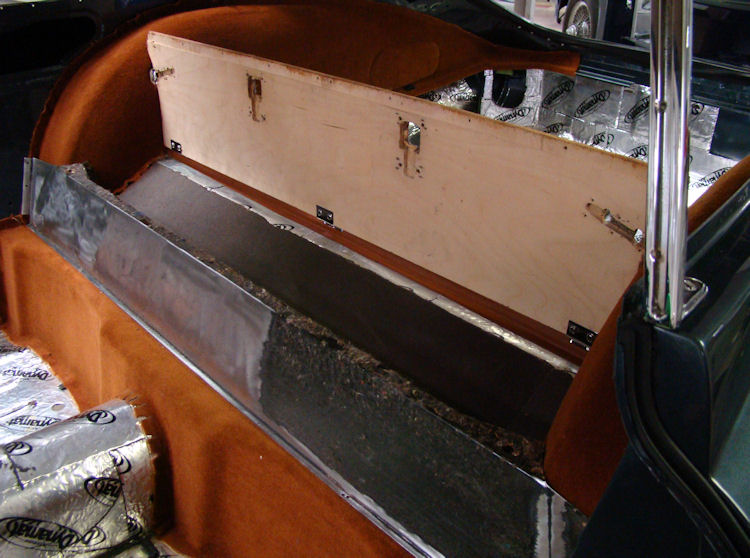
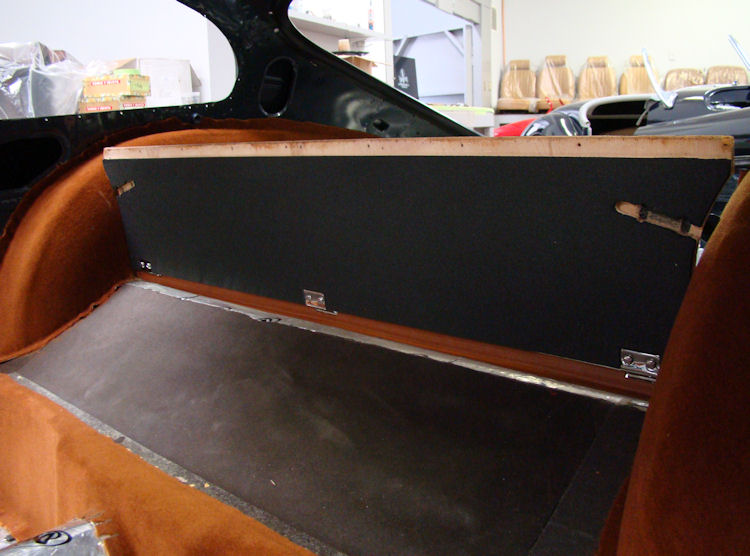
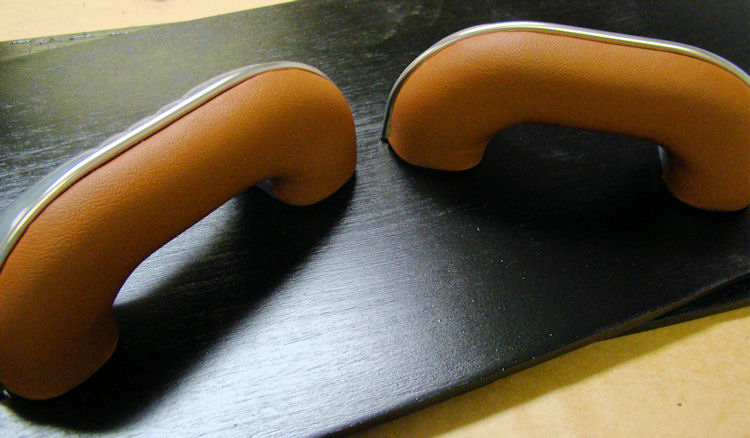
Restoring and trimming the center console.
 |
 |
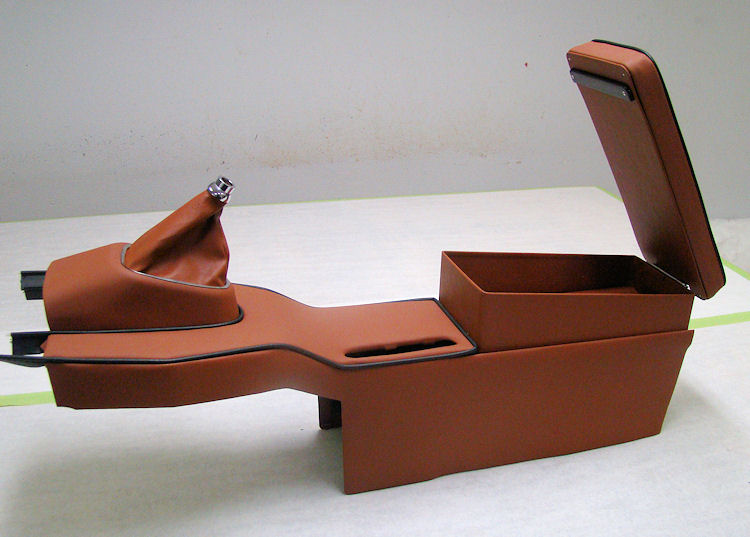 |
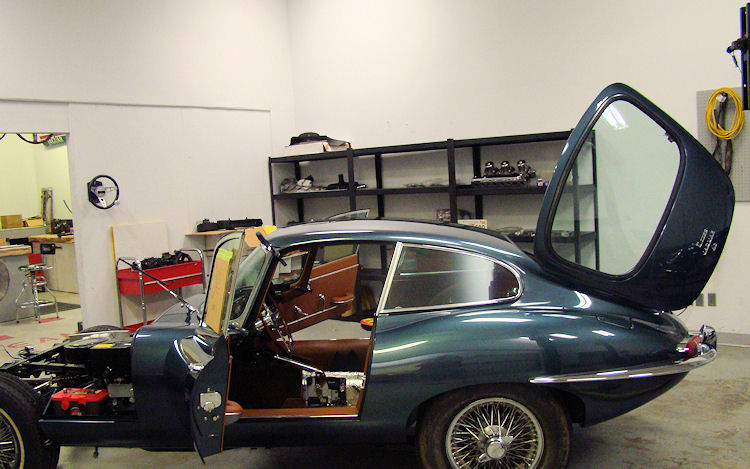
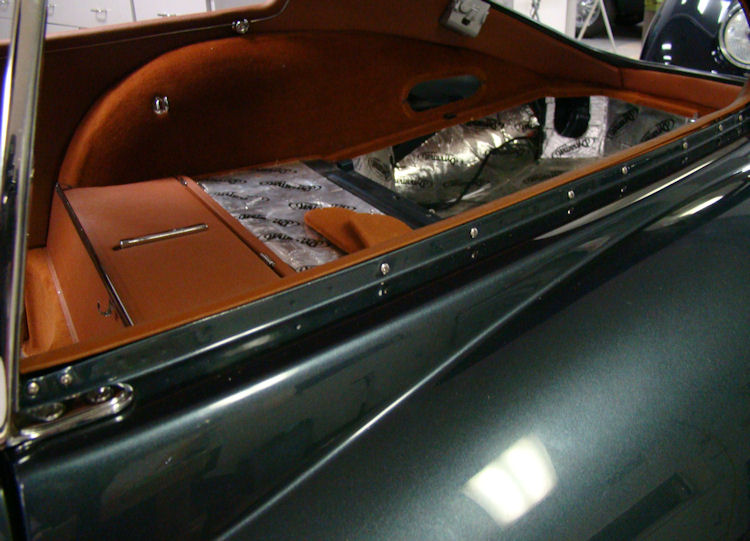
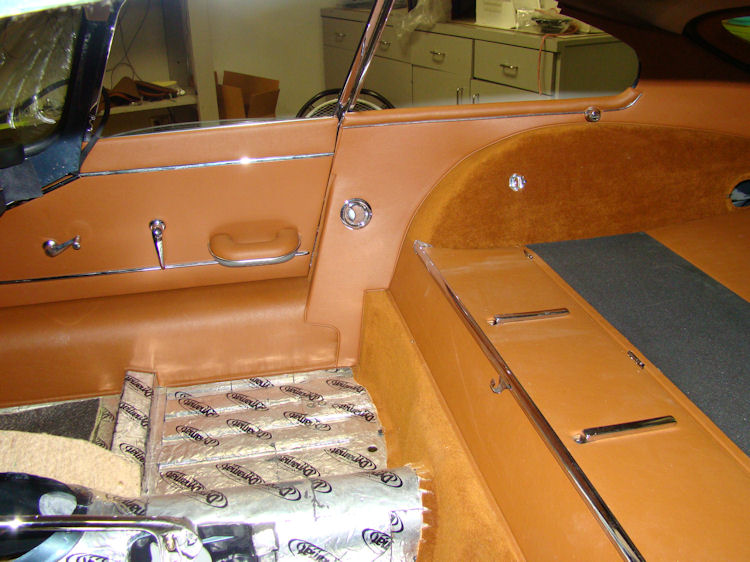
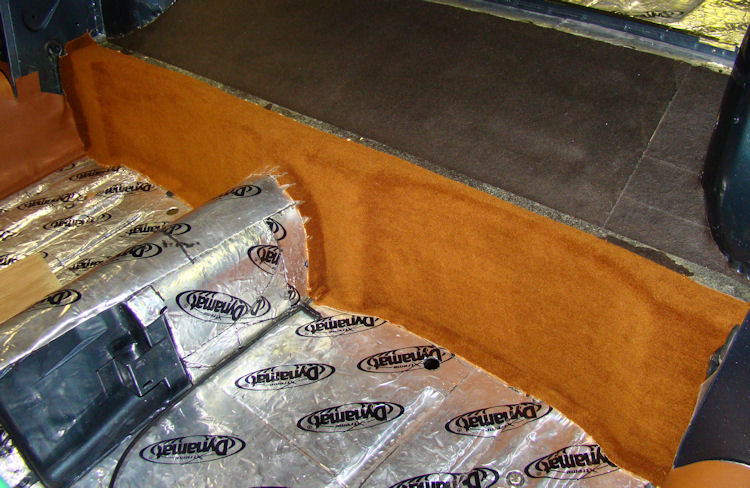
Carlos has been busy and has made lots of progress with your interior installation.
 |
 |
|
|
|
|
|
|
 |
 |
|
|
|
|
|
|
 |
 |
|
|
|
|
|
|
 |
 |
|
|
|
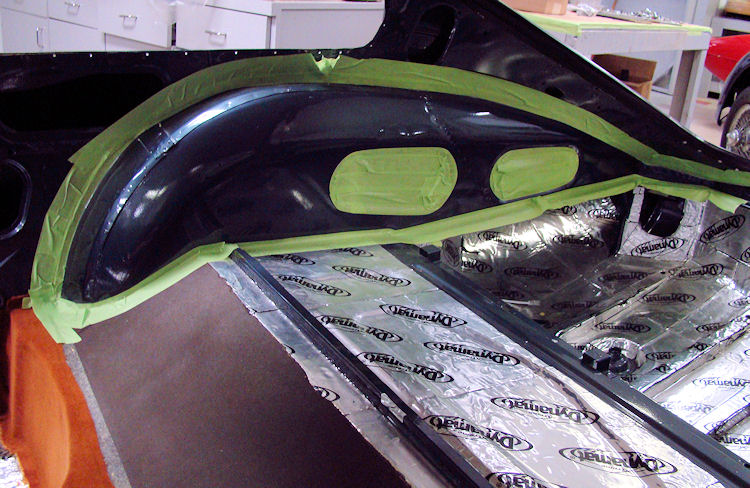
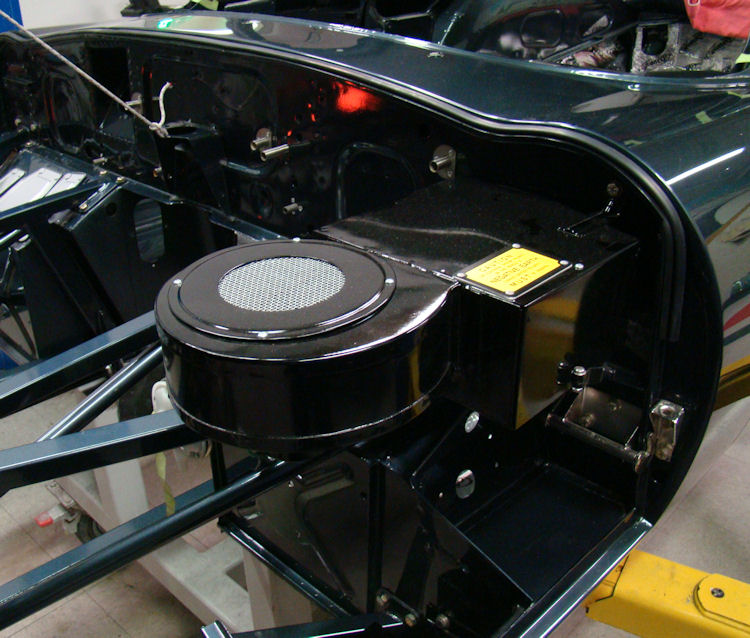
Installing chrome trim, restoring dash top...
 |
 |
|
|
|
|
|
|
 |
 |
|
|
|
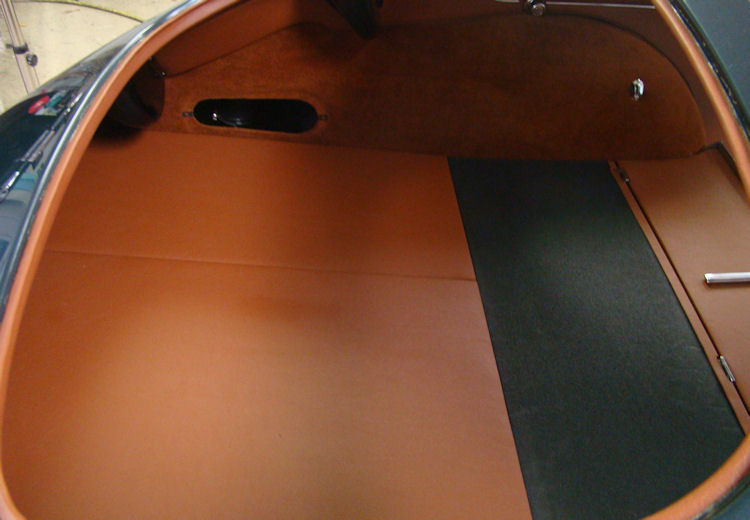
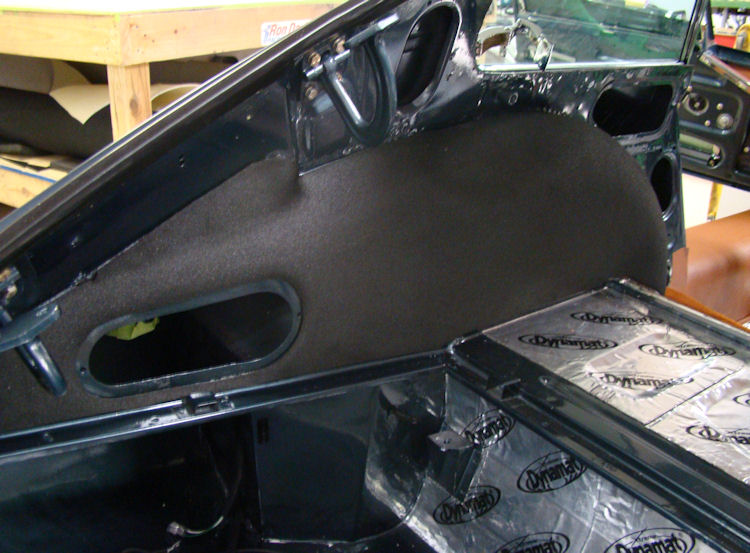
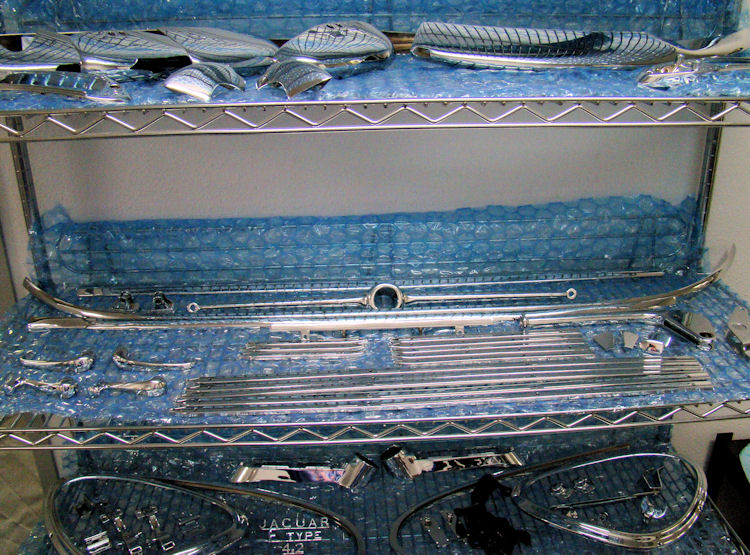
Lots of progress in the CJ trim room...
 |
 |
 |
|
|
|
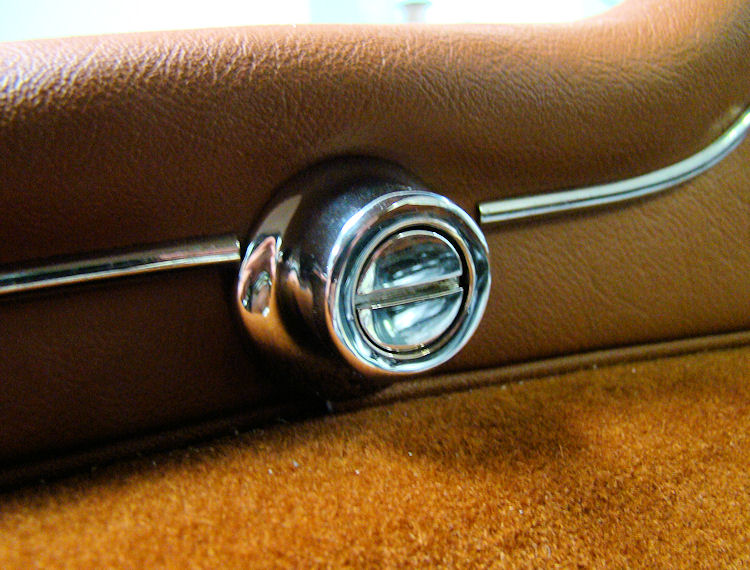
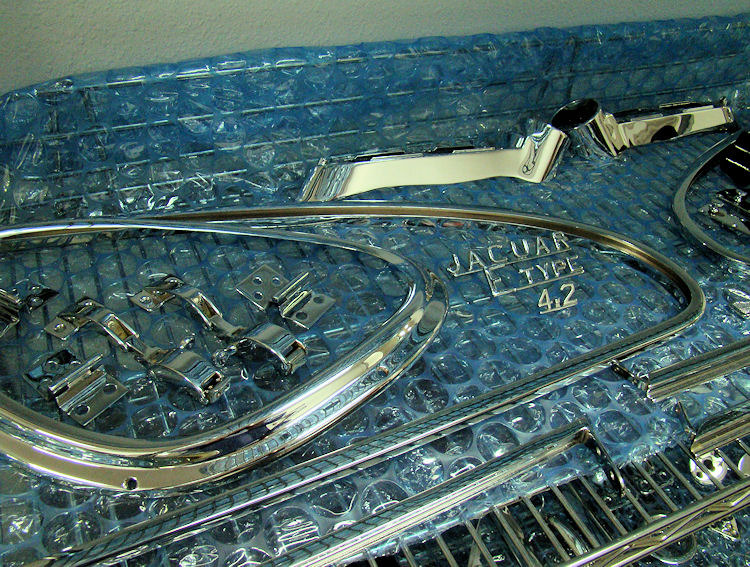
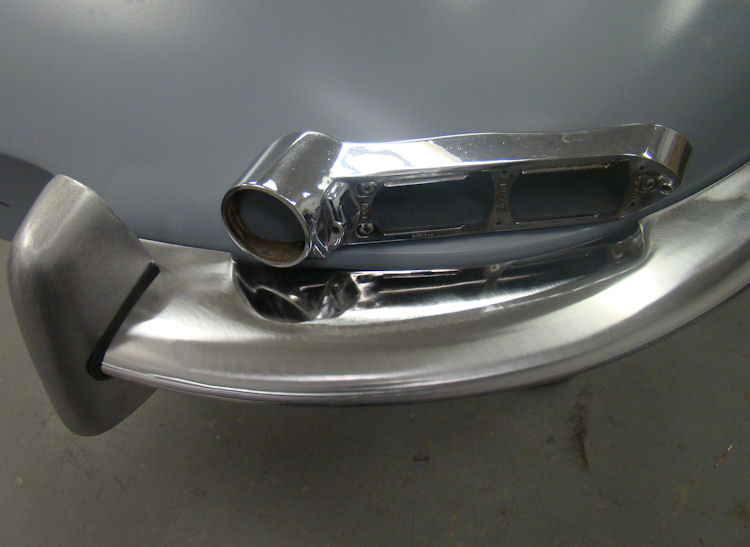
chrome finisher is installed |
|
|
|
|
 |
 |
 |
|
|
|
|
|
|
|
|
 |
 |
 |
|
|
|
|
|
|
|
|
 |
 |
 |
|
|
|
|
|
|
|
|
 |
 |
 |
|
|
|
from plastic board |
|
|
|
|
 |
 |
 |
|
|
|
|
|
|
|
|
 |
|
|
|
|
|
|
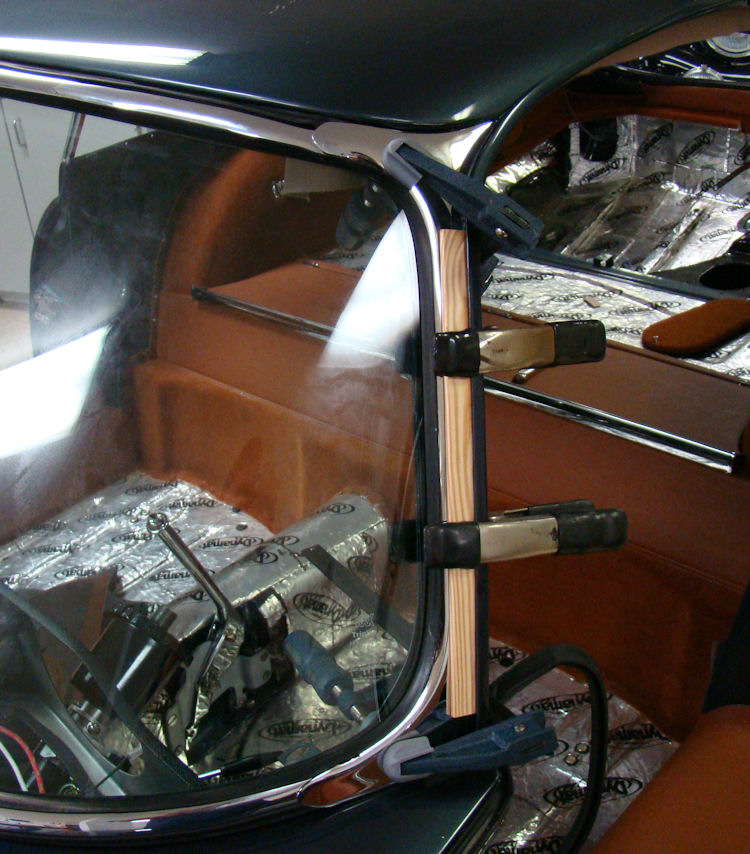
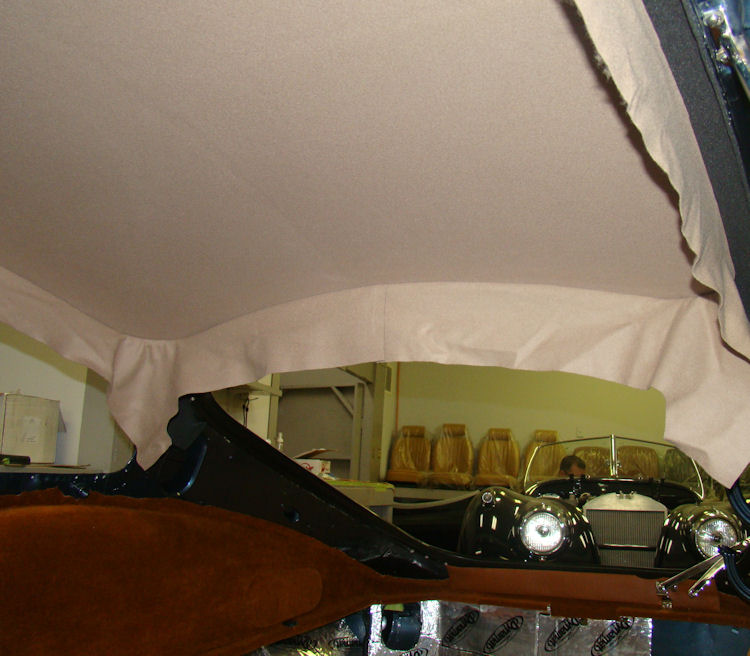
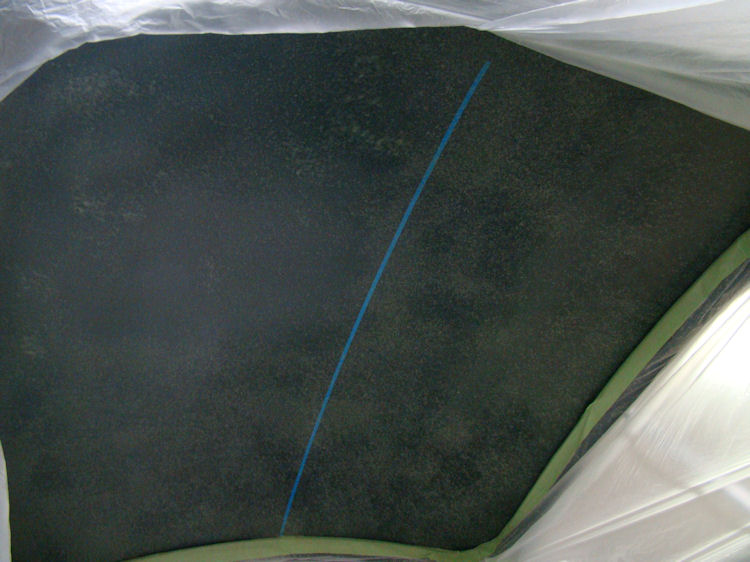
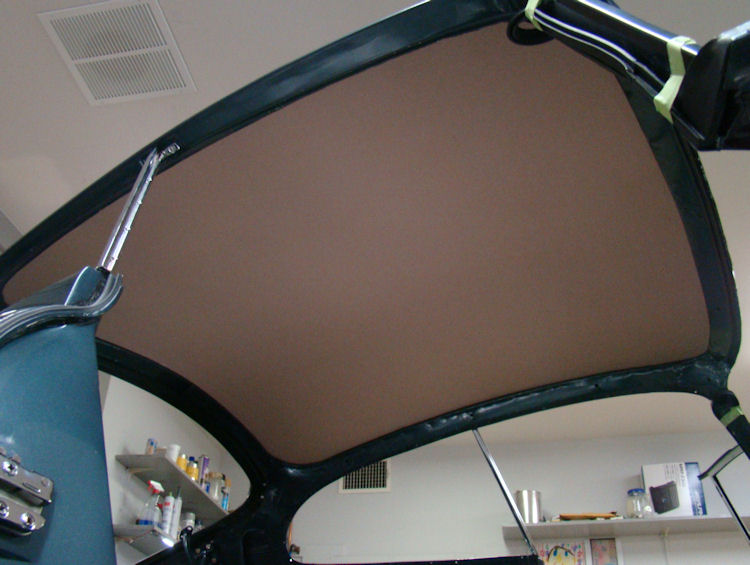
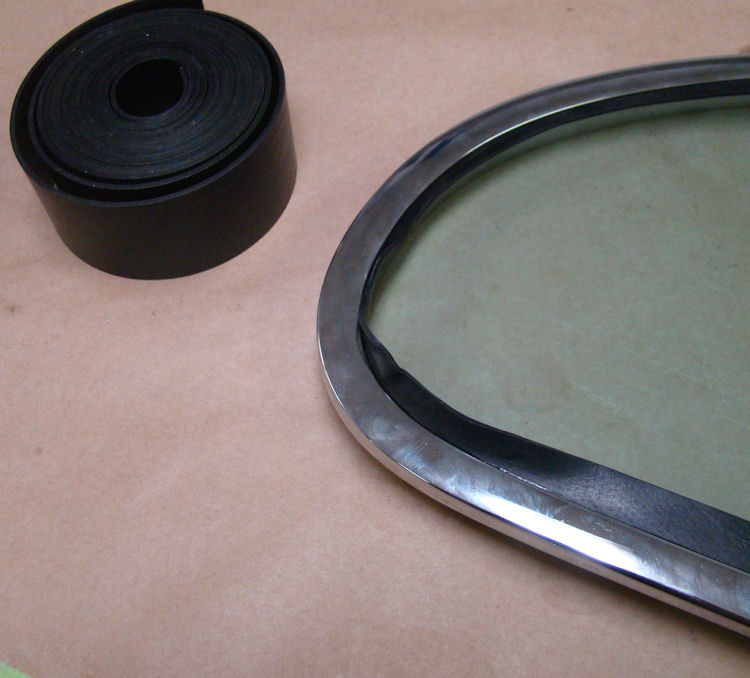
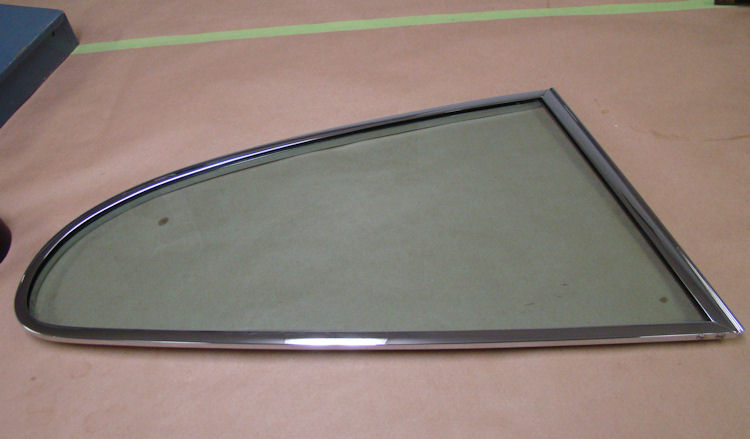
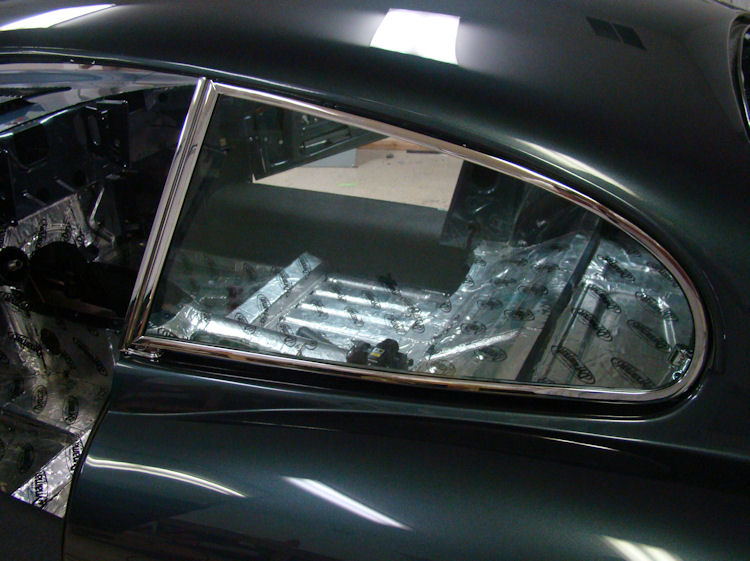
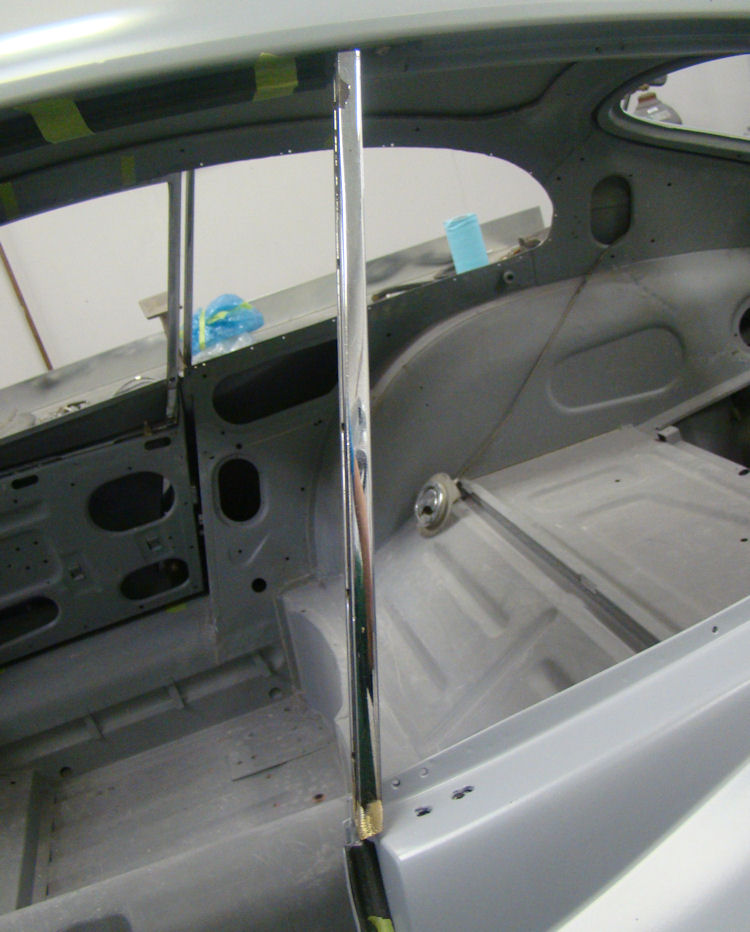
Installing the new headliner, assembling the rear quarter light windows...
 |
 |
 |
|
|
|
|
|
|
|
|
 |
 |
 |
|
|
|
|
|
|
|
|
 |
 |
 |
|
|
|
|
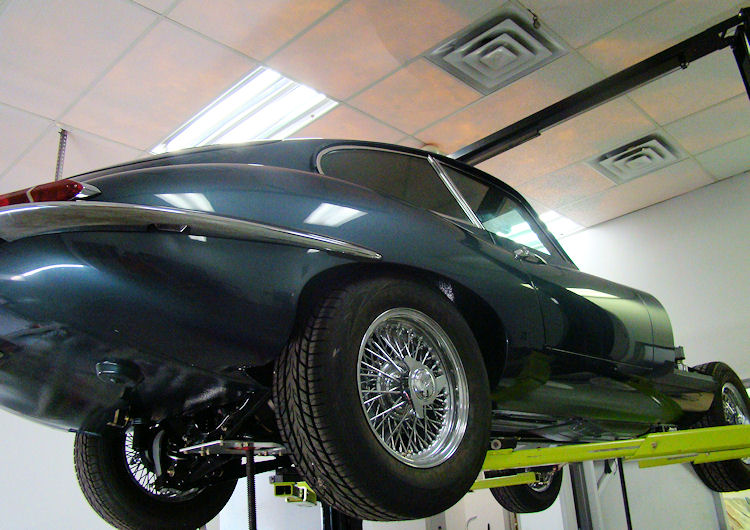
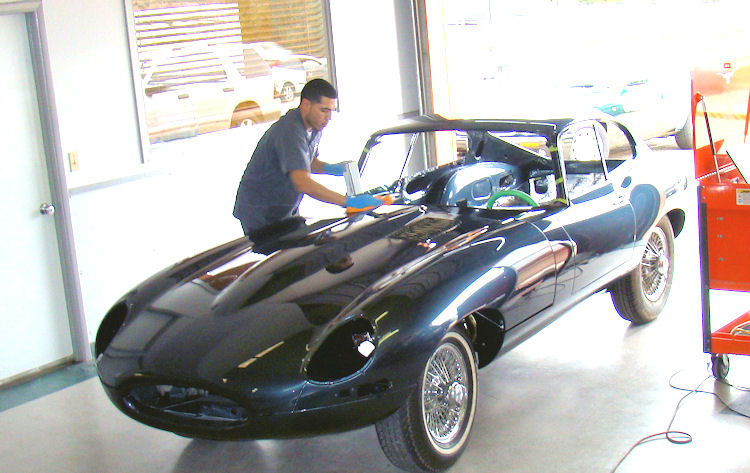
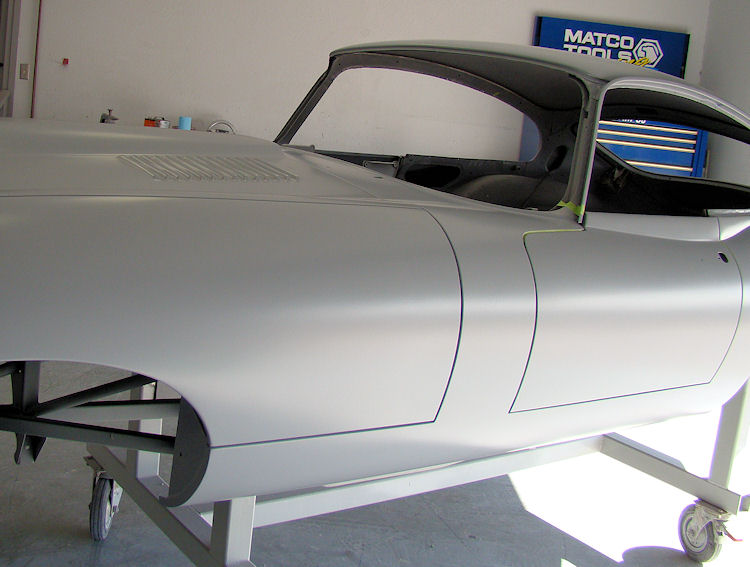
Not the best photos, but I wanted to show you your car back on its wheels...
 |
 |
 |
 |
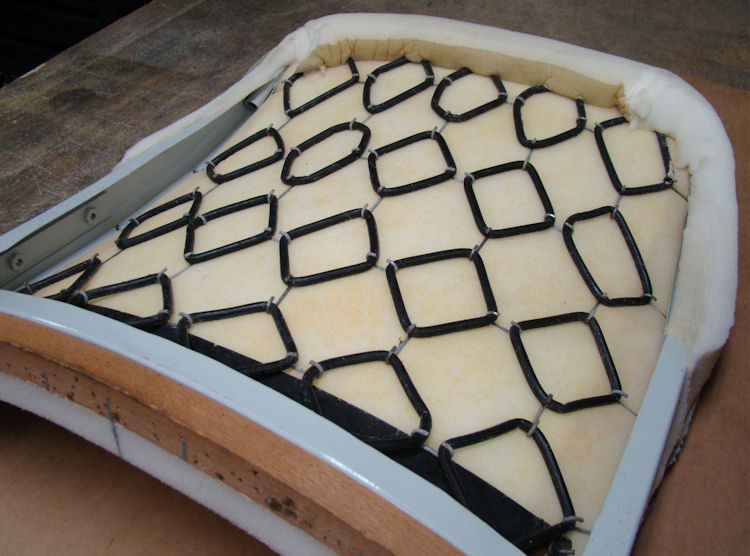
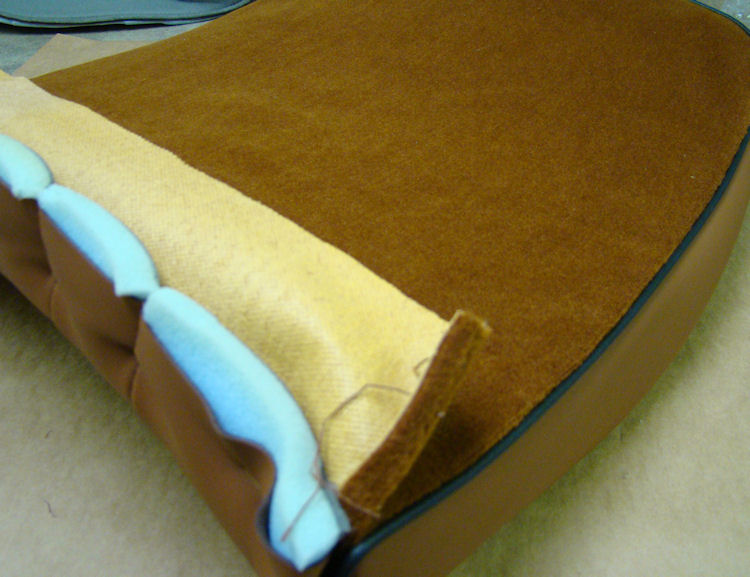
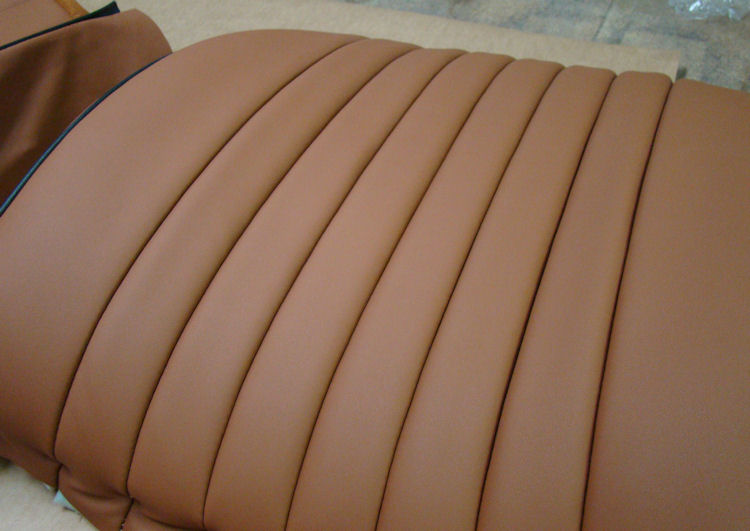
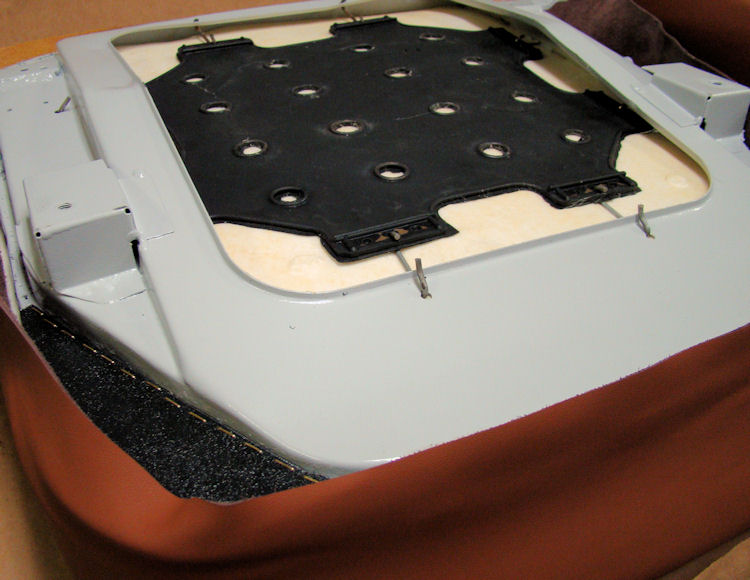
I forgot to include a photograph of your assembled seats in yesterday's update...
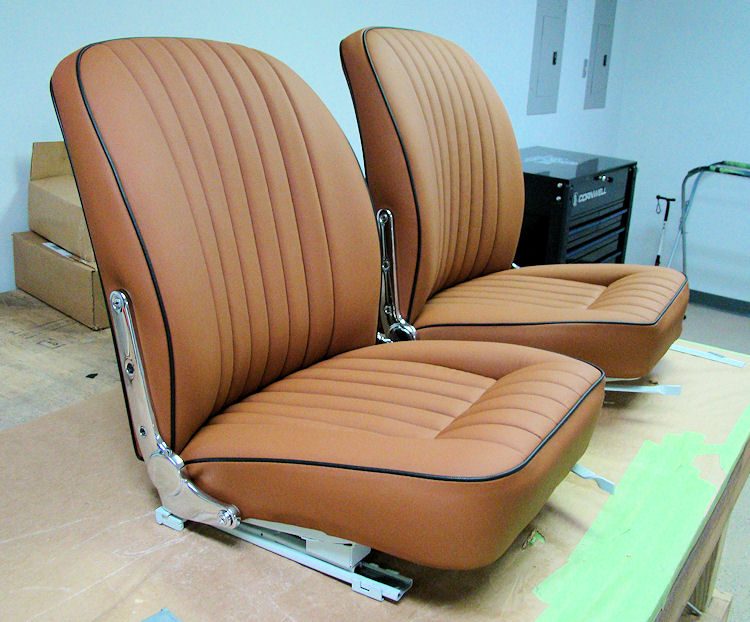
Tan with custom black piping
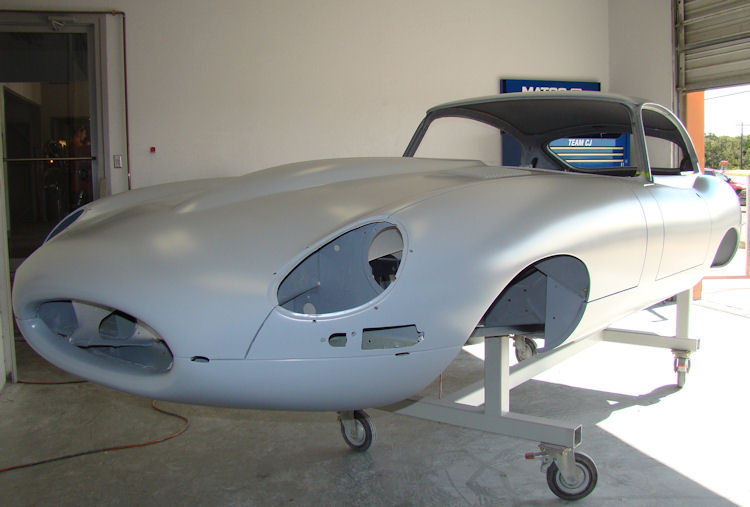
Lots of progress since the last update! Your car is scheduled to be back on its wheels tomorrow.
 |
 |
 |
|
|
|
|
 |
 |
 |
|
|
||
 |
 |
 |
|
|
|
the chrome |
 |
 |
|
Carlos has been busy re-trimming your seats...
 |
 |
 |
|
|
|
|
|
|
|
|
 |
 |
 |
|
|
|
|
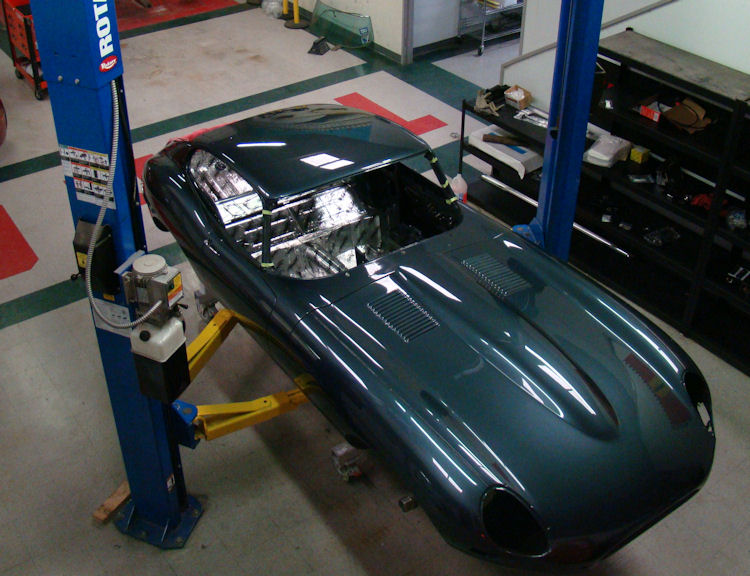
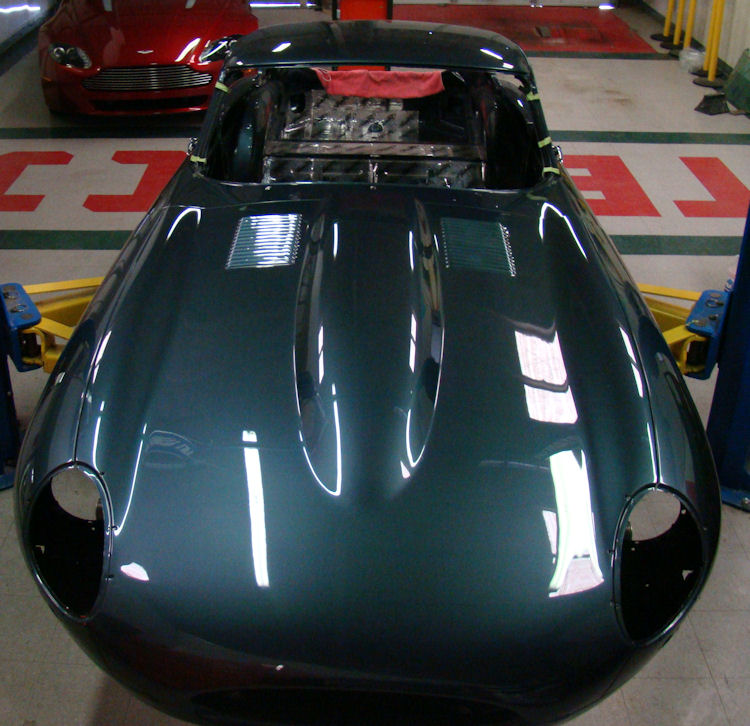
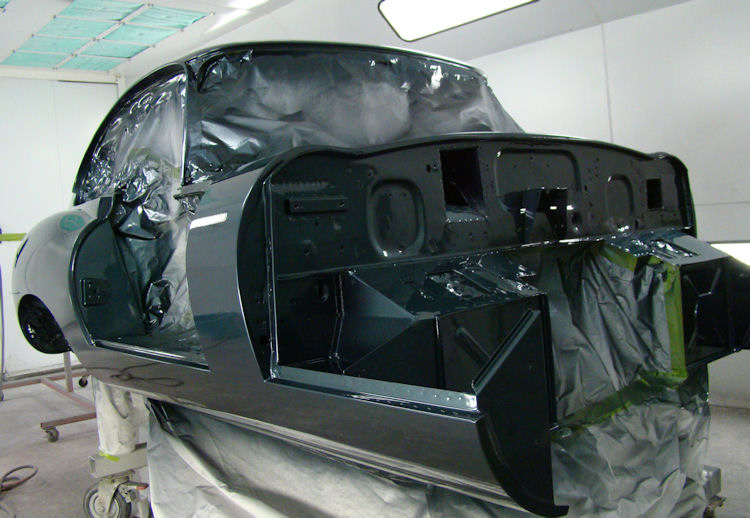
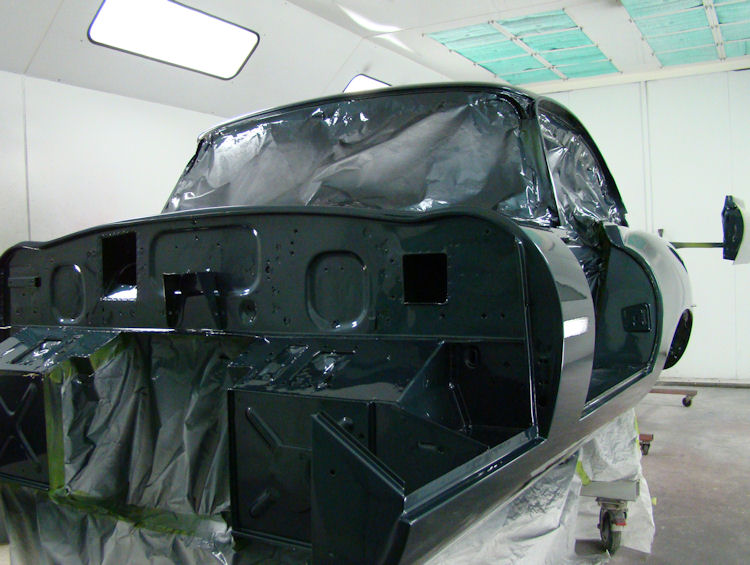
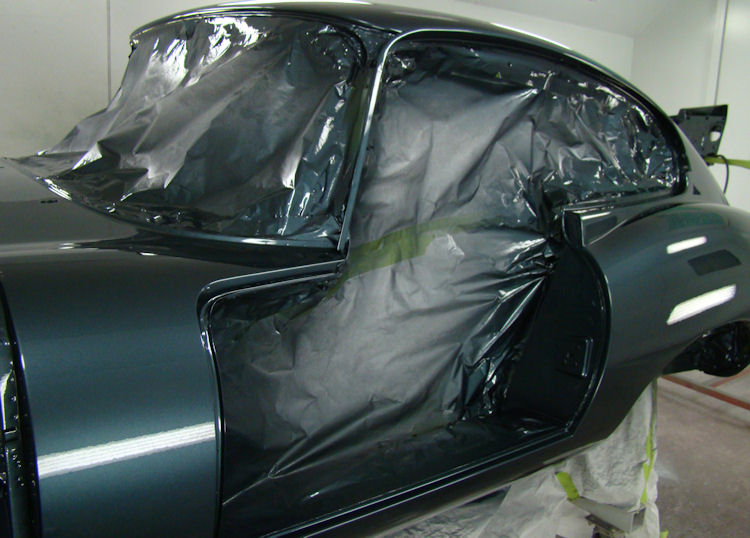
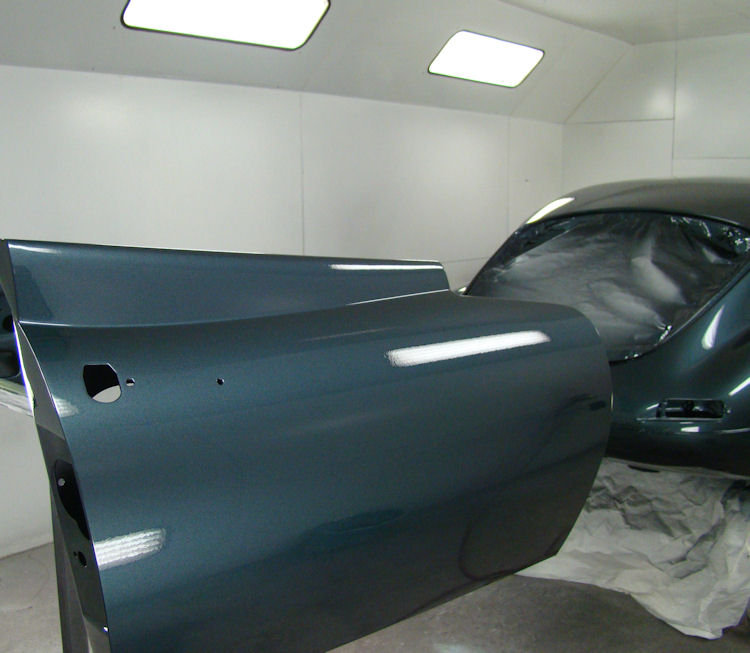
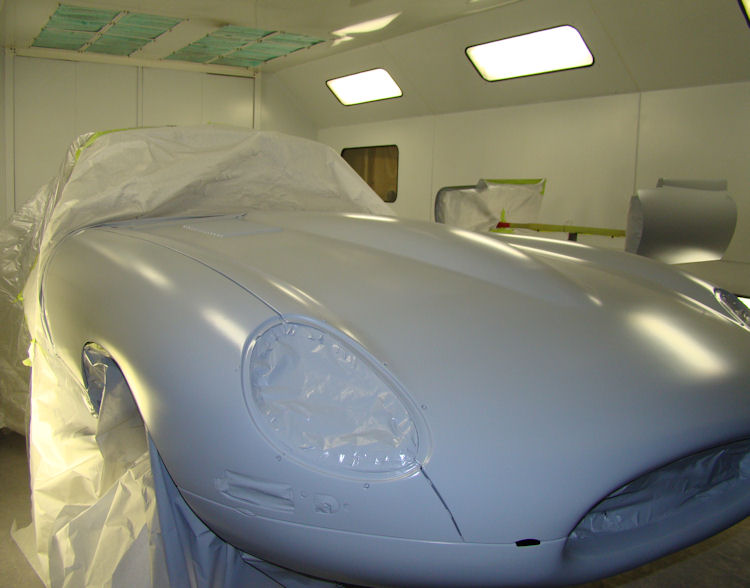
Your car in the booth earlier today...
 |
 |
 |
 |
 |
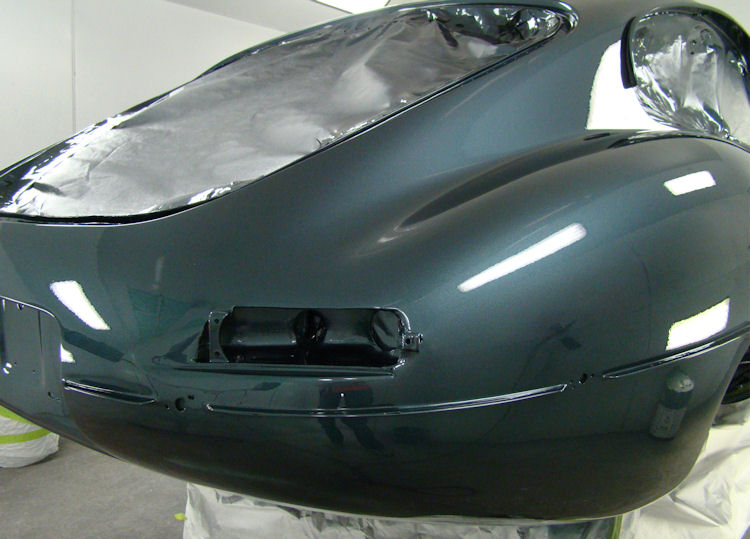 |
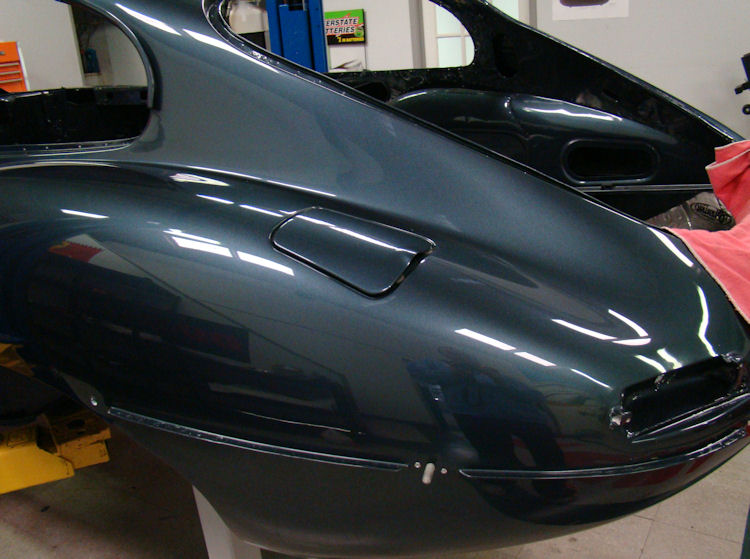
Applying the first of the Opalescent Dark Blue paint...
 |
 |
 |
|
|
|
|
 |
 |
 |
|
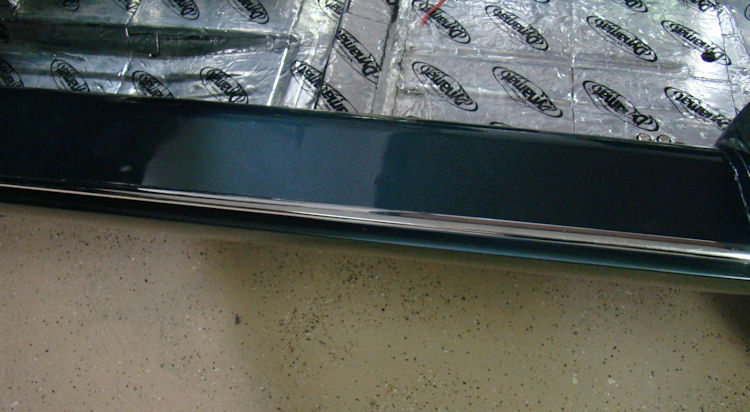
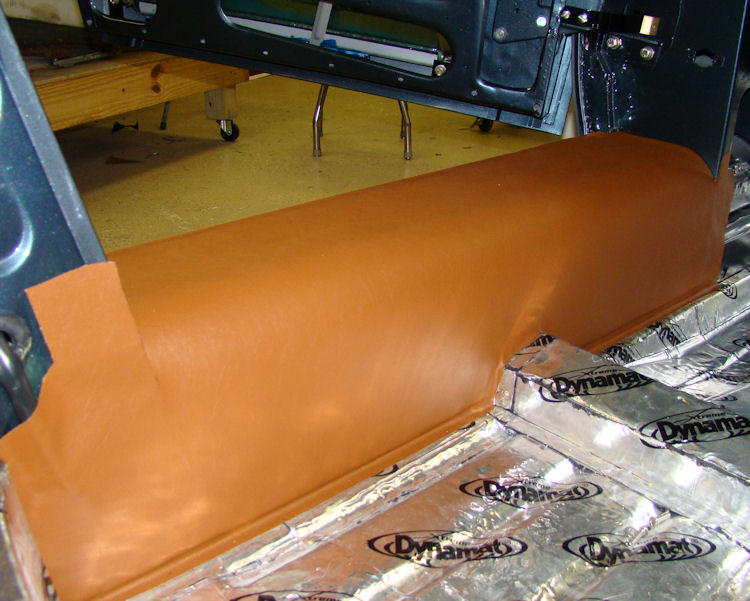
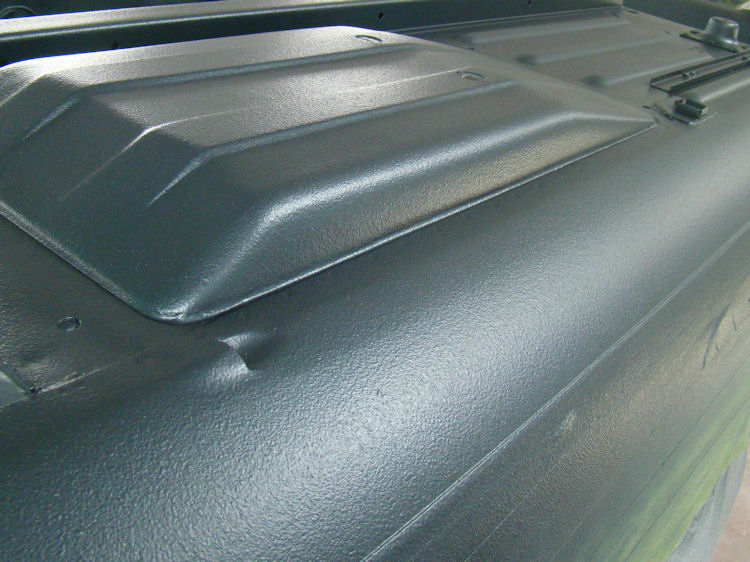
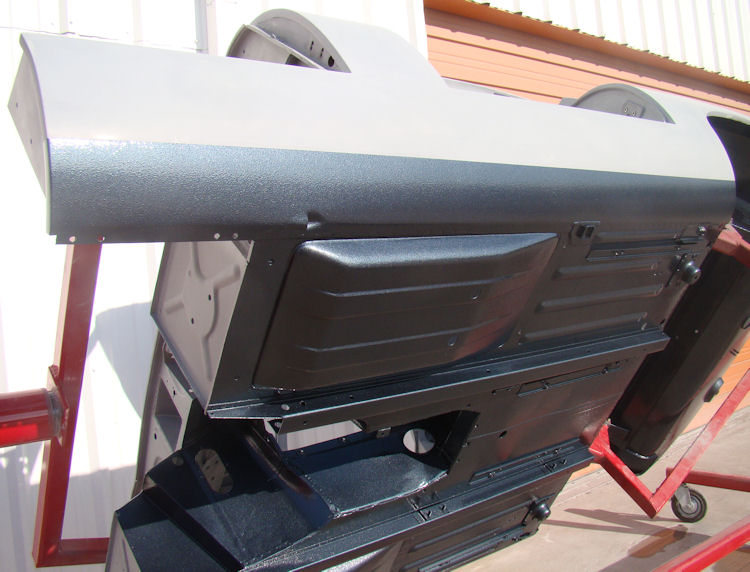
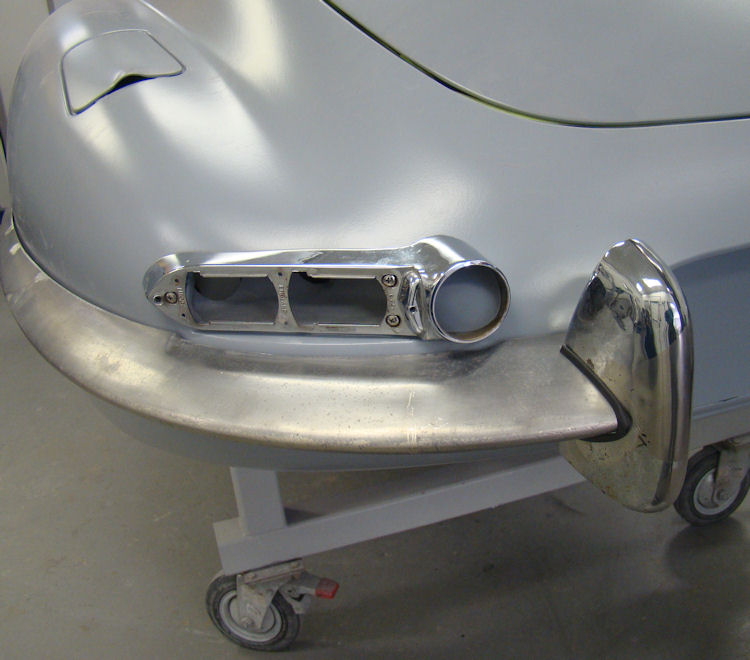
Rocker Guard |
||
 |
 |
 |
 |
 |
 |
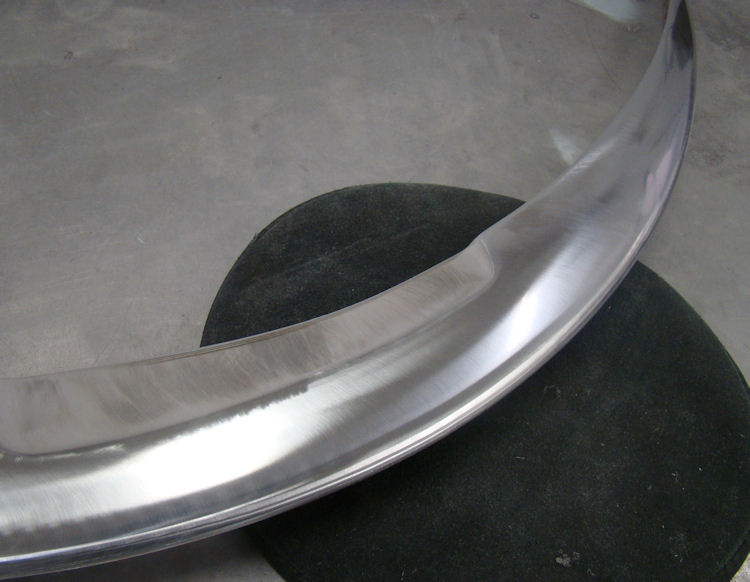
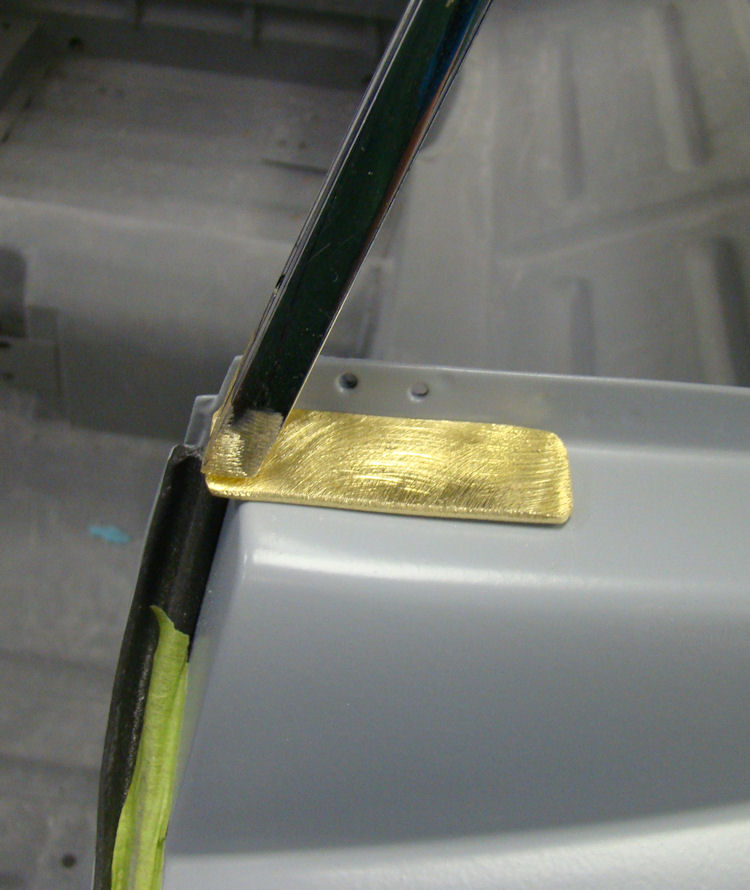
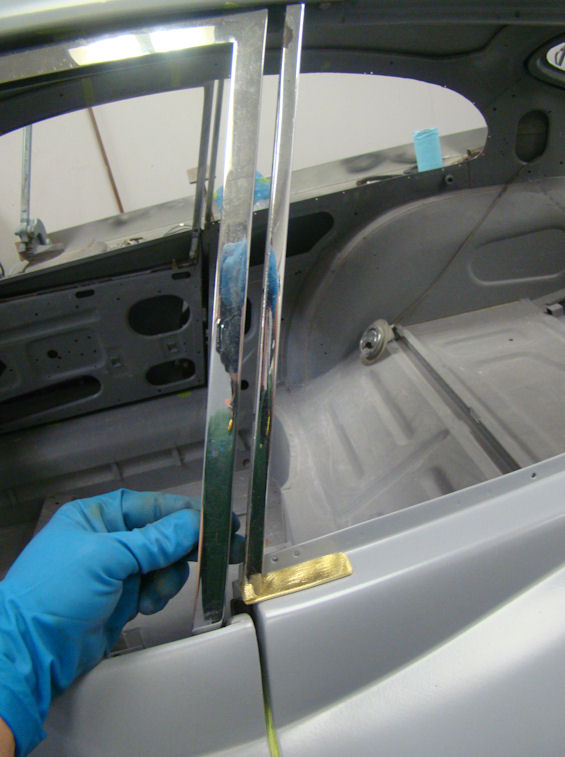
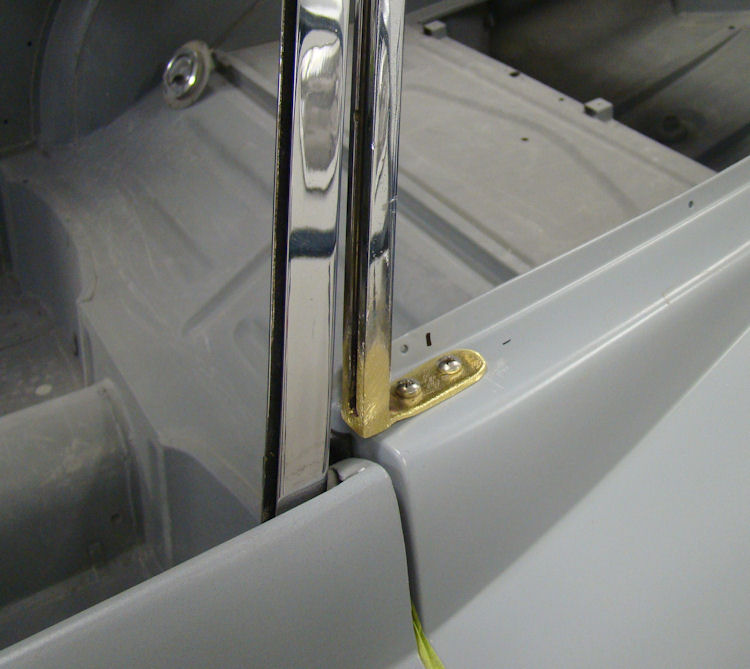
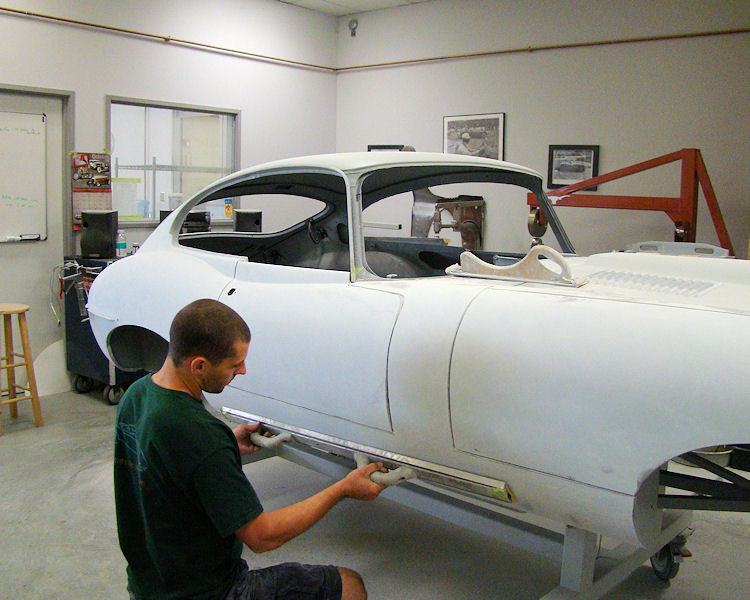
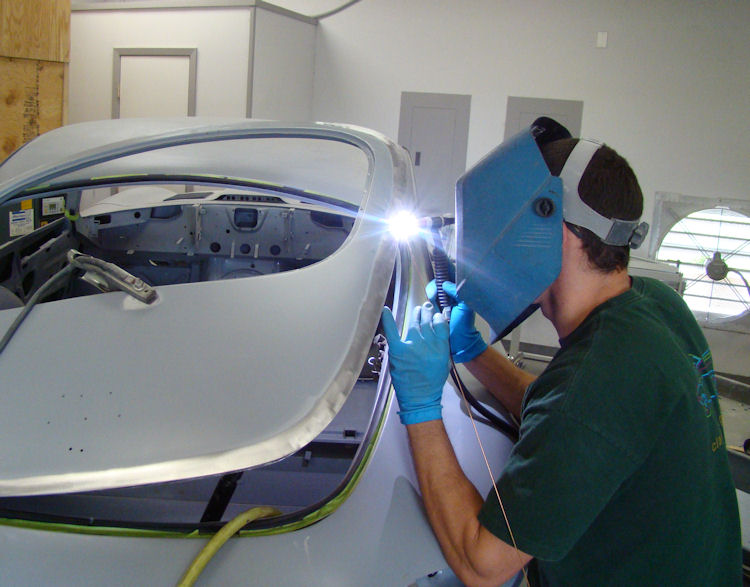
Repairing and trial fitting chrome trim...
 |
 |
 |
 |
 |
 |
 |
 |
 |
 |
 |
|
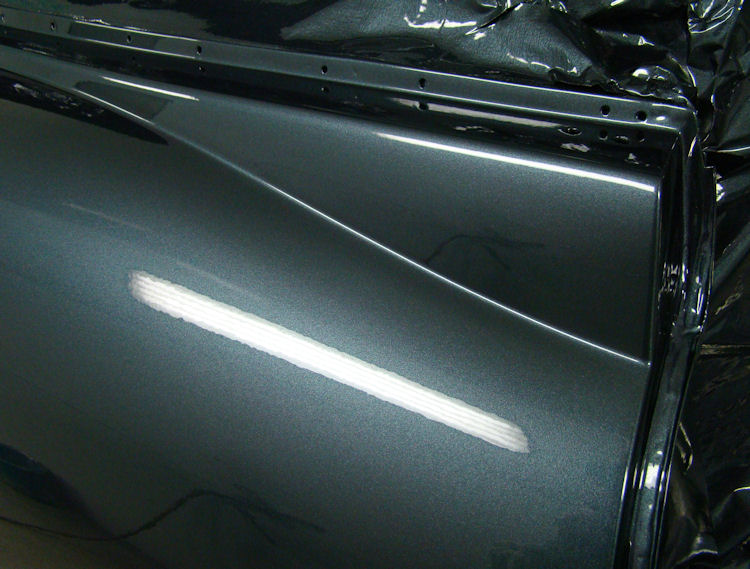
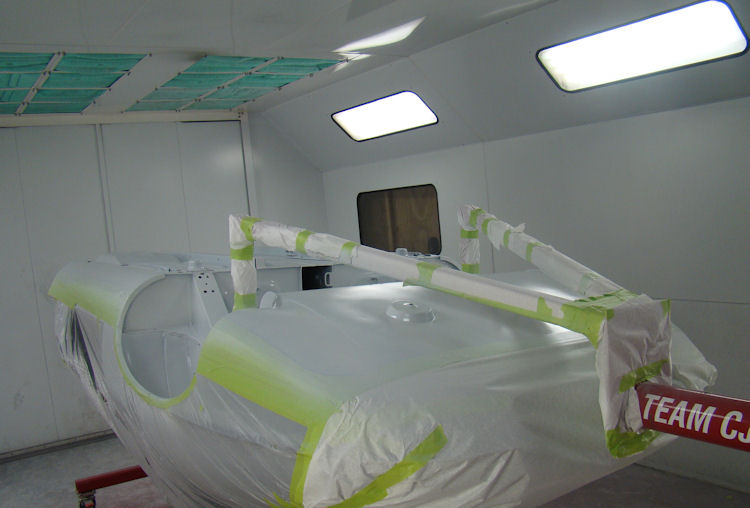
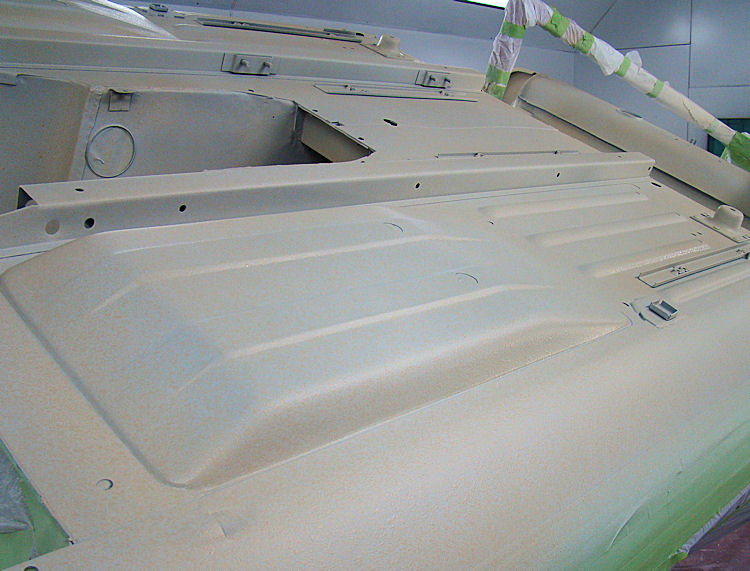
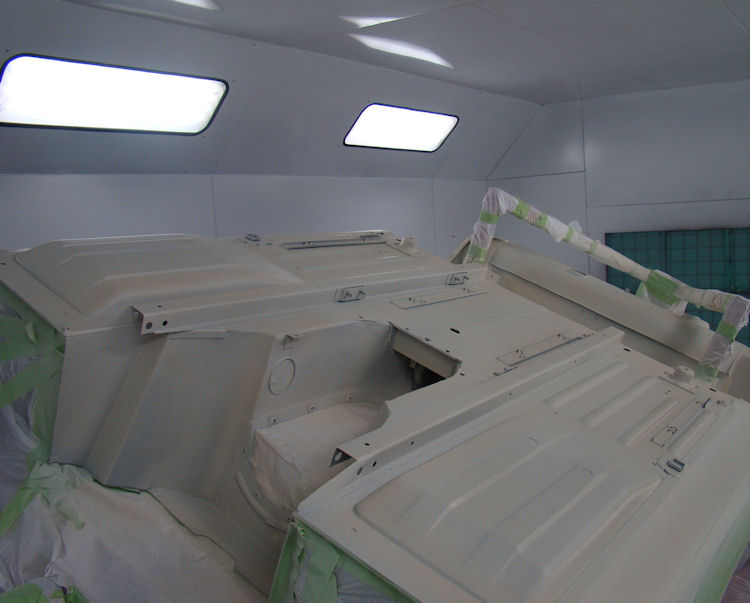
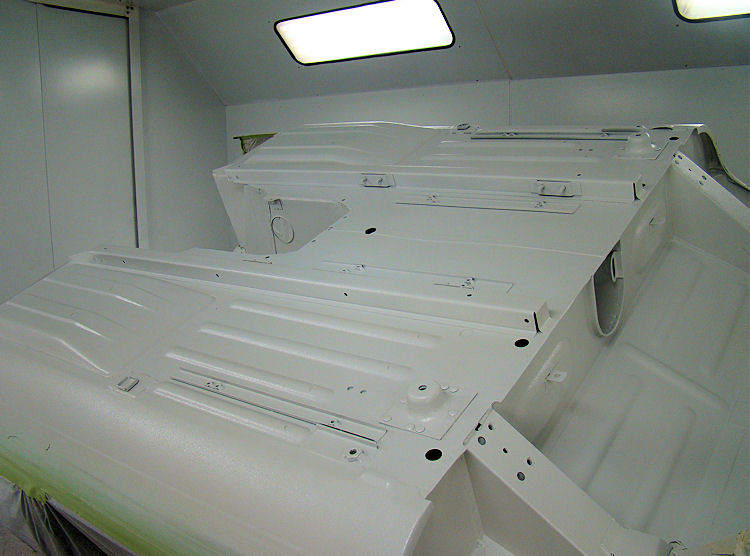
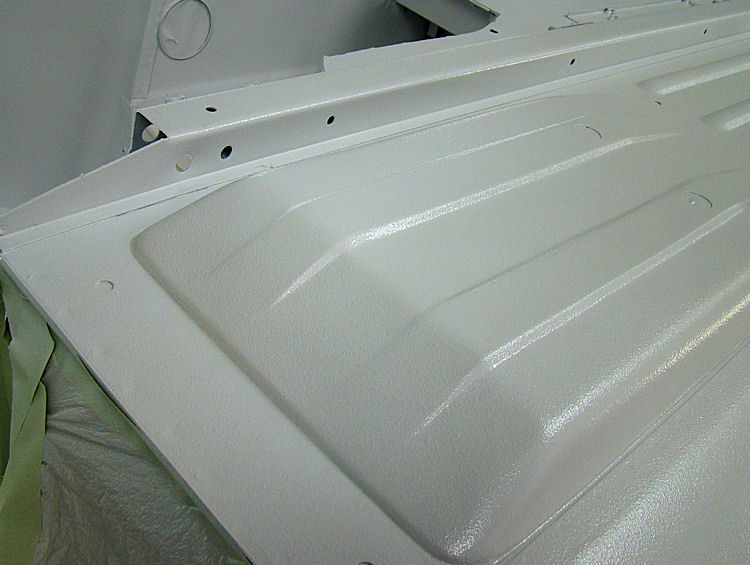
We have now completed the Slick Sand blocking stage and primed the car with Glasurit filler (sandable) primer. Everything has been reassembled once again for the final sanding stage prior to paint. Over the next few days we will sand the car with 400 grit sand paper, followed by 600 (wet), then begin applying the first of the color.Speaking of color, we will be sending you a sample of Indigo Blue for your consideration, early next week.
 |
 |
 |
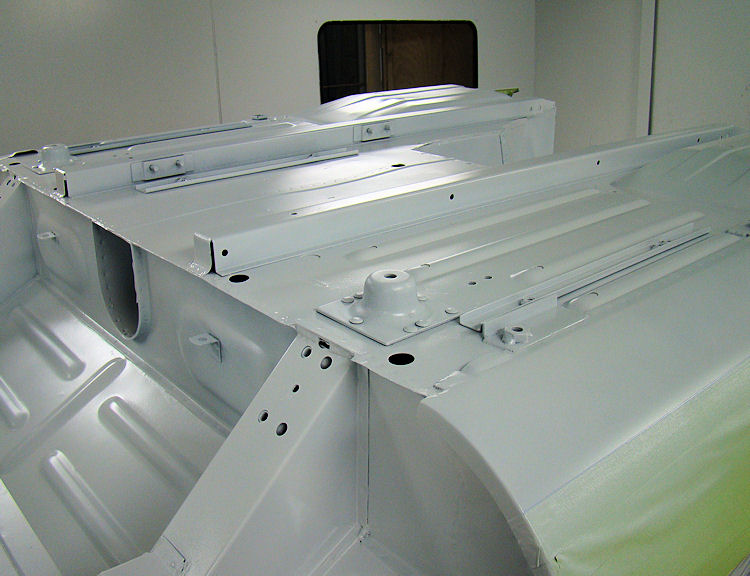
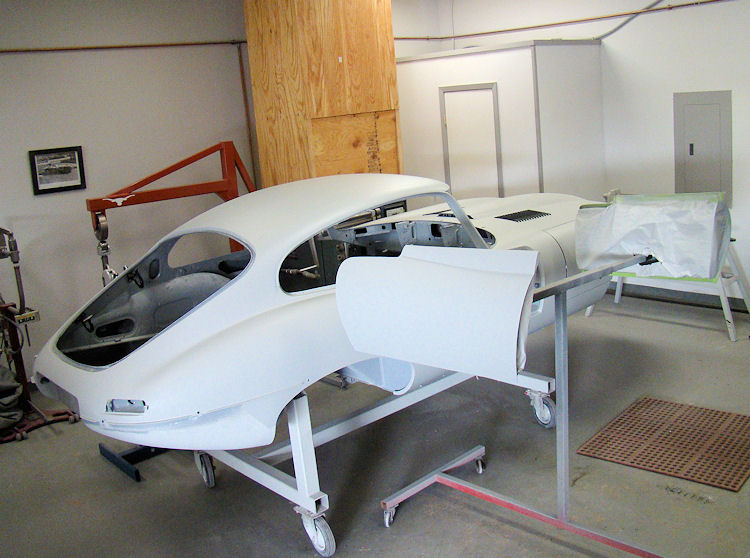
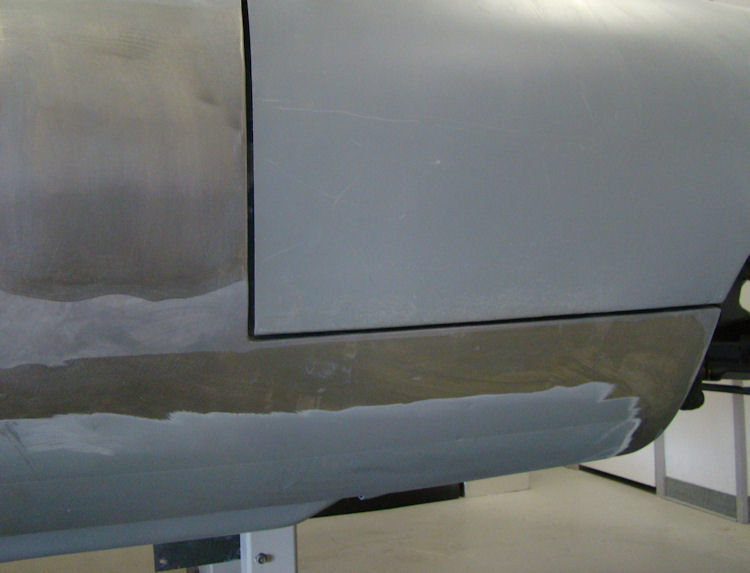
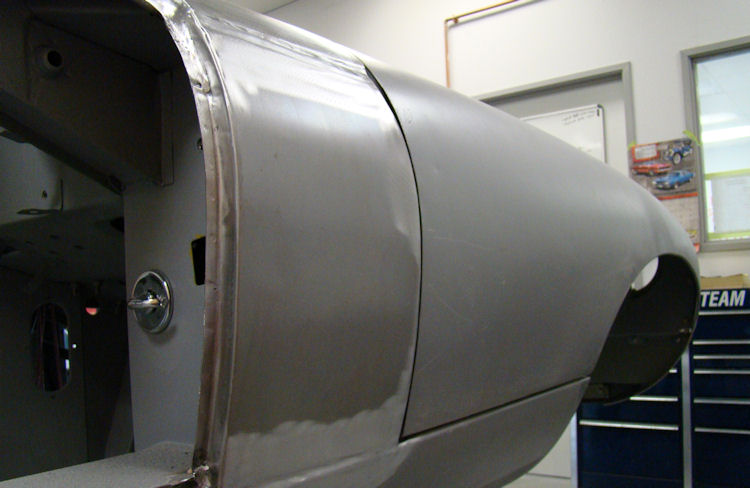
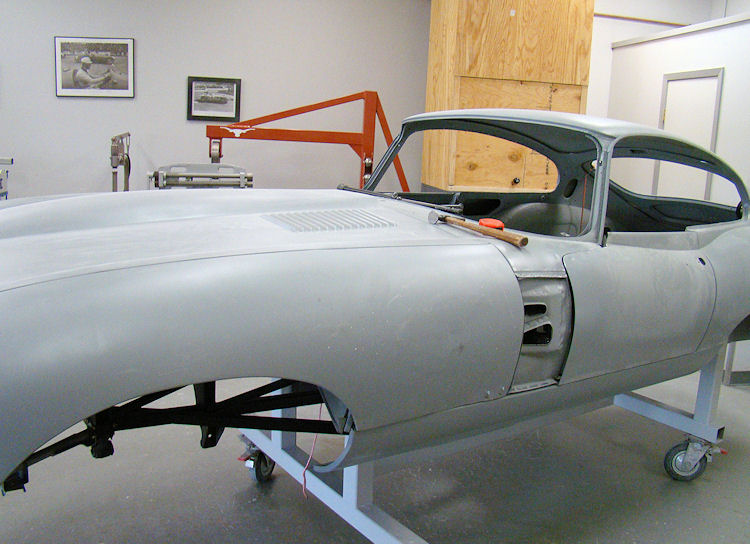
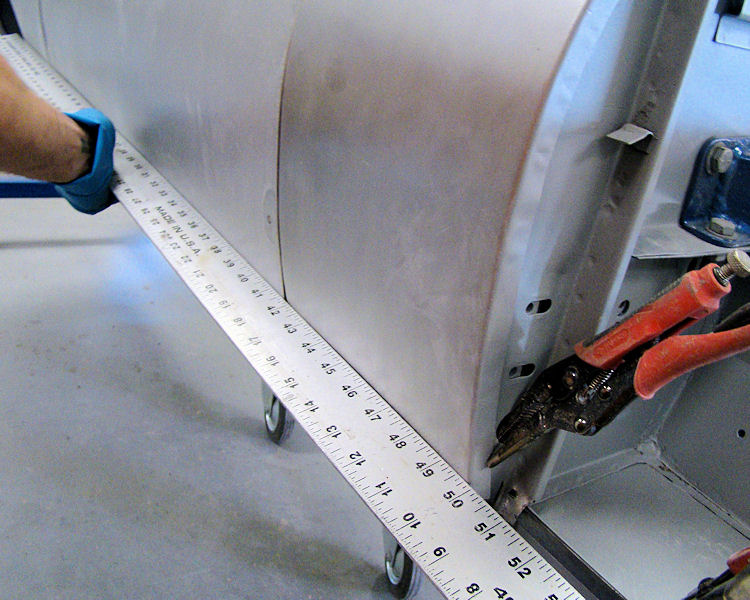
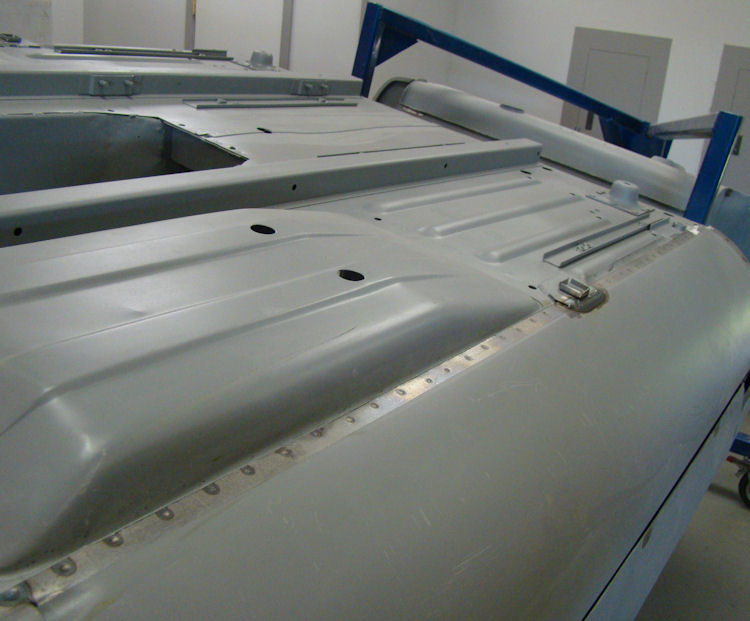
All of the bodywork and panel fit has now been completed and your car has been put into Slick Sand. The doors, bonnet and tailgate have been installed with new rubber seals, ready for the final blocking stage prior to paint.
 |
 |
 |
|
in Slick Sand |
to final blocking |
rubber seals for blocking |
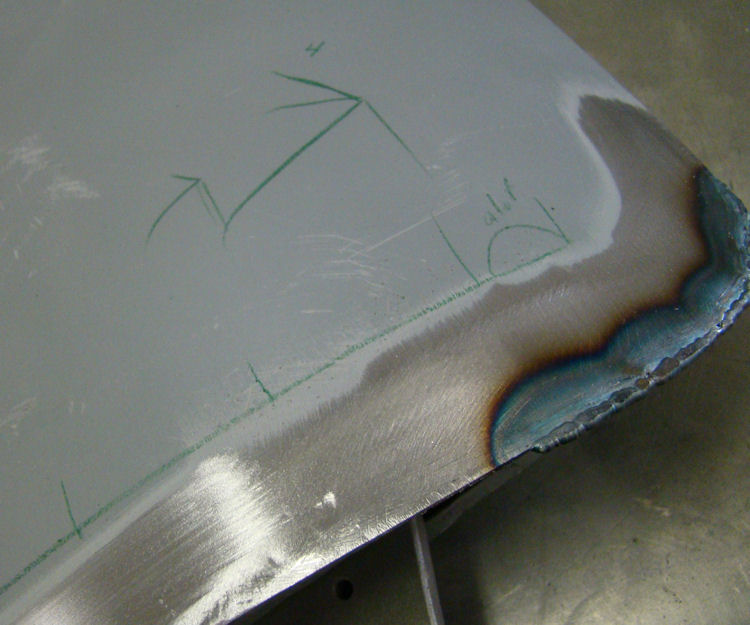
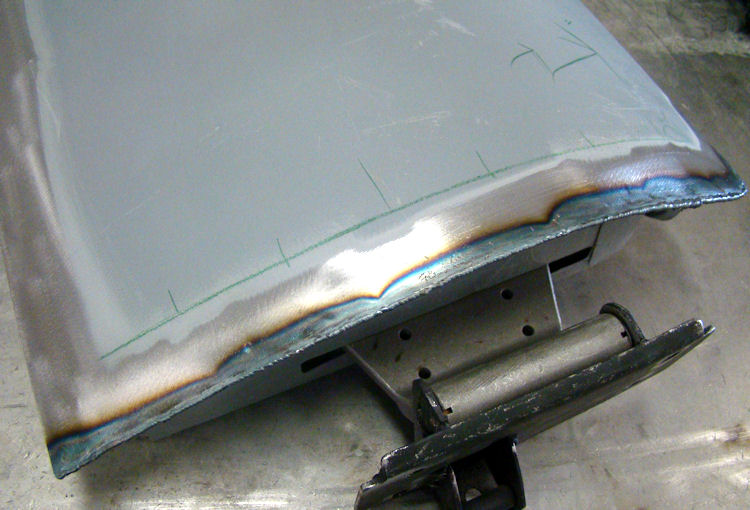
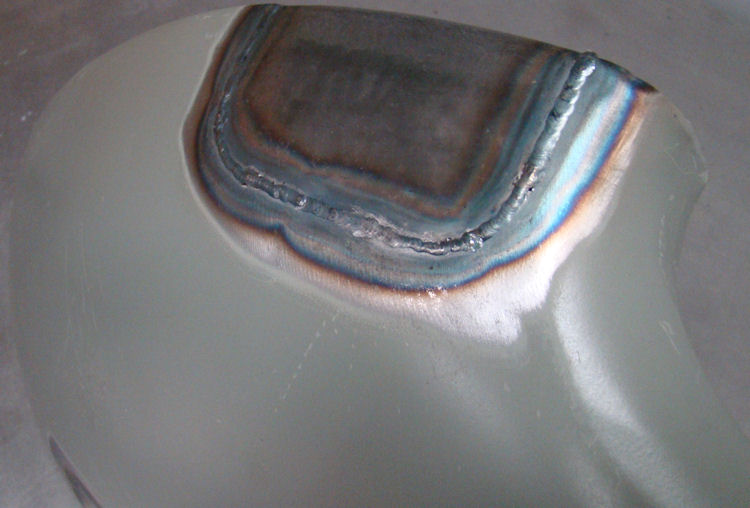
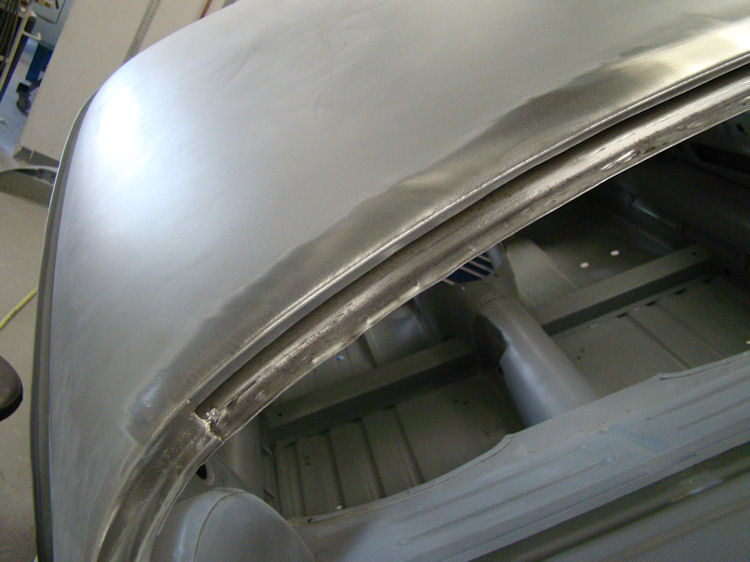
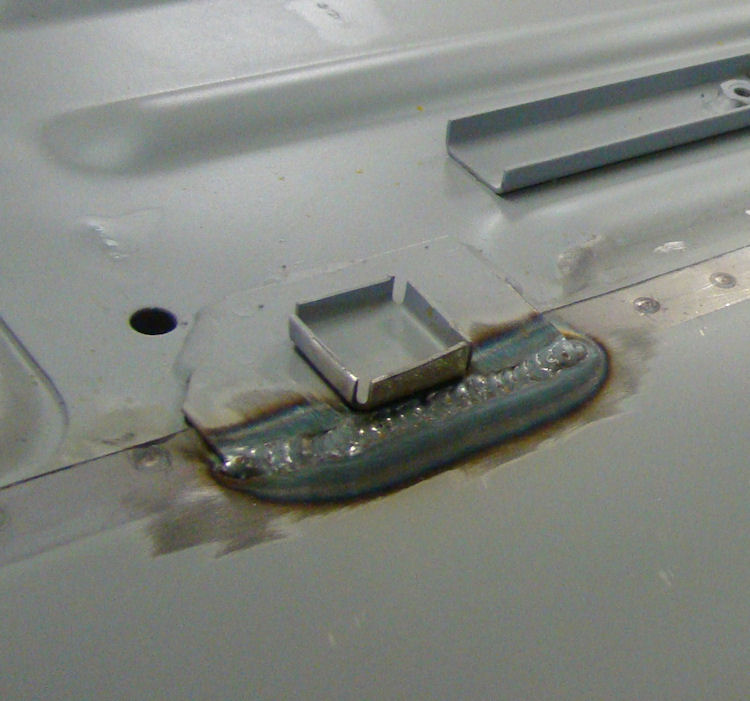
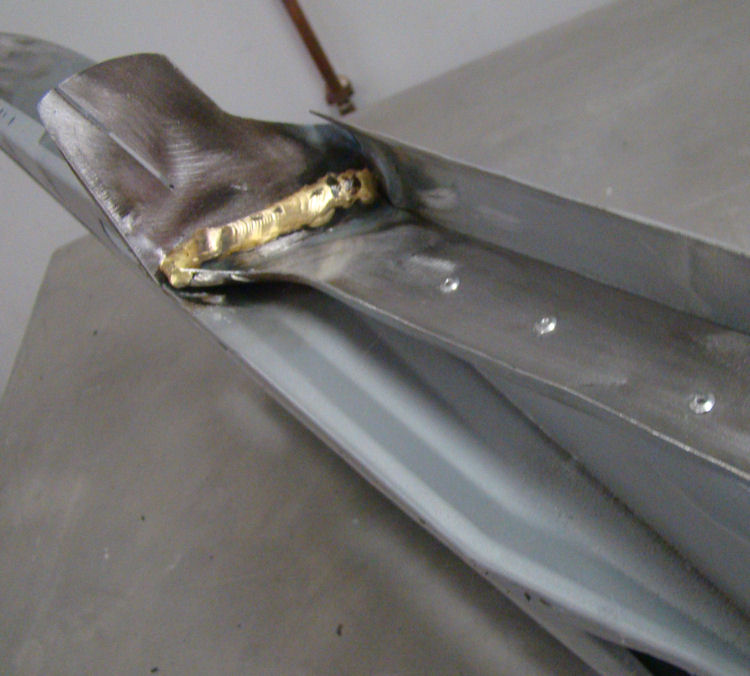
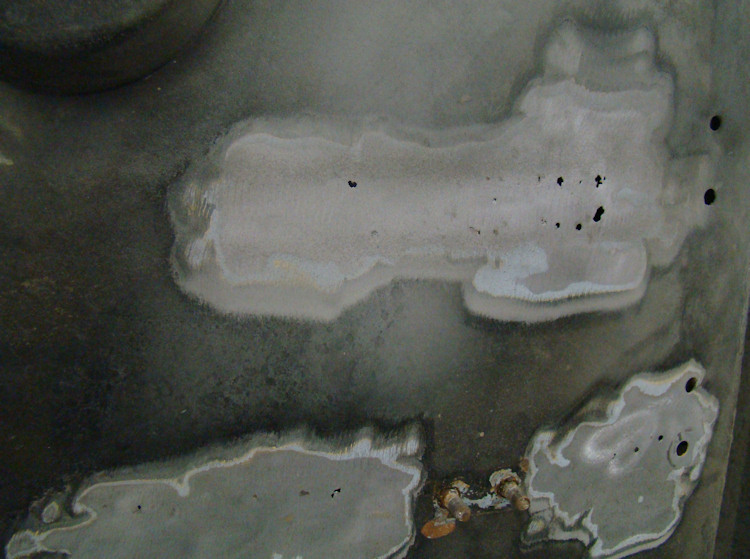
Fine tuning door and tailgate gaps by adding and grinding beads of weld.
 |
 |
 |
 |
 |
 |
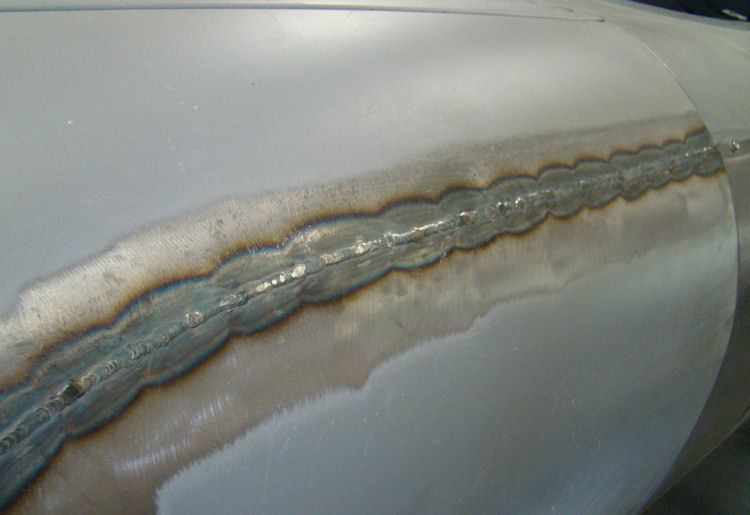
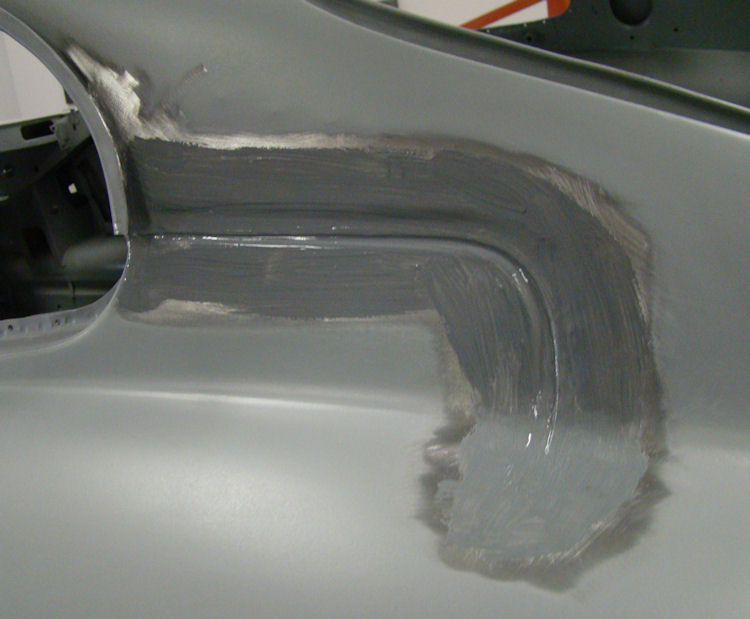
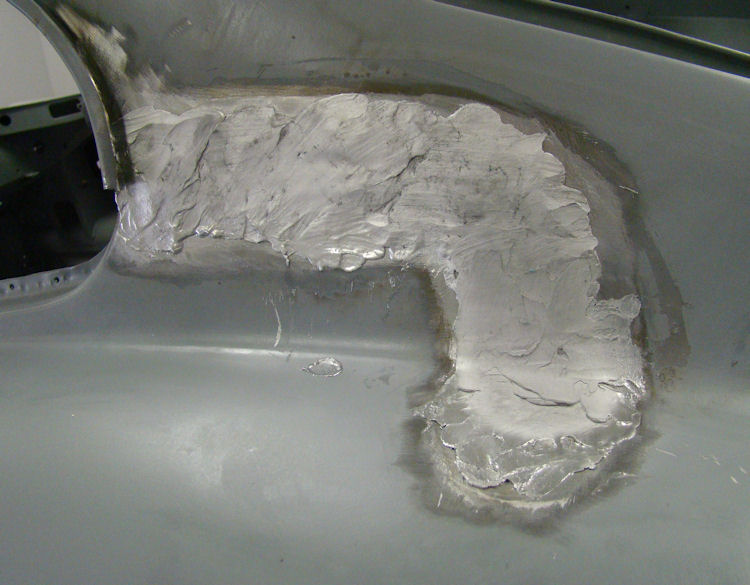
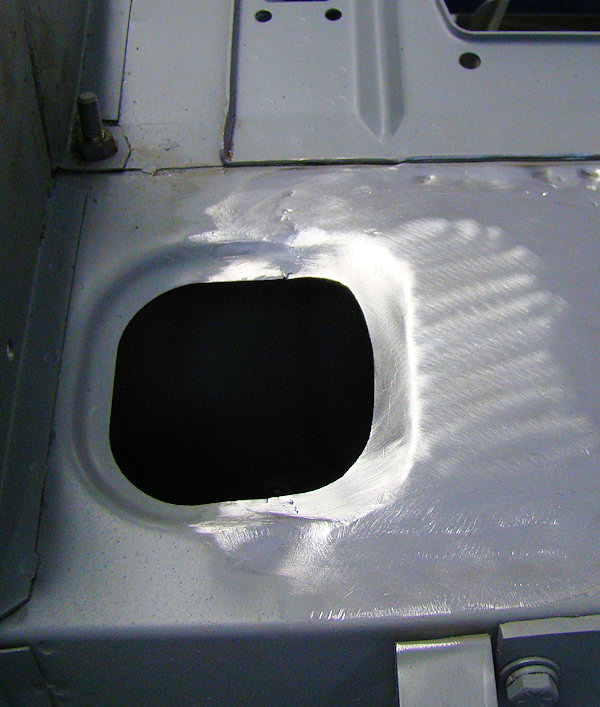
Lead loading in progress...
 |
 |
 |
 |
 |
|
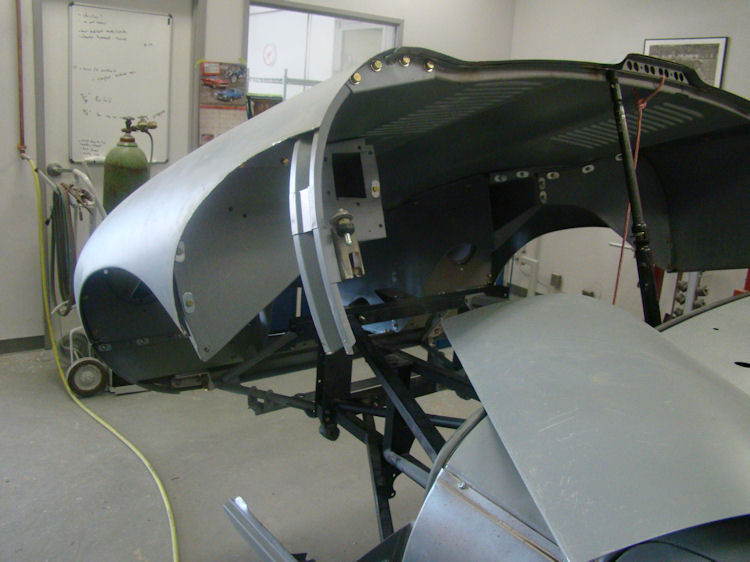
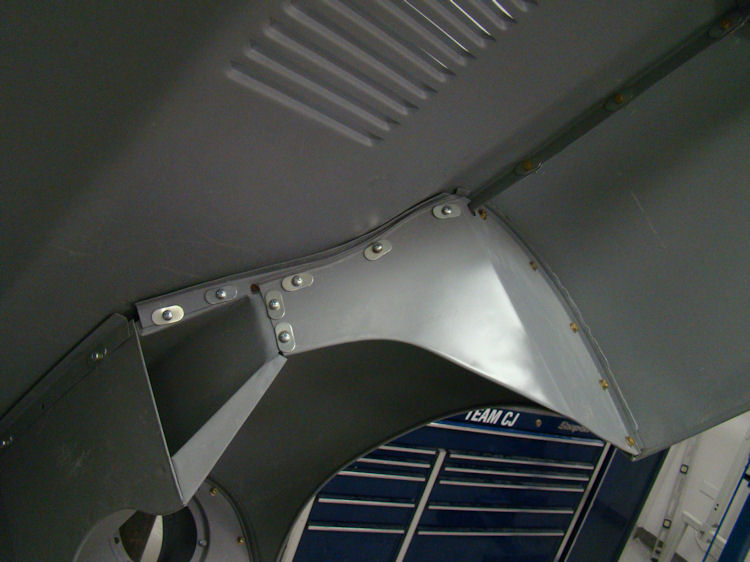
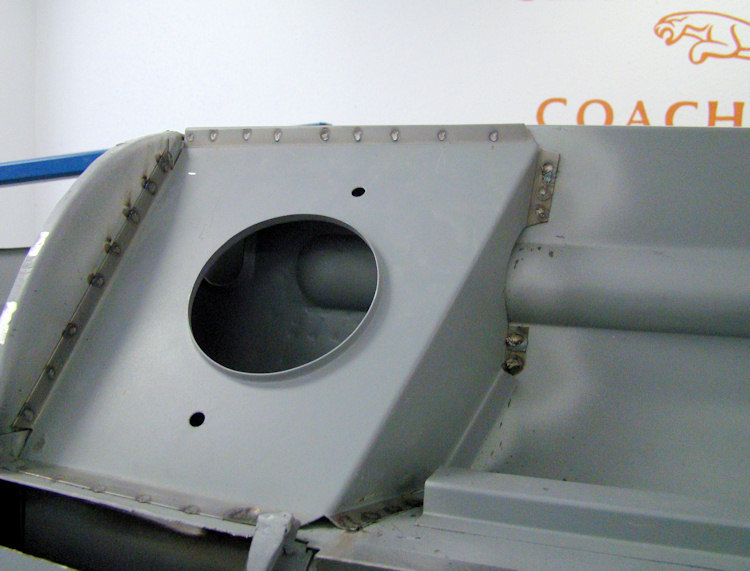
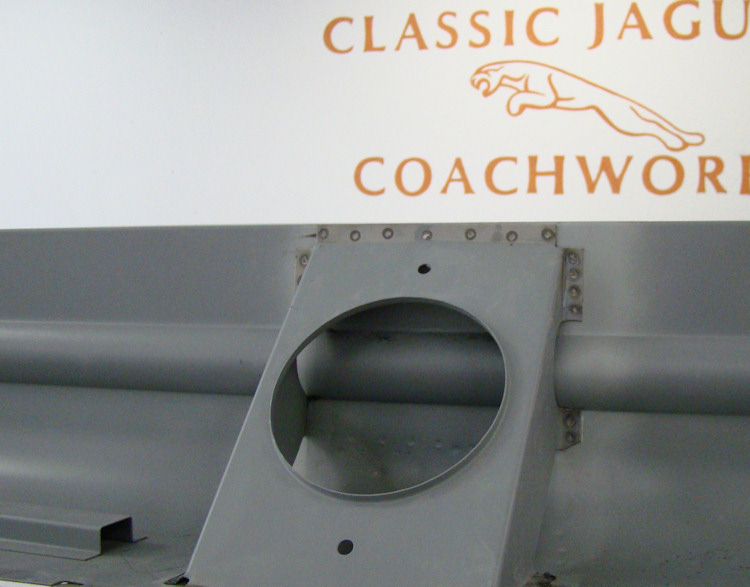
Fabricating and installing the cowl side panels..
 |
 |
 |
|
inner cowl |
|
|
 |
 |
|
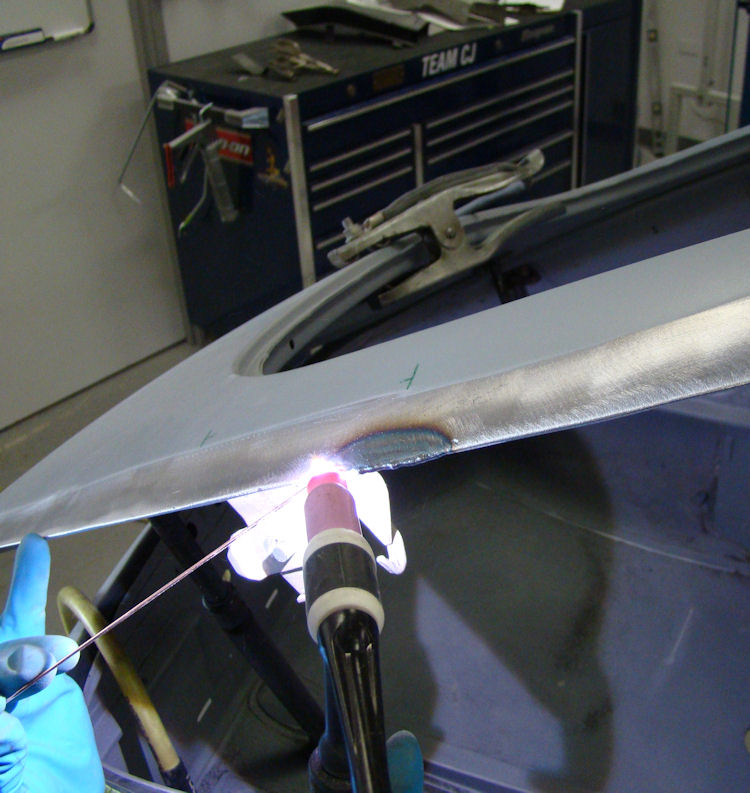
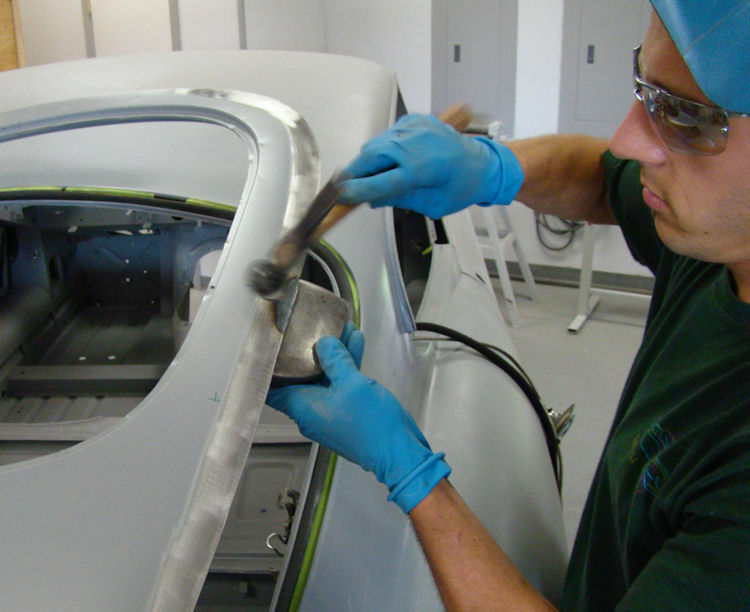
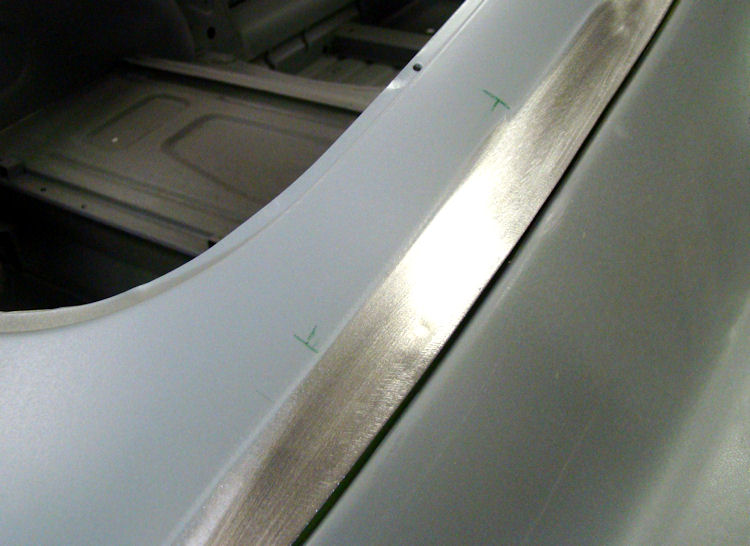
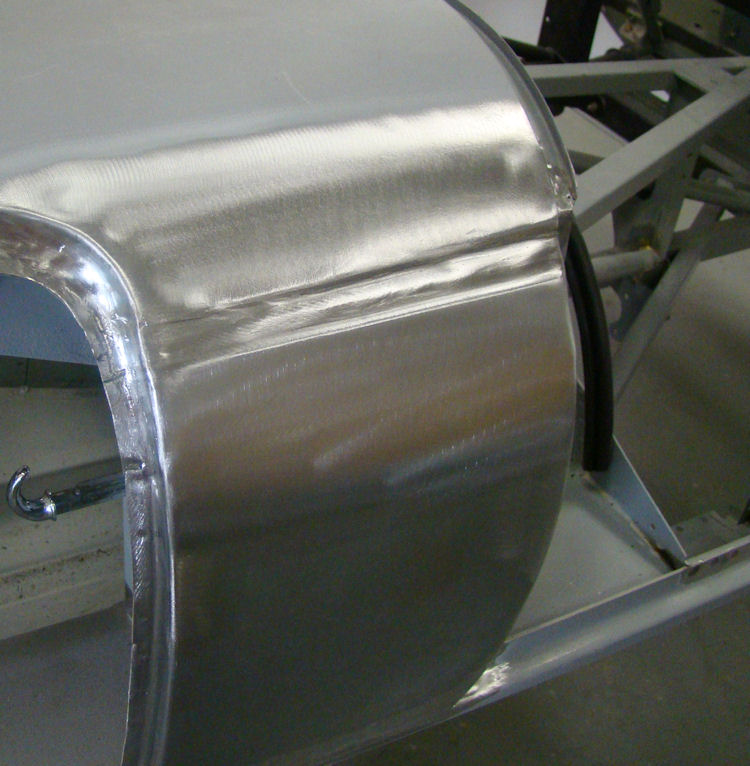
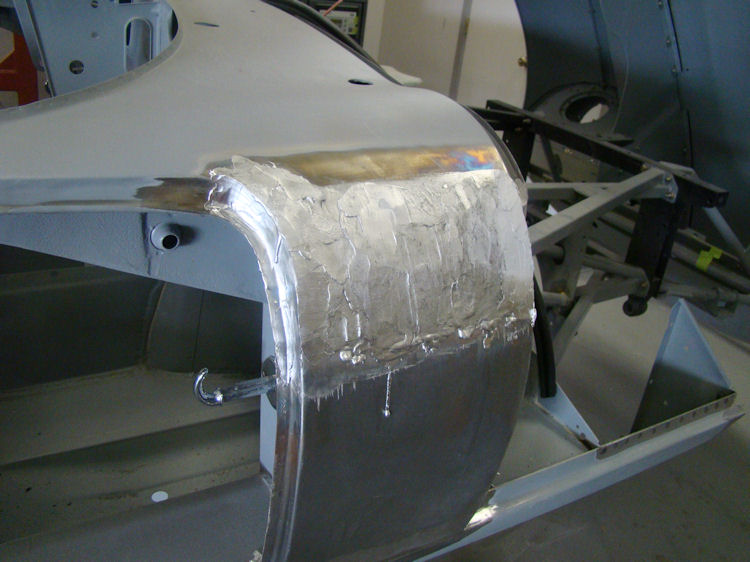
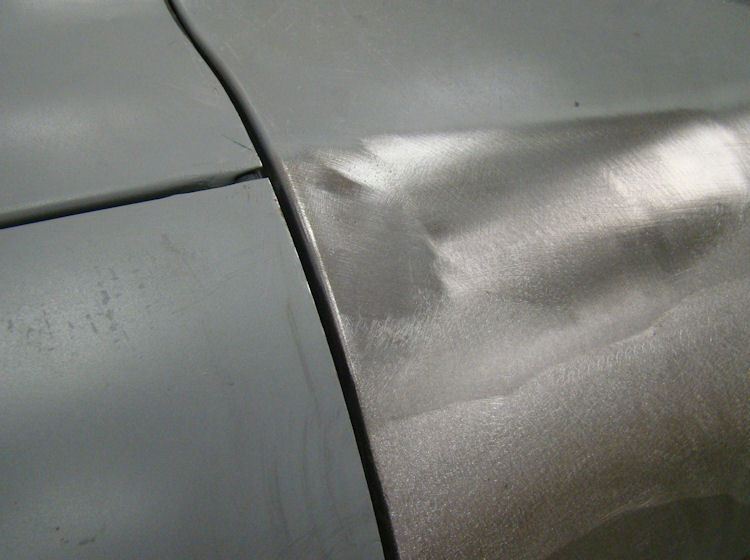
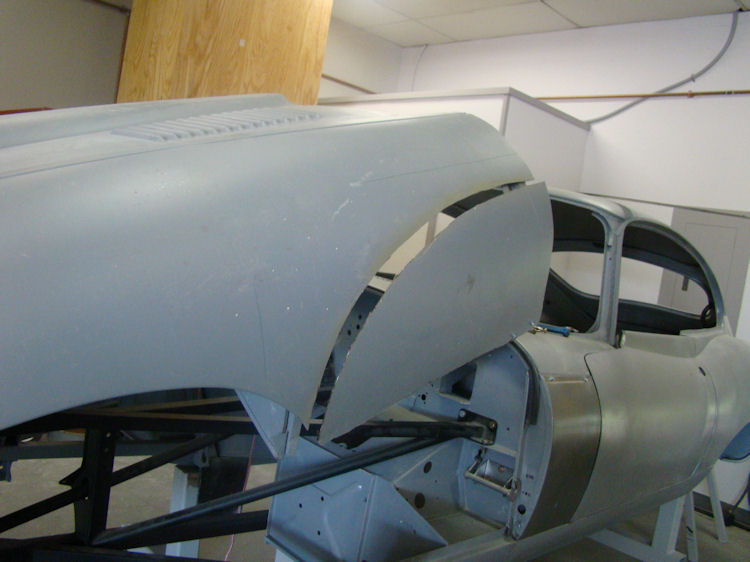
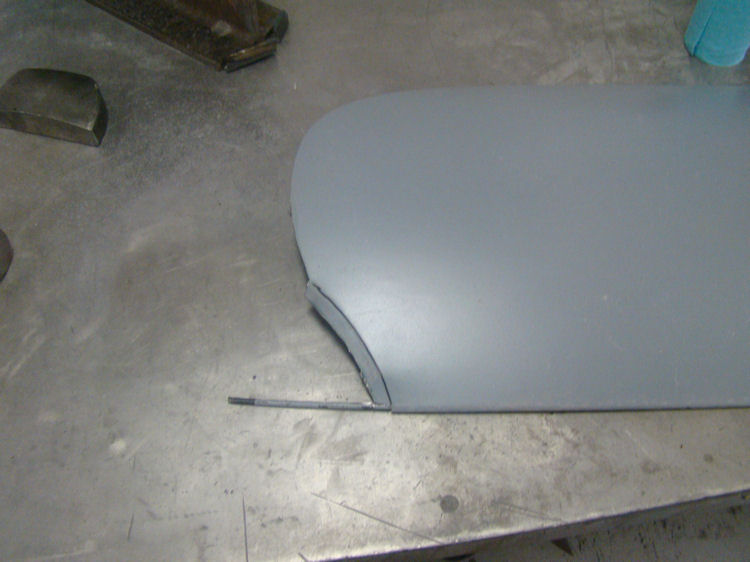
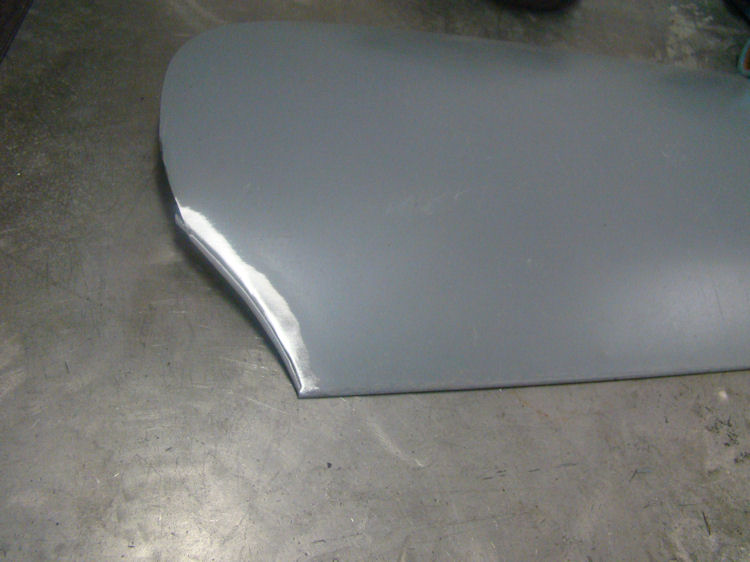
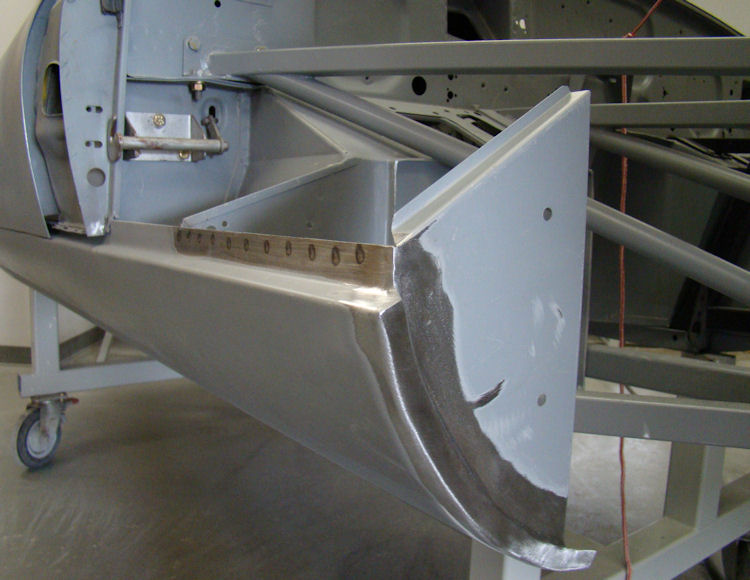
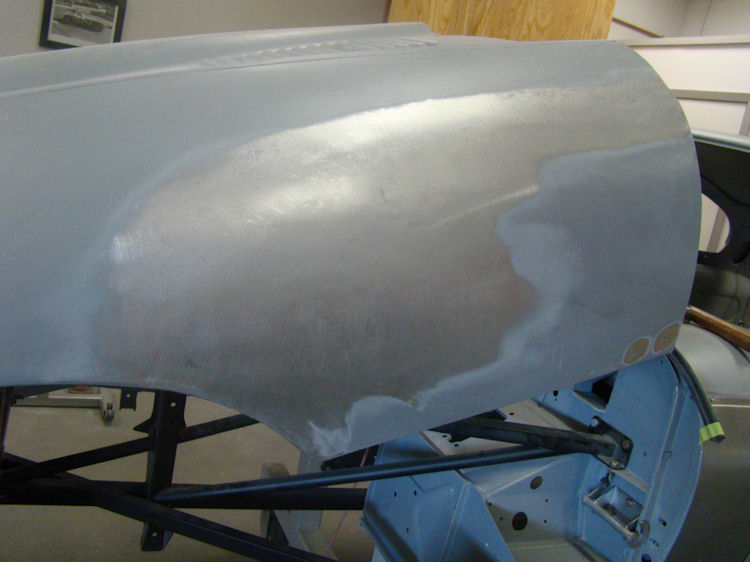
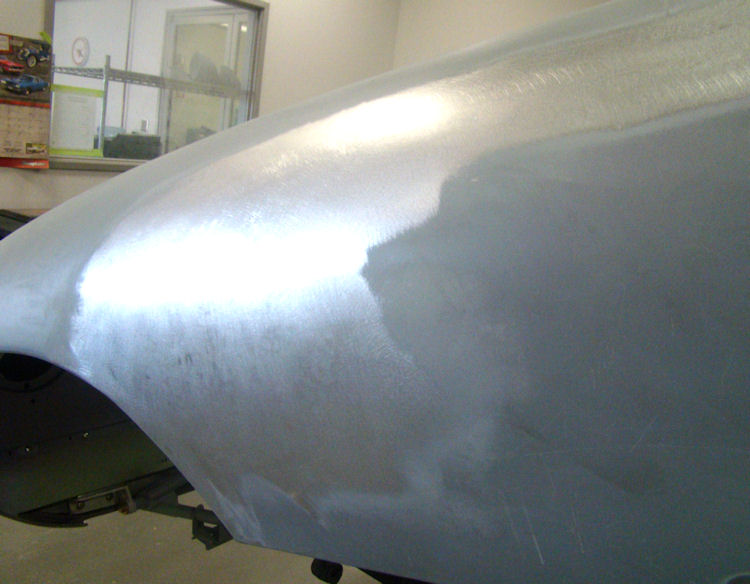
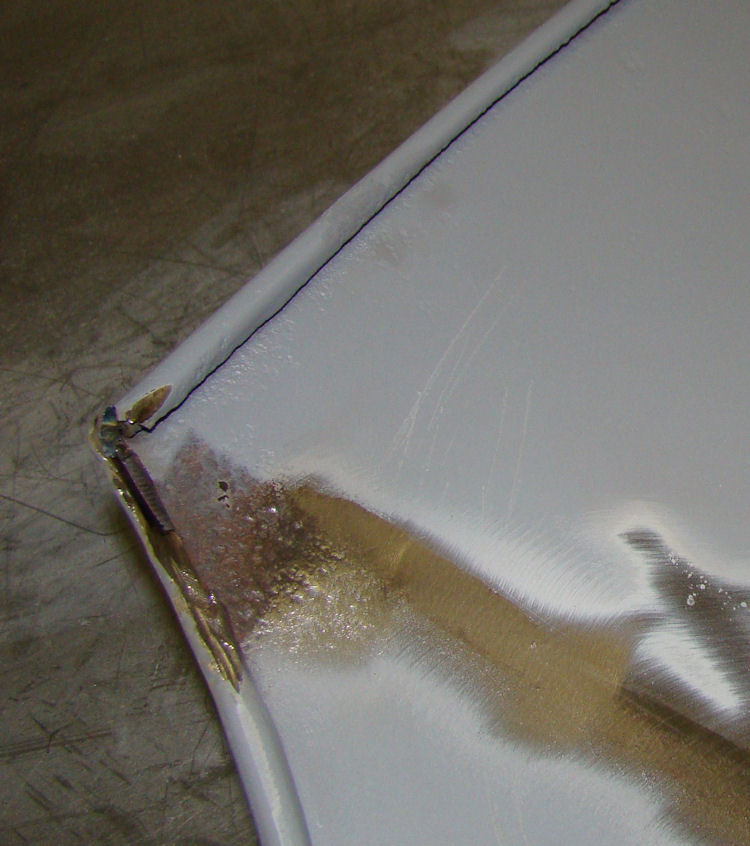
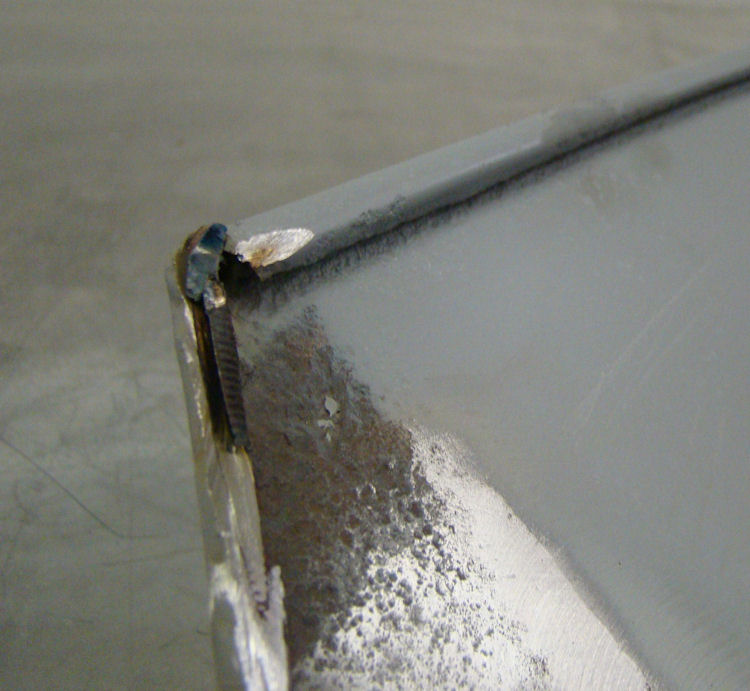
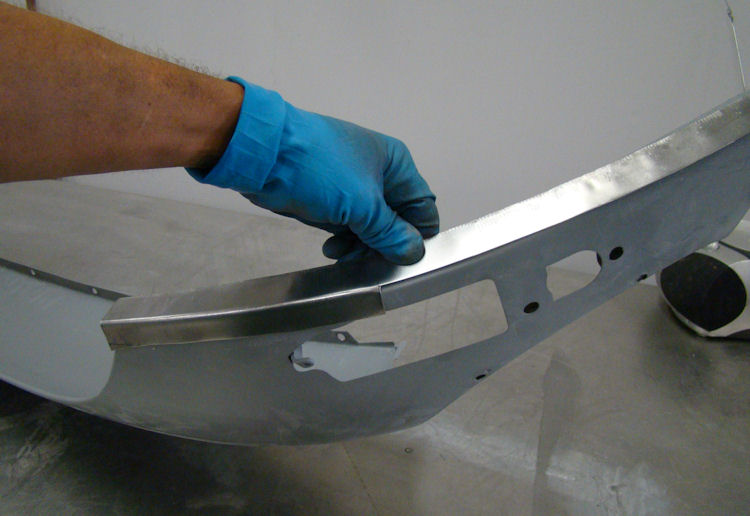
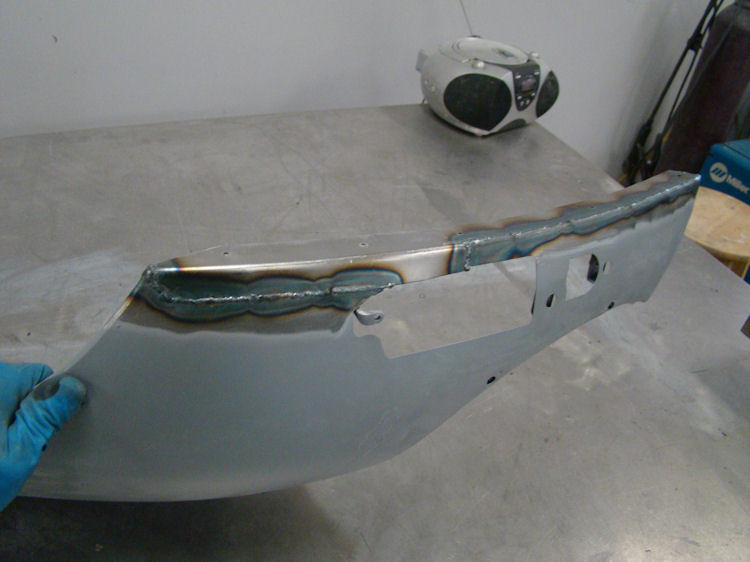
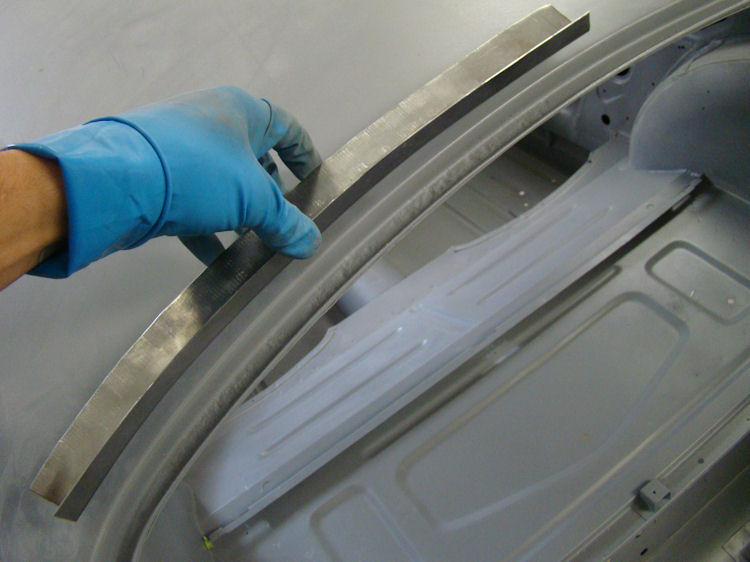
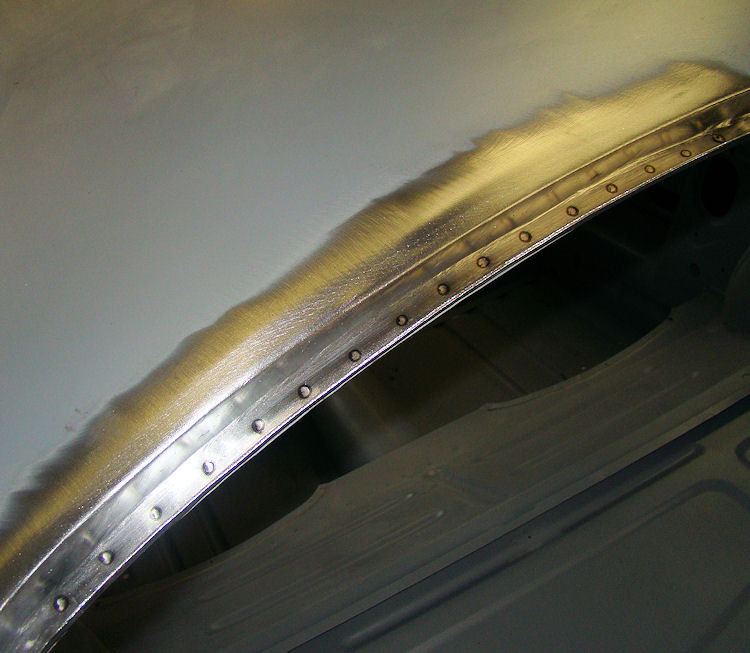
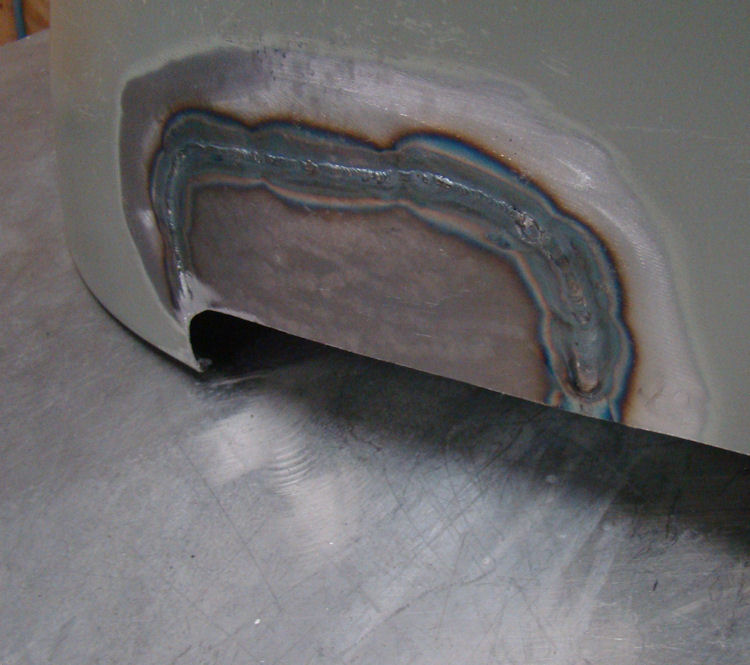
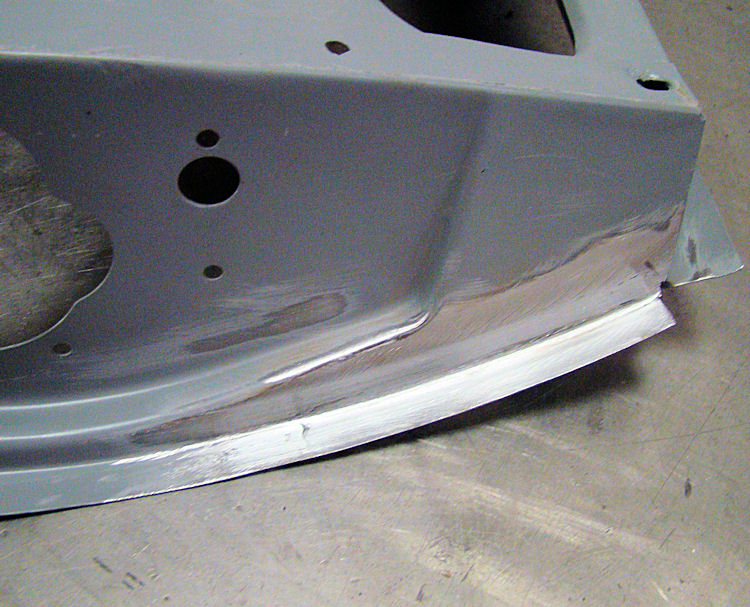
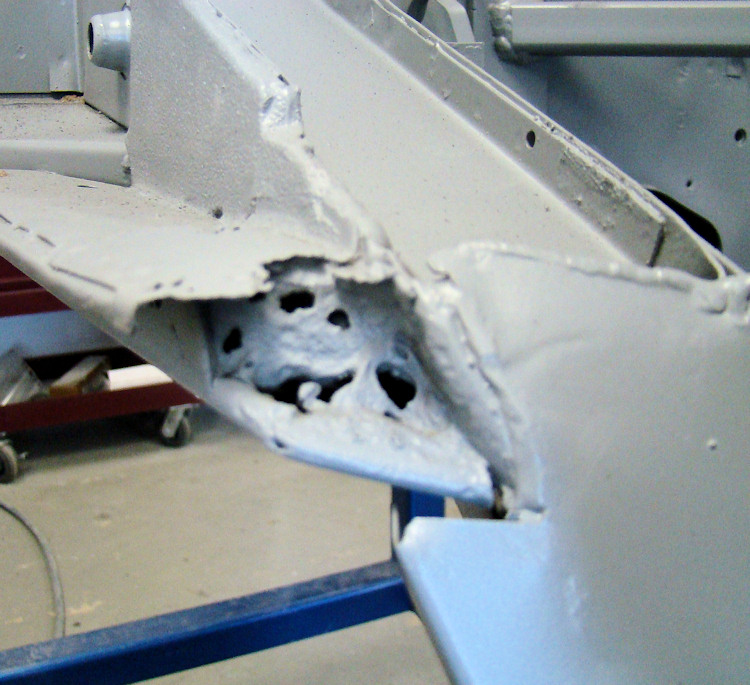
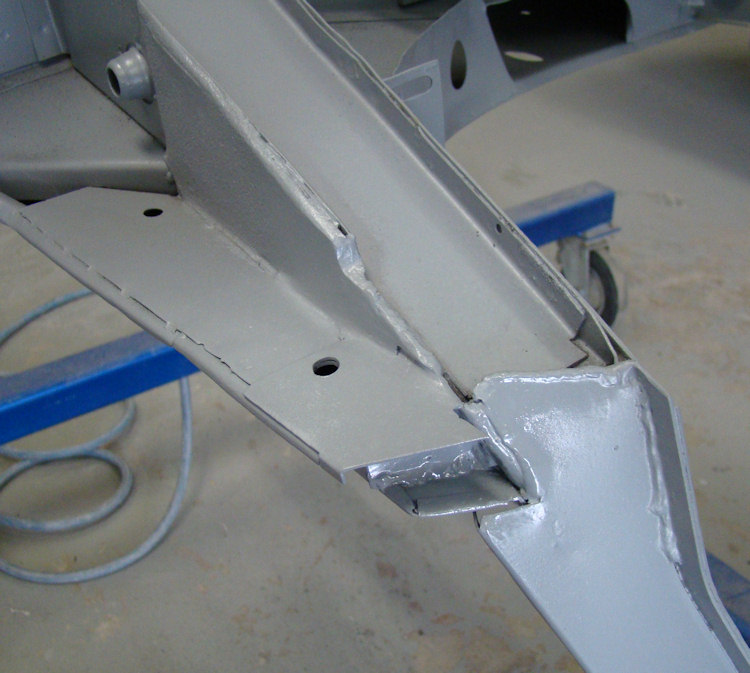
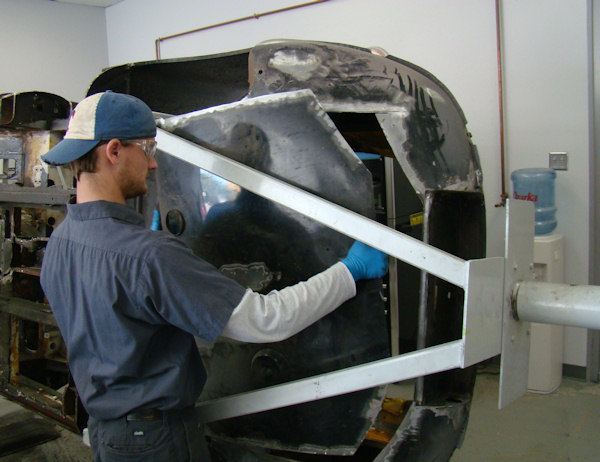
The following sequence of photographs show Darrell fabricating and installing a large repair section for the left hand front wing.
 |
 |
 |
|
will be replaced |
|
|
 |
 |
 |
|
|
over new beading |
panel meets wheel arch |
 |
 |
 |
 |
 |
 |
|
welded in place... |
|
|
 |
 |
 |
|
|
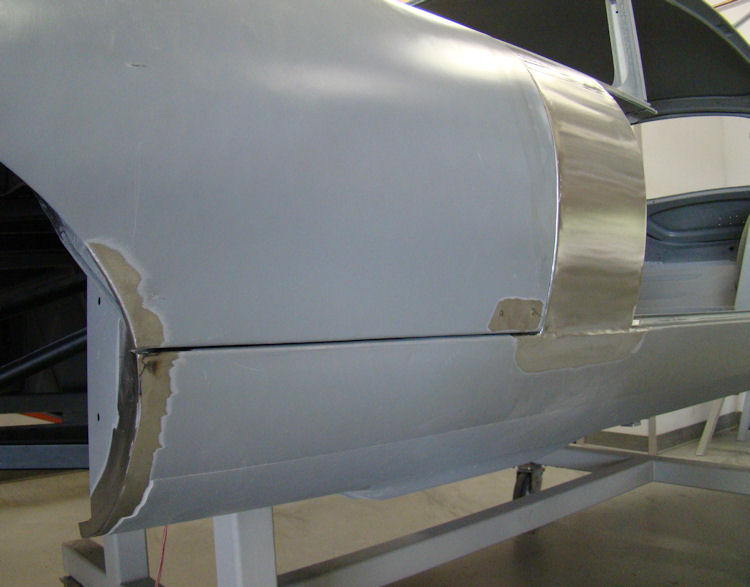
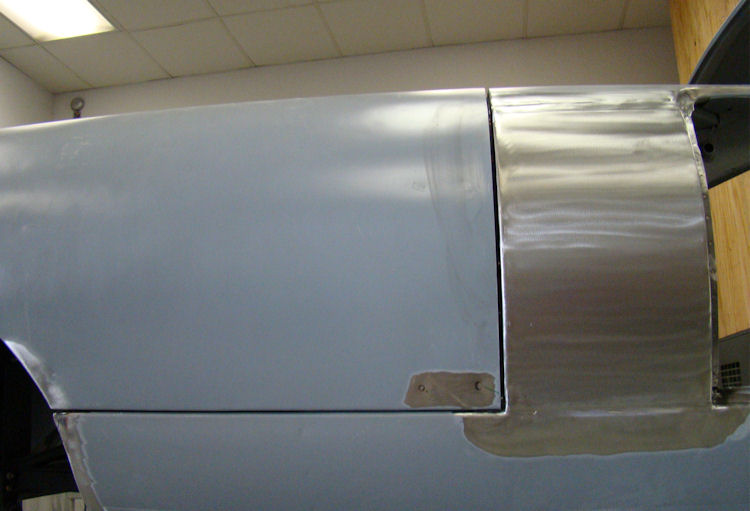
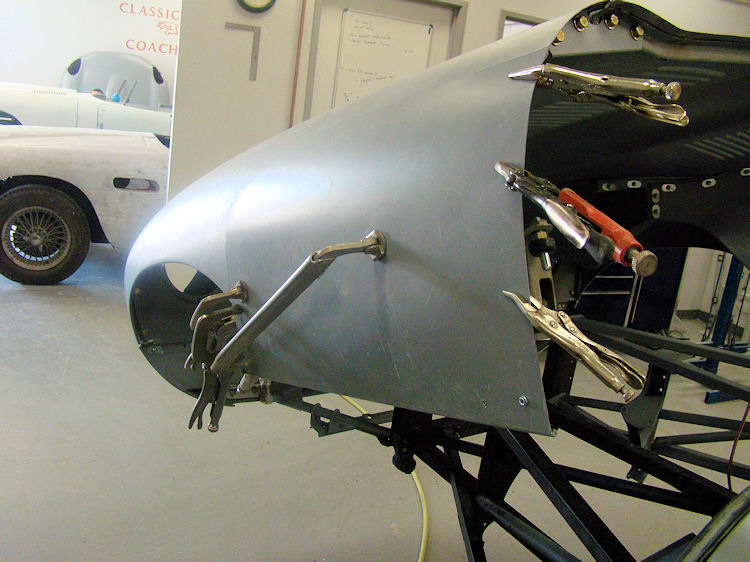
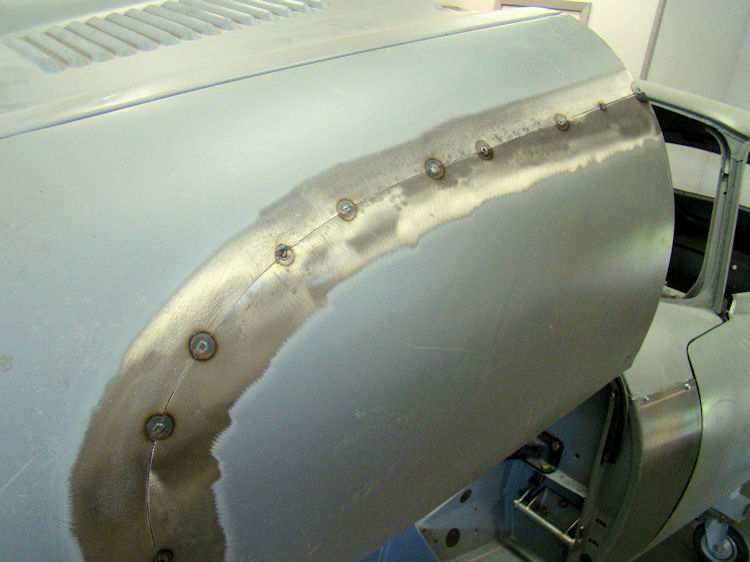
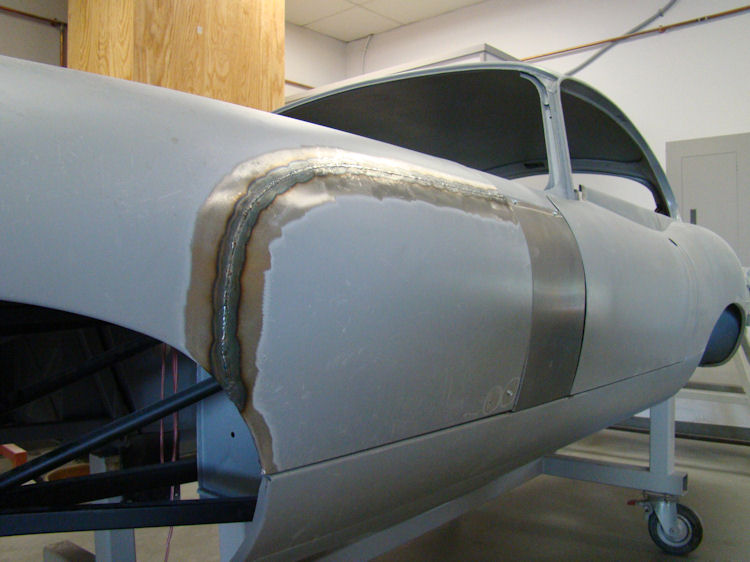
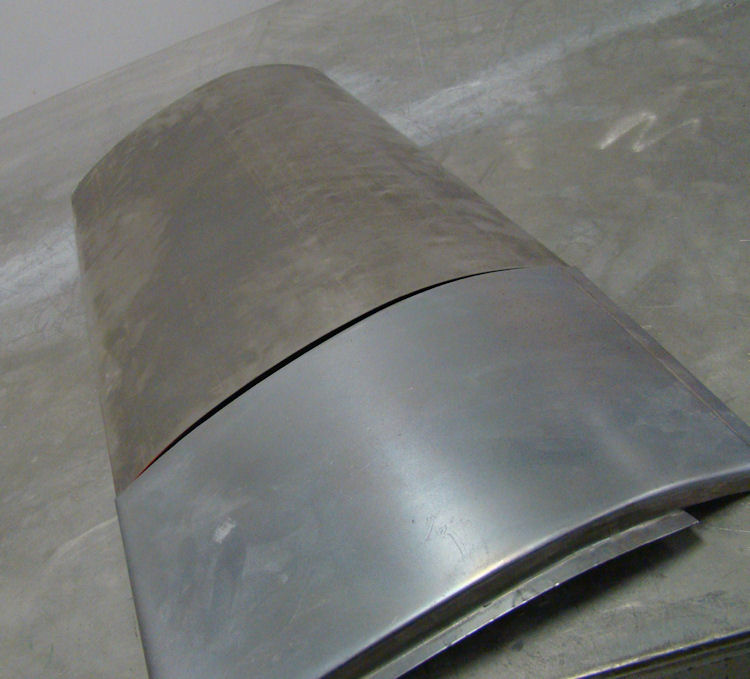
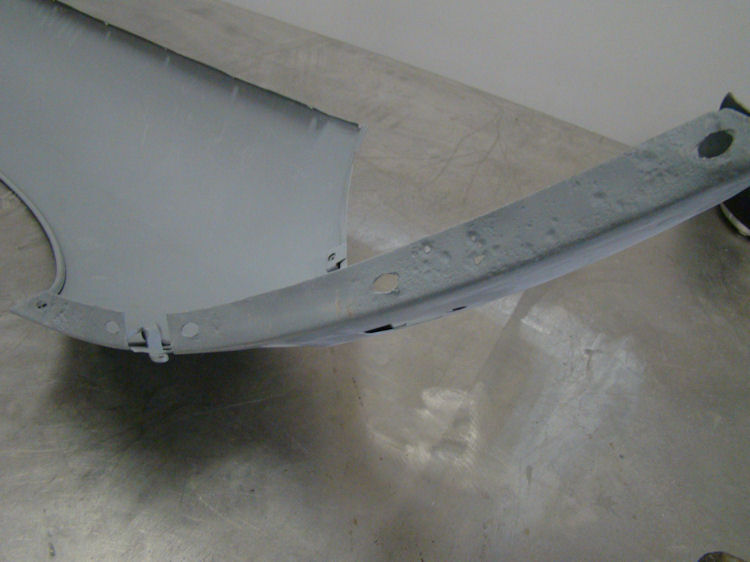
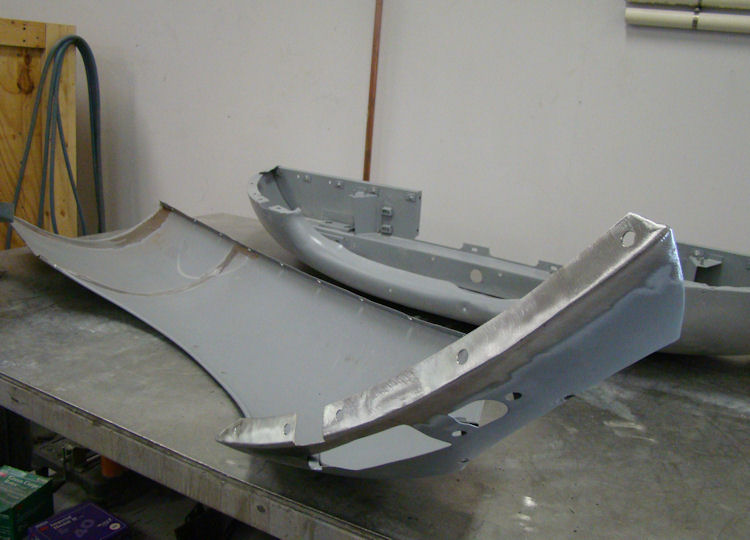
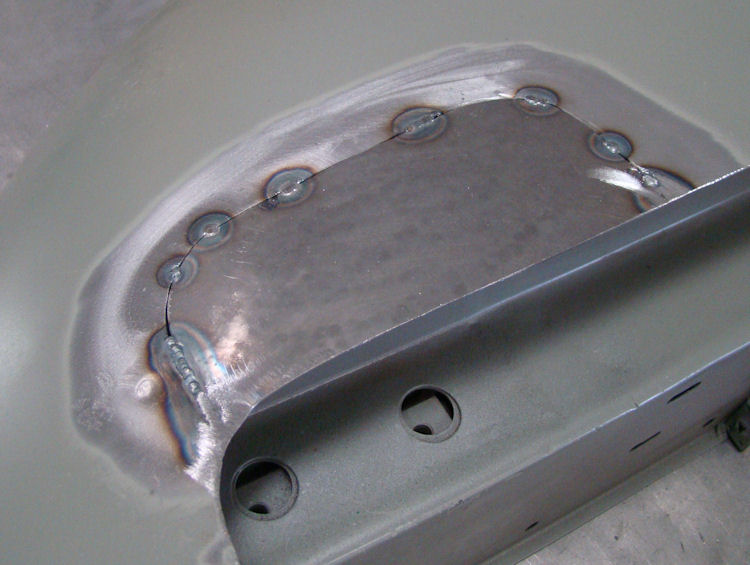
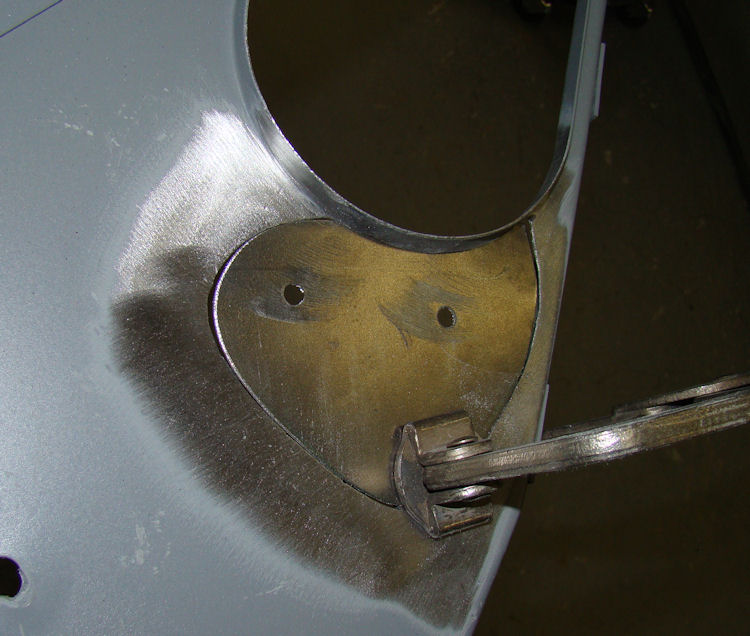
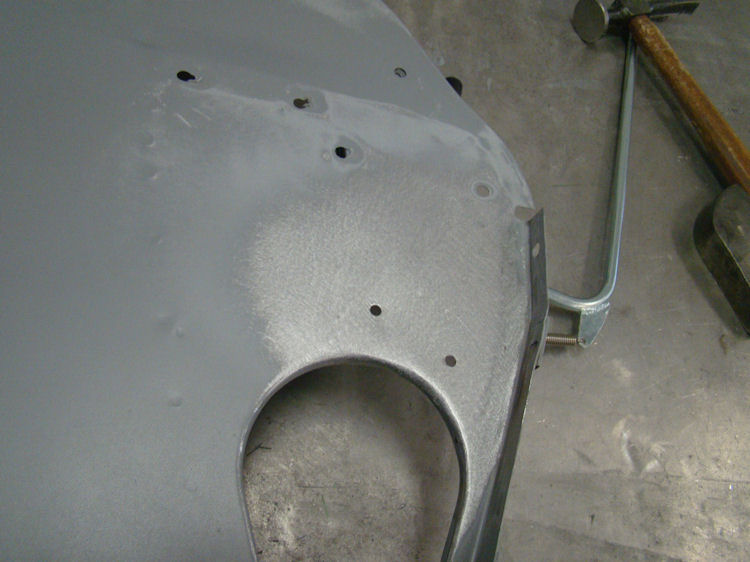
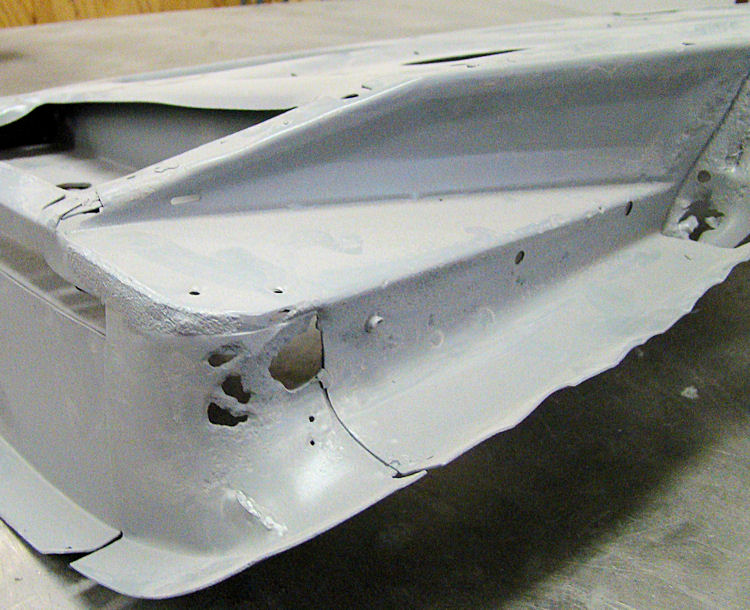
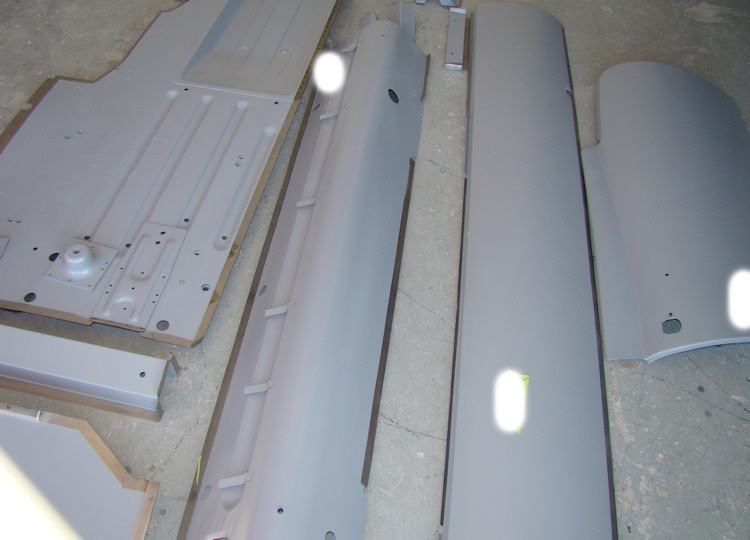
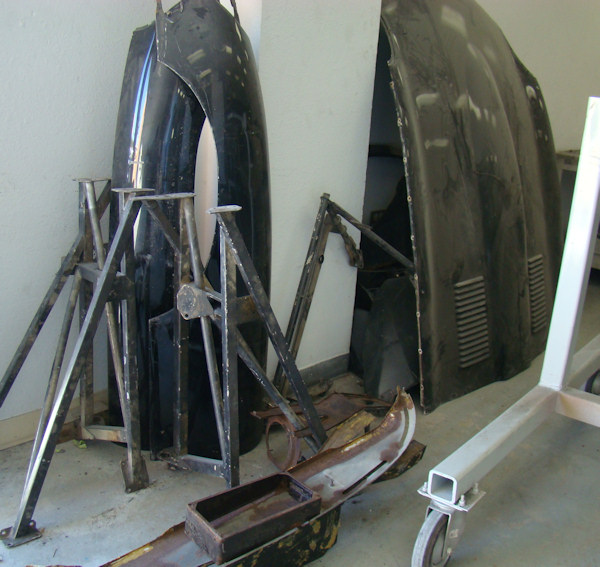
Lots of sheet metal repairs, fabrication, lead loading, restoring your bonnet and belly pan...
 |
 |
 |
|
|
||
 |
 |
 |
|
metal replacement |
||
 |
 |
 |
|
wing repair |
side panel |
|
 |
 |
 |
|
|
|
|
 |
 |
 |
|
sheet metal repairs |
||
 |
 |
 |
|
|
|
offered into place |
 |
 |
 |
|
|
place, the seam is TIG welded |
|
 |
 |
 |
|
|
||
 |
 |
|
|
a number of repairs |
|
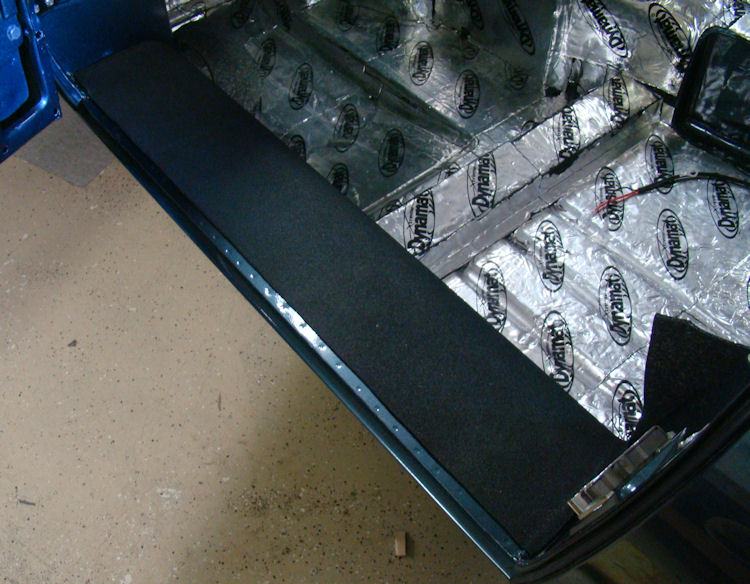
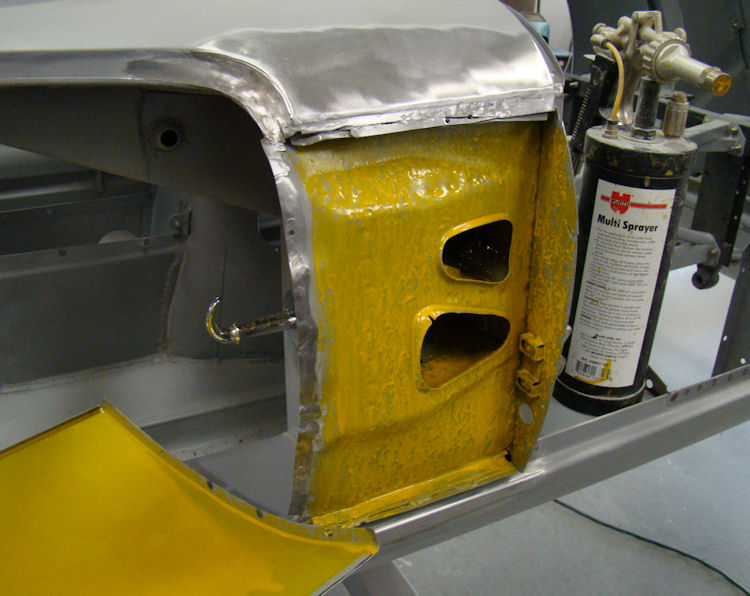
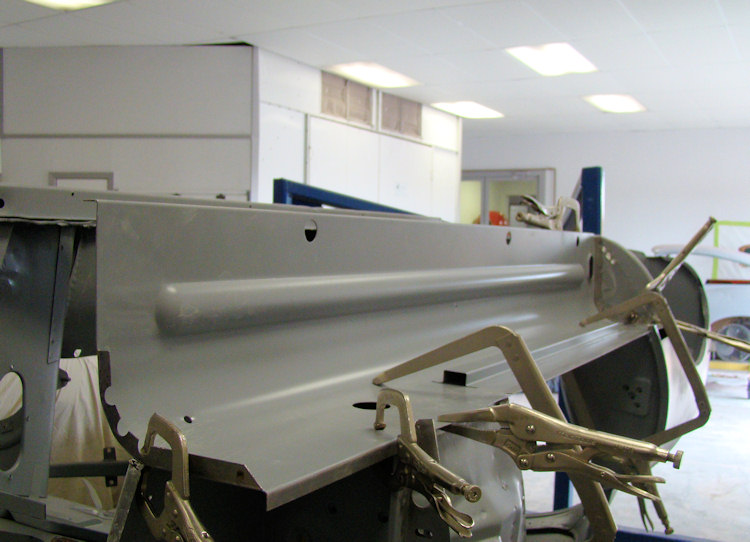
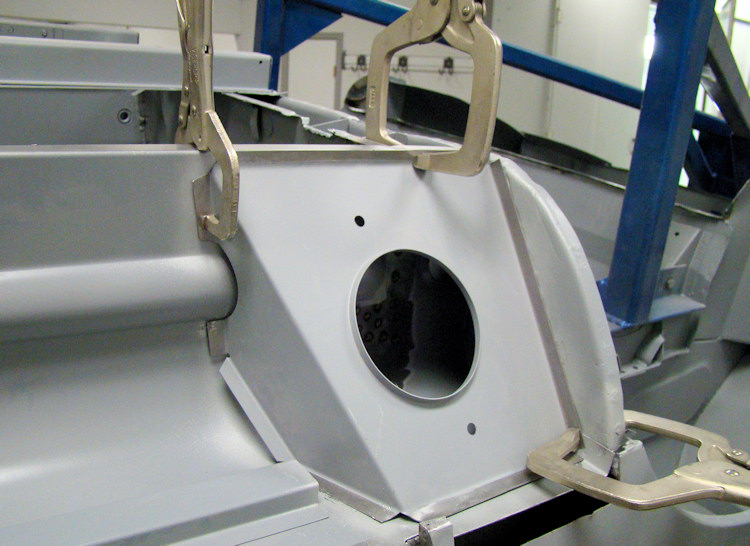
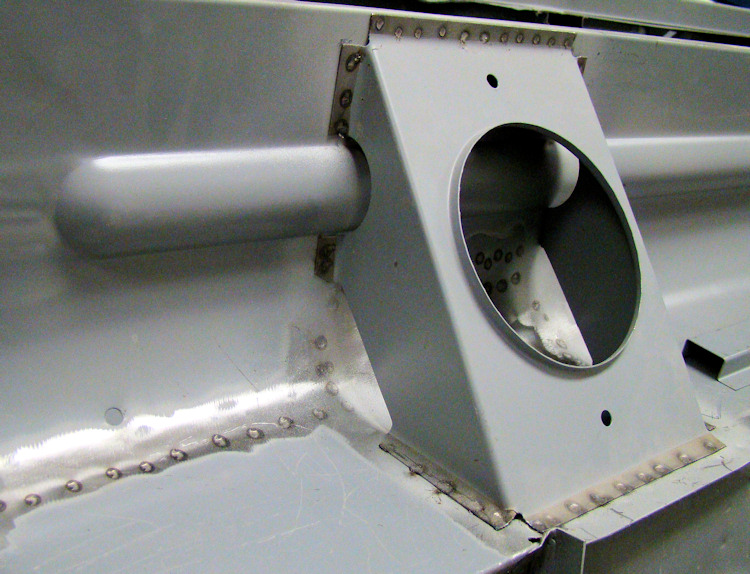
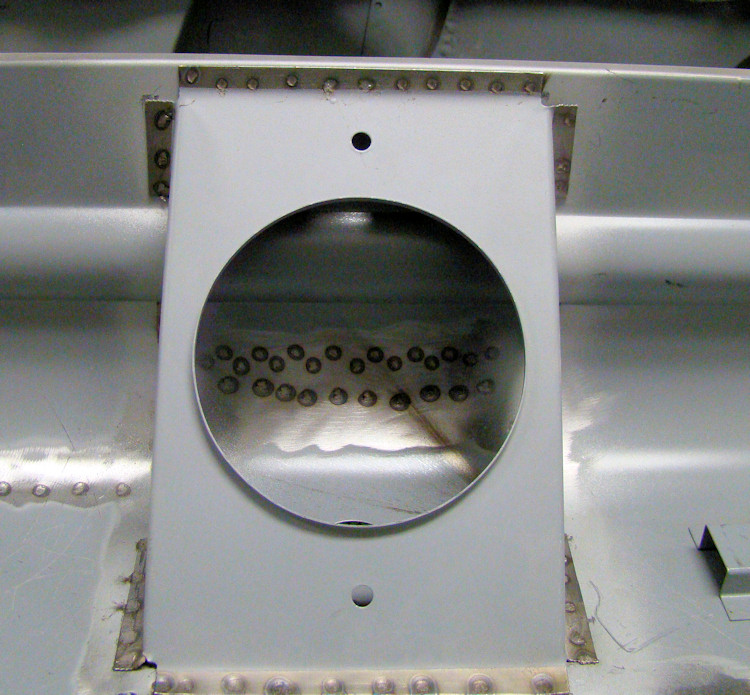
With your doors rebuilt, we have now trial fitted and installed the outer sills, sill end closing panels and firewall kick panels...
 |
 |
 |
|
|
side panels and doors |
sill box sections |
 |
 |
 |
|
in place |
to new outer sill |
|
 |
 |
 |
|
and sill end panels |
sealed with epoxy primer |
|
The following sequence of photos show Darrell rebuilding your very rusty doors. I will try to get paint and leather samples sent off to you this week.
 |
 |
 |
|
|
replaced on rh door |
|
|
|
|
|
 |
 |
 |
|
and replaced on both doors |
rebuilt |
|
|
|
|
|
 |
 |
 |
|
|
|
than the right... |
|
|
|
|
 |
 |
 |
|
|
|
|
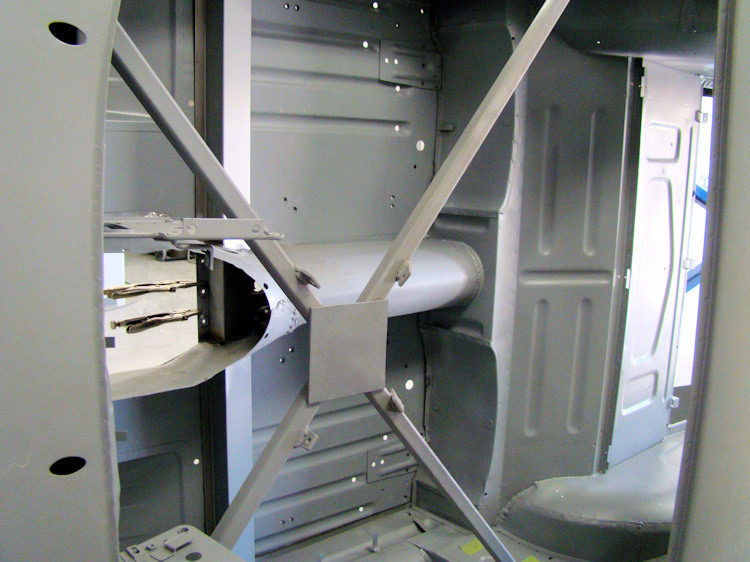
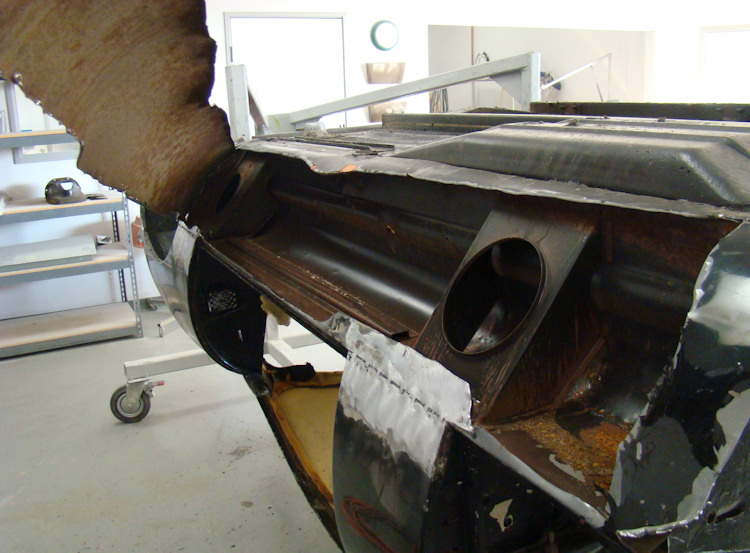
Clint has been busy installing your new floors and boot floor, as well as fabricating and replacing the lower lip of the tail gate opening...
 |
 |
 |
|
transmission tunnel |
||
 |
 |
 |
|
|
to all inner boxed sections |
|
 |
 |
 |
|
|
|
|
 |
 |
 |
|
opening used to look... |
welded into place |
welded into place |
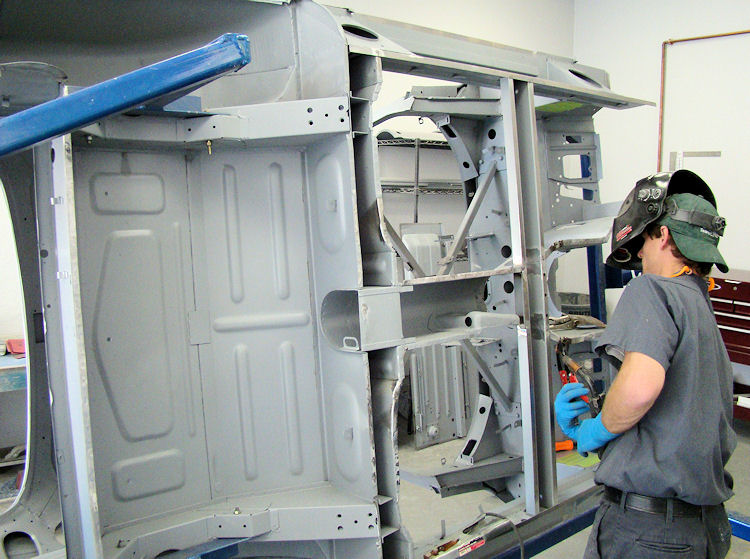
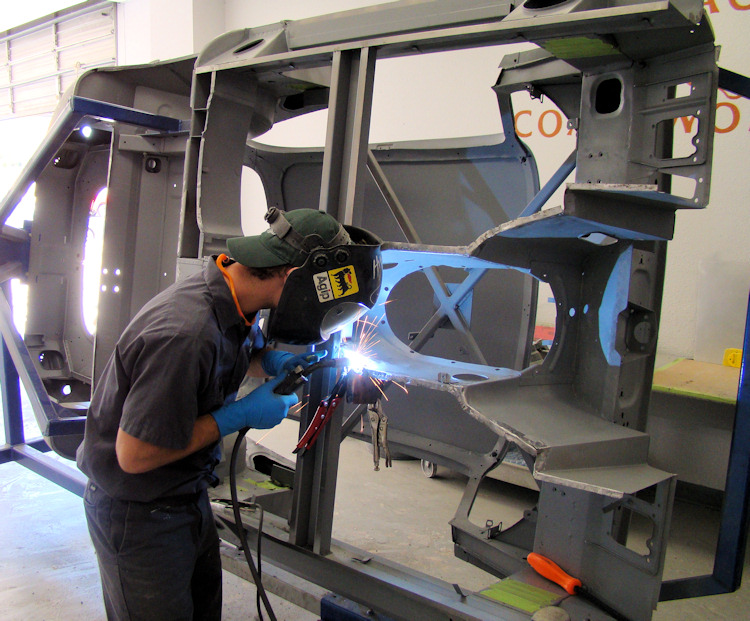
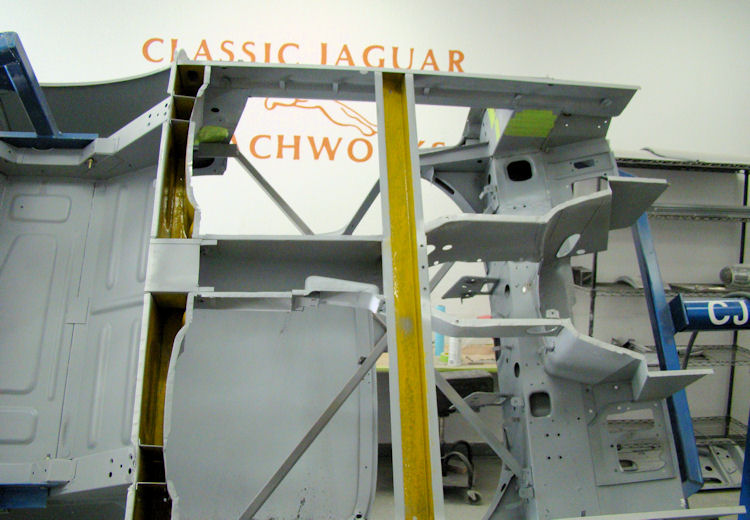
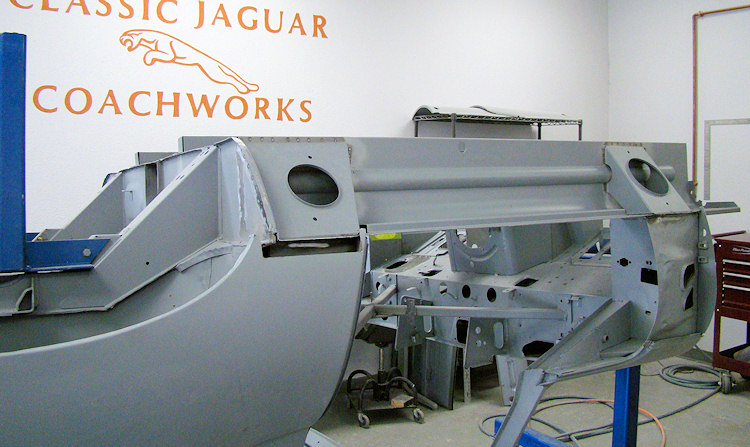
Lots of progress in the CJ Coachworks this week...
 |
 |
 |
|
both A pillars |
|
welded in place |
|
|
|
|
 |
 |
 |
|
|
|
|
|
|
|
|
 |
 |
 |
|
panel to be installed |
|
|
|
|
|
|
 |
 |
 |
|
|
hand sill in place |
|
|
|
|
|
 |
 |
 |
|
|
|
|
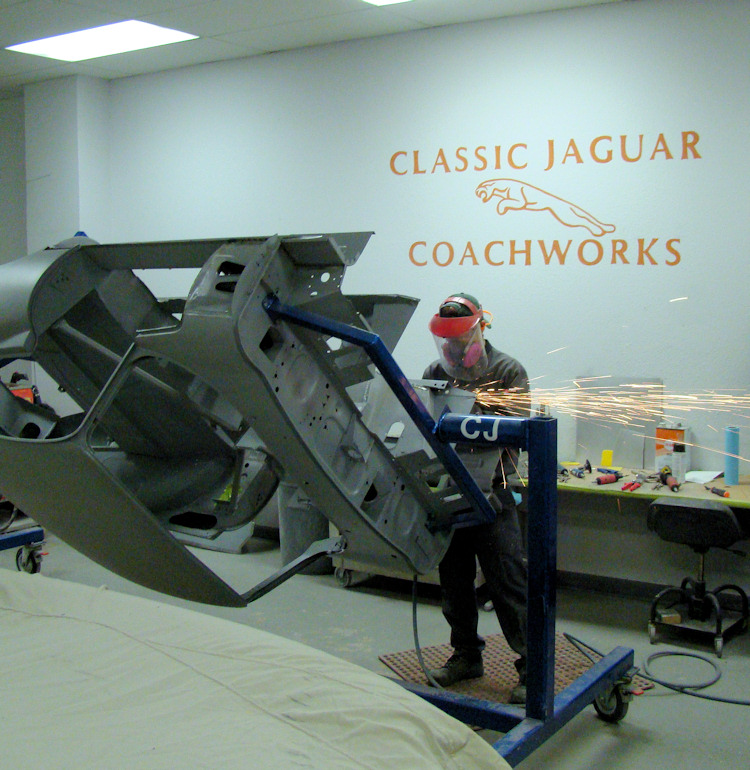
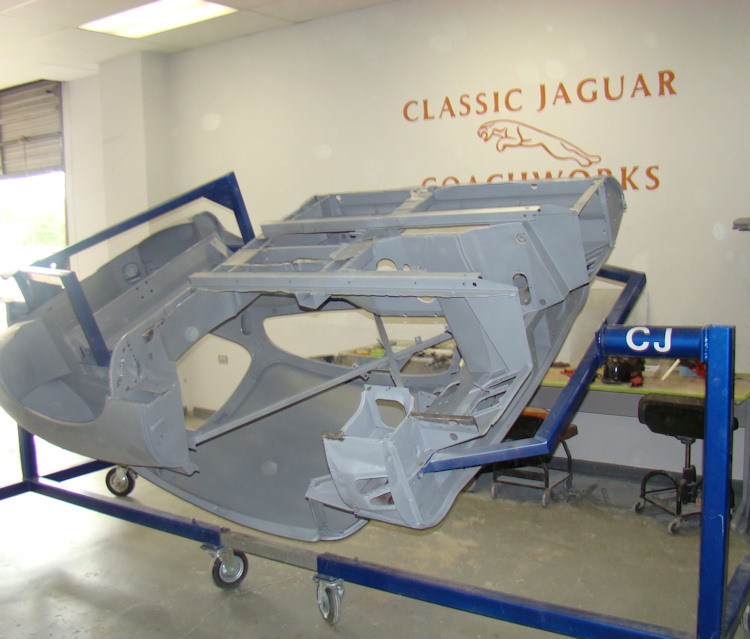
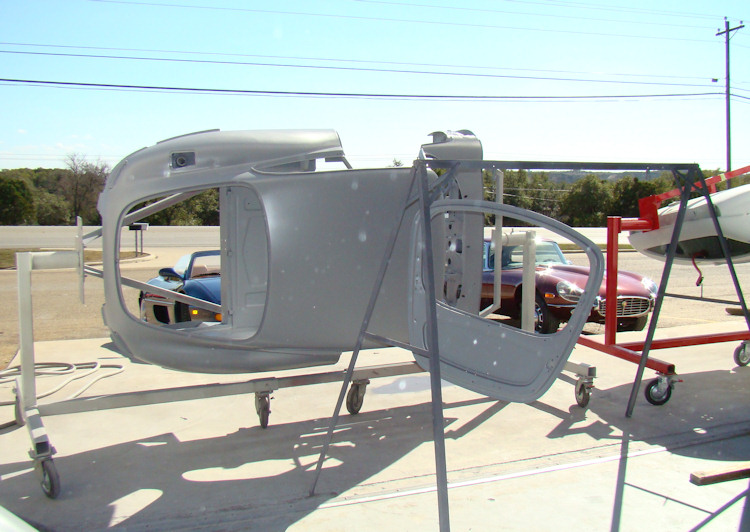
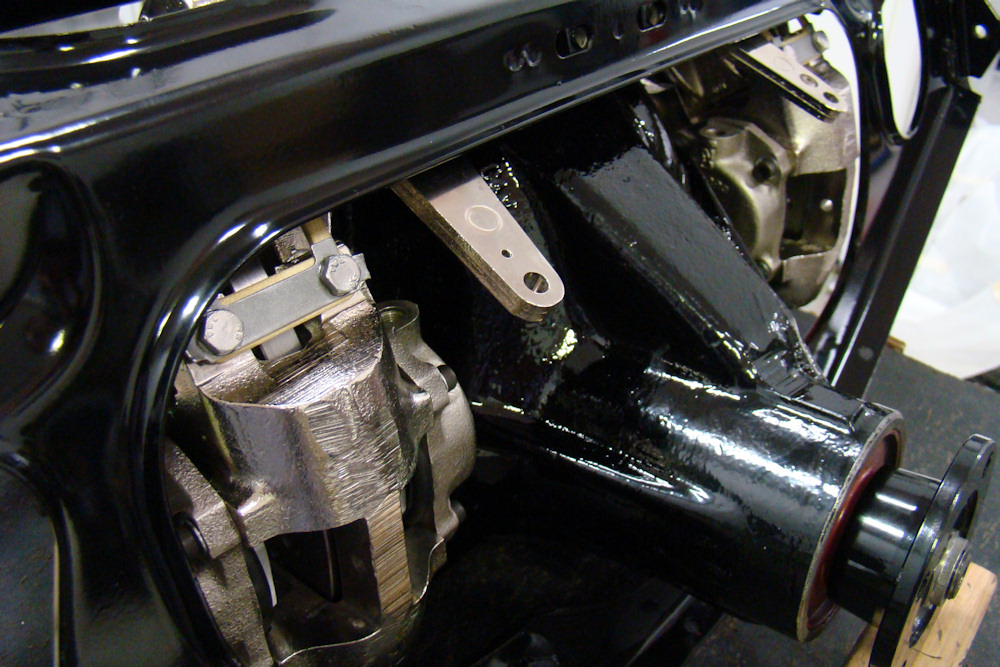
We now have the restoration of your bodyshell underway..
 |
 |
 |
|
and sealed in epoxy |
|
replacement underway... |
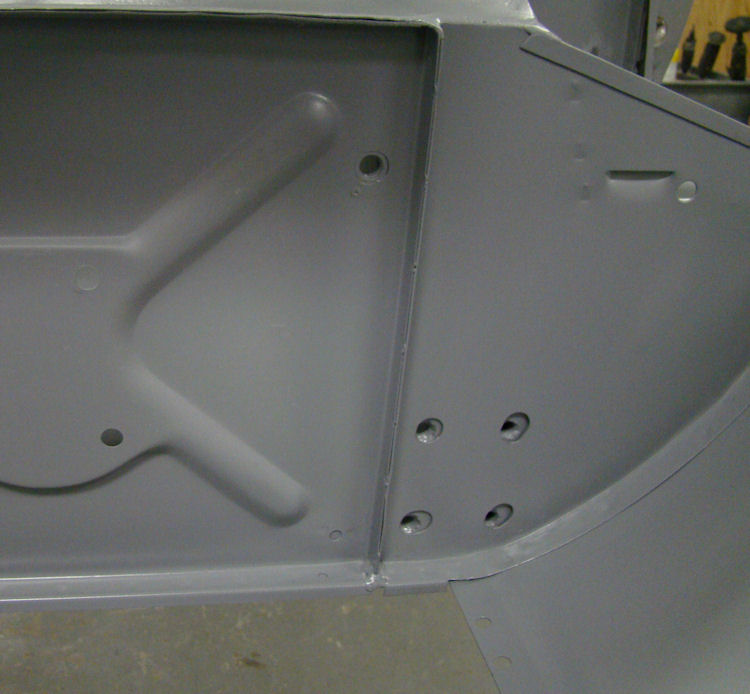
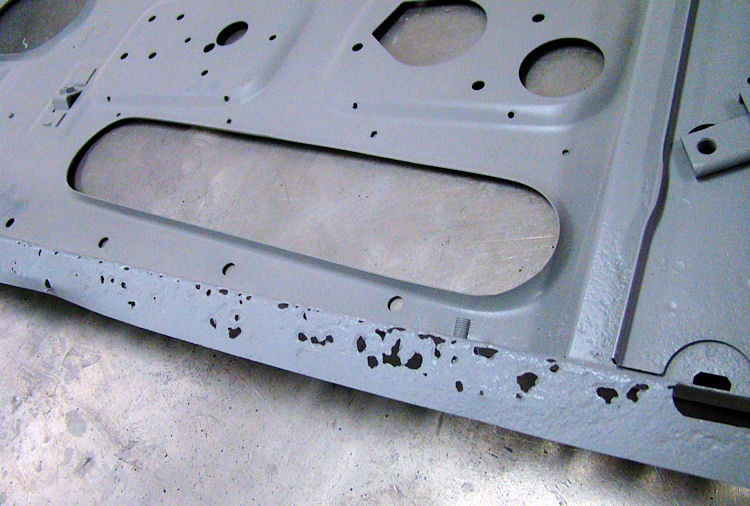
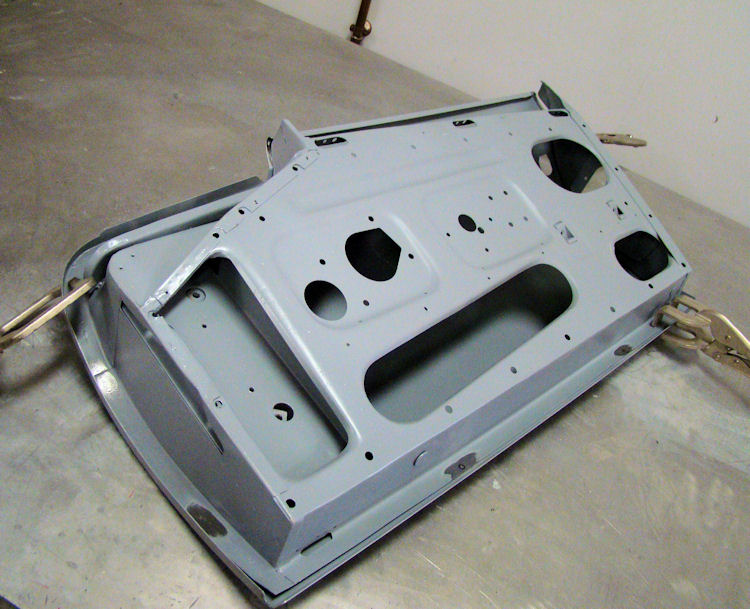
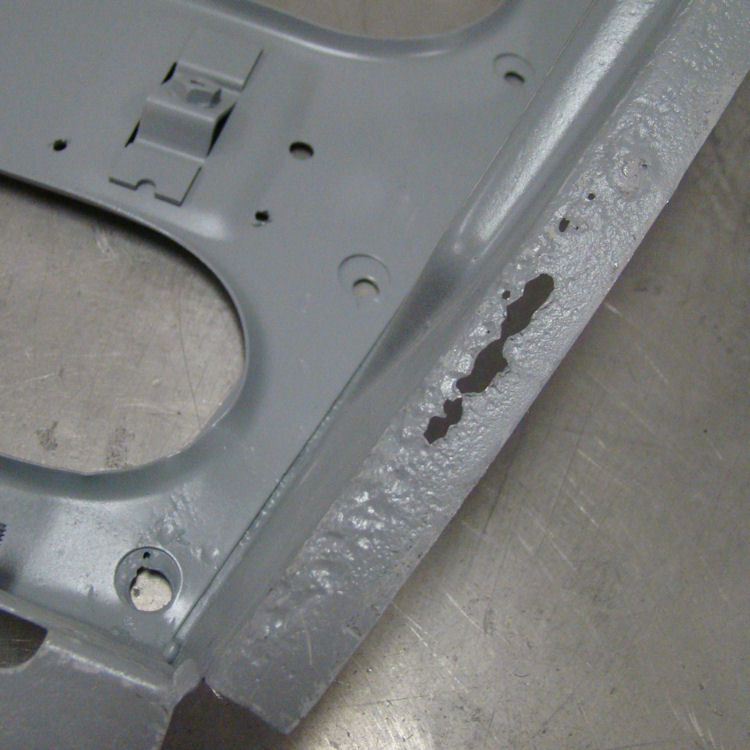
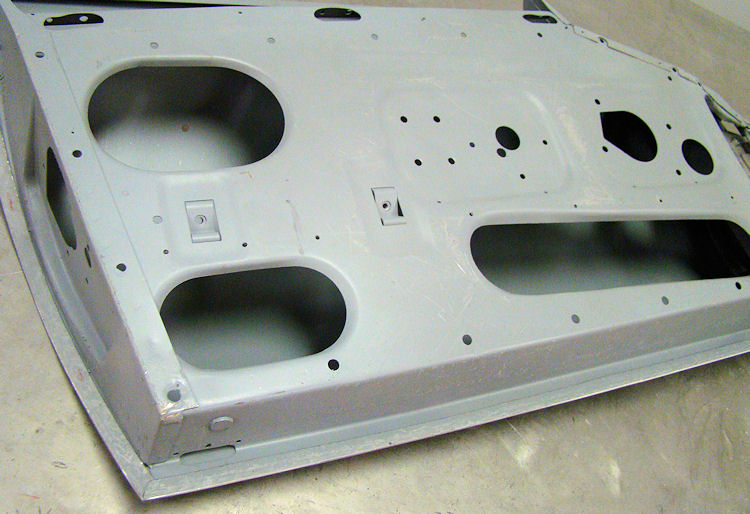
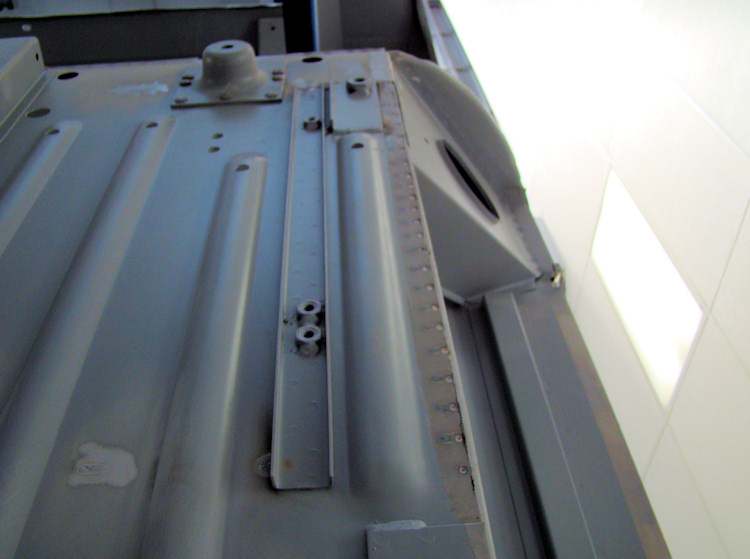
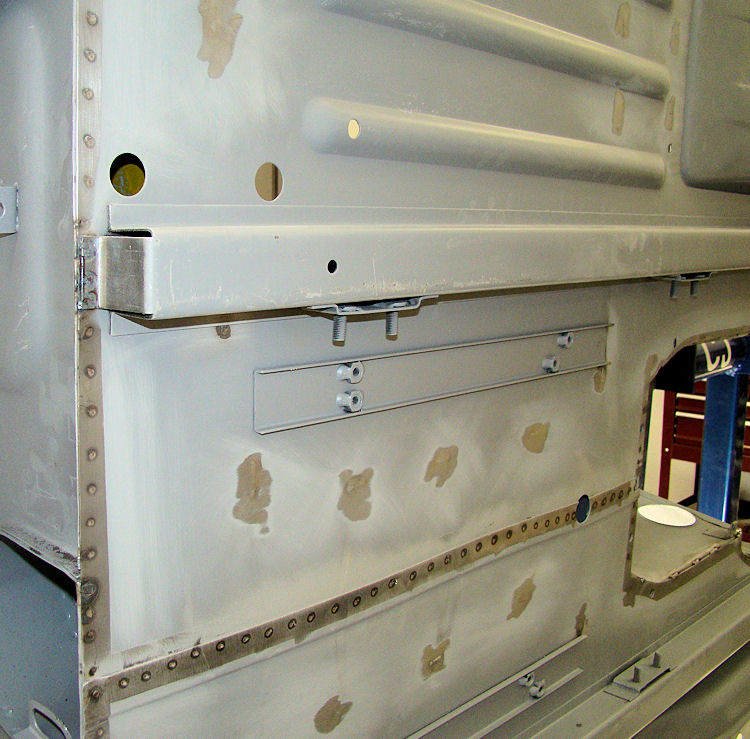
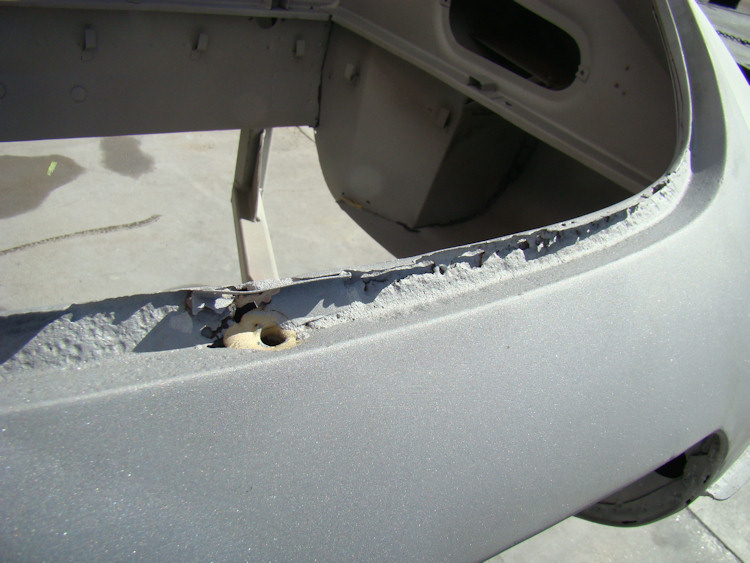
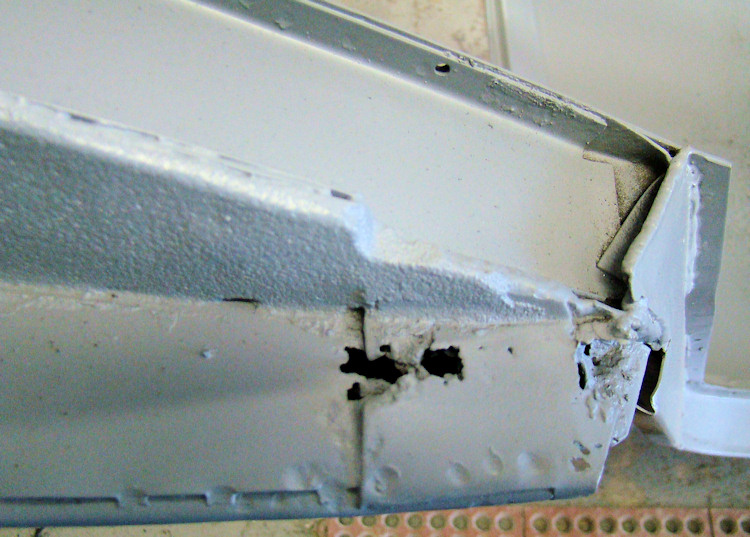
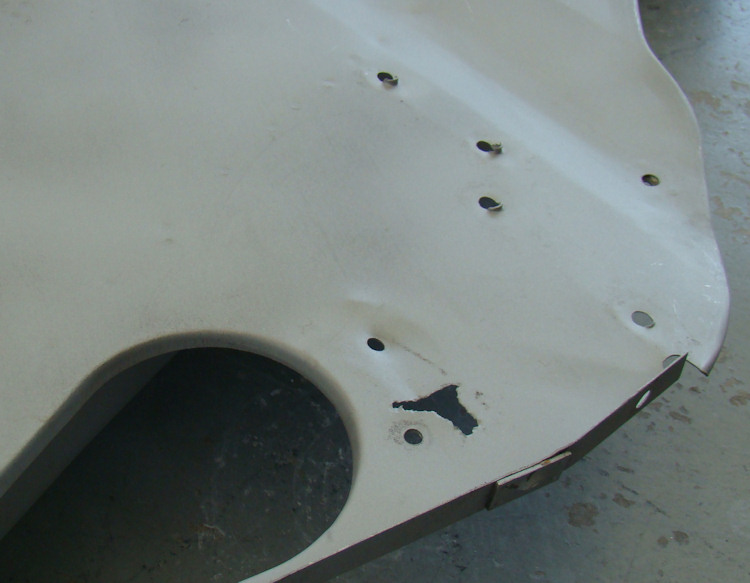
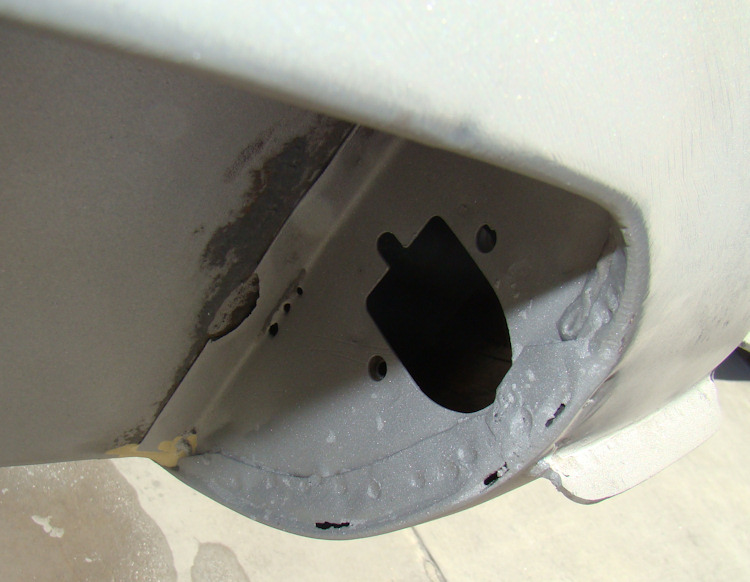
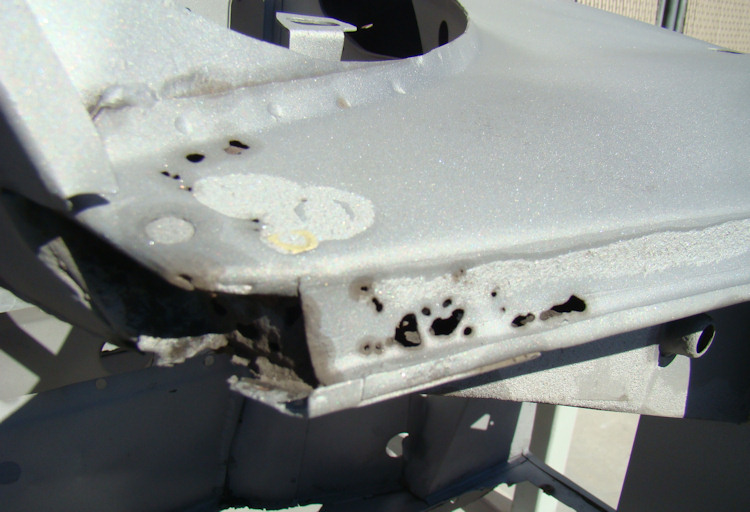
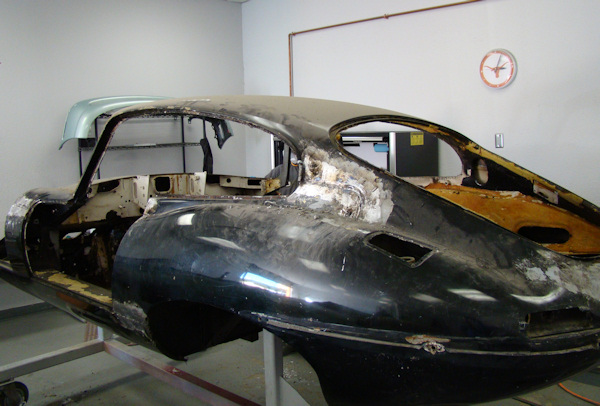
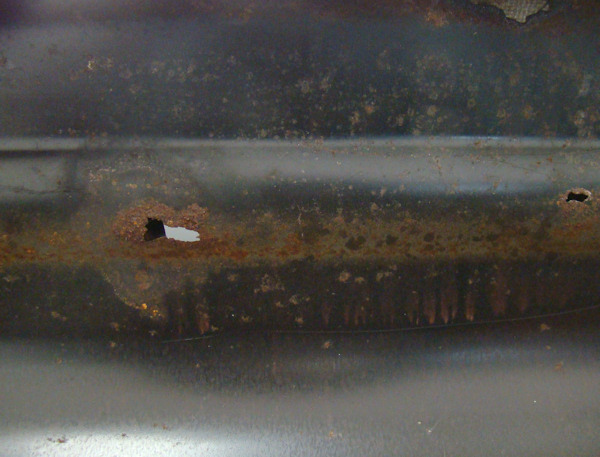
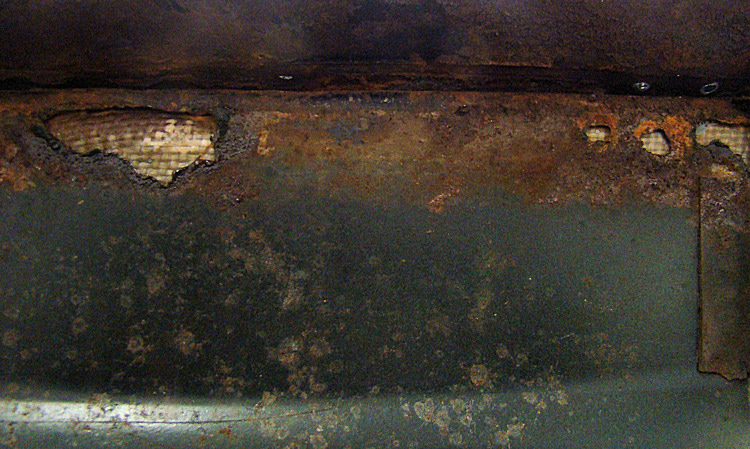
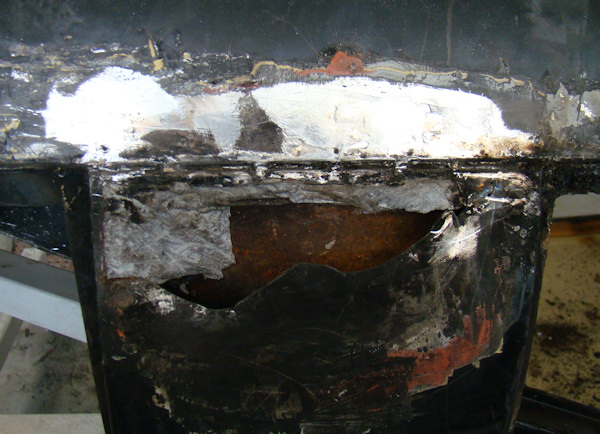
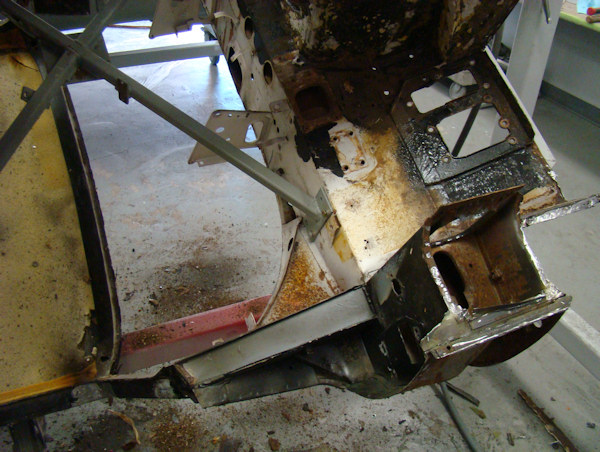
With your car back from the blasters, we are able to see the full extent of corrosion throughout the body. Both engine side frames are toast, the bonnet and door frames are marginal (replace versus restore), and the main monocoque also has a very bad case of the tin worm. We have sealed everything up in epoxy primer and your car is now waiting in line for its much needed CJ makeover!
 |
 |
 |
|
|
||
 |
 |
 |
|
|
|
|
 |
 |
 |
|
|
||
 |
|
 |
|
|
|
|
 |
 |
 |
|
than me, Joe?! |
|
|
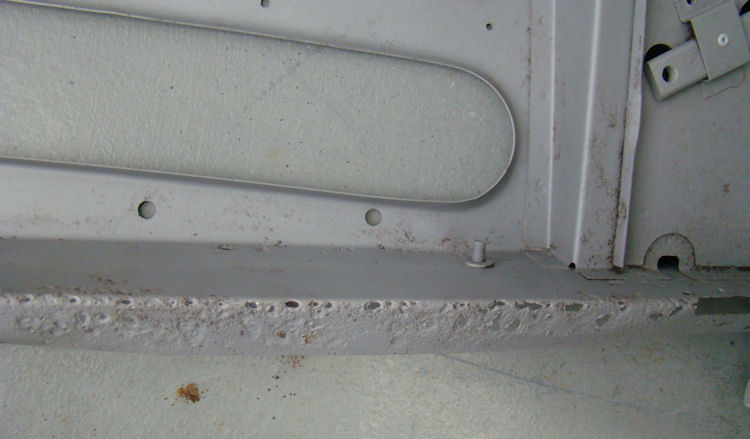
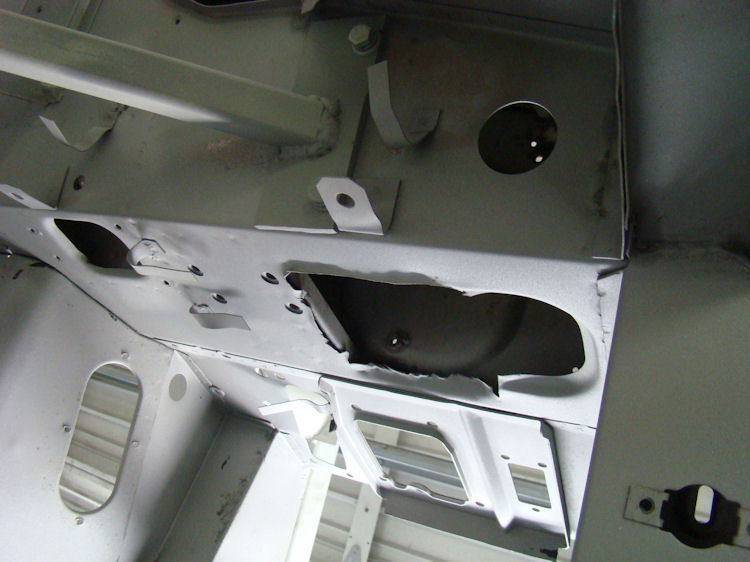
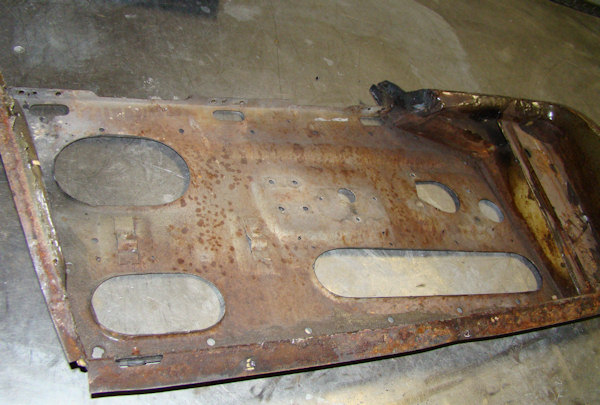
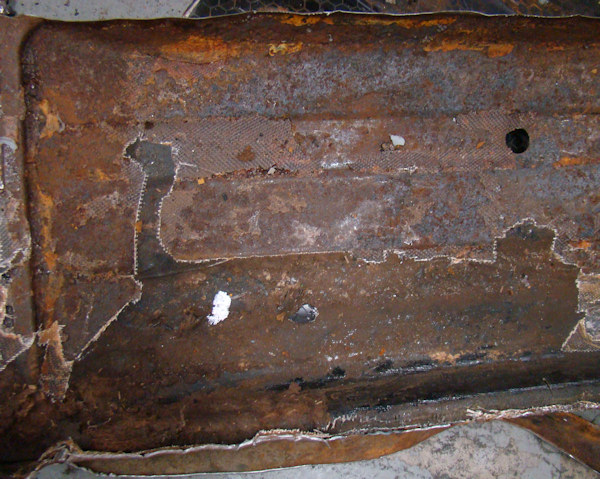
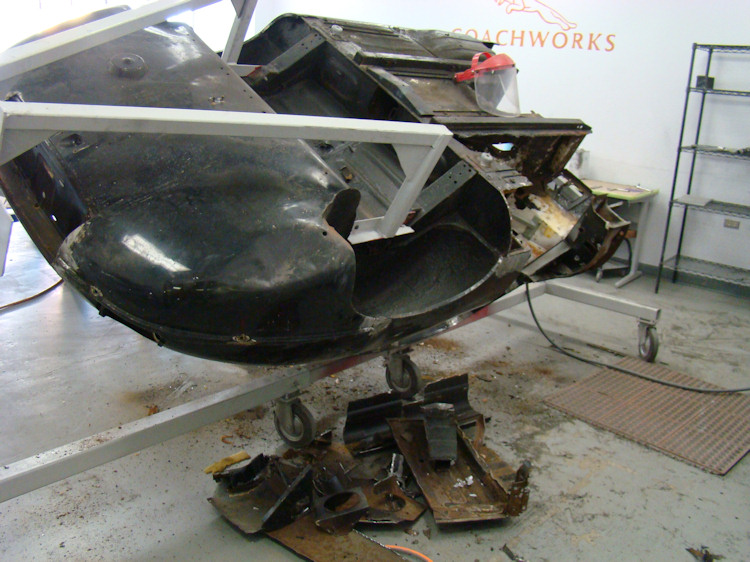
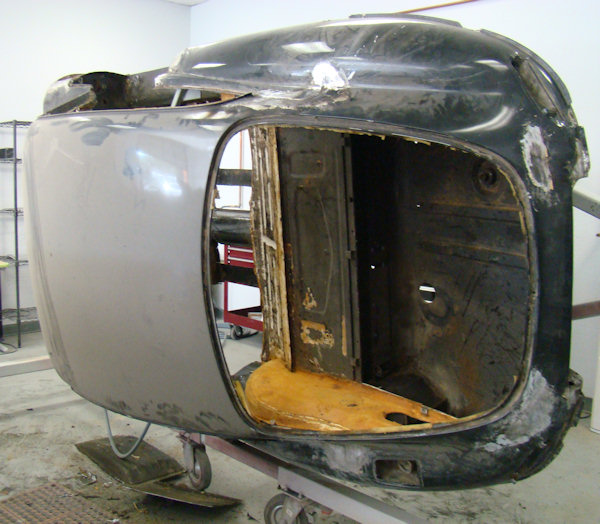
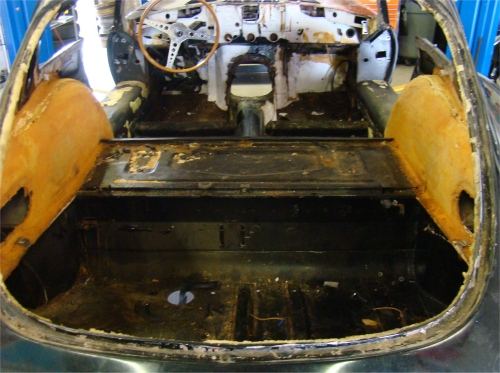
Clint has cut away most of the sheet metal that we already know we are going to replace and your body has been sent off to be blasted back to bare metal. At some time in the past, your car received a coat of fiberglass over the floors, inner sills, both front and rear bulkheads....actually pretty much everywhere!
 |
 |
 |
|
|
|
|
|
|
|
|
 |
 |
 |
|
|
|
|
|
|
|
|
 |
 |
 |
|
|
rust holes in inner sill |
|
|
|
|
|
 |
 |
 |
|
|
Brazil nuts |
cowl side panels |
|
|
|
|
 |
 |
 |
|
|
|
|
|
|
|
|
 |
 |
 |
|
|
to blasting |
|
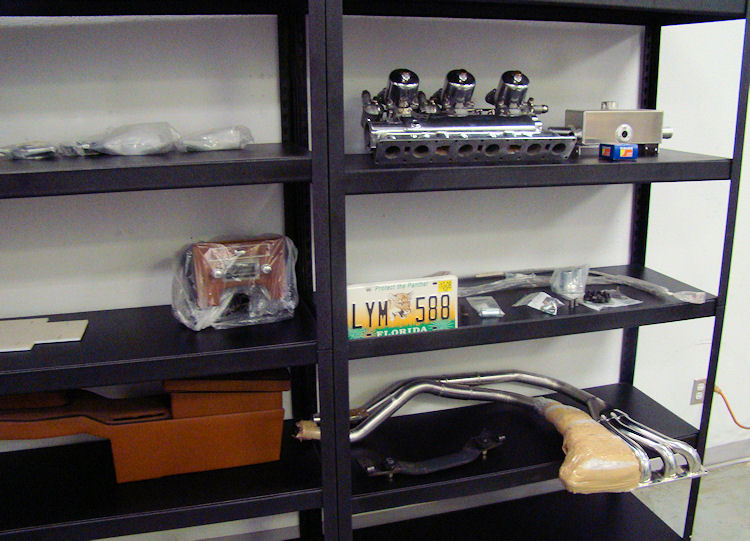
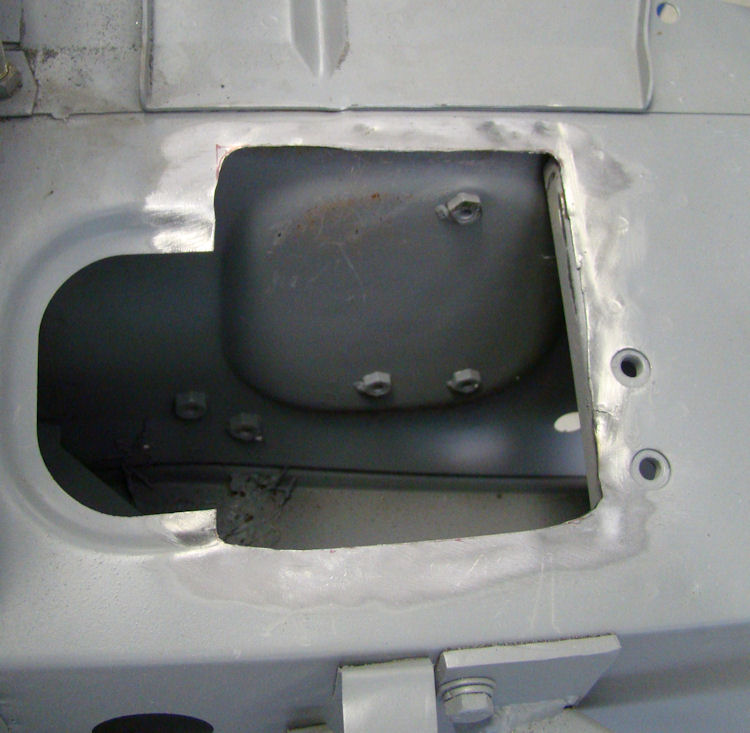
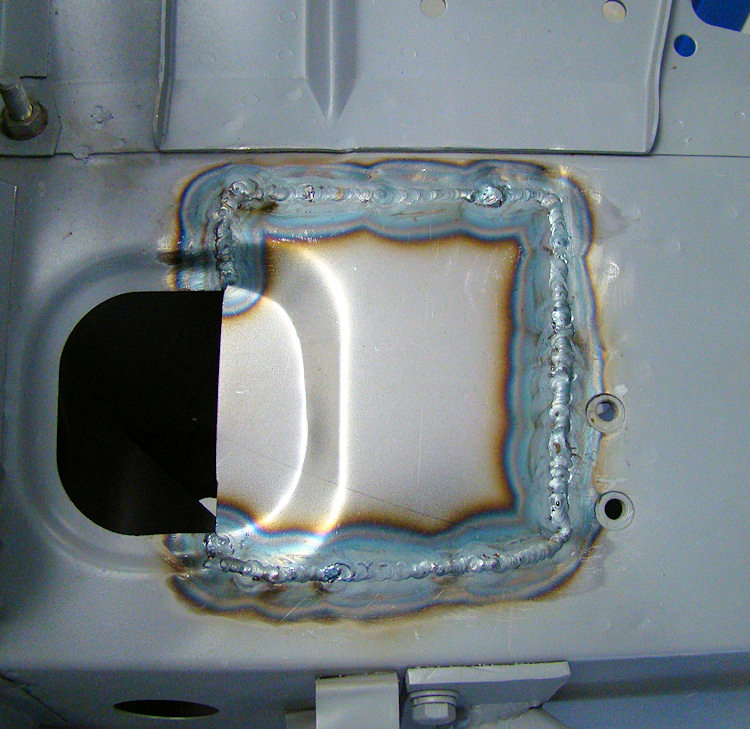
We have been busy rebuilding various components while your car waits in line for attention in the Coachworks.
 |
 |
 |
|
|
|
|
|
|
|
|
 |
 |
 |
|
|
|
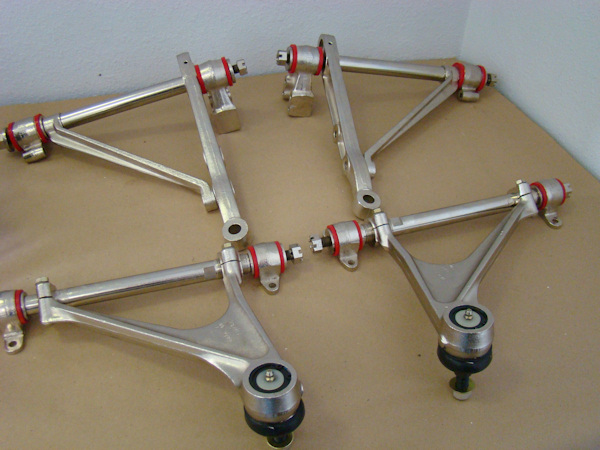
reassembled with Poly bushings |
 |
|
|
|
|
|
|
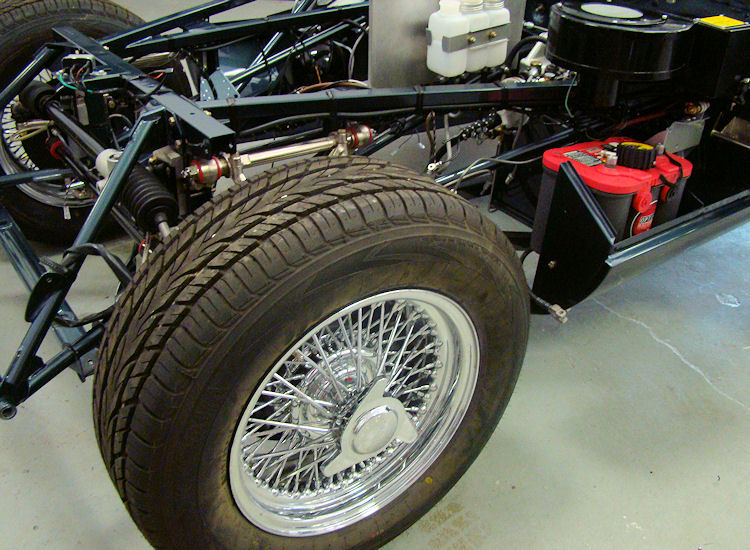
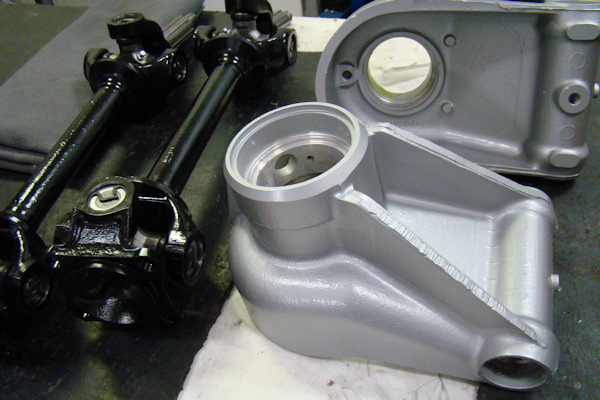
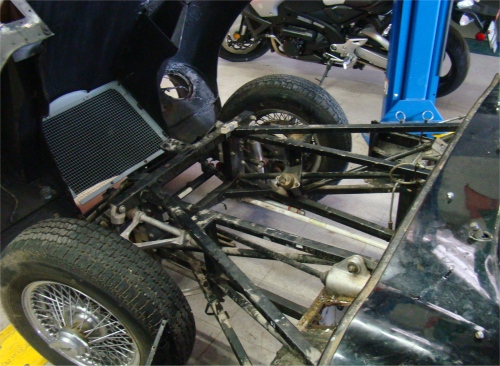
We have now completed the rebuild of your IRS...
 |
 |
 |
 |
 |
|
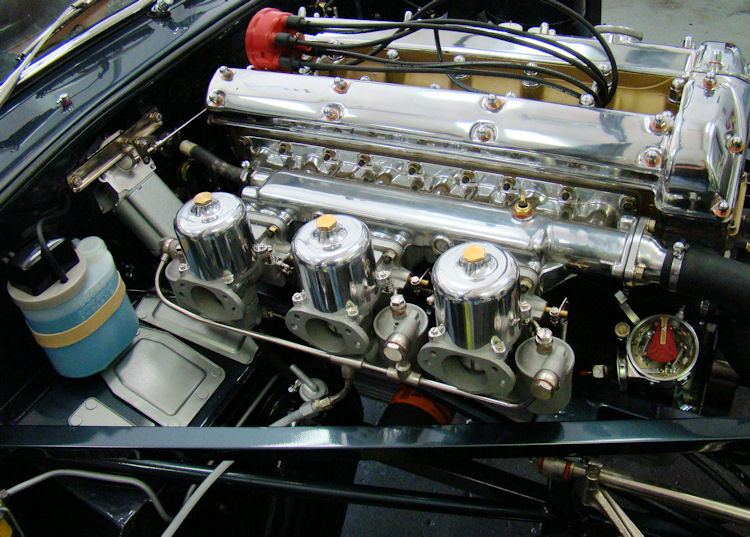
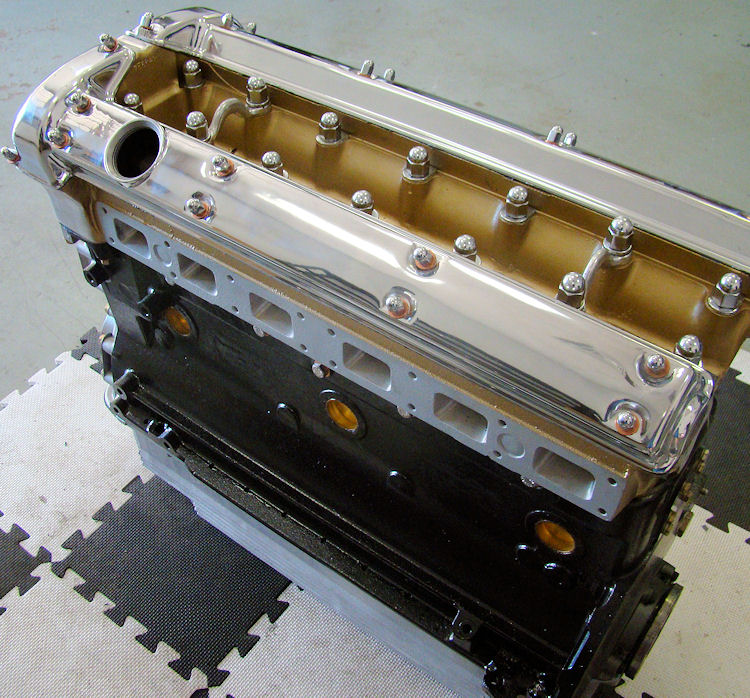
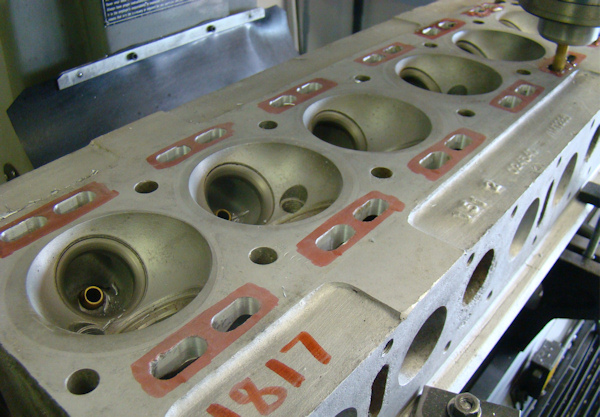
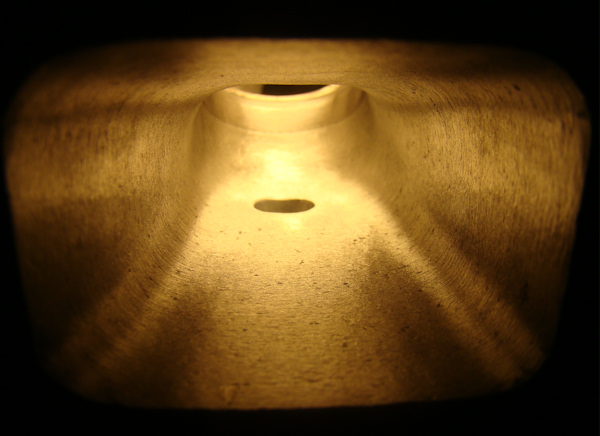
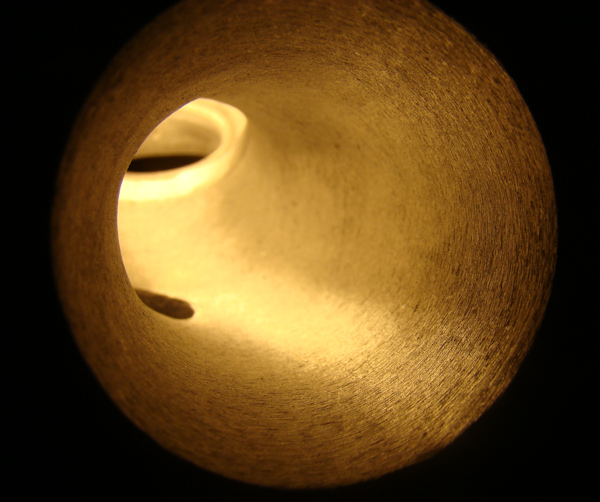
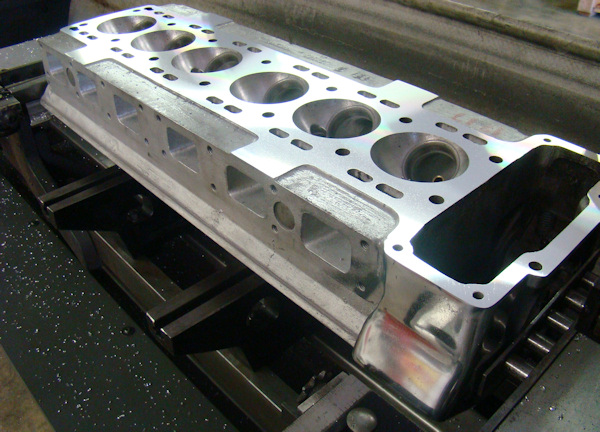
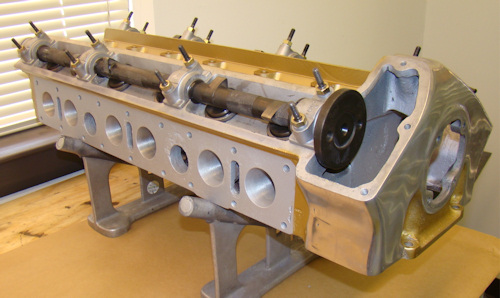
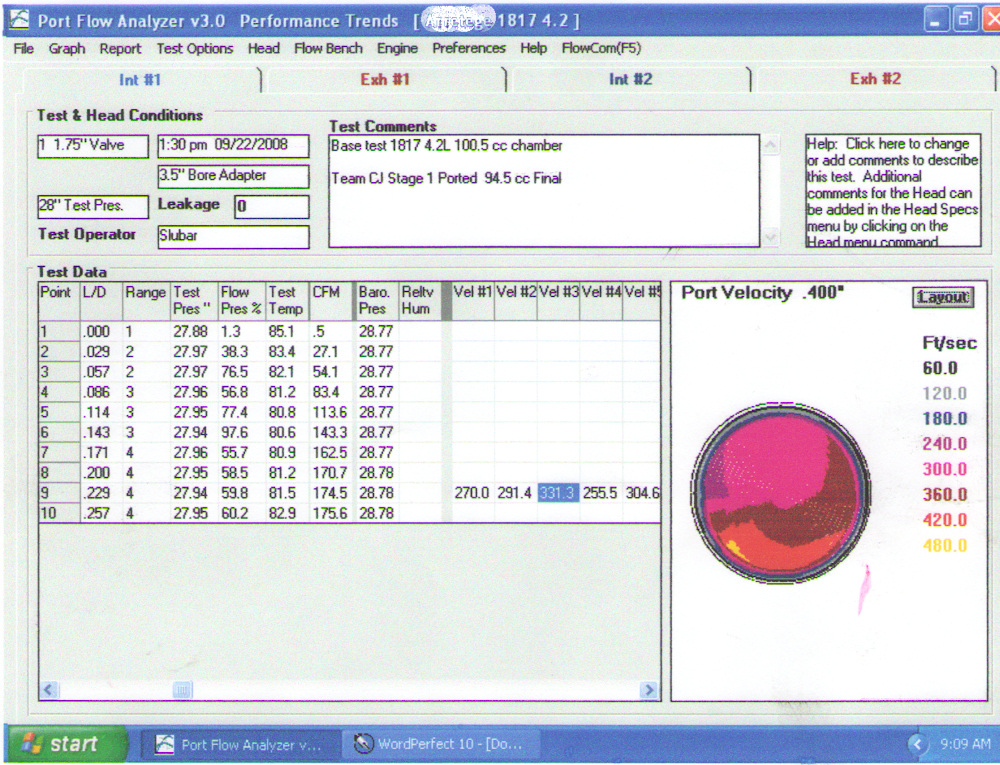
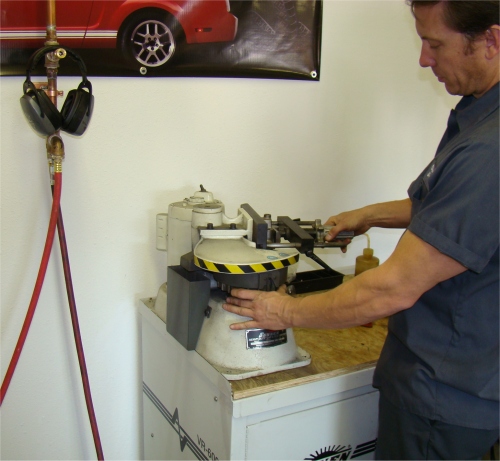
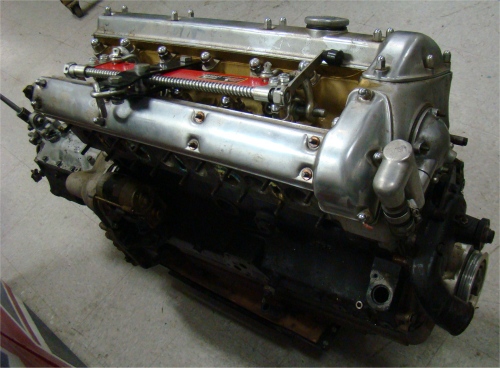
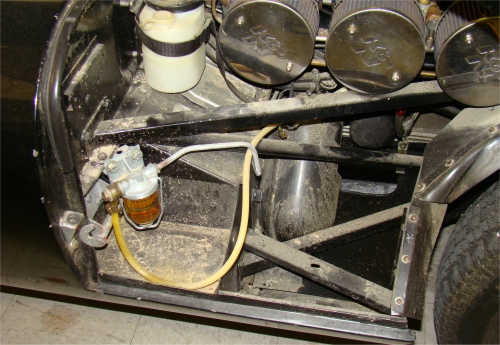
We now have your engine fully rebuilt and I am pleased to report that we made some very significant gains on the flow bench, following our port work. We picked up about 45 cfm on the intake side, with an increase in velocity at the same time. This should be a very strong running E Type when we get her back on the road!
 |
 |
 |
|
cut and reshaped the jackets on the mill |
|
|
|
|
|
|
 |
 |
 |
|
|
align hone the head |
|
|
|
|
|
 |
 |
 |
|
|
|
|
|
|
|
|
 |
 |
 |
|
|
|
|
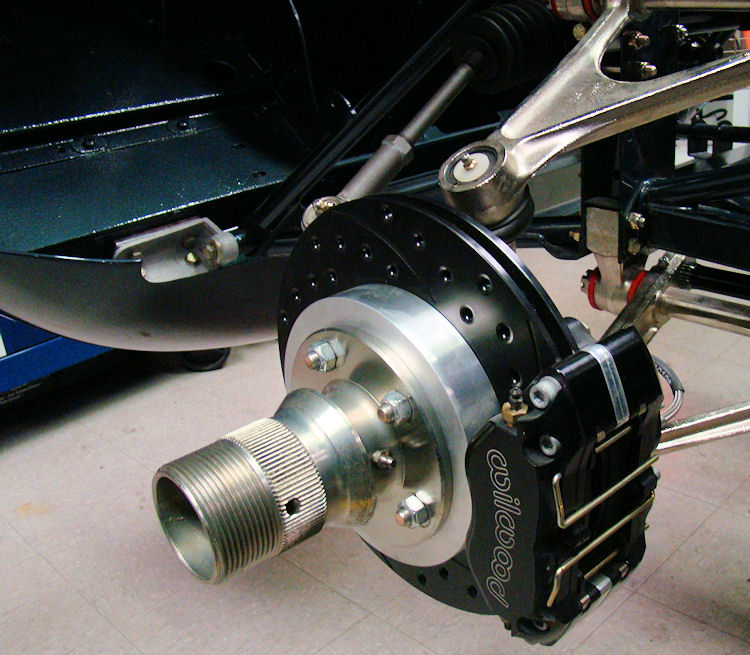
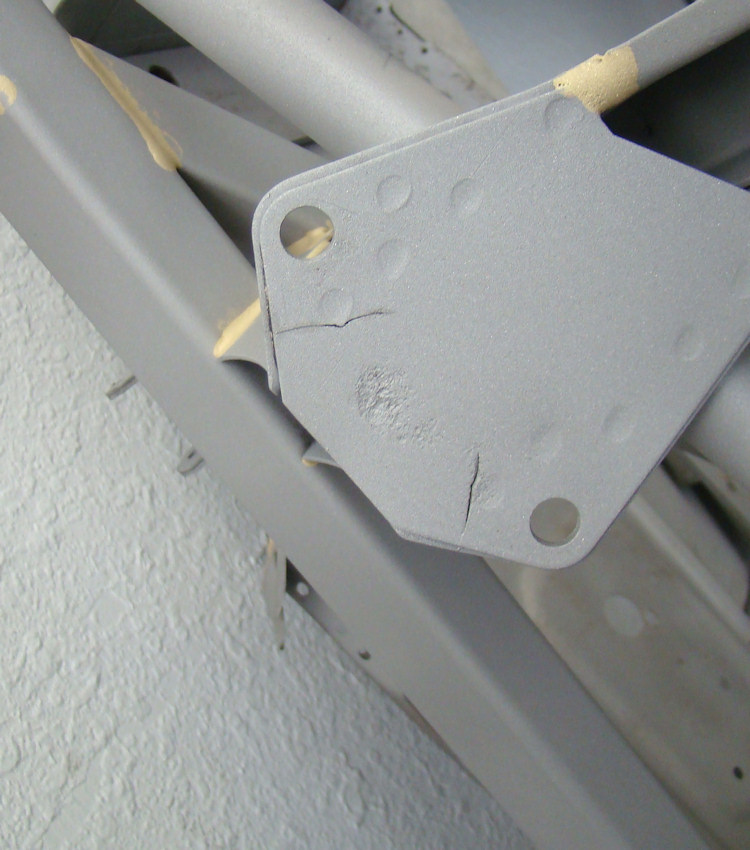
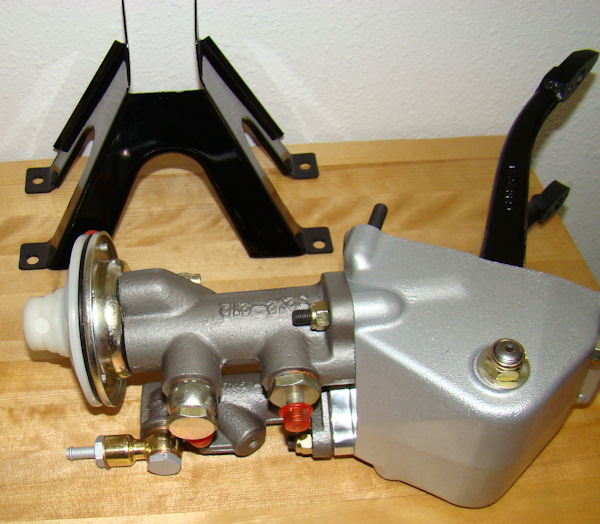
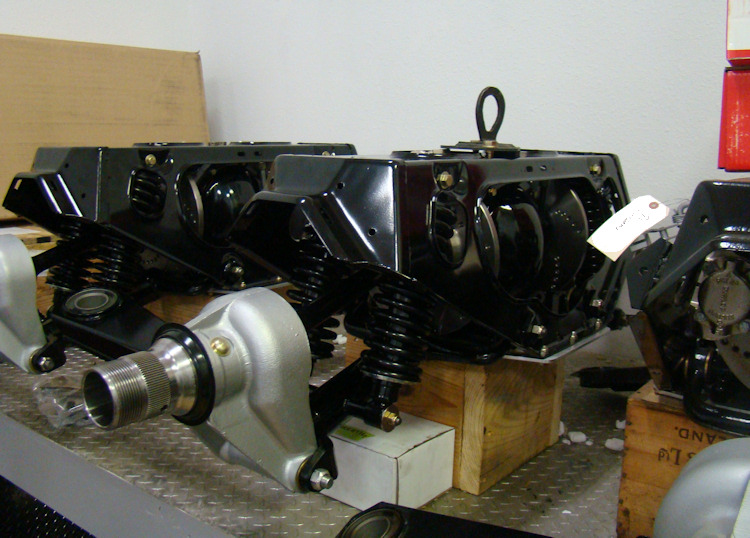
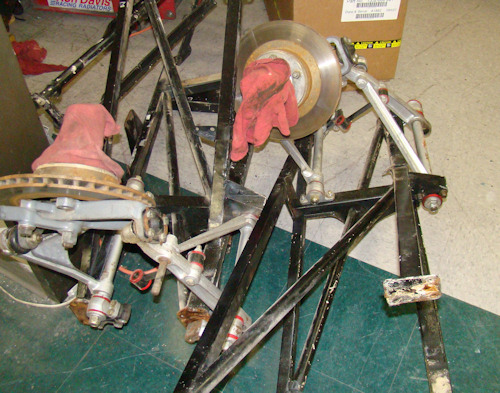
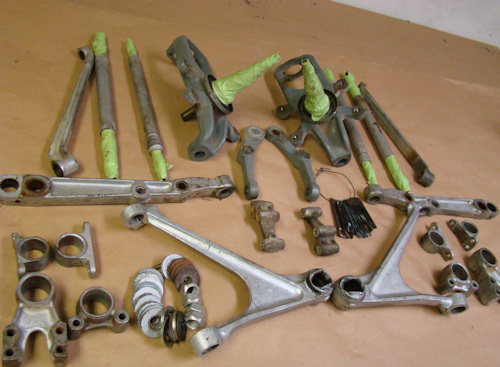
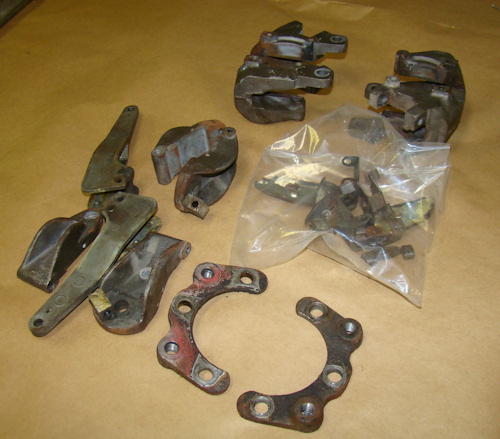
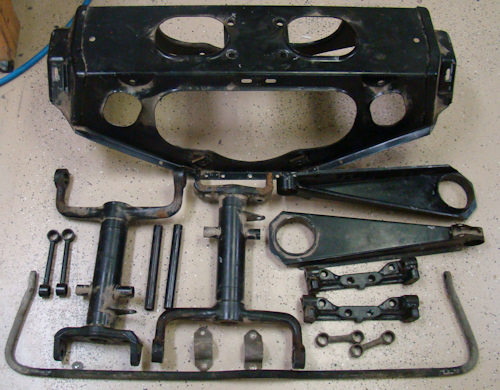
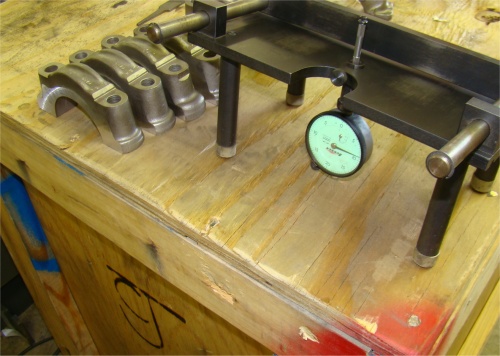
We have now torn down the front and rear suspensions and submitted all the relevant components for Ni plating and/or powder coating.
 |
 |
 |
 |
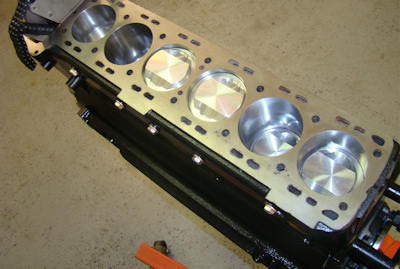
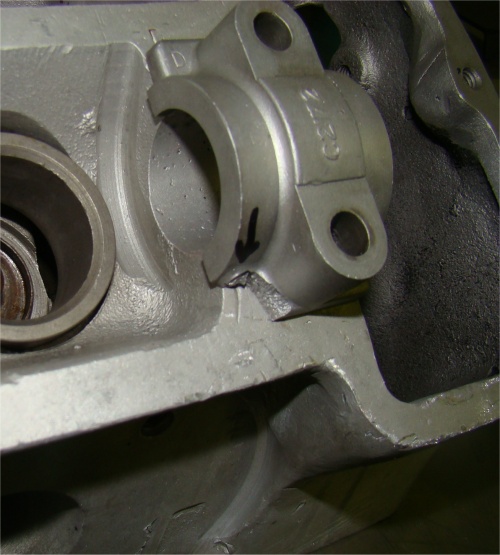
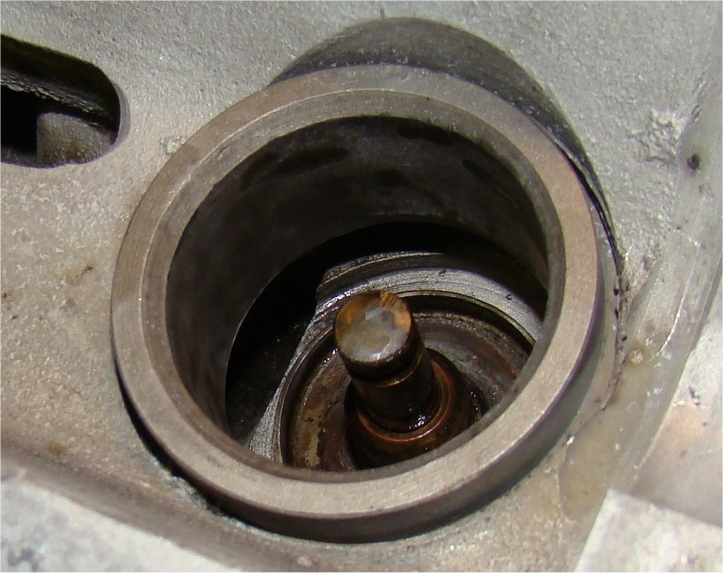
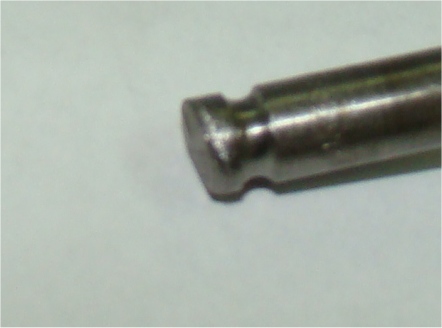
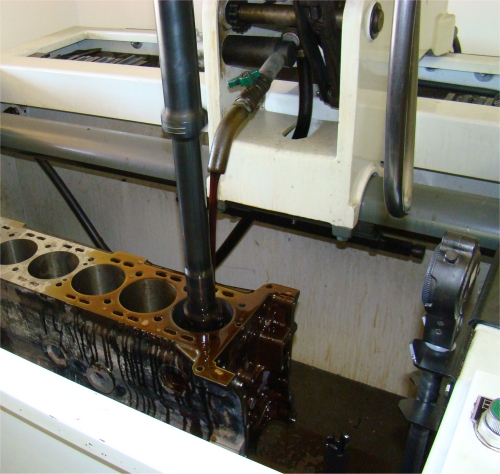
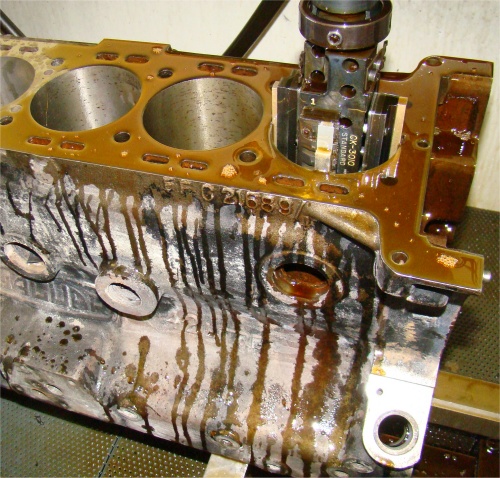
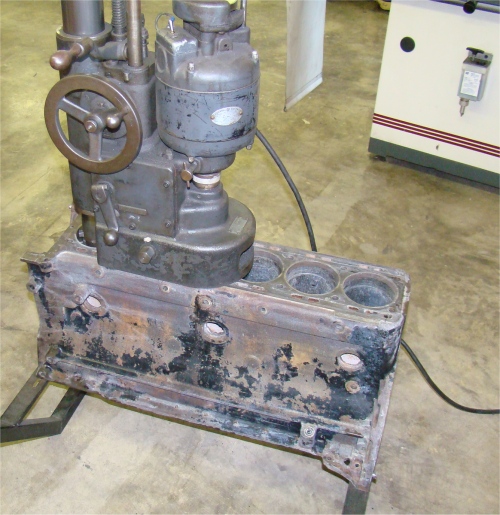
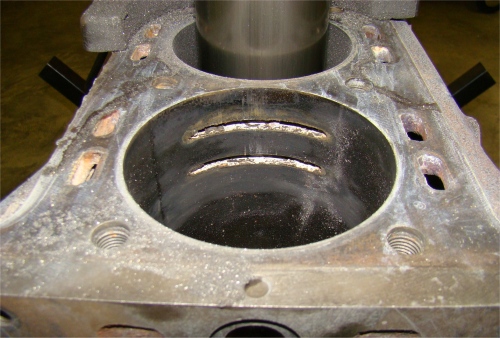
We found a number of issues when we tore down the cylinder head. Virtually all the valve stem tips had been hand sanded and were badly 'mushroomed', and the front cam cap on the intake side was damaged and will have to be replaced. We have now completed the machine work on the block and the new sleeves have been honed to size.
 |
 |
 |
|
replaced |
|
|
|
|
|
|
 |
 |
 |
|
|
|
|
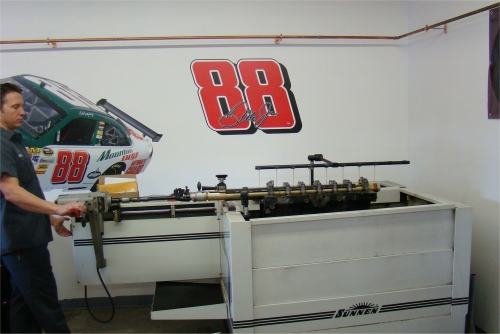
Stage One CJ engine rebuild underway...
 |
 |
 |
|
|
|
|
 |
 |
|
|
|
|
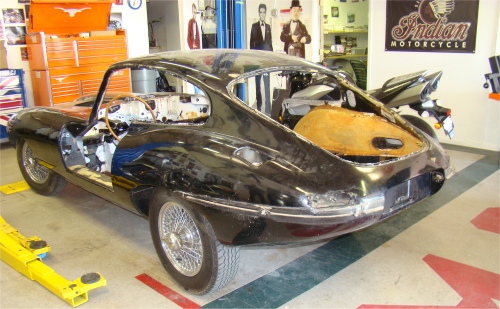
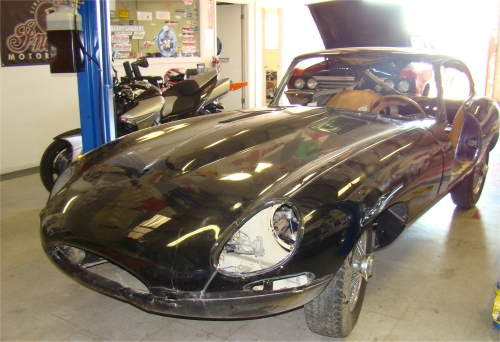
Your car is now disassembled and in-line for the full treatment in the CJ Coachworks. In the next week or so we will get your Stage One engine rebuild underway.
 |
 |
 |
|
|
||
 |
 |
 |
|
|
|
|
 |
 |
|
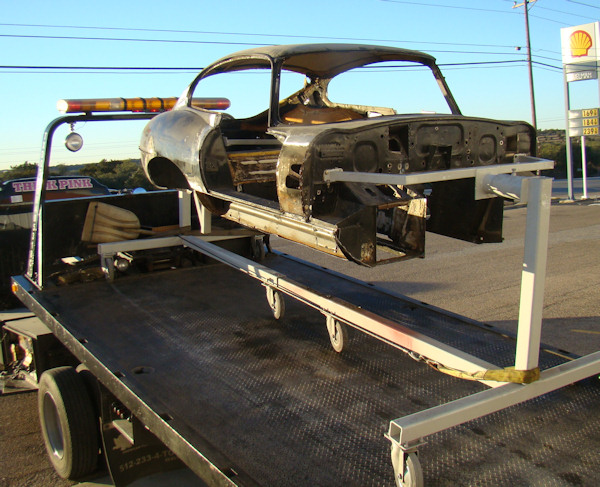
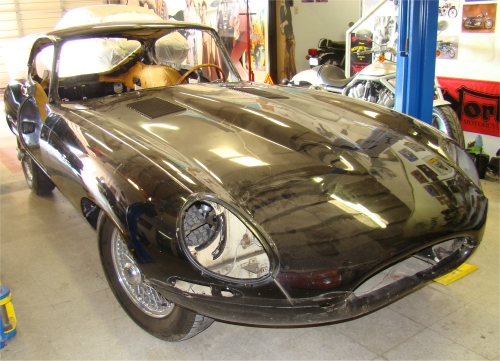
I am pleased to report that your car has arrived safely at Classic Jaguar and we will have this exciting project underway in the next few days. I hope you enjoy watching the restoration unfold on your own personal restoration webpage!
 |
 |
|
|
|
