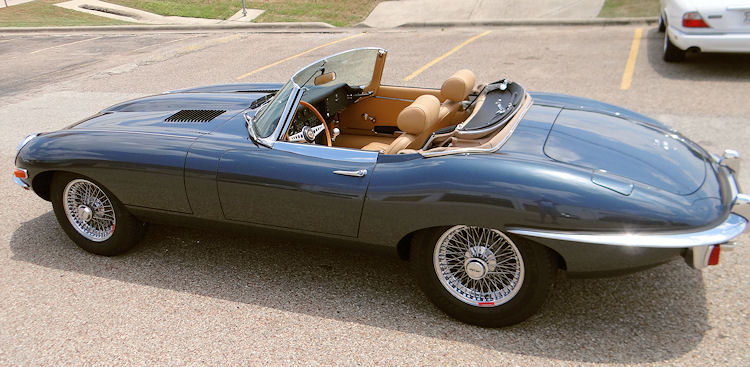
| 1969
E Type roadster
Show/driver restoration |
|
| 1969
E Type roadster
Show/driver restoration |
|
|
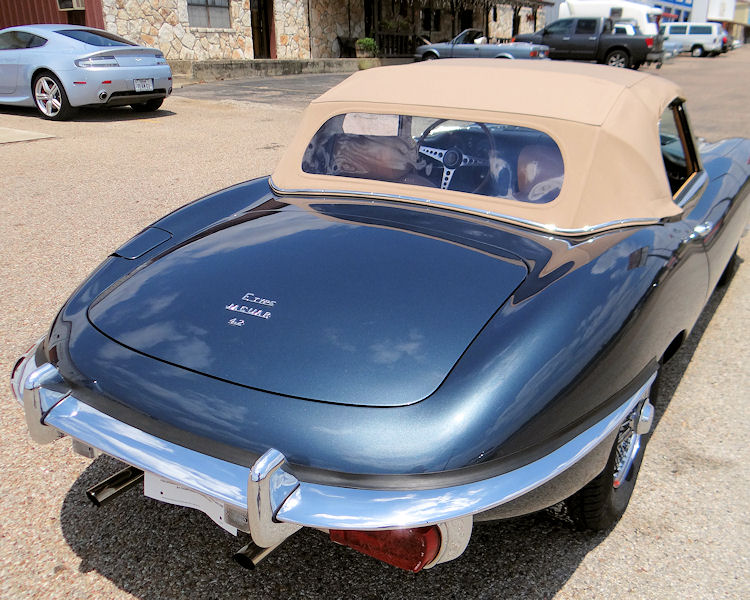
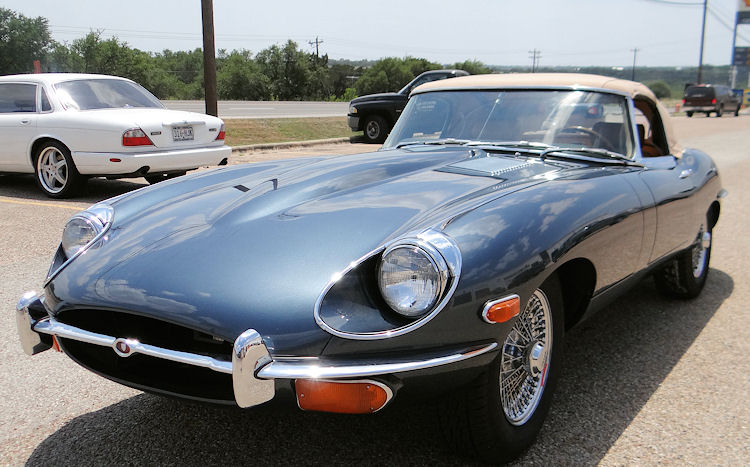
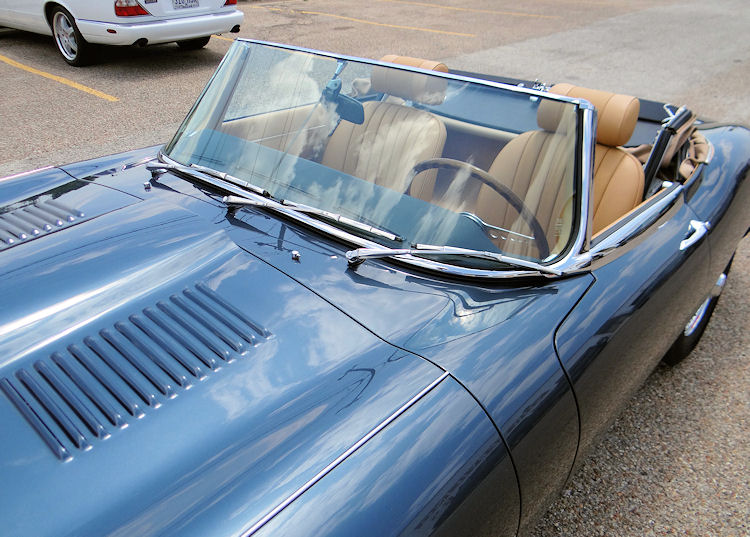
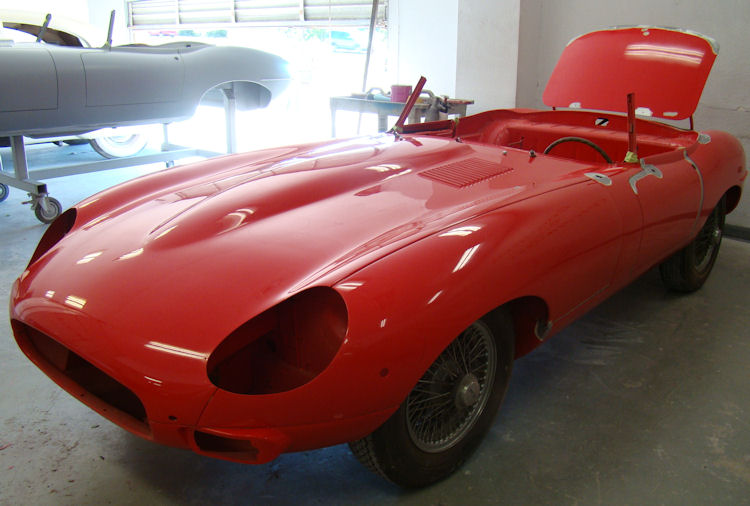
This vehicle is now available for sale!
I am pleased to report that this project has now been completed and another beautiful E Type is Florida bound

 |
 |
|
|
|
 |
 |
|
|
|
 |
|
|
|
|
 |
 |
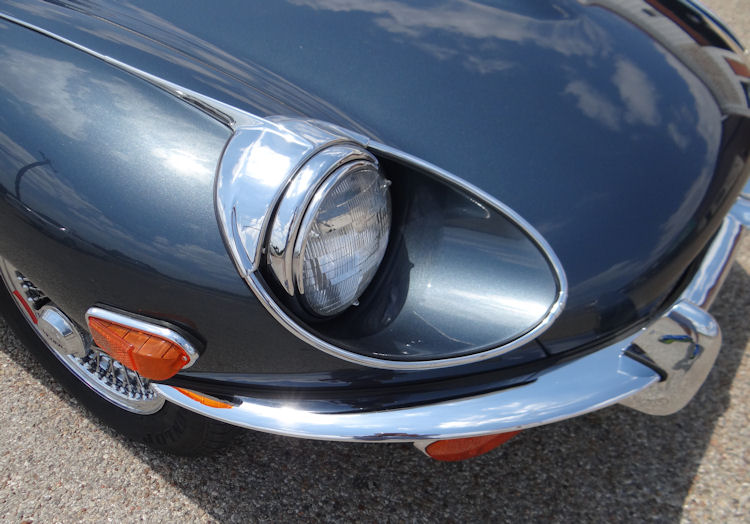
Installing headlights..
 |
 |
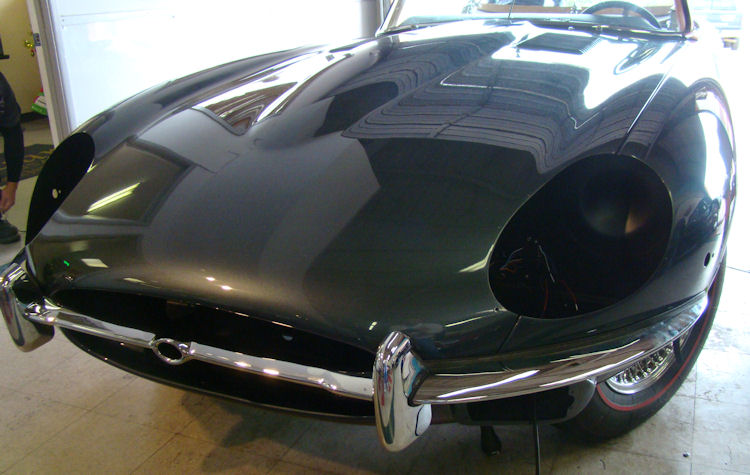
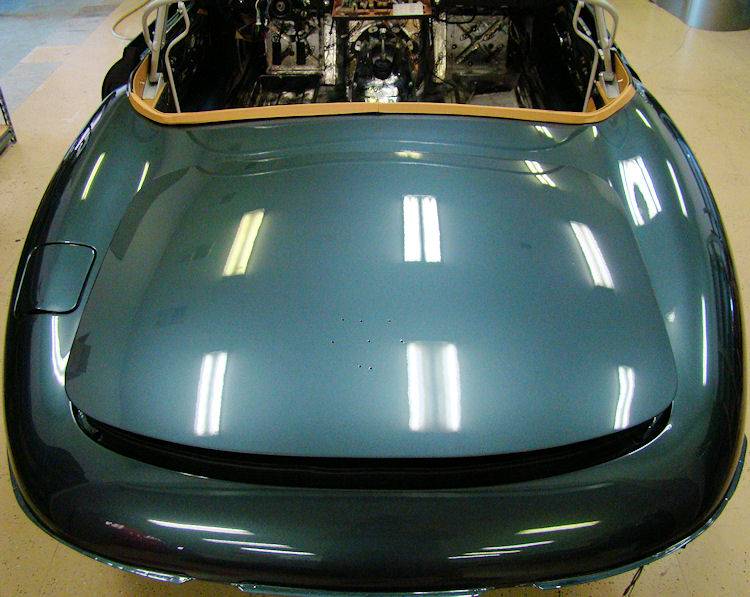
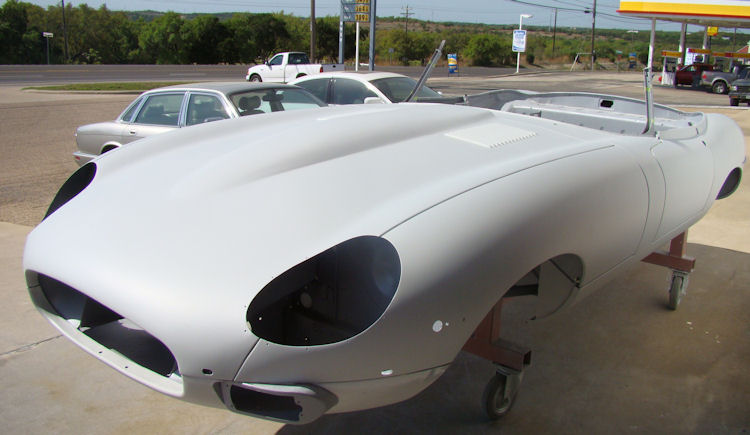
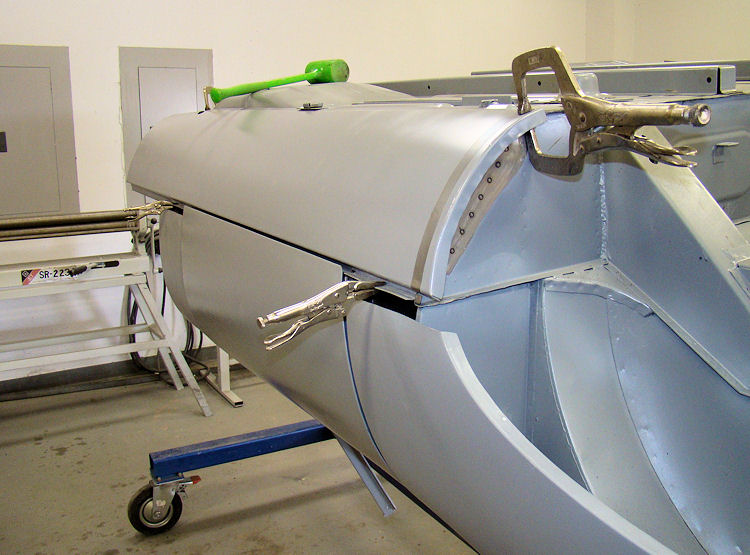
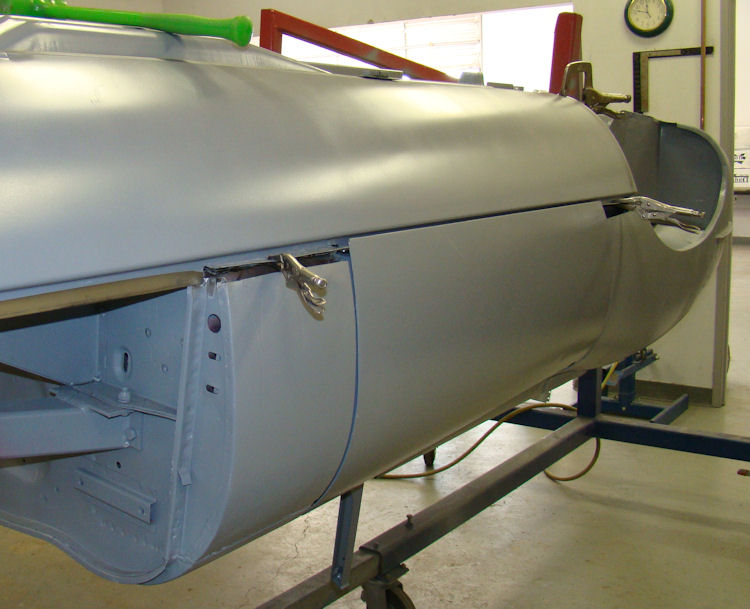
Installing the bonnet, bumer. lights..
 |
 |
 |
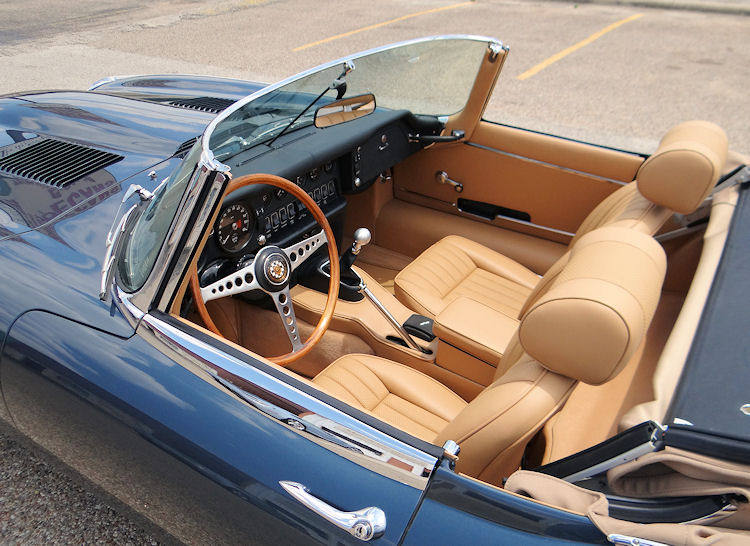
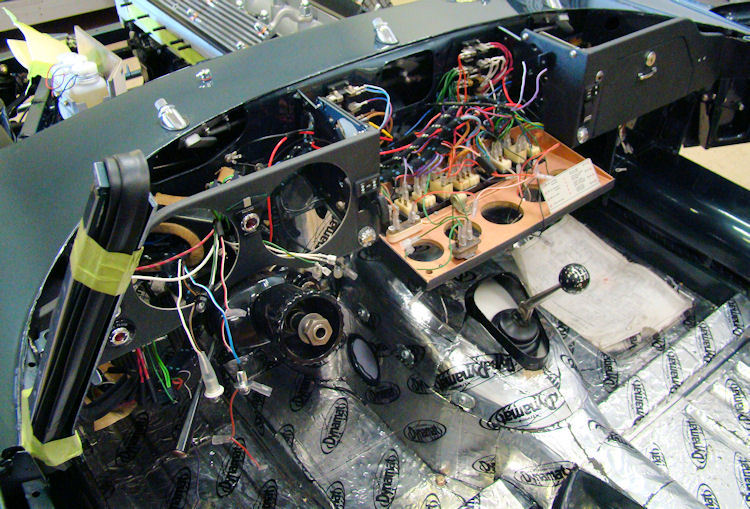
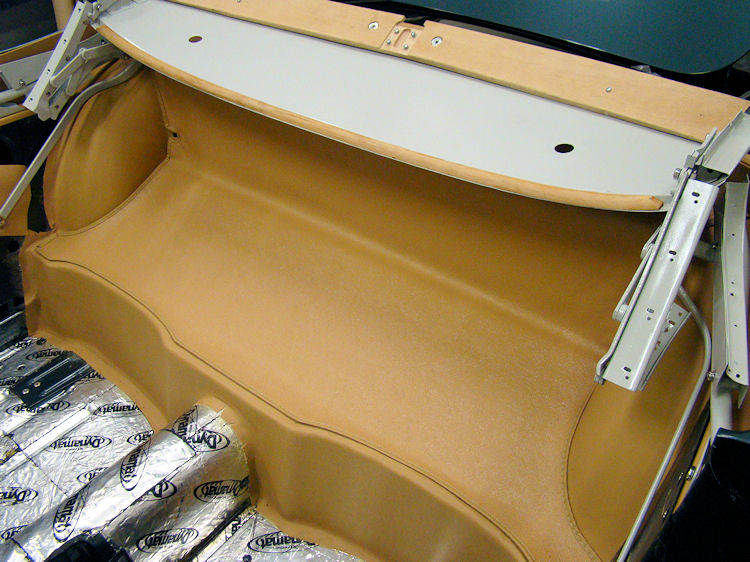
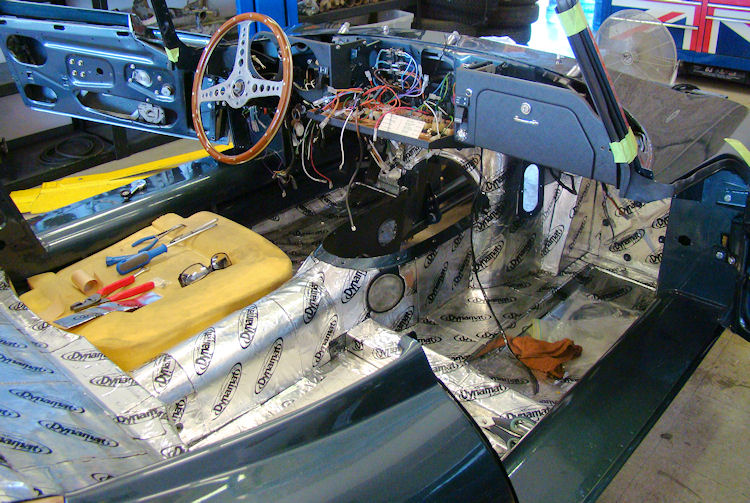
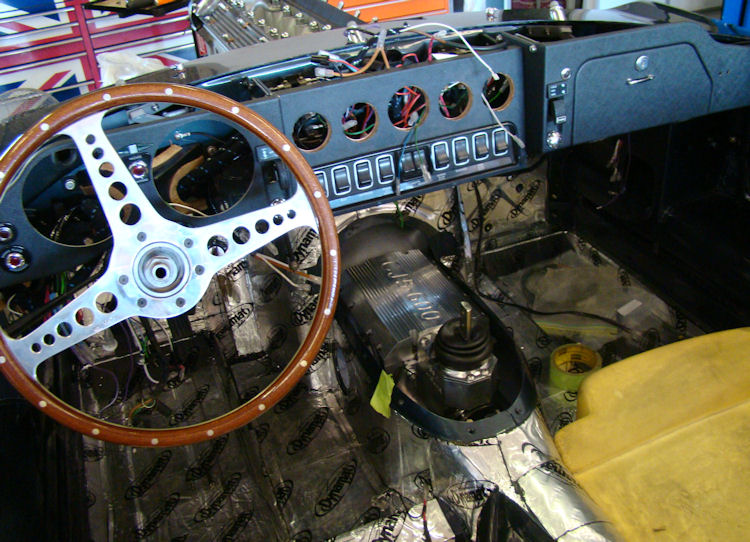
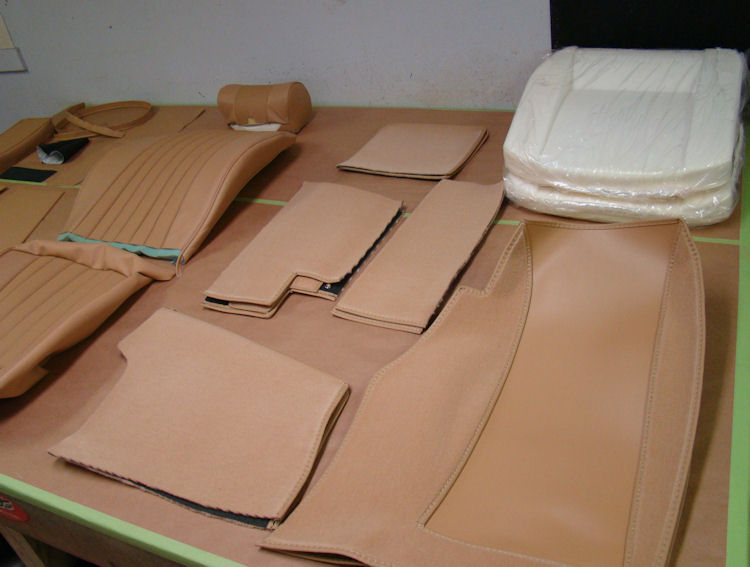
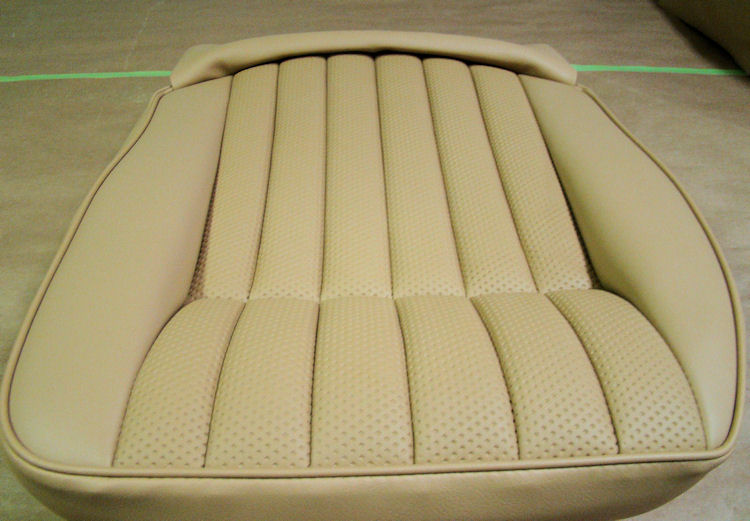
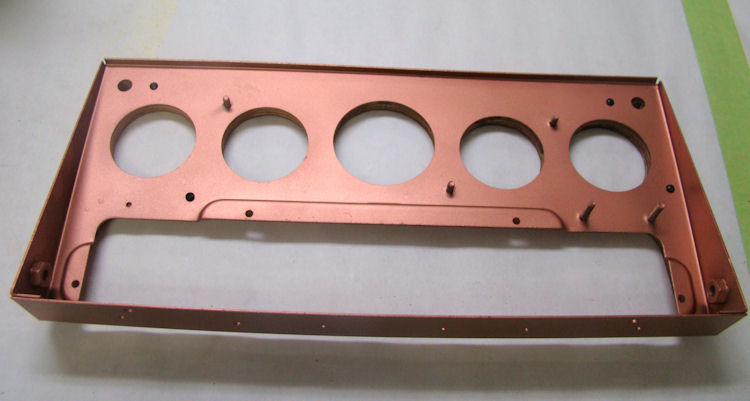
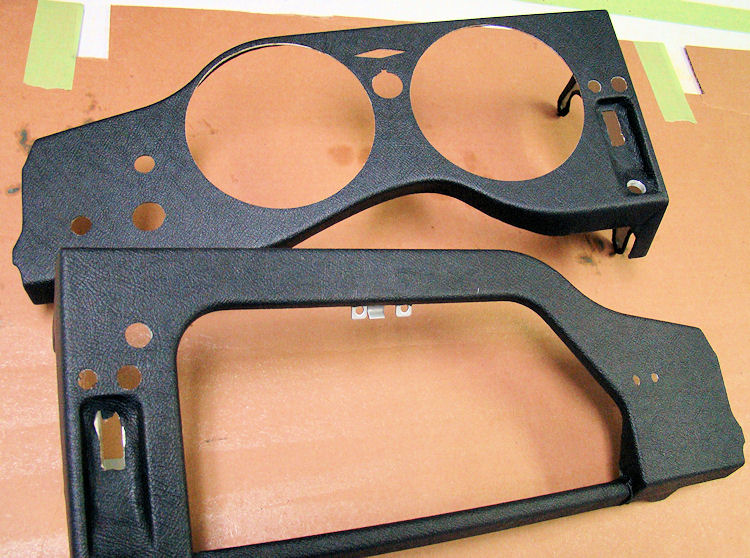
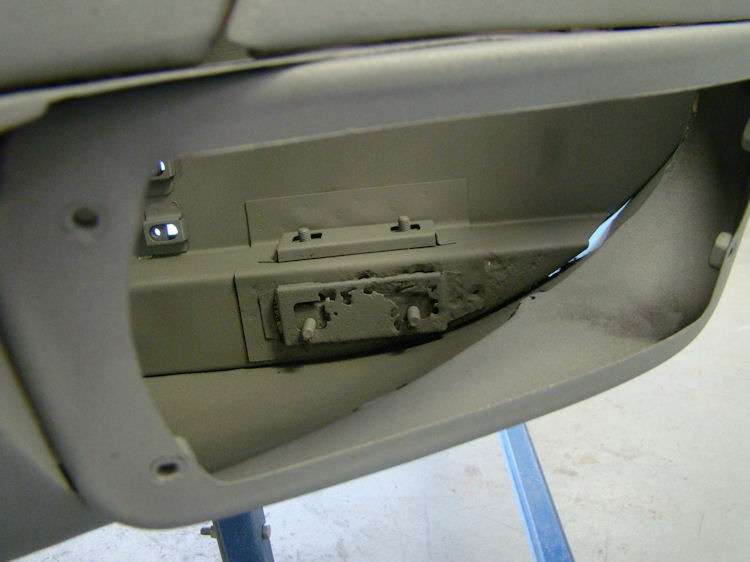
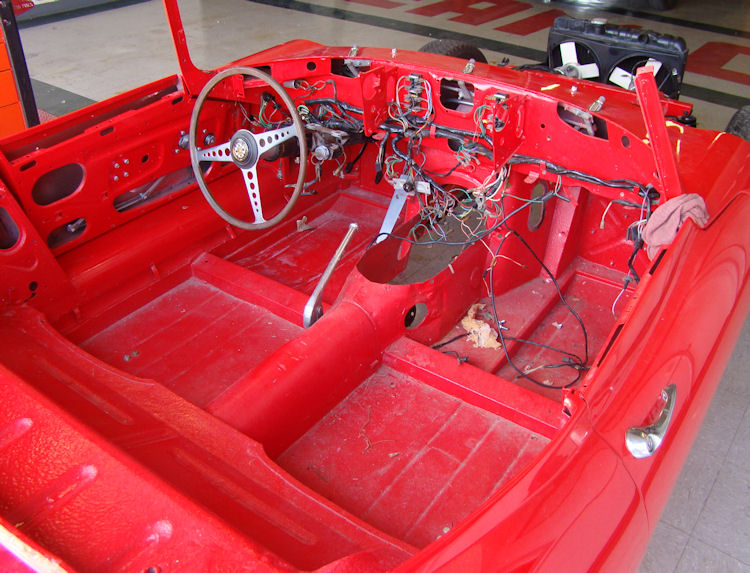
Your car is now in the trim room with Carlos, coming together very nicely...
 |
 |
|
|
|
|
|
|
 |
 |
|
|
|
|
|
|
 |
 |
|
|
|
|
|
|
 |
 |
|
|
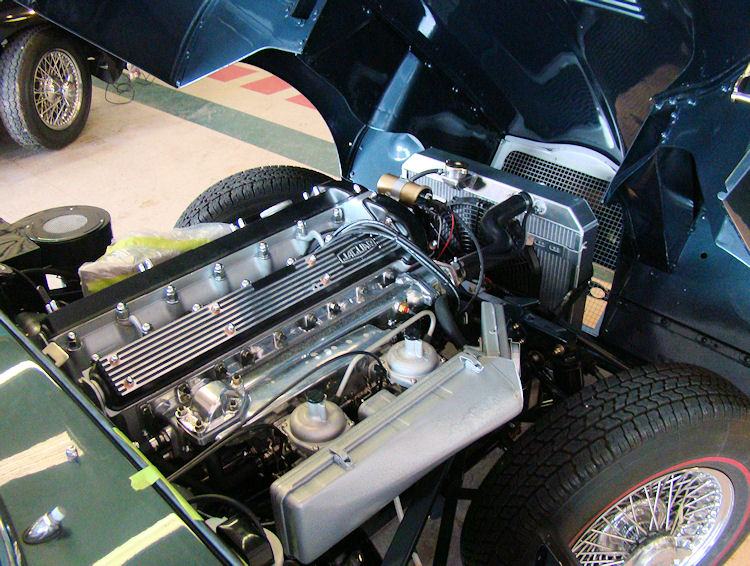
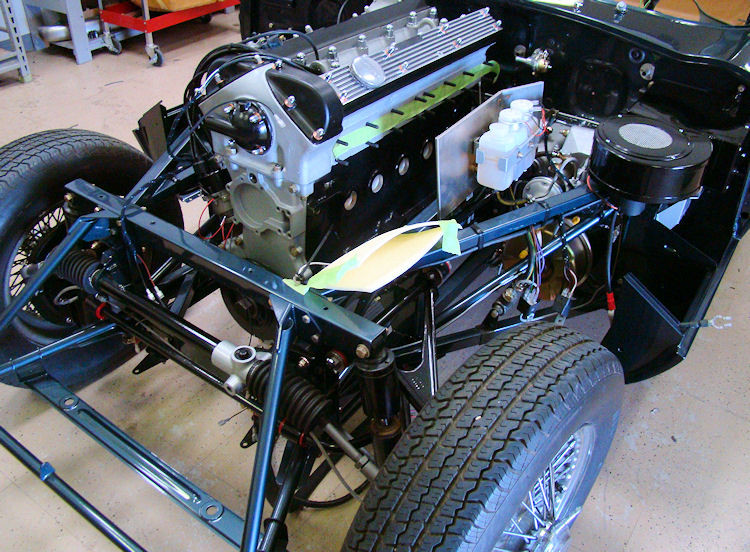
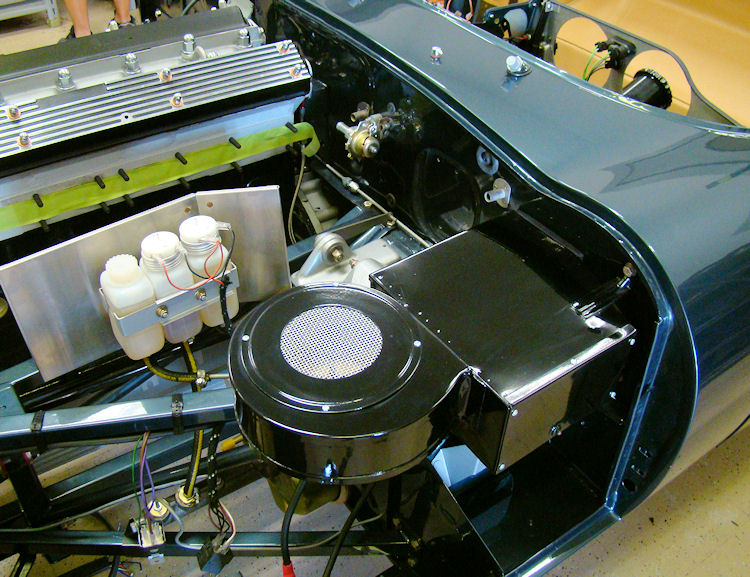
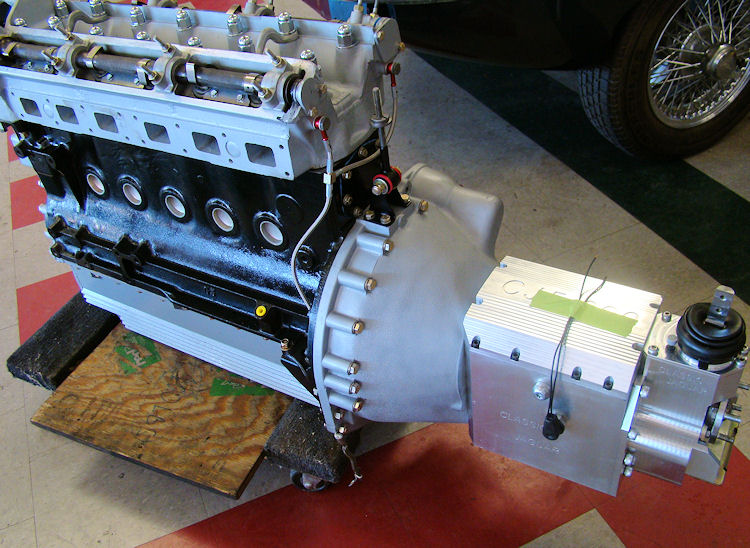
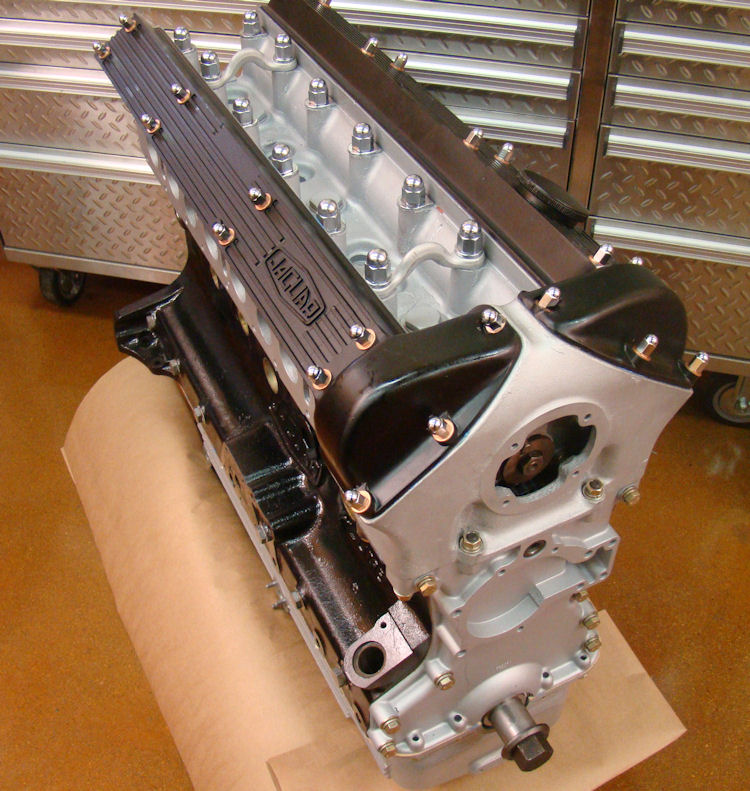
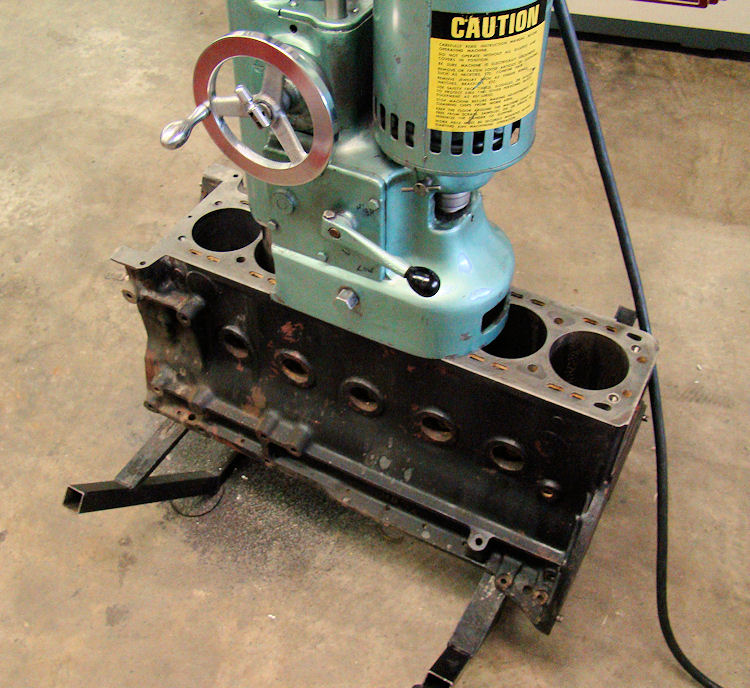
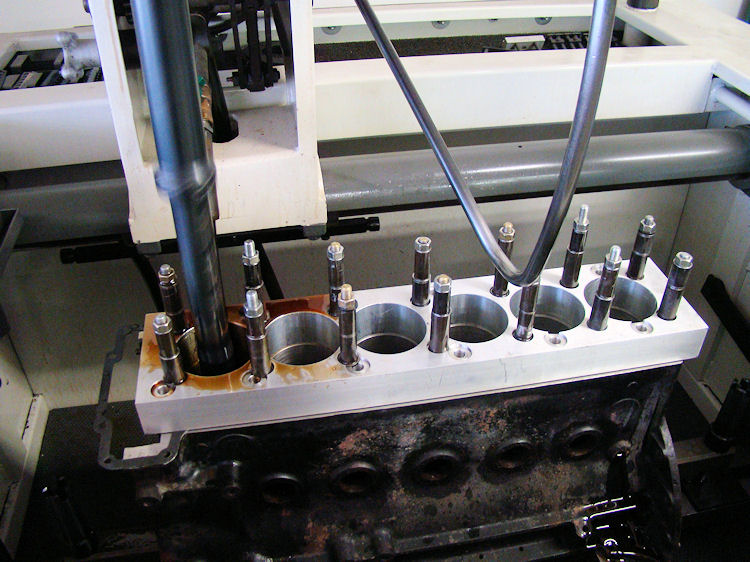
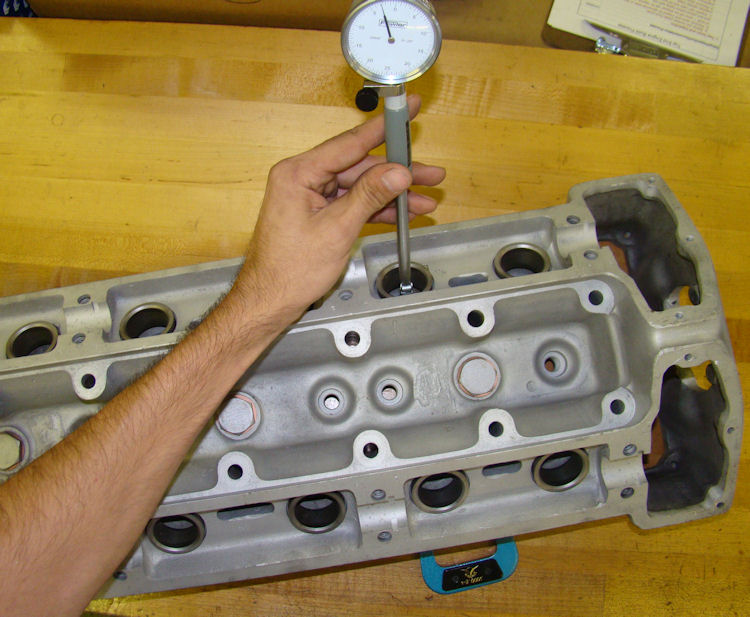
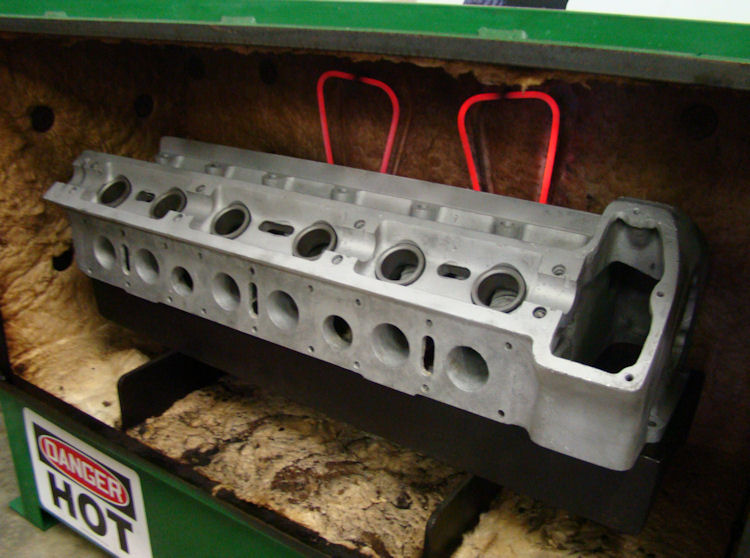
Installing your rebuilt engine and new CJ5/600 five speed transmission....
 |
 |
|
|
|
 |
 |
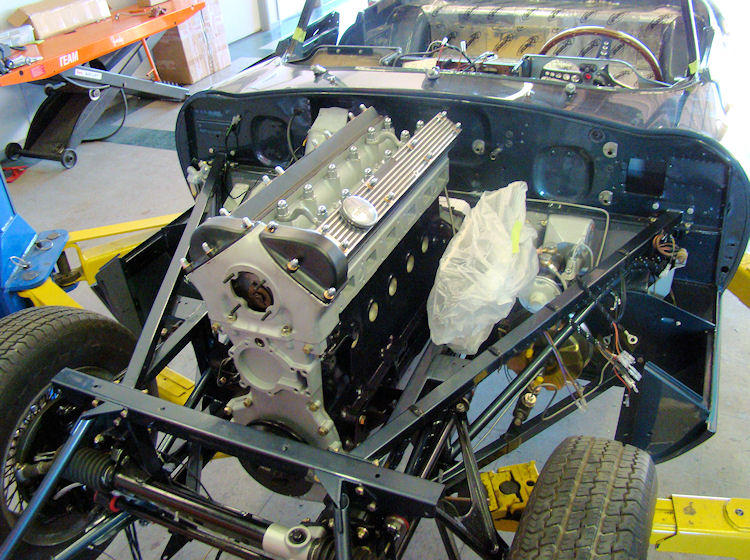
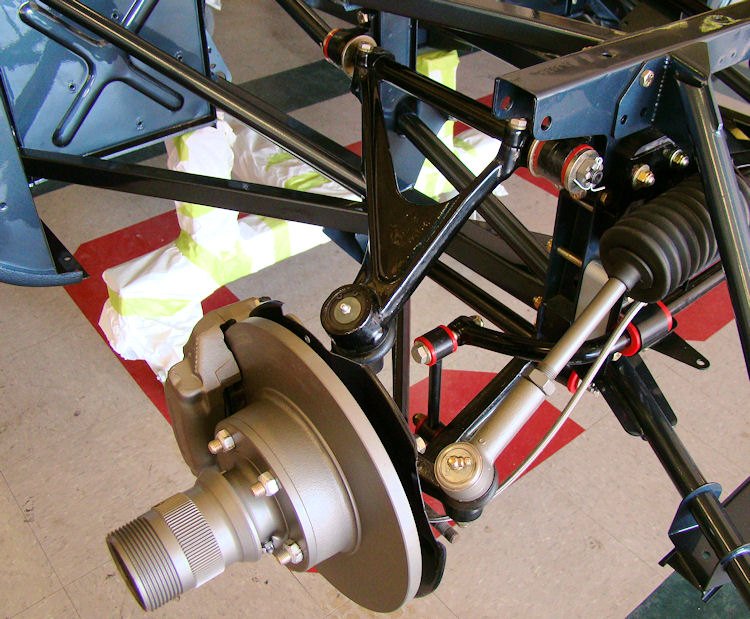
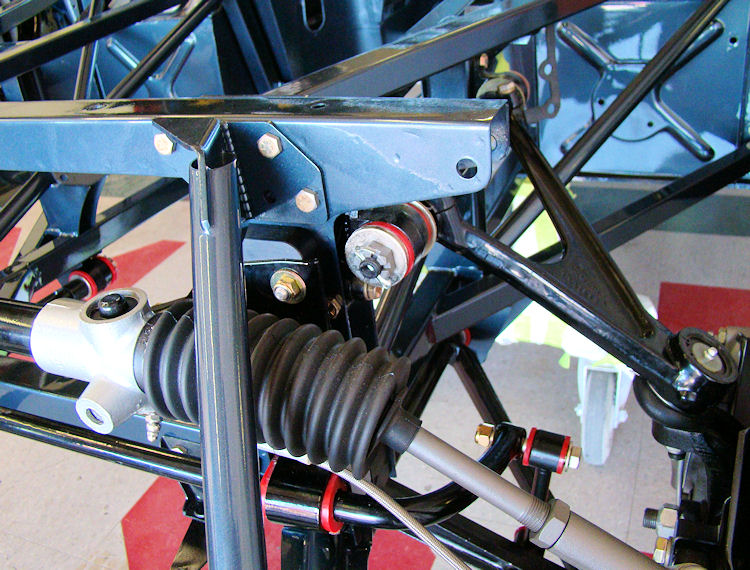
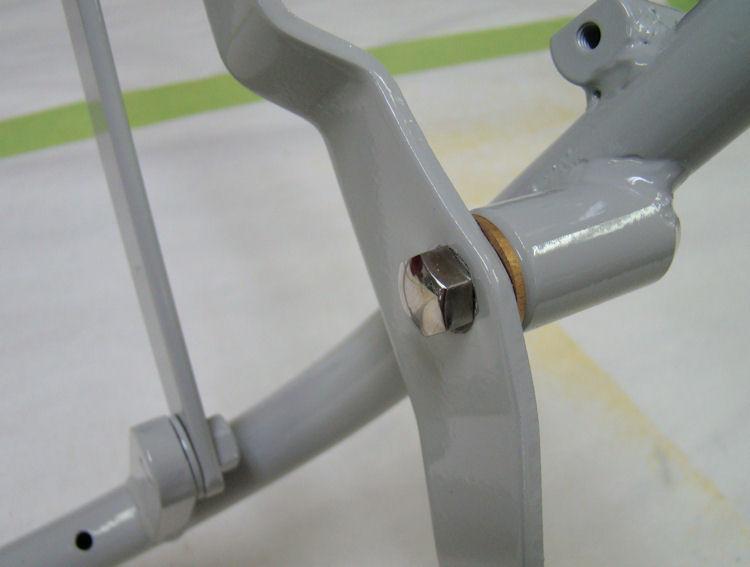
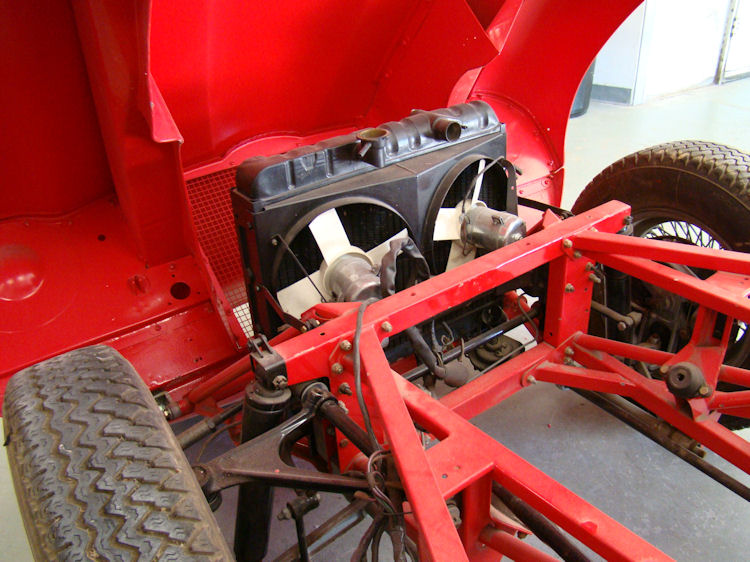
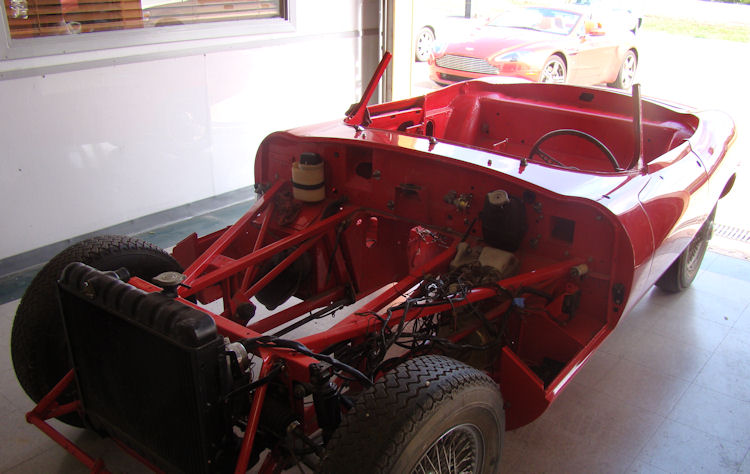
Installing engine frames, font suspension, steering rack and brakes...
 |
 |
 |
 |
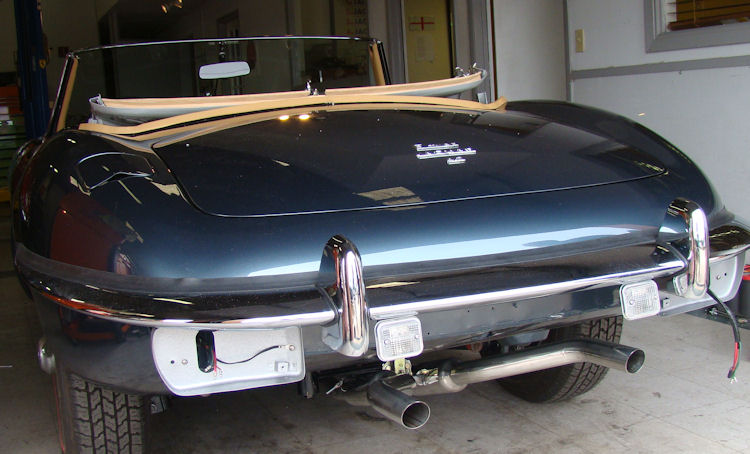
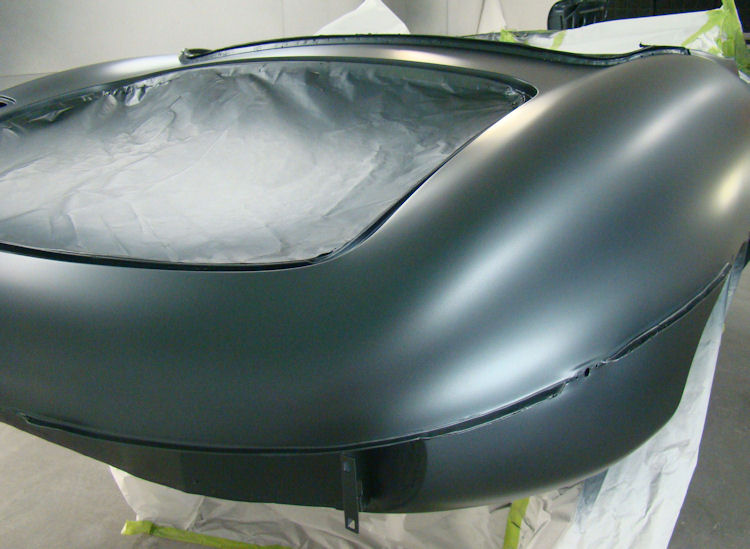
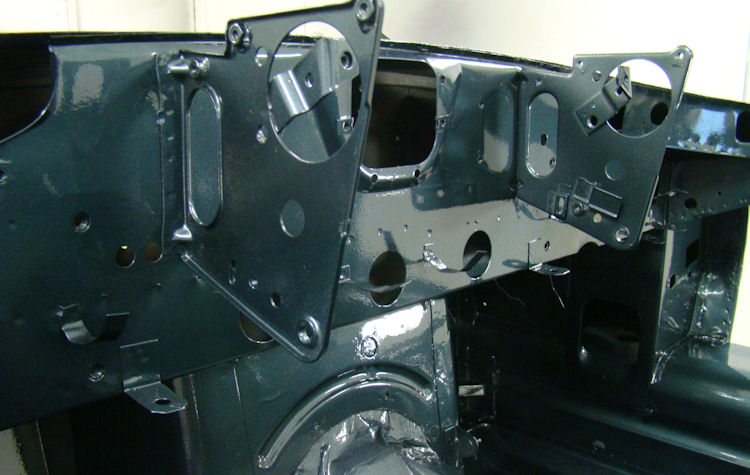
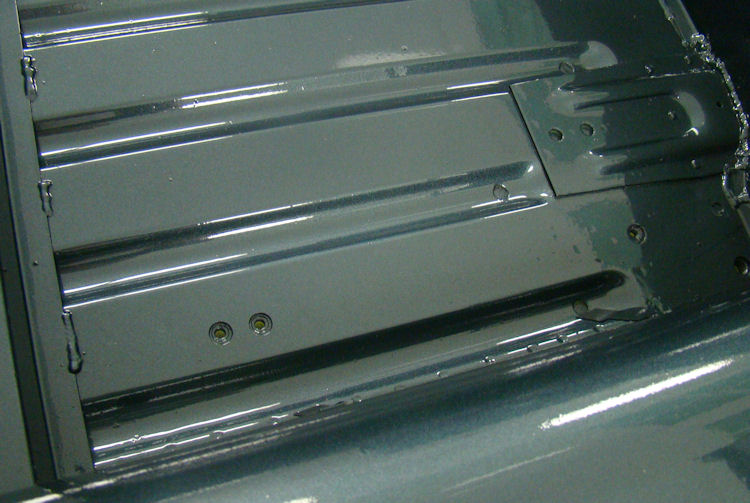
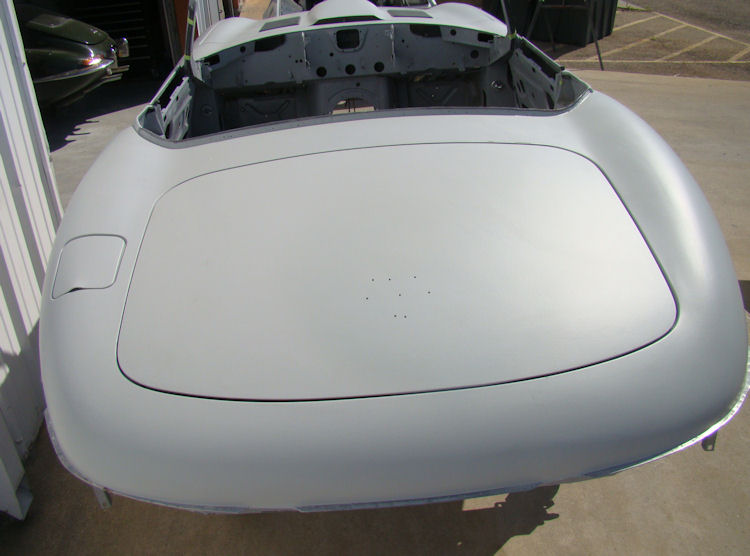
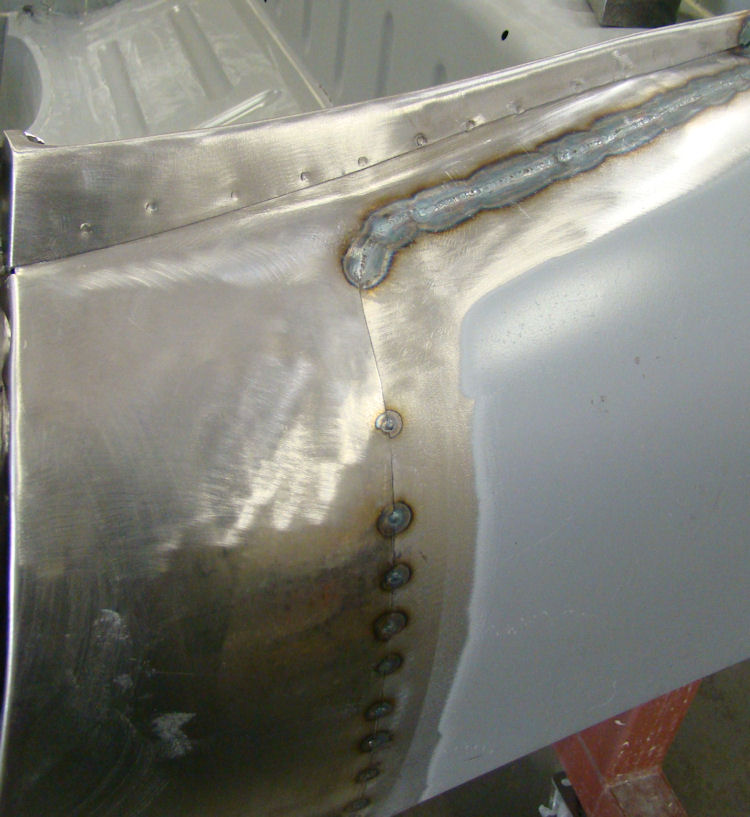
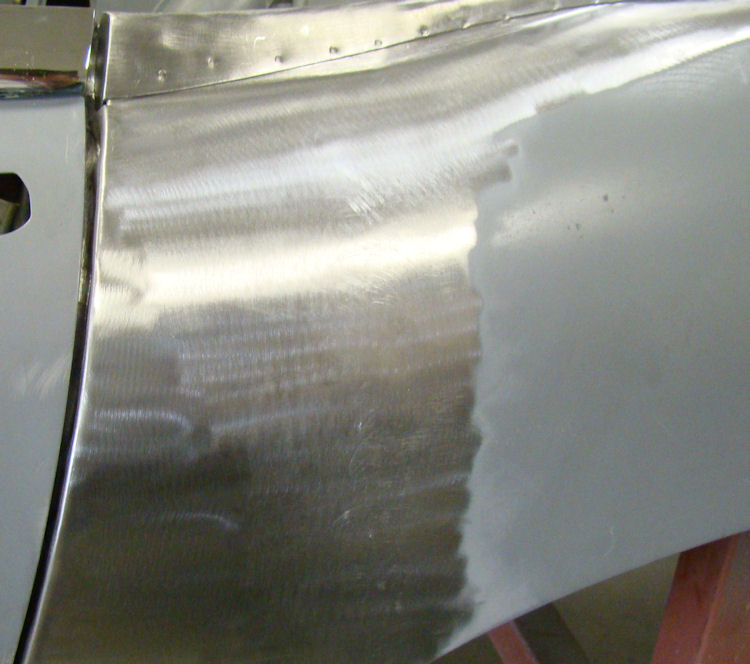
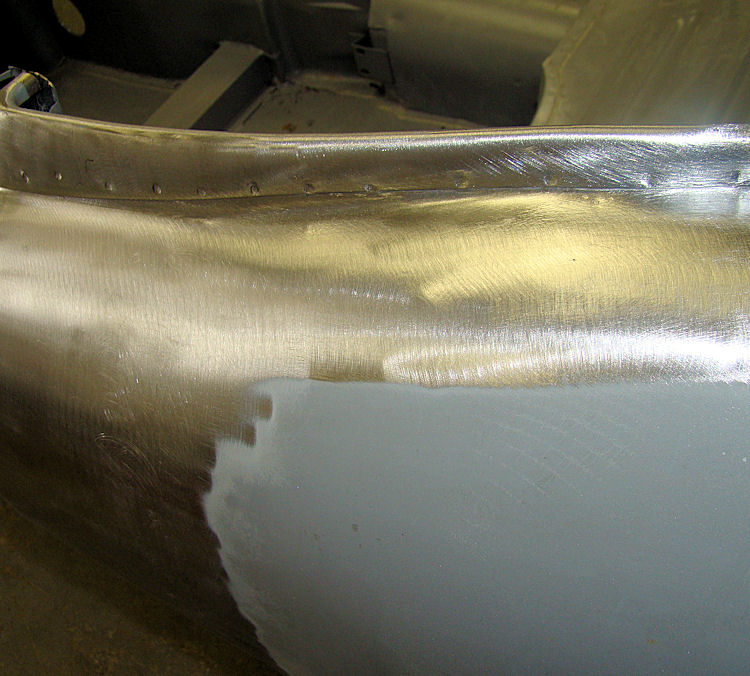
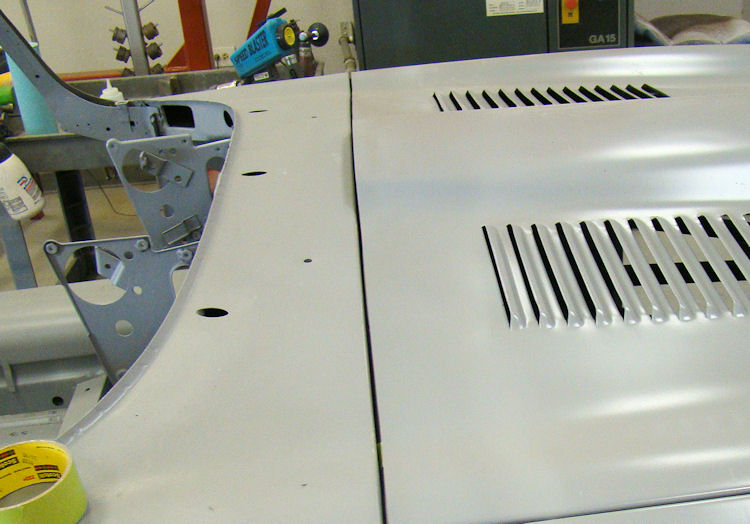
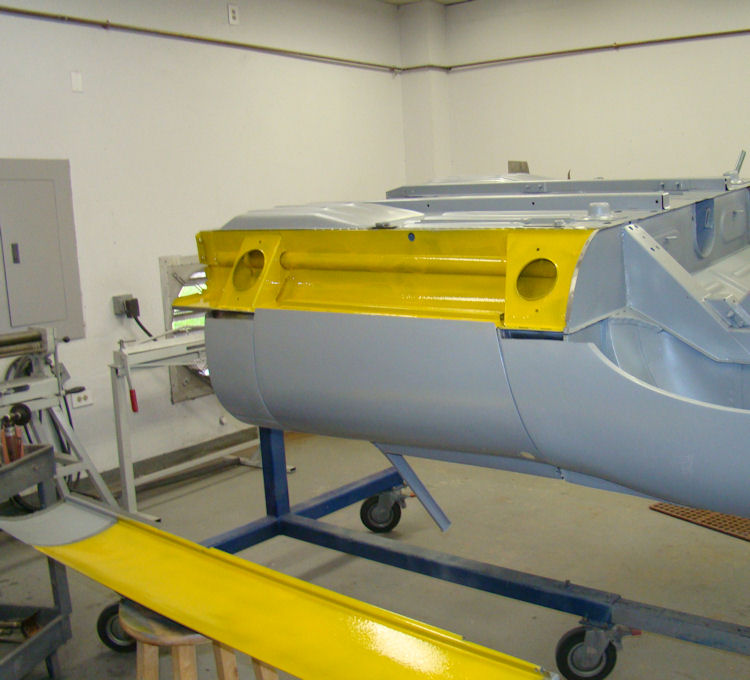
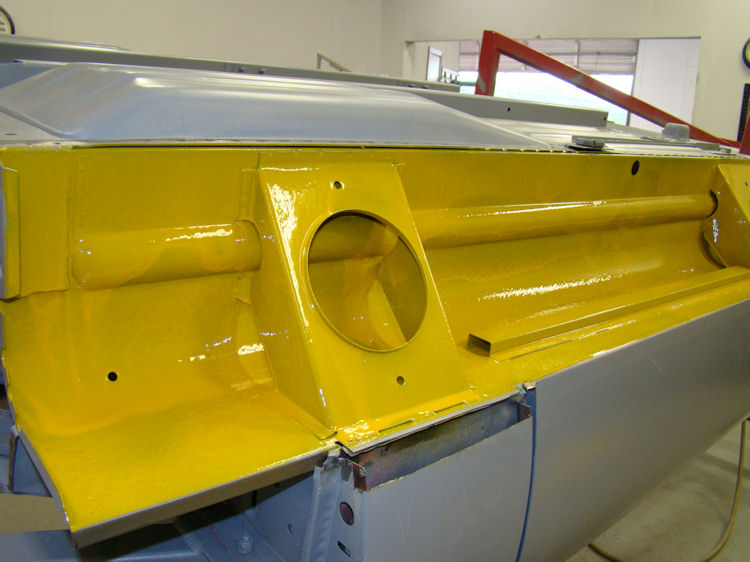
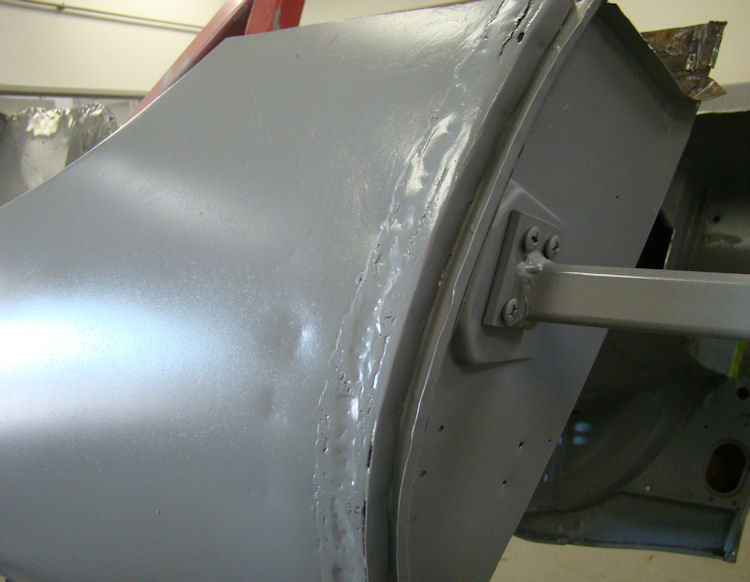
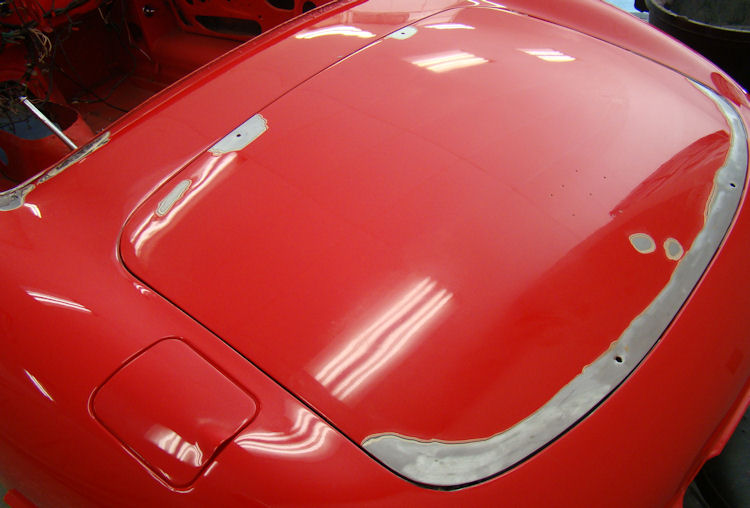
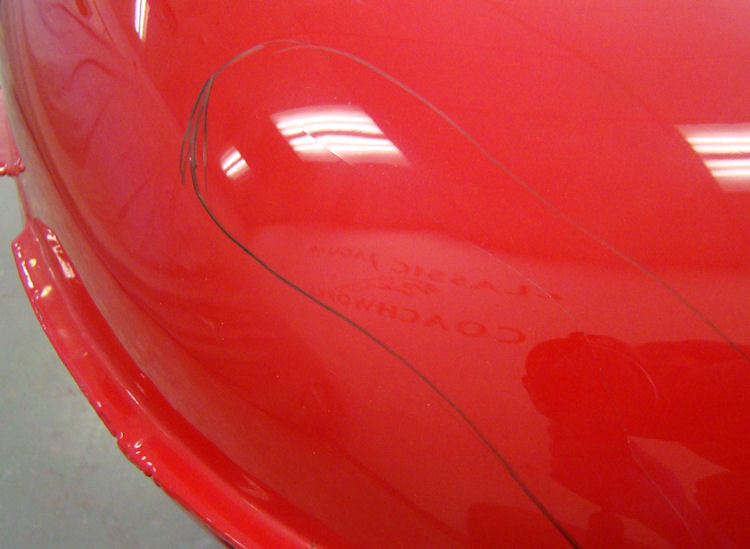
Painting the main bodyshell and doors...
 |
 |
|
|
|
|
|
|
 |
 |
|
|
|
|
|
|
 |
 |
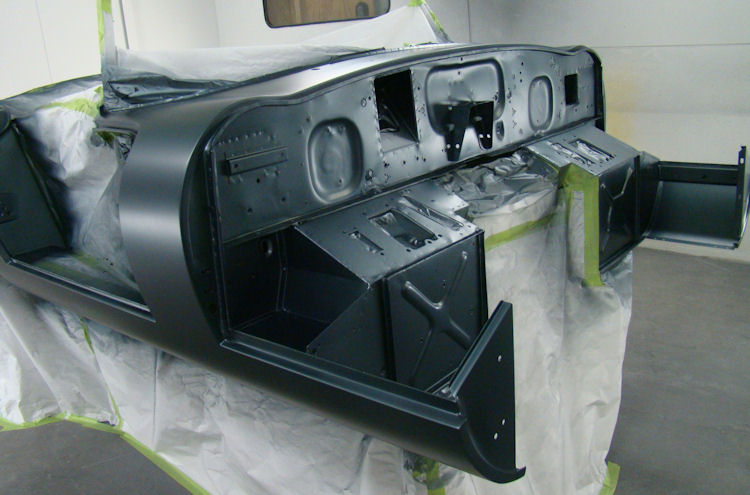
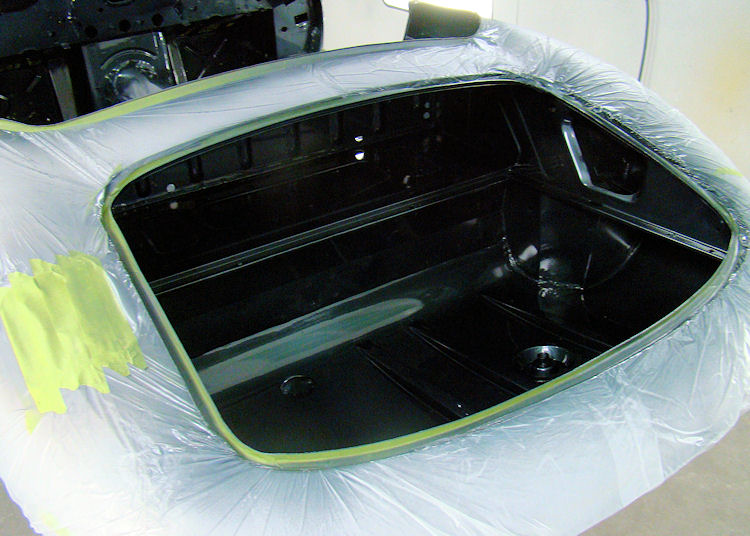
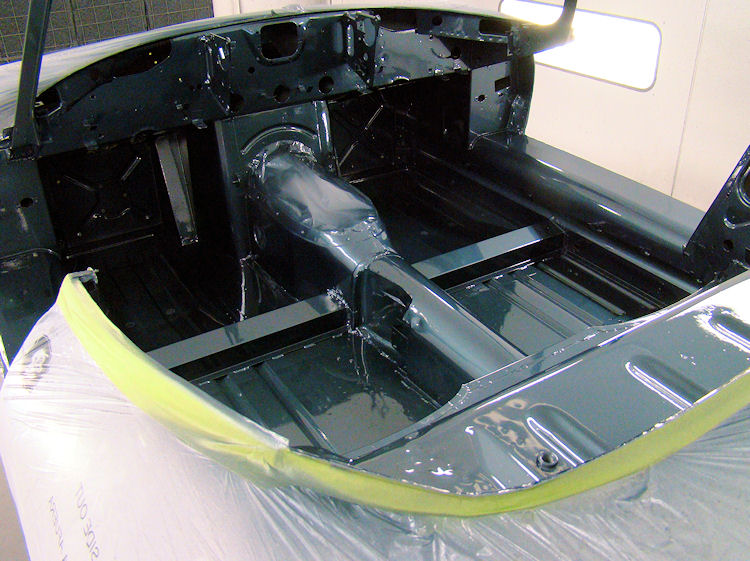
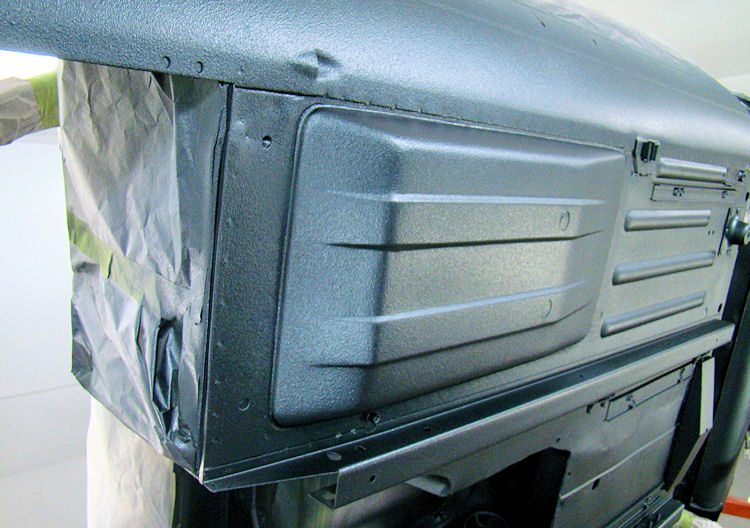
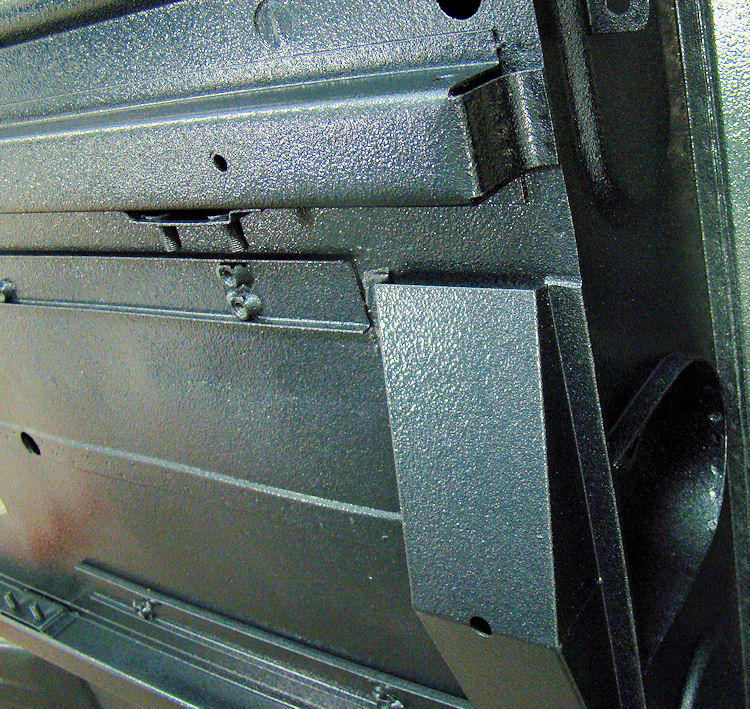
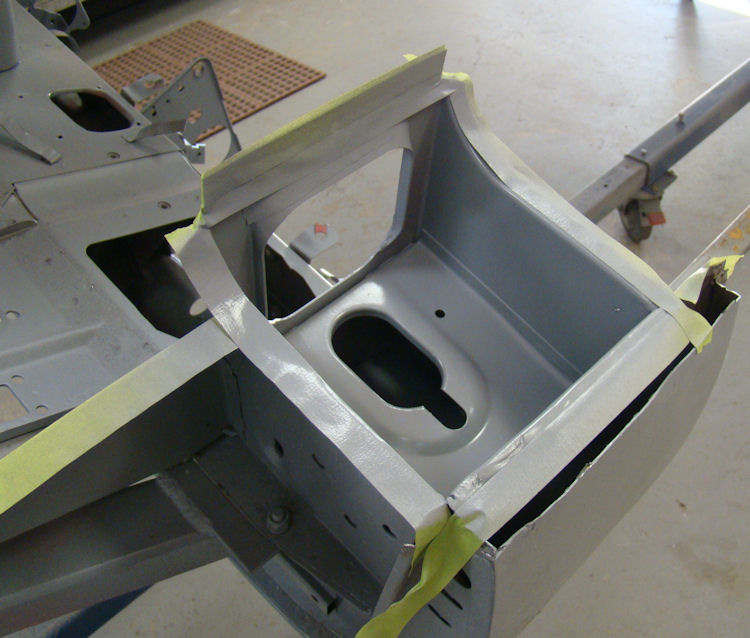
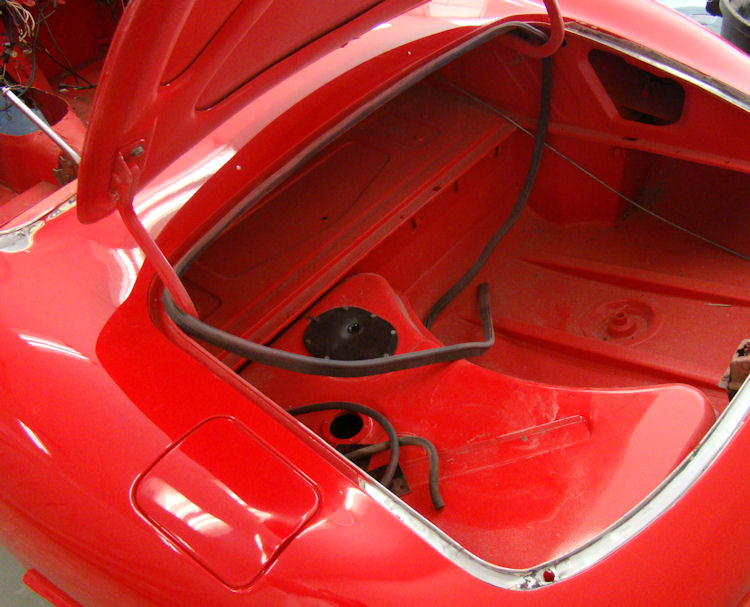
Painting inside the boot compartment and the interior cabin...
 |
 |
|
|
|
 |
 |
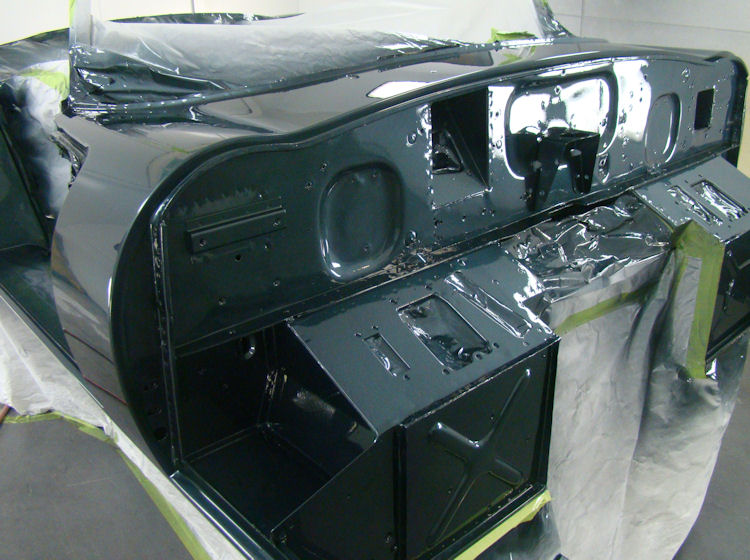
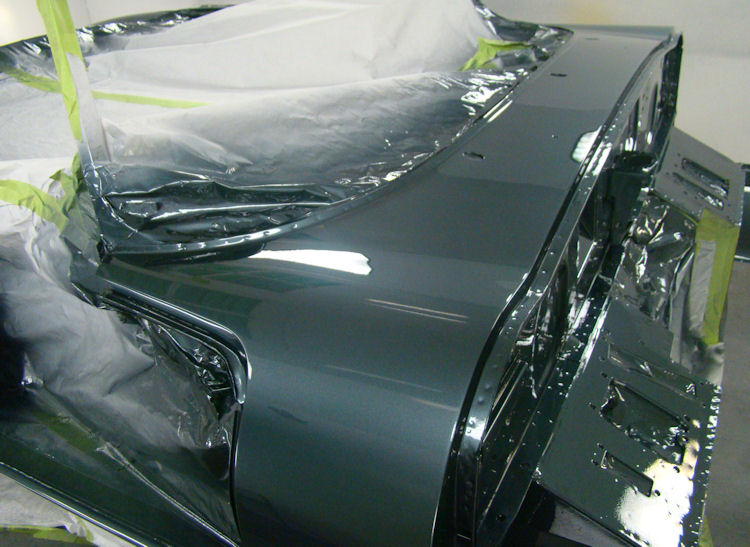
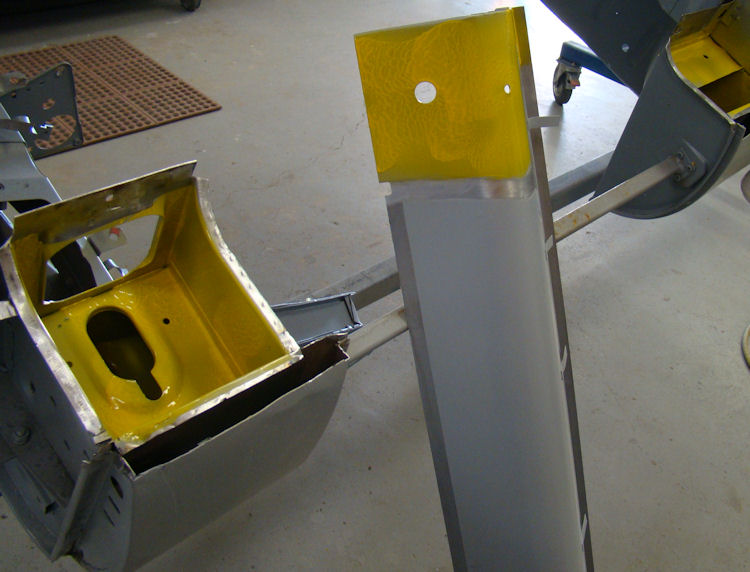
Applying the first of the Opalescent Dark Blue!
 |
 |
|
|
|
|
|
|
 |
 |
|
|
|
|
|
|
 |
 |
|
|
|
|
|
|
 |
 |
|
|
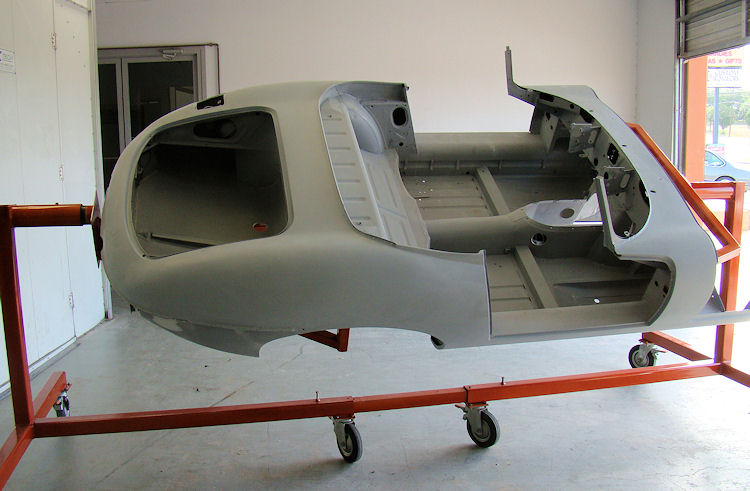
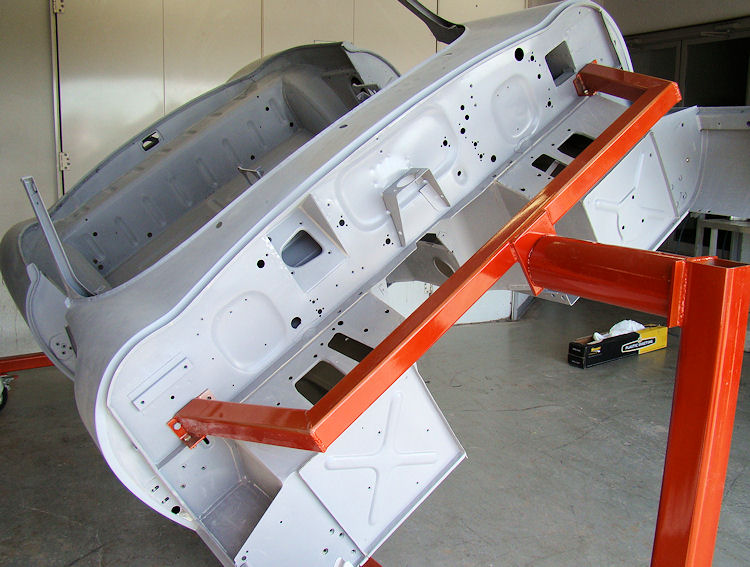
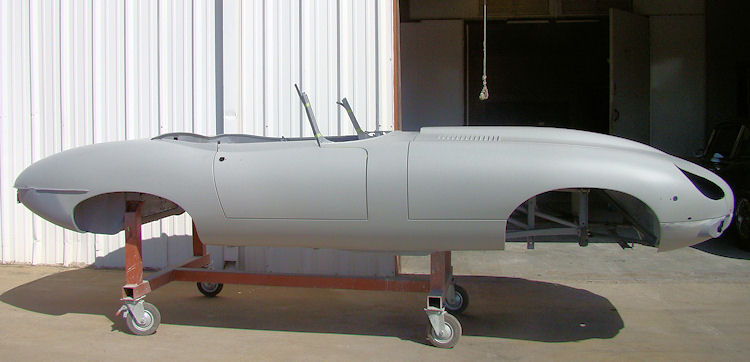
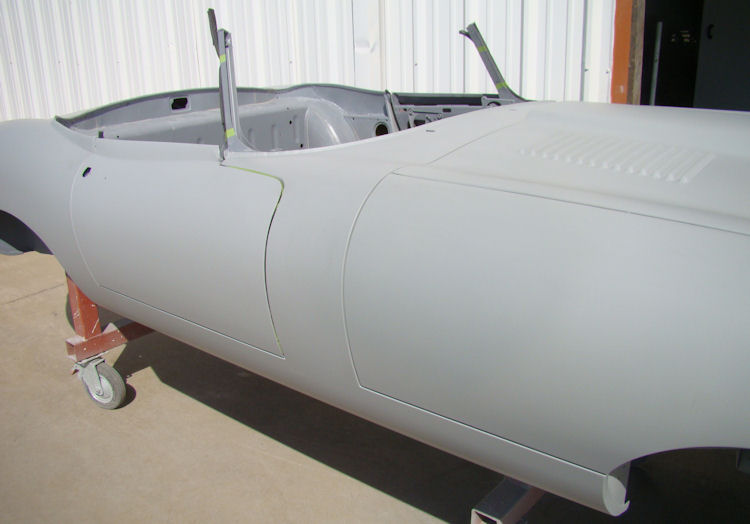
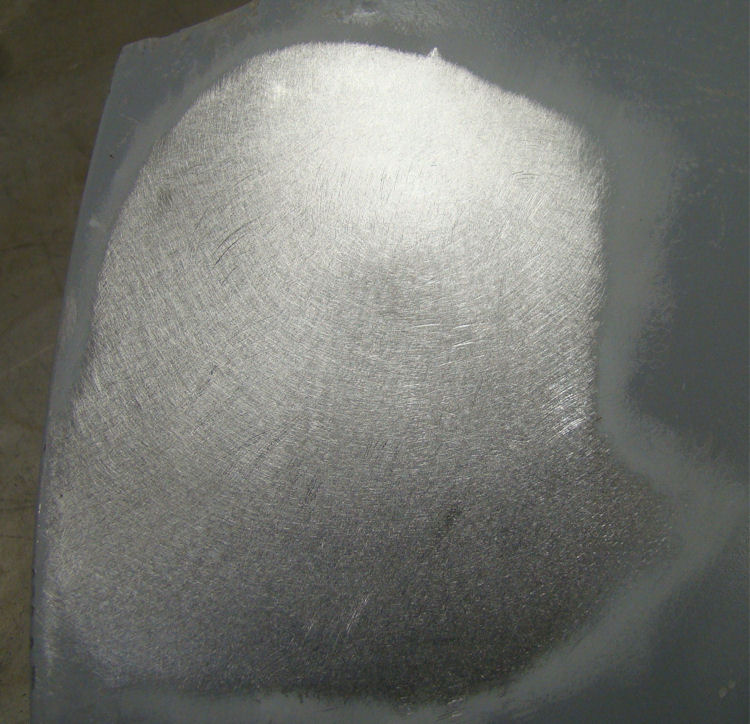
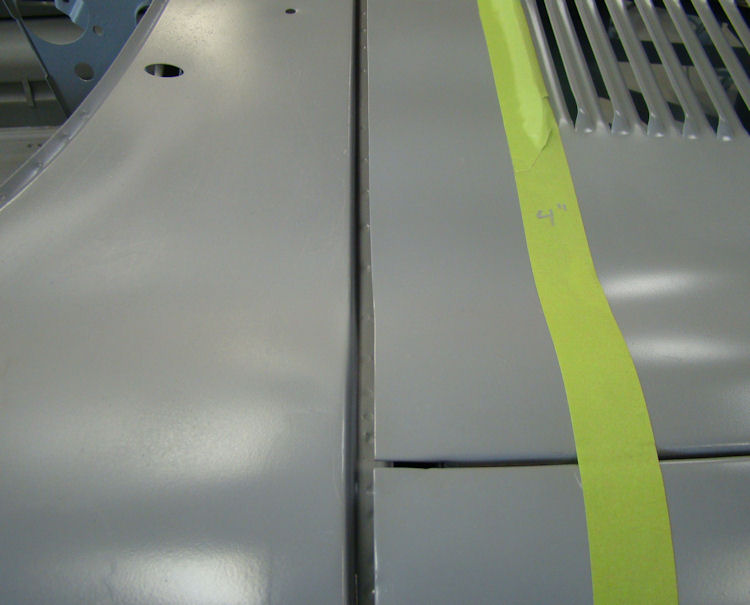
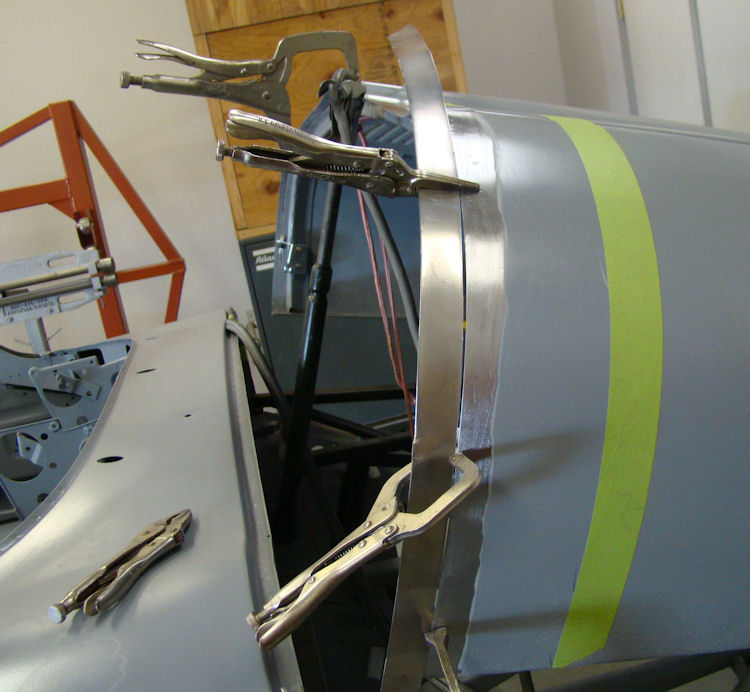
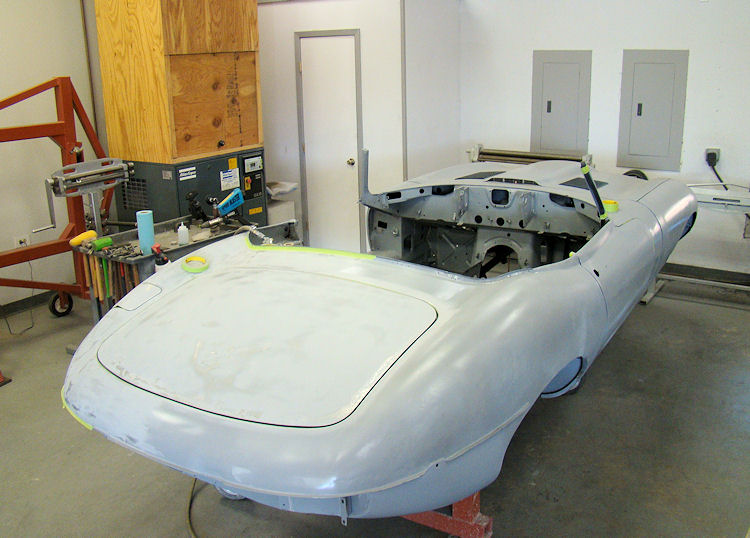
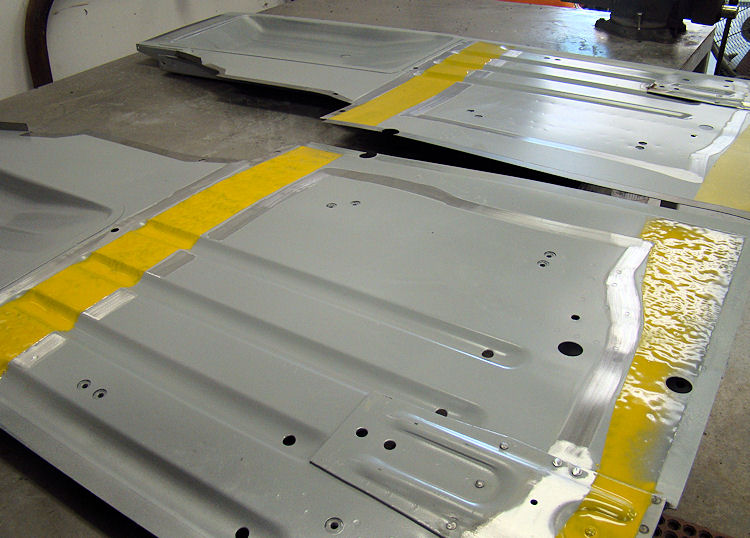
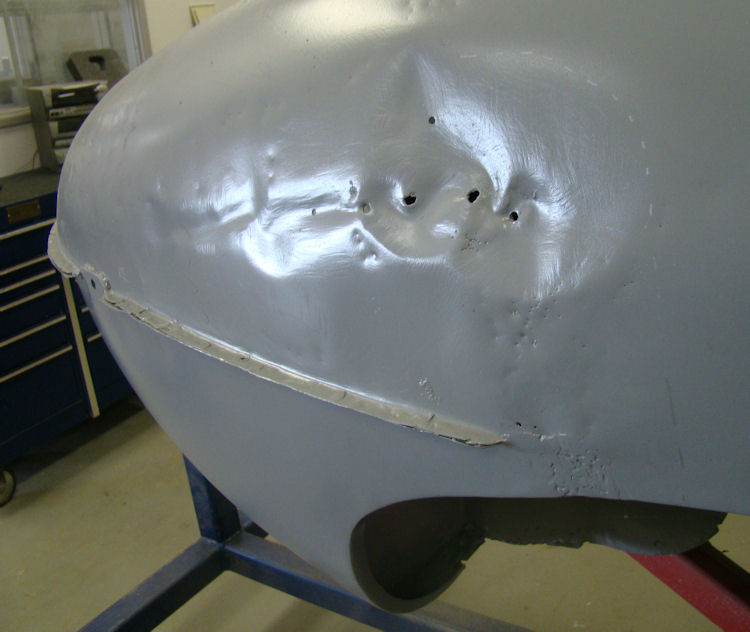
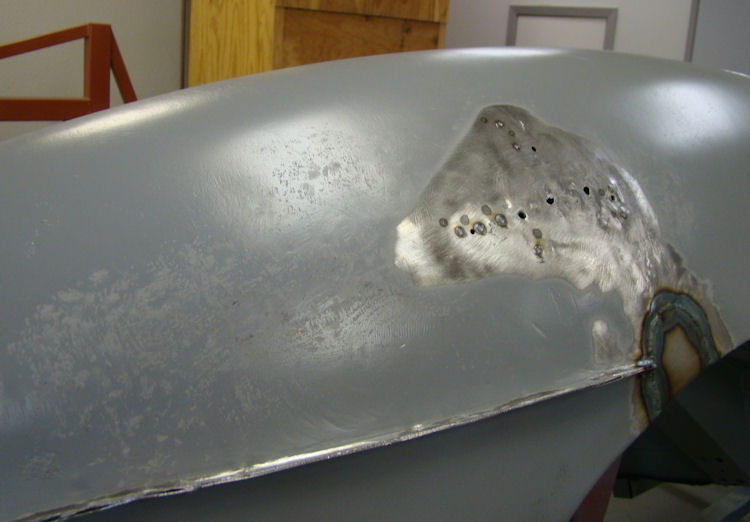
I am pleased to report that we have now finished the bodywork stage and your car is sitting in Slick Sand.
 |
 |
|
|
|
 |
 |
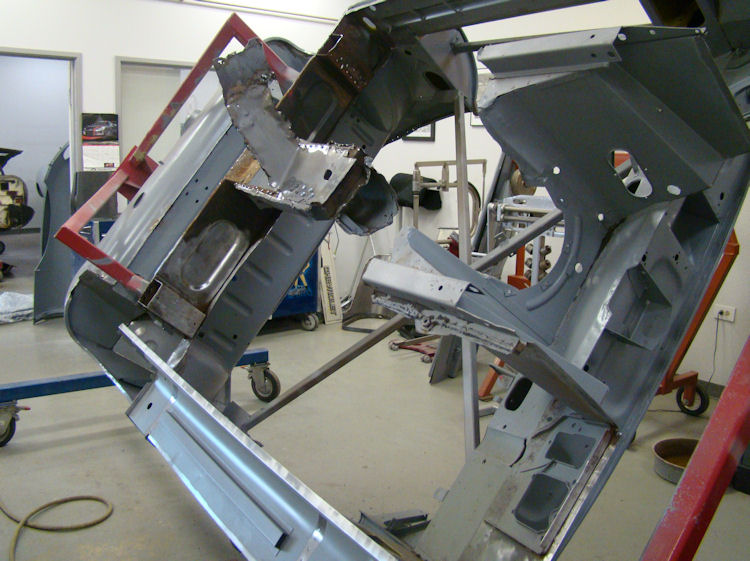
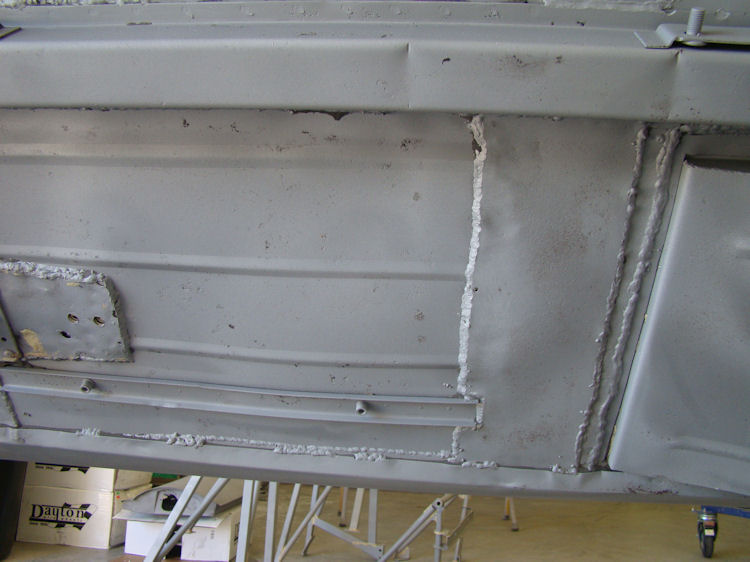
I am pleased to report that your sheet metal and lead loading repairs have now been completed and your interior trim work is also well underway...
 |
 |
|
|
|
|
|
|
 |
 |
|
|
|
 |
 |
|
|
|
|
|
|
 |
 |
|
|
|
|
|
|
 |
 |
|
|
|
 |
 |
|
|
|
|
|
|
 |
 |
|
|
|
|
|
|
 |
 |
|
|
|
|
|
|
 |
 |
|
|
|
 |
 |
|
|
|
|
|
|
 |
 |
|
|
|
|
|
|
 |
 |
|
|
|
|
|
|
 |
 |
|
|
|
 |
 |
|
|
|
|
|
|
 |
|
|
|
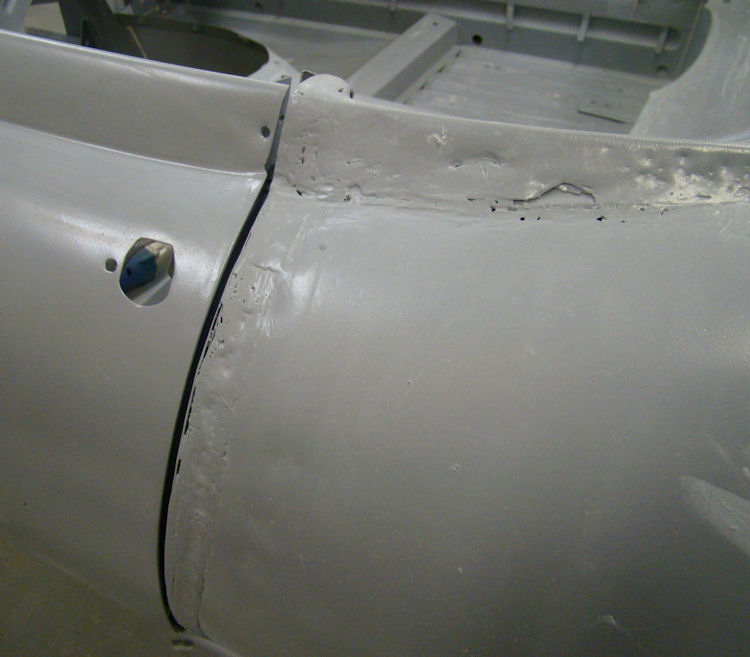
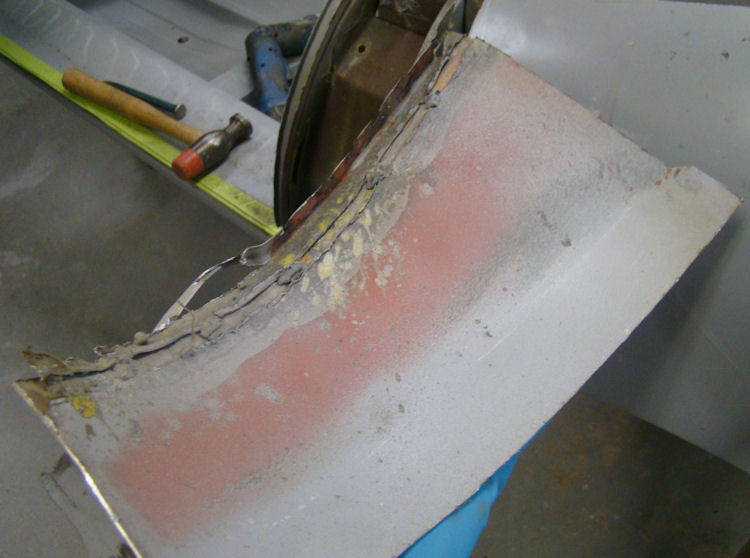
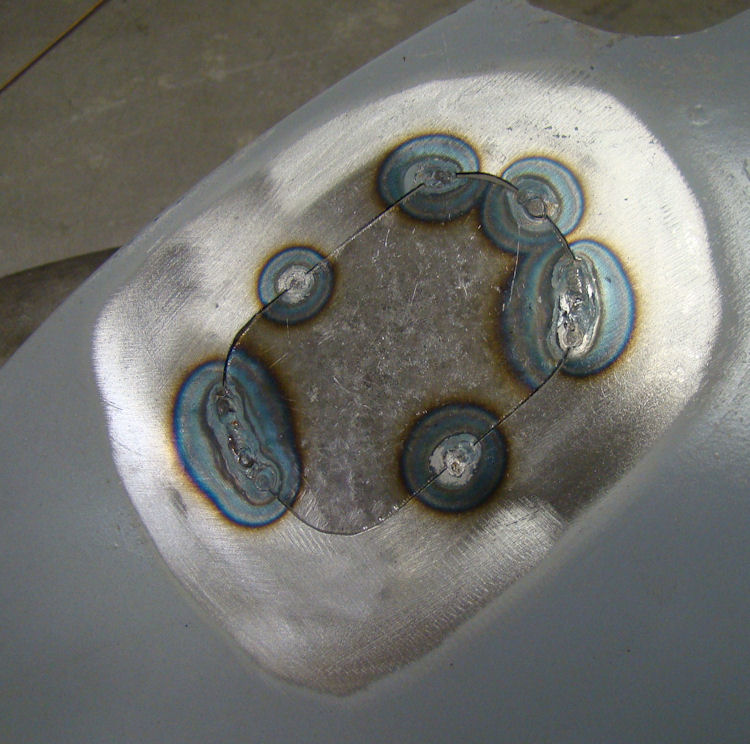
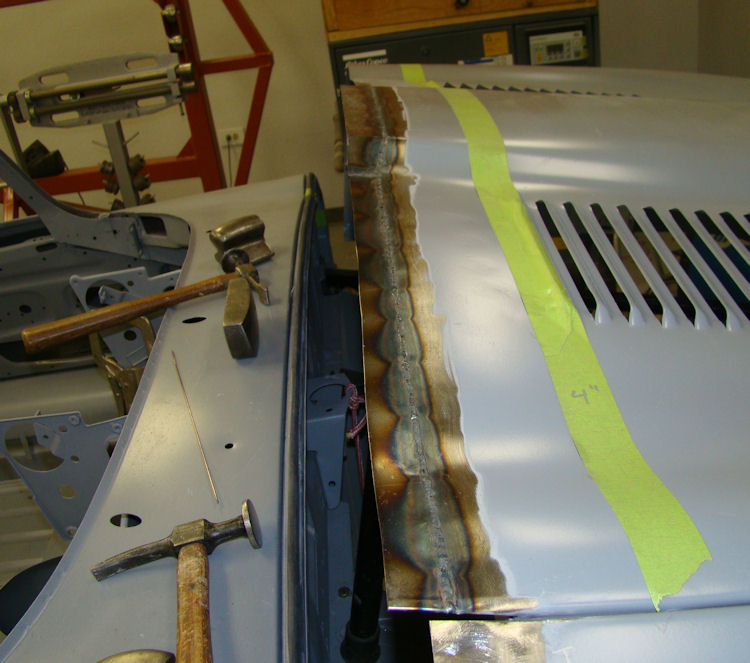
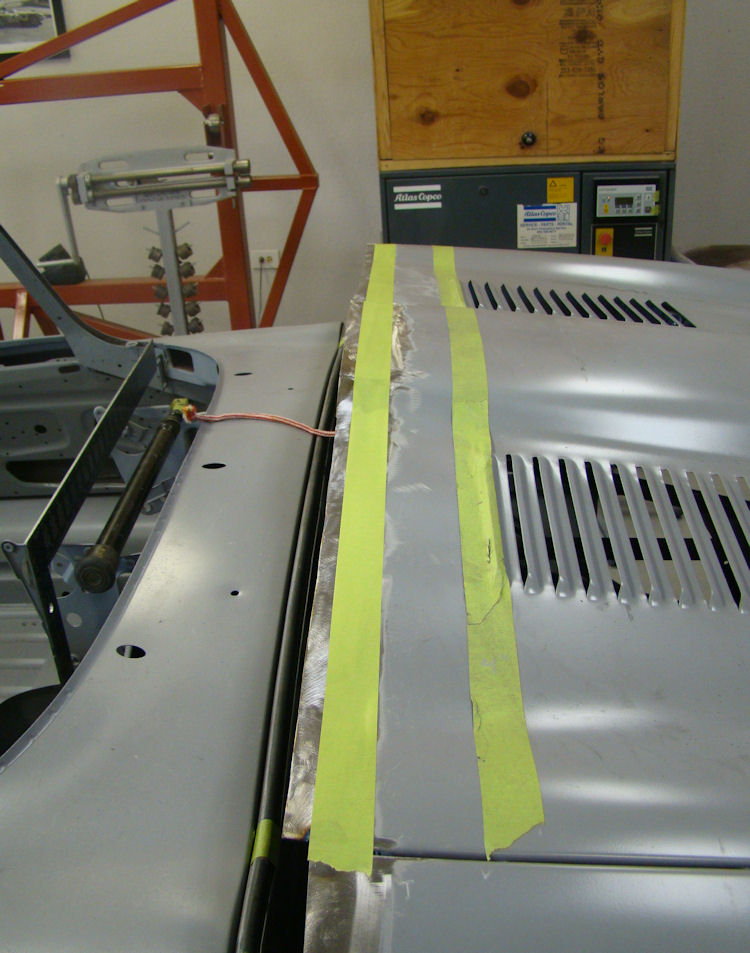
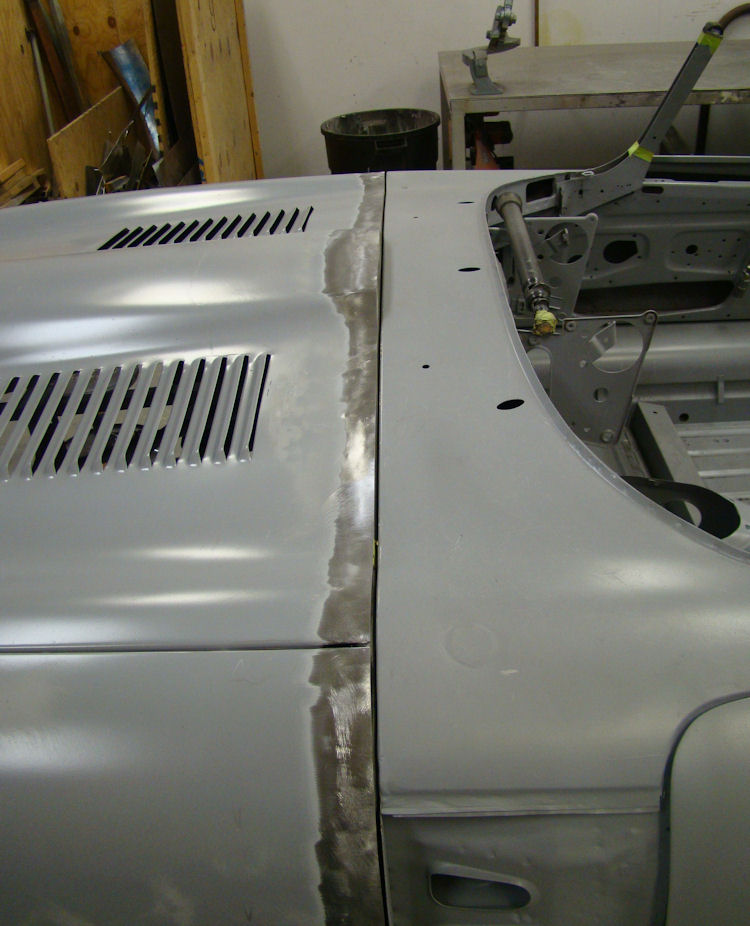
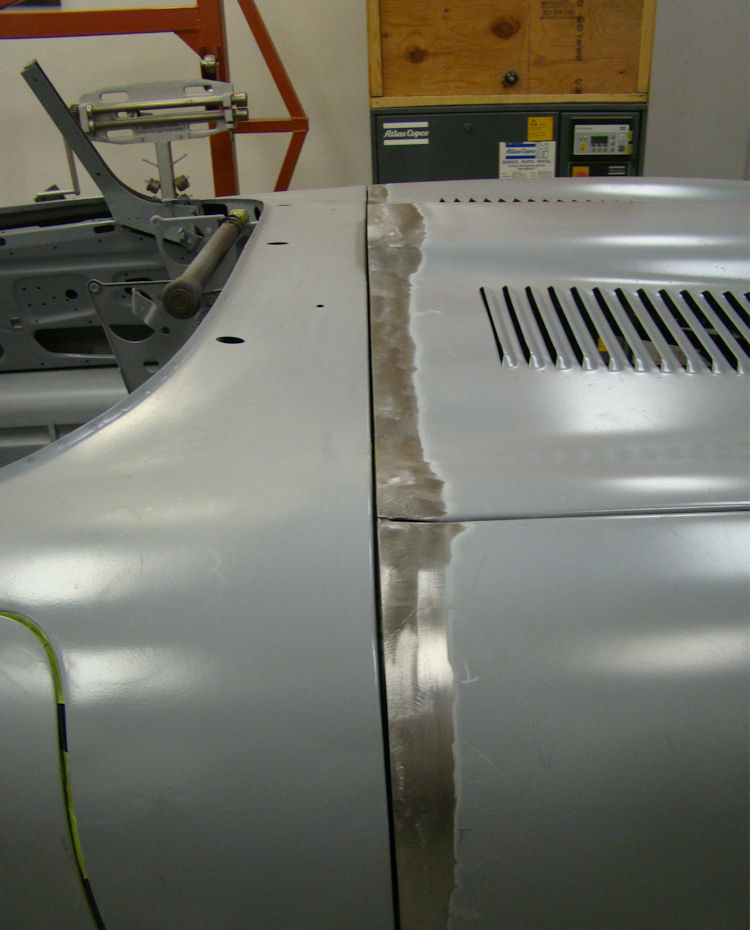
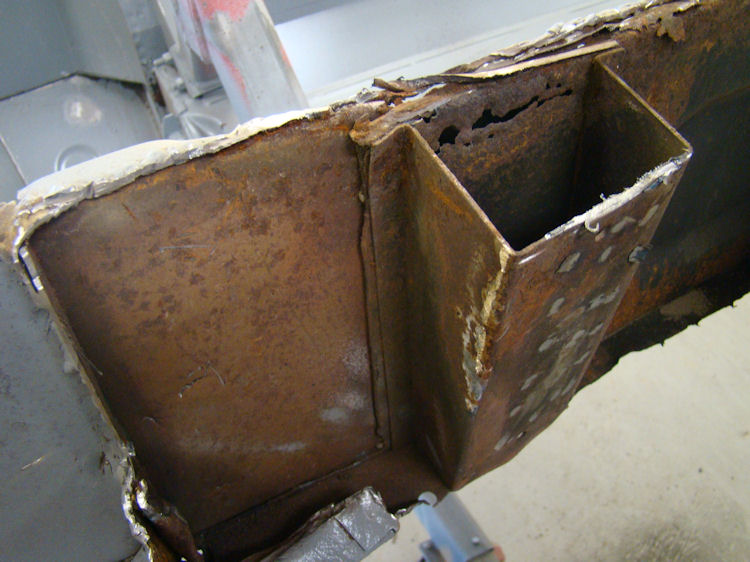
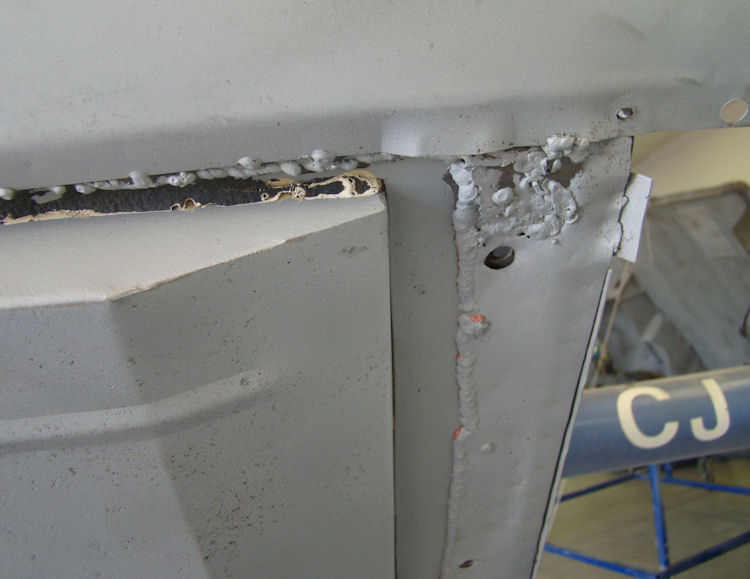
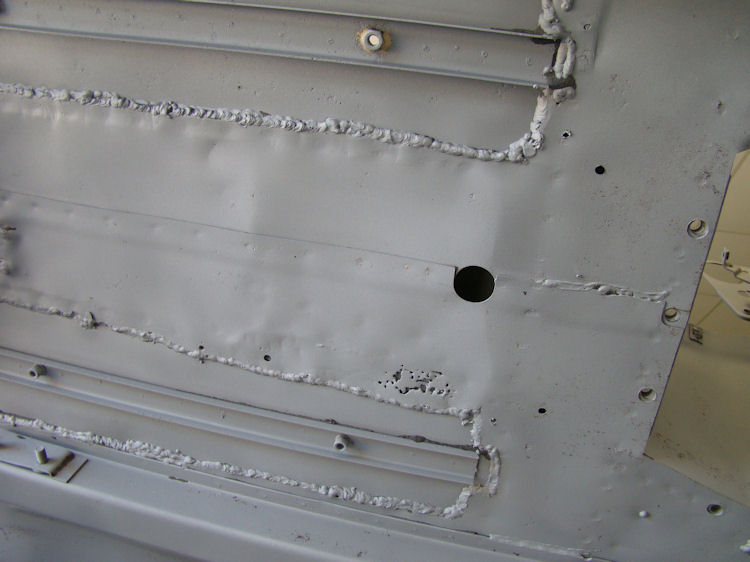
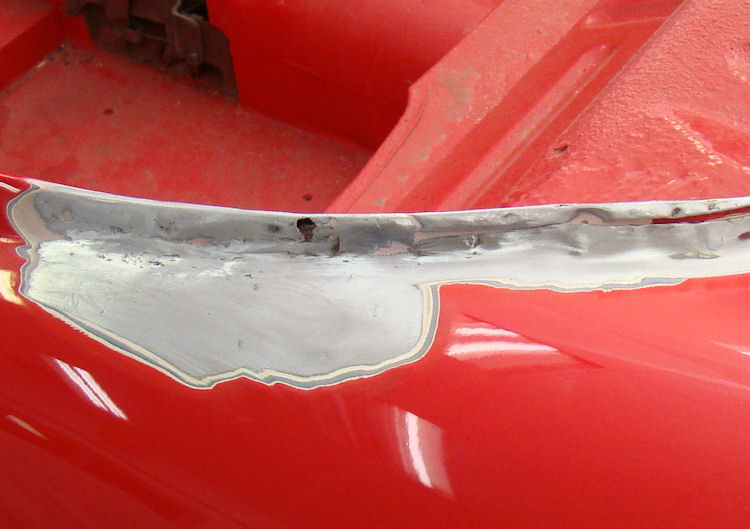
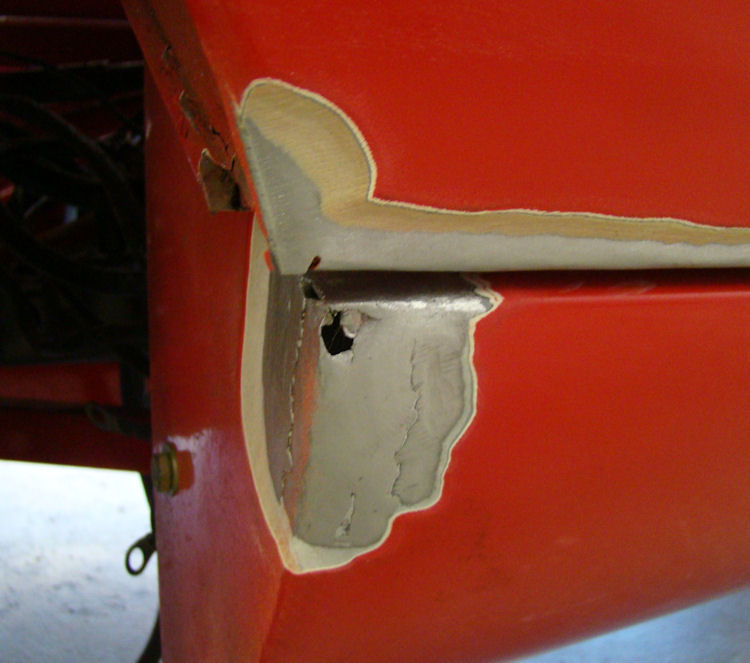
Sheet metal and lead process now virtually complete. Filler work underway....
 |
 |
|
|
|
|
|
|
 |
 |
|
|
|
|
|
|
 |
 |
|
|
|
|
|
|
 |
 |
|
|
|
|
|
|
 |
 |
|
|
|
|
|
|
 |
 |
|
|
|
|
|
|
 |
 |
|
|
|
|
|
|
 |
 |
|
|
|
|
|
|
 |
 |
|
|
|
|
|
|
 |
 |
|
|
|
|
|
|
 |
 |
|
|
|
|
|
|
 |
 |
|
|
|
|
|
|
 |
 |
|
|
|
|
|
|
 |
 |
|
|
|
|
|
|
 |
 |
|
|
|
|
|
|
 |
 |
|
|
|
 |
|
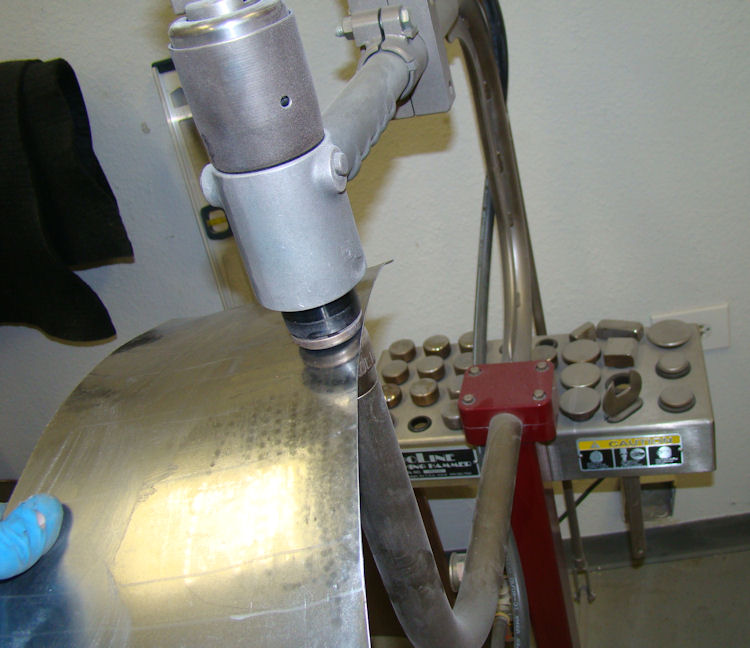
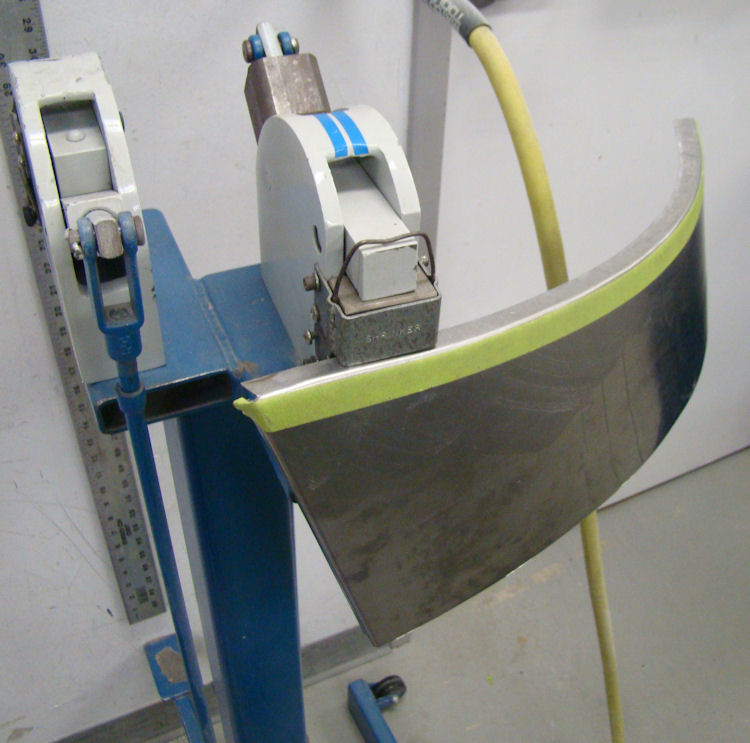
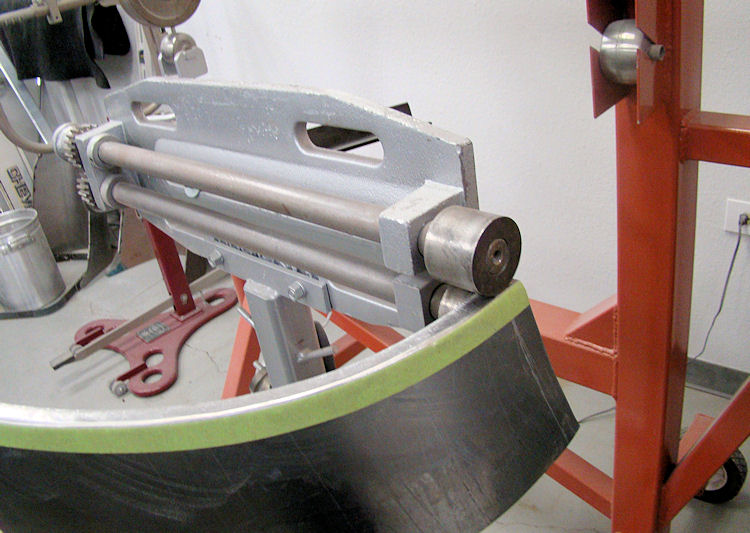
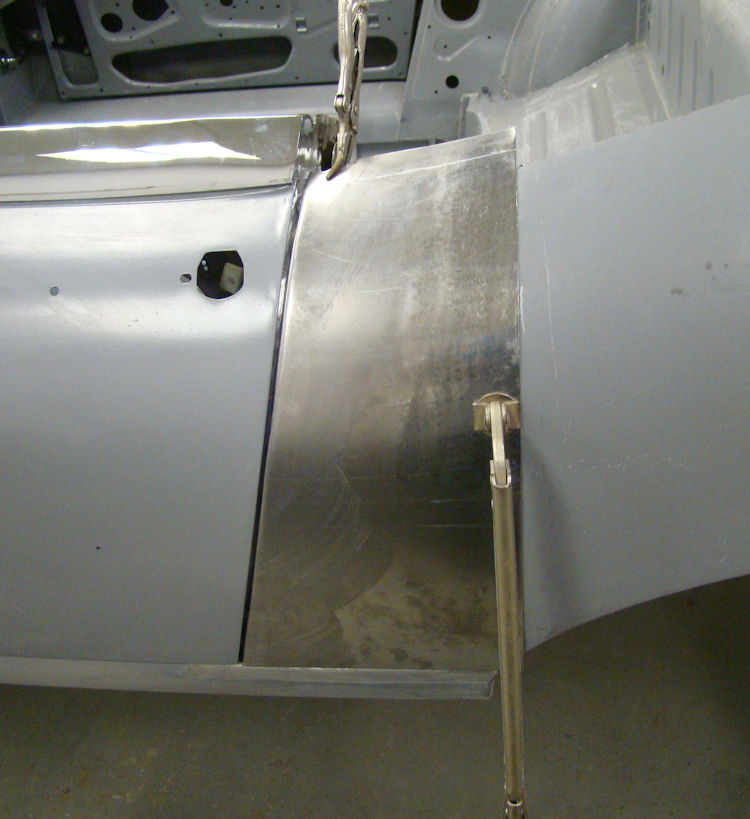
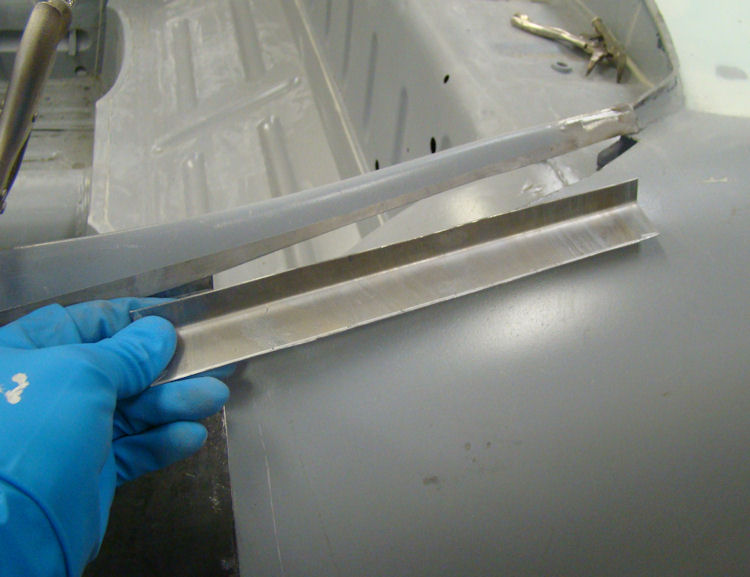
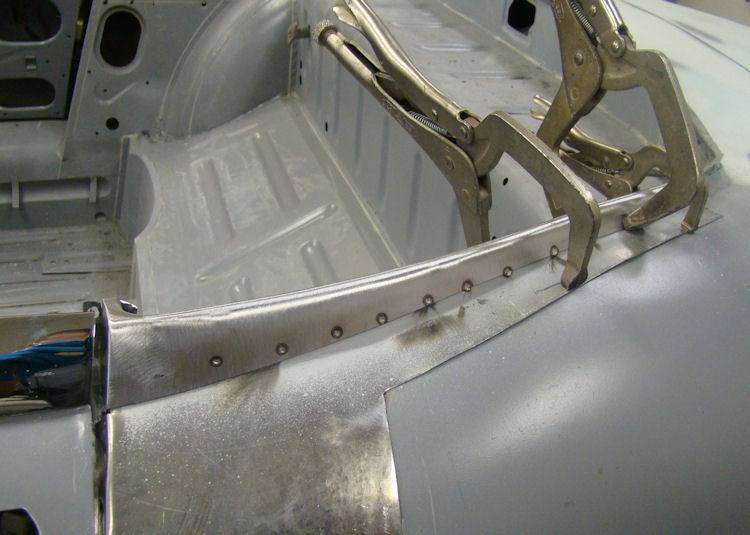
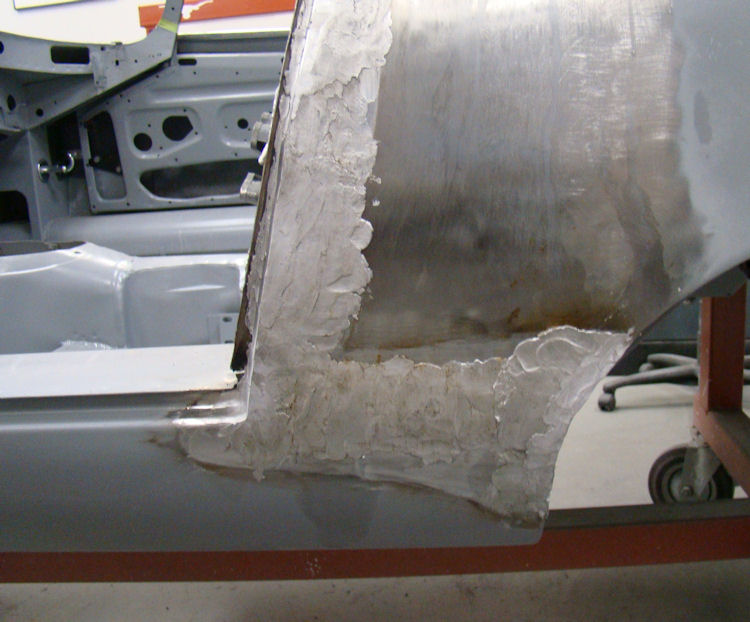
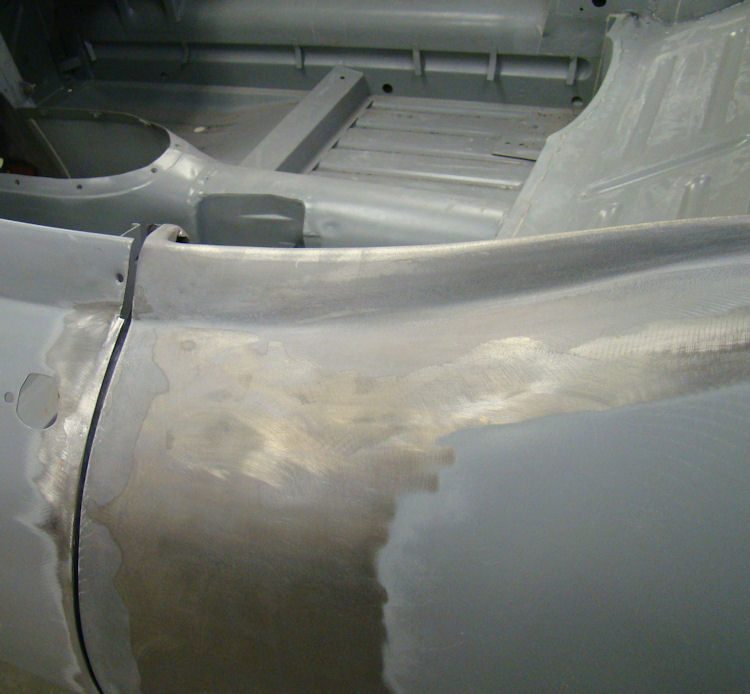
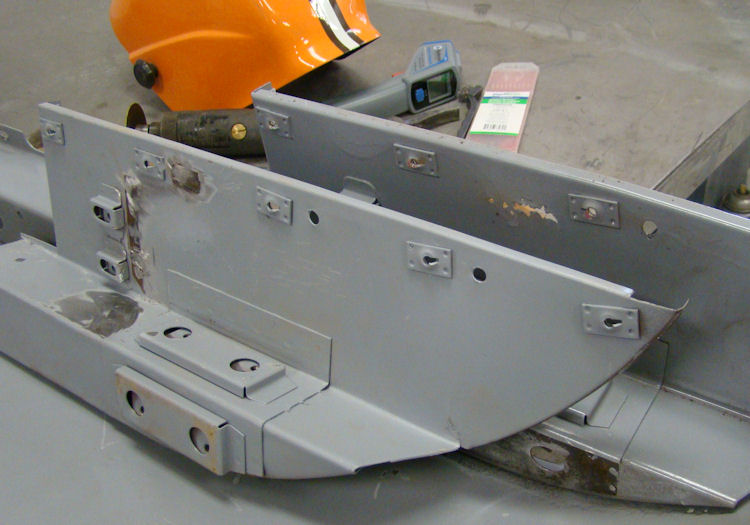
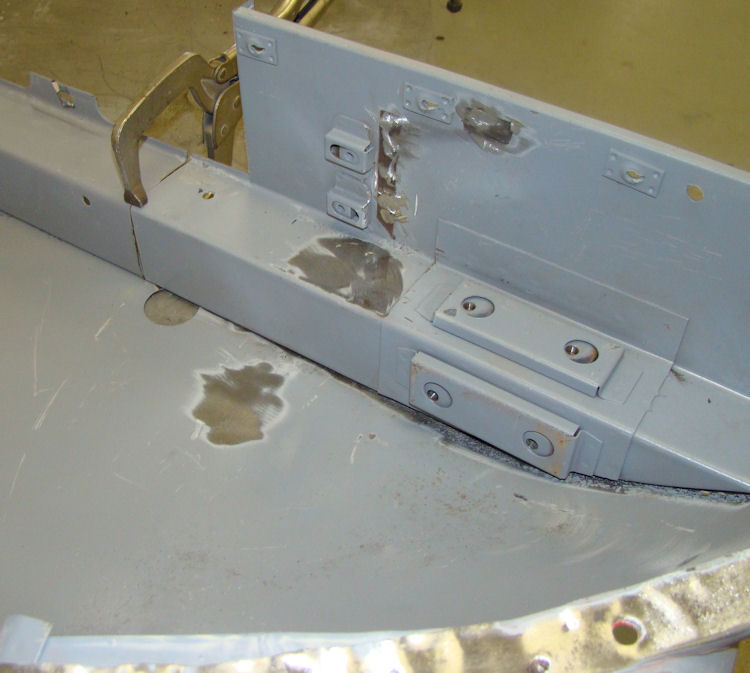
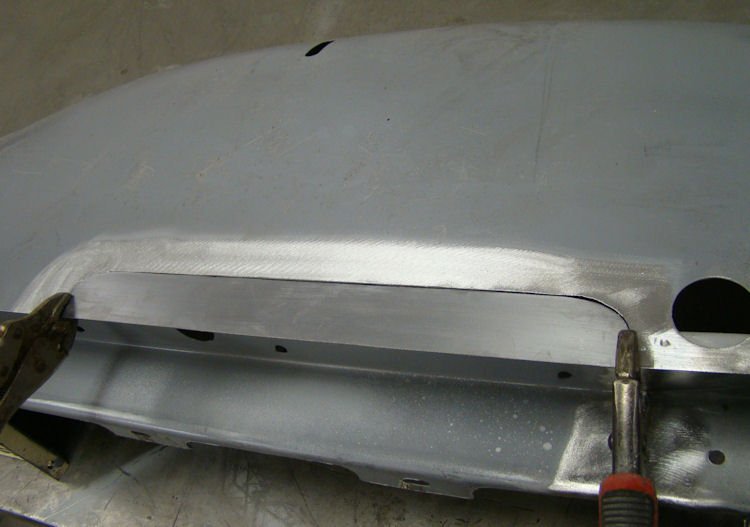
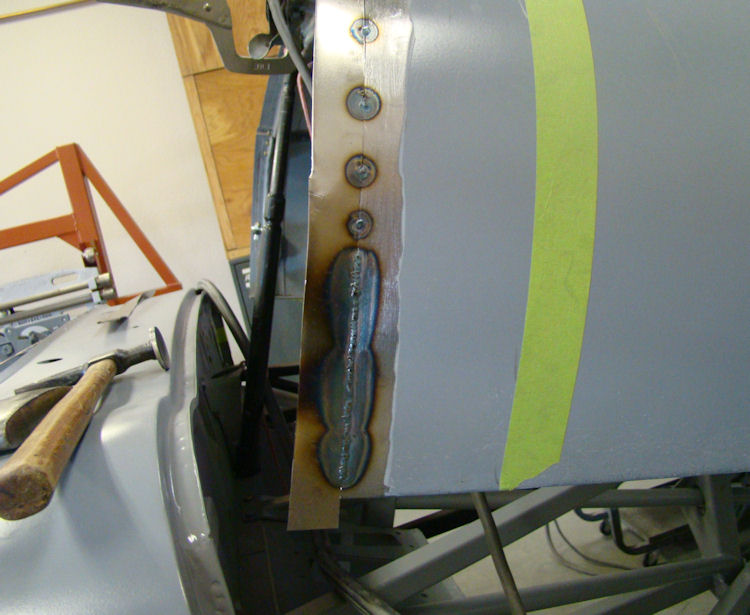
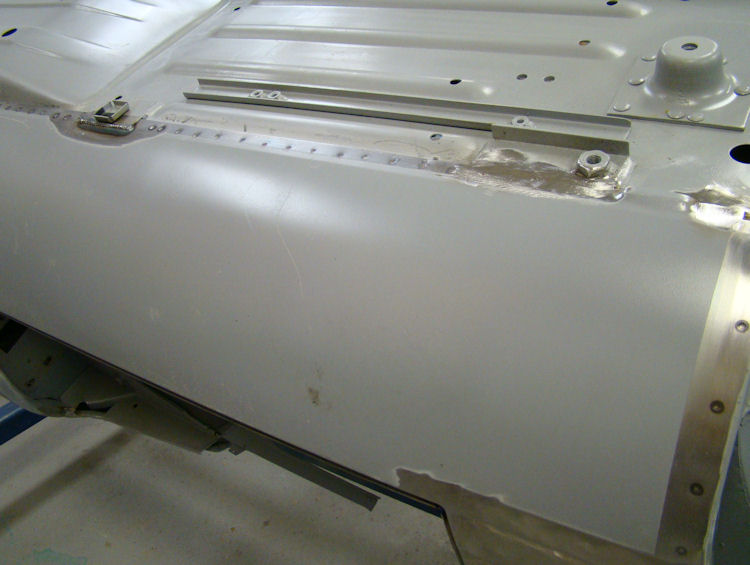
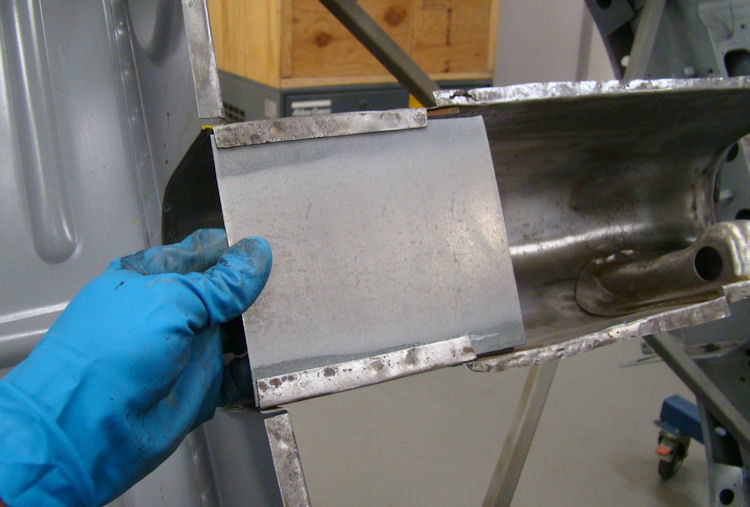
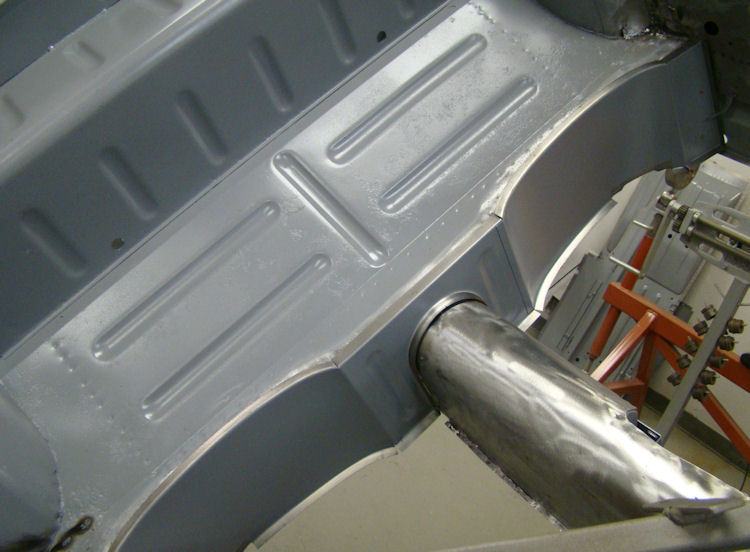
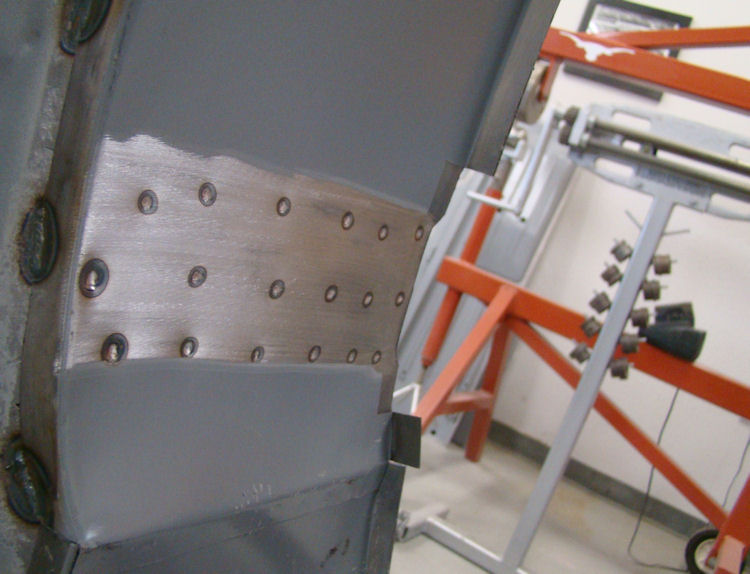
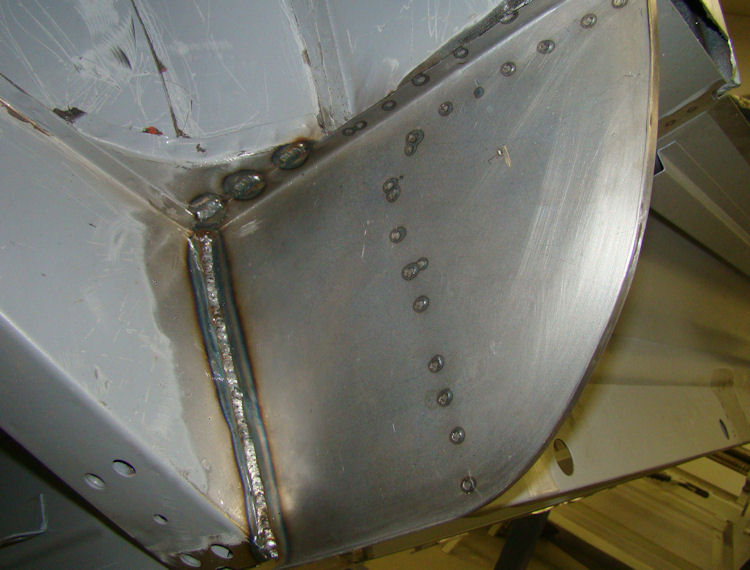
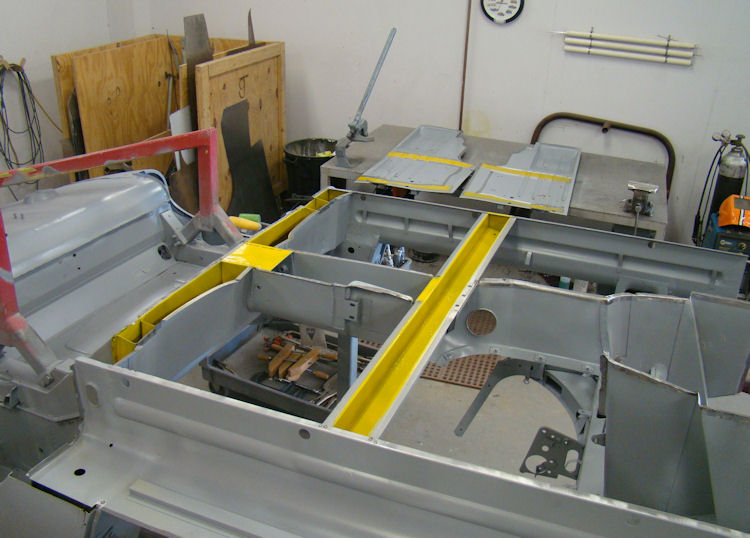
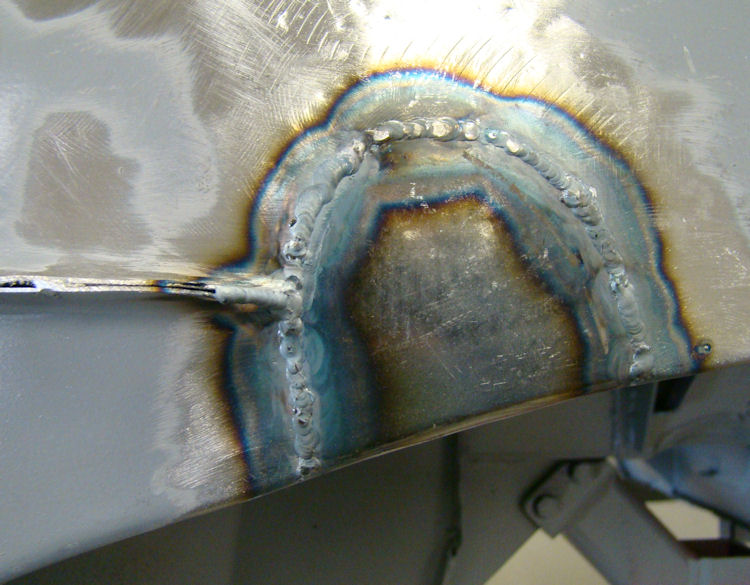
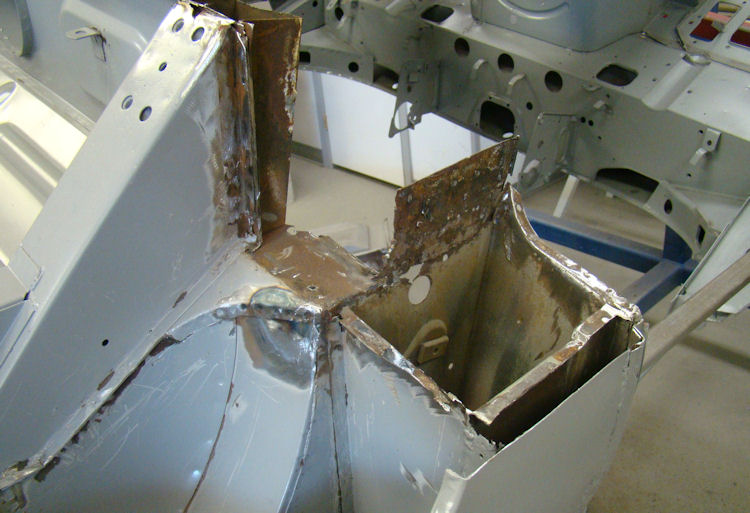
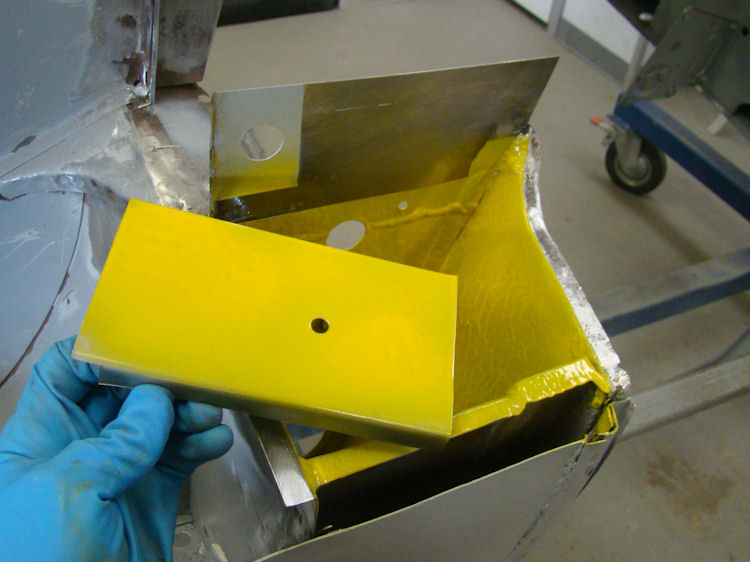
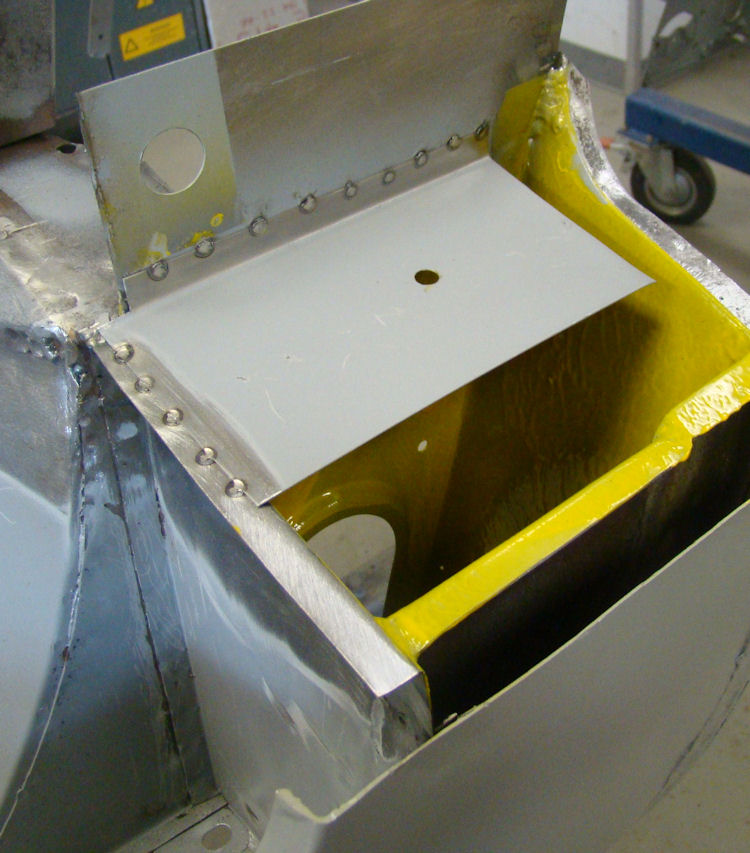
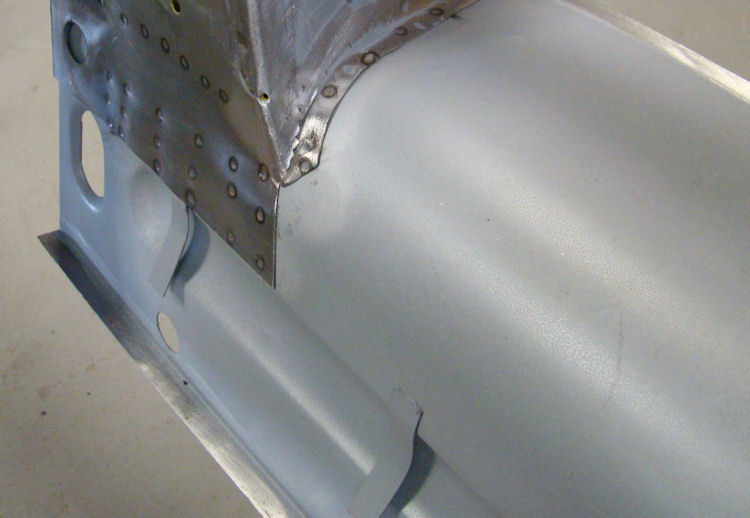
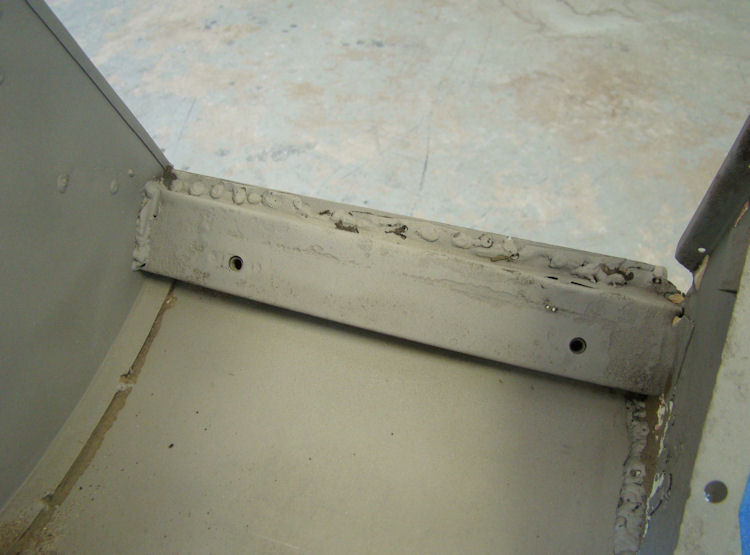
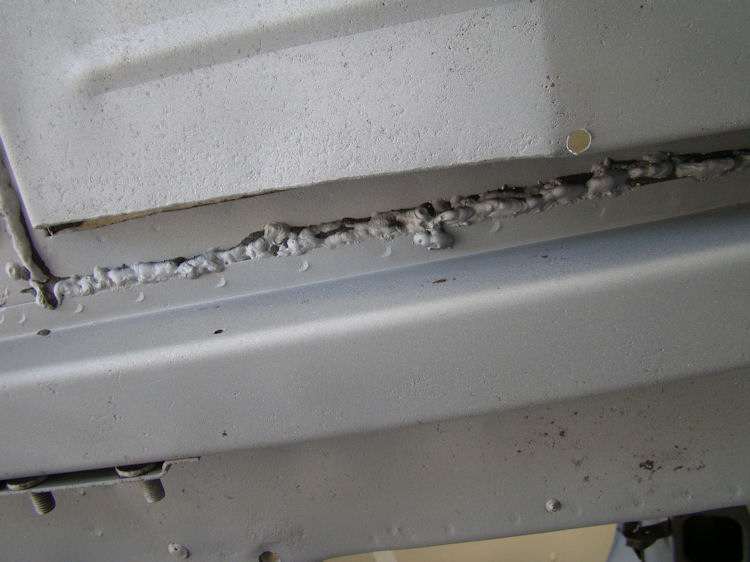
Floors now replaced, installing outer sills ......
 |
 |
|
|
|
|
|
|
 |
 |
|
|
|
|
|
|
 |
 |
|
|
|
|
|
|
 |
 |
|
|
|
|
|
|
 |
 |
|
|
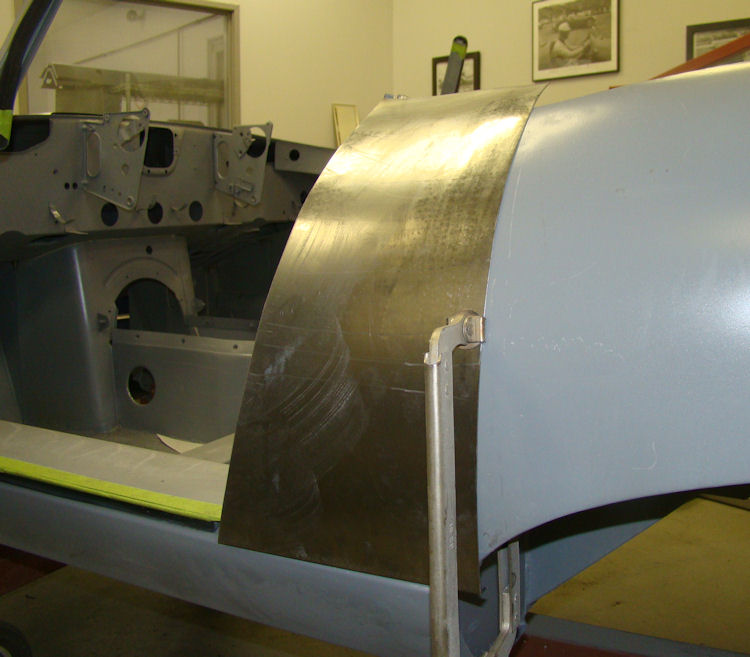
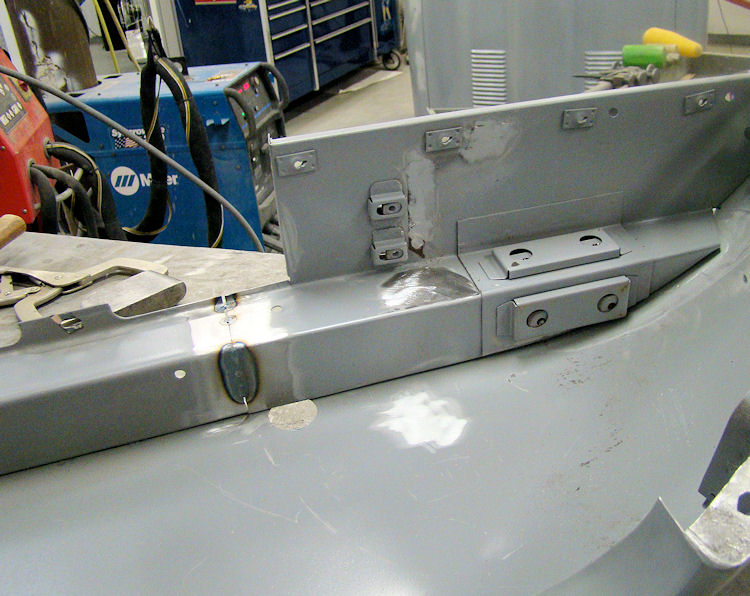
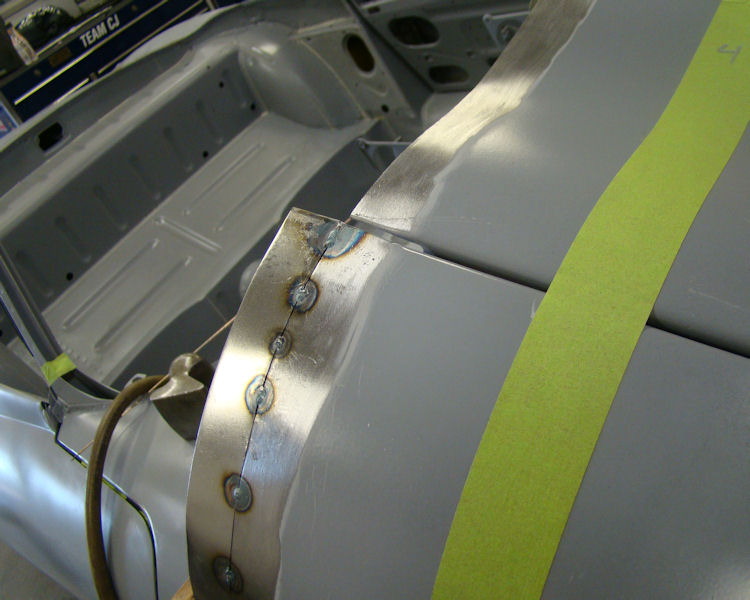
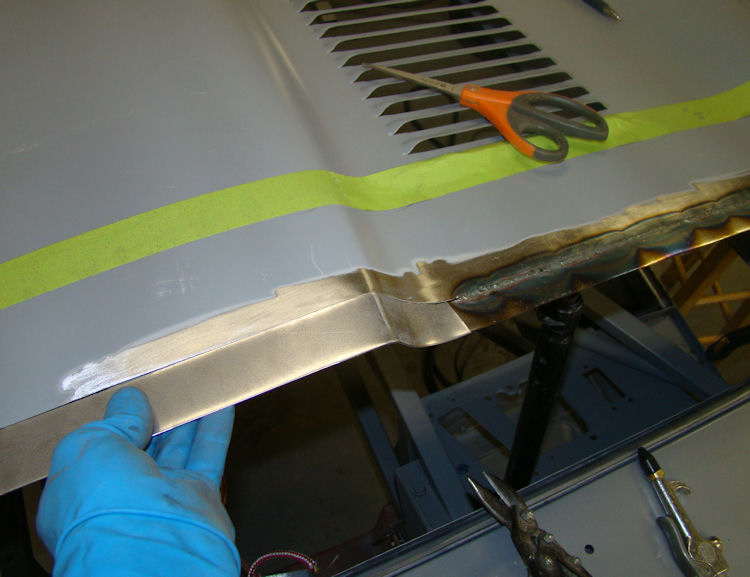
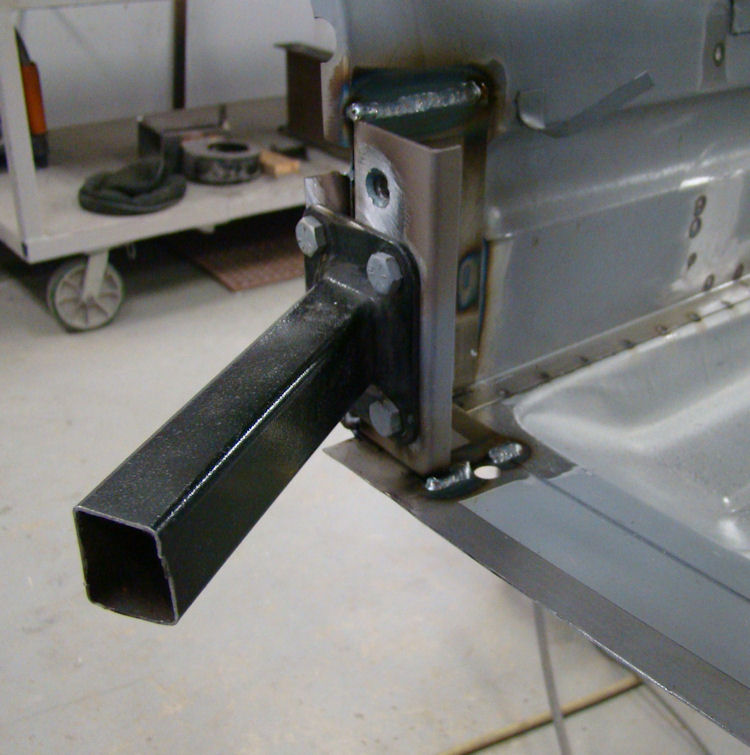
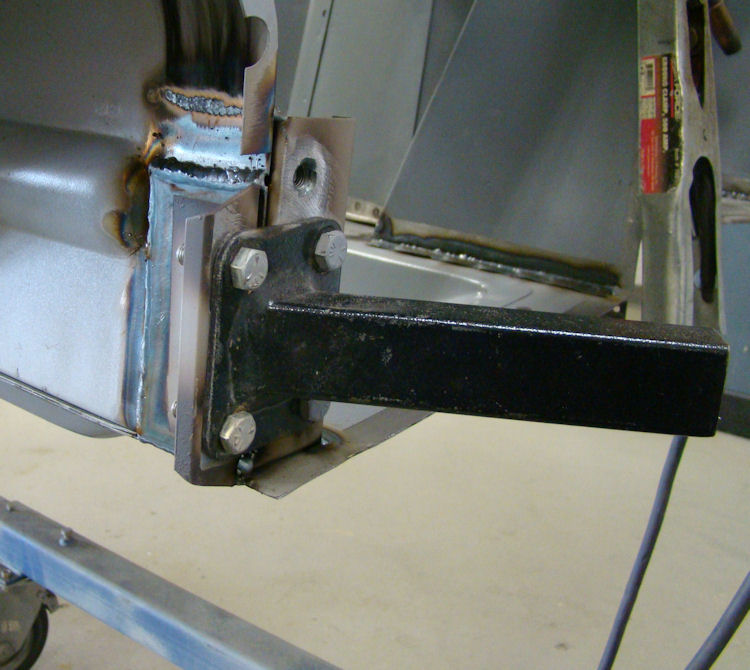
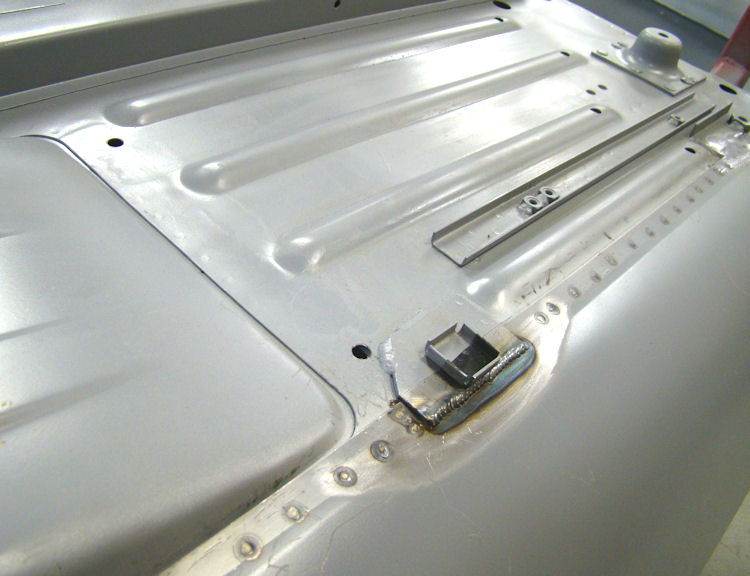
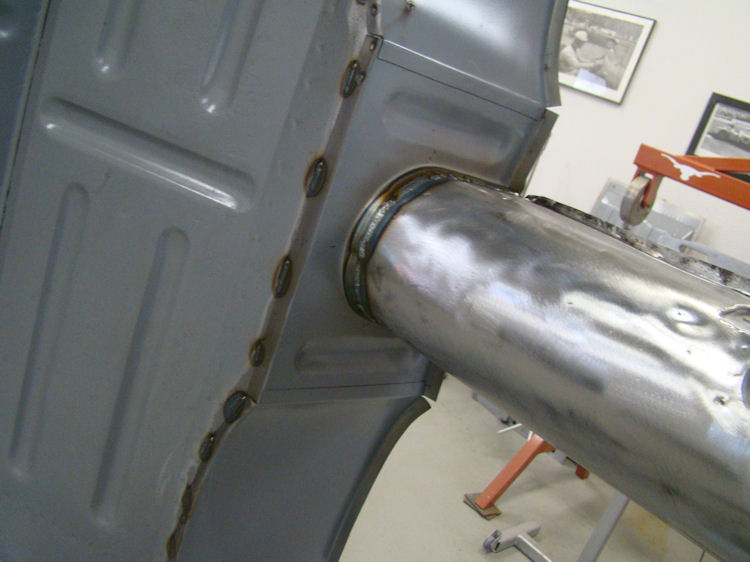
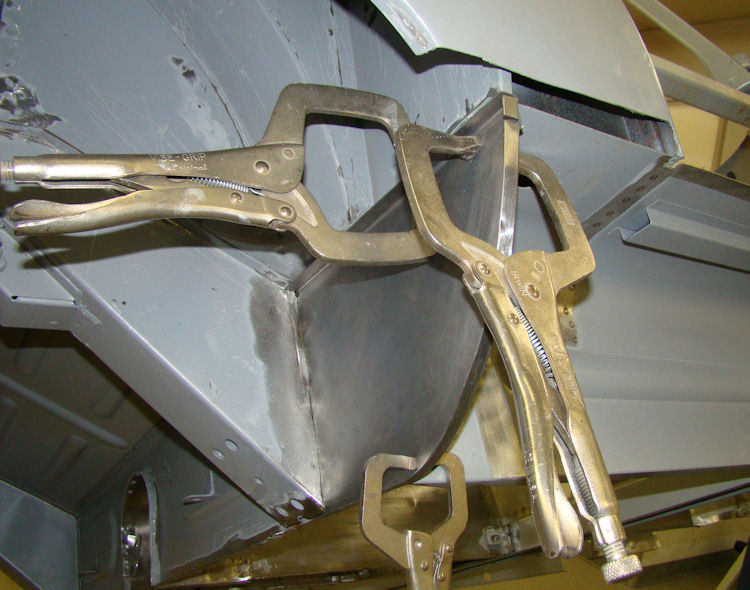
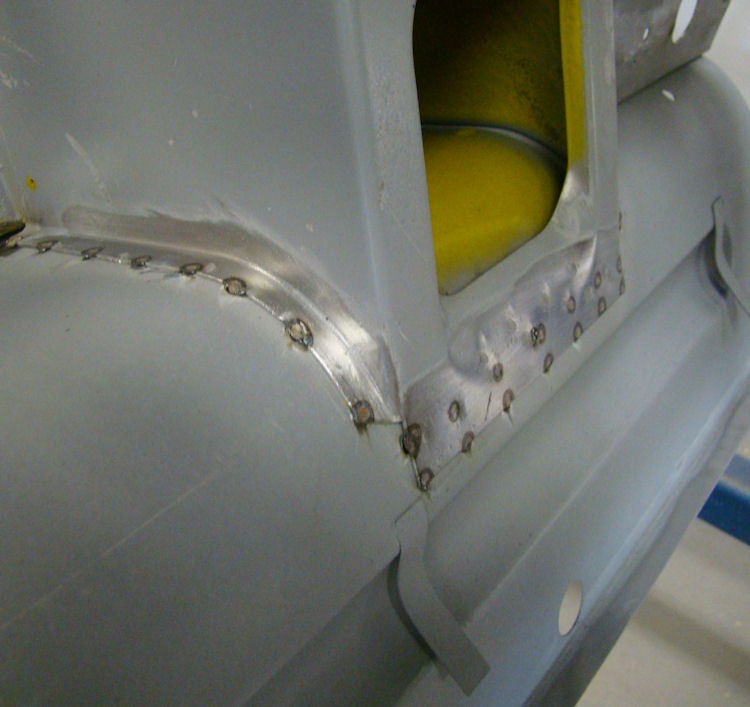
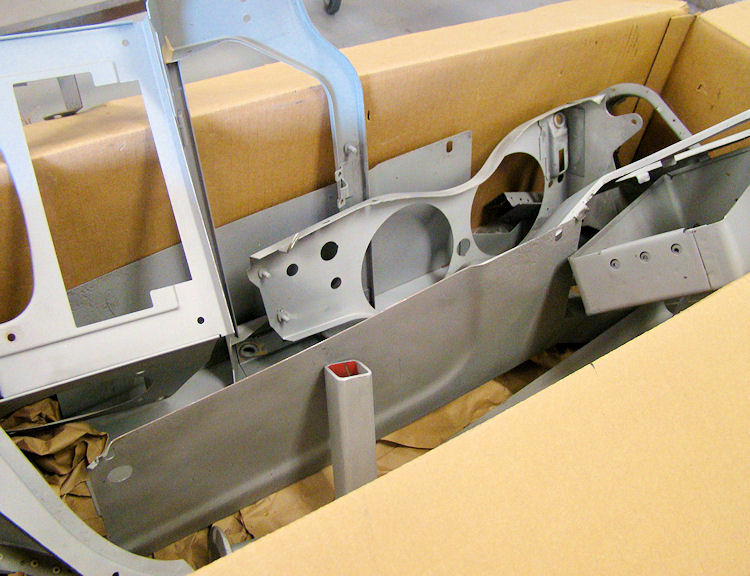
More progress in the Coachworks.....
 |
 |
|
|
|
|
|
|
 |
 |
|
|
|
|
|
|
 |
 |
|
|
|
 |
 |
|
|
|
|
|
|
 |
 |
|
|
|
 |
 |
|
|
|
 |
 |
|
|
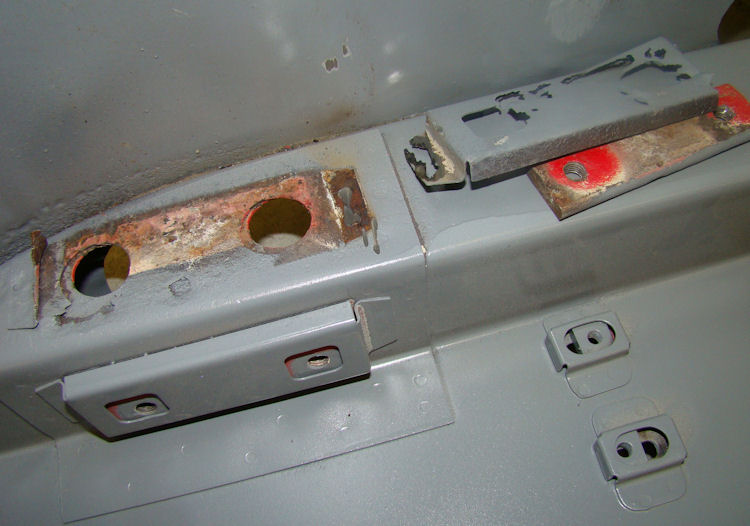
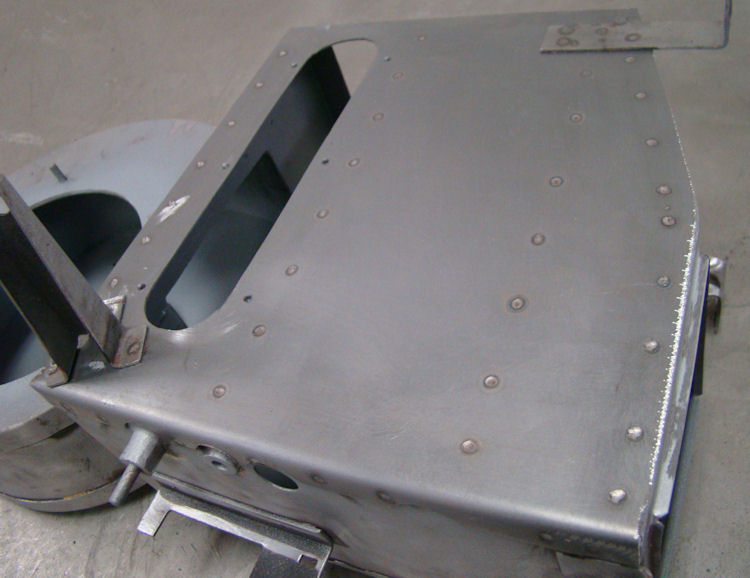
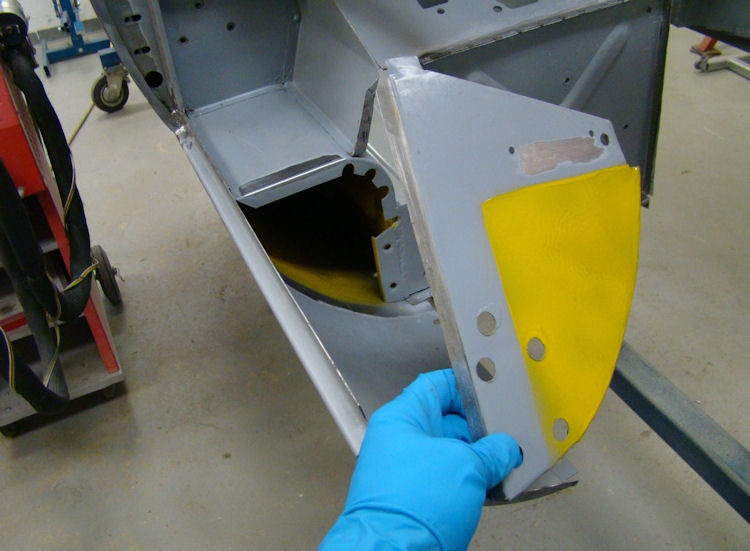
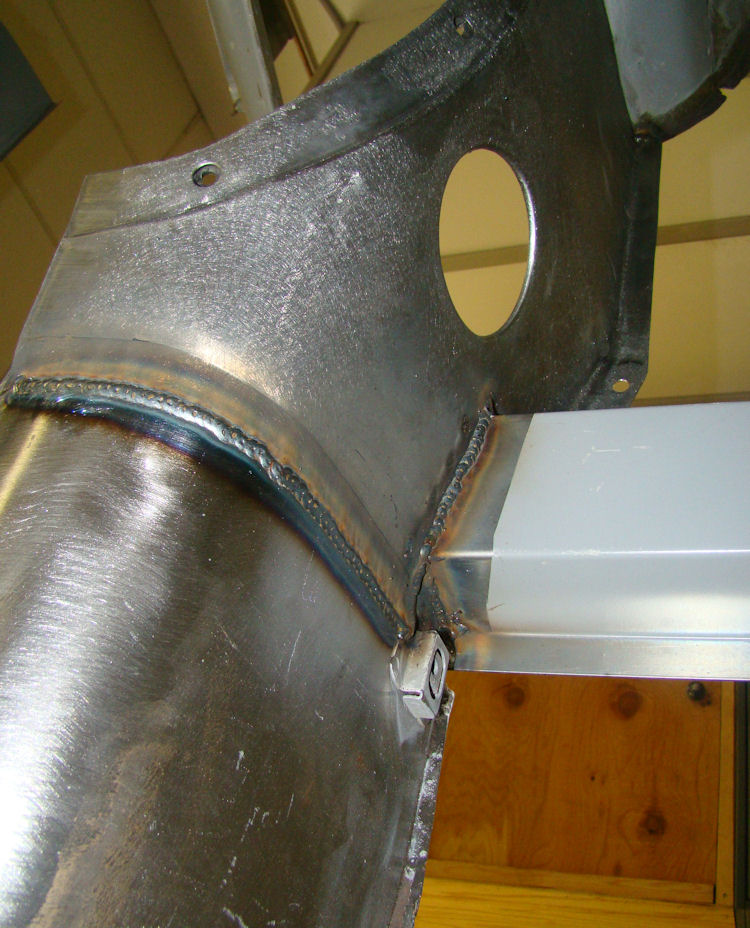
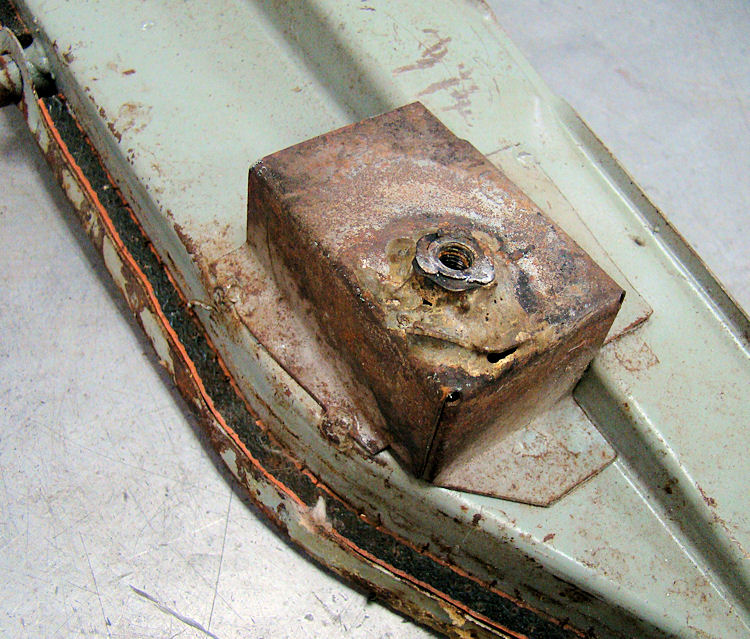
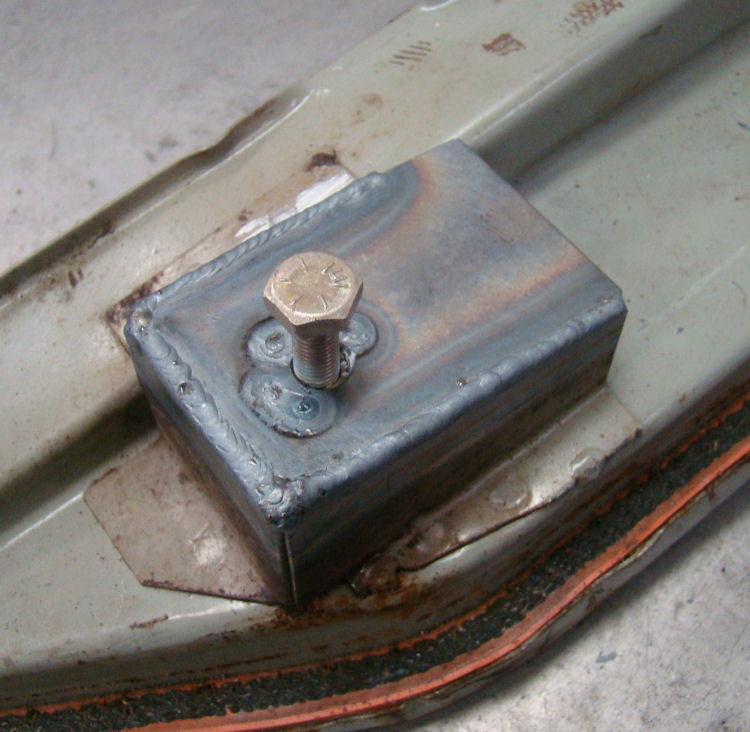
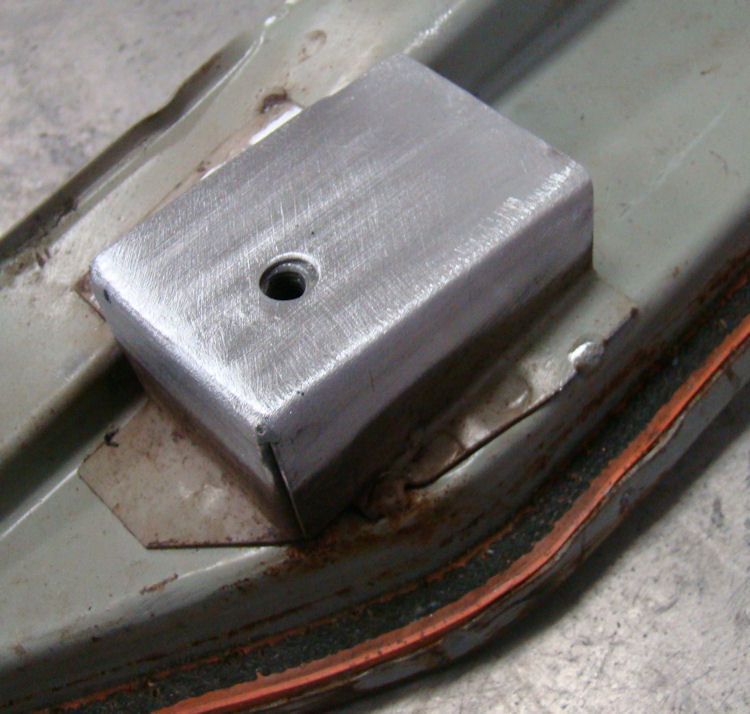
within rear bulhead and beneath floor cross-member |
 |
 |
|
|
 |
 |
|
|
|
|
|
|
 |
 |
|
|
|
|
|
|
 |
 |
|
|
|
|
|
|
 |
 |
|
|
|
|
|
|
 |
 |
|
|
|
|
|
|
 |
 |
|
|
|
|
|
|
 |
 |
|
|
|
|
|
|
 |
 |
|
|
|
 |
 |
|
|
|
 |
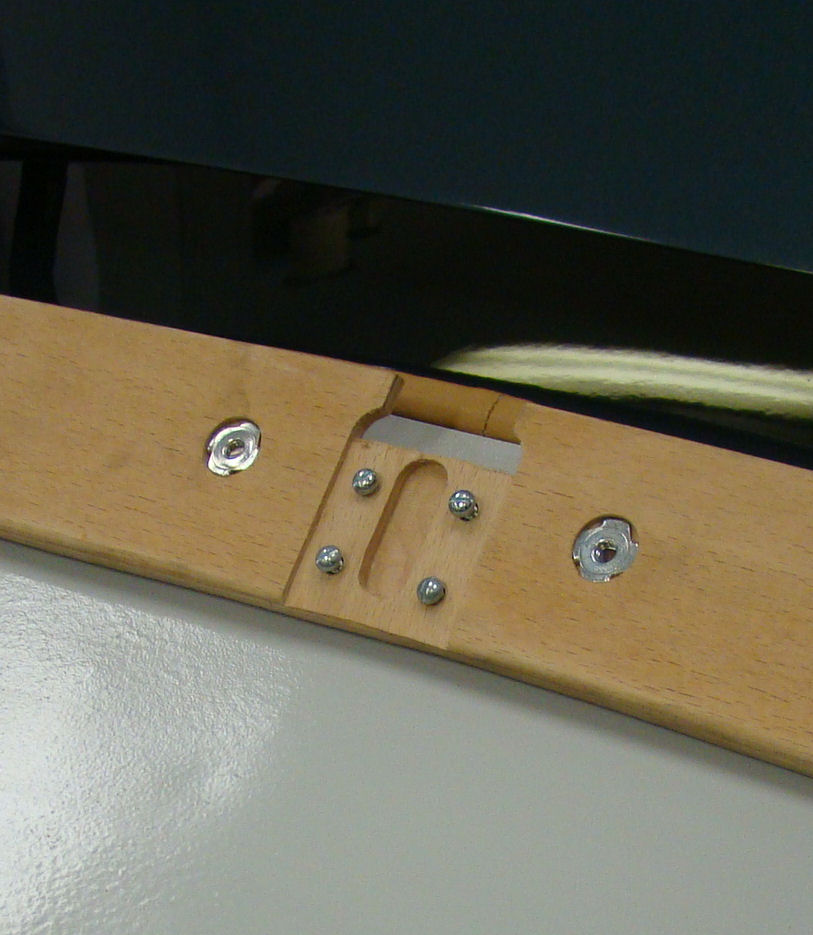
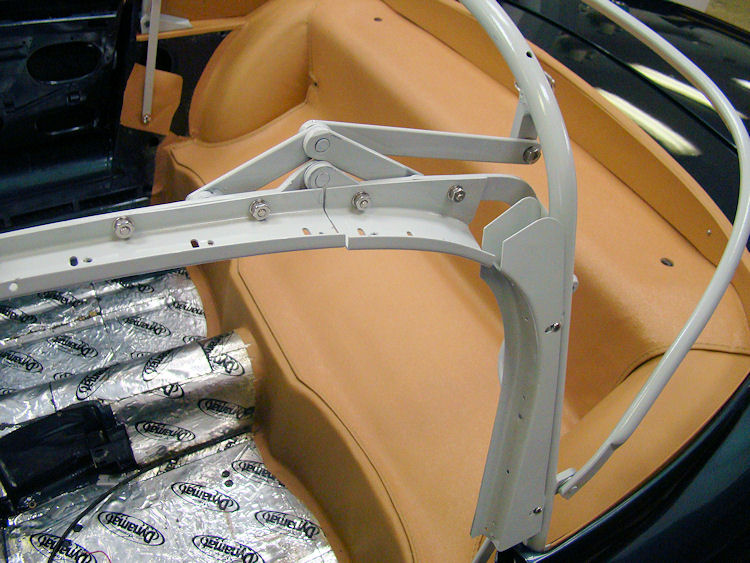
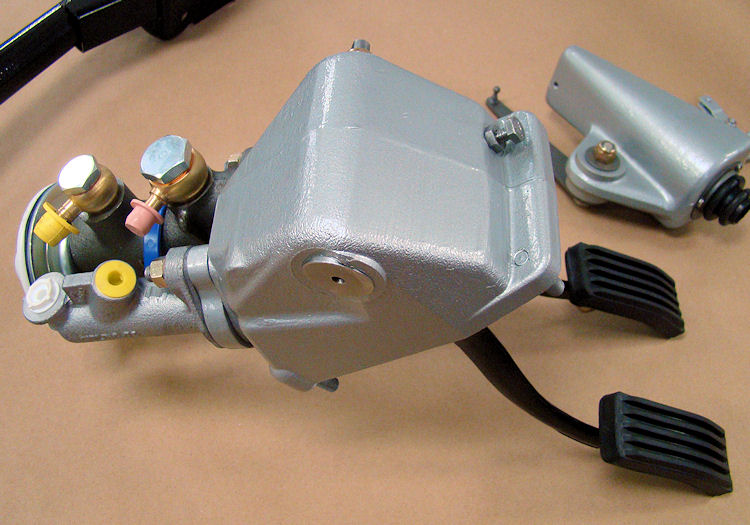
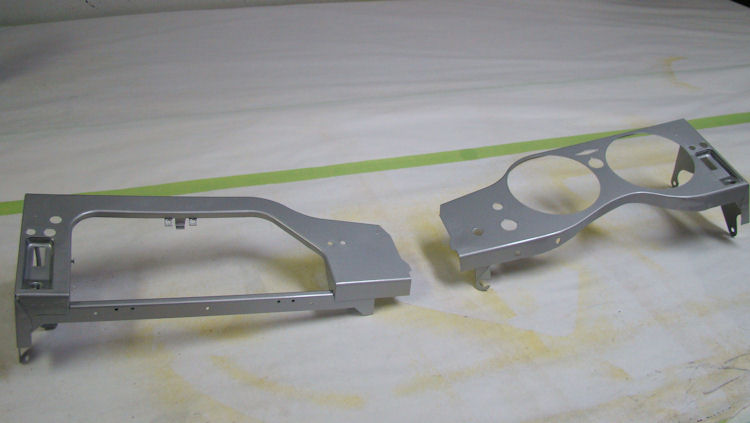
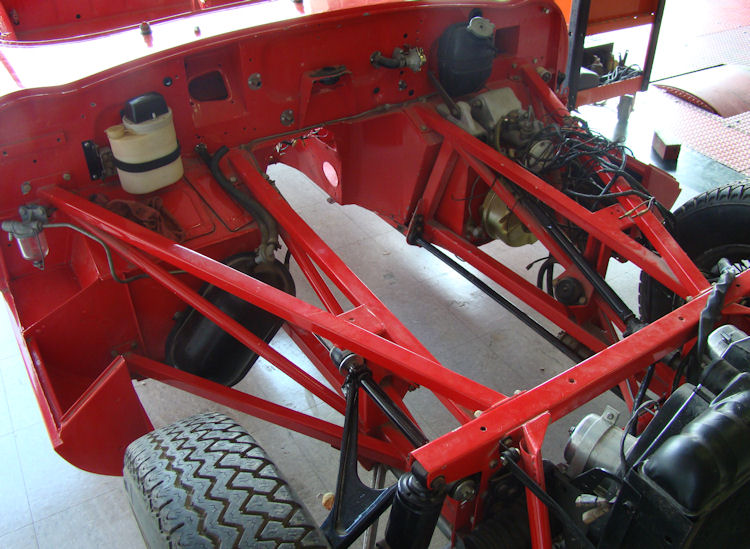
I thought you might light to see something other than rusty sheet metal, today! We disassembled your brake and clutch master cylinders, as well as your brake booster, and really none were serviceable. The booster slave cylinder wall was badly corroded, so we decided to replace all three items with new units. We have now completely rebuilt your steering rack and have also begun restoring your convertible top frame and dash components.
 |
 |
|
master cylinders installed |
|
 |
 |
 |
 |
 |
 |
|
|
|
 |
 |
|
|
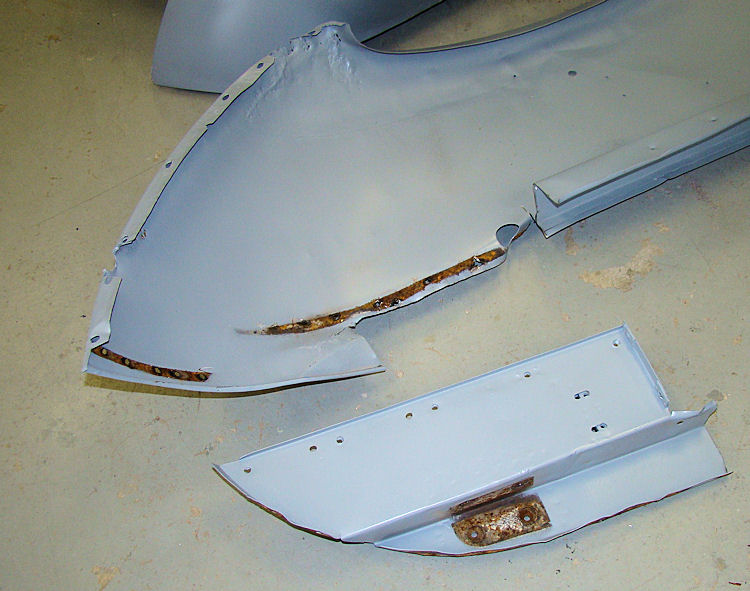
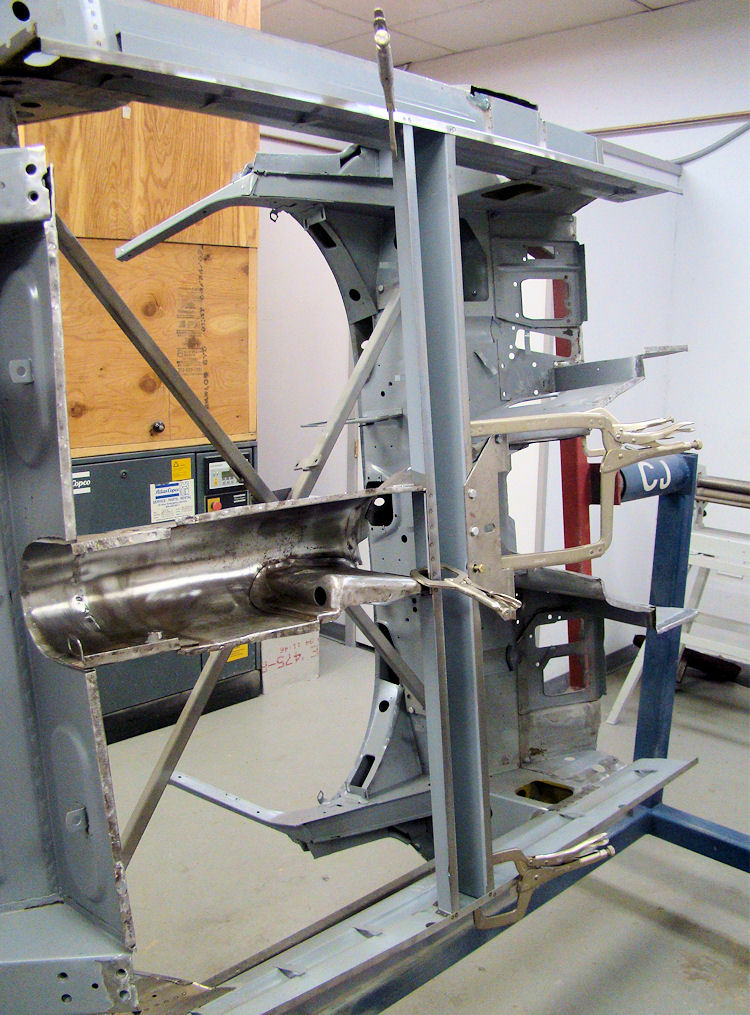
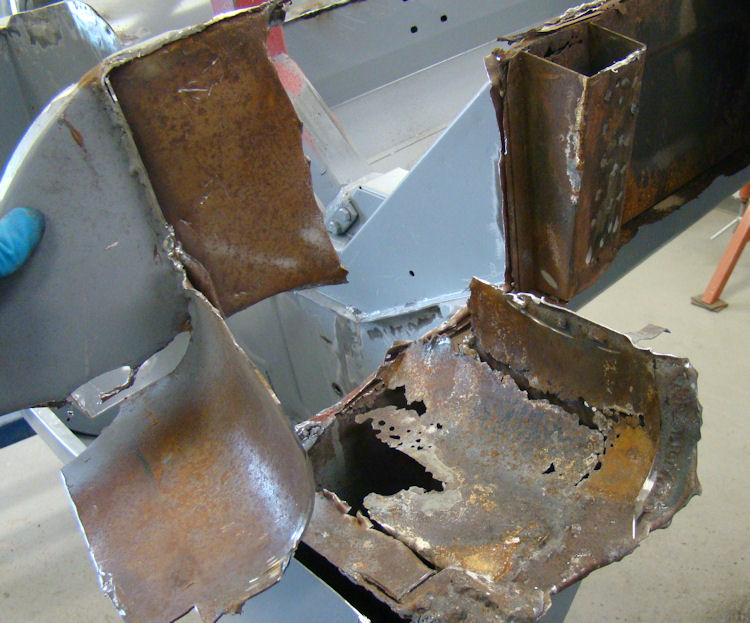
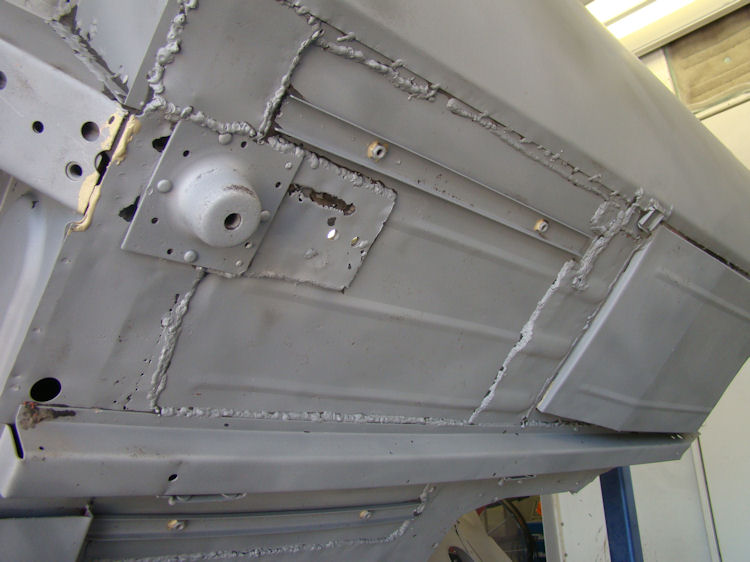
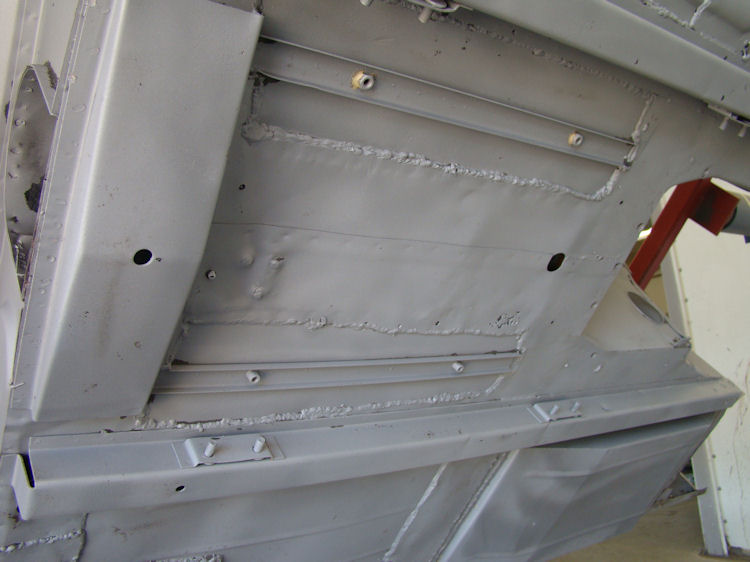
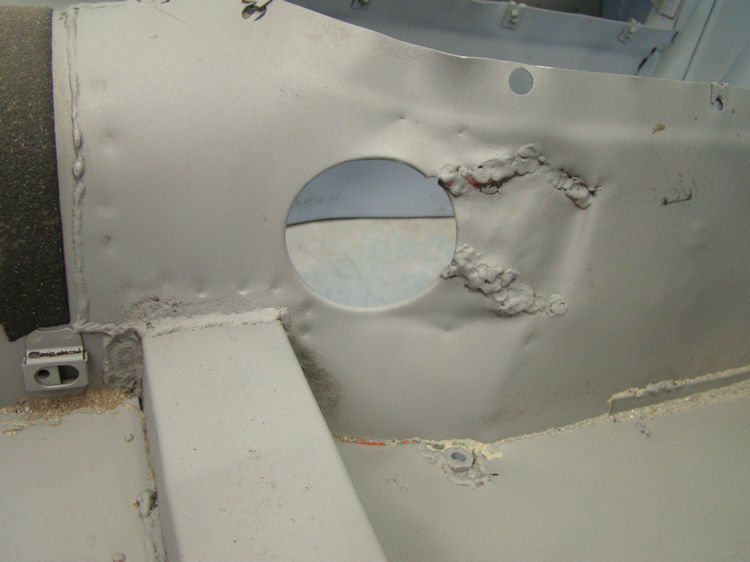
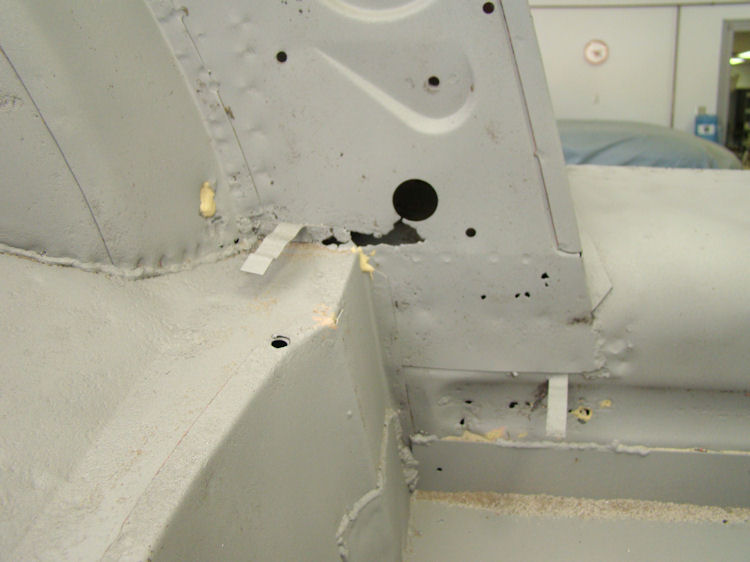
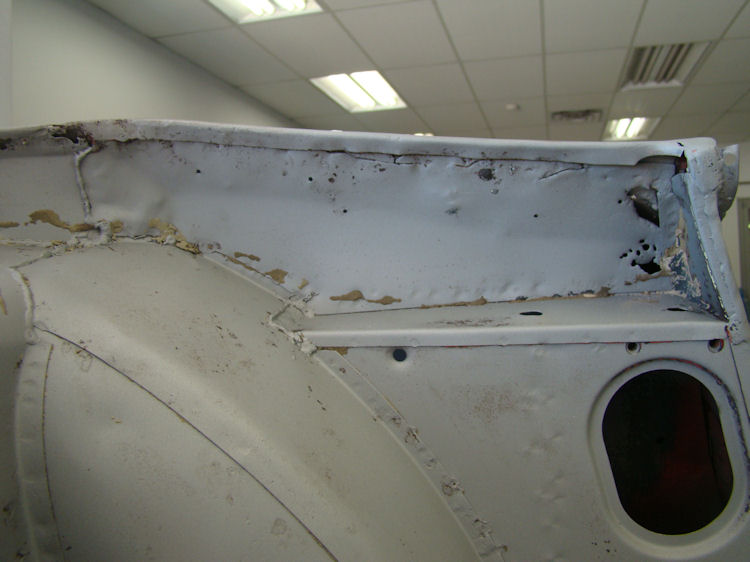
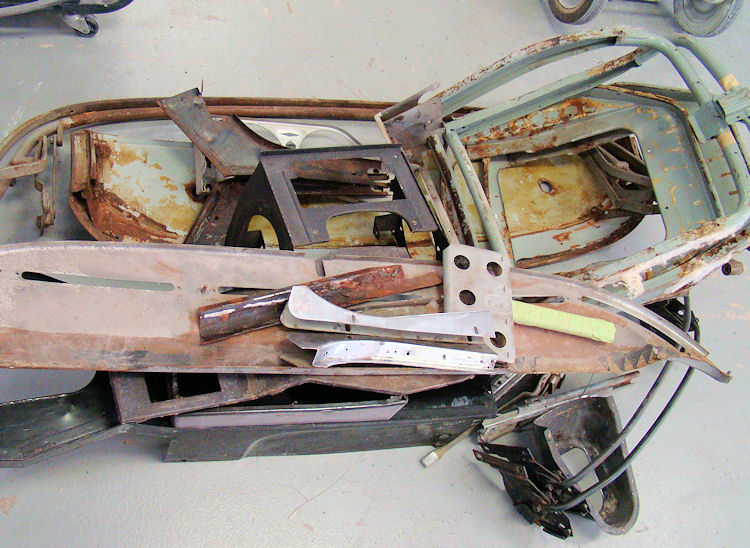
Back from the blaster, the news obviously isn't as good as it might have been. Having said that, we have seen and fixed much worse, so there is nothing in the following photographs for you to worry about
 |
 |
 |
 |
 |
 |
 |
 |
 |
 |
 |
 |
 |
 |
 |
 |
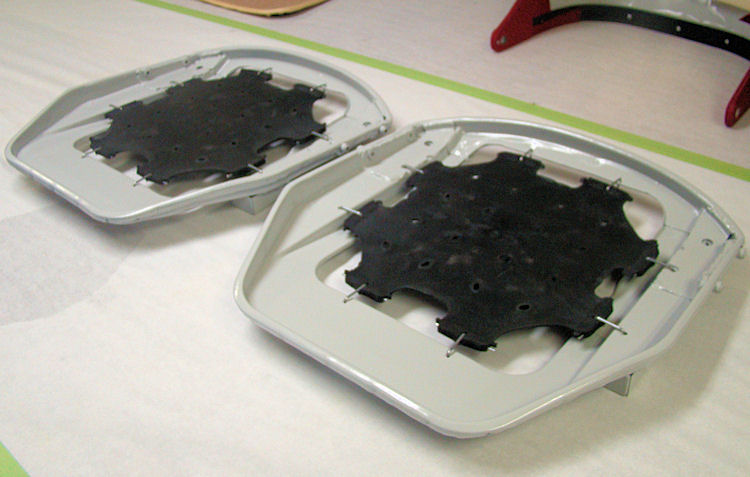
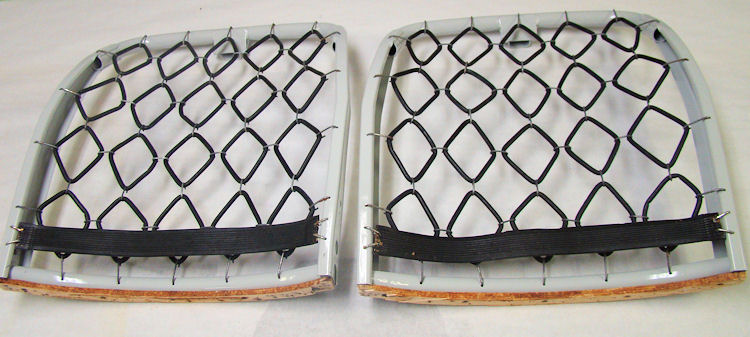
Restoring your seat frames....
 |
 |
|
|
|
|
|
|
 |
 |
|
|
|
|
|
|
 |
 |
|
|
|
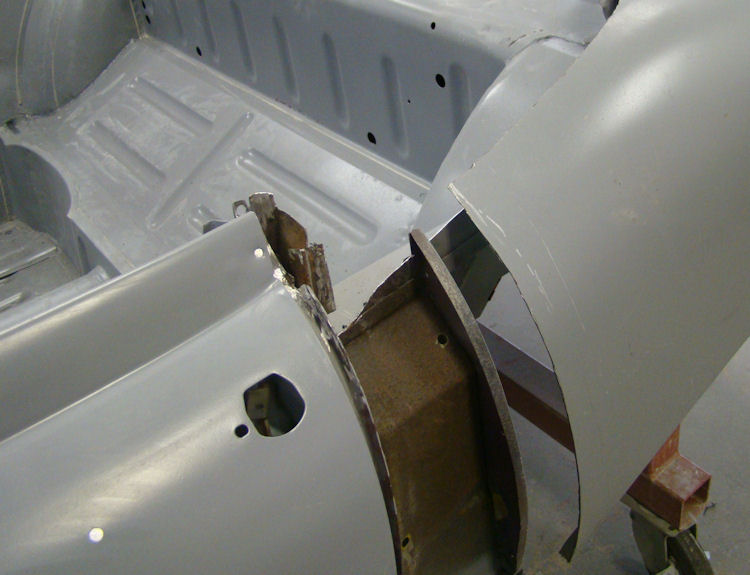
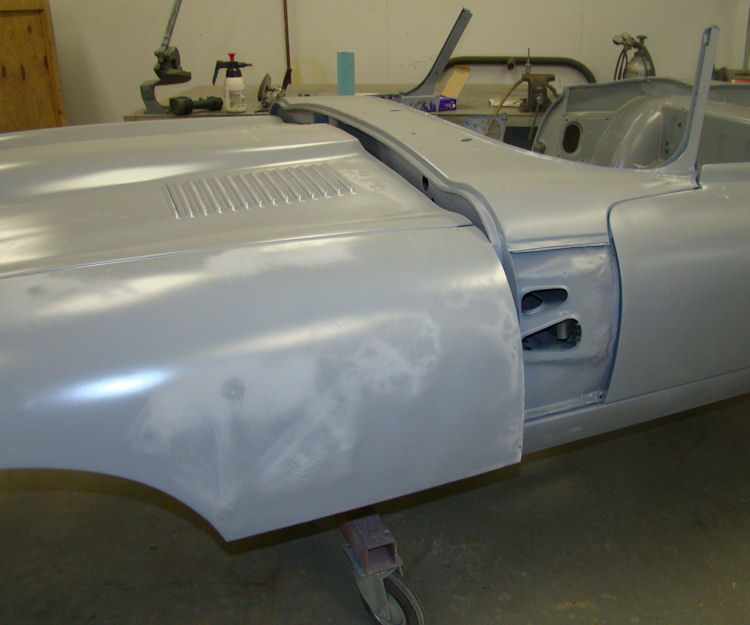
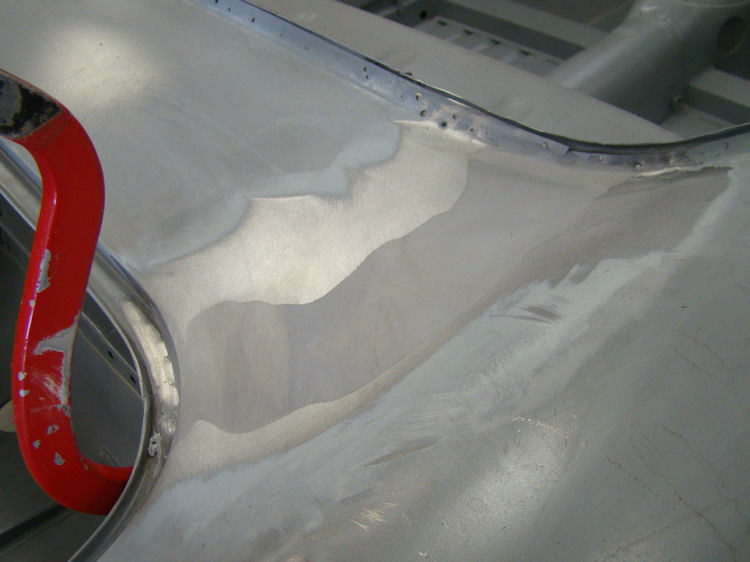
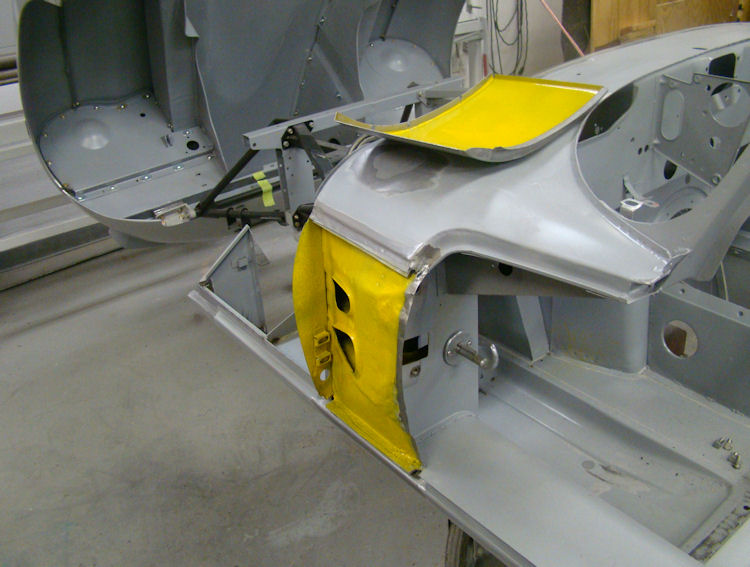
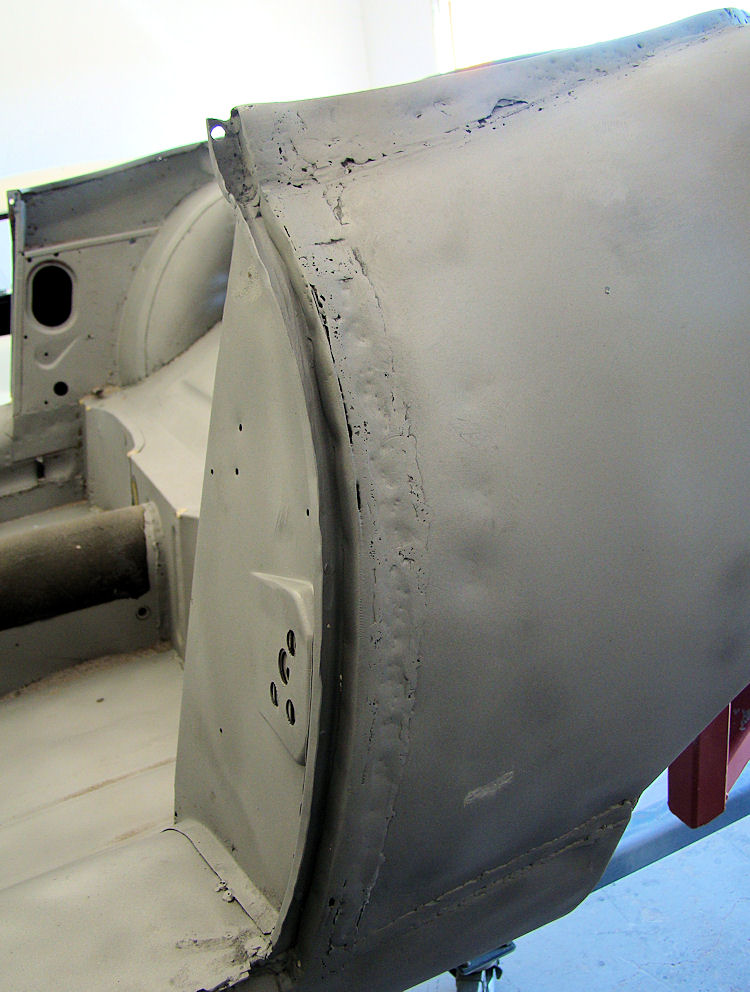
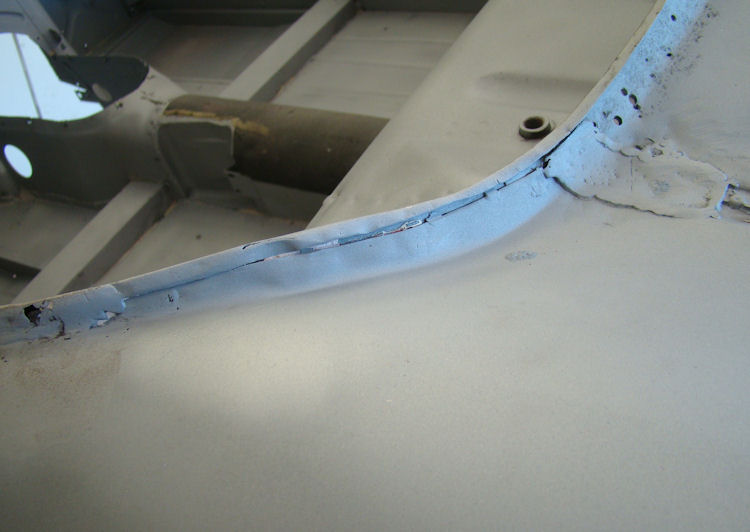
I am pleased to report that we now have this project underway. Our first task will be to improve the panel fit and to identify any areas of the bodywork which may need some repair due to corrosion.
 |
 |
|
|
|
|
|
|
 |
 |
|
|
|
|
|
|
 |
 |
|
|
|
|
|
|
 |
 |
|
|
|
 |
 |
 |
|
|
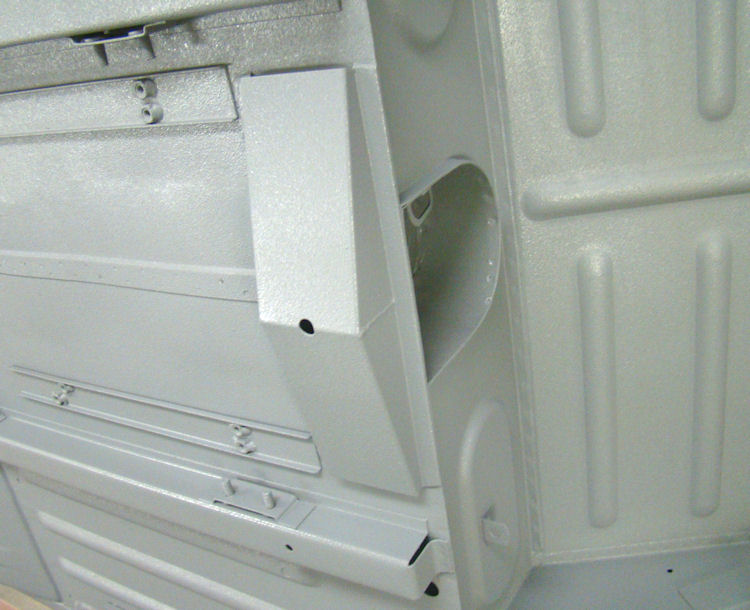
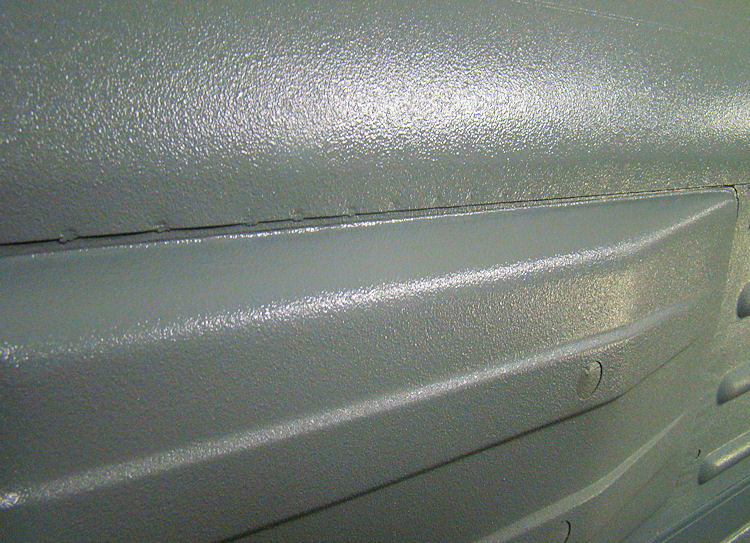
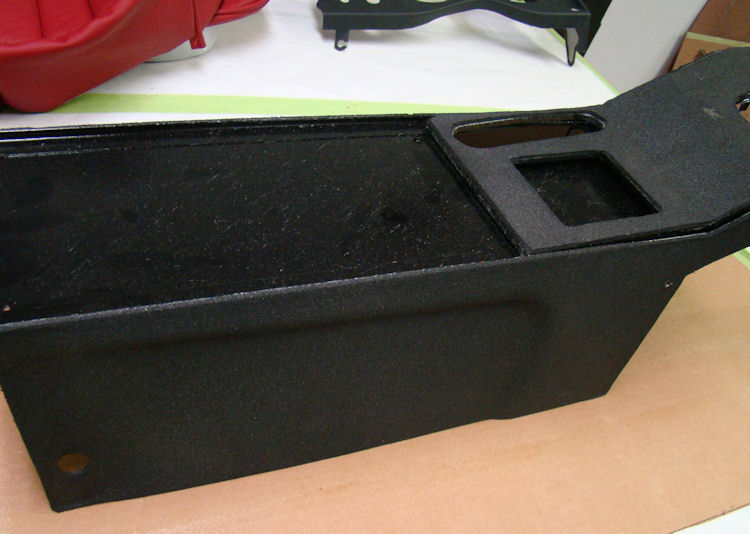
painted inside and out |
|
 |
 |
 |
|
|
||
 |
 |
 |
|
|
forged CJ pistons |
|
 |
 |
 |
|
|