| 1967
E Type roadster (DA)
Total Team CJ restoration |
|
| 1967
E Type roadster (DA)
Total Team CJ restoration |
|
|
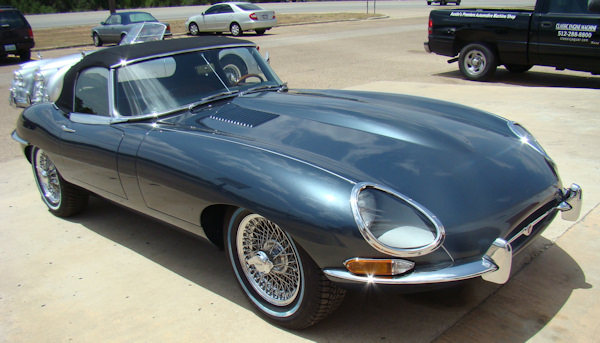
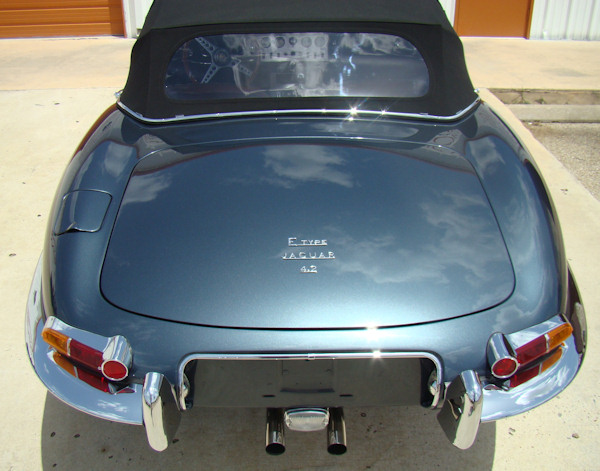
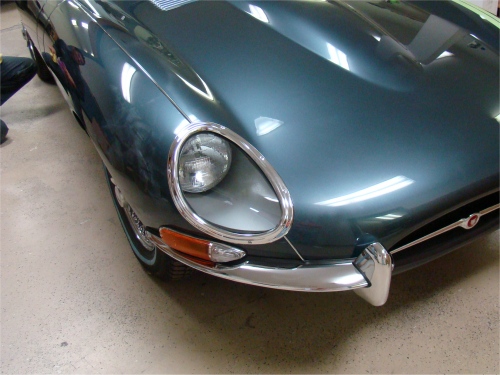
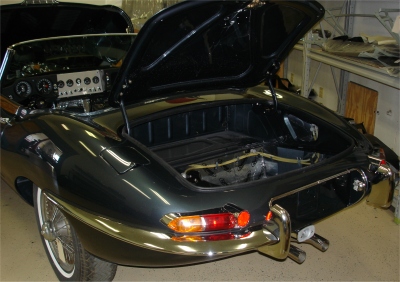
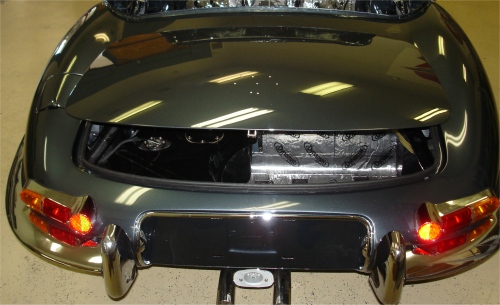
I am pleased to report that the restoration of your car has now been completed and we will be making the transportation arrangements in the next few days.
 |
|
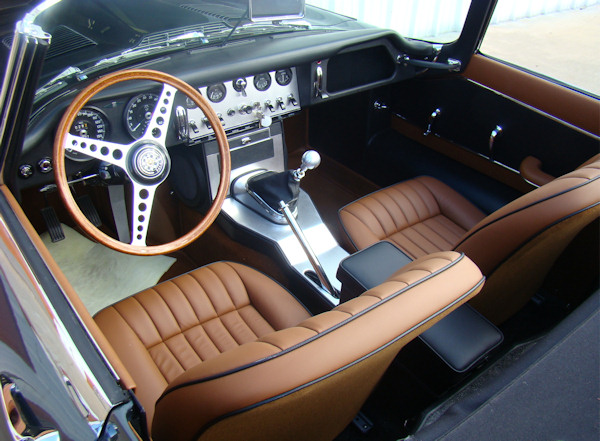 |
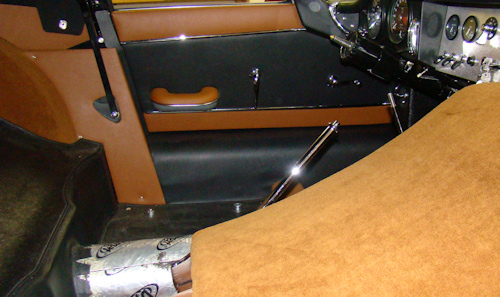
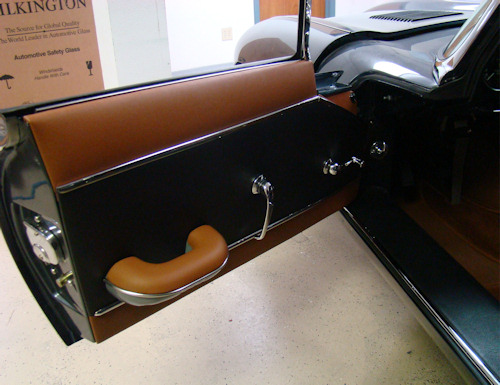
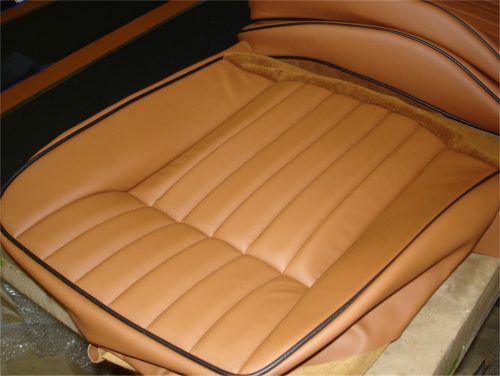
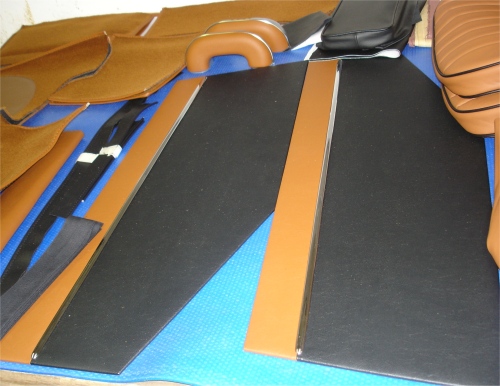
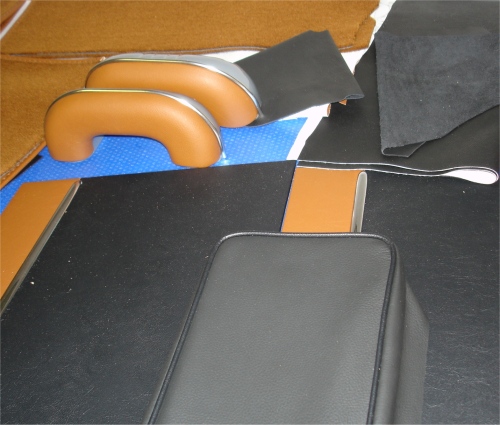
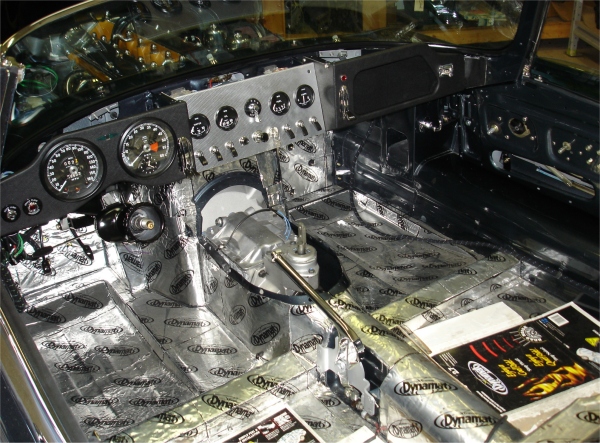
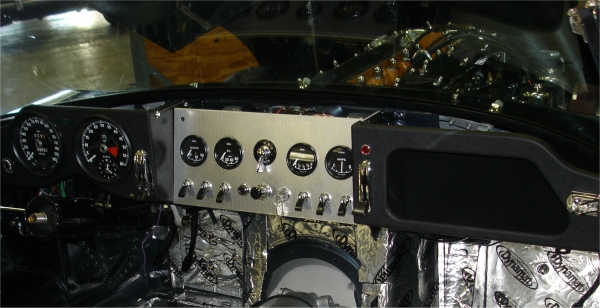
Final road testing underway. I hope the custom interior has come out the way you imagined/designed it!
Putting the finishing touches to your interior installation..
 |
 |
 |
 |
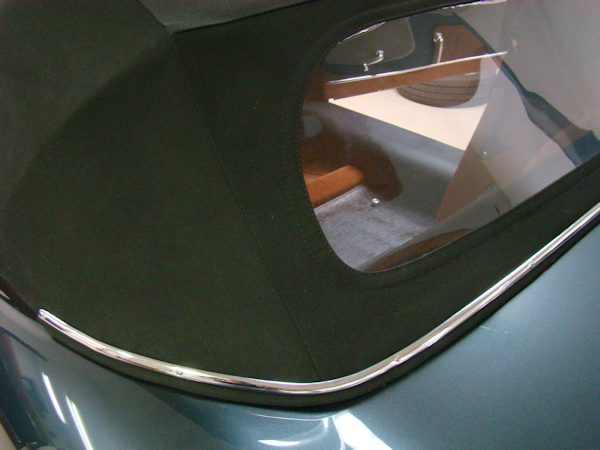
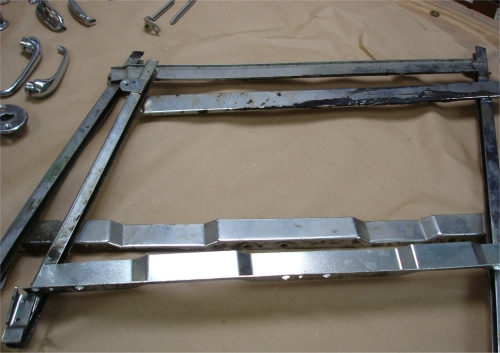
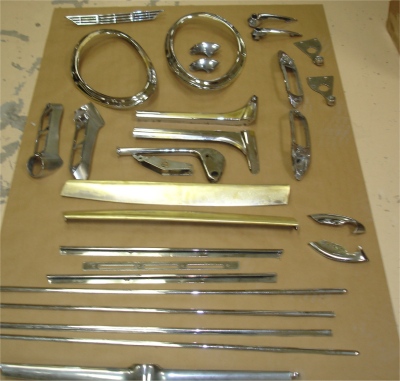
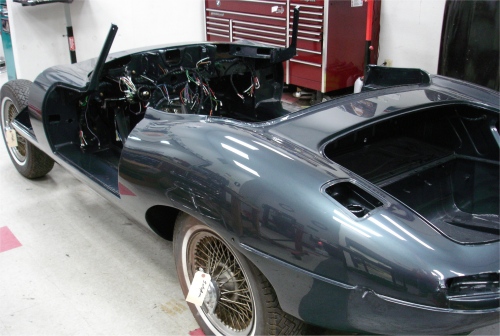
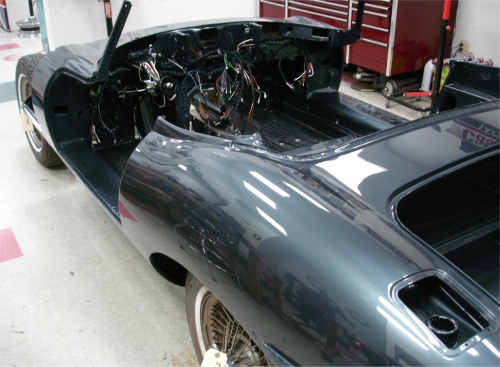
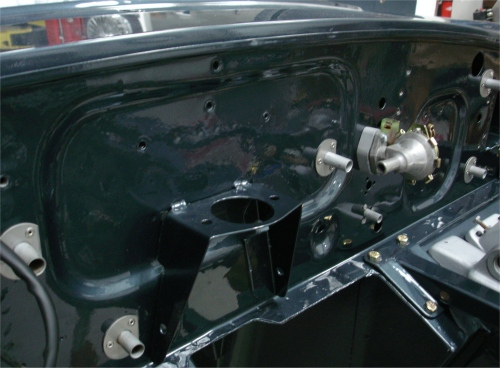
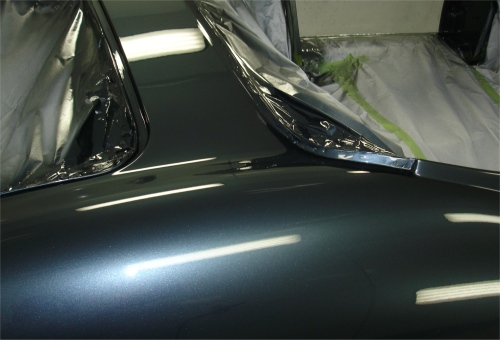
It is now time to install your interior and the remaining brightwork.
 |
 |
 |
|
|
the chrome beading |
trim now installed |
We have now received the custom Suffolk & Turley interior, created precisely to your specifications.
 |
 |
 |
|
|
|
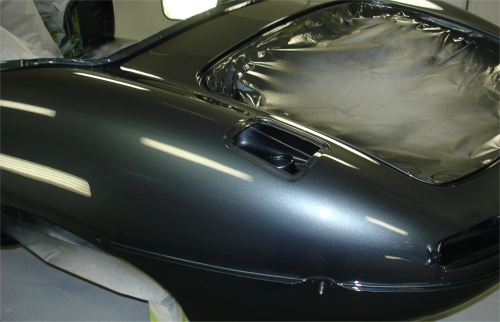
We now have the lights and most of the glass and brightwork installed. The next step will be to begin road testing prior to installation of the interior. Speaking of the interior, we really need a final decision on colors and options soon!
 |
 |
 |
|
|
|
|
 |
 |
 |
|
|
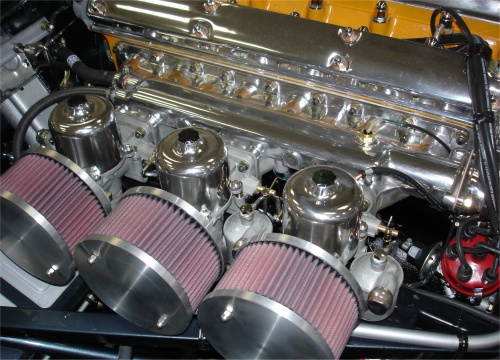
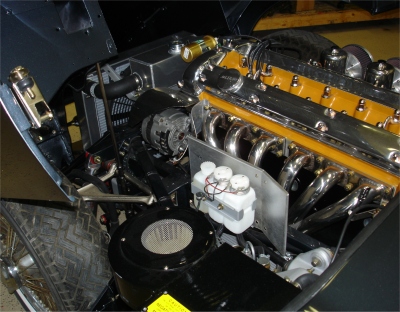
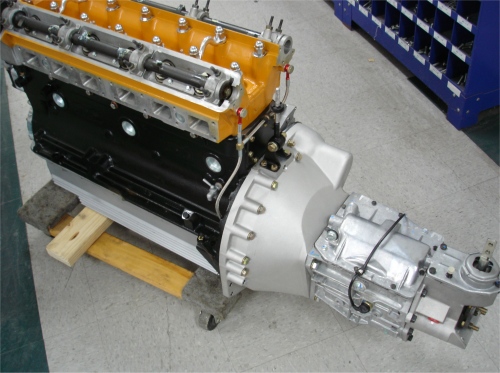
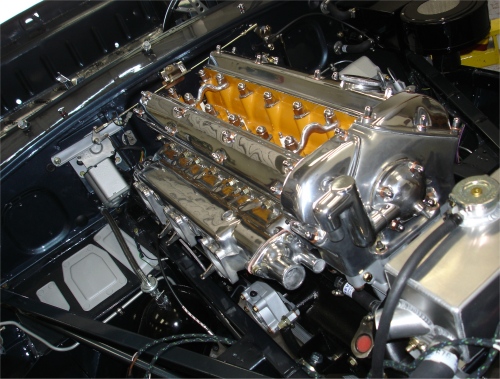
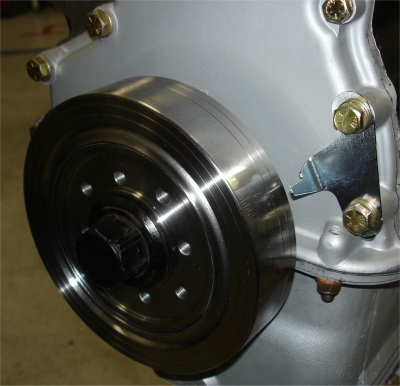
As you can see, we now have the engine and transmission installed. The engine bay is filling up rapidly!
 |
 |
 |
|
new clutch assembly |
up to rebuilt engine |
|
 |
 |
 |
|
installed |
for re-plating |
|
 |
 |
 |
Back on all four wheels!
 |
 |
 |
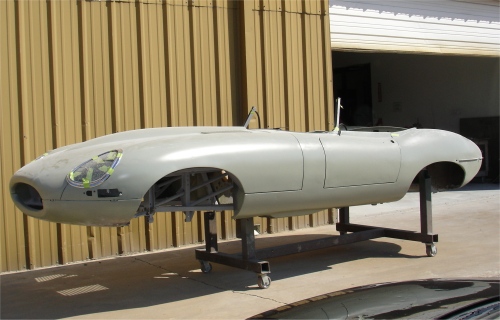
Now for the fun part! The photos below show your car starting to go back together.
 |
 |
 |
|
installed |
cylinder going into place |
|
 |
 |
 |
|
tho'out |
|
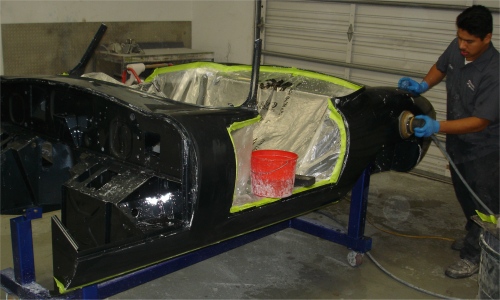
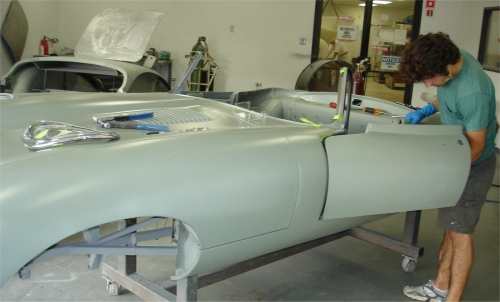
The following photos show Carlos color sanding and buffing the body...
 |
 |
 |
 |
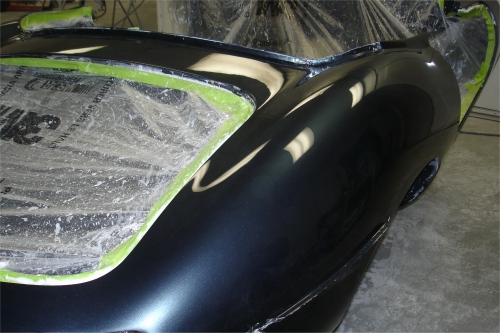
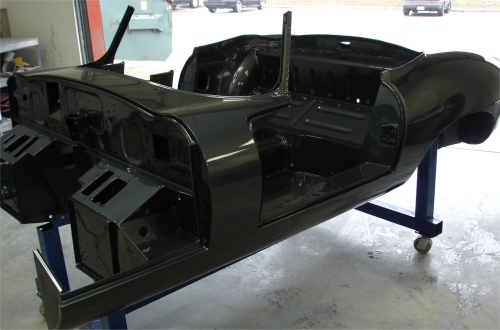
I am delighted to report that yesterday's shoot went off without a hitch and the car looks great in its new Opalescent Dark Blue livery!
 |
 |
 |
|
|
|
|
|
|
|
|
 |
 |
 |
|
|
|
|
 |
 |
|
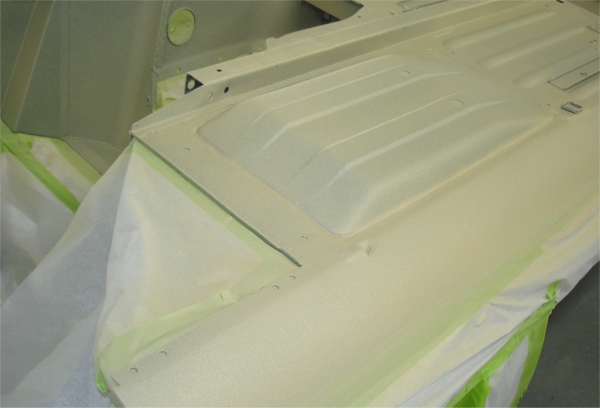
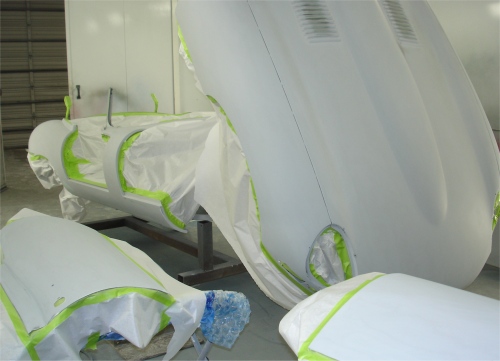
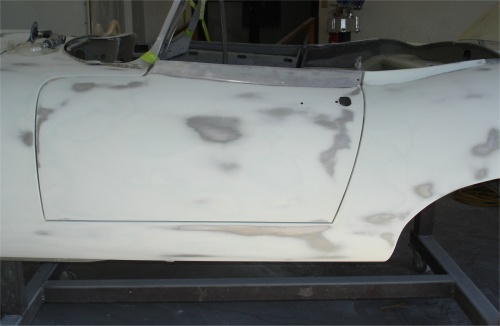
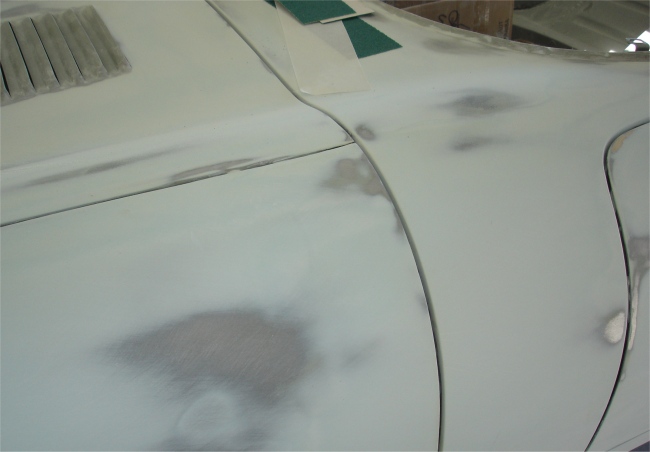
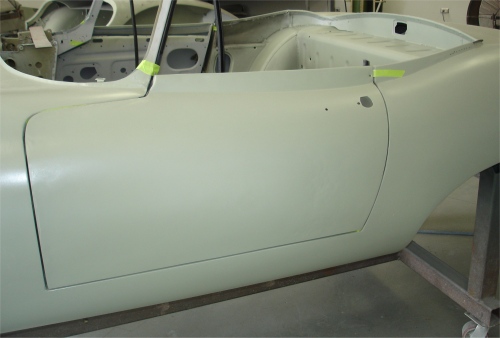
After weeks of blocking and sanding, it's finally painting day! We will be painting the bodyshell, doors and bootlid today followed by the bonnet tomorrow. Watch this space!
 |
 |
|
|
|
 |
 |
 |
 |
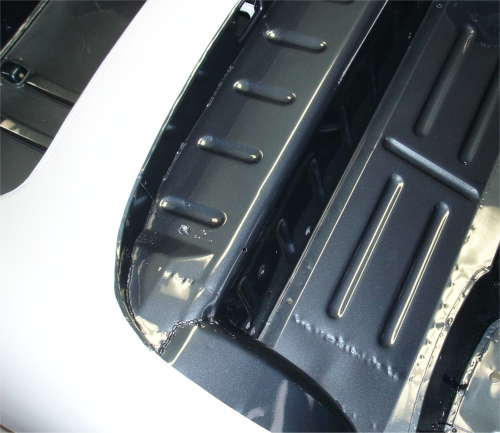 |
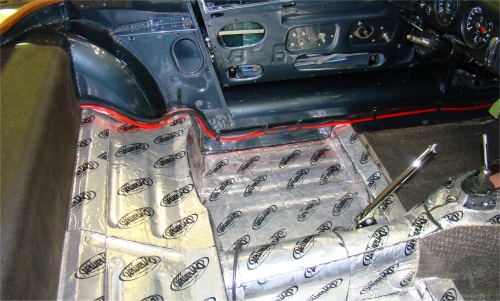
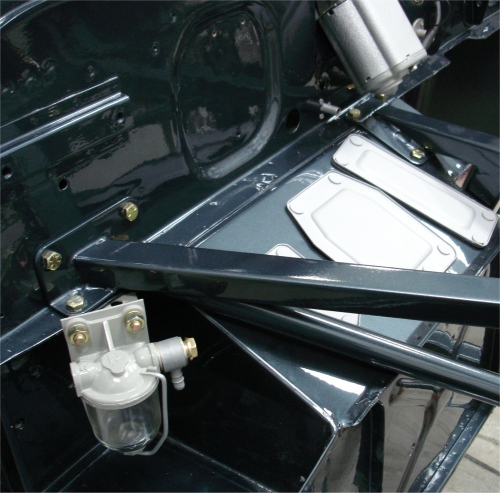
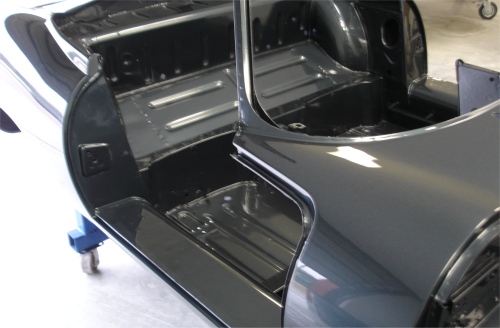
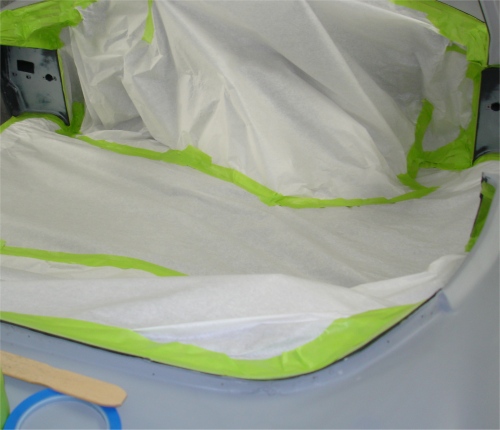
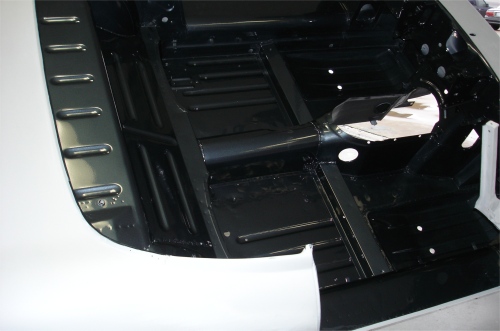
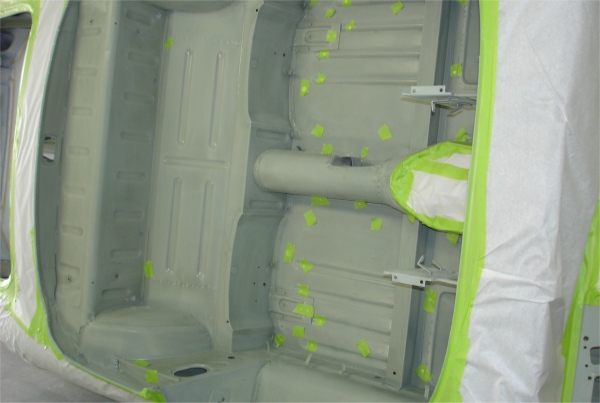
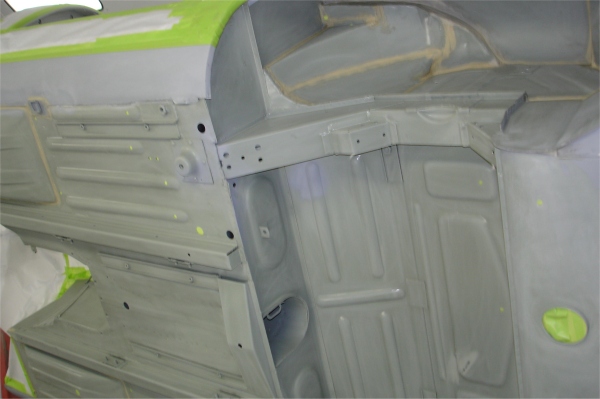
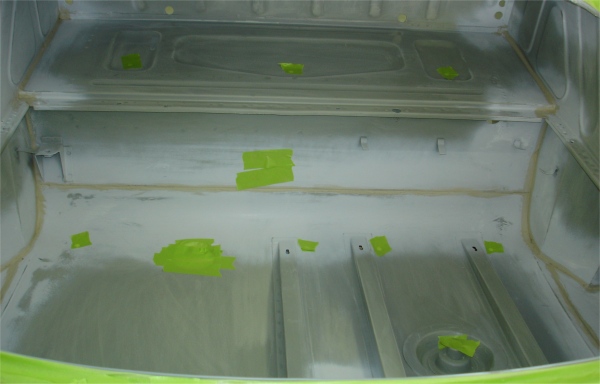
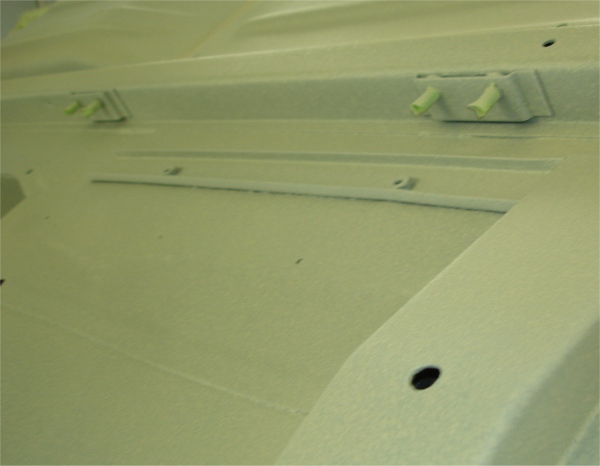
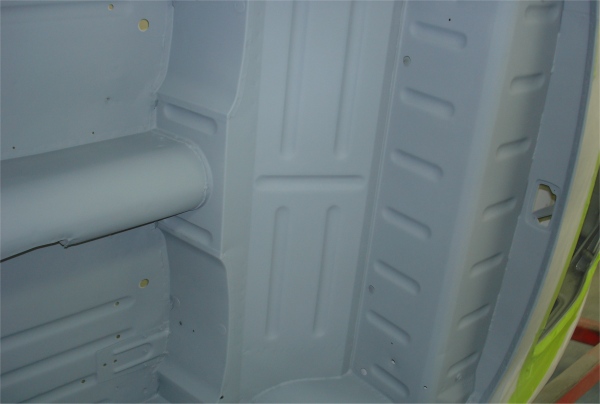
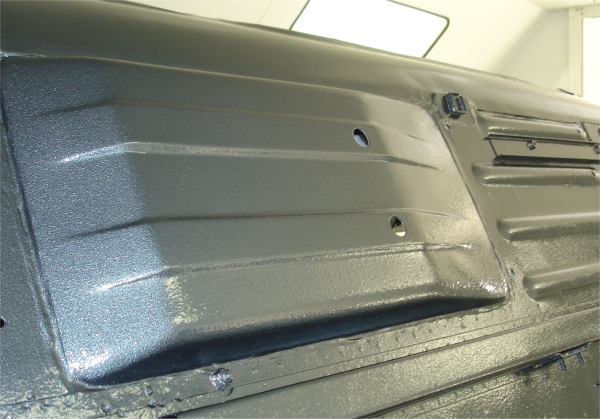
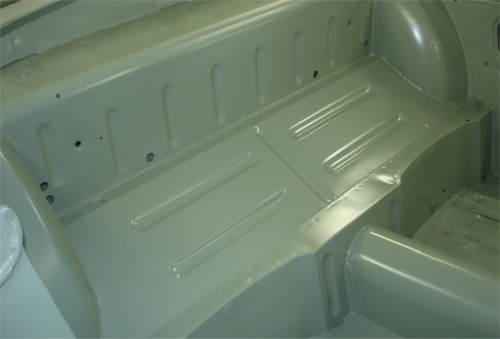
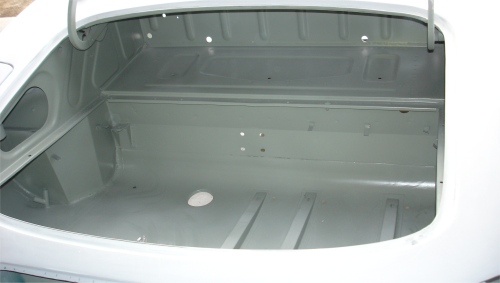
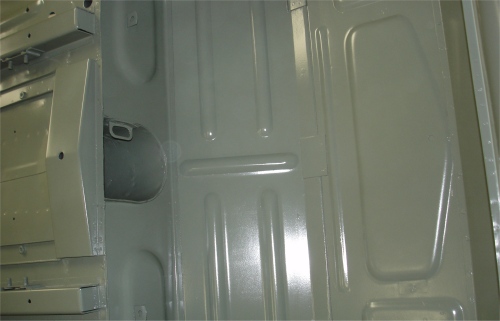
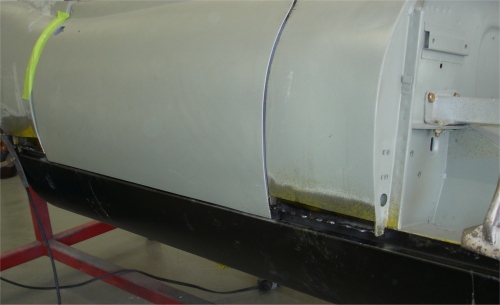
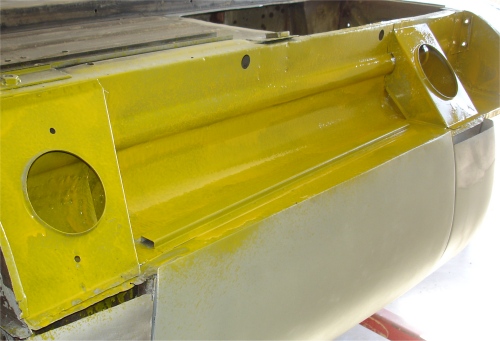
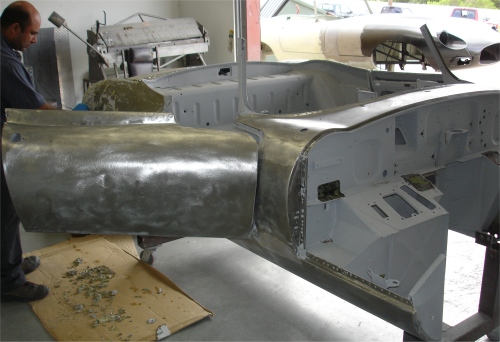
We have now sealed and painted the undeside of the car, as well as the cabin and boot compartment.
 |
 |
 |
|
rocker guard inside the car... |
applying rocker guard |
|
 |
 |
 |
|
were then applied |
|
|
 |
 |
 |
|
full treatment |
threads taped |
|
 |
 |
 |
|
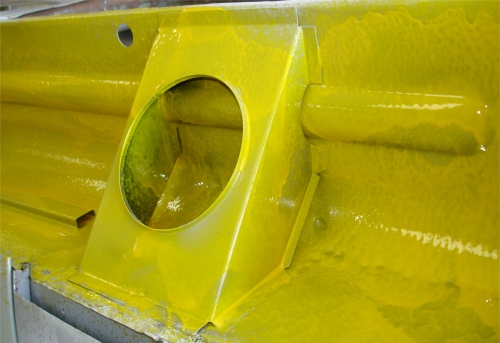
paint going on... |
||
 |
 |
 |
|
|
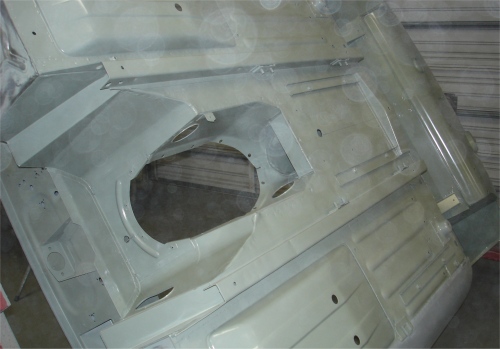
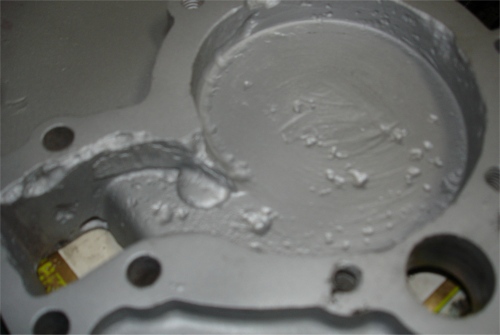
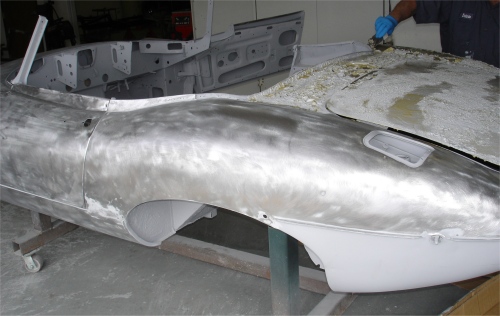
I am pleased to report that the Slick Sand stage has been completed and the car has already been primed. We have put the car back onto one of the rotisseries so that we can paint the underside, the firewall, the cabin and the boot compartment Opalescent Dark Blue before final sanding and painting the outer panels. Look for the first of the Opalescent Dark Blue later this week!The photographs below also show progress with the engine rebuild - something which should also be completed in the next few days.
 |
 |
 |
|
metal then etch primed... |
|
|
 |
 |
 |
|
|
||
 |
 |
 |
|
underside, cabin, firewall and boot |
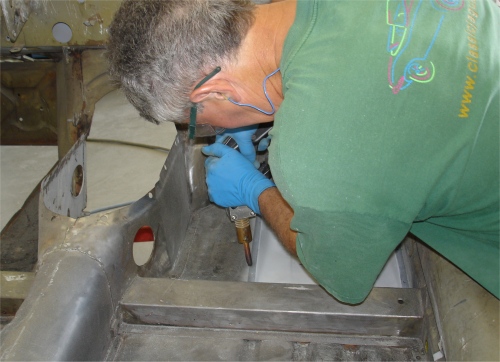
were welded up |
|
 |
 |
 |
|
|
machine work |
|
 |
 |
 |
|
|
|
|
 |
 |
 |
|
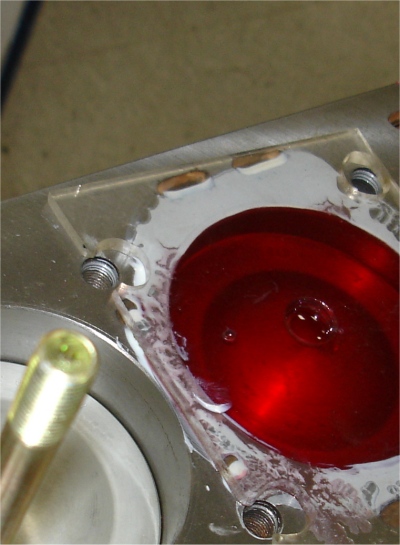
Glyptal paint |
|
|
 |
 |
 |
|
|
rod bolts used on rebuilt rods |
|
 |
 |
 |
|
badly pitted |
supplied |
|
 |
||
|
|
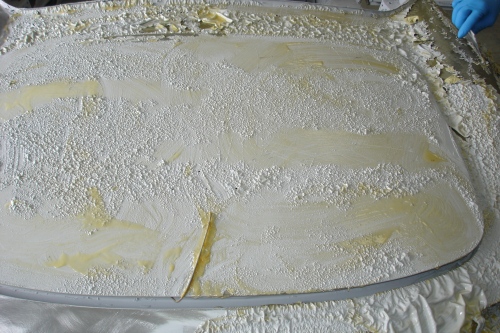
We have just about finished the filler and blocking stage and hope to be applying the Slick Sand later this week. The panel gaps have been fine tuned and are absolutely perfect. Later this week I will shoot out and send you test panels for Opalescent Dark Blue and Opalescent Silver Grey, as well as various hide samples.
 |
 |
 |
 |
||
 |
 |
 |
|
|
was refinished with lead |
with seals and latches |
 |
 |
 |
|
|
||
 |
 |
 |
|
|
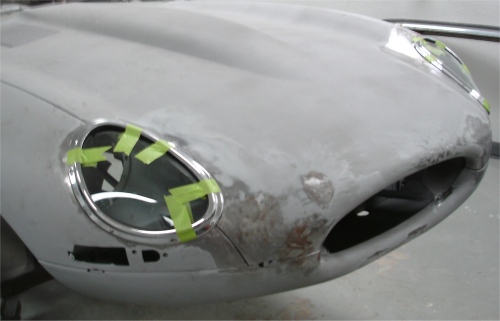
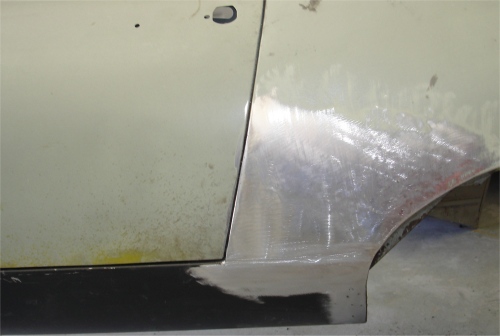
but now fits beautifully |
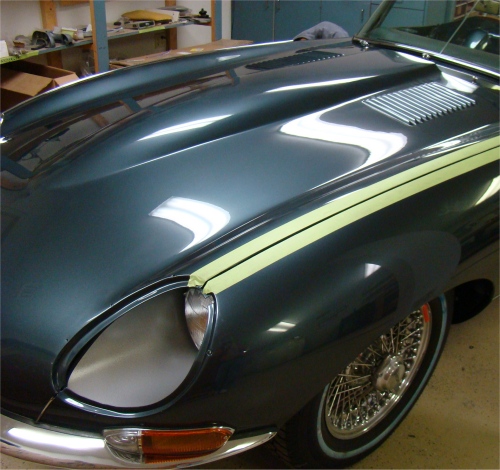
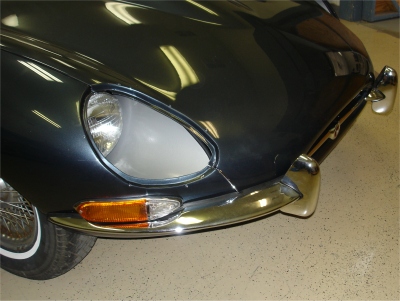
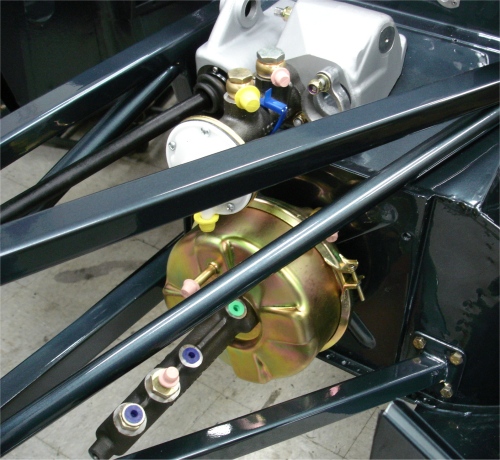
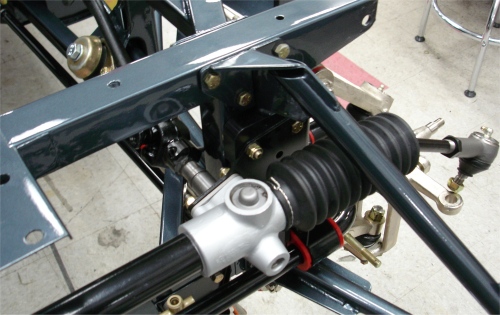
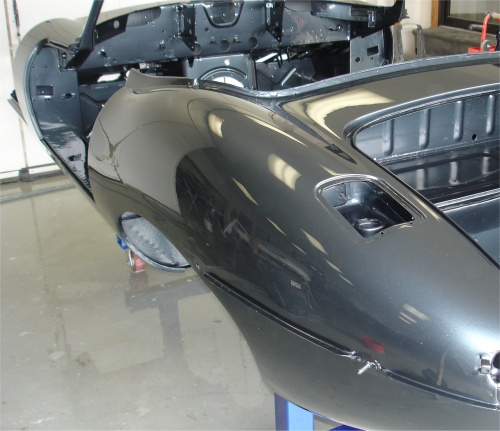
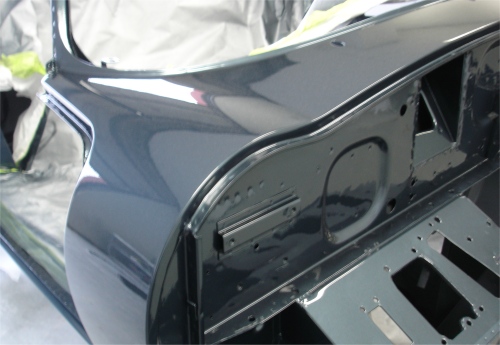
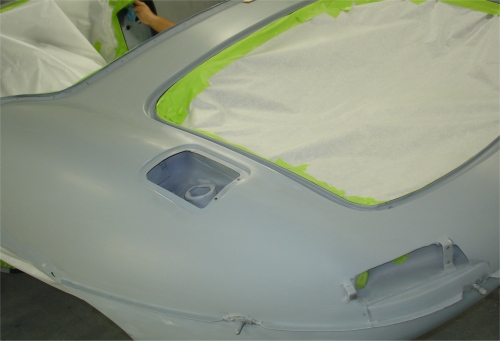
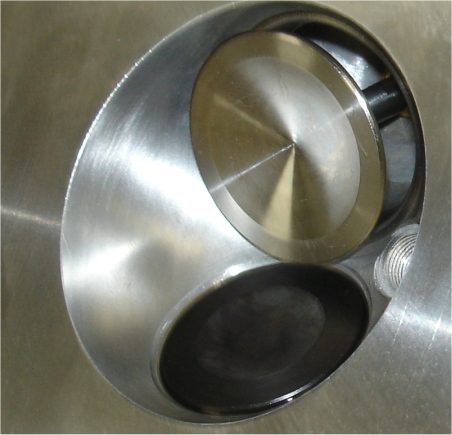
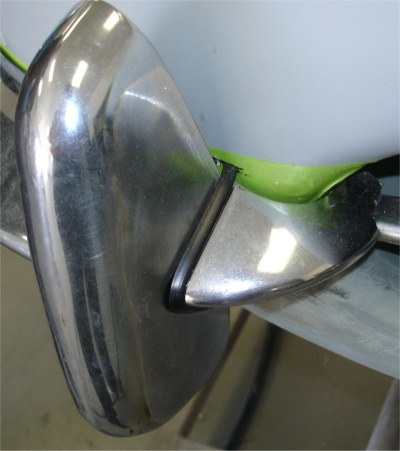
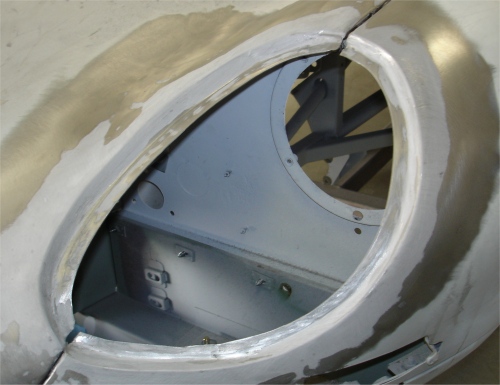
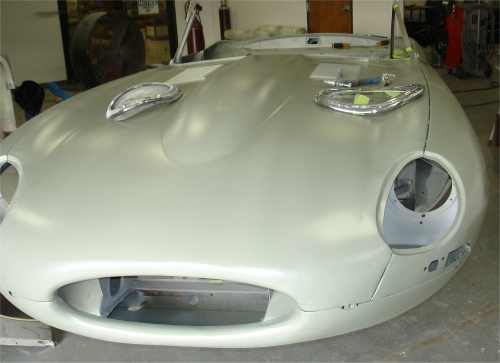
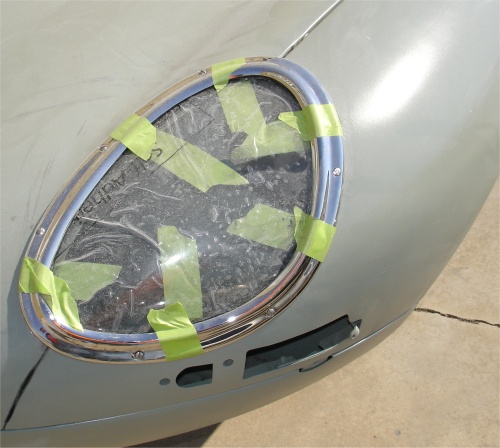
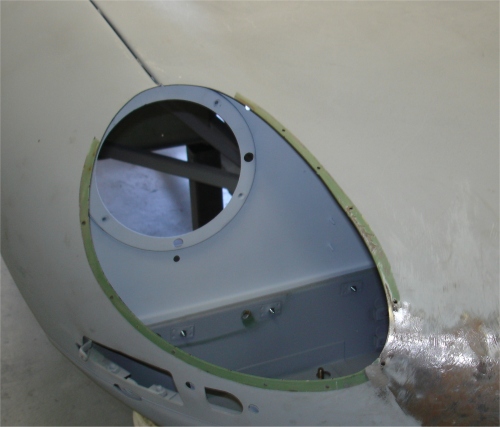
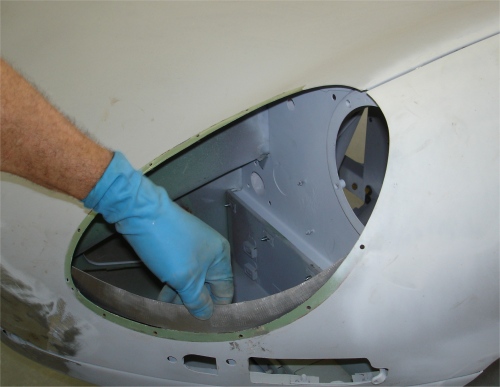
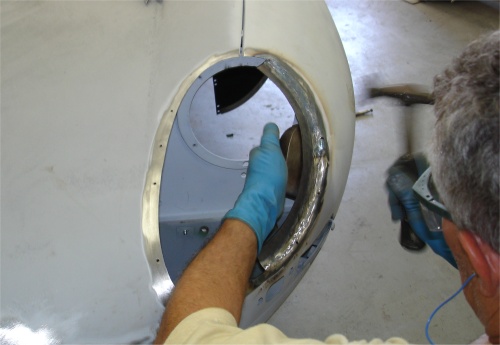
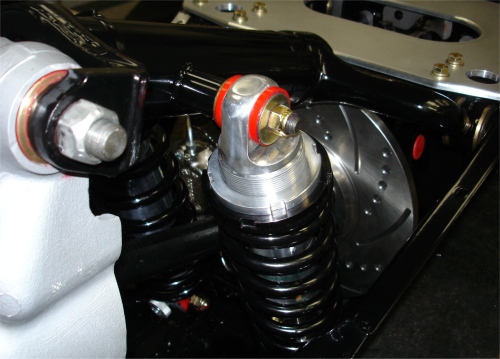
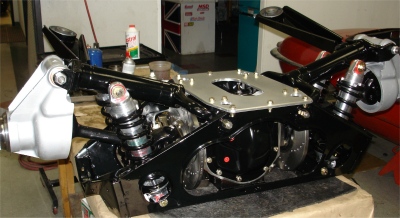
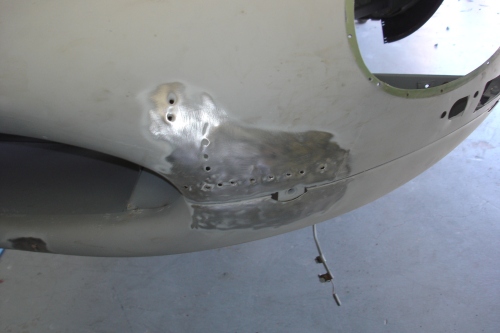
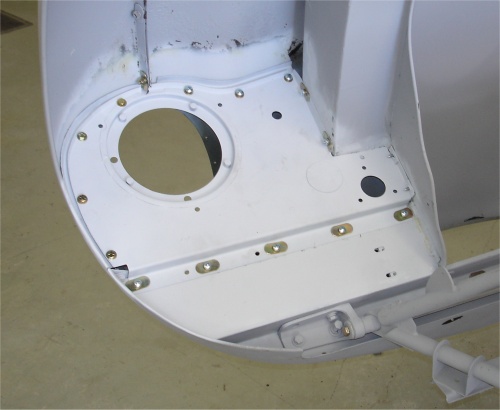
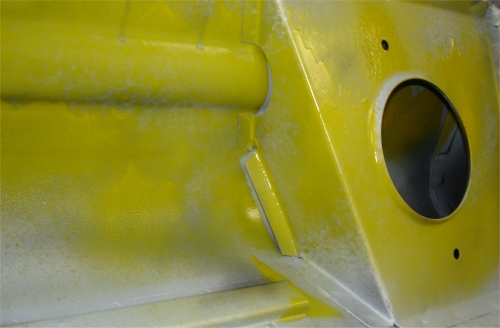
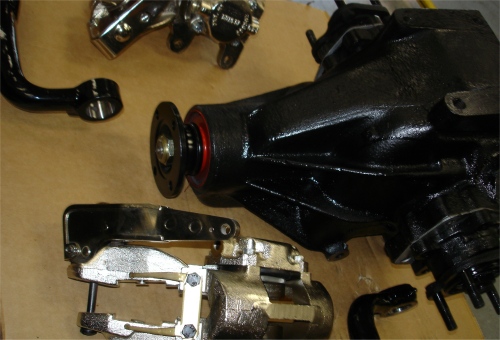
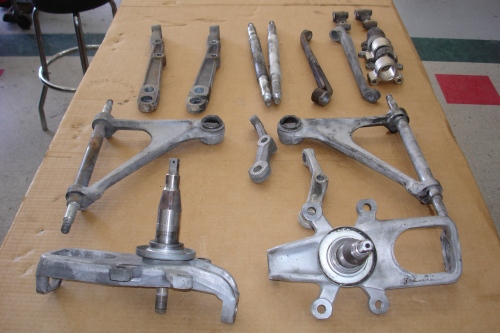
We now have the modifications to the headlamp openings completed and have trial fitted the new headlamp covers and chrome trim. The last couple of photographs show your completely rebuilt IRS assembly.
 |
 |
 |
|
to accept S1 style headlamp covers |
of the opening |
|
 |
 |
 |
|
glass and rubber seals |
|
|
|
|
|
|
 |
 |
|
|
|
|
|
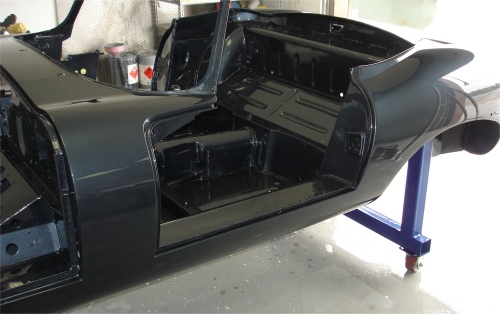
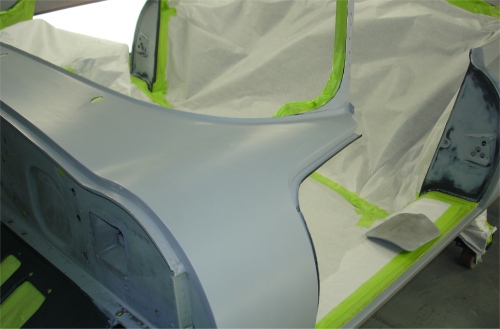
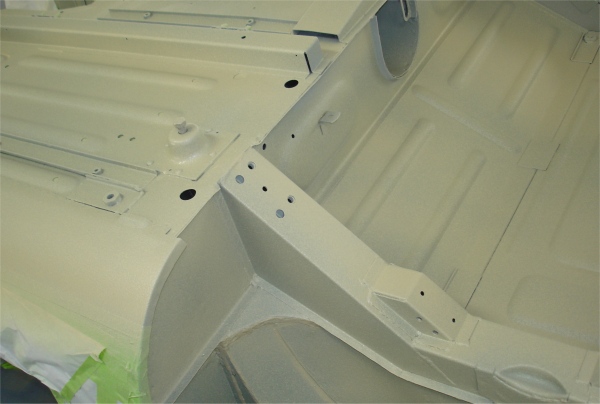
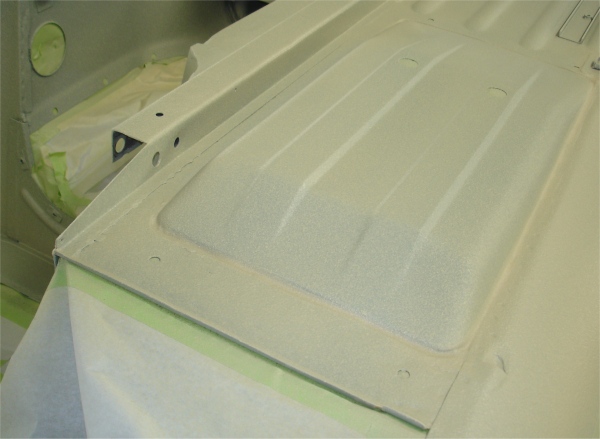
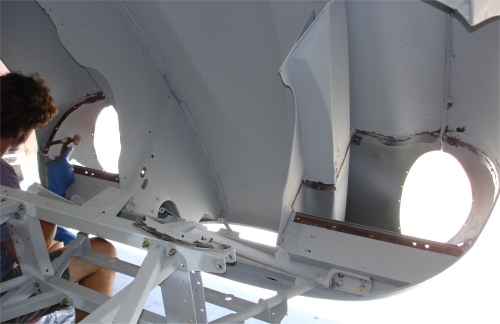
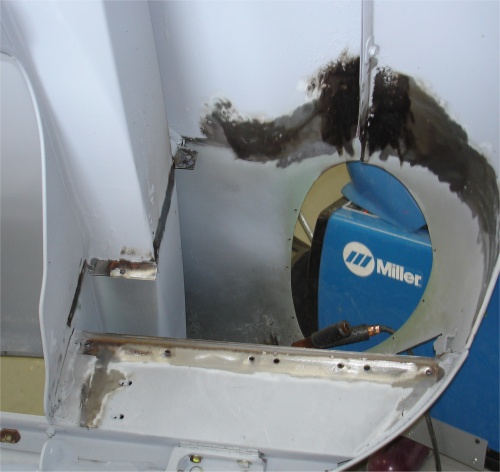
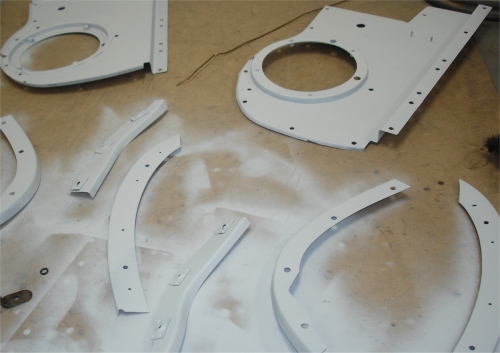
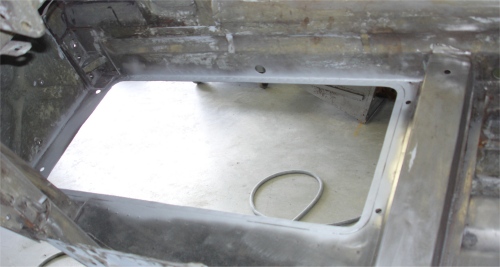
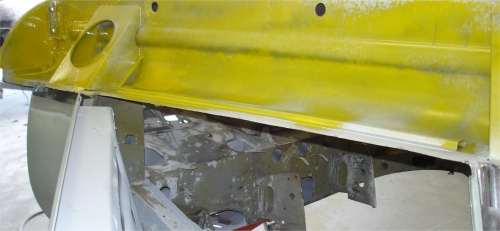
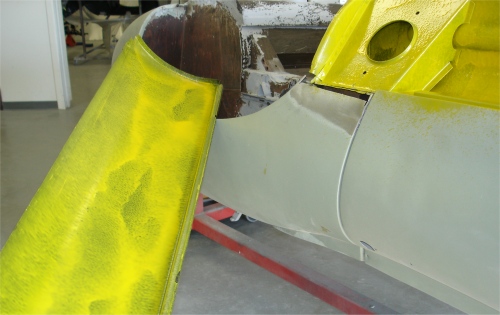
We have now finished installing the new footwells and sills and have begun the process of modifying the bonnet to 'enclosed headlamp' specifications. I am going to be sending you out some paint samples this week for your consideration!
 |
 |
 |
|
|
|
|
|
|
|
|
 |
 |
 |
|
footwell in place |
|
|
|
|
|
|
 |
 |
 |
|
above new sill |
and the bonnet |
diaphragms |
 |
 |
 |
|
|
the bonnet mouth |
|
 |
 |
 |
|
welded up |
||
 |
 |
 |
|
and brackets |
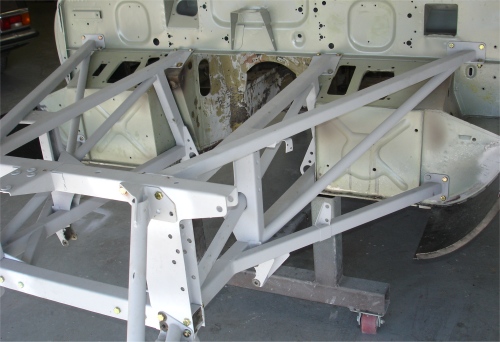
Lots of progress this week!
 |
 |
 |
|
from the underside of the car |
sill are remarkably rust free |
|
 |
 |
 |
|
support braces |
replaced |
|
 |
 |
 |
|
|
ever see on an unrestored E Type |
|
 |
 |
 |
|
|
doors in place |
|
|
|
 |
 |
|
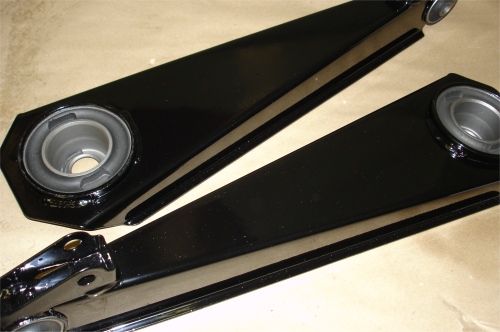
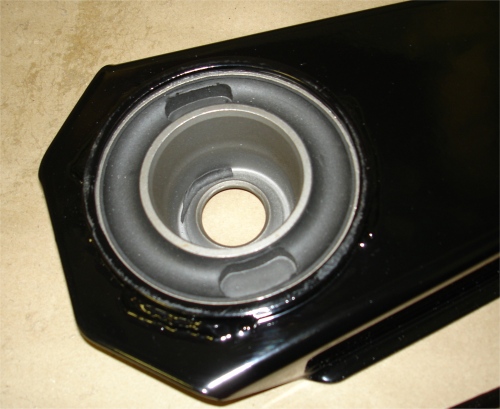
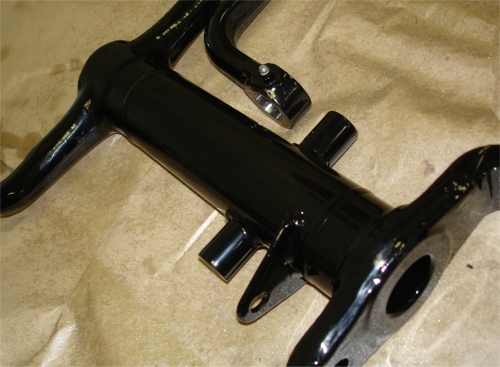
radius arms |
HP IRS rebuilds |
|
 |
 |
 |
|
rebuilt |
on the rear |
|
 |
 |
 |
|
Nickel plated |
floor for the new footwell |
|
 |
 |
 |
|
|
new LH outer sill |
|
 |
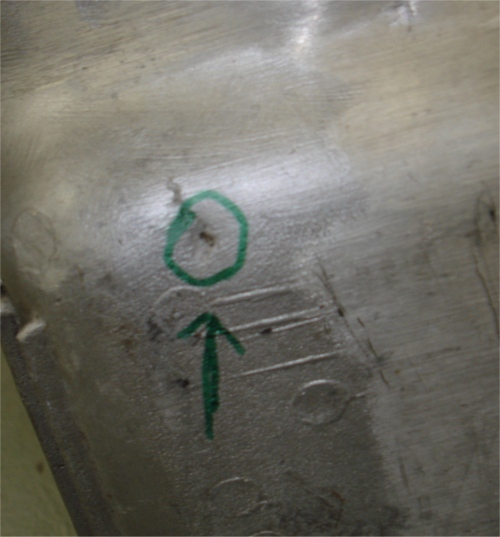
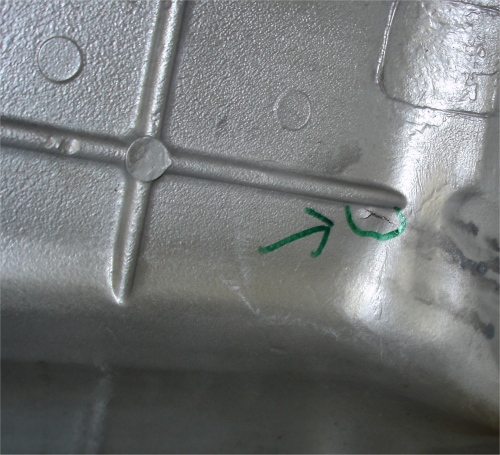
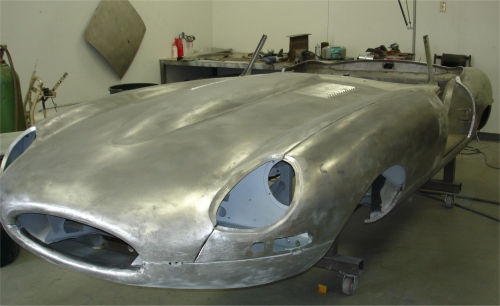
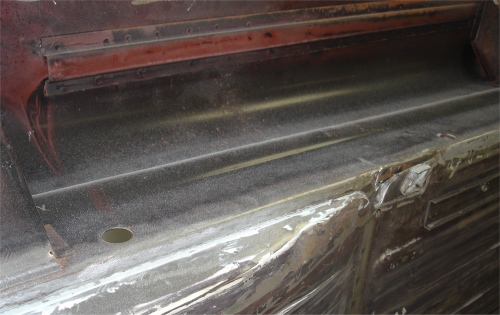
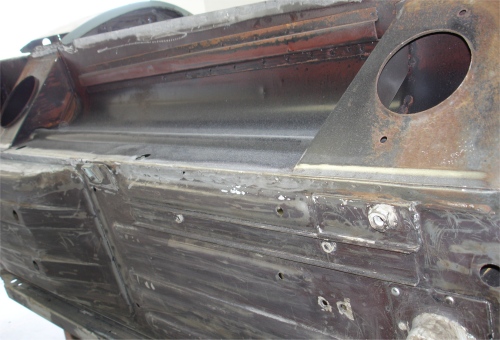
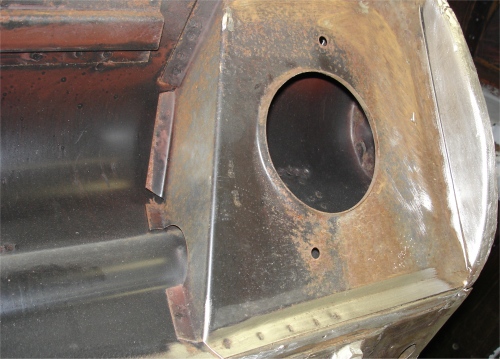
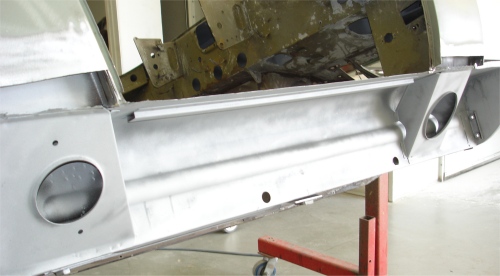
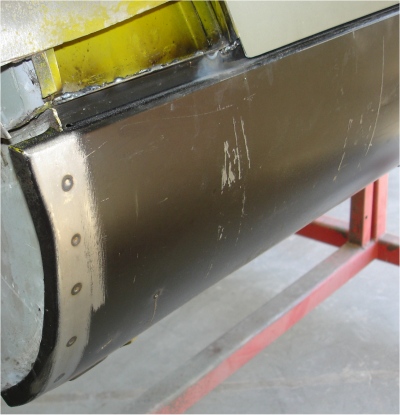
With the monocoque completely stripped to bare metal, the next step is to put the car on one of the rotisserie jigs and cut the outer sills off. This is more of a precautionary act than anything else, as there is no obvious sign of rust in either rocker panel.Amazingly, other than replacing the outer sills (once we have rust proofed the inner box sections), the car really doesn't need any other sheet metal replacement. In fact, I am pleased to report that this is the best condition (unrestored) E Type bodyshell that we have ever seen.
 |
 |
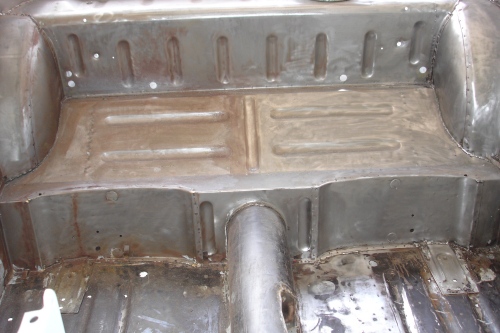 |
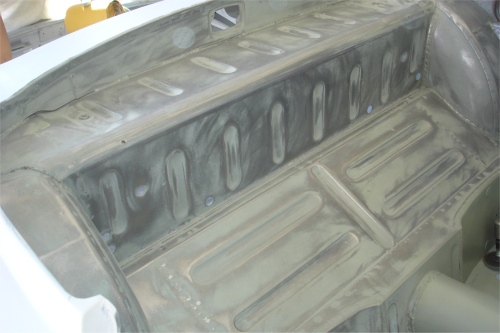
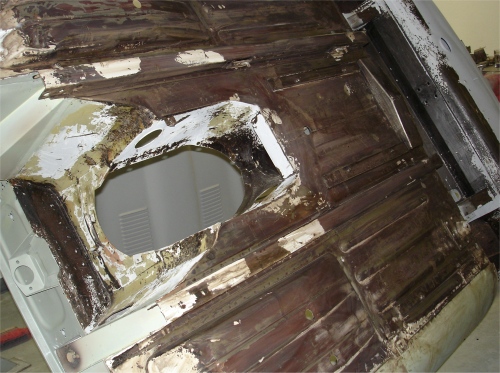
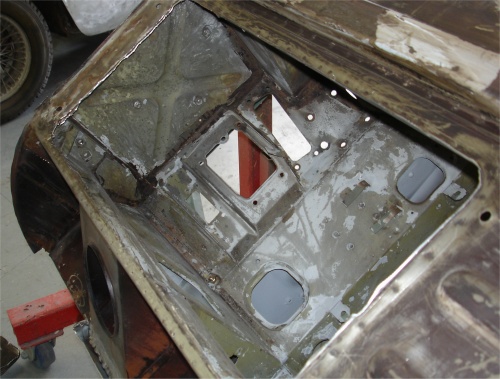
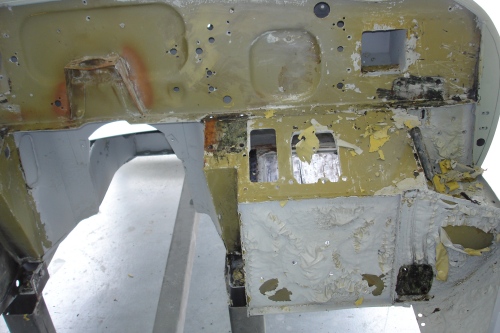
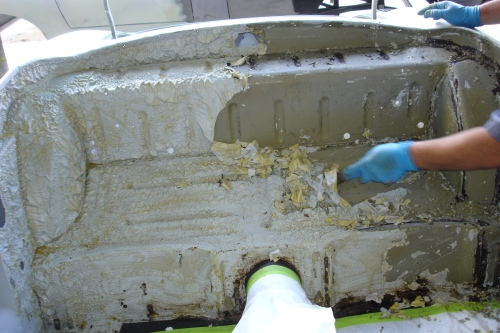
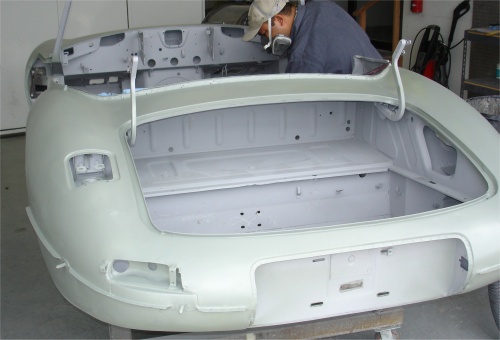
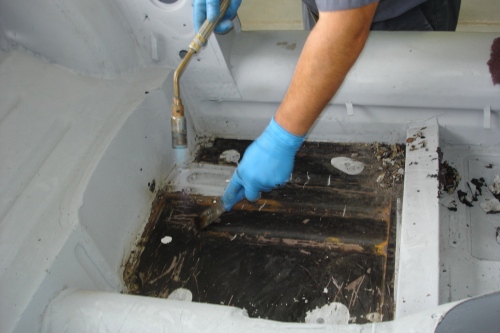
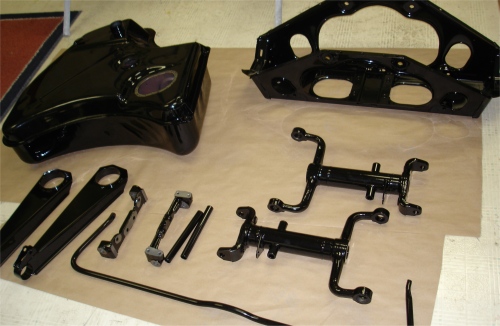
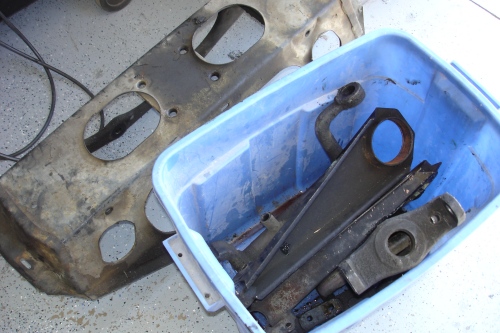
Although not quite totally rust free, (I maintain there is no such thing) I continue to be amazed at how solid this car is. The photographs below show us stripping the primer and also burning and scraping away all the sound deadening material from the topside of the floors, inside the cabin.We have also received all your powder coating back and will start rebuilding your IRS over the next few days. Your original gas tank was in great shape, so we simply had it blasted and powder coated alongside your IRS components.
 |
 |
 |
|
work of the primer |
|
|
|
|
|
|
 |
 |
 |
|
|
|
with BASF etching primer |
|
|
|
|
 |
 |
 |
|
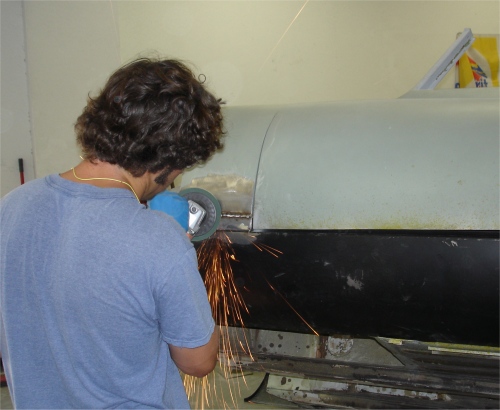
is a nasty job |
|
and IRS components |
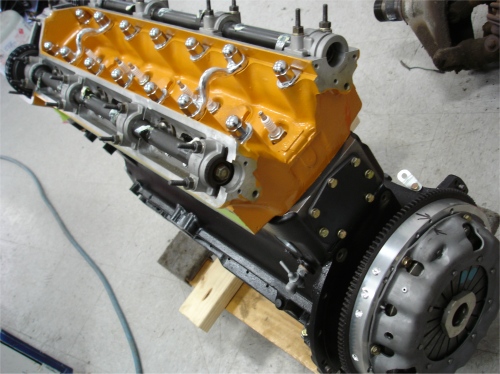
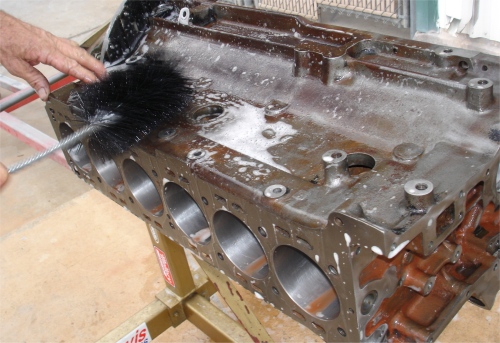
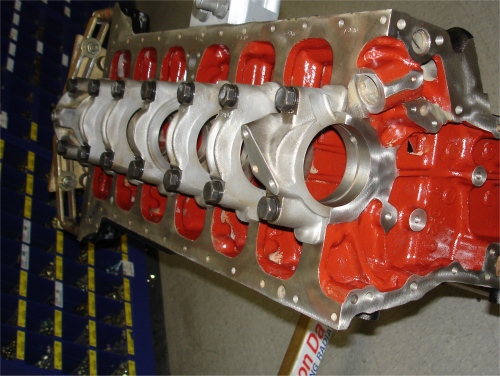
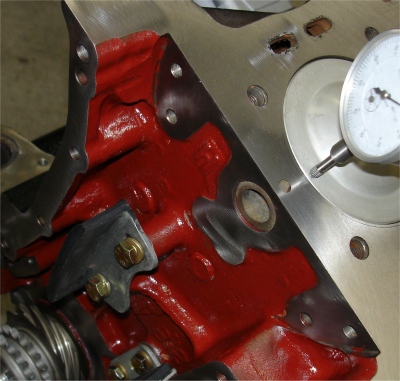
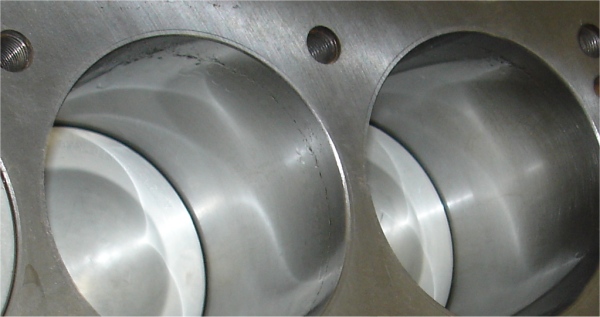
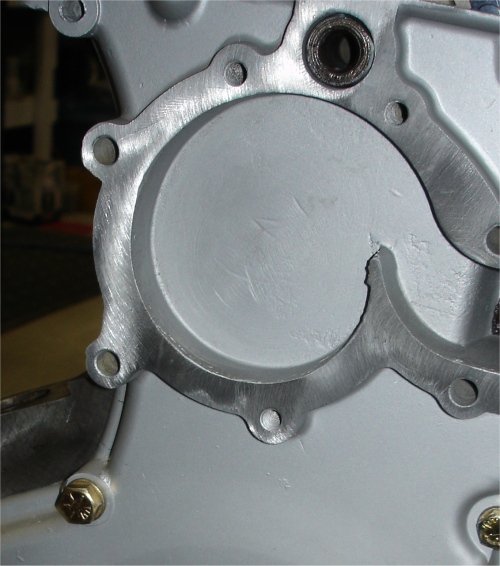
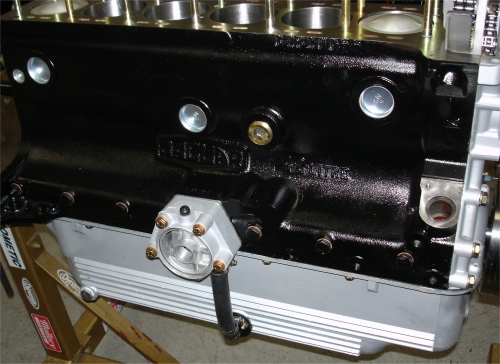
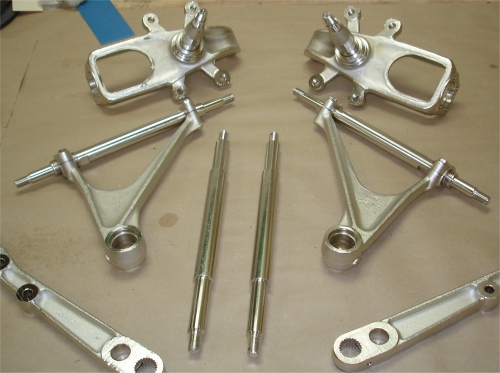
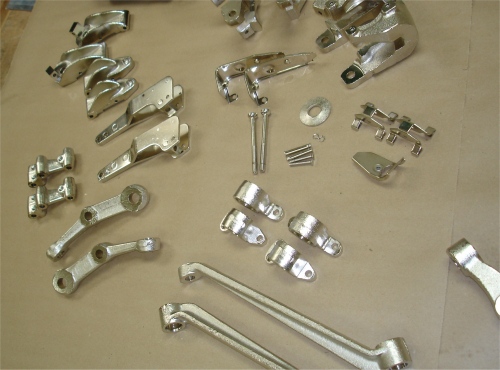
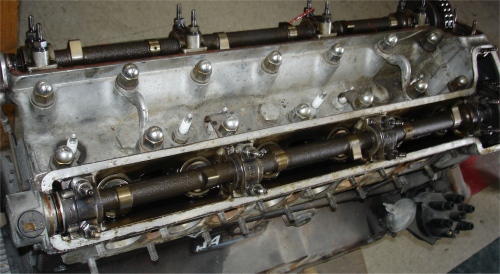
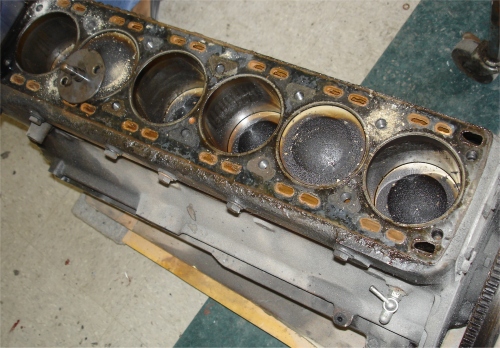
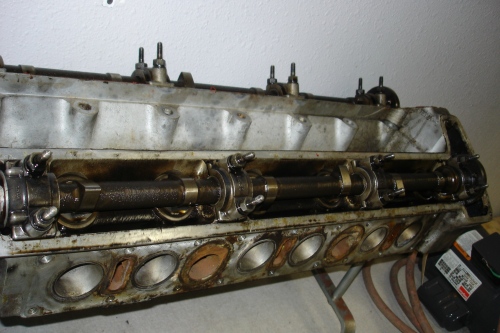
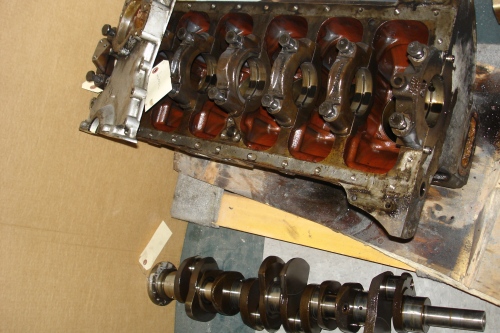
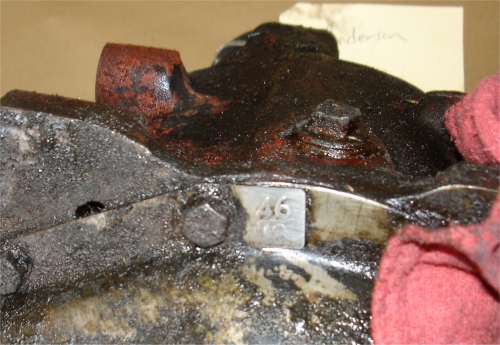
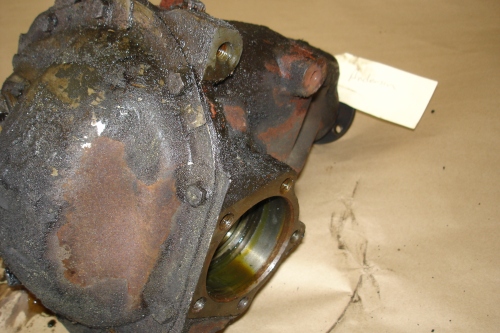
As you can see, we already have both the engine and IRS rebuilds well under way. Your engine was standard with factory pistons and bearings, etc. Later today we will be submitting your front suspension for Nickel plating.
 |
 |
 |
|
throughout |
Team CJ alloy flywheel |
|
 |
 |
 |
|
after polishing and porting |
to accept modern rear seal |
|
 |
 |
 |
|
and powder coating |
cleaning your front suspension, Doug! |
This is unquestionably the best packaged car we have ever received at CJ! I am pleased to report that not only did your E Type survive the journey from Southern California without incident, it is also one of the most solid, unrestored cars that I have ever seen.I hope you enjoy watching the restoration unfold over the coming months!
 |
 |
 |
|
|
to enclosed headlamps |
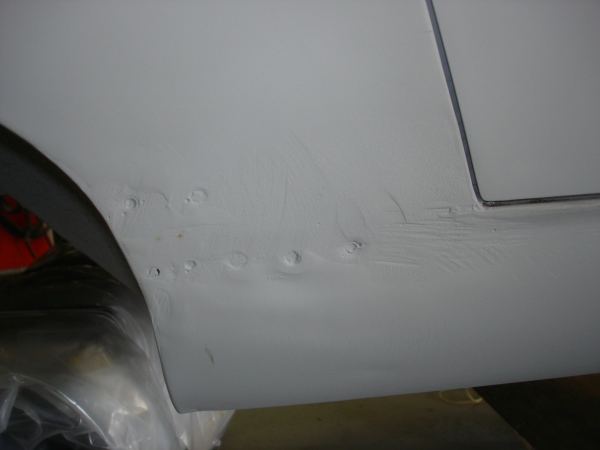
of accident damage |
 |
 |
 |
|
and replaced |
||
 |
 |
|
|
amazingly solid |