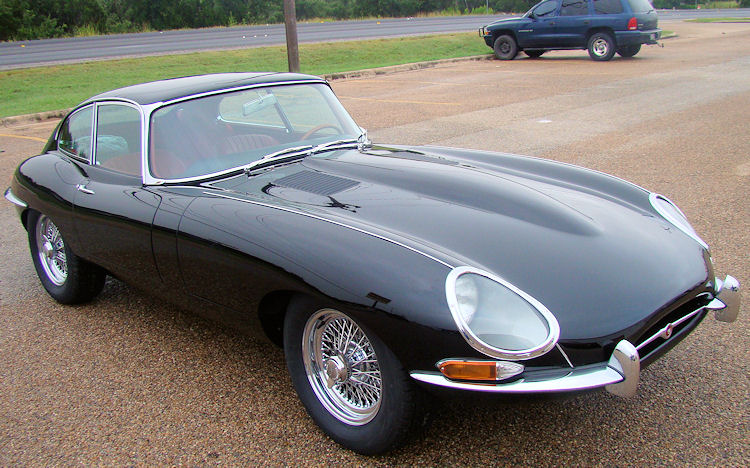
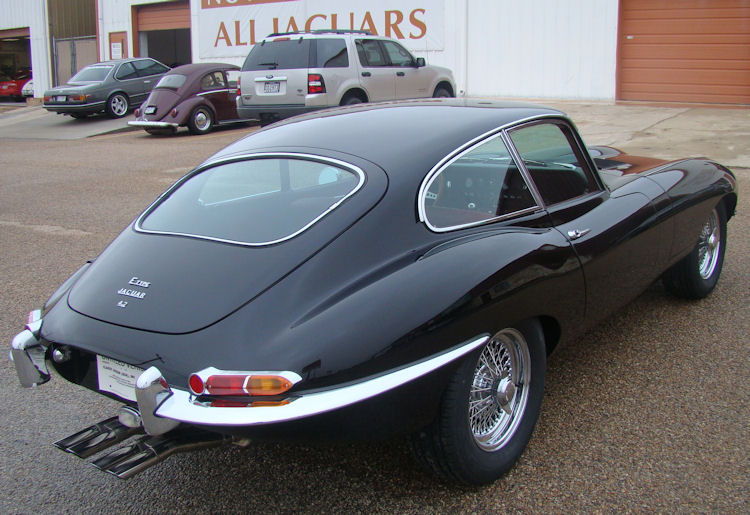
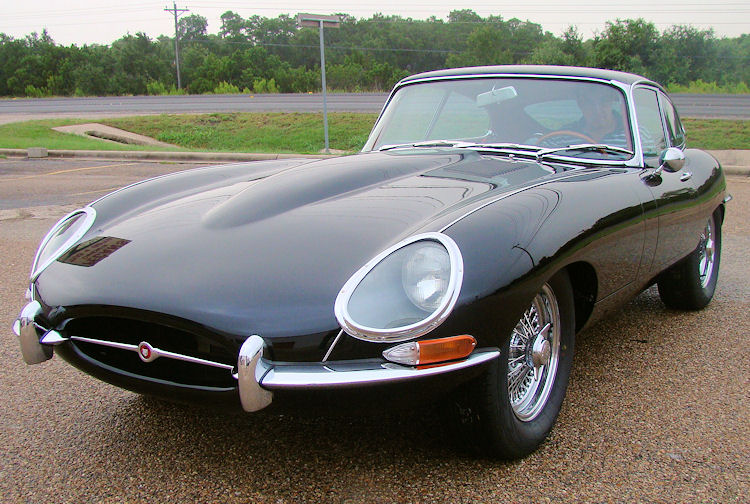
| 1966
E Type FHC (Jim)
CJ driver restoration |
|
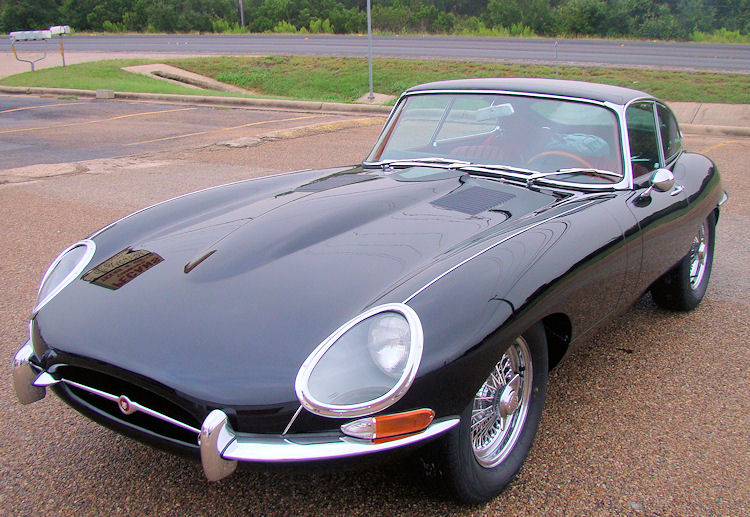
| 1966
E Type FHC (Jim)
CJ driver restoration |
|
|
Customer update - October 2016
Dear Dan,
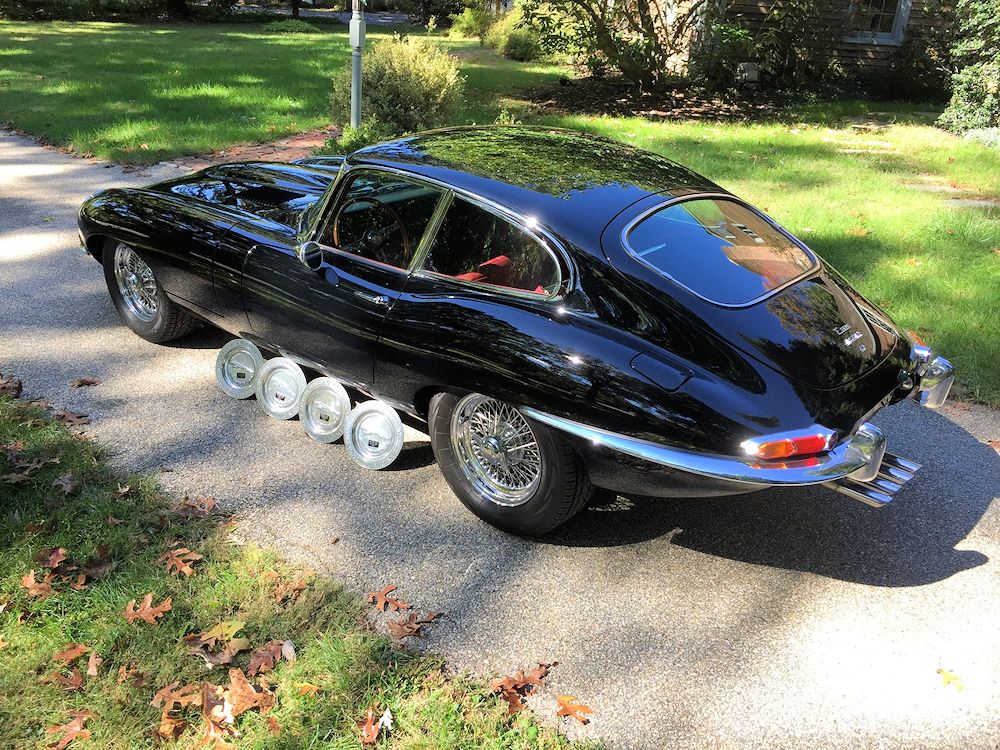
I am attaching a photo of my Jag I took today showing the successive first place victories in the Delaware Valley Jaguar Club's annual sanctioned JCNA Concours. I received my Jag from you in August of 2010, too late to enter the Concours that year. For the next four years I have taken first place until this year when I decided not to enter the competition, but just show the car.
As I mentioned, this is not a trailer queen. I drive this car every weekend except when there is inclement weather, putting on about 1500 miles each year. All the senior members of the club are aware of the spectacular nature of this rebuild and the owner of one of the top east coast Jaguar repair shops, who actually races E Types, said to me "This is the way Jaguar should have built these cars." The accolades are for you and the team at Classic Jaguar.
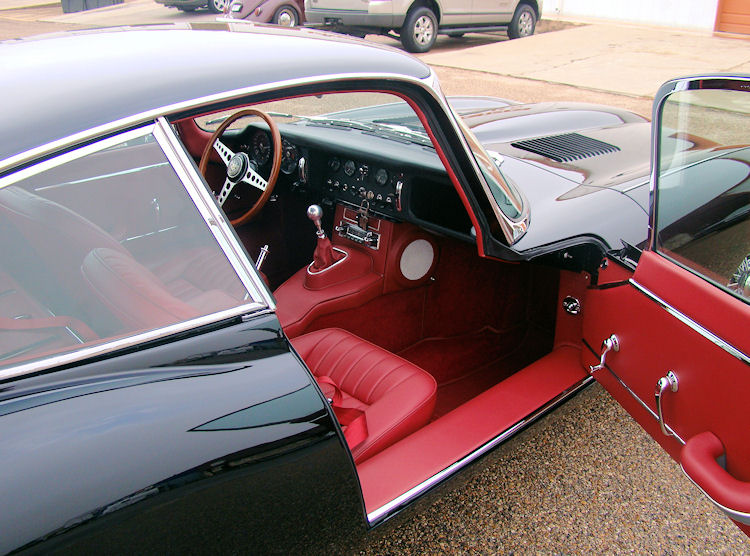
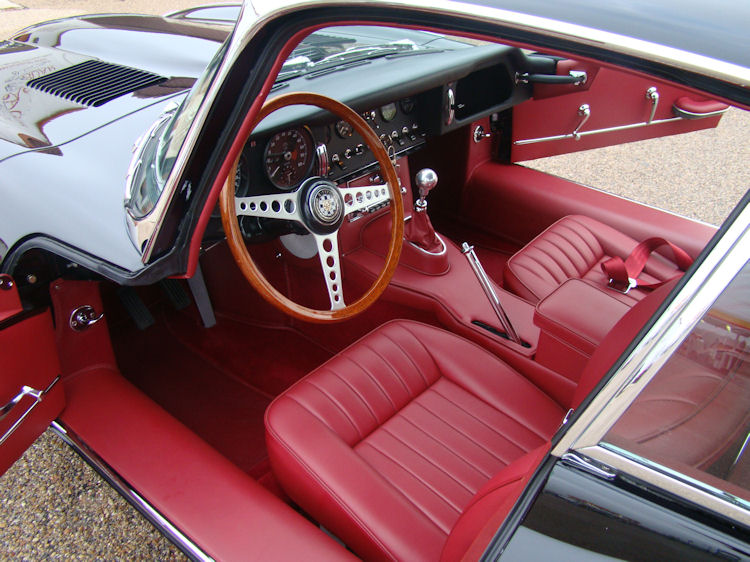
Please extend my best wishes to Andy, and to Carlos, who did such a spectacular job on the 100% leather interior.
Jim Cassano
Customer update - June 2011
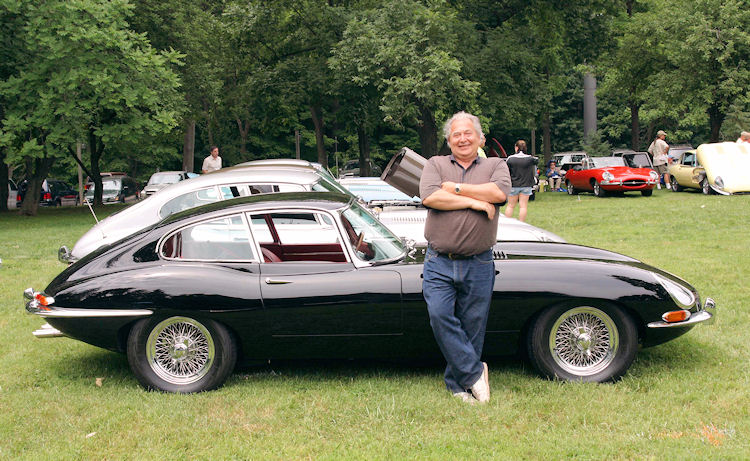
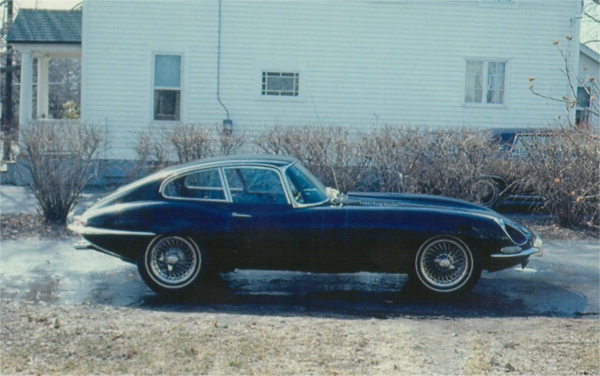
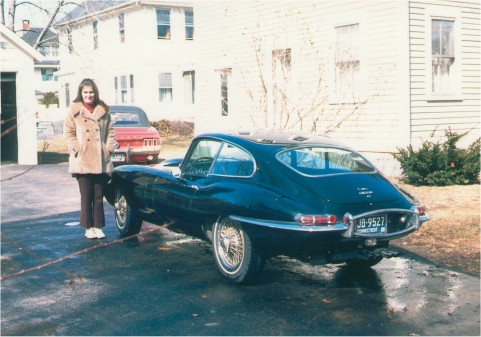
Dear Dan,I'm sure that all of you will be pleased to know that my E Type won best in class at this past weekend's Delaware Valley Jaguar Club's JCNA sanctioned Concours D'Elegance. According to the judges, no one else came close to my car. There were 25 E Types entered in the Concours event.
Yesterday, the Club also had an "E Type Extravaganza", where 40 E Types gathered together and went on a cross-country tour. At this event, two of the judges from the prior day Concours told me that mine was the car that Jaguar should have built and was hands down, the best of the bunch. You should be proud as well.
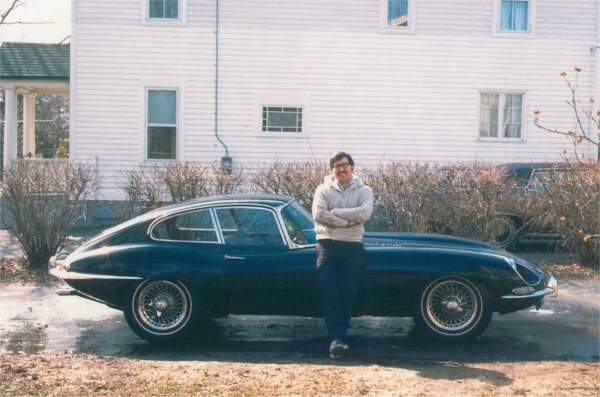
I am attaching the "mirror" picture to the one on my CJ restoration blog where I am standing today in the same pose as I was in 42 years ago when I owned my first black/red E Type!
Jim Cassano
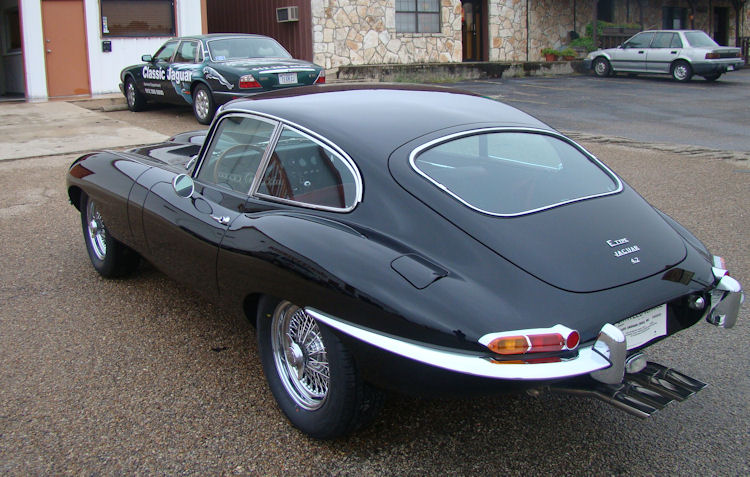
Closing report - July 23, 2010
I am delighted to report that your car is now ready for collection and will be headed in your direction later today!
 |
 |
|
|
|
 |
 |
|
|
|
 |
 |
|
|
|
 |
 |
|
|
|
 |
 |
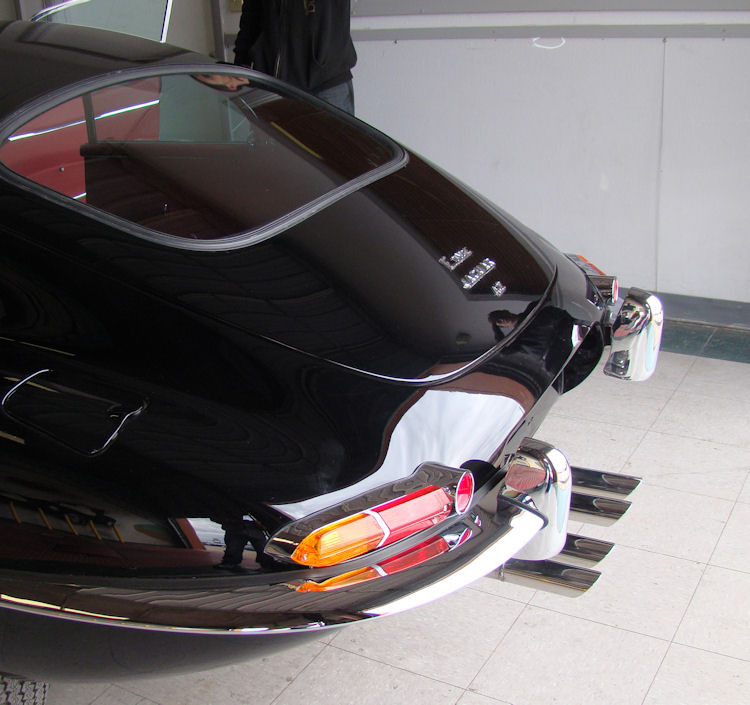
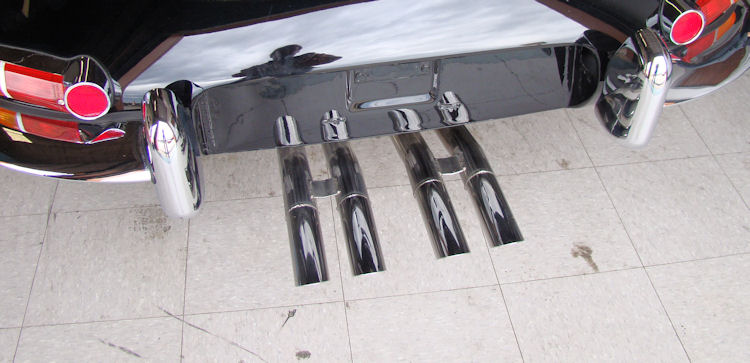
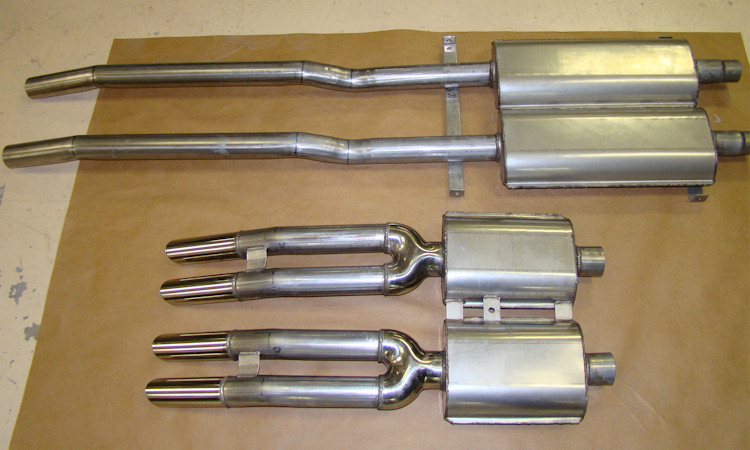
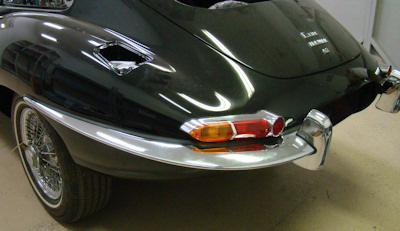
Your custom four outlet exhaust installed....
 |
 |
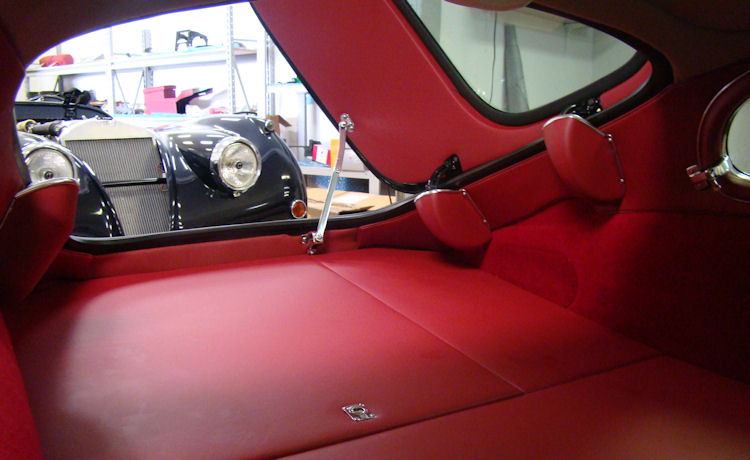
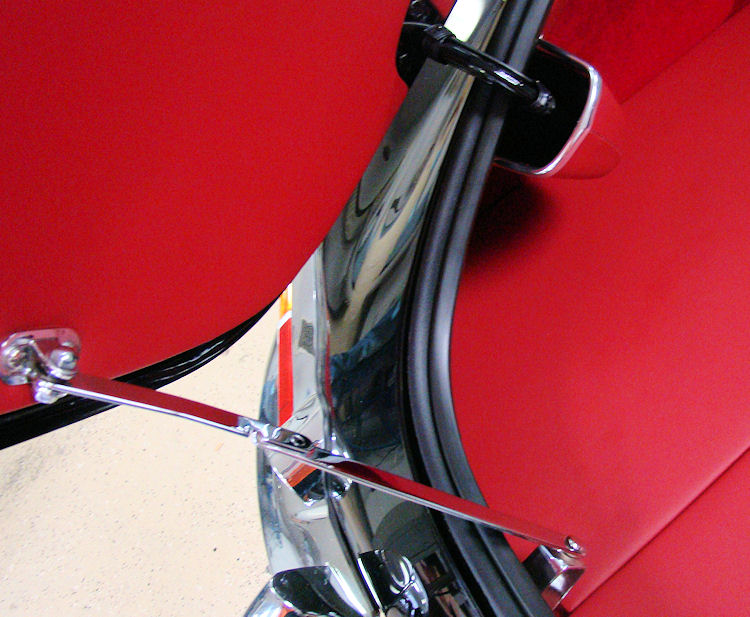
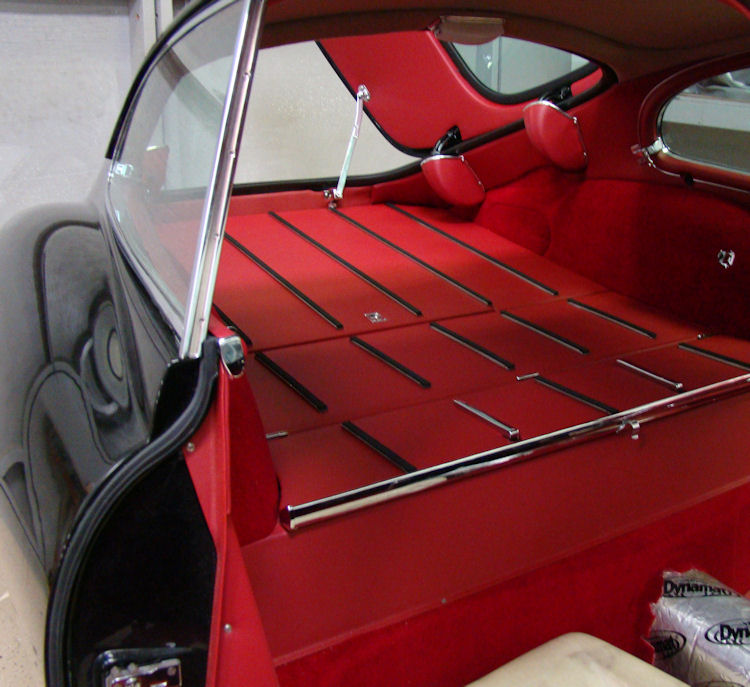
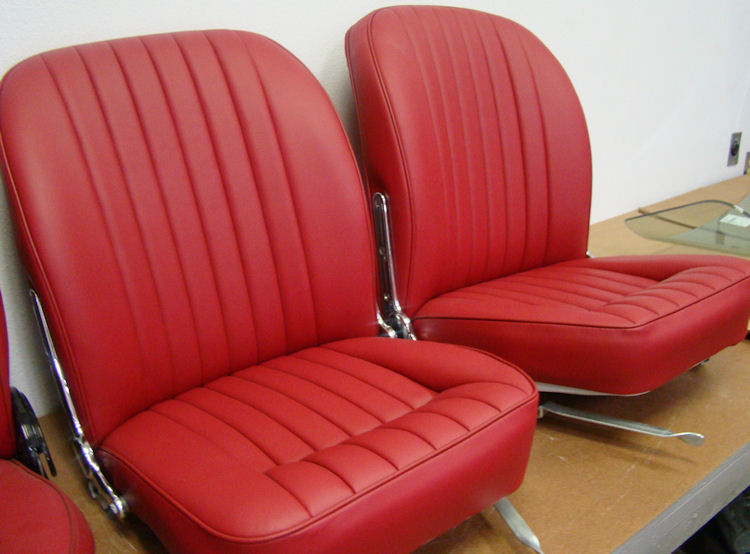
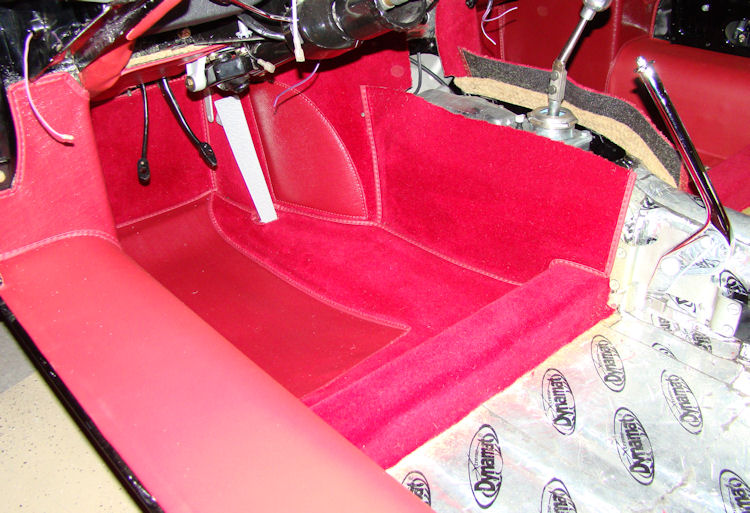
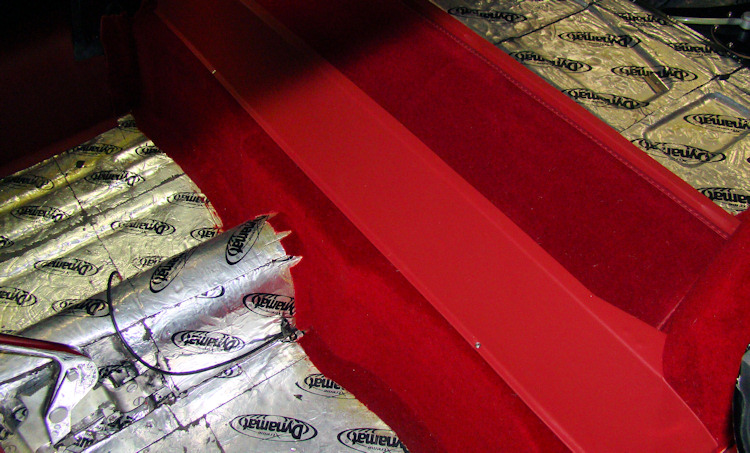
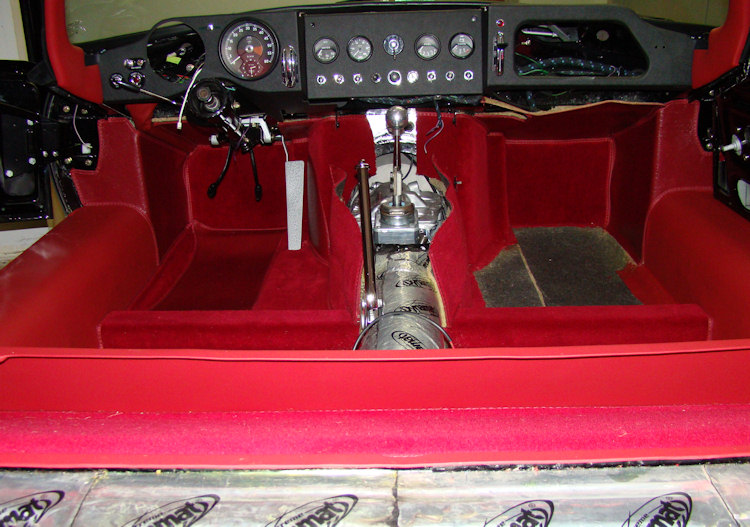
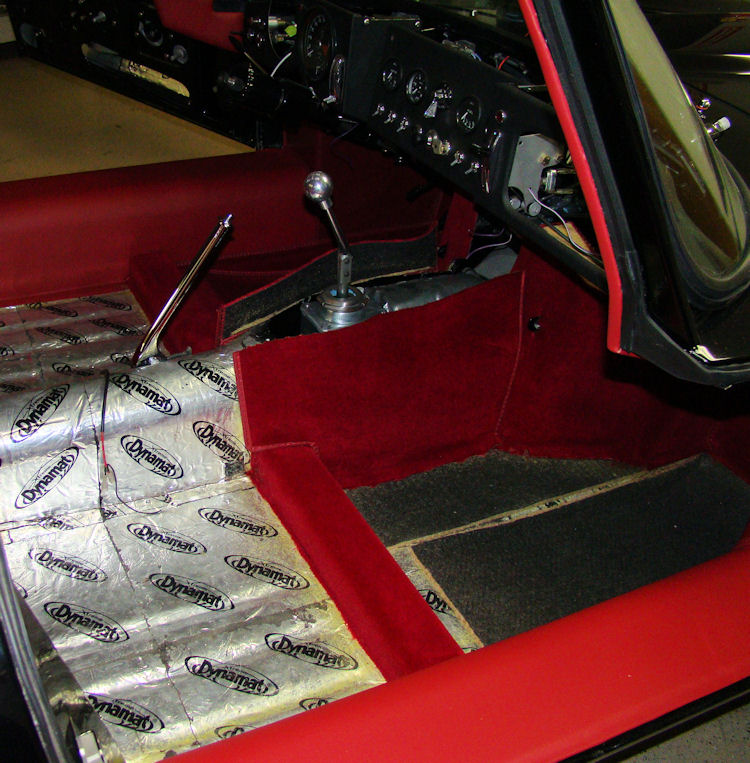
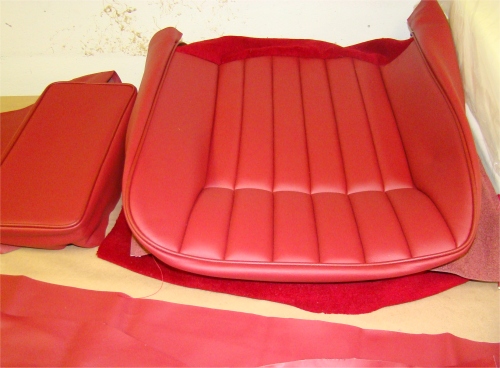
We have now completed the interior installation with the exception of the center and radio consoles, and the passenger seat. We will install those items once we have finished the mechanical shakedown - which will be underway during the coming week.
 |
 |
 |
|
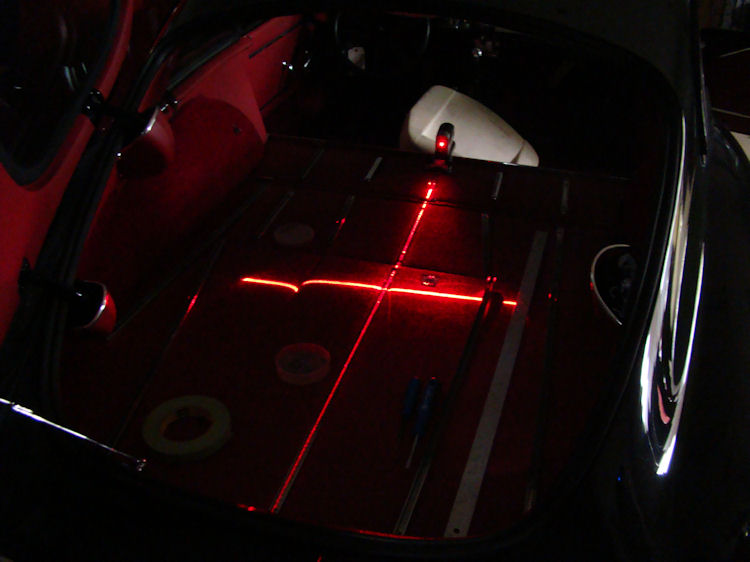
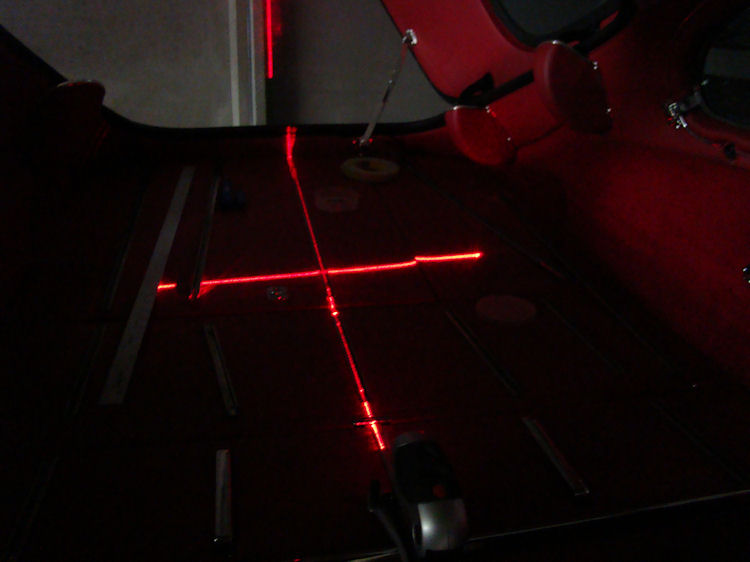
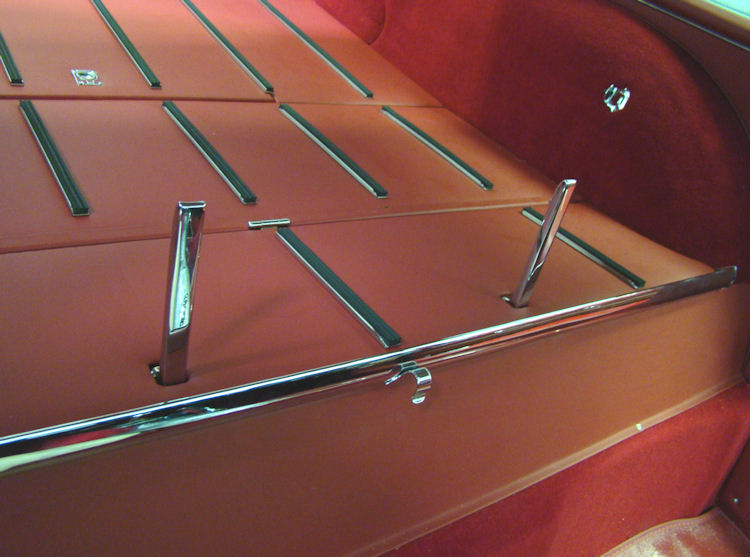
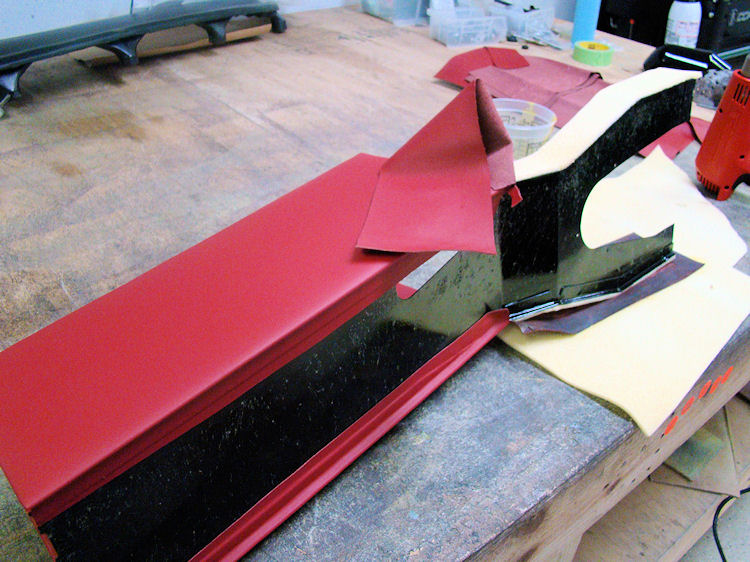
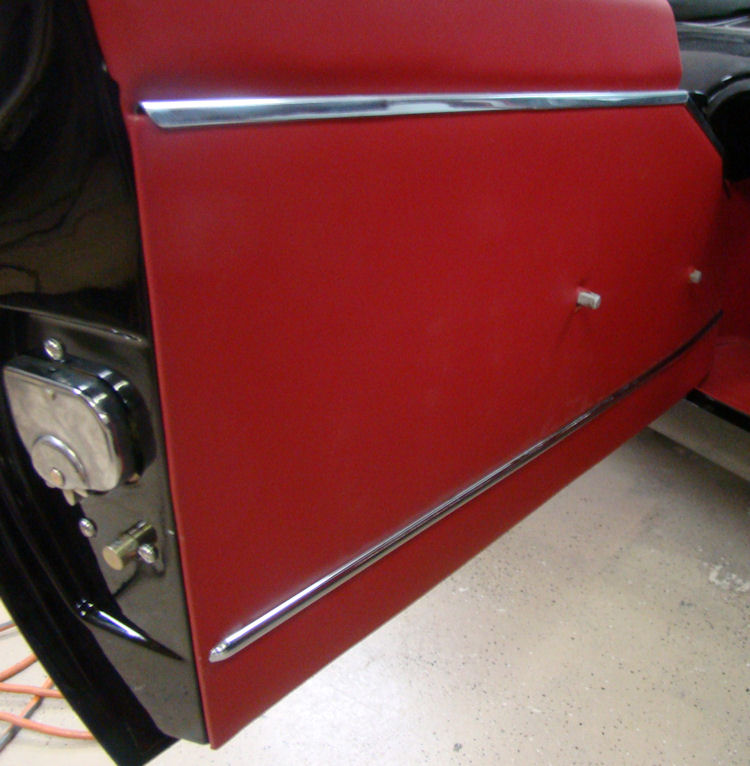
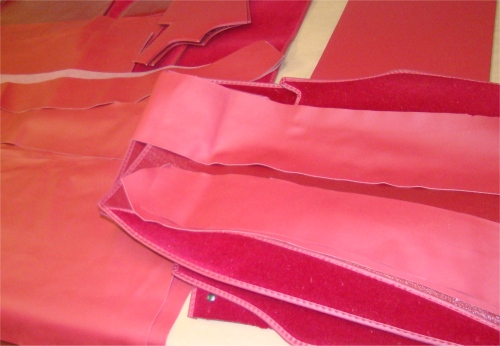
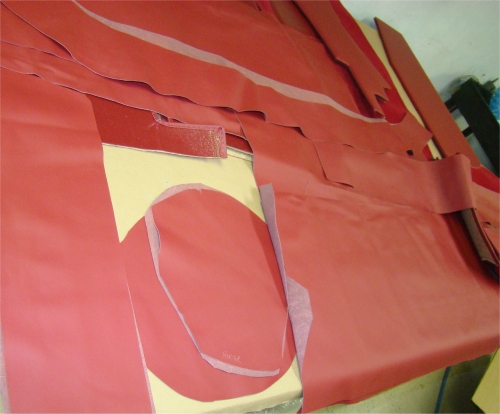
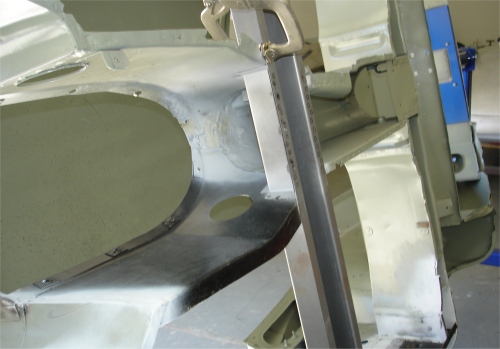
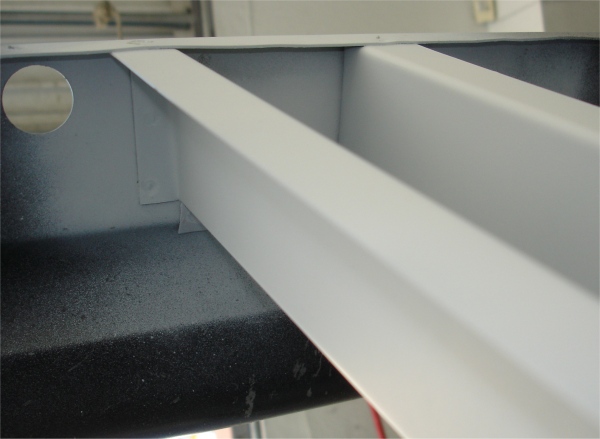
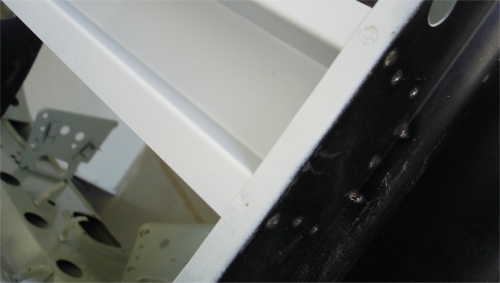
rail runners |
|
from each panel all line up perfectly |
|
|
|
|
 |
 |
 |
|
|
take shape |
|
 |
 |
|
|
|
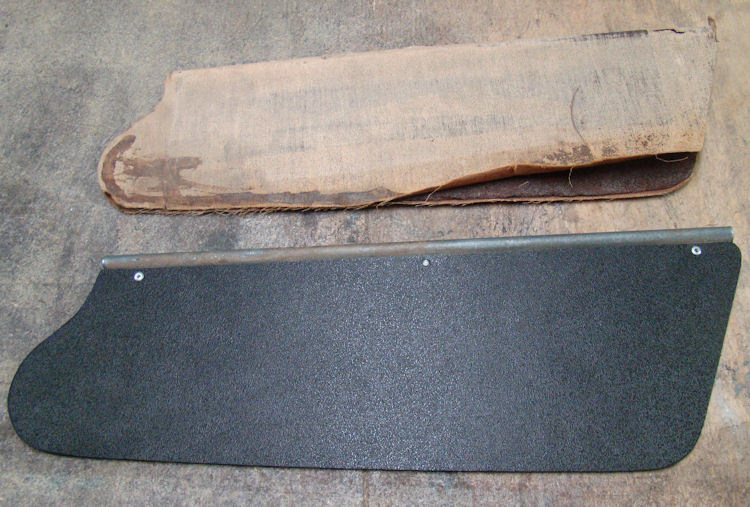
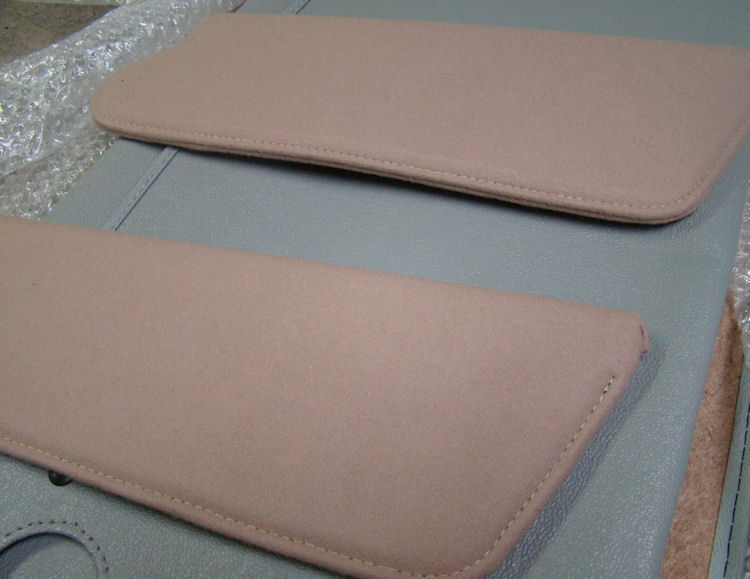
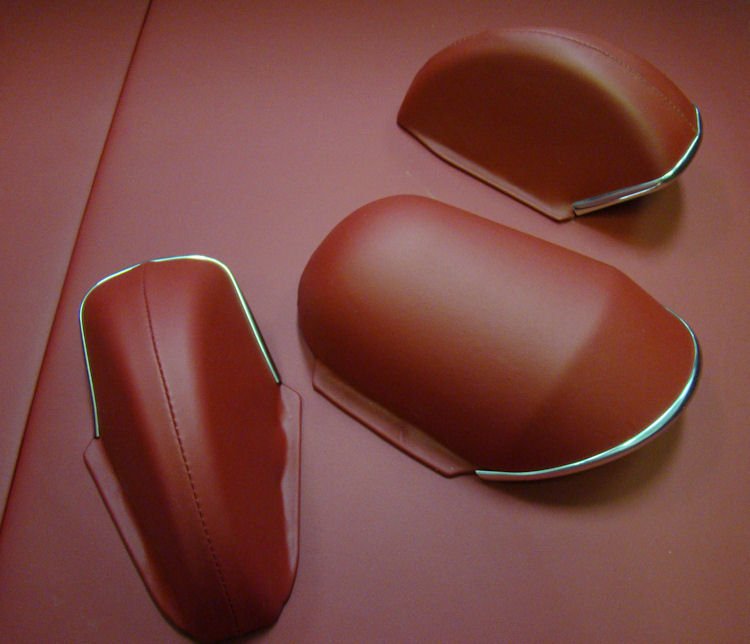
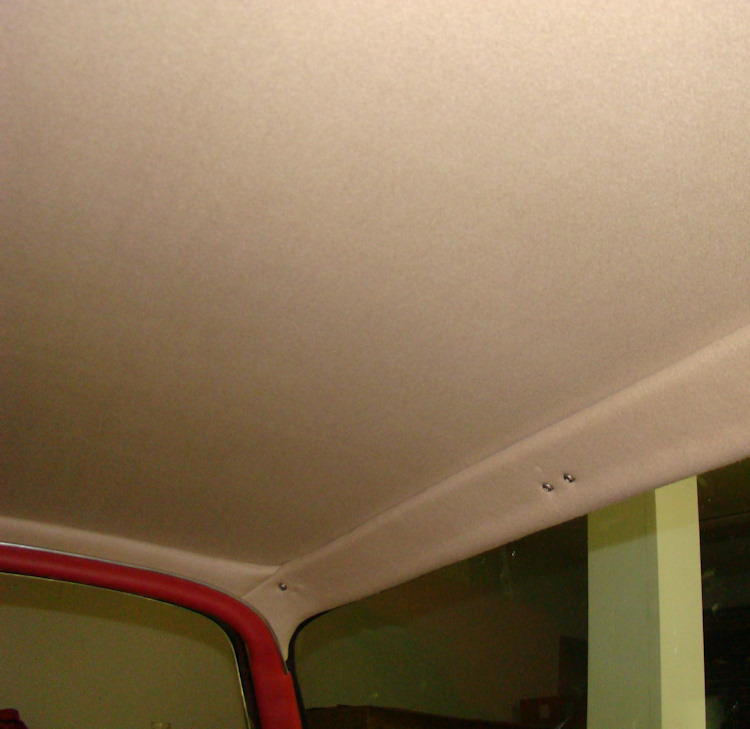
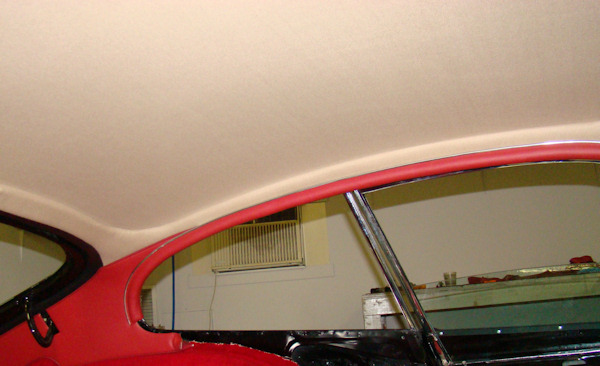
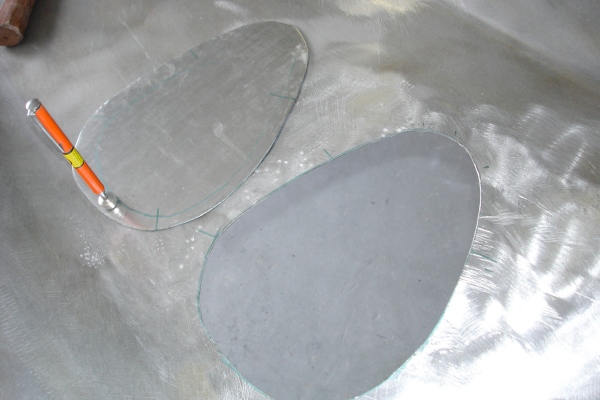
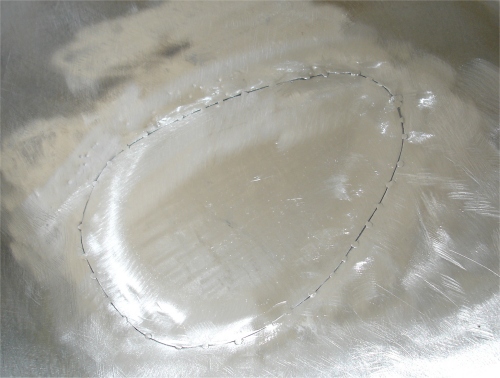
Carlos fabricating and trimming new visors for your car...
 |
 |
 |
 |
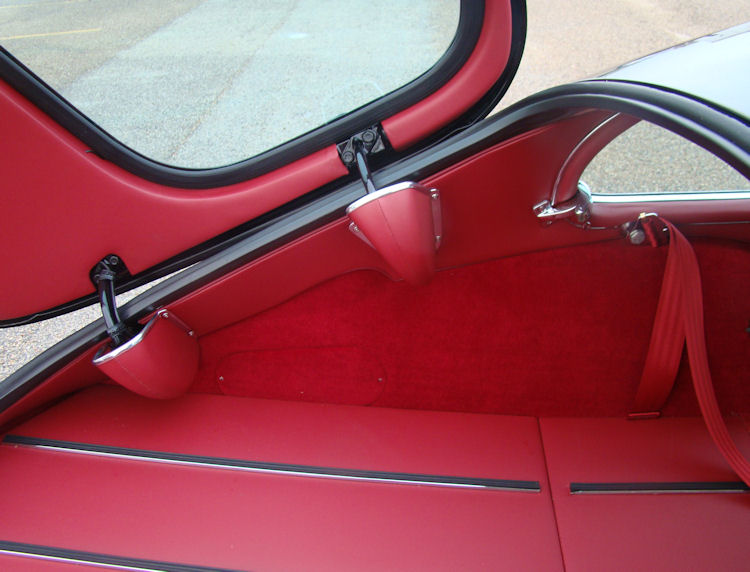
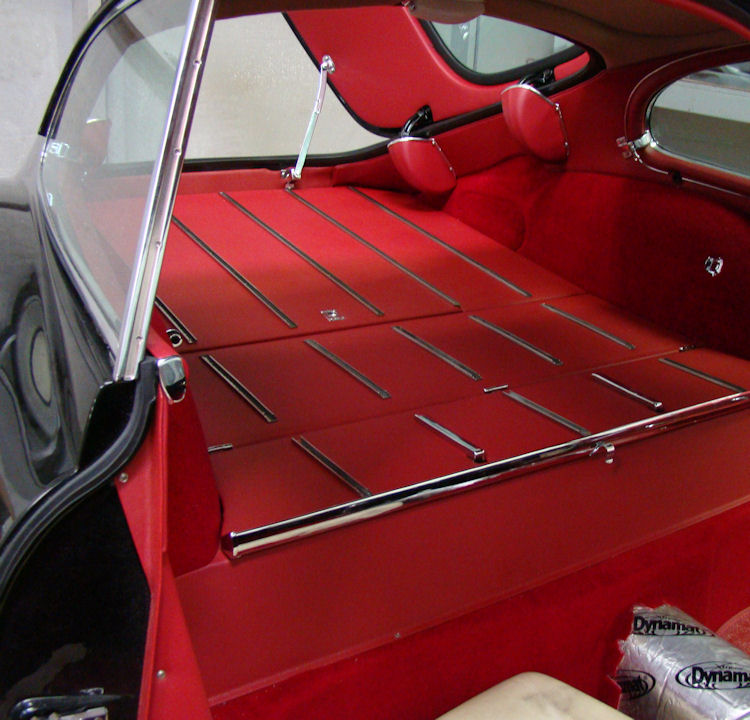
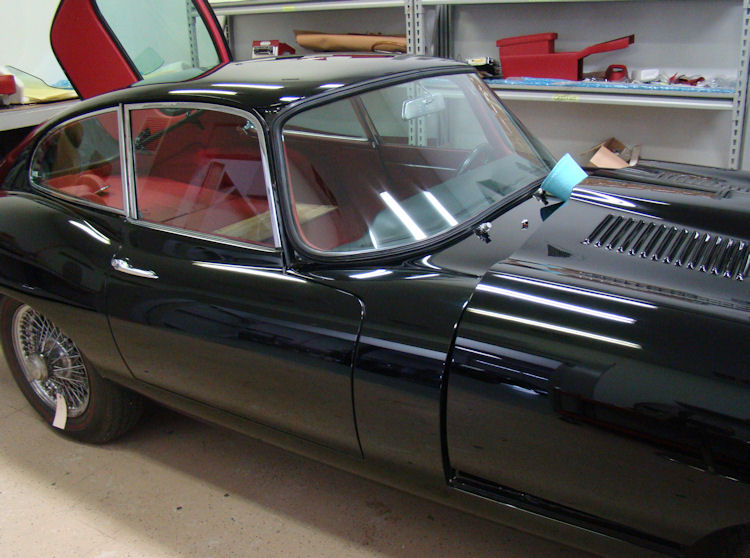
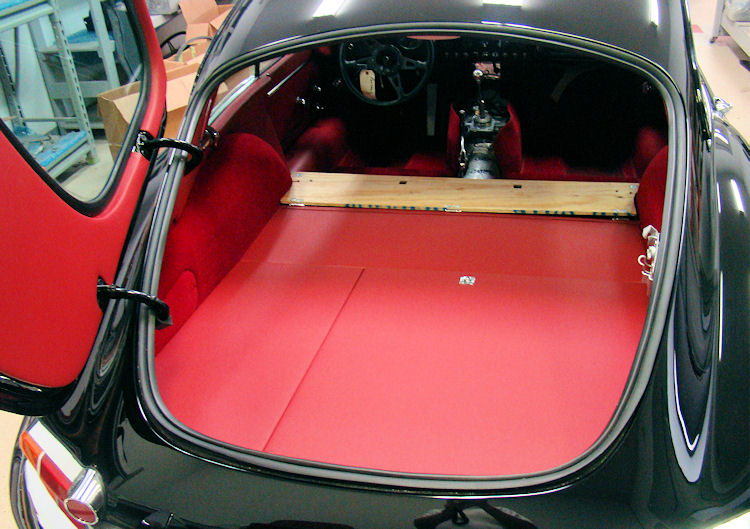
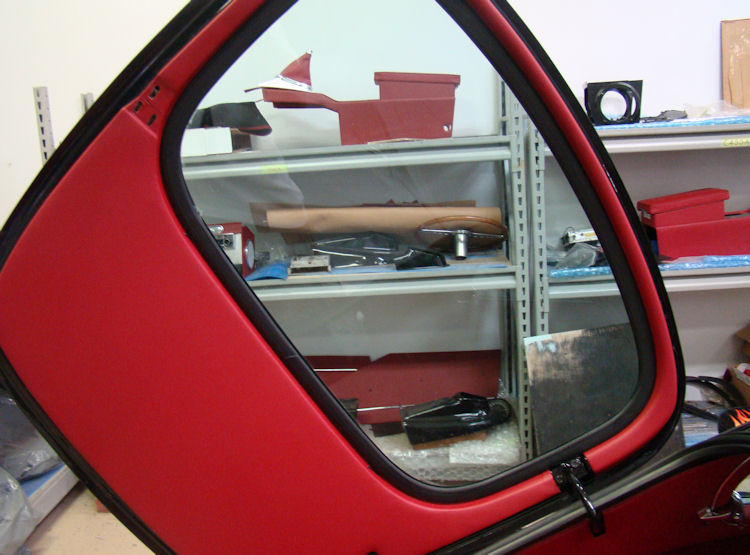
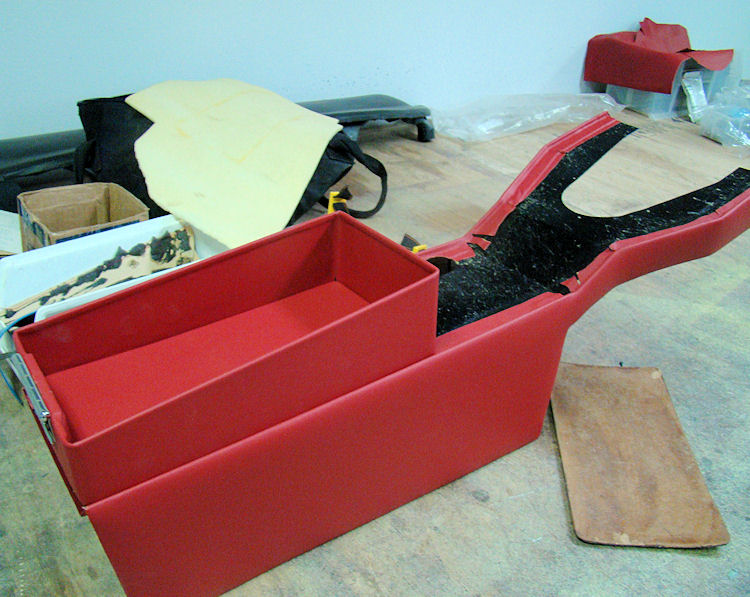
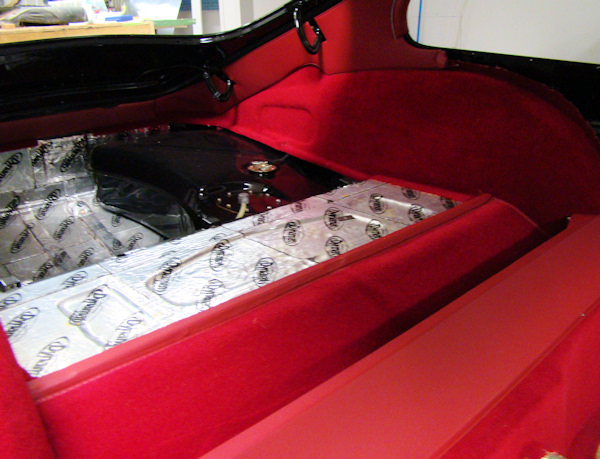
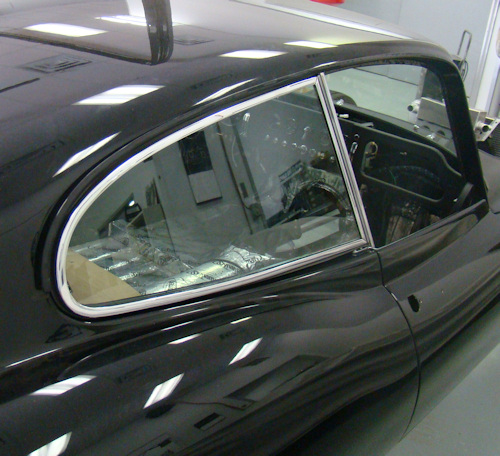
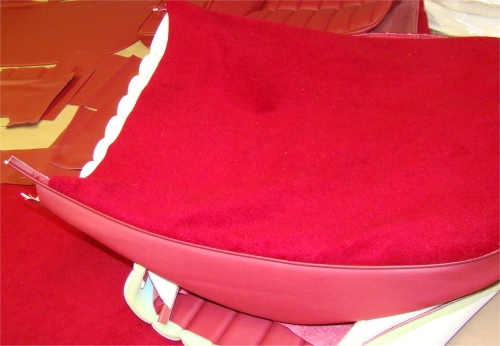
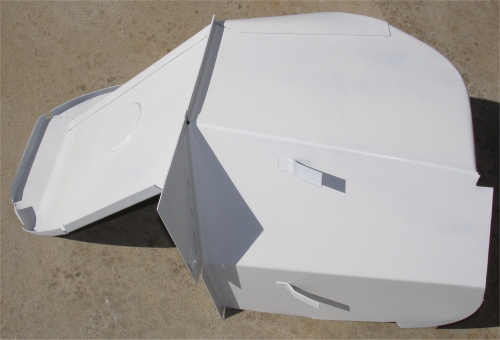
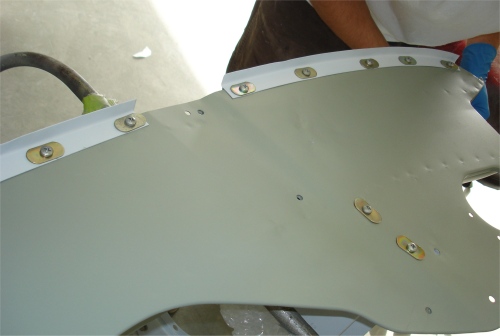
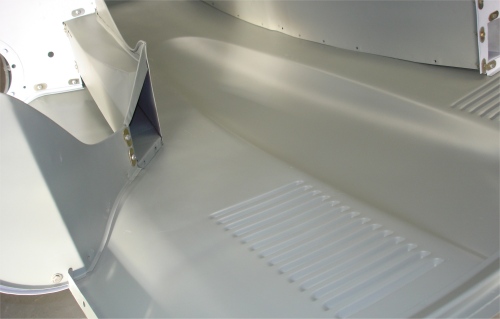
New rear boot boards have been fabricated and trimmed out in red hide, heated rear window installed...
 |
 |
 |
 |
 |
 |
Time for the final push on this project. This car should be heading northward in the next few weeks!
 |
 |
 |
|
and retrimmed |
|
|
 |
 |
 |
|
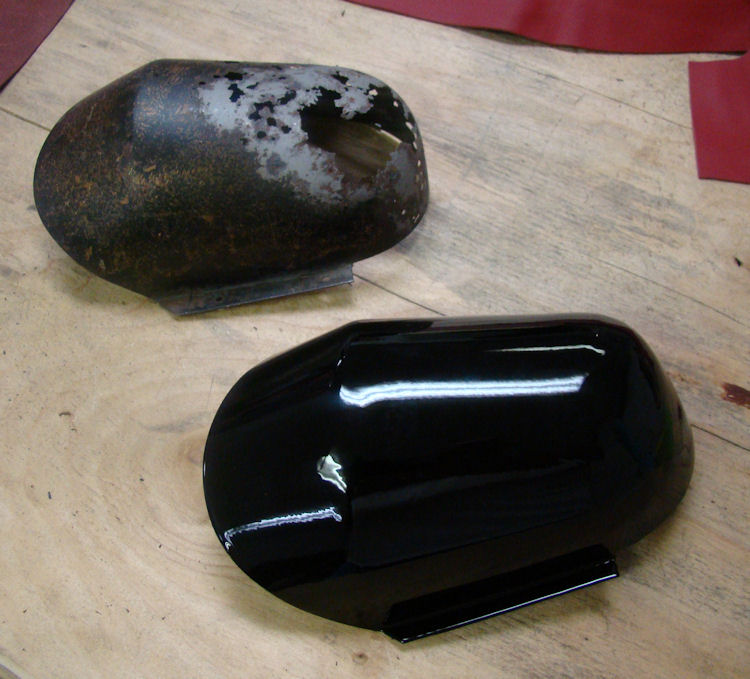
fabricated you a new one |
 |
 |
 |
|
|
|
|
 |
 |
 |
 |
 |
 |
Although we are still waiting for delivery of your custom four outlet exhaust system, we couldn't resist having a quick drive around the CJ carpark anyway! Click on the photo below for a short video clip of your car's maiden voyage.
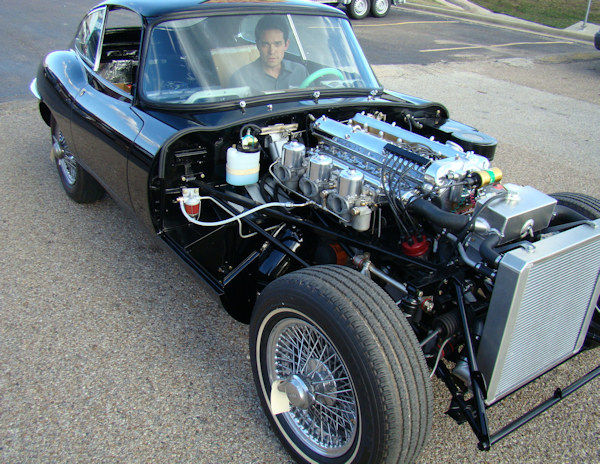
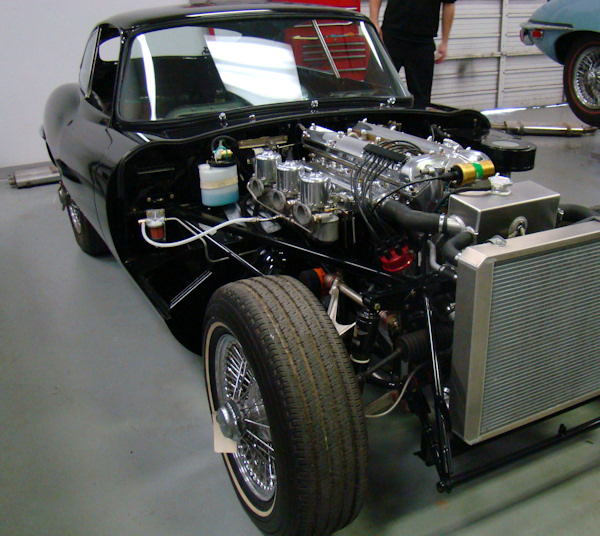
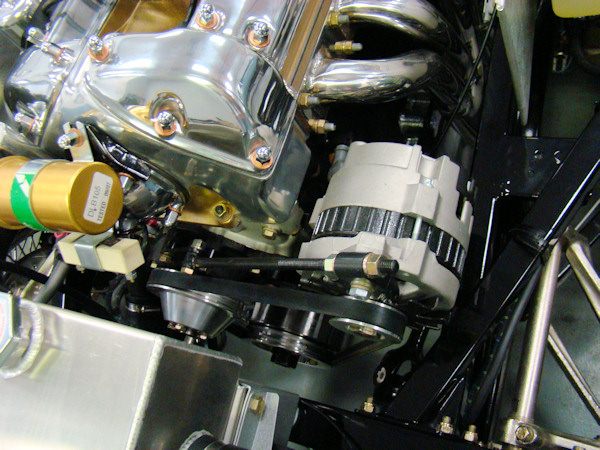
Your engine bay filling up rapidly, we should be firing up the car in the next day or so.
 |
 |
 |
|
|
|
|
 |
 |
|
|
|
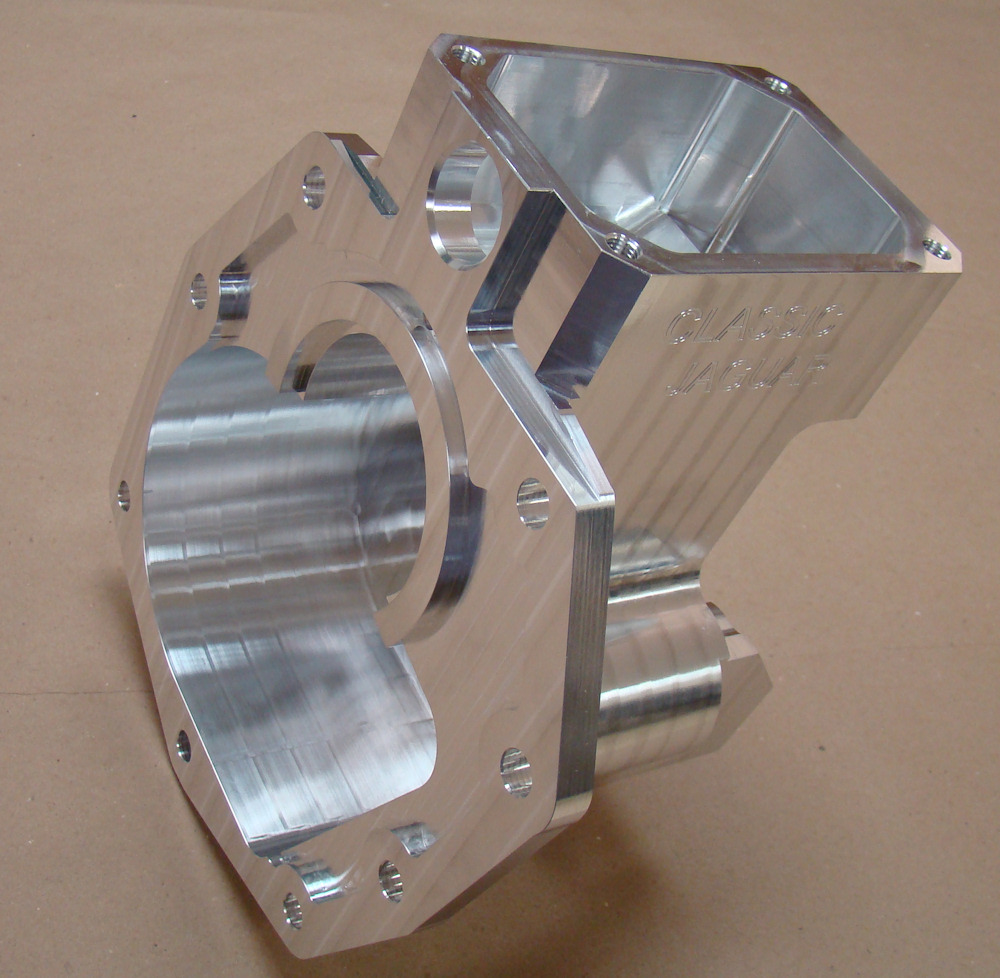
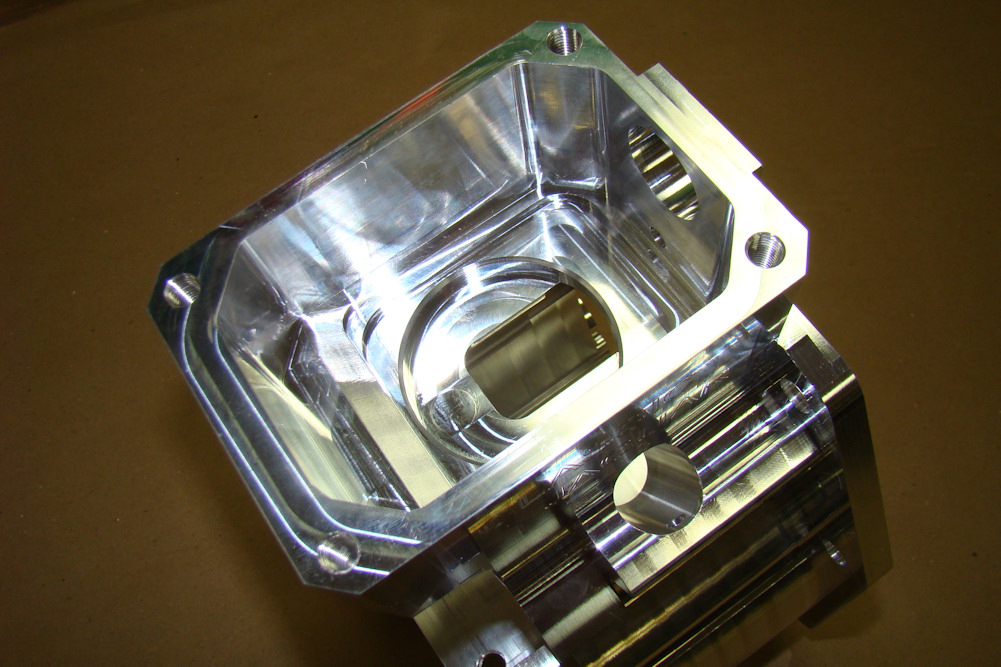
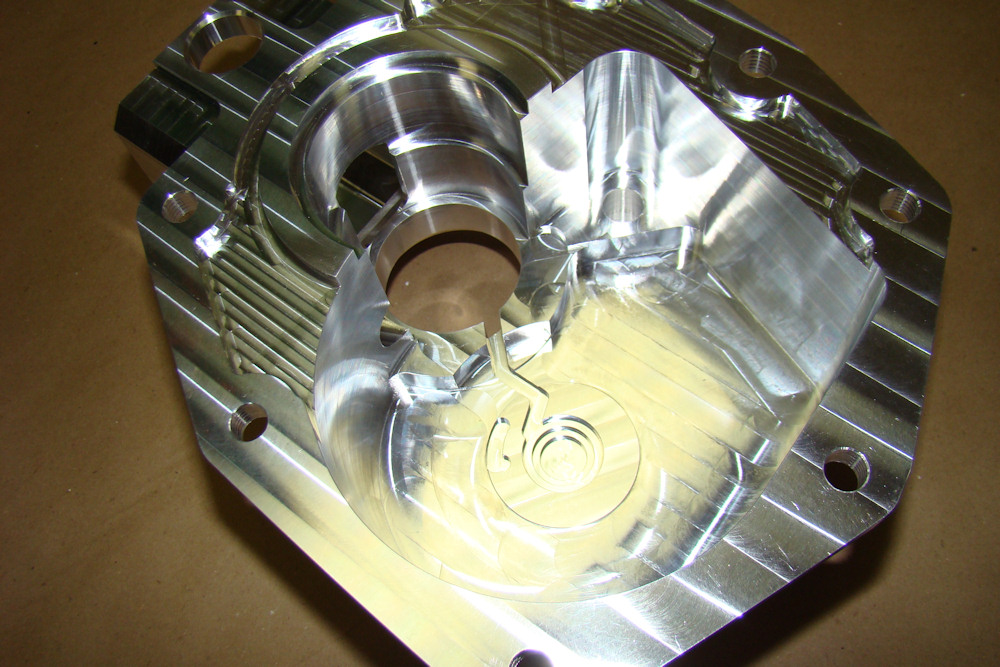
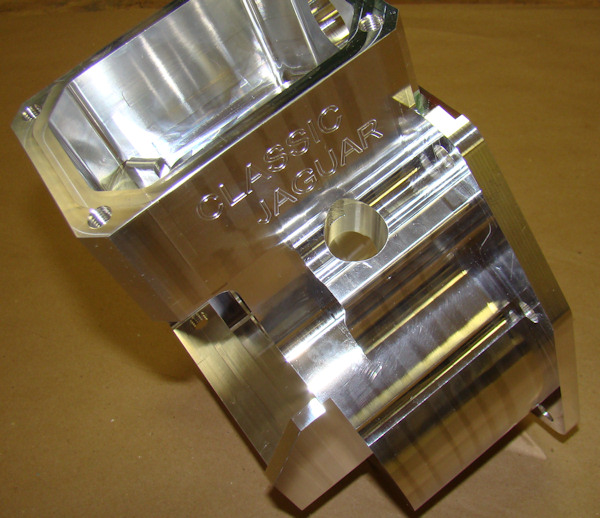
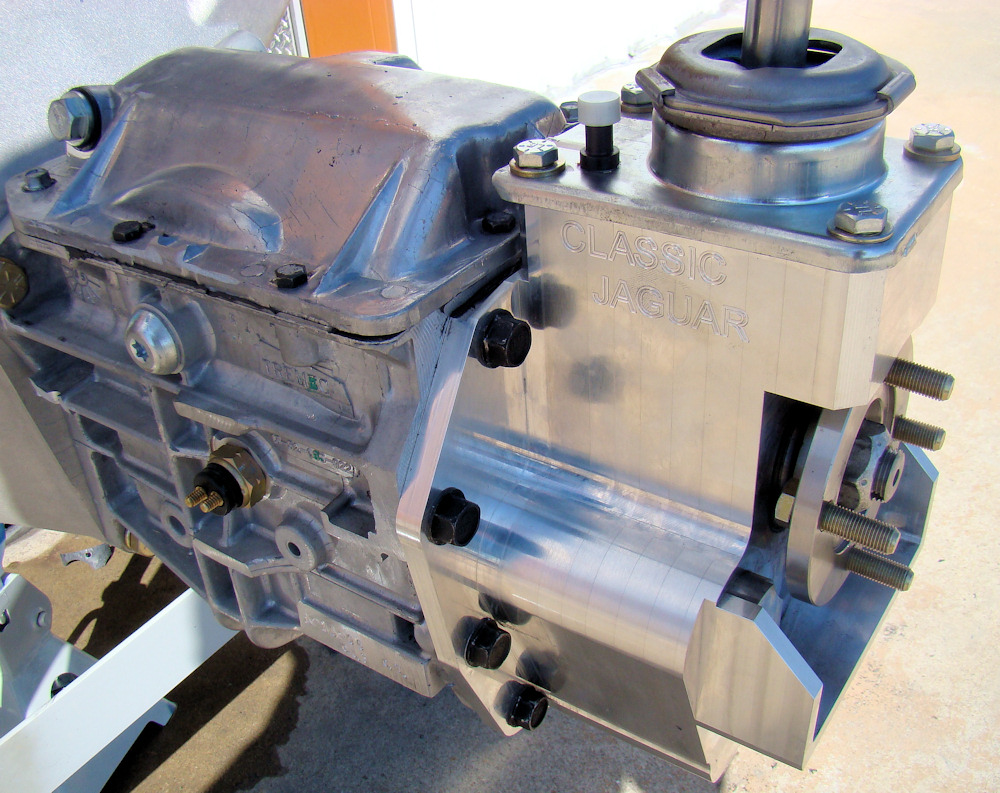
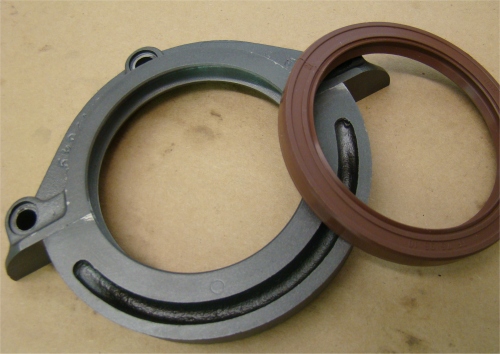
I thought you might be interested to see the tail housing for your brand new CJ5 transmission. CNC machined from a single billet of aluminum, it seems a shame that it will be hidden beneath your car.
 |
 |
 |
 |
 |
|
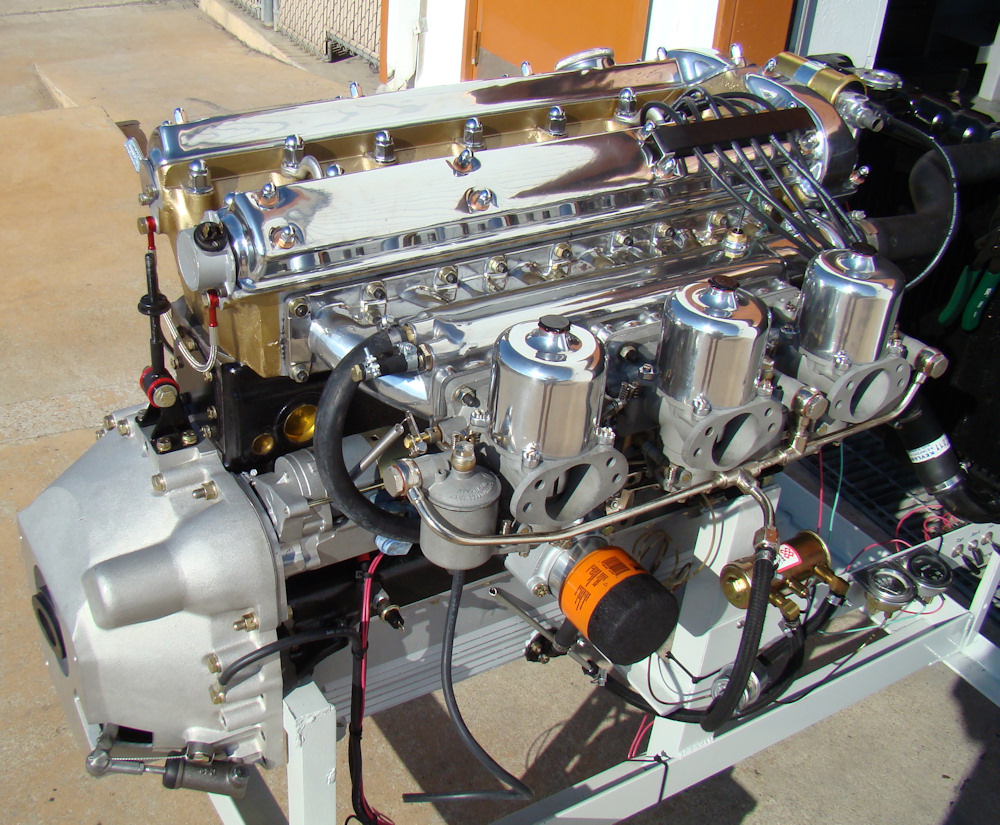
Running the rebuilt engine and tuning your carbs on the engine test rig. I am pleased to report that the engine passed all tests with flying colors!
 |
 |
 |
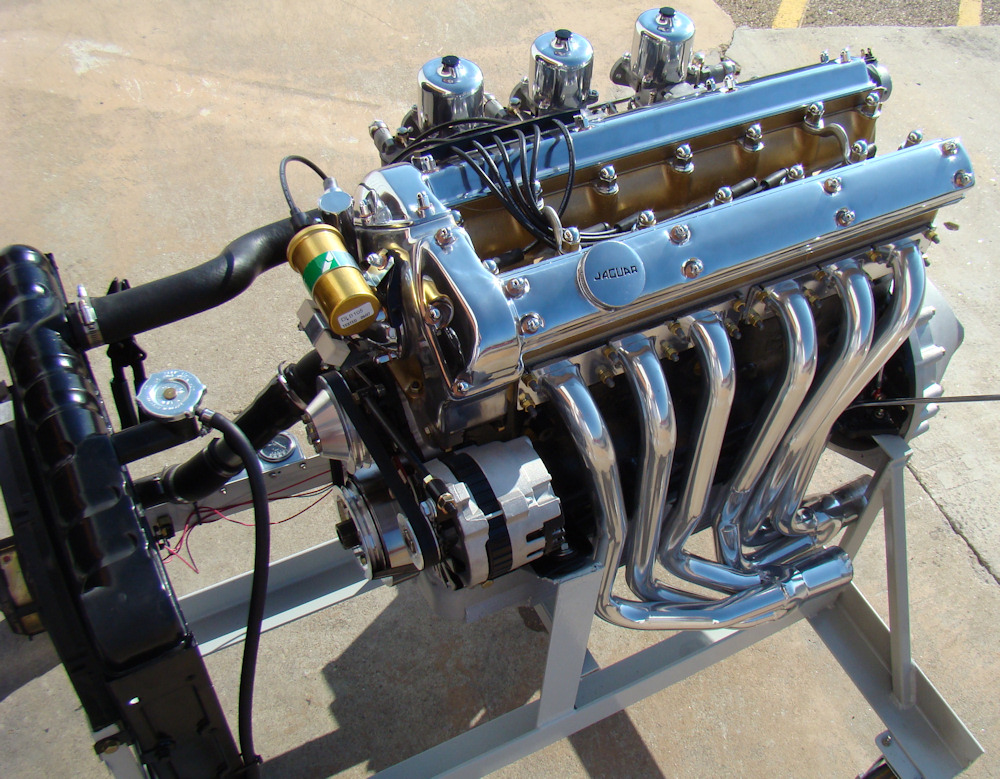 |
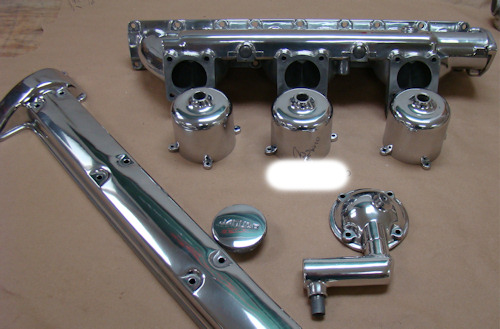
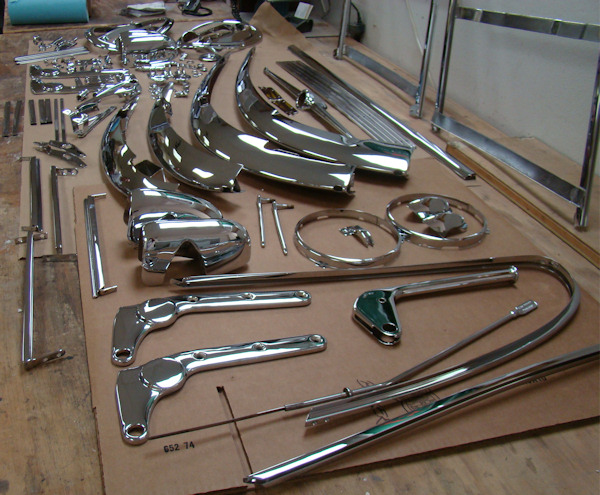
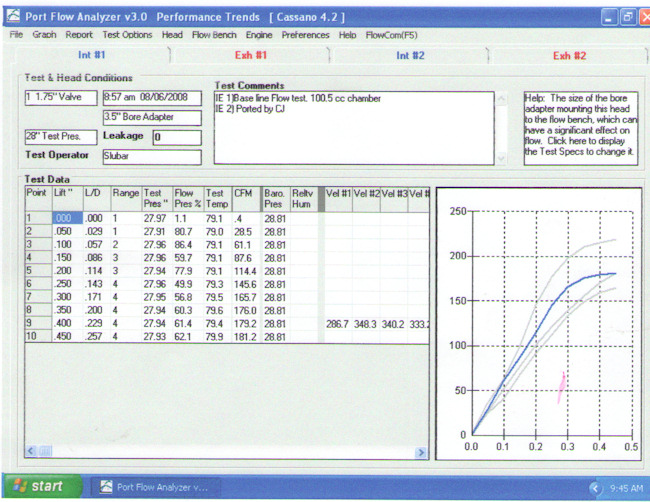
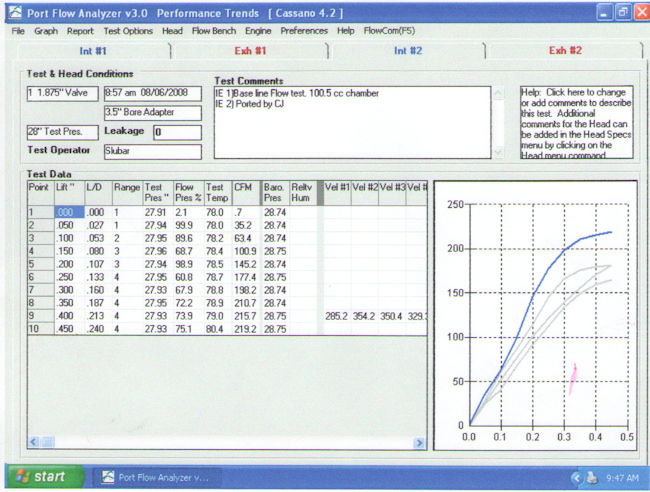
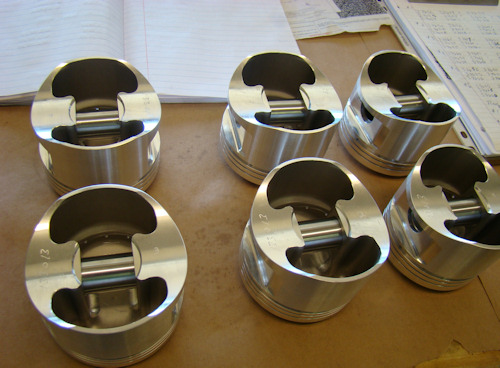
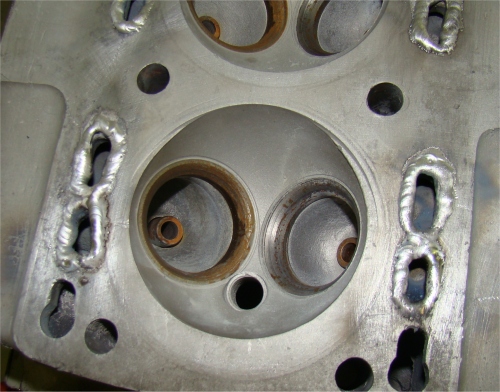
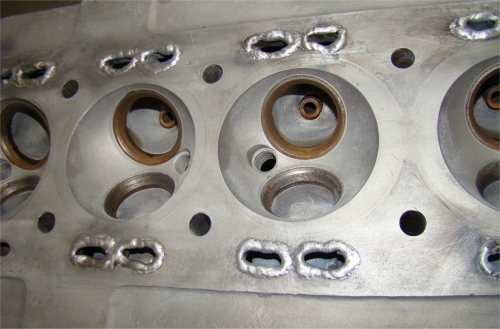
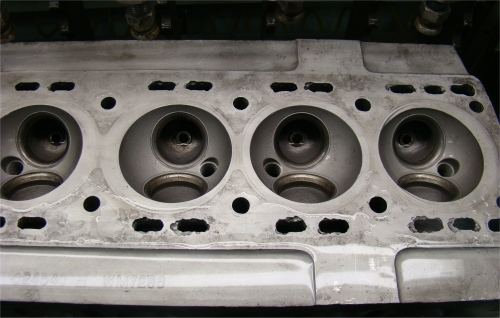
We have now received all your chrome back from the platers and have started the installation process. Your engine (short block) is completely rebuilt and we just flow tested your ported cylinder head this morning (see flow sheets below). We picked up 38 cfm on the intake side, which represents an exceptional gain.
 |
 |
 |
|
looks like - ouch |
||
 |
 |
 |
|
|
||
 |
 |
 |
|
port work |
|
|
 |
 |
|
|
|
|
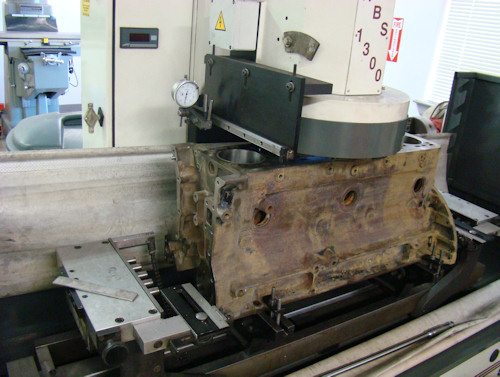
Progress in both the machine shop and the CJ workshop...
 |
 |
 |
|
|
|
|
|
|
||
 |
 |
|
|
|
|
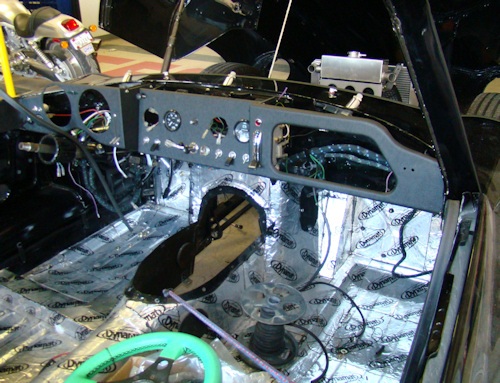
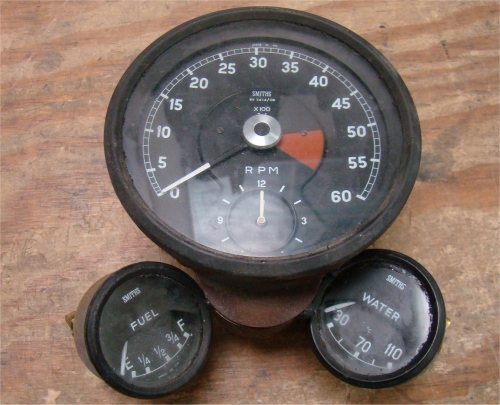
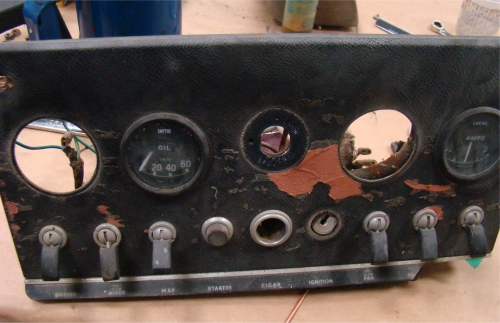
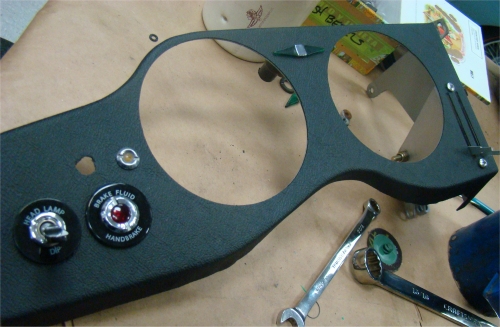
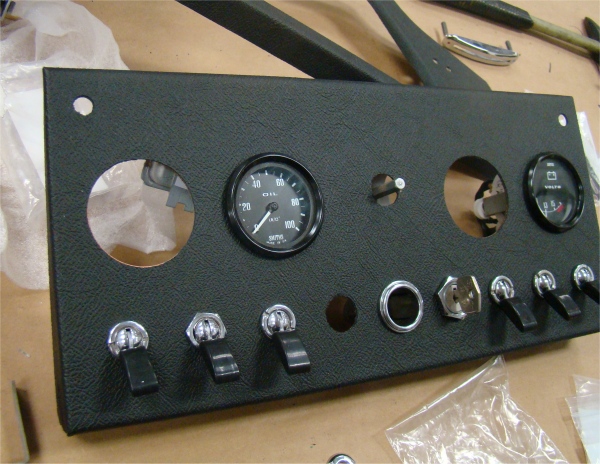
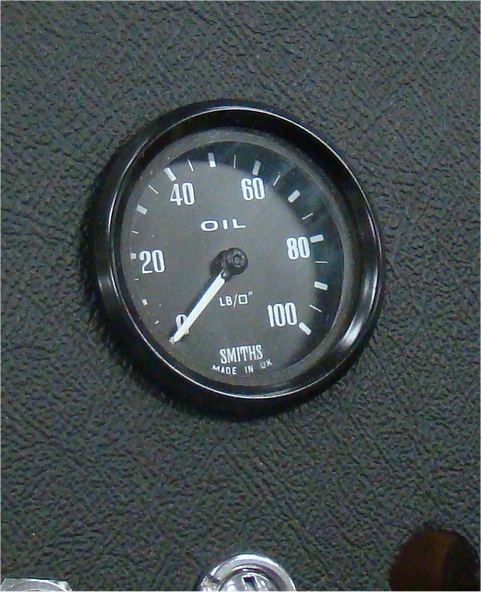
Restoring your dash and gauges..
 |
 |
 |
|
to be rebuilt |
|
|
 |
 |
|
|
|
a nice upgrade |
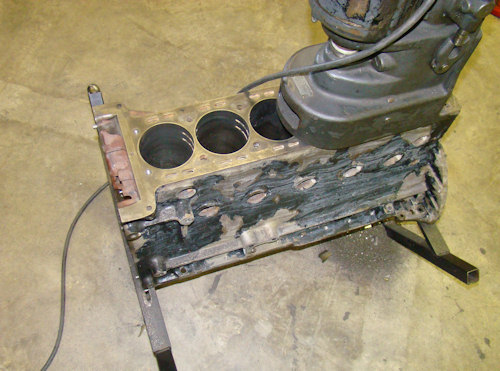
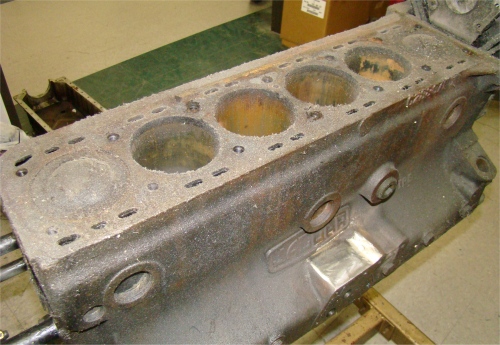
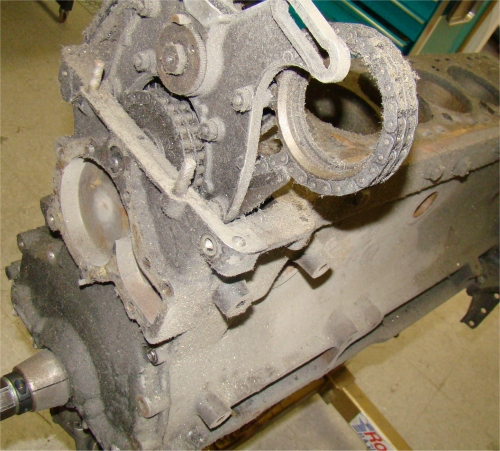
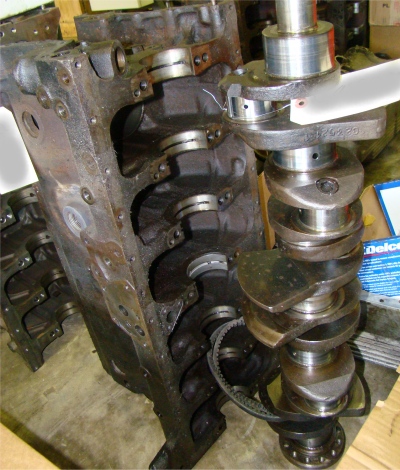
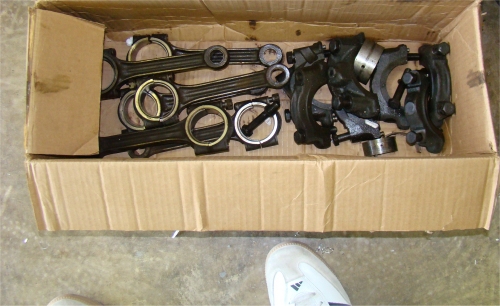
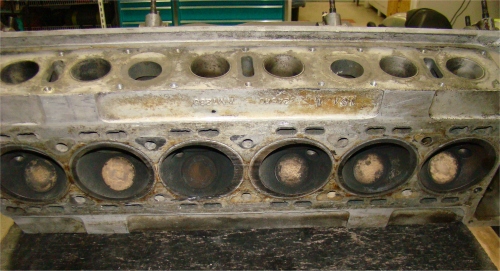
Engine rebuild in progress...
 |
 |
 |
|
|
|
|
 |
 |
 |
|
ground back |
of the damaged water jackets |
|
 |
 |
|
|
|
|
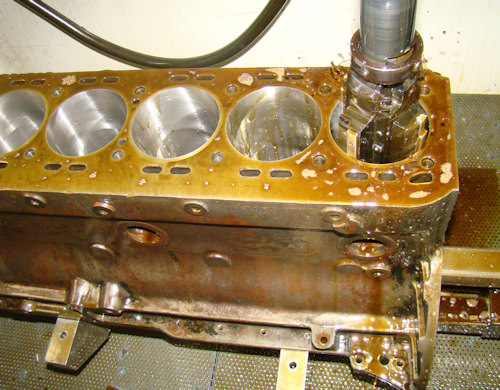
We are pleased to have this car back in the schedule and will get the ball rolling with a Stage One engine rebuild.
 |
 |
 |
|
|
welded up and reshaped |
|
 |
 |
 |
|
|
kit has now arrived |
|
 |
 |
 |
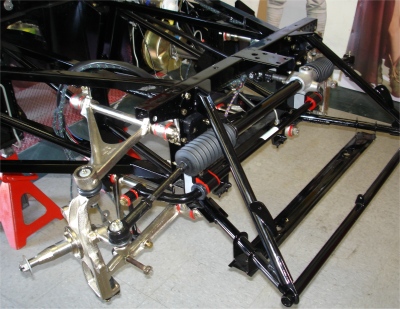
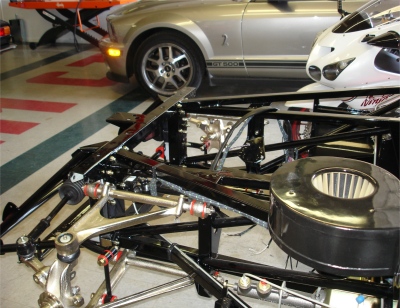
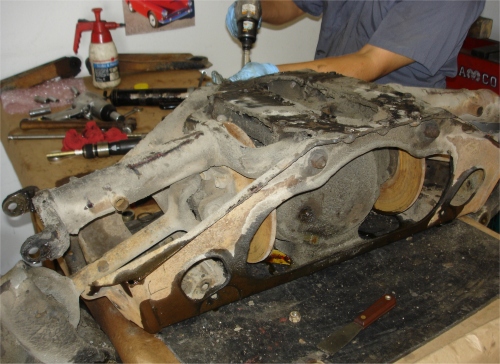
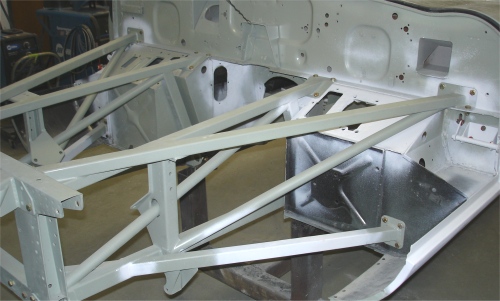
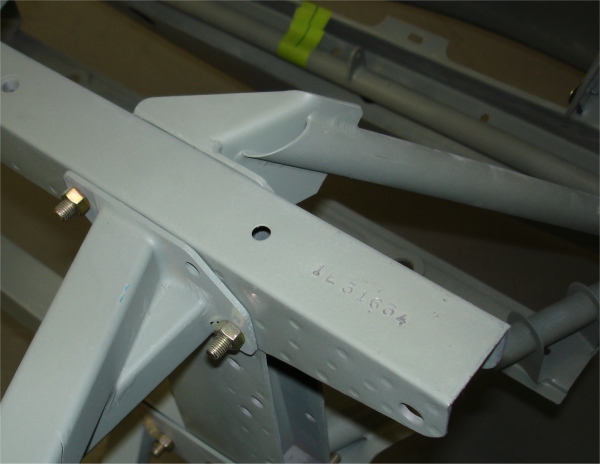
Going back together with the front suspension and steering, etc.
 |
 |
 |
 |
 |
|
|
|
 |
 |
|
|
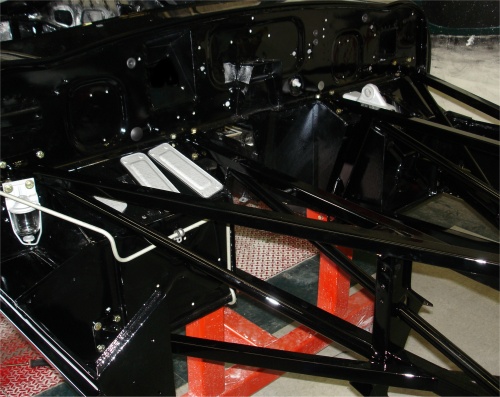
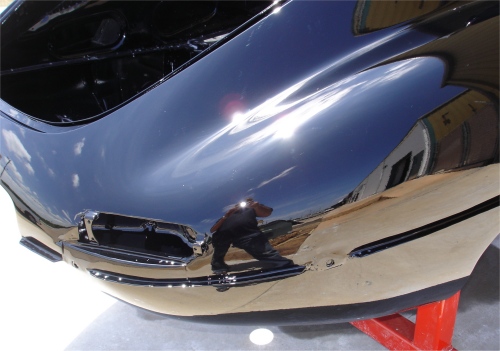
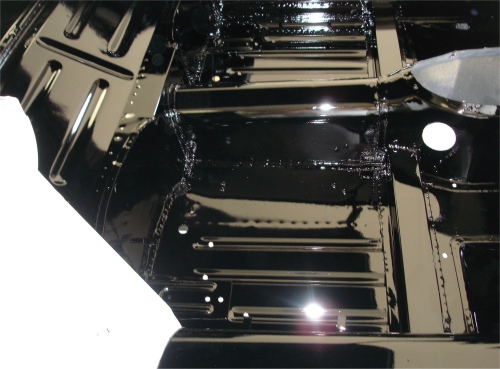
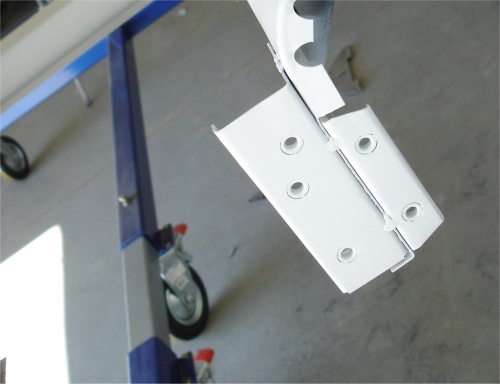
More black paint....
 |
 |
 |
|
|
|
the sunshine |
|
|
|
|
 |
 |
 |
|
|
|
|
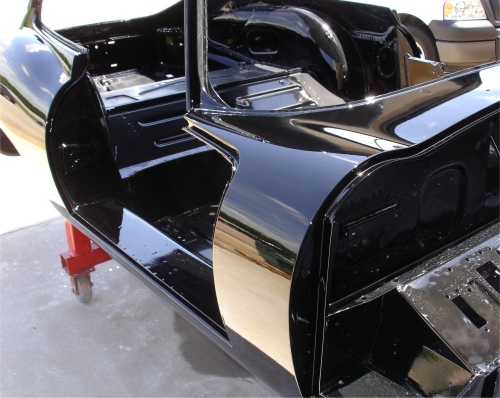
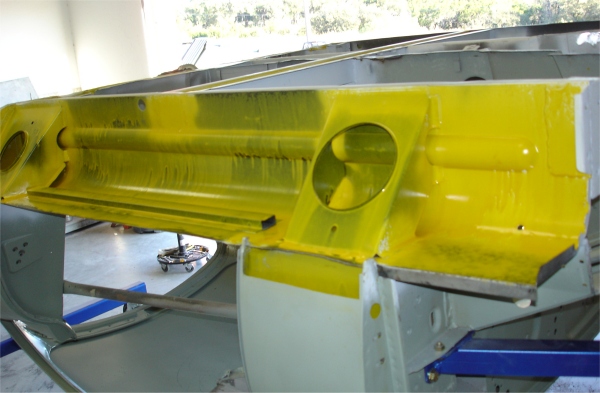
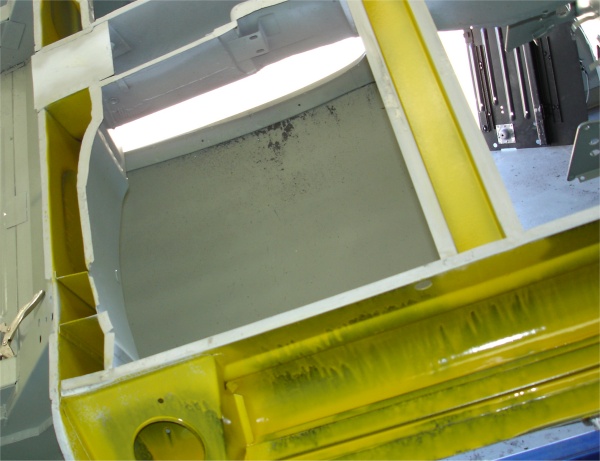
More black paint!
 |
 |
 |
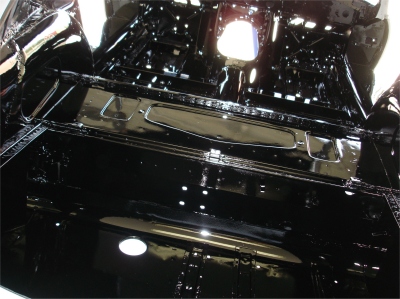 |
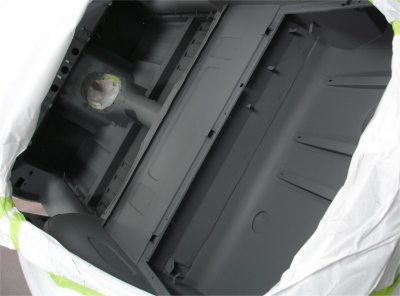
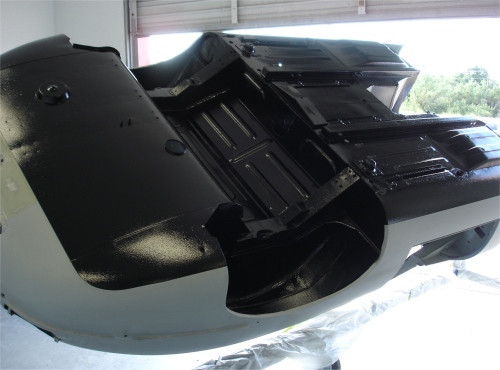
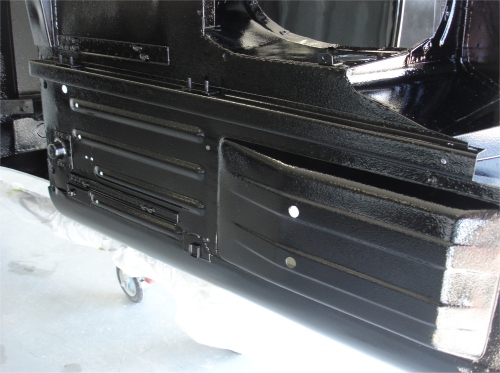
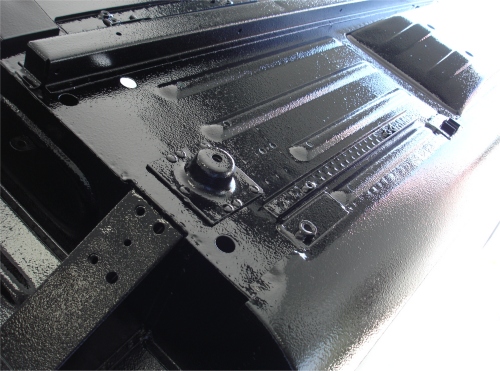
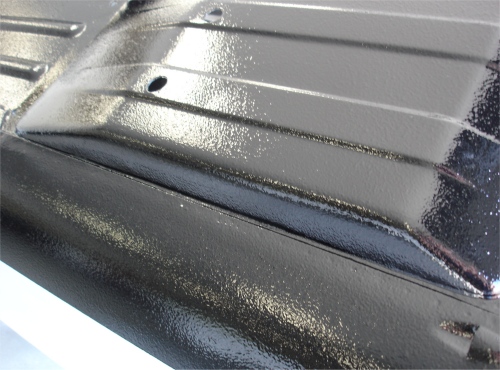
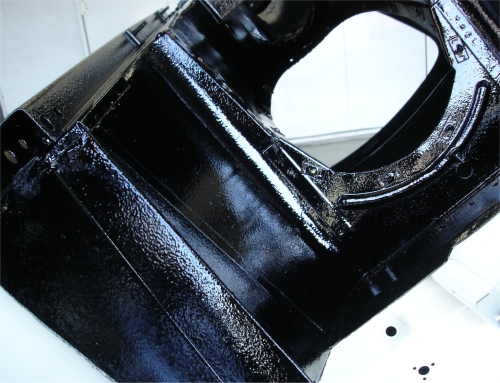
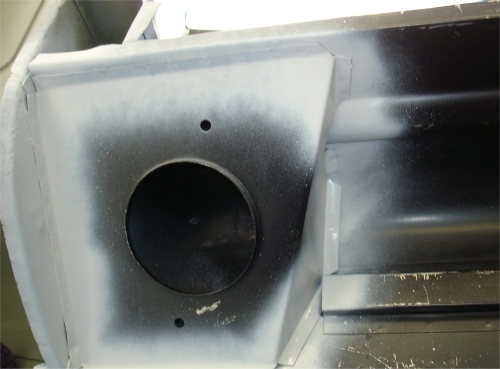
I am pleased to report that we have now applied the first of the black paint!
 |
 |
 |
|
|
|
|
 |
 |
 |
|
and joints |
|
|
 |
 |
 |
|
|
|
|
 |
 |
 |
|
|
||
 |
 |
|
|
|
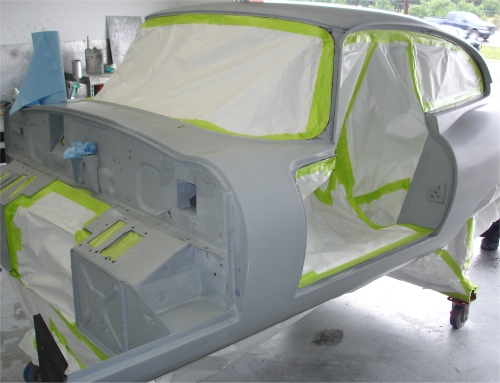
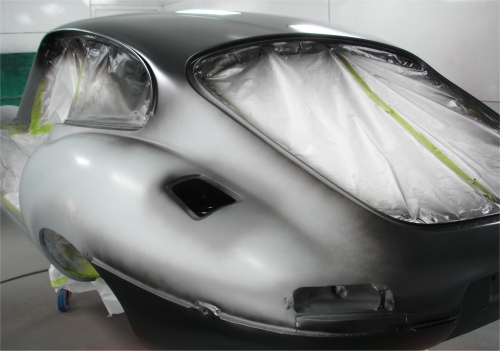
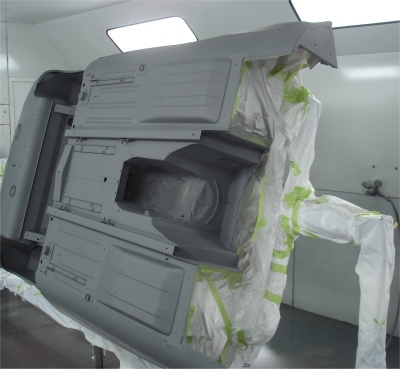
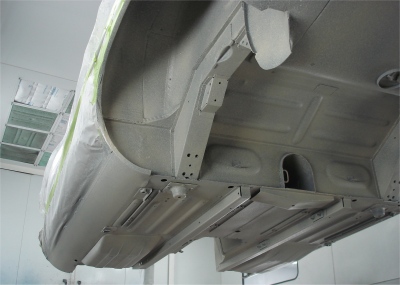
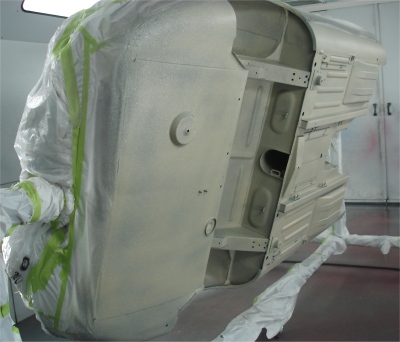
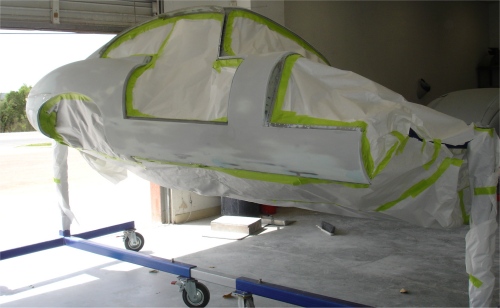
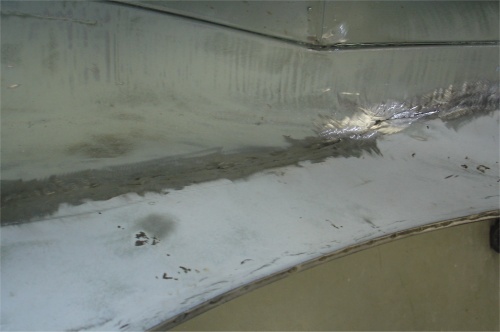
With all of the blocking now complete, your car has been put in high build primer. Look for it to start turning black in the next couple of weeks!
 |
 |
 |
 |
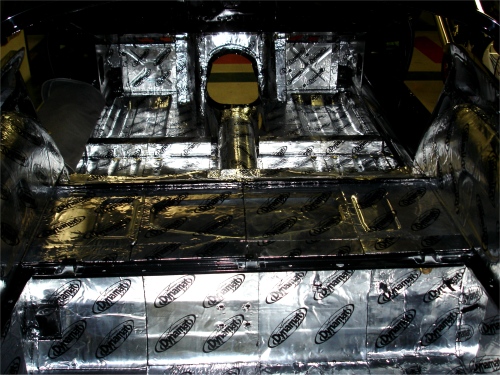
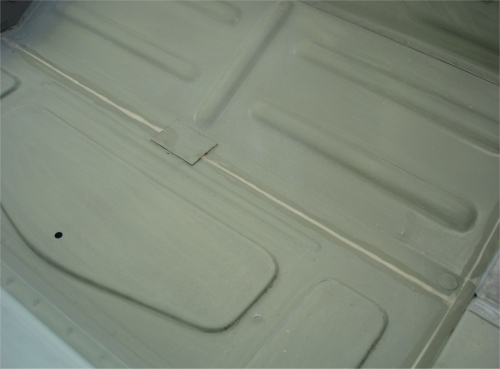
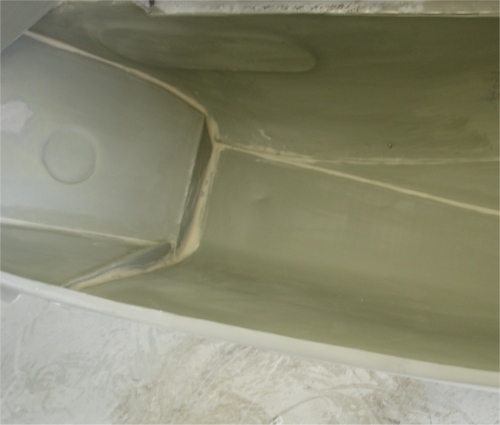
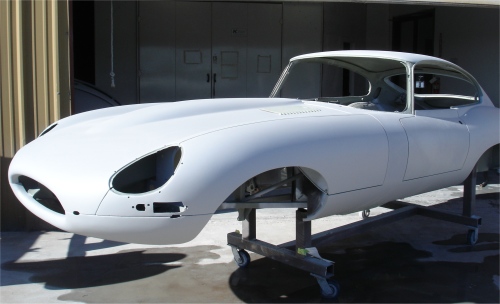
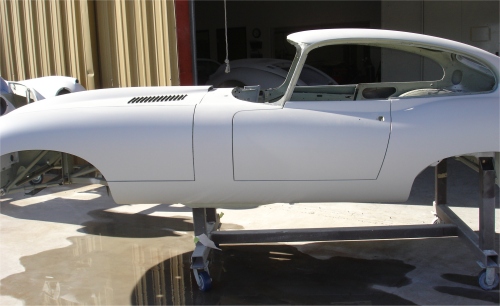
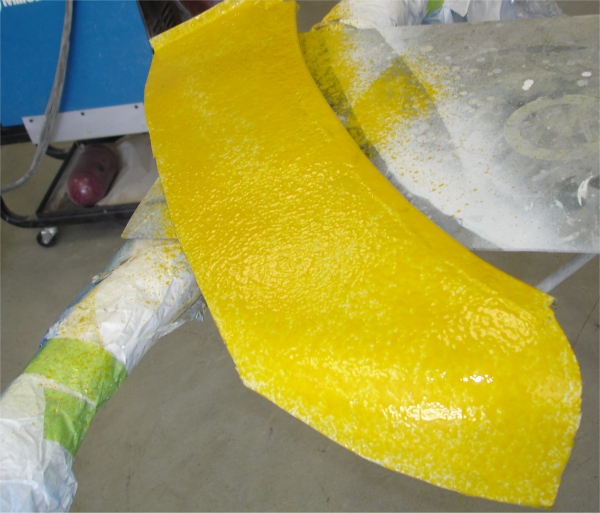
The bodywork has now been completed on this car and the Slick Sand has been applied.
 |
 |
 |
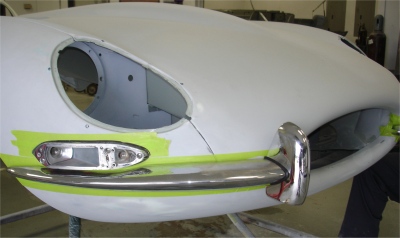
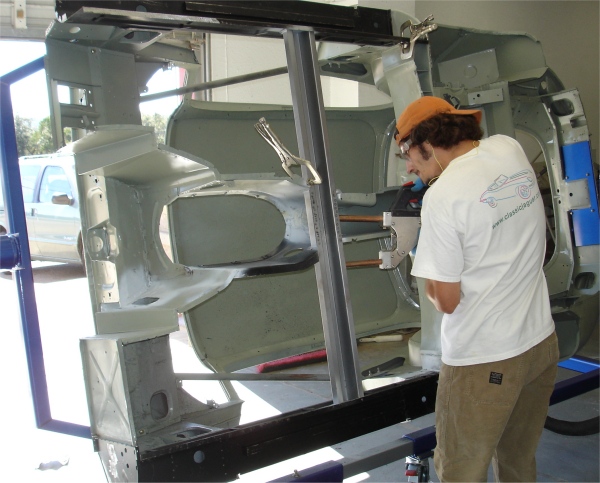
I am pleased to report that your car is now on one of the frame jigs and the bonnet fitting process is underway.
 |
 |
 |
|
|
|
|
 |
 |
|
|
fitting process |
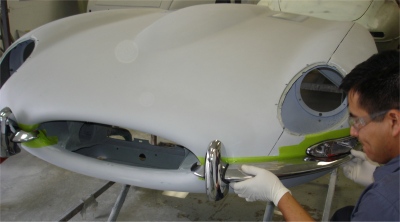
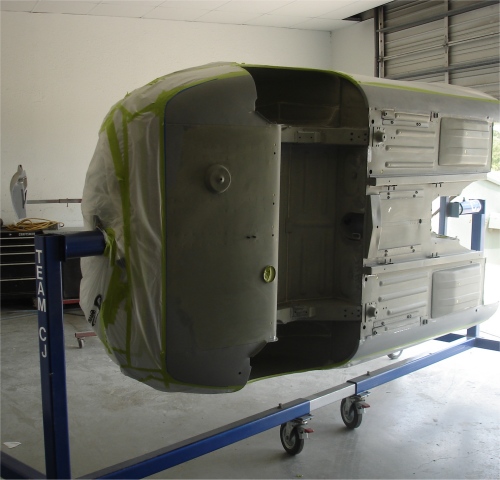
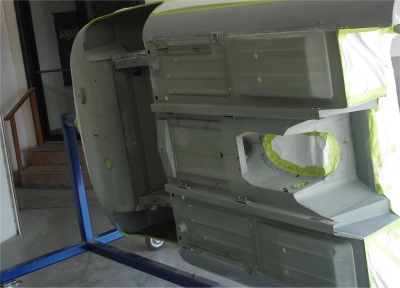
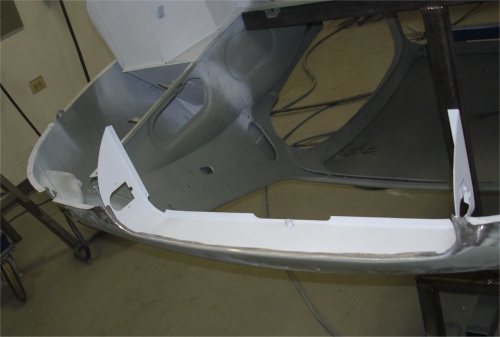
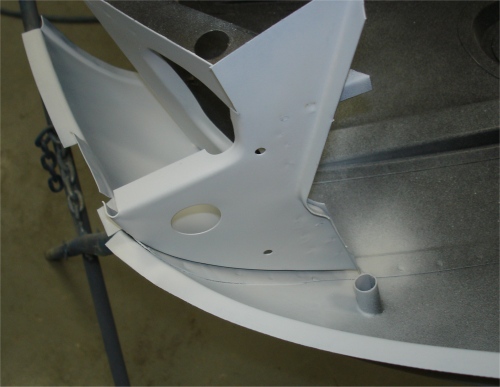
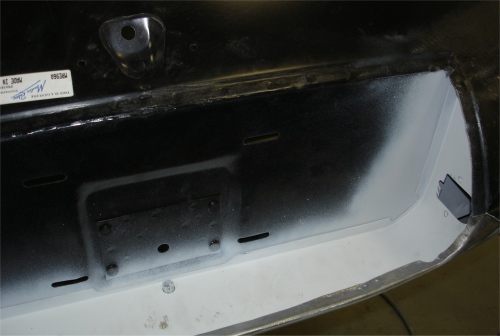
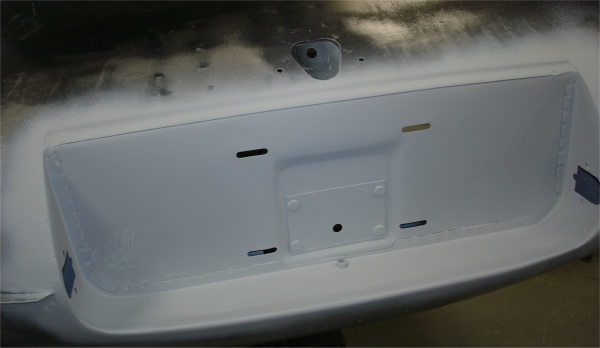
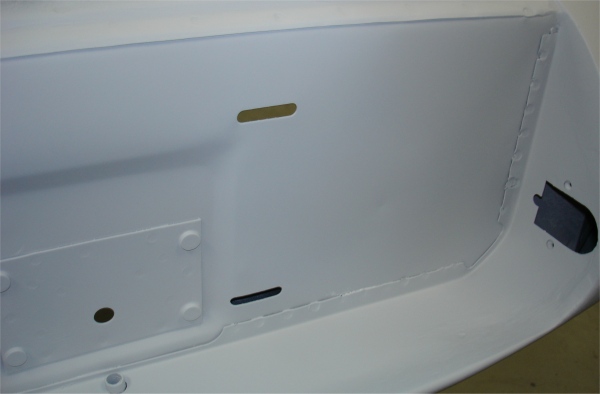
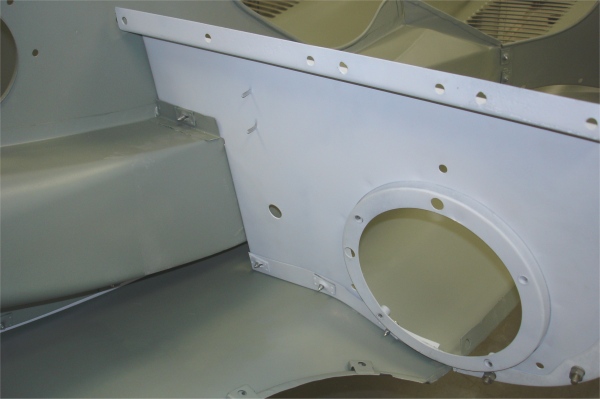
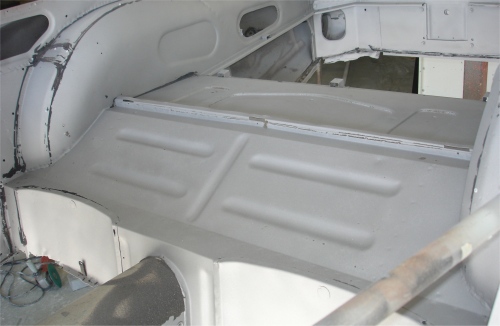
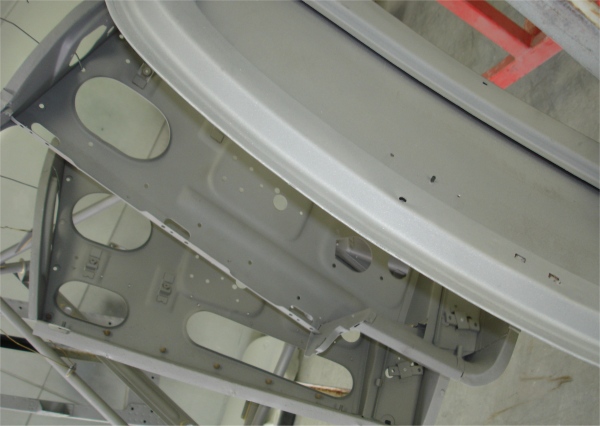
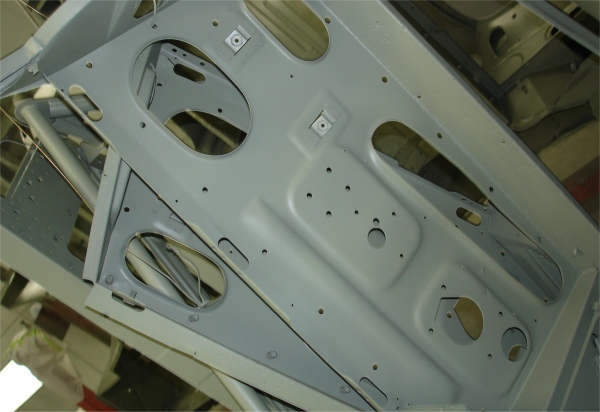
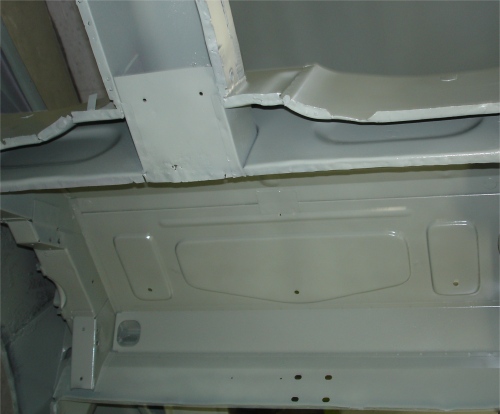
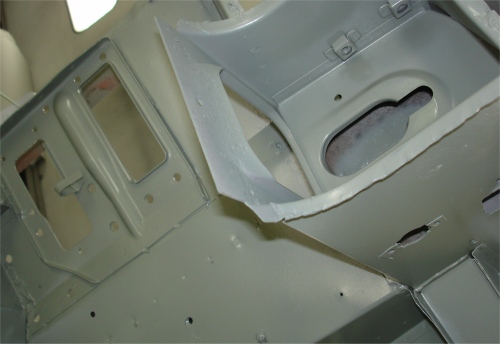
Installing the new boot floor assembly, inner rear wheel arches and license plate surround panels.
 |
 |
 |
|
inner wheel arch |
|
and primed |
|
|
|
|
 |
 |
 |
|
panel |
|
|
|
|
|
|
 |
 |
 |
|
|
|
|
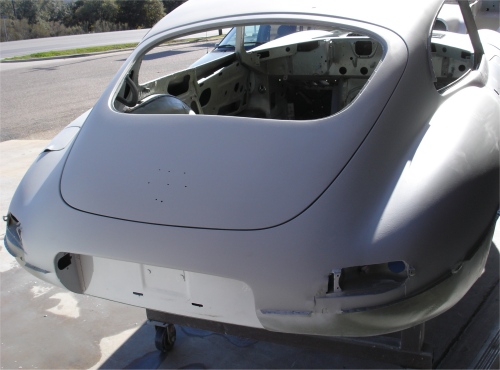
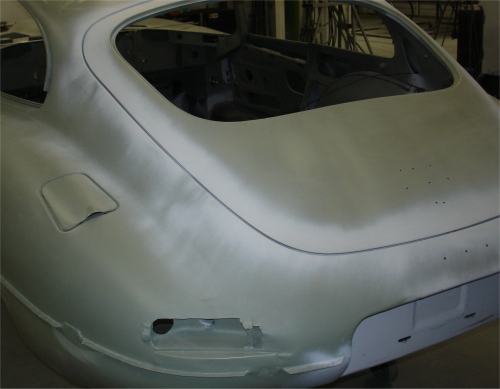
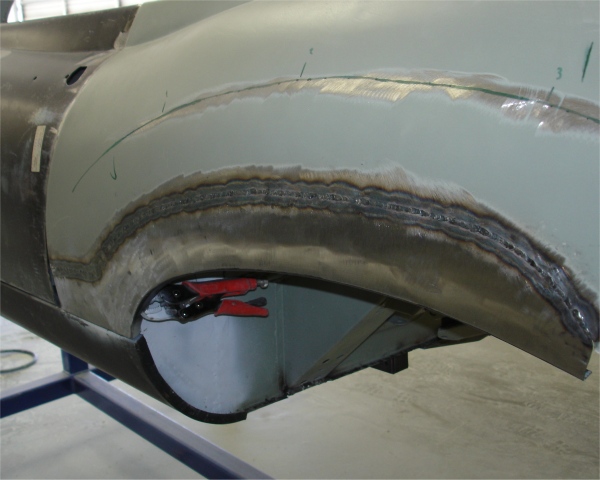
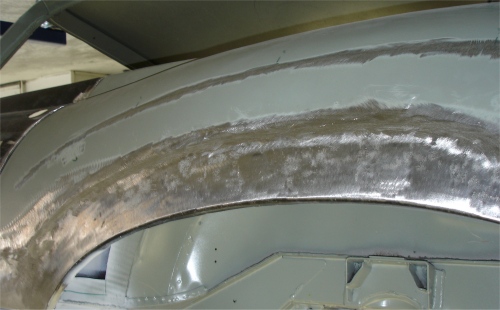
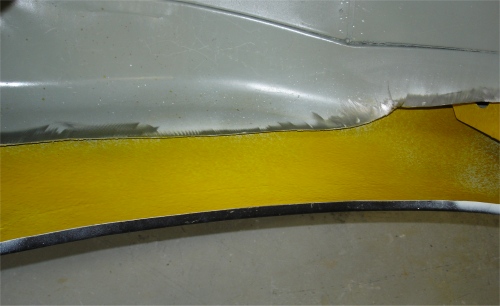
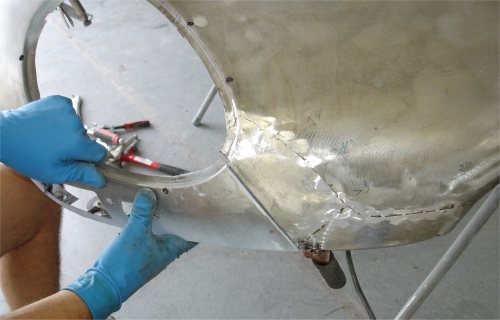
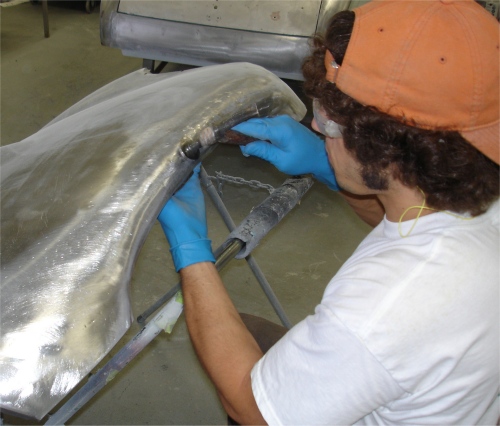
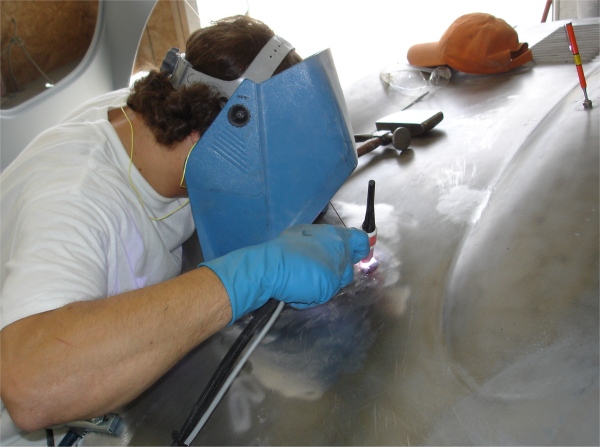
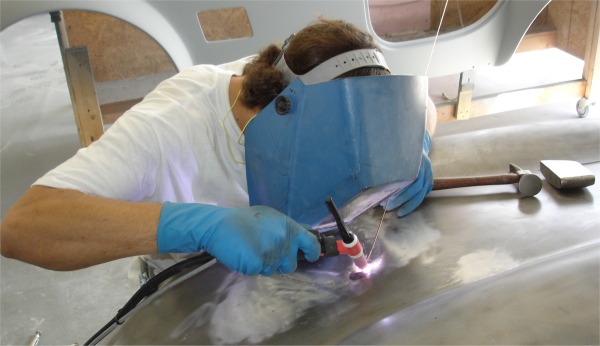
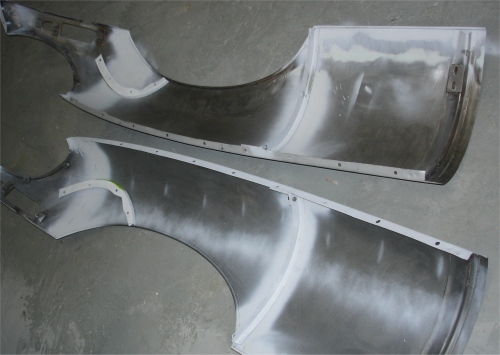
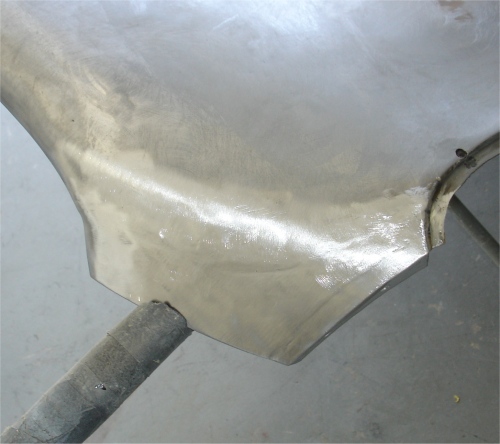
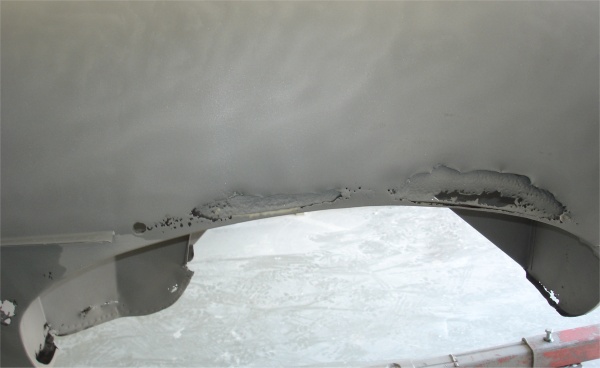
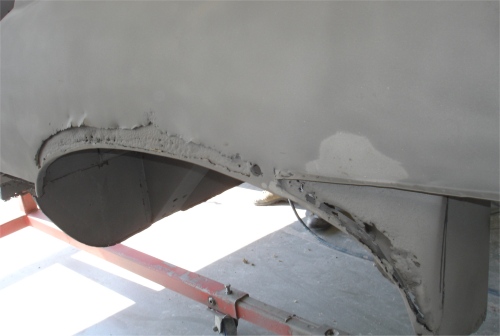
Repairing the rear wings....
 |
 |
 |
|
then trial fitted and trimmed |
into place |
|
|
|
|
|
 |
 |
 |
|
away. Bare metal is sealed...... |
|
fabricated |
|
|
|
|
 |
 |
|
|
place |
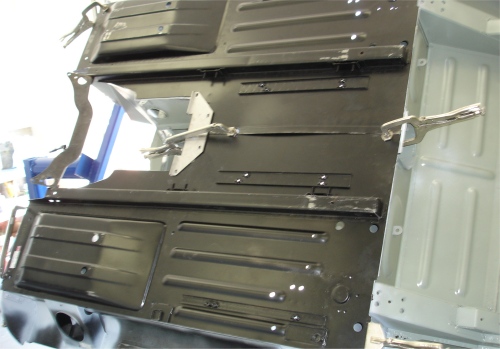
Installing the new floors, skinning doors, etc..
 |
 |
 |
|
welded into place |
brackets installed |
over subframe mounting brackets |
 |
 |
 |
|
|
beautifully |
Body Wax |
 |
 |
 |
|
rear bulkhead and cross-member |
into place |
welds |
 |
 |
 |
|
installation of the new floors |
|
|
 |
||
|
|
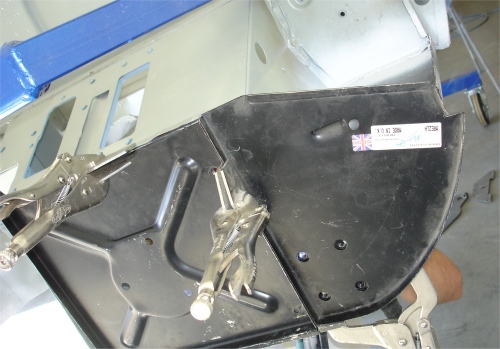
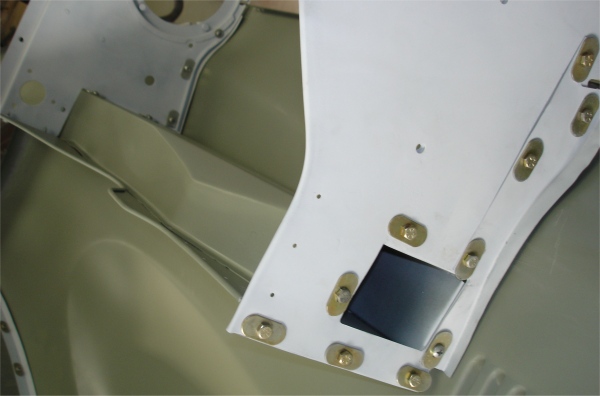
Installing new inner sills, etc...
 |
 |
 |
|
were left in place until now |
to be installed |
|
 |
 |
 |
|
RH trans tunnel panel |
||
 |
 |
 |
|
|
|
|
 |
 |
 |
|
spot welded into place |
|
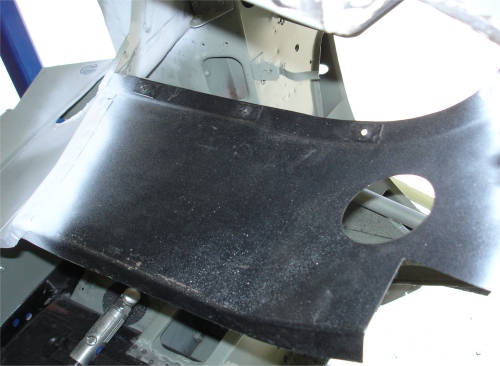
Assembling the restored bonnet.
 |
 |
 |
|
|
||
|
|
|
|
 |
 |
 |
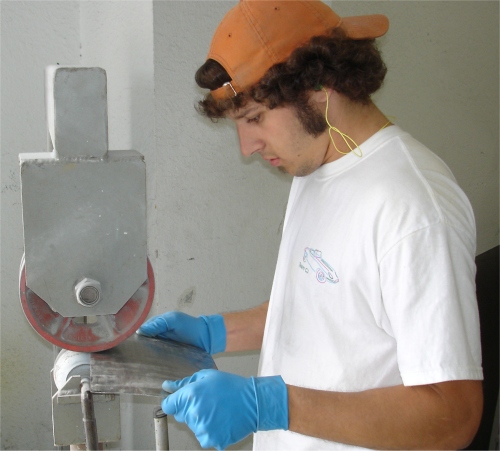
The following photos show Darrell repairing the bonnet center section as well as most of the replacement panels that will be used when we start the restoration of the monocoque next week.
 |
 |
 |
|
welded into place |
|
|
|
|
|
|
 |
 |
 |
|
|
a little massaging |
|
|
|
|
|
 |
 |
 |
|
|
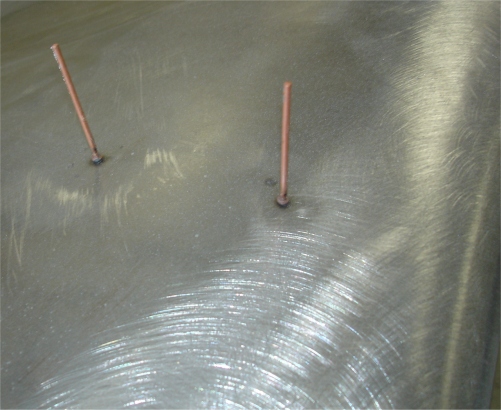
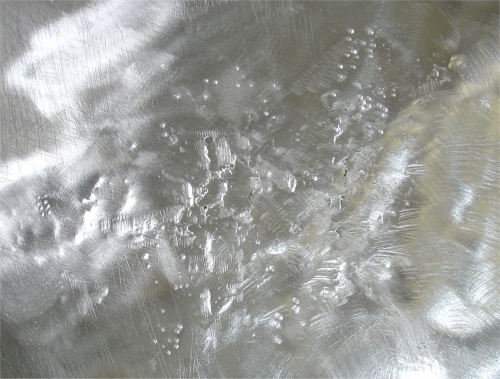
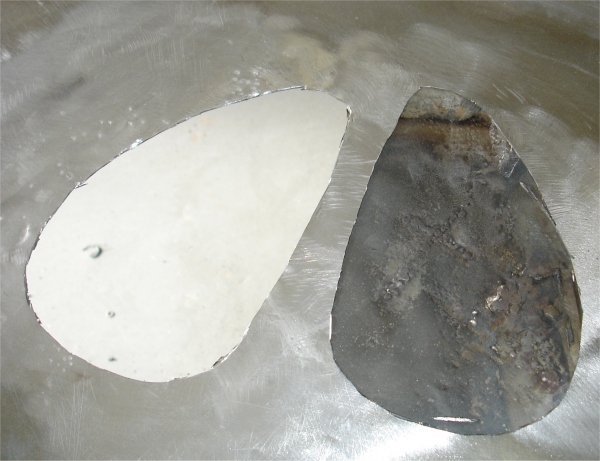
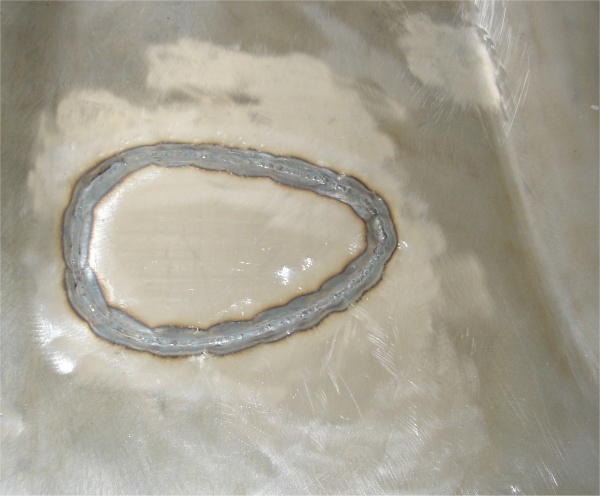
lead on top of rust.. |
apparent as lead is melted |
|
|
|
|
 |
 |
 |
|
old welds |
|
|
|
|
|
|
 |
 |
 |
|
perfect fit |
|
|
|
|
|
|
 |
 |
 |
|
|
|
next! |
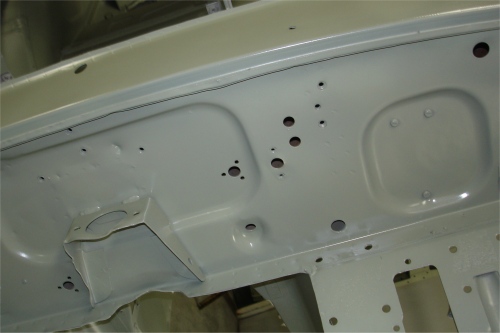
We now have the body and all the various panels back from the media blasters. After a thorough cleaning we sealed the bare metal in BASF etching primer. While the body was away we have been busy repairing the bonnet and we will have the panel replacement underway in earnest in the next couple of days.
 |
 |
 |
|
replaced |
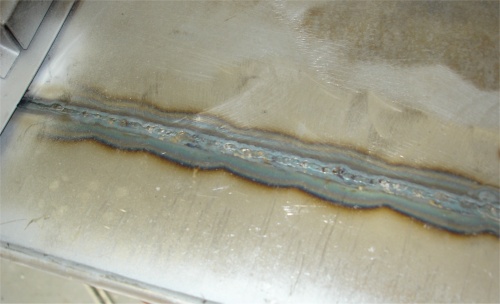
TIG welded into place |
as good as new |
|
|
|
|
 |
 |
 |
|
also received new sheet metal |
of rust now clearly visible |
|
|
|
|
|
 |
 |
 |
|
are sound |
be replacd |
to blasting |
|
|
|
|
 |
 |
 |
|
sealed with etching primer |
|
|
|
|
|
|
 |
 |
|
|
of the A post structures |
|
|
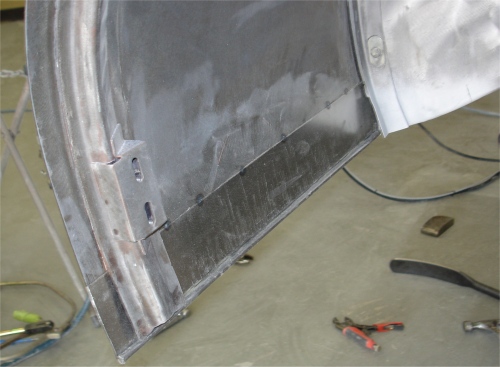
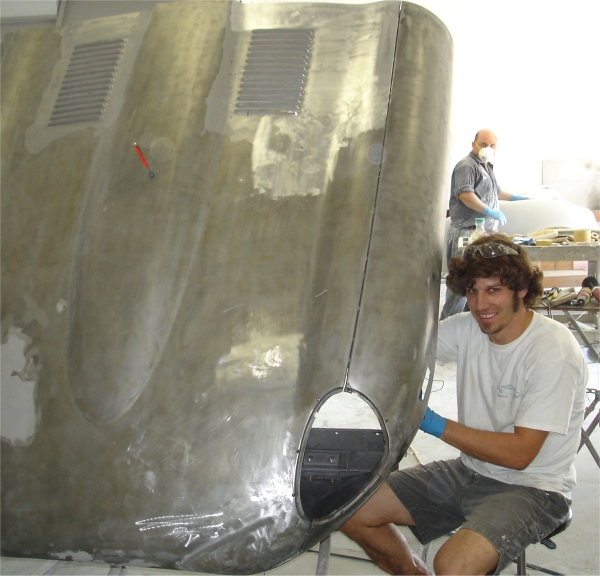
Sheet metal repairs on the bonnet while the main bodyshell is at the blasters.
 |
 |
 |
|
ever photograph her son from the rear... |
|
|
|
|
|
|
 |
 |
 |
|
|
panel replacement! |
|
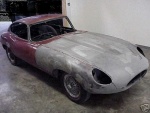
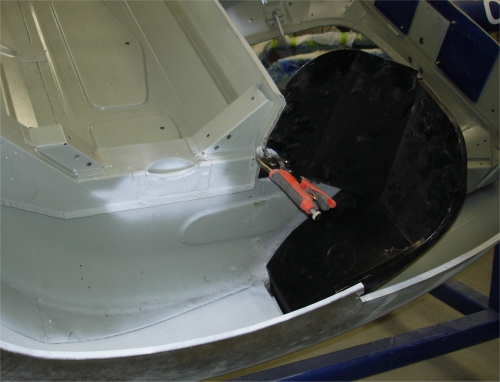
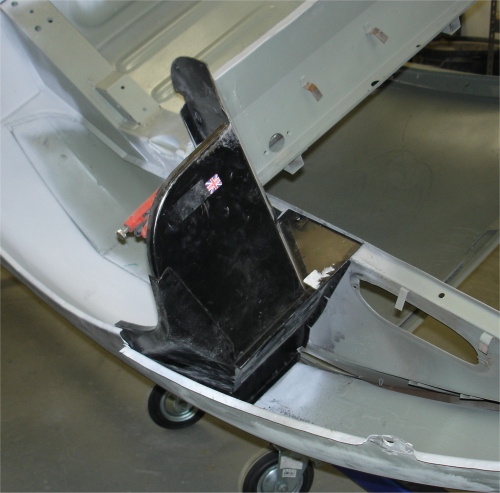
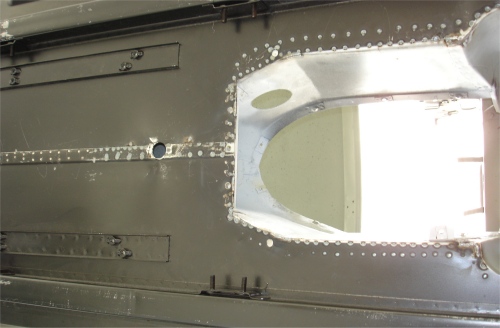
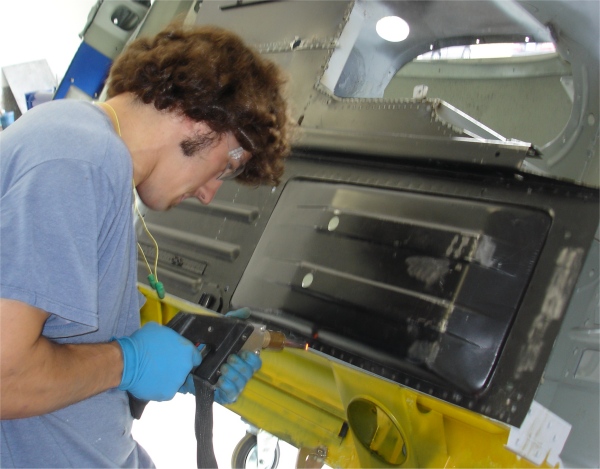
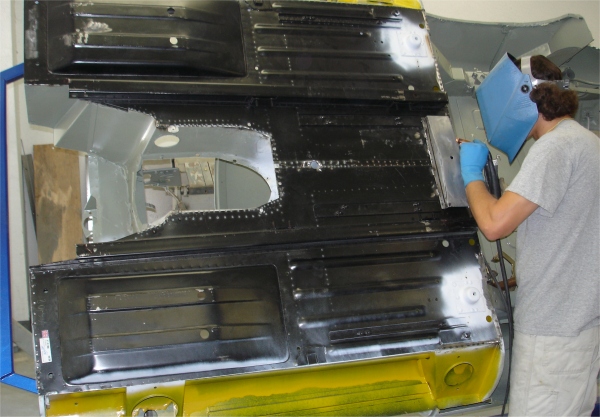
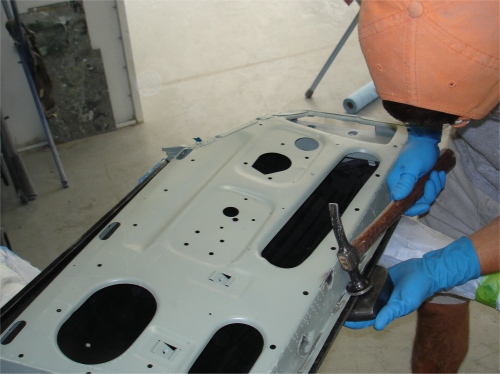
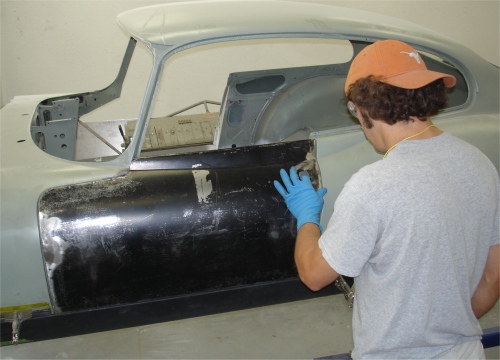
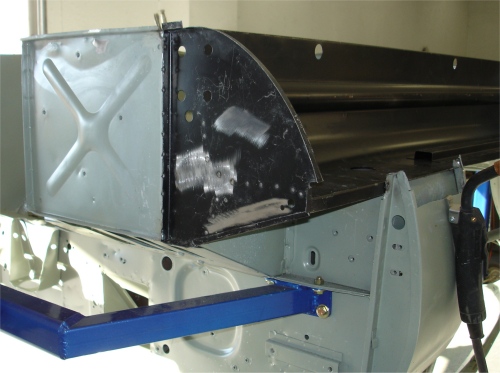
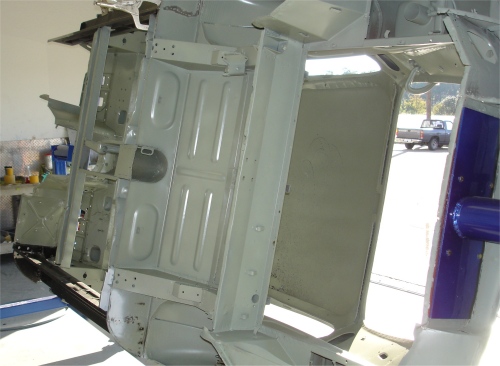
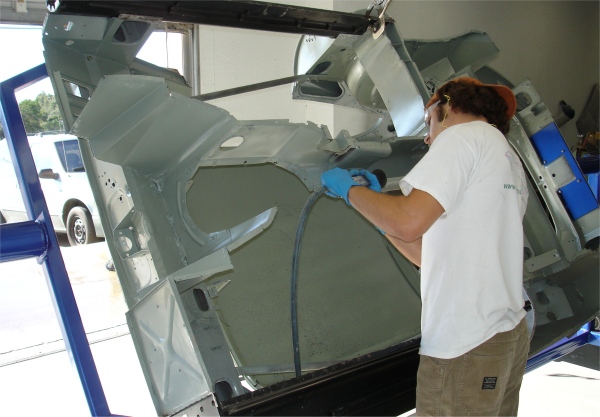
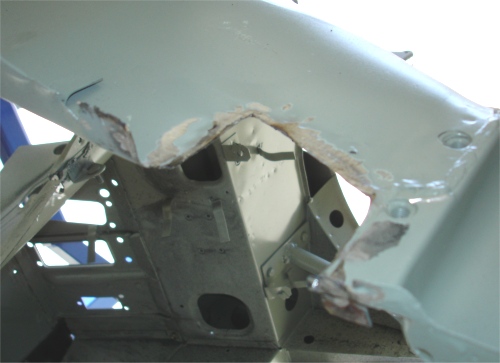
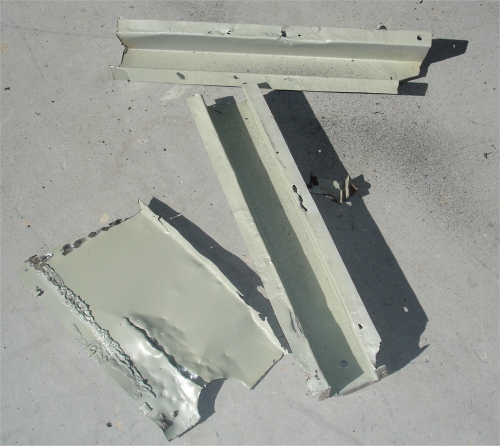
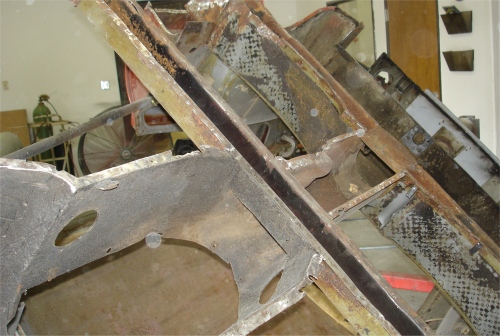
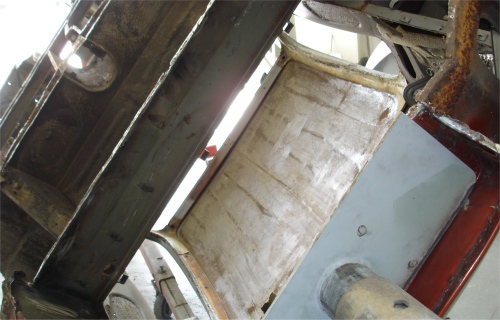
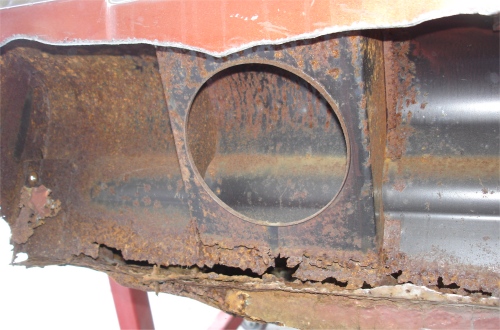
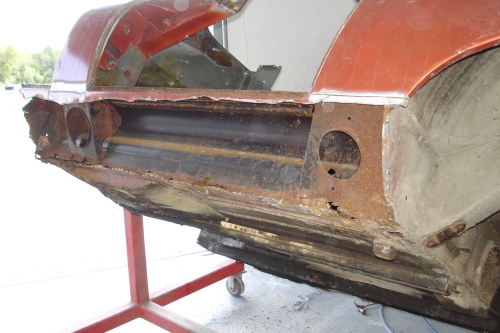
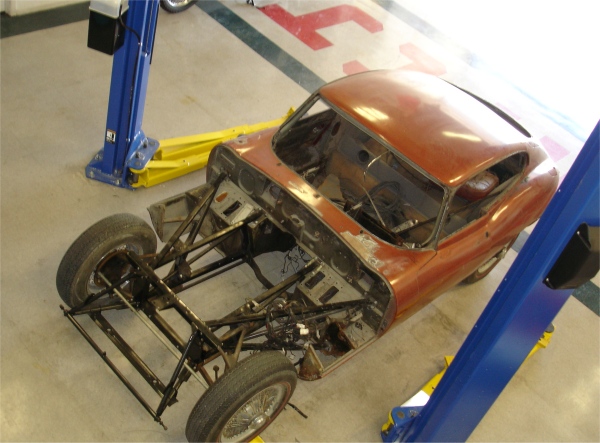
The following photographs show Darrell cutting out the floors and the outer sills prior to sand blasting. (No point paying the sand blaster to strip panels we know we are going to replace).
 |
 |
 |
 |
 |
 |
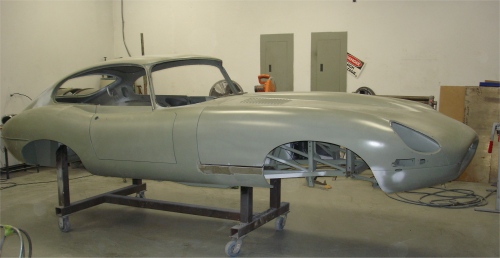
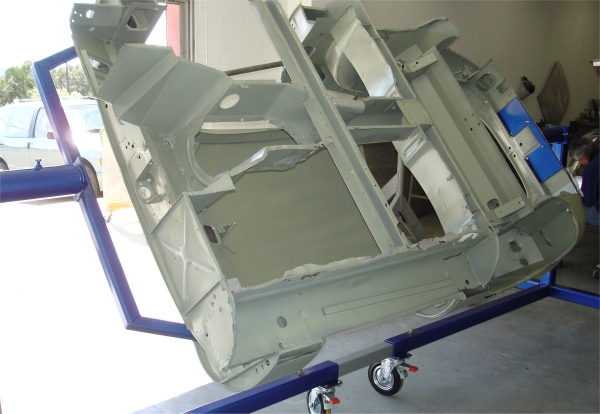
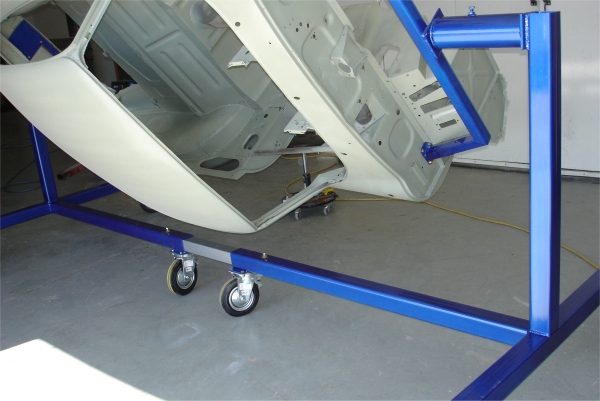
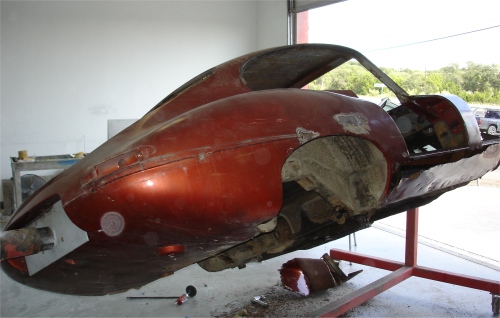
Time to get this project underway in earnest. Once the car has been completely disassembled, it will be placed on one of the rotisserie jigs and sent for blasting. Watch this space!
 |
 |
 |
People have cars built for all sorts of different reasons. In this case, Jim has fond memories of the 67 E Type that he shared with his late wife, Lin, back in the sixties. That car was sold to finance Jim's MBA, despite Lin's protestations that they should keep the Jaguar and sell the Mustang they also owned at the time. She apparently loved the E Type, driving it to the high school where she taught - and where she must have been a hit with all the students!Although Lin sadly passed away four years ago, you just know she would have approved of the car we are building for Jim

 |
 |
|
|
had never sold.... |
|
have his 66 FHC ready for him |