| 1959
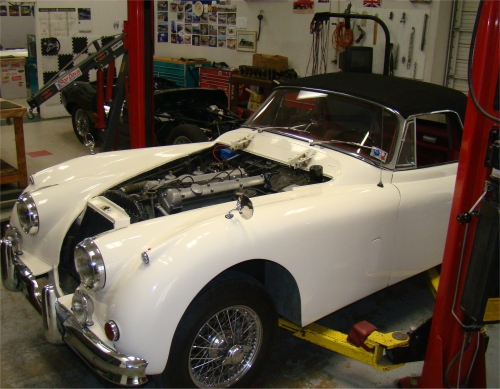
XK150 DHC (BP)
Comprehensive mechanical rebuild |
|
| 1959
XK150 DHC (BP)
Comprehensive mechanical rebuild |
|
|
Update report - May 21, 2008
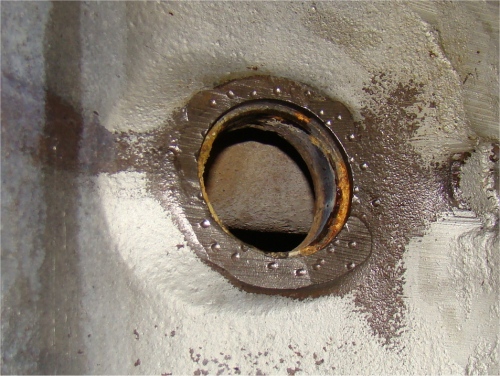
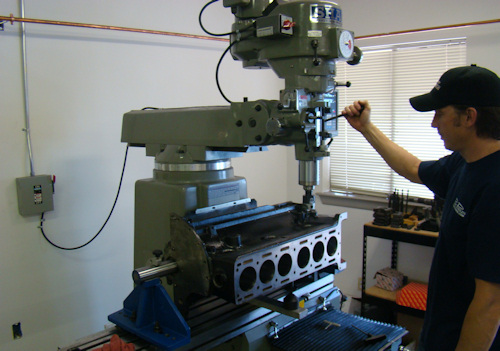
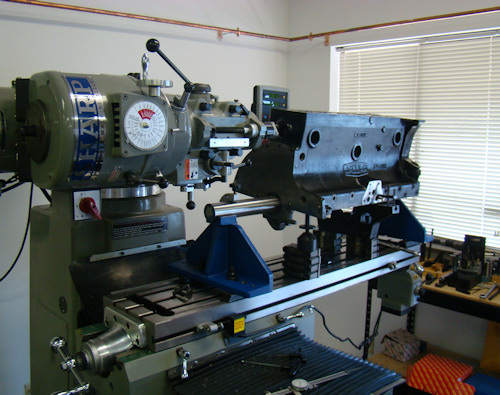
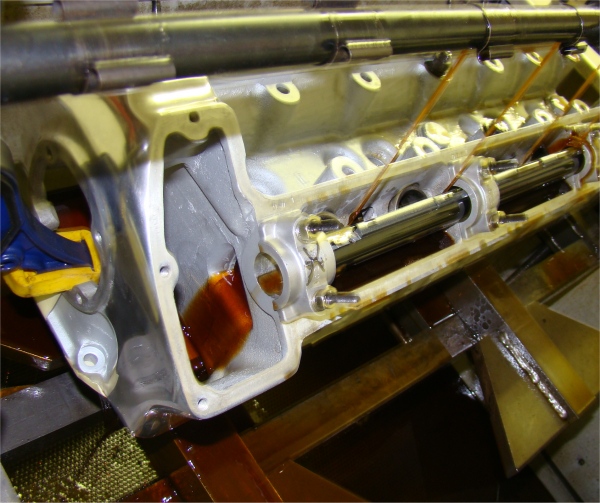
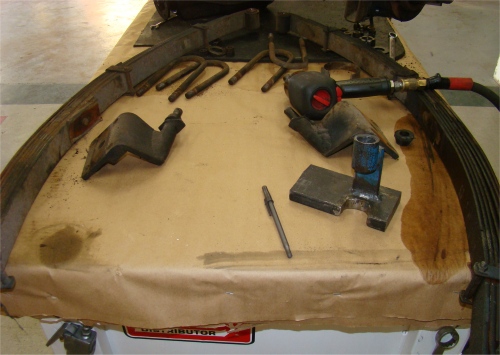
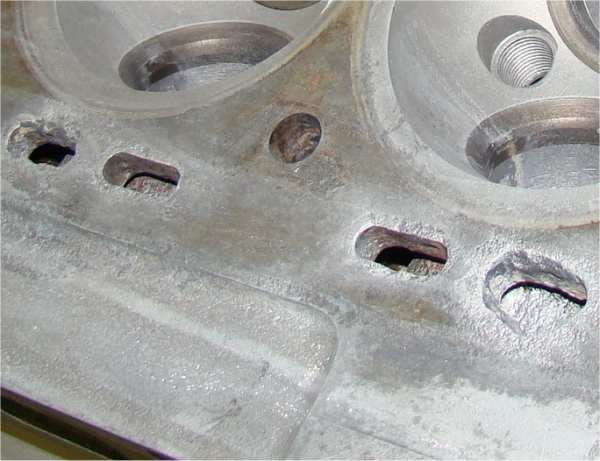
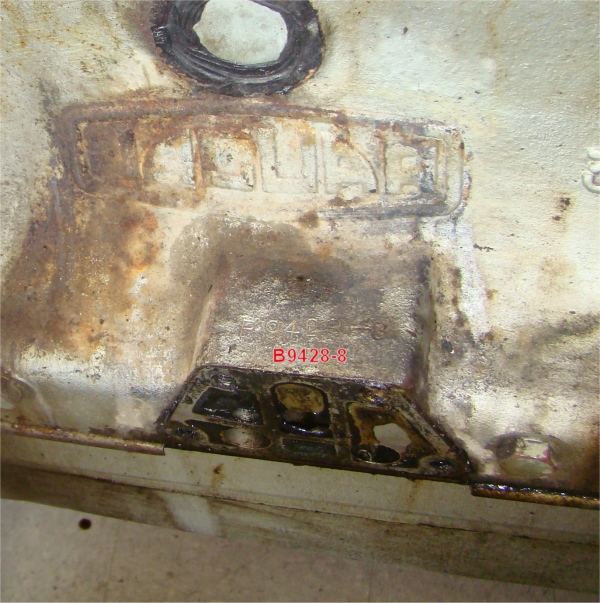
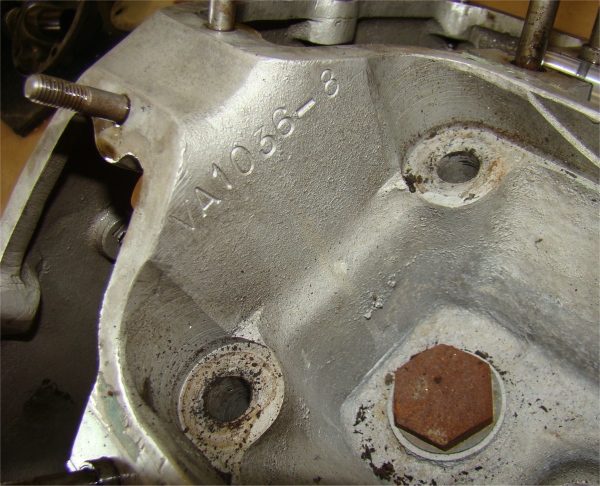
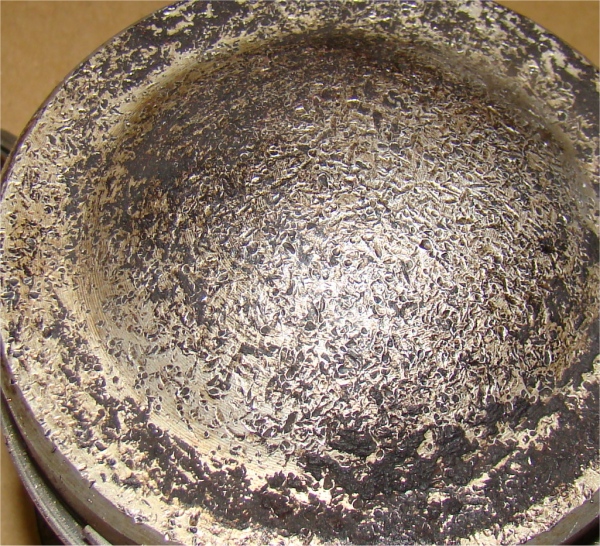
The following photographs show how Harold machining your core plug holes as part of an upgrade to modern 'dished' freeze plugs. 3.4 and 3.8 XK blocks used the old fashioned 'saucer' style freeze plugs, which could be problematic at the best of times. In the case of this particular block, we can see clear evidence of past mechanics struggling to keep plugs in the block. We really had no option but to do the CJ core plug upgrade.
 |
 |
 |
|
longstanding problem with this block |
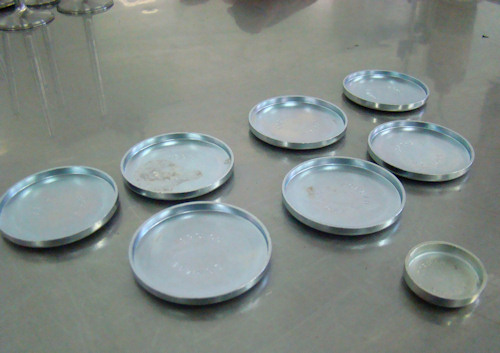
to modern, dished plugs |
also cut |
 |
 |
 |
|
secure than the old saucer style |
|
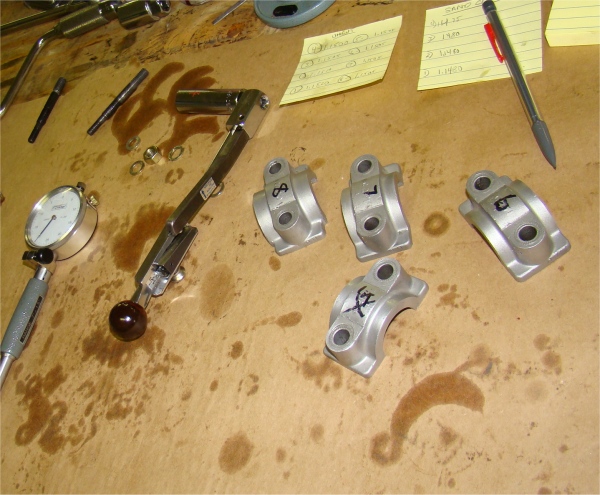
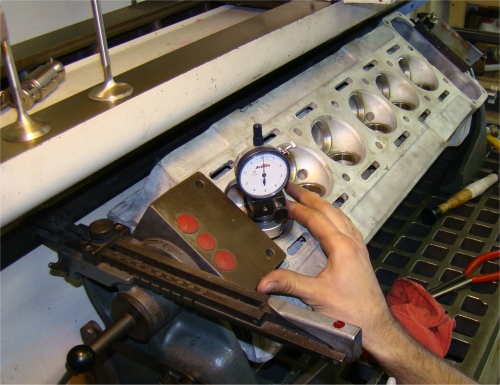
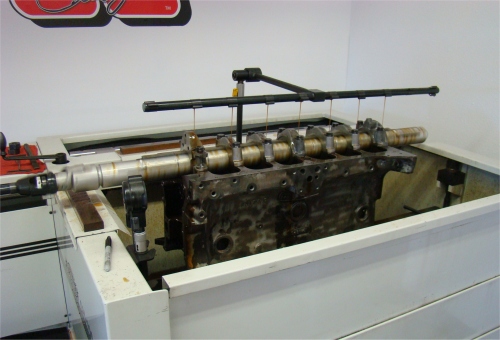
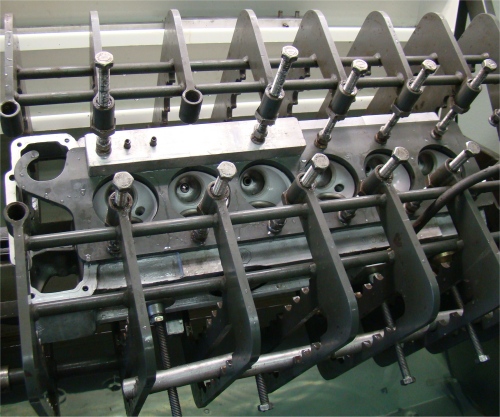
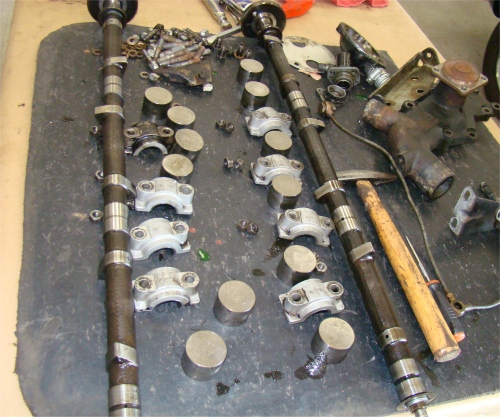
The following sequence of photos show Chris correcting a problem that exists because two of your cam caps are not original to your cylinder head. The number five cap (at the rear on the intake side) and number one cap (at the front on the exhaust side) have both been replaced at some point in the distant past. Whenever cam caps are swapped out in this way, all the caps must be resized and align honed. This was clearly not done in this case as the number five cap is .009" larger than its siblings along the intake saddle.Fortunately, with the right equipment, this isn't a huge deal for us to put right - which of course we have now done for you.
 |
 |
 |
|
to your cylinder head |
exhaust side of the head |
|
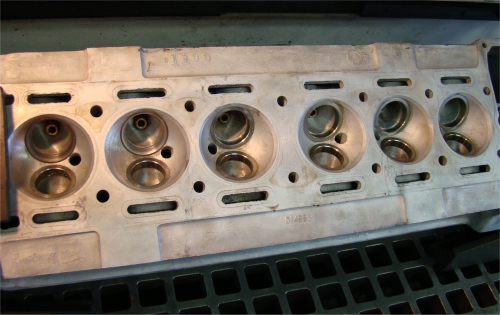
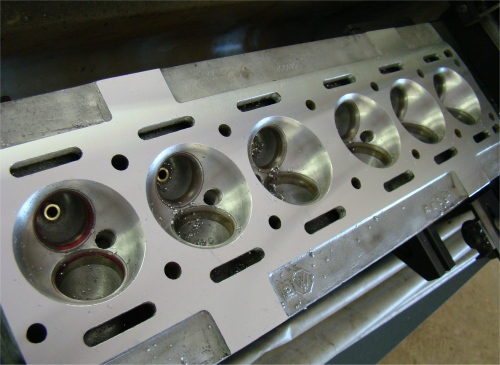
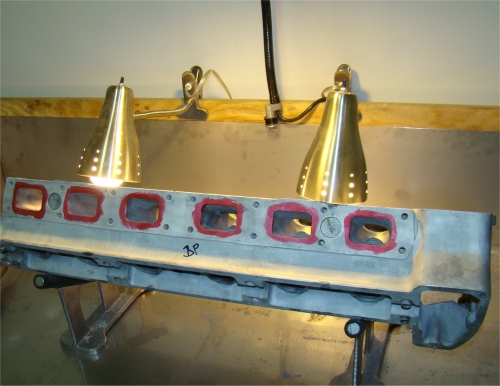
The new seats have now all been cut.
 |
 |
 |
|
|
|
|
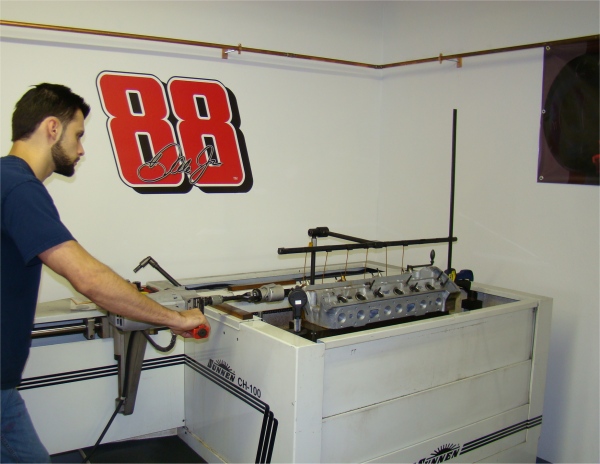
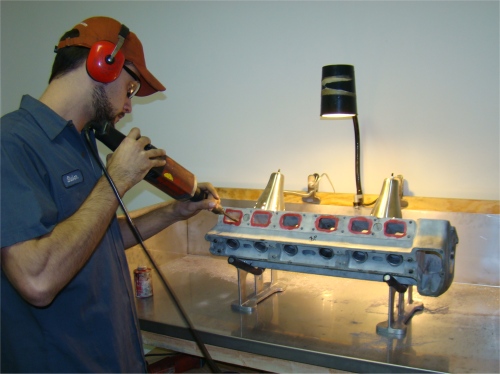
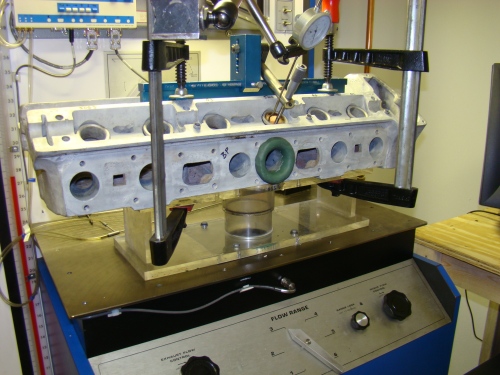
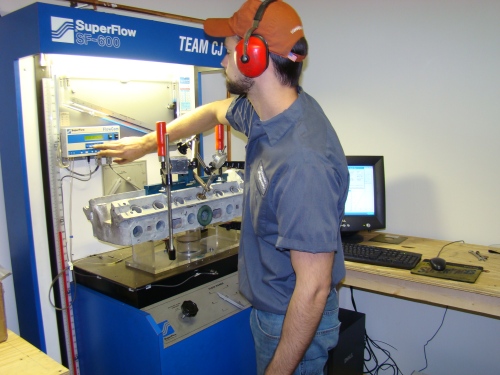
When we performed our baseline test of the intake, we measured a maximum of 180.7 cfm at .450" lift. When we added the intake manifold to the equation, the flow number dropped to 164.1 cfm. After polishing and porting the head and completing the valve job, the maximum flow (again at .450" lift) jumped to an impressive 217.1 cfm. We then installed the unmodified intake manifold to the head and the flow number dropped to 183.3 cfm. We then spent 3 hours cleaning up the intake manifold and repeated the test, improving the maximum flow (through manifold and head) to 199.4 cfm.What does all this mean? In a nutshell, we increased flow across the intake runners by as much as 36.4 cfm and gained an extra 16.1 cfm by cleaning up and matching the intake manifold. These are outstanding numbers for a 3.5 liter cylinder head and manifold.
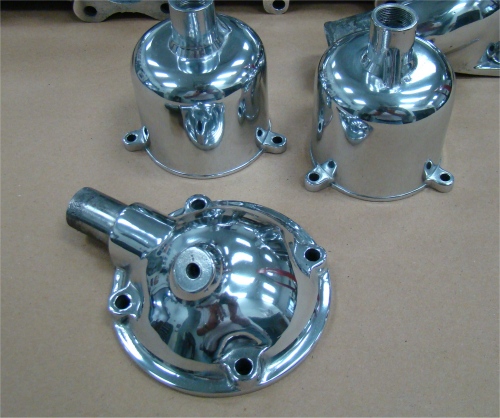
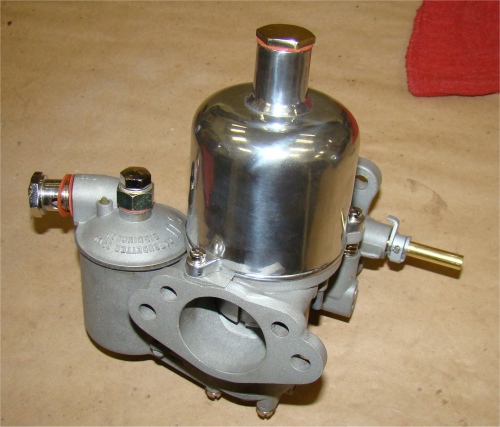
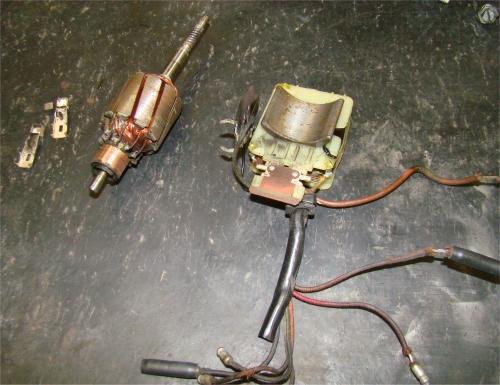
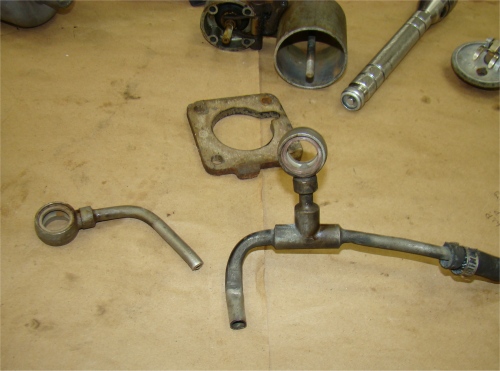
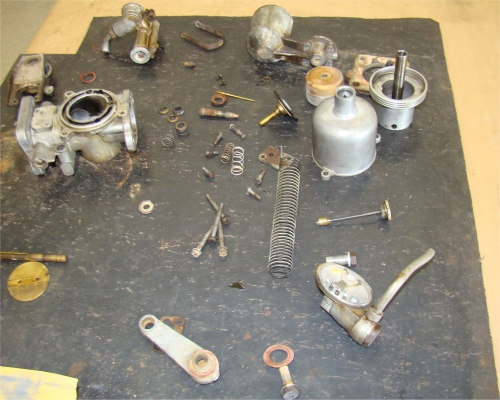
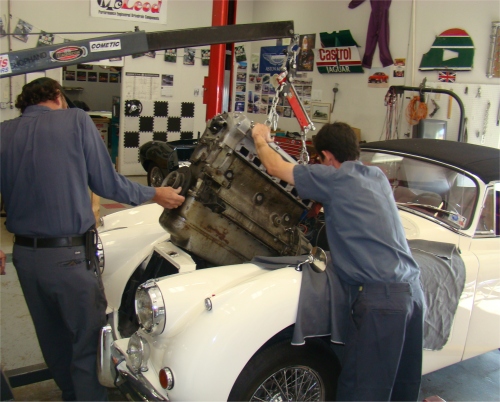
Rebuilding your carbs, wiper motor, etc., prepping the engine block for re-assembly.
 |
 |
 |
 |
 |
 |
 |
 |
 |
 |
 |
|
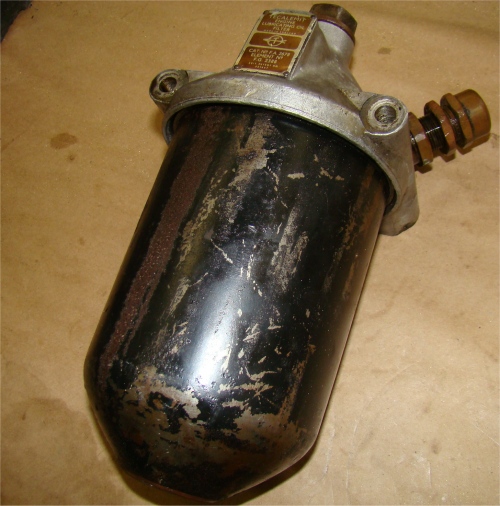
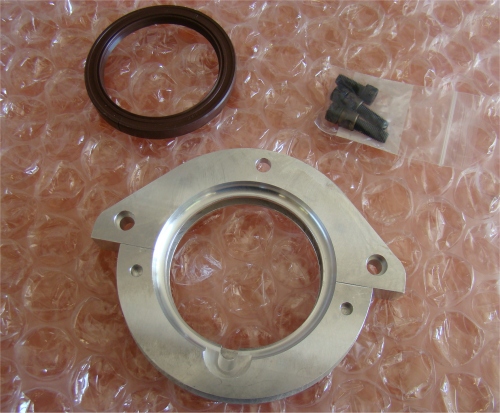
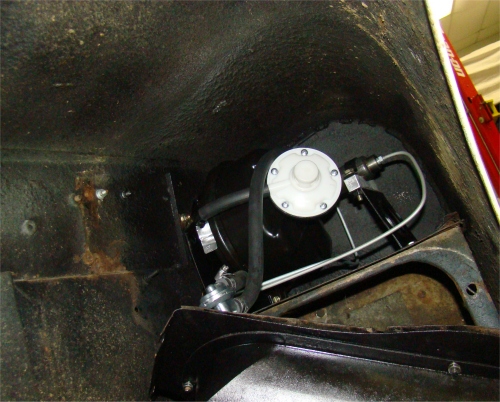
and oil pan over the years |
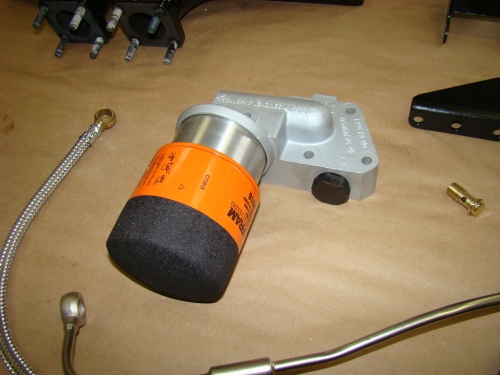
oil filter assembly |
 |
 |
|
|
|
Lots of progress in both the machine shop and the main CJ workshop...
 |
 |
|
|
have to be replaced |
|
problem as they are out of round |
|
|
||
 |
 |
 |
|
|
|
|
|
|
|
|
 |
 |
 |
|
|
|
|
|
|
||
 |
 |
 |
|
|
|
|
|
|
|
|
 |
 |
|
|
|
cover bolted in place |
|
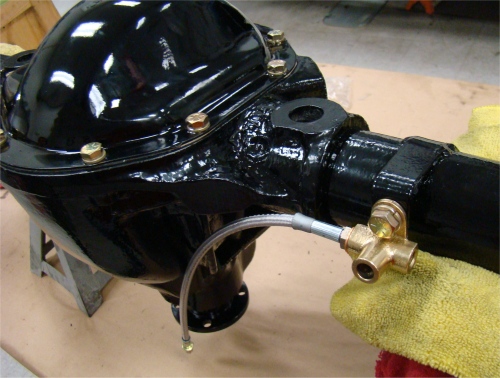
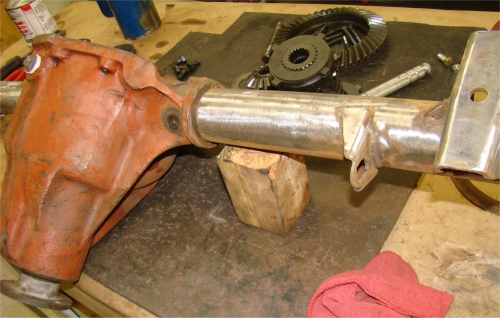
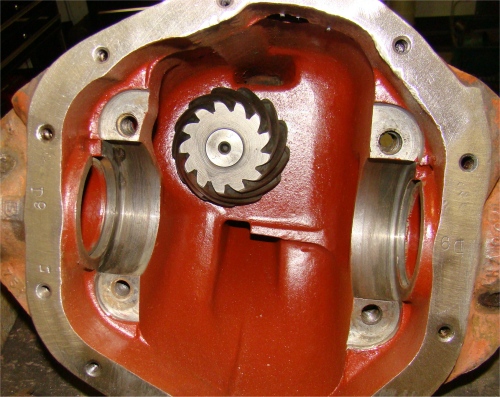
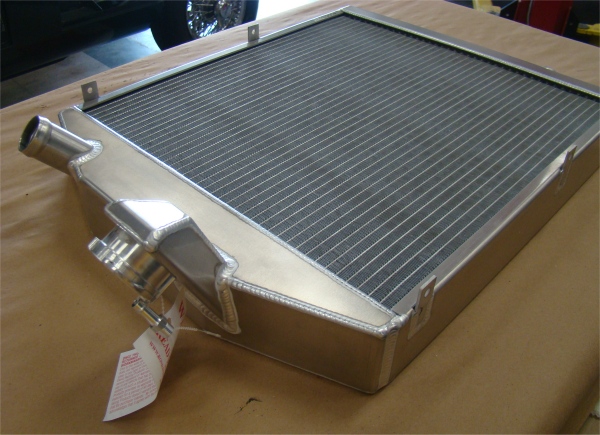
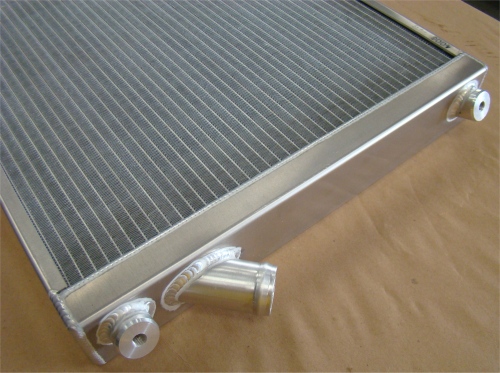
Your differential and rear axle have now been rebuilt and we have had your cylinder head on the flow bench, establishing a base line before we do our port work.
 |
 |
 |
|
completely rebuilt |
|
|
 |
 |
 |
|
|
after porting |
|
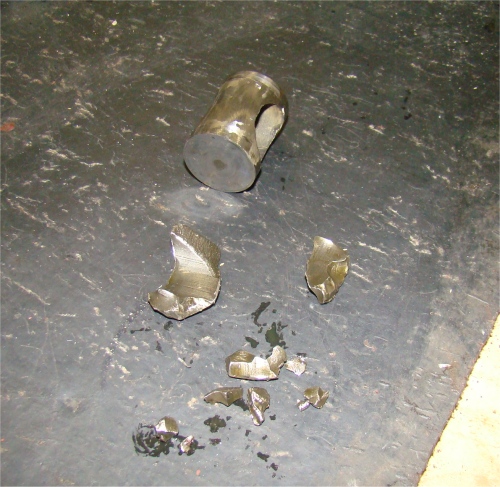
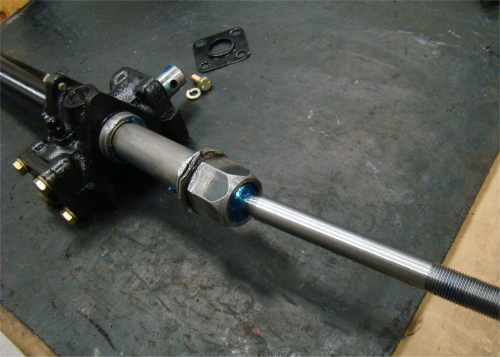
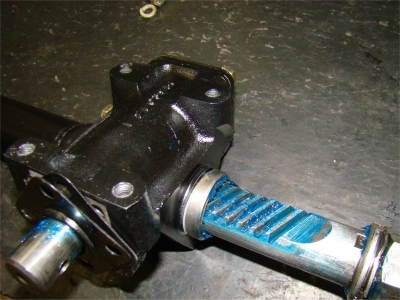
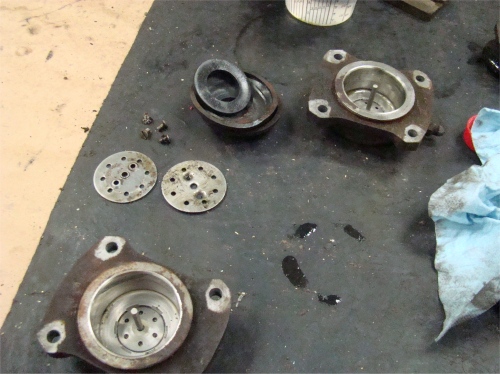
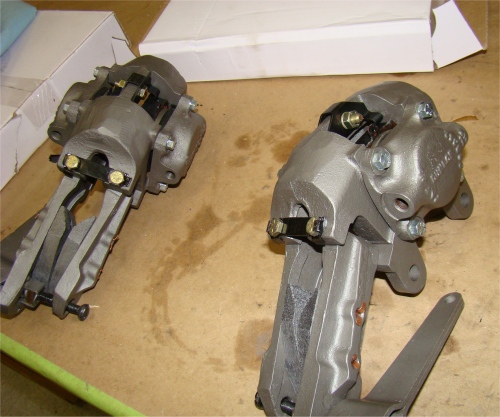
We have now rebuilt (and upgraded) your front and rear brakes, steering rack and front suspension, and have the rebuild of your engine and rear axle underway. We found all sorts of shrapnel inside the differential so we supplied you with an alternative unit (an E Type posi) that we are in the process of rebuilding. Your cylinder head has been pressure tested and is currently receiving attention in the machine shop.
 |
 |
 |
|
|
|
|
|
|
|
|
 |
 |
 |
|
found inside your differential |
|
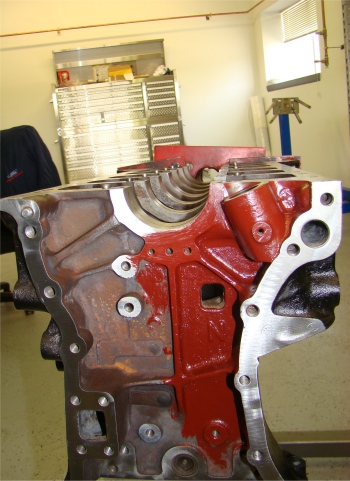
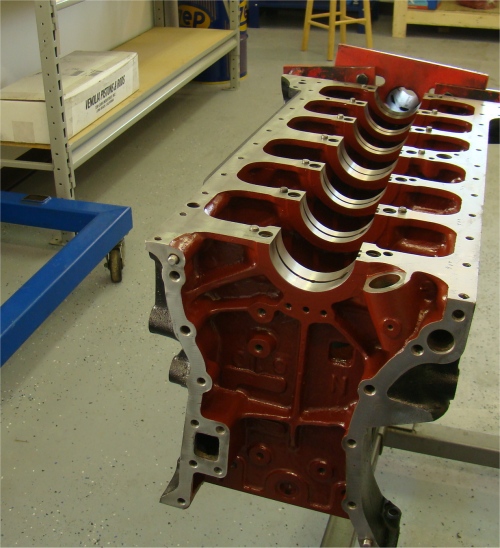
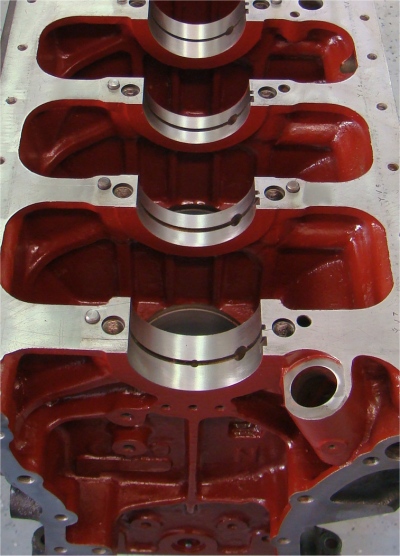
painted with Glyptal |
|
|
|
|
 |
 |
 |
|
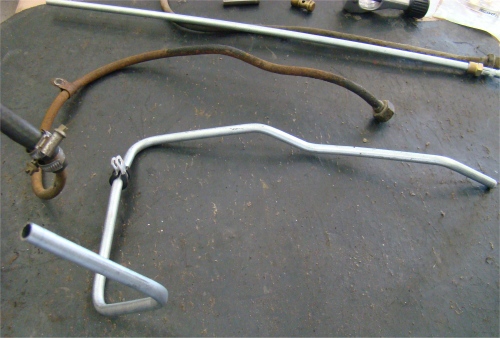
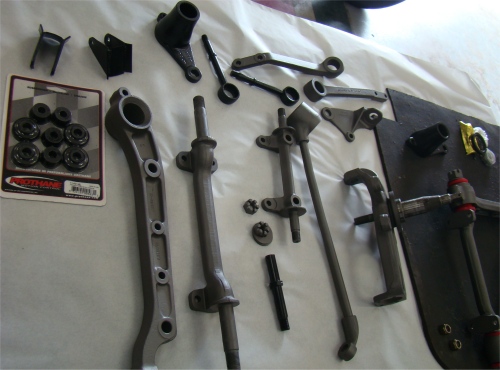
later style tie rods, etc |
|
in SS, although pistons had to be replaced |
|
|
|
|
 |
 |
 |
|
|
|
jackets will require welding up and re-shaping |
|
|
|
|
 |
 |
 |
|
inside LH front wheel arch |
|
|
 |
|
|
|
a proper close up! |
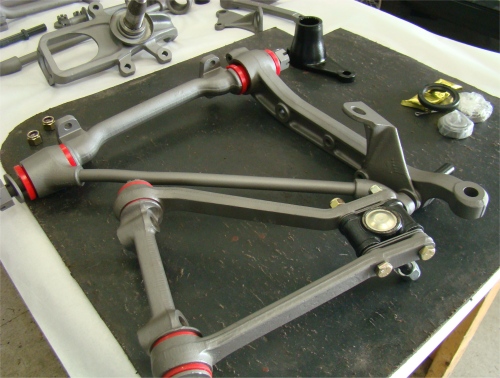
Rebuilding and upgrading the front suspension and brakes.
 |
 |
|
suspension rebuild |
|
 |
 |
|
lower balljoints |
|
I am pleased to report that we have the mechanical rebuild of your XK 150 well underway. I hope you enjoy following the project over the coming months!
 |
 |
 |
|
|
||
 |
 |
 |
|
|
|
|
 |
 |
 |
|
|
||
 |
 |
 |
|
bouncing around on top of piston |
||
 |
||
|
|
