Driver restoration
| 1956
XK 140MC roadster (BK)
Driver restoration |
|
|
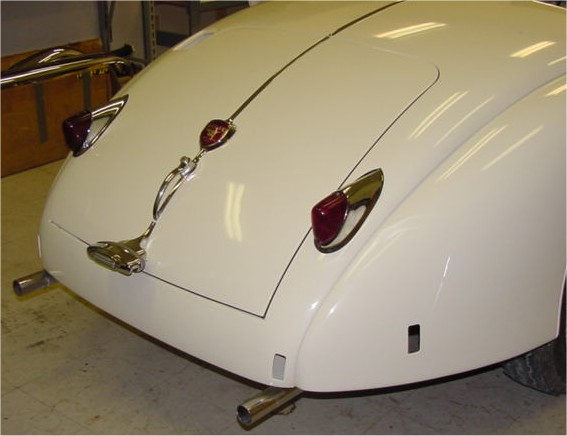
I am delighted to report that the car is now totally finished. It runs and drives as well as it looks and is ready for your collection. Bill, it has been our absolute pleasure to build this beautiful car for you and Denise. Thank you both for your business and also for the kindness you have shown towards Evan and Earl.

It's time for the old car to move under its own steam once again! It has taken well over a year to get the car to this point. Click on the photograph below to see a video clip of Sam test driving your car earlier this morning.

 |
 |
 |
|
|
|
|
 |
 |
|
|
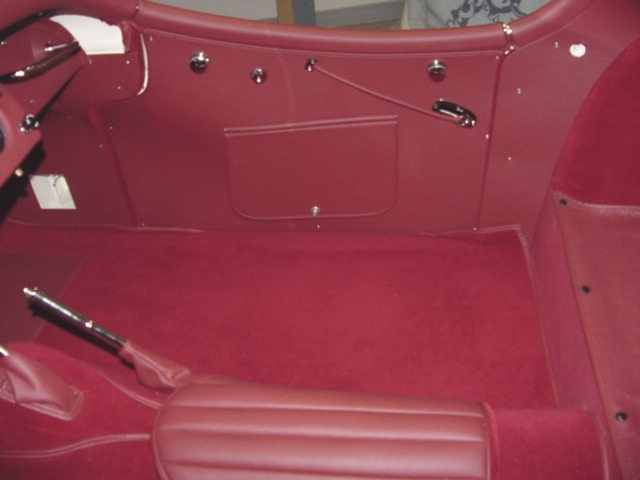
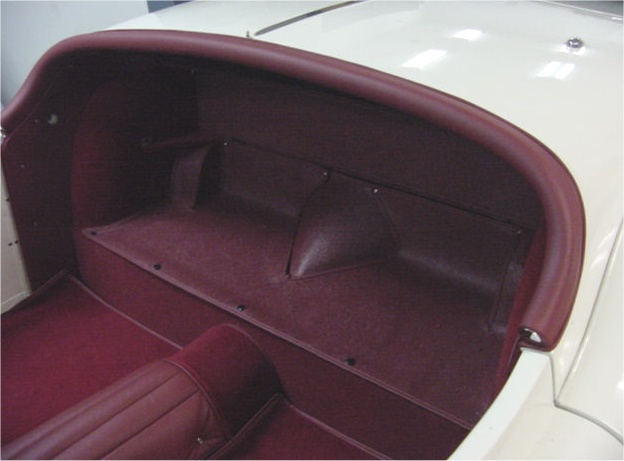
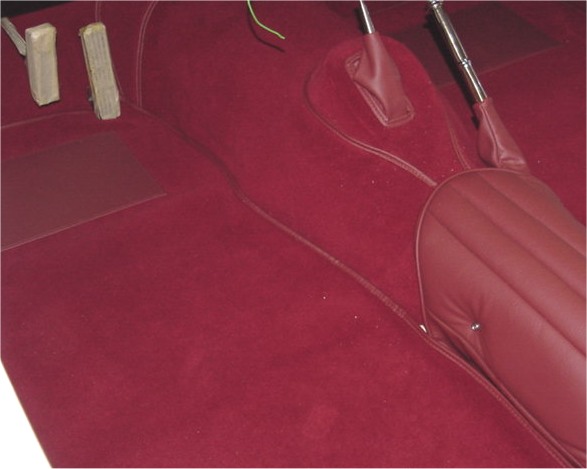
trimmed and installed |
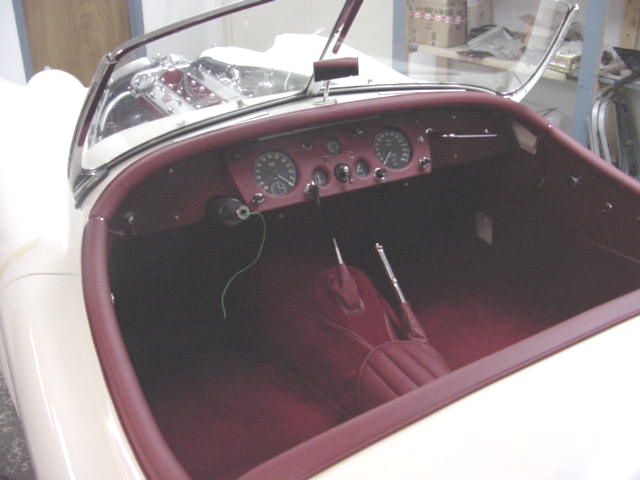
Time to start putting the interior in, Bill!
 |
 |
 |
 |
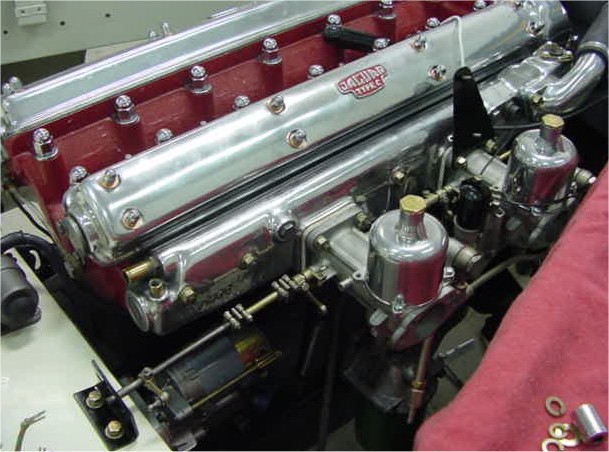
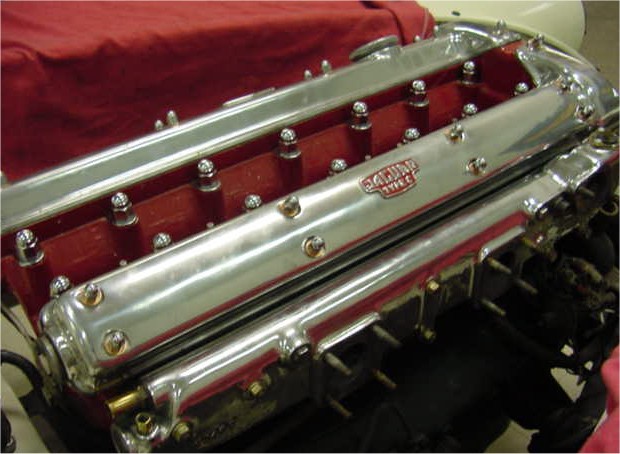
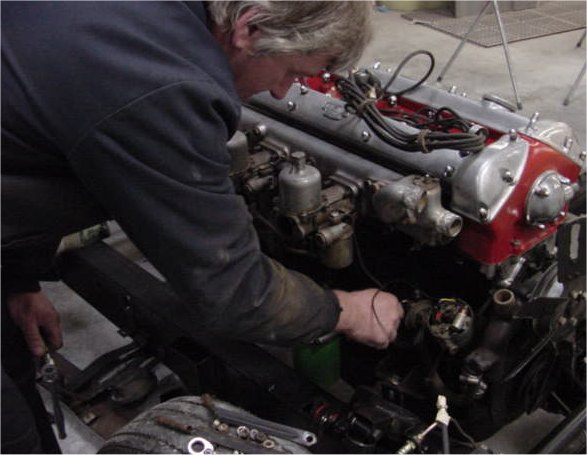
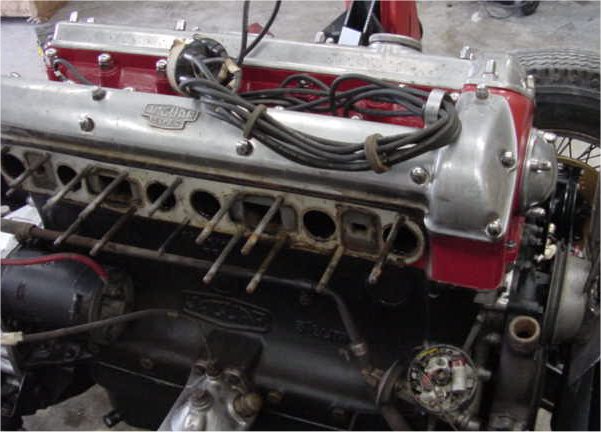
The cylinder head is now installed and the engine running beautifully. Click on the photograph below for a brief video clip of the initial test firing!

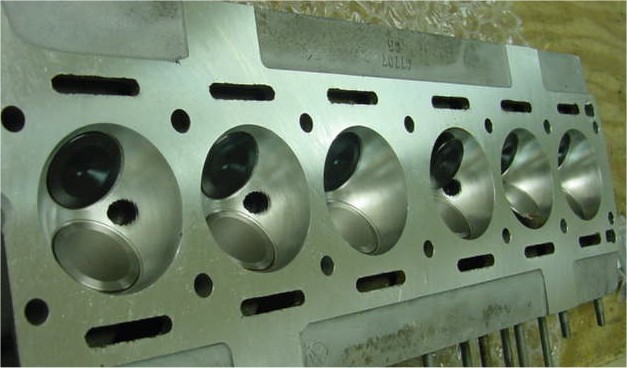
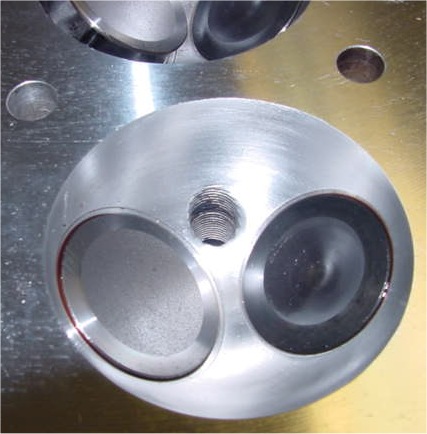
I am pleased to report that we have now finished the cylinder head rebuild. Harold did a beautiful job, including a five angled valve job (4 machine, one finished by hand). It shouldn't be long before we have it reinstalled and get your engine running!
 |
 |
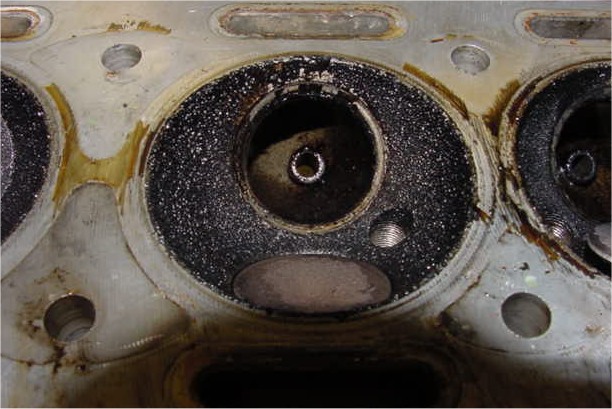
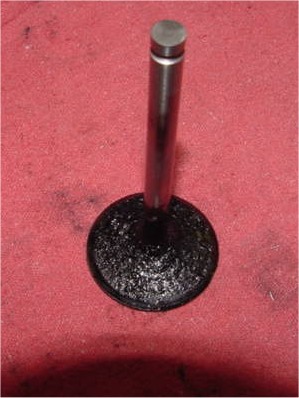
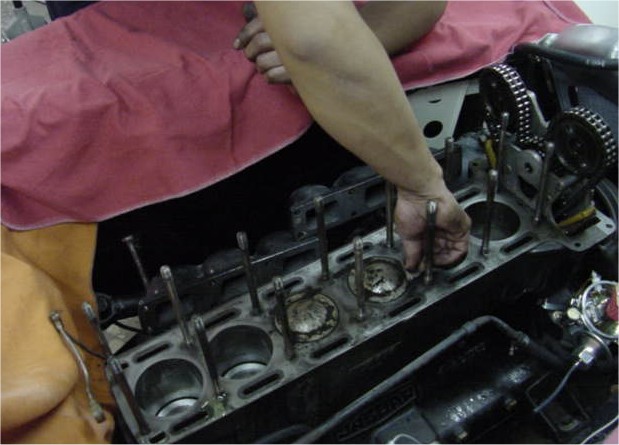
Unfortunately, the news is not good today, Bill. As we were running through our check list prior to firing up your engine, we found that you had no compression in two cylinders. We went on to perform a leakdown test and found that two of your intake valves were not sealing at all. We pulled the valve covers and found huge inconsistencies in your valve lash and, much worse than that, your cam caps had been incorrectly installed and ALL of your valves had been clashing (intake against exhaust) thanks to badly adjusted cam timing.Bottom line is that your cylinder head was a bit of a disaster area, I'm afraid. Needless to say, we have a full cylinder head rebuild underway!.
 |
 |
 |
|
of a disaster area |
badly bent |
jumbled up |
 |
 |
|
|
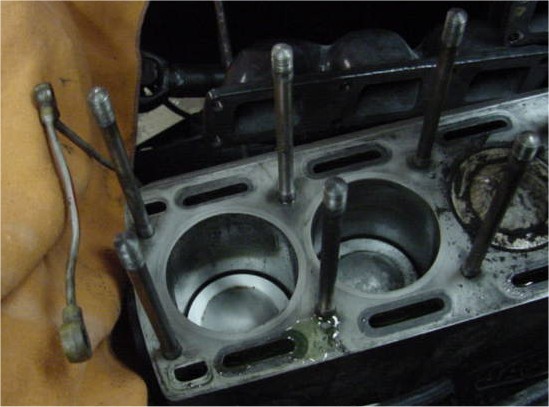
piston tops while we have access |
head gasket |
The guys in the workshop tell me that by this evening they will have run out of excuses for not firing up the engine!
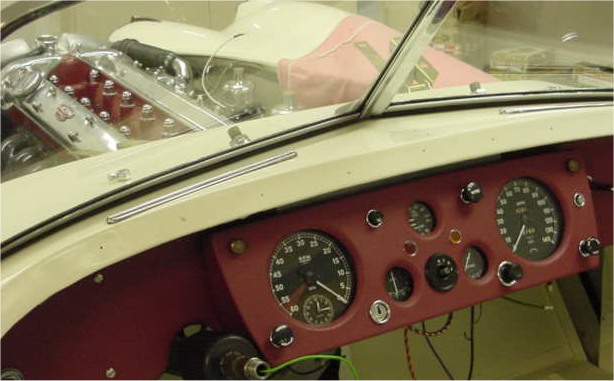
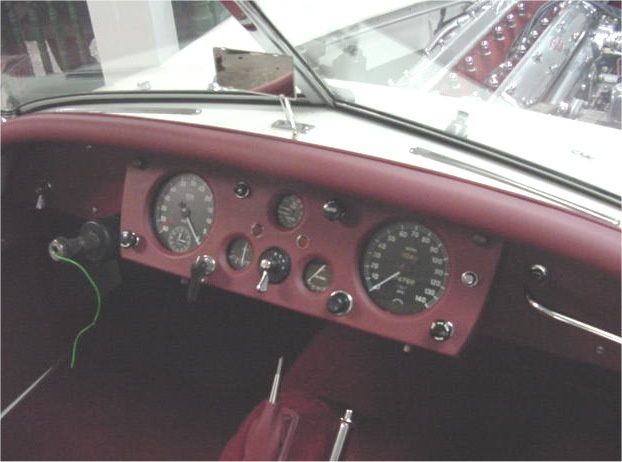
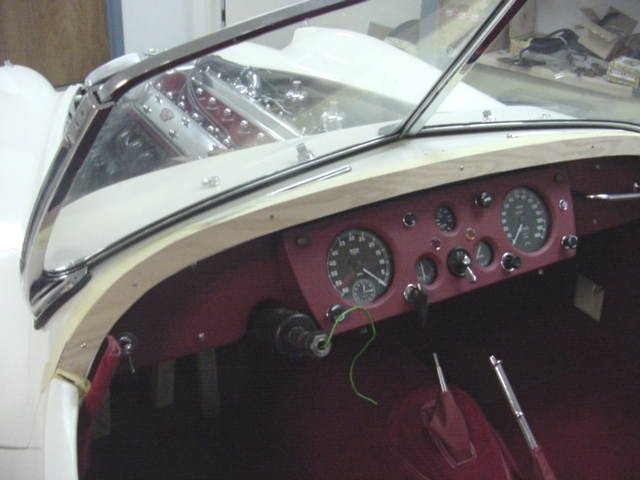
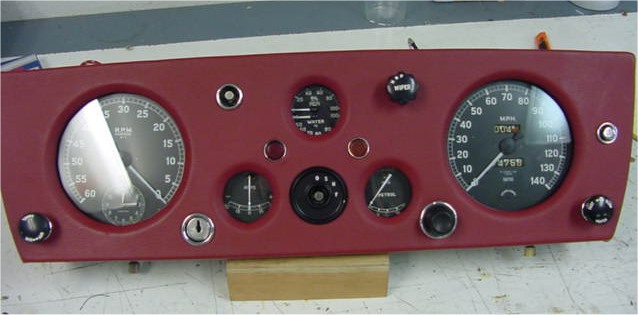
The dash has now been retrimmed and all the rebuilt gauges installed...
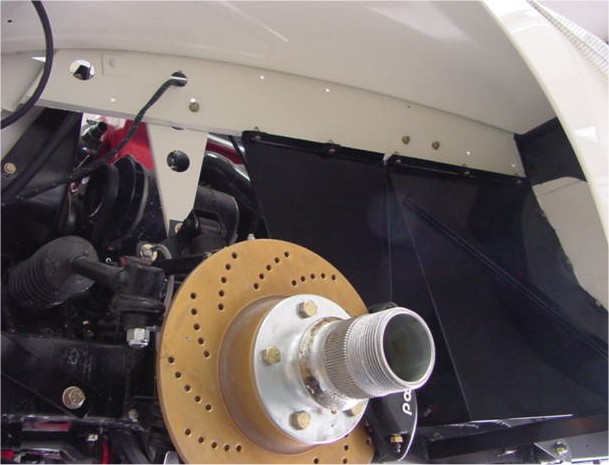
Getting very close to firing her up and setting off on the maiden voyage! Unfortunately, much of the work over the last couple of weeks has been underneath, so not too many good photo opportunities lately!
 |
 |
 |
|
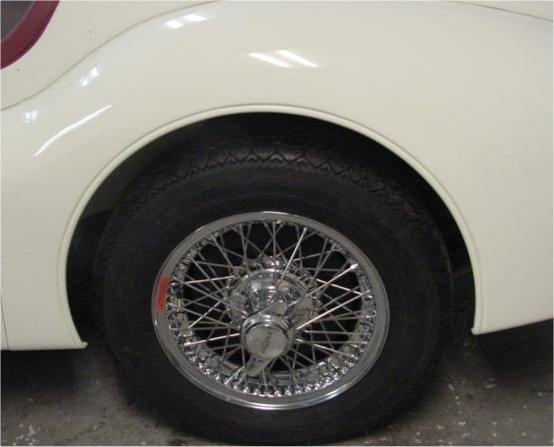
up in the air |
arches |
as it is up top! |
 |
 |
|
|
rebuilt and installed |
irons |
More progress.....
 |
 |
 |
|
|
installed |
|
|
|
|
|
 |
|
|
|
|
Many thanks to you and Denise for your generous donation towards the car we are building for Sam's kids. Your kindness is much appreciated by the whole team.As you can see, John has been making great progress and the car is going together very well.
 |
 |
 |
|
|
|
|
|
|
|
|
 |
|
|
|
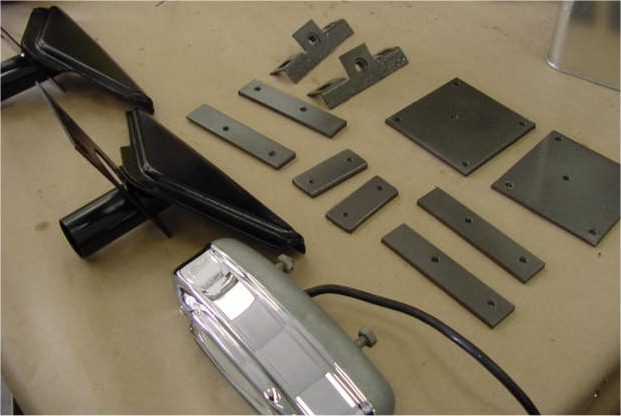
the platers and look superb |
|
|
 |
 |
 |
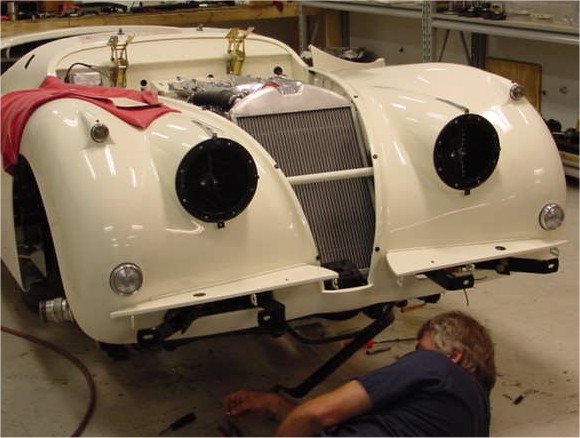
It is time to start bolting the old car back together!
 |
 |
 |
 |
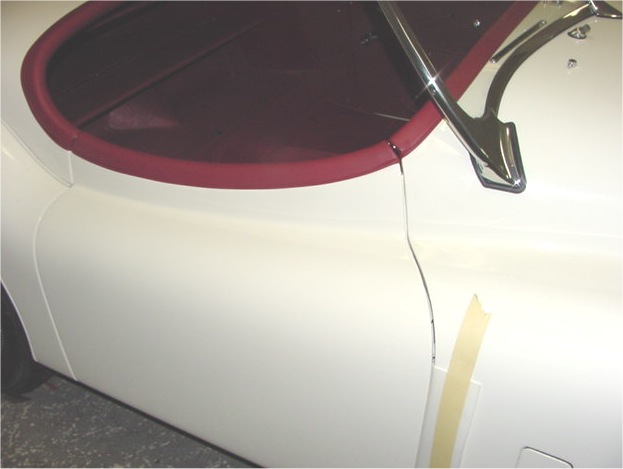
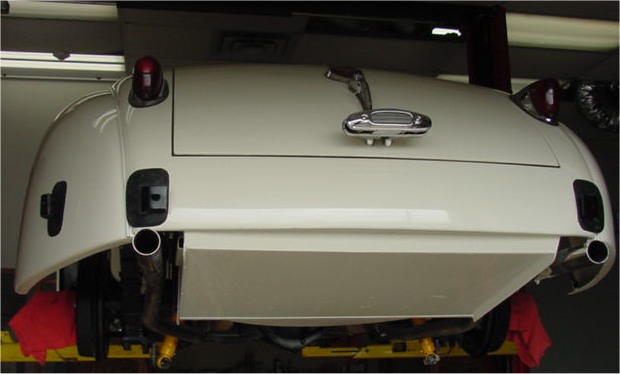
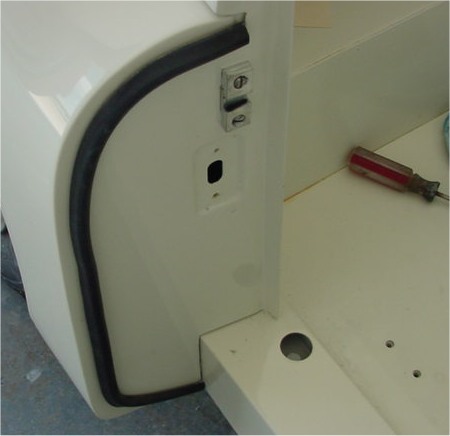
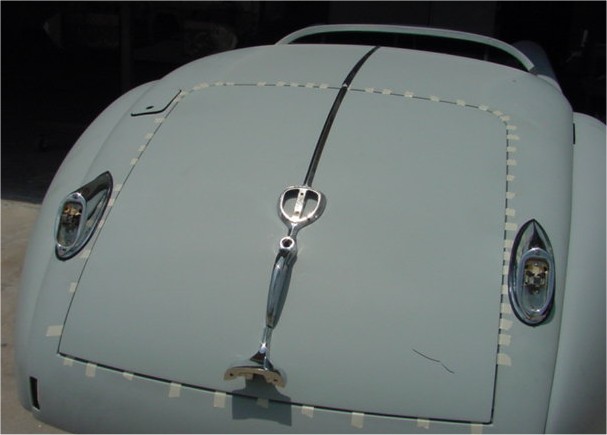
I am pleased to report that the final painting session went very well and that the body went back on the chassis without a hitch. Mike and Lawrence have been busy installing the doors, bonnet and boot lid, all of which fit beautifully.Although normally painted body colour, we decided to leave the new hinges cad plated.
 |
 |
 |
|
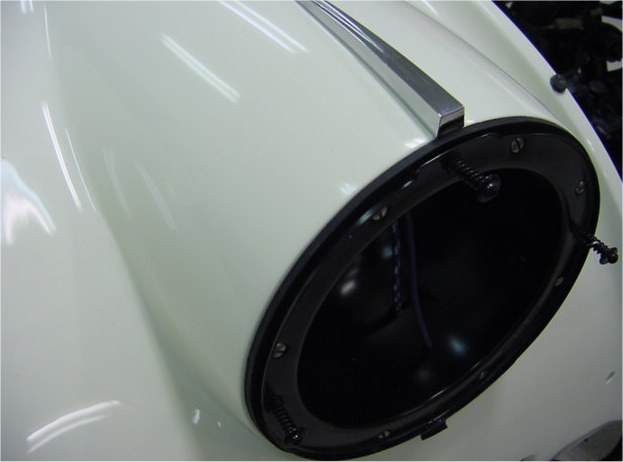
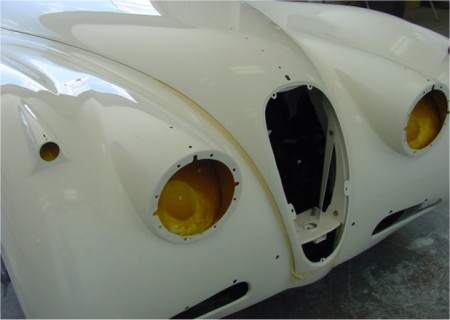
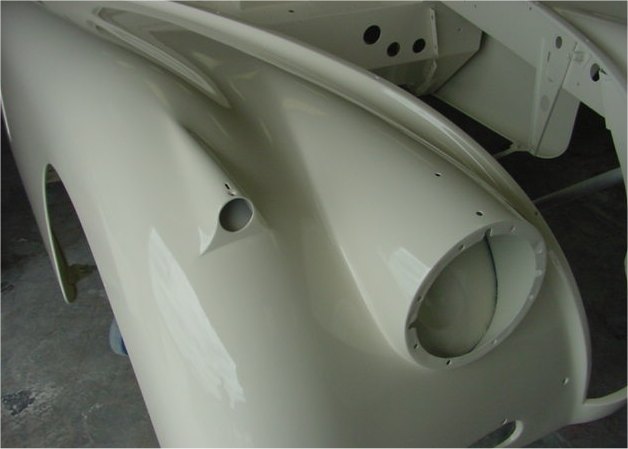
indicator lamp pods |
|
|
 |
 |
 |
|
|
|
|
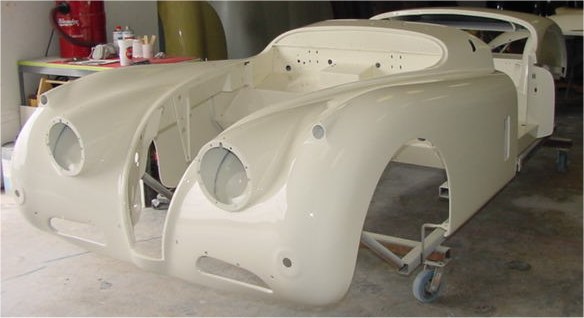
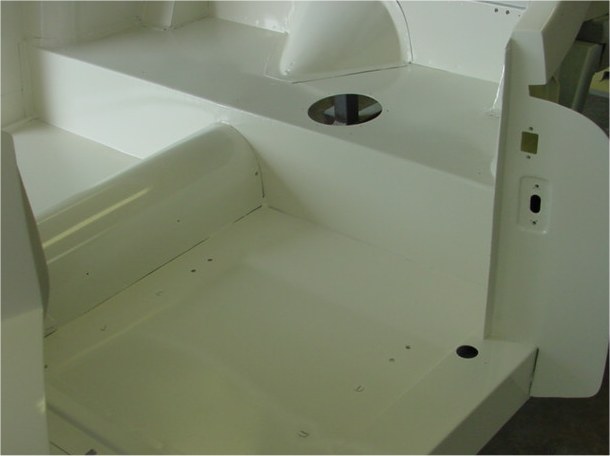
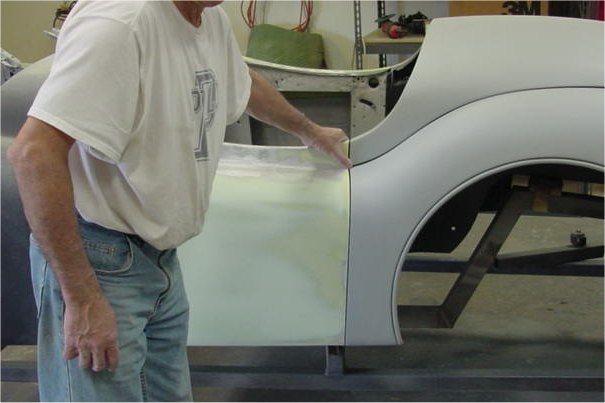
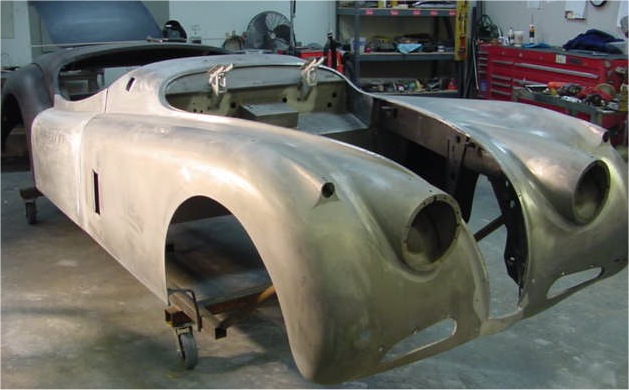
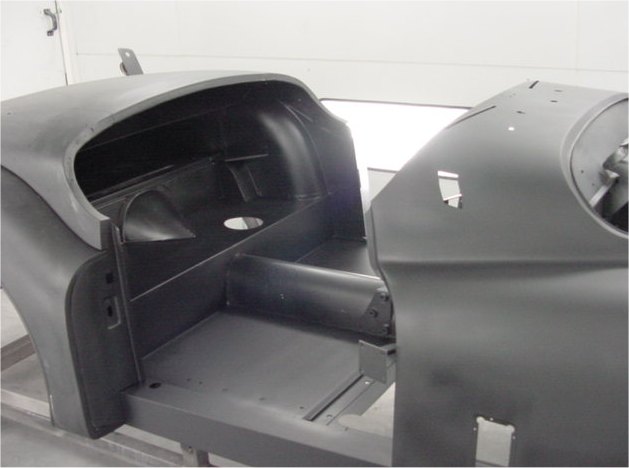
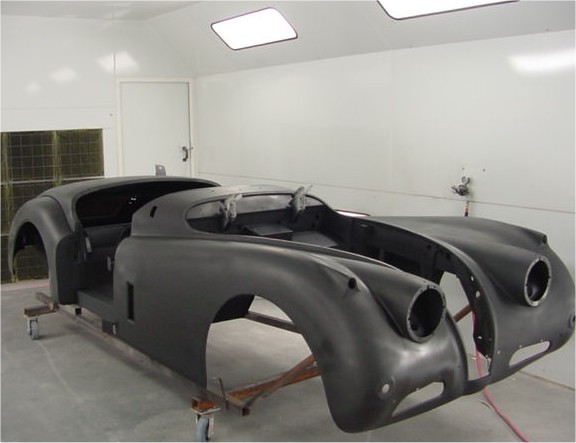
At this stage we have painted all the sheet metal on the interior of the bodyshell, as well as the engine bay and the underside of the tub and all the various panels. The outer body currently only has one coat of Old English White and will receive its remaining 3 coats once the body has been reunited with the chassis and we have been able to re-check all our panel fit, etc.We will be installing the body on the chassis tomorrow morning, with a view to finishing all the paintwork on Monday.
 |
 |
 |
|
|
|
|
|
|
|
|
 |
 |
 |
|
|
|
|
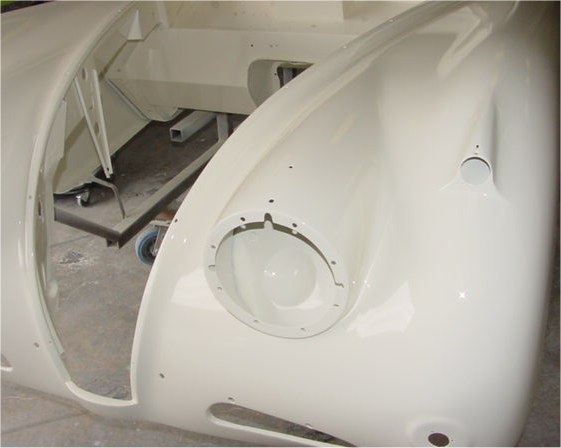
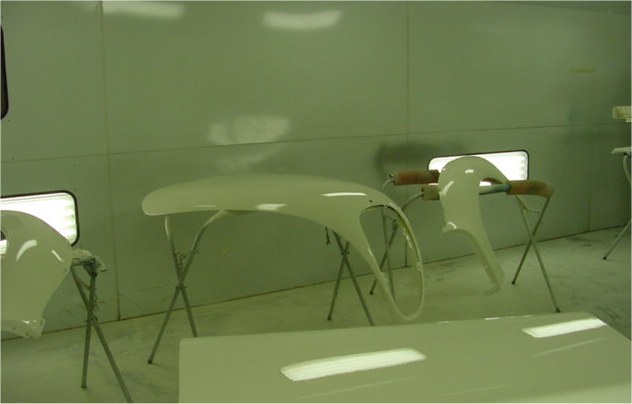
Time for some Old English White...
 |
 |
 |
|
|
|
|
|
|
|
|
 |
|
 |
|
|
|
|
|
|
|
|
|
|
 |
|
|
|
|
|
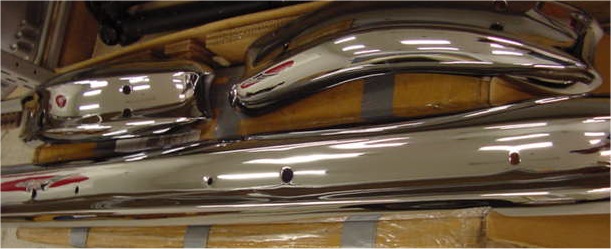
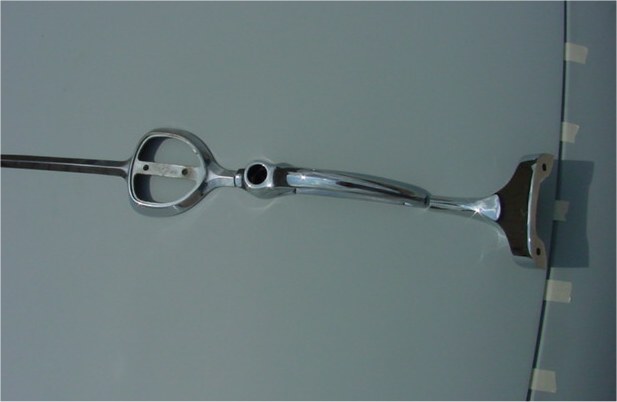
Trial fitting all the chrome as your XK edges closer and closer to the CJ paint booth!
 |
 |
 |
 |
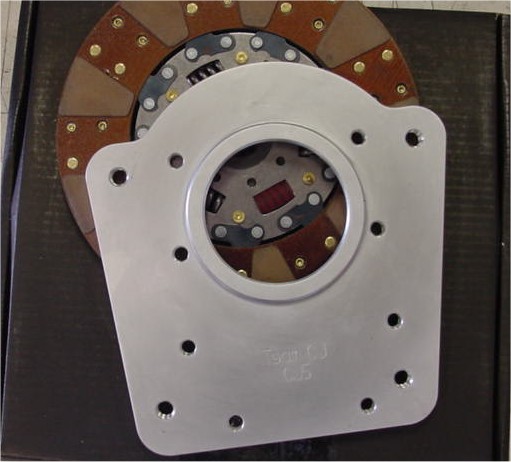
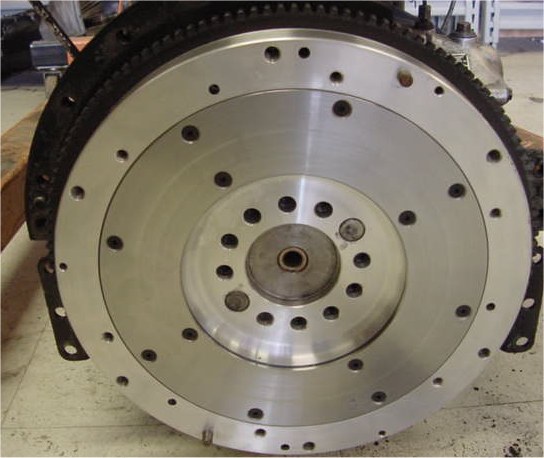
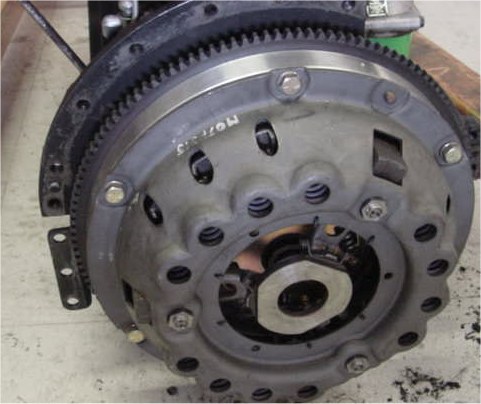
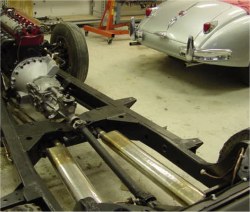
Lawrence worked on your car right up to the evening before he went in for his shoulder surgery on Thursday. It is now ready for high build primer (PPG 271), afterwhich he will sand it with 320 (dry), 620 (wet) - then it will be painted. He will not be returning to work until Monday, April 7, but rest assured your car will be Old English White very soon thereafter.I thought you might like to see some photographs of John Claydon installing your new CJ5/XK five speed, as well as your Team CJ flywheel, etc. Unfortunately not much can happen now until Lawrence returns to work.
 |
 |
 |
|
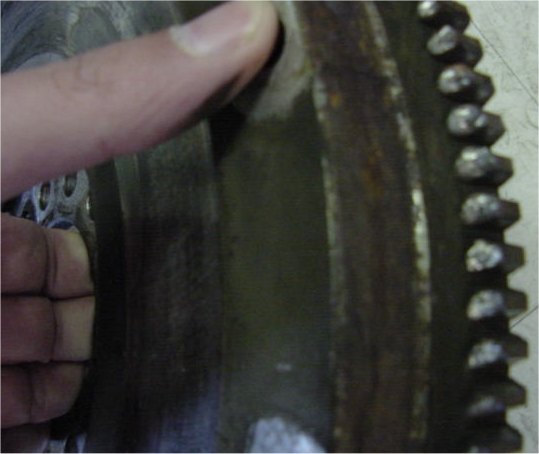
your car solidly for 2 weeks |
|
|
 |
 |
 |
|
clutch disc |
|
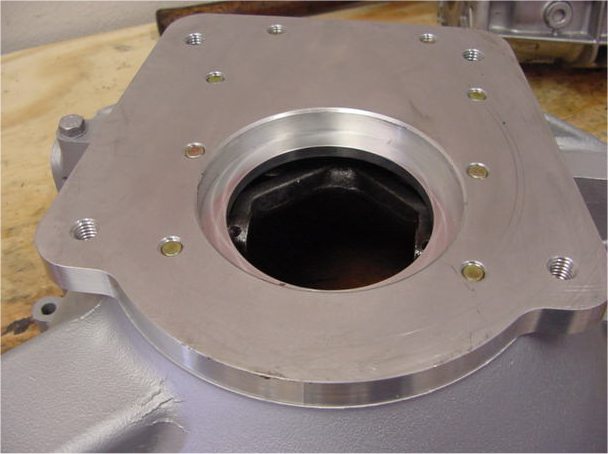
to your bellhousing |
 |
 |
 |
|
|
|
|
 |
 |
 |
|
|
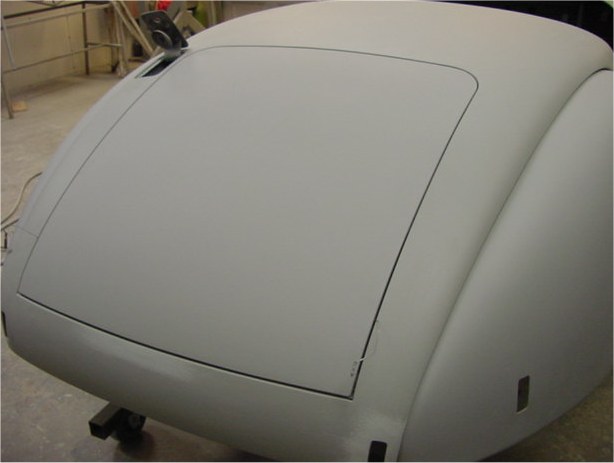
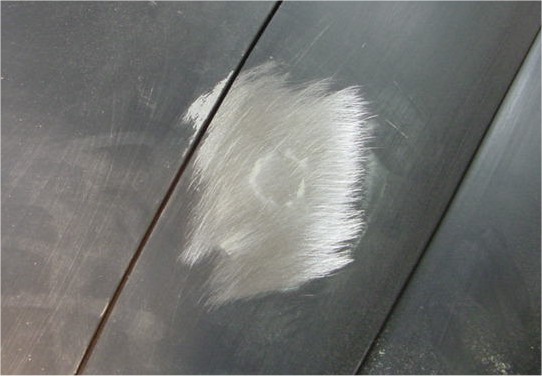
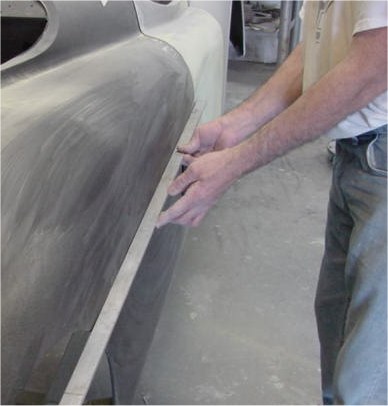
blocking process - it is now perfect |
|
The next three weeks will be spent constantly sanding and blocking your car in preparation for paint. It is difficult to capture on film the progress that Lawrence is making, but time spent during this vital stage will result in the bullet straight body and perfect panel gaps we strive for in all our restorations.
 |
 |
 |
|
|
|
|
 |
 |
|
|
in relation to the door skin.. |
with the surrounding panels |
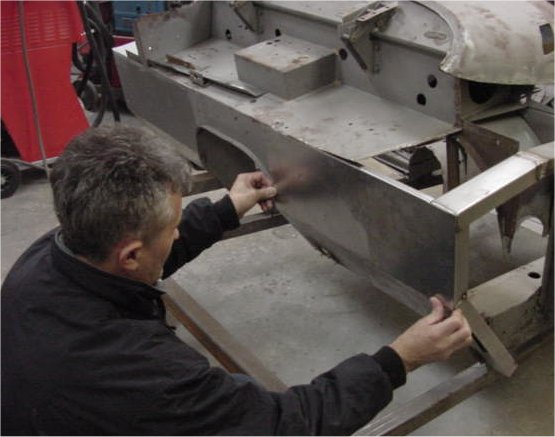
It was good to see you last week when you visited to check on the progress. As you can see from the following photographs, things are moving ahead in leaps and bounds!
 |
 |
 |
|
and acid washed |
|
|
|
|
|
|
 |
 |
 |
|
|
for rebuilding |
sheet metal |
|
|
|
|
 |
 |
 |
|
the booth |
DP90 primer |
|
|
|
|
|
 |
 |
 |
|
|
|
|
|
|
|
|
 |
|
|
|
|
|
|
Lawrence couldn't make it in through the ice storms today, so the following photographs show his efforts yesterday.
 |
 |
 |
|
|
|
|
 |
 |
|
|
'invisible mend' on your broken grill |
|
 |
 |
 |
|
|
|
|
 |
 |
 |
|
although pot metal is tricky |
|
|
 |
||
|
|
 |
 |
|
into place |
repaired wing |
 |
 |
|
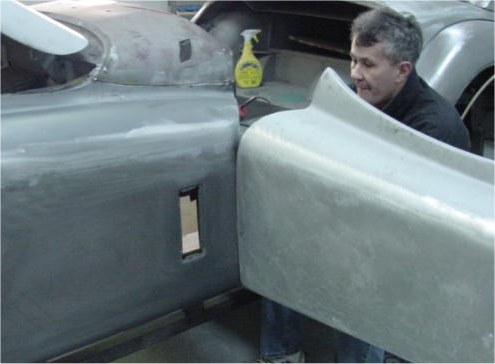
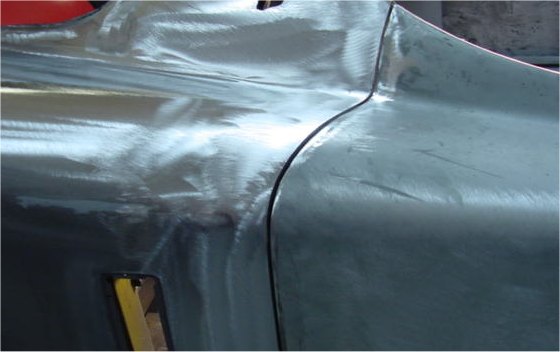
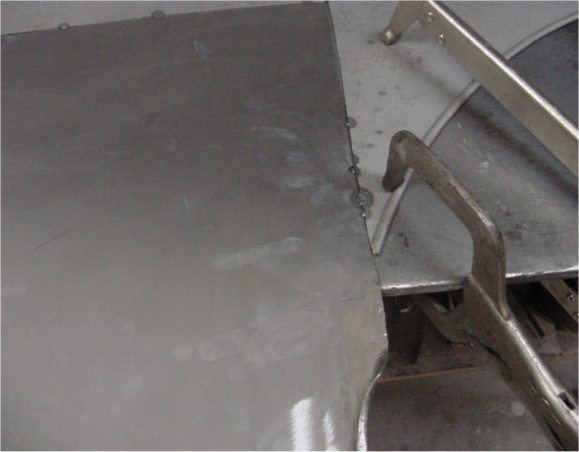
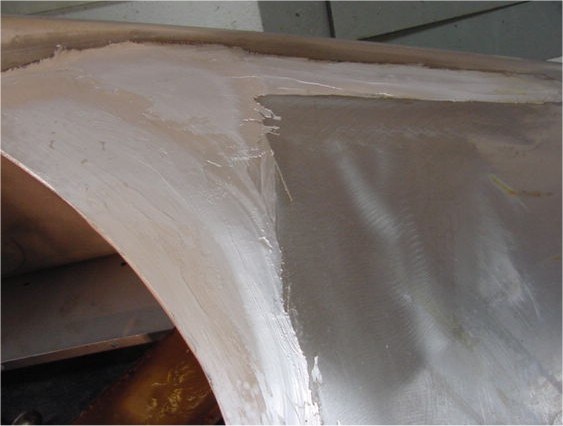
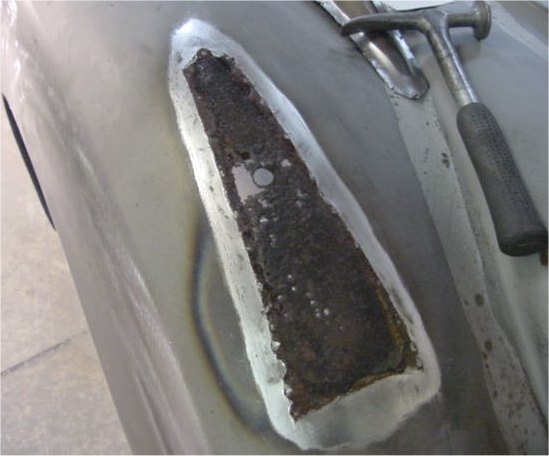
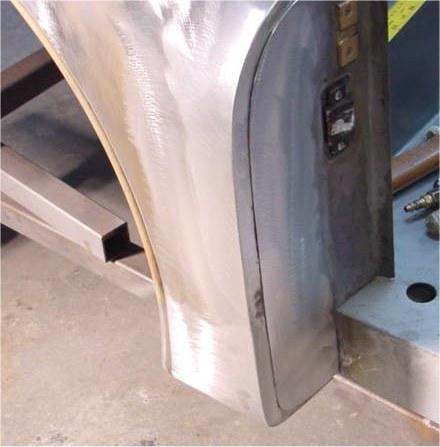
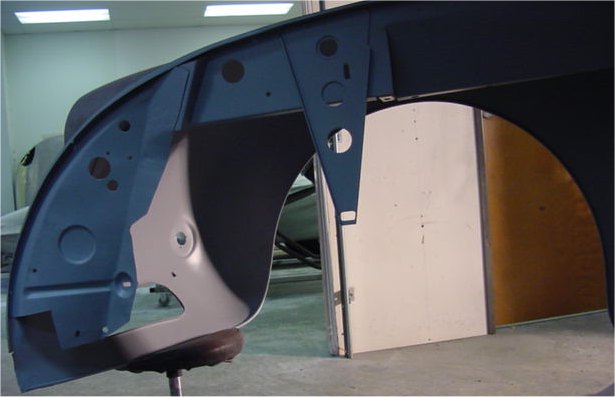
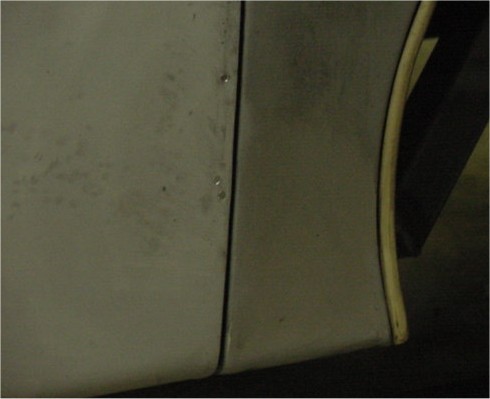
the cowl and the repaired wing |
front wing lines up with the door |
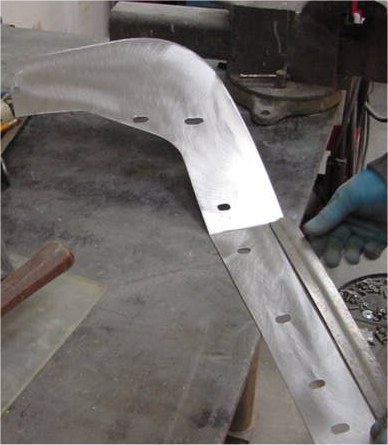
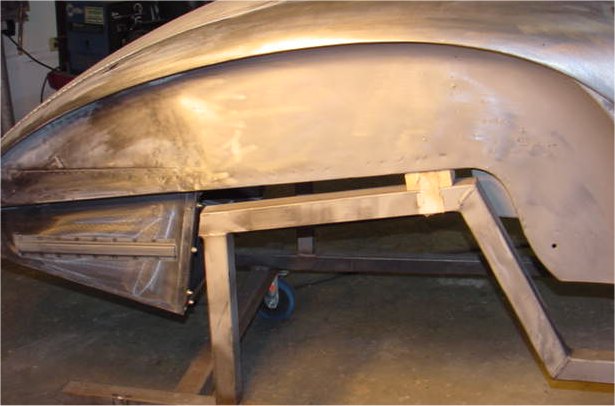
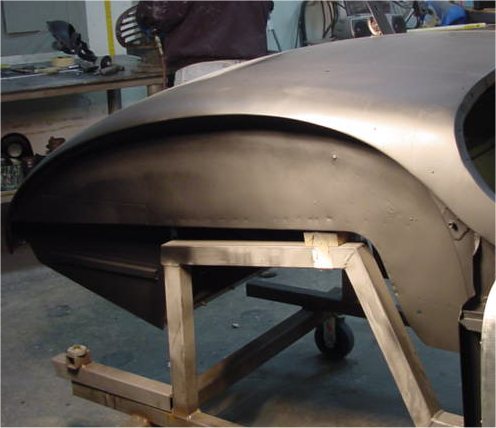
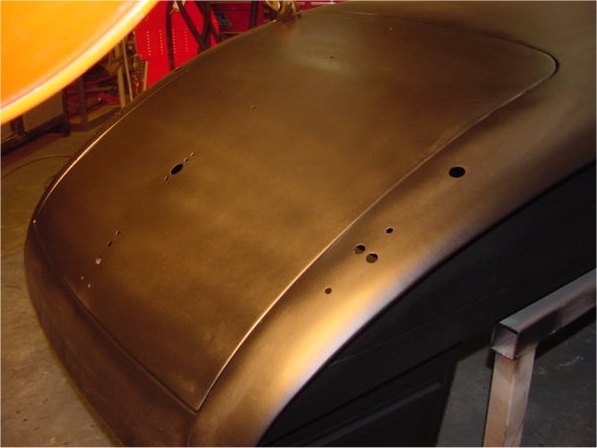
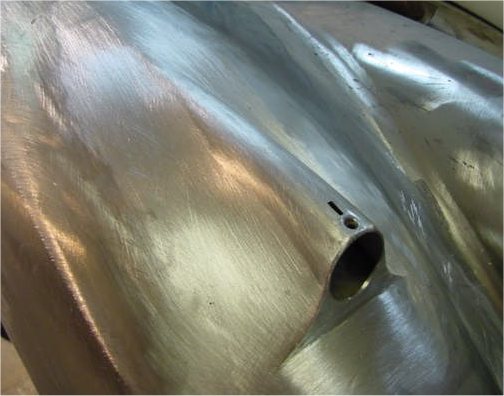
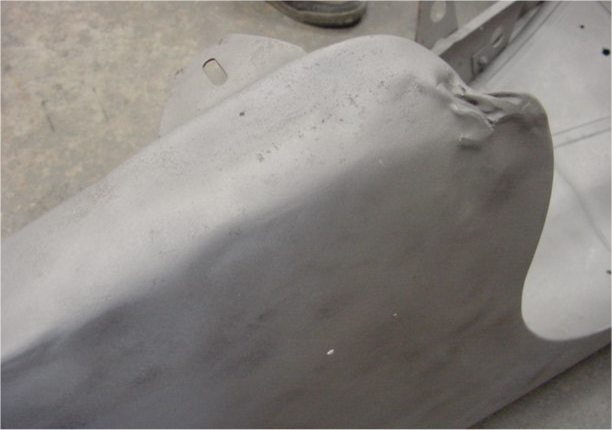
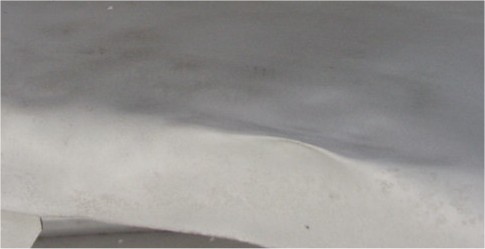
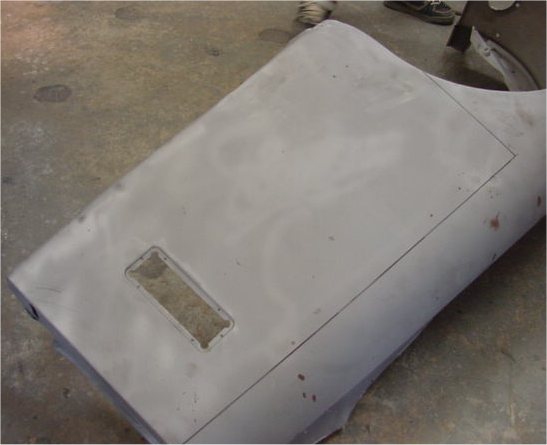
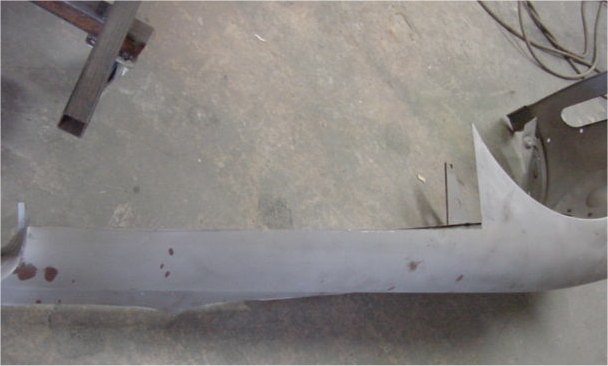
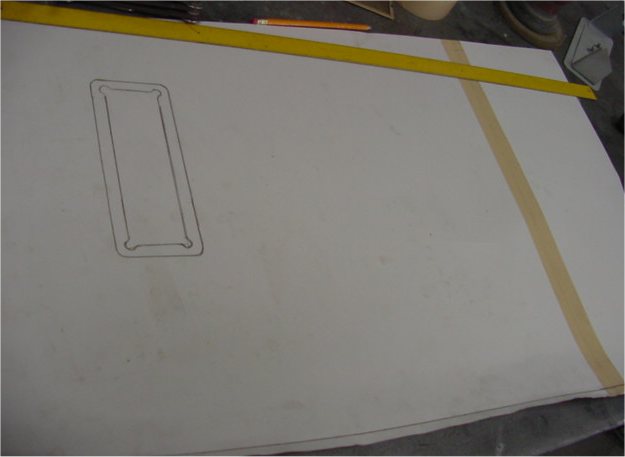
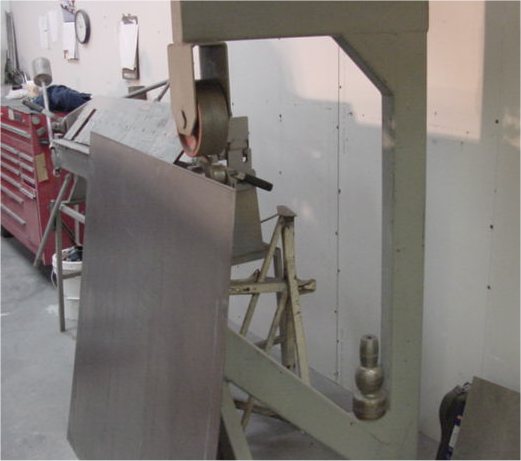
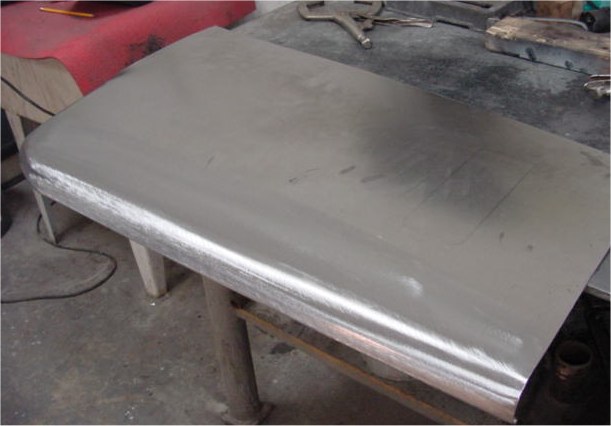
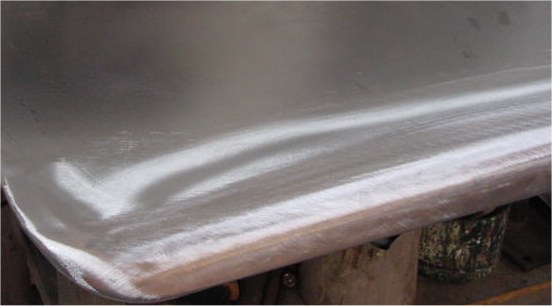
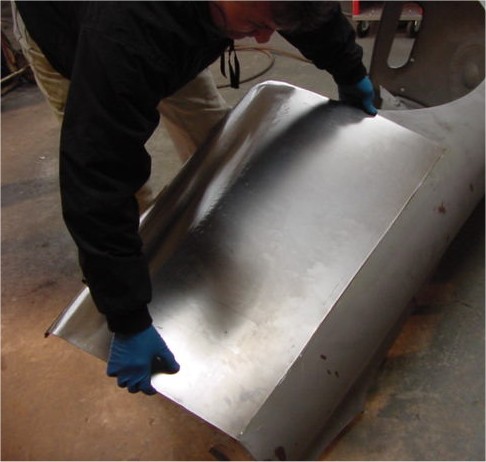
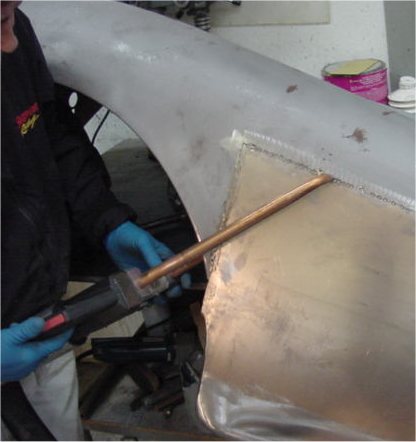
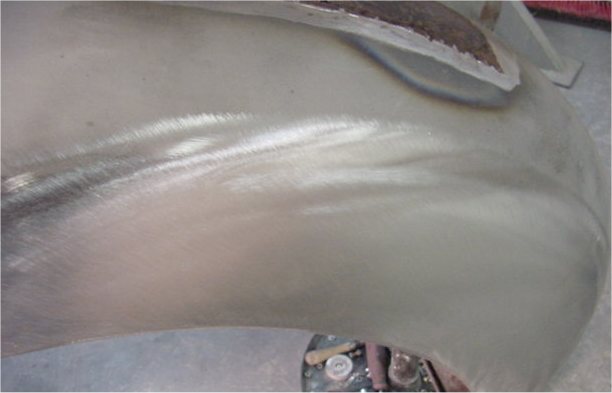
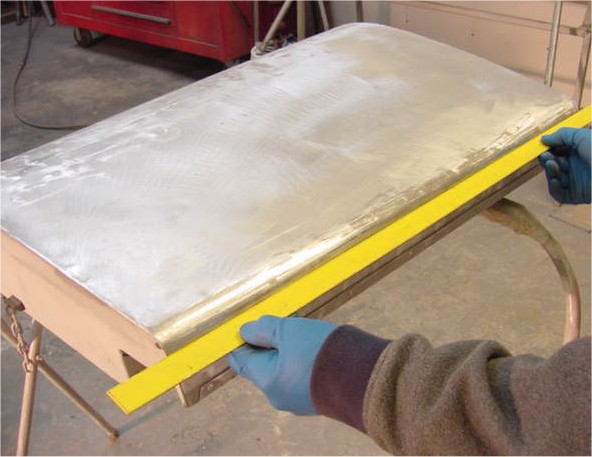
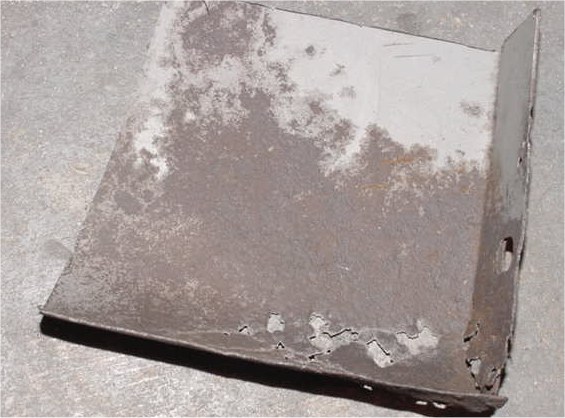
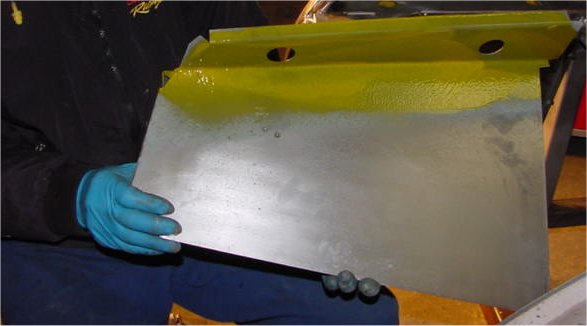
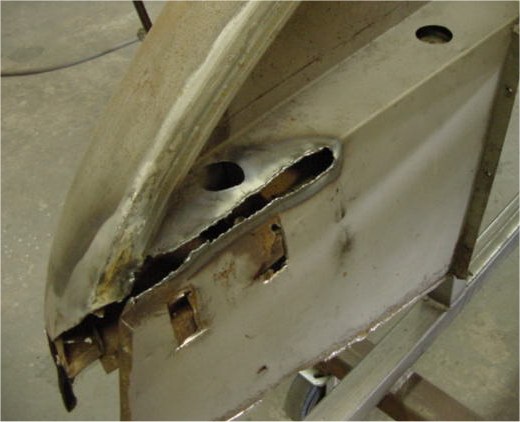
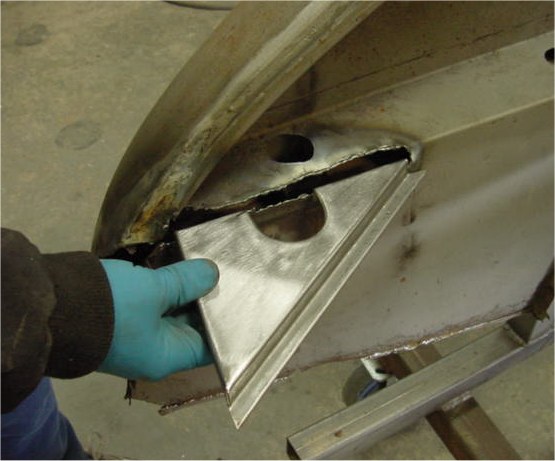
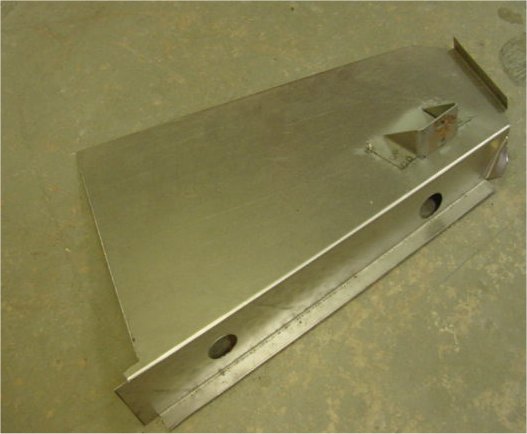
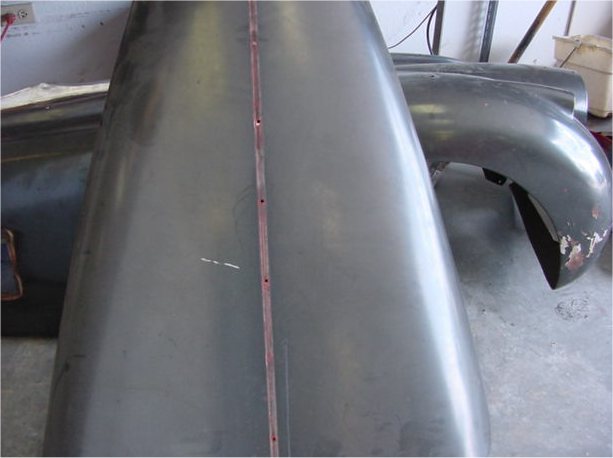
The left hand front wing has/had bad collision and corrosion damage and the only proper way to repair it is with new sheet metal. The following sequence of photographs show Lawrence making replacement panels for your car using nothing more than flat steel, an English wheel and a great deal of very noisy hammering!I thought you might find it interesting to see the entire process from start to finish.
 |
 |
 |
|
the RH front wing |
|
|
 |
 |
 |
|
|
cut away/replaced |
|
|
|
||
 |
 |
 |
|
the new wing |
|
new wing |
|
|
||
 |
 |
 |
|
|
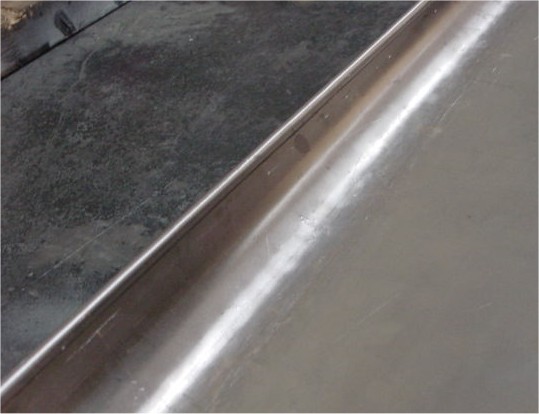
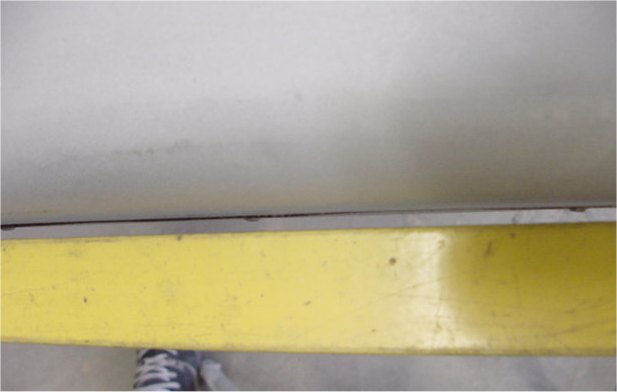
edge beading |
clever! |
|
|
|
|
 |
 |
 |
|
|
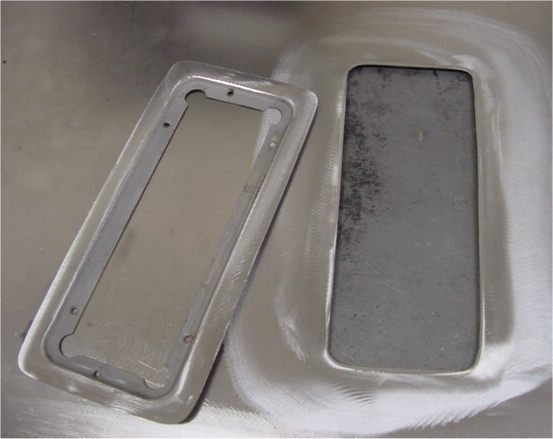
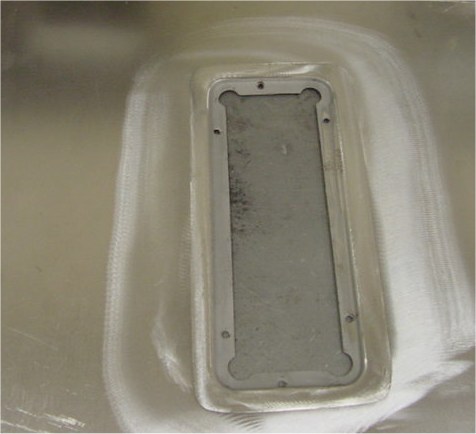
opening |
surround into place |
|
|
|
|
 |
 |
 |
|
|
to ensure good shut lines |
along the internal seam |
|
|
|
|
 |
 |
 |
|
|
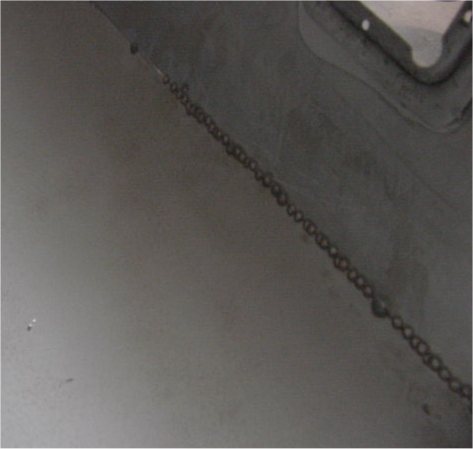
joint |
along the entire seam |
|
|
||
 |
 |
 |
|
and new sheet metal |
by the spot welder |
|
|
|
|
|
 |
 |
 |
|
|
|
|
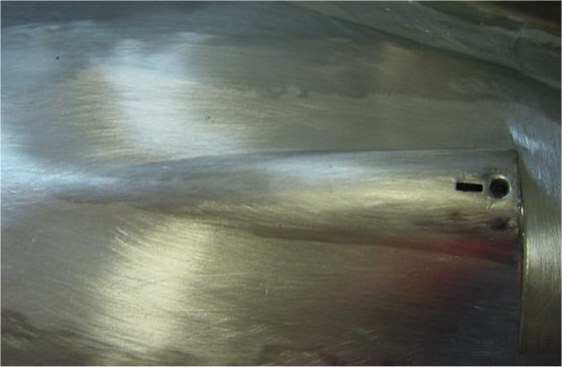
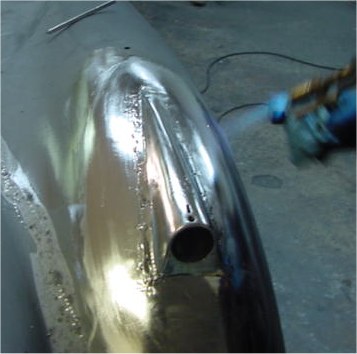
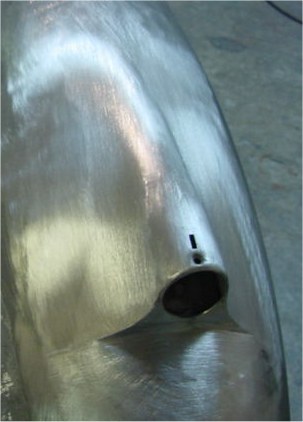
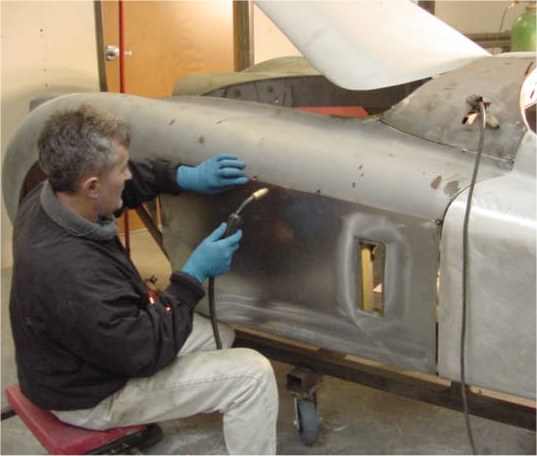
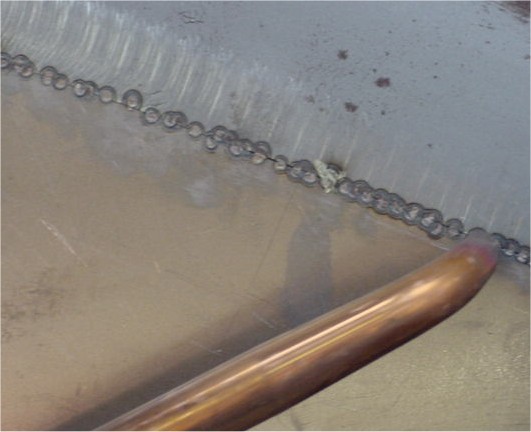
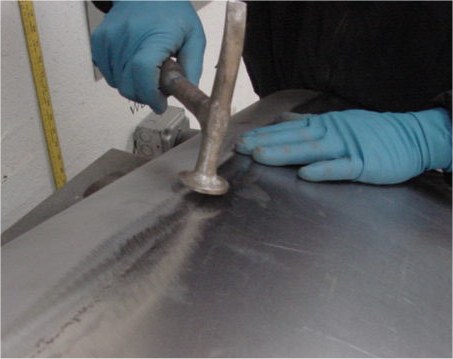
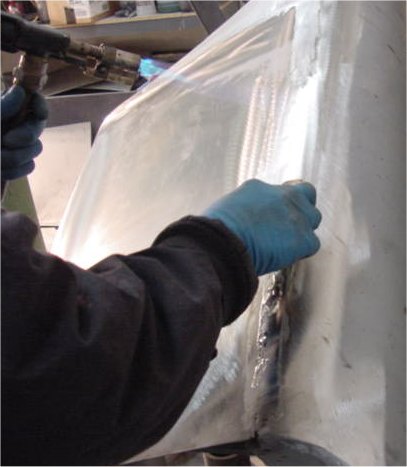
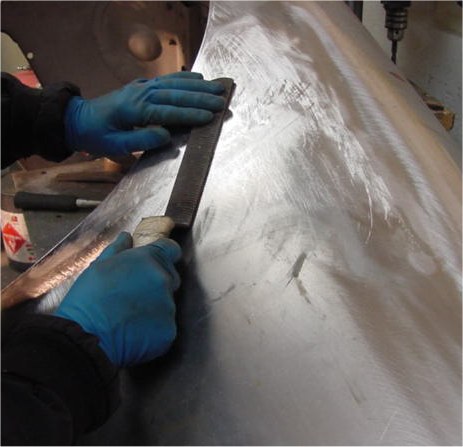
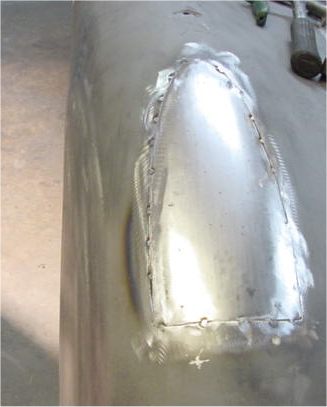
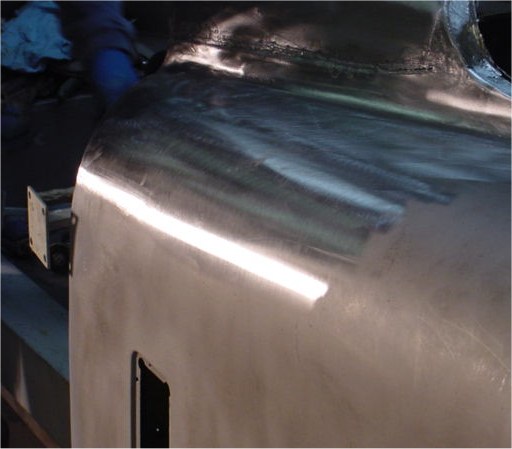
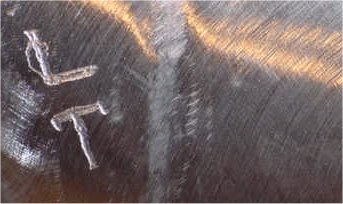
Lead loading the seam between the cowl and the repaired right hand wing.
 |
 |
|
|
|
|
|
|
 |
 |
|
|
|
 |
 |
 |
|
|
reshape the wing |
|
 |
 |
 |
|
|
fitting front wing |
of the door - not straight |
 |
 |
 |
|
|
it belongs |
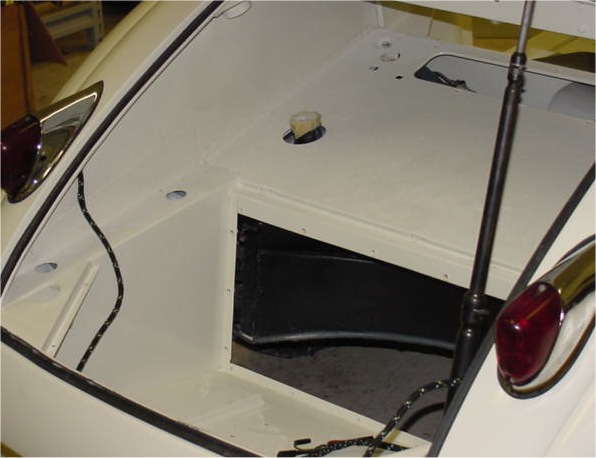
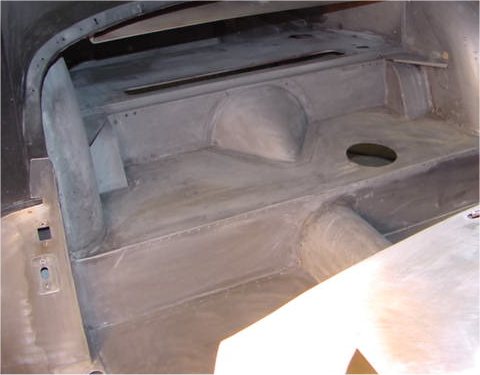
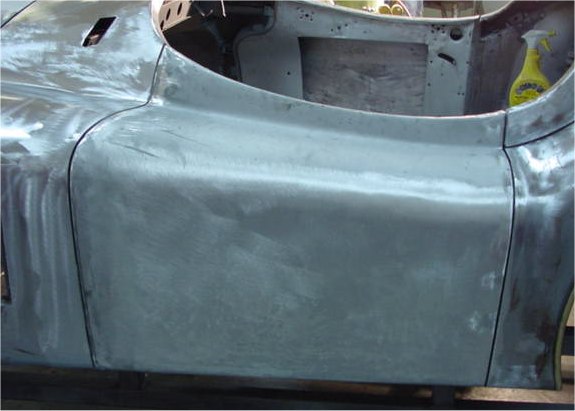
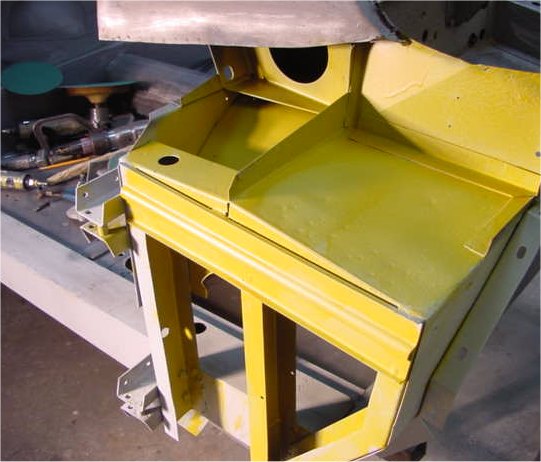
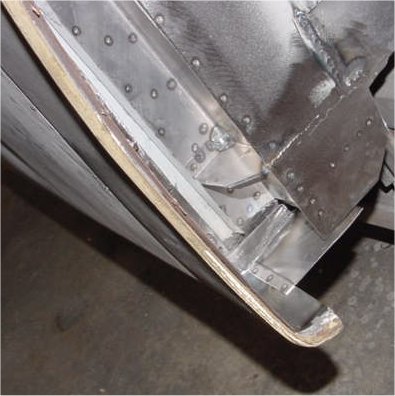
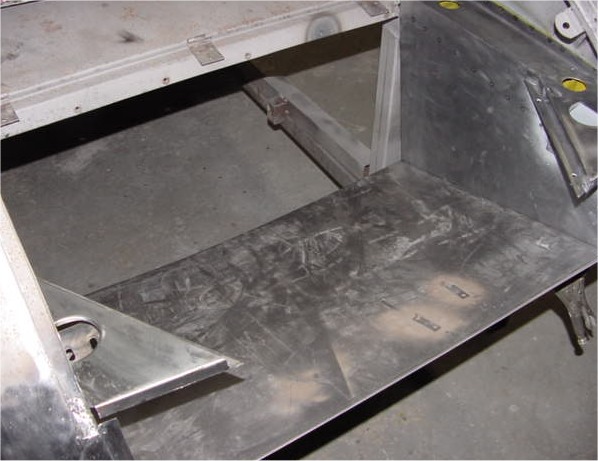
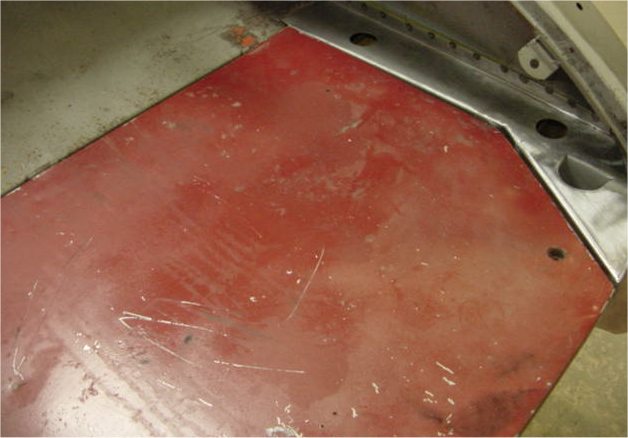
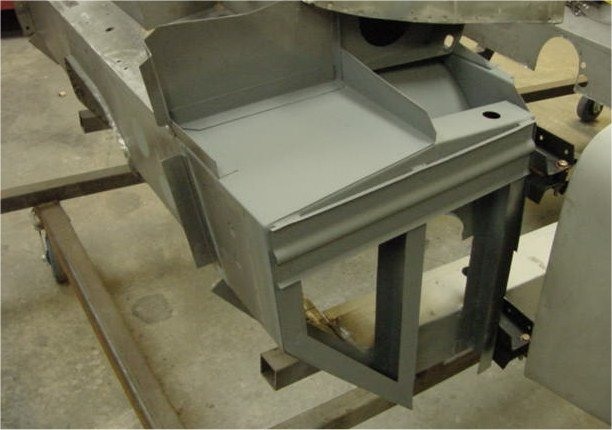
Steady progress this week as the reconstruction of the boot compartment and the repair of the rear wings is completed.
 |
 |
 |
|
|
|
|
 |
 |
 |
|
|
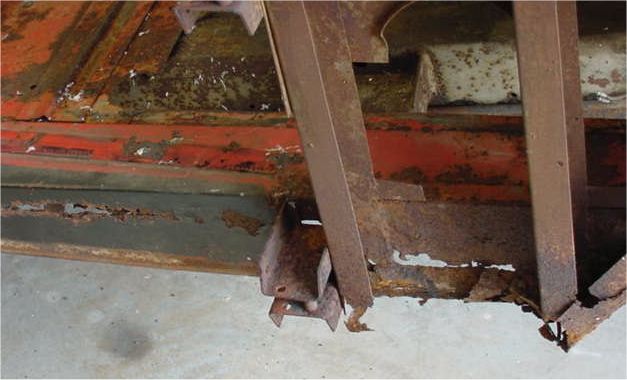
boot floor support rails |
he works on! |
 |
 |
 |
|
|
|
|
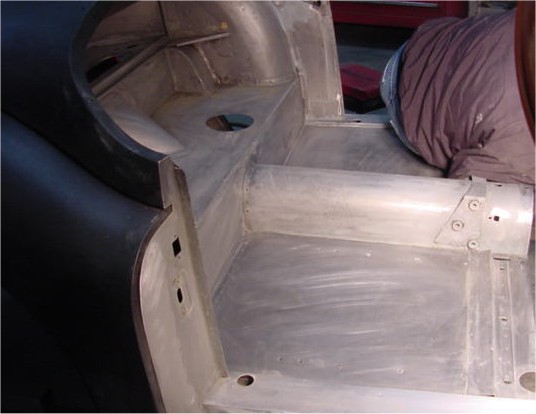
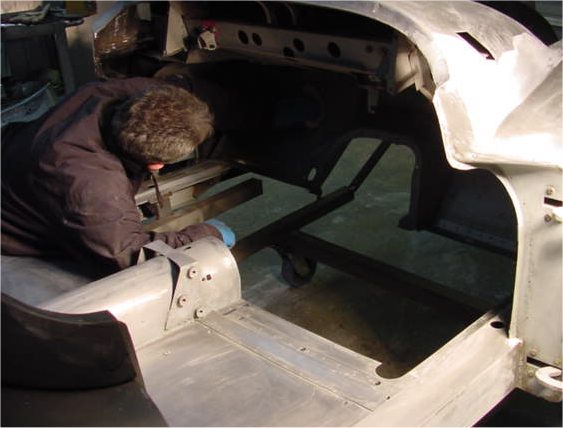
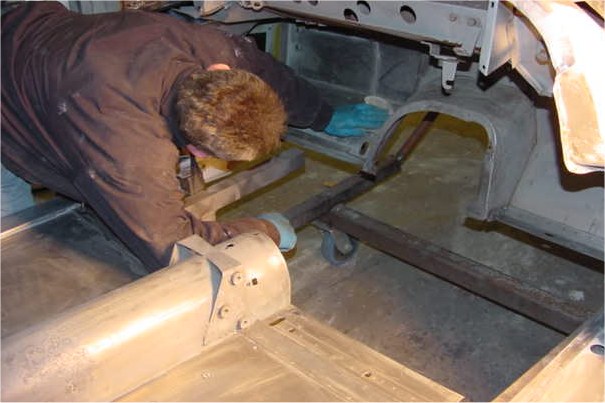
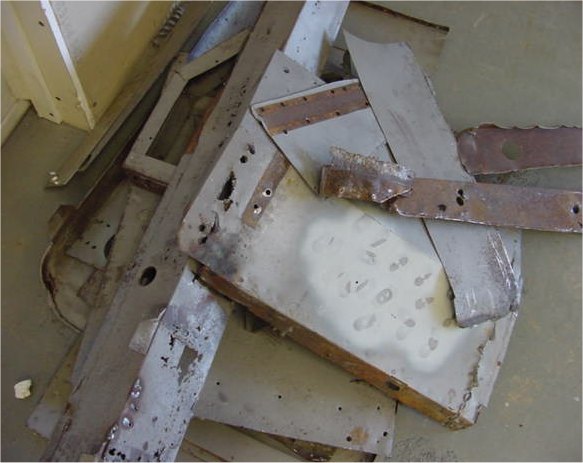
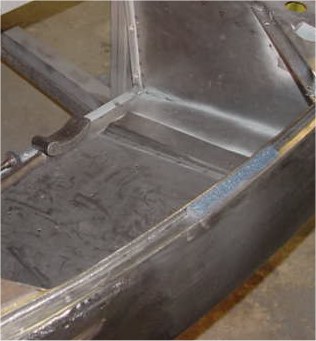
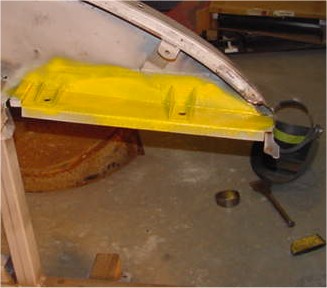
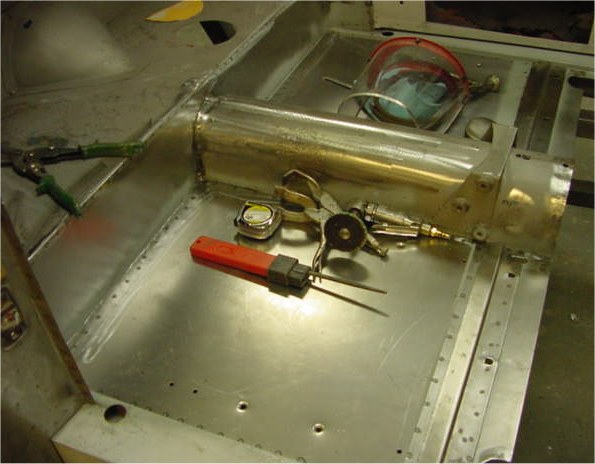
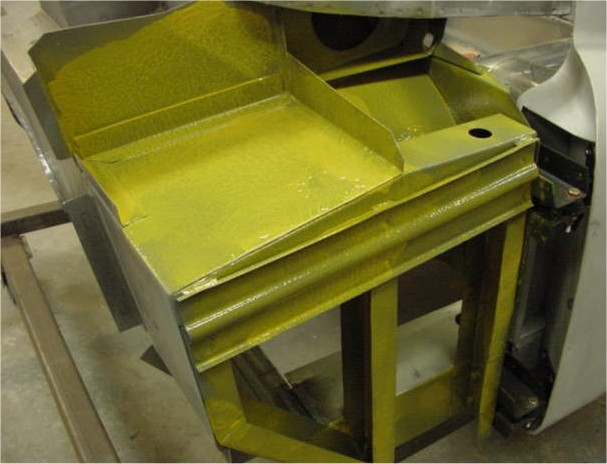
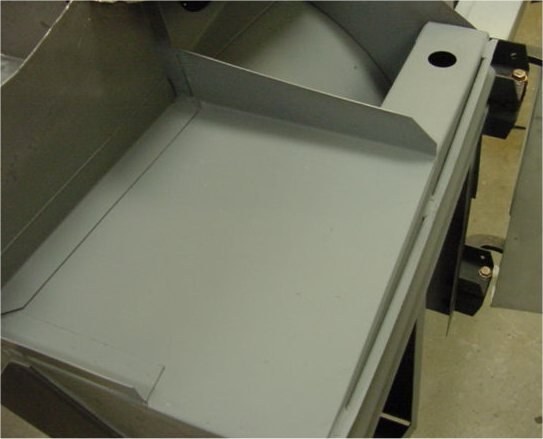
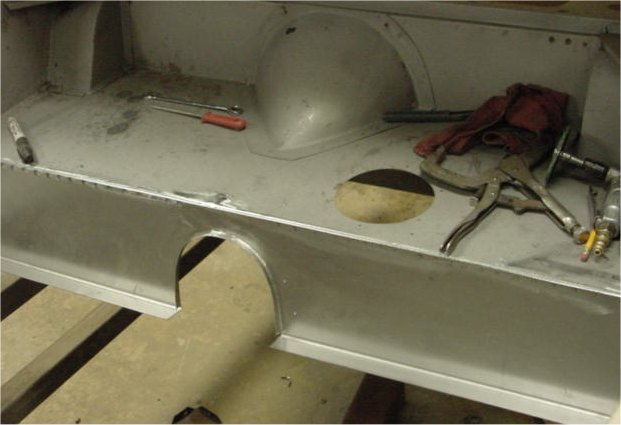
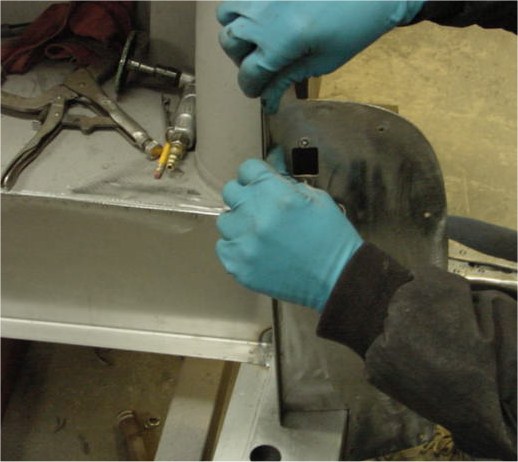
Those of you that follow our work in the Team CJ Coachworks will already know by now that we rust proof any and all inner cavities and enlosed box sections during the course of our body restorations. In the following sequence of photographs, you can see Lawrence applying Wurth Body Wax to the inner surfaces of the boot side panels - a notorious rust trap. Not perhaps the most glamerous photos, but a crucial (and often overlooked) aspect of any true restoration.
 |
 |
 |
|
|
surfaces |
|
 |
 |
 |
|
|
|
|
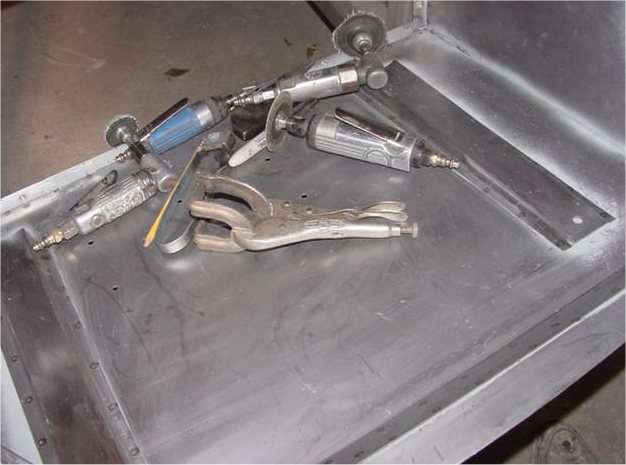
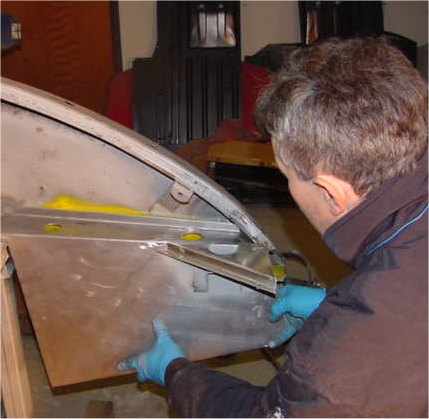
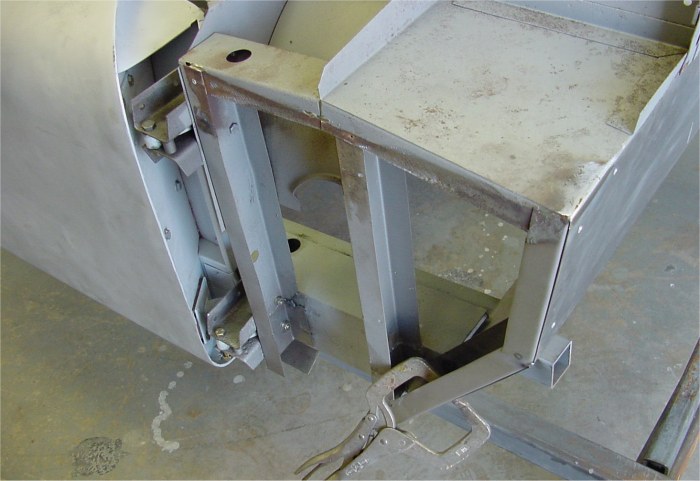
More progress as Lawrence starts piecing your car back together, one fabricated panel at a time!
 |
 |
 |
|
scratch |
tunnel is original |
and inner firewall |
 |
 |
 |
|
with lead |
|
area! |
 |
 |
 |
|
|
for boot repair |
|
 |
||
|
|
 |
 |
 |
|
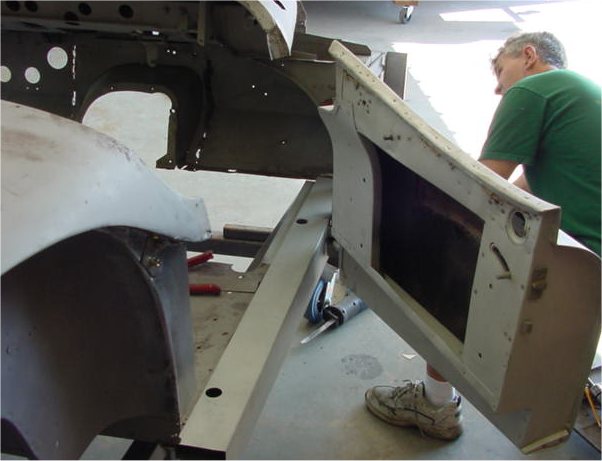
firewall |
box sections |
|
 |
 |
 |
|
firewall |
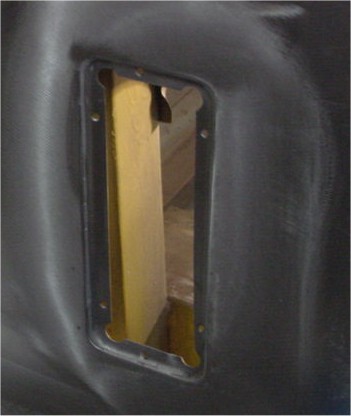
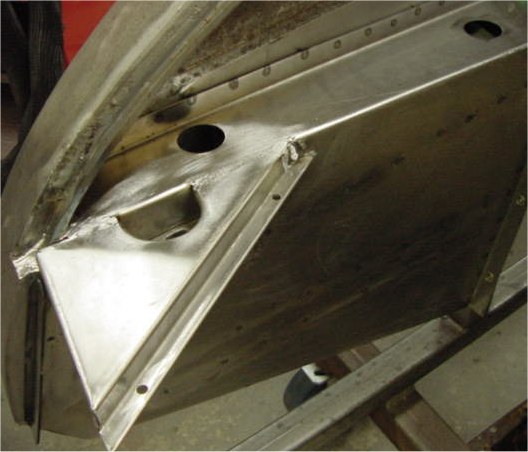
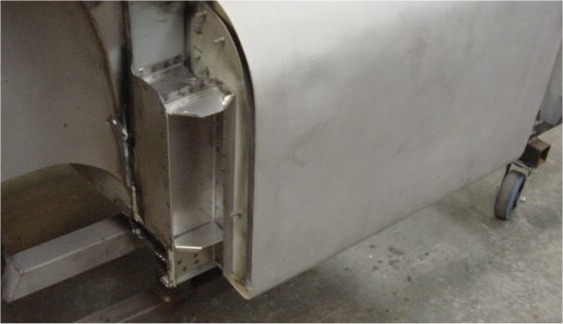
fitting new shut face panel |
|
 |
||
|
assembly |
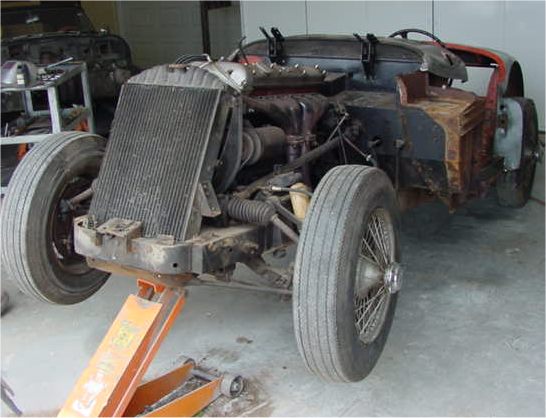
I am delighted to report that Lawrence is now well on the road to recovery (following his car accident last November) and has finally returned to work. His first priority is to finish the restoration of your XK140 and as you can see from the following photographs, he already has the project well underway!Look for frequent updates in respect of this particular project over the coming weeks!
 |
 |
 |
|
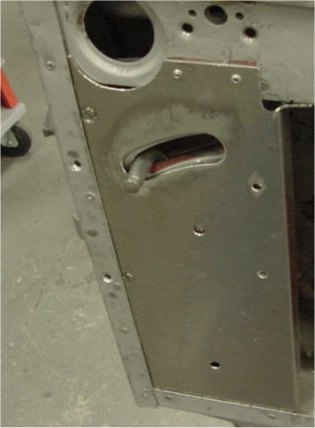
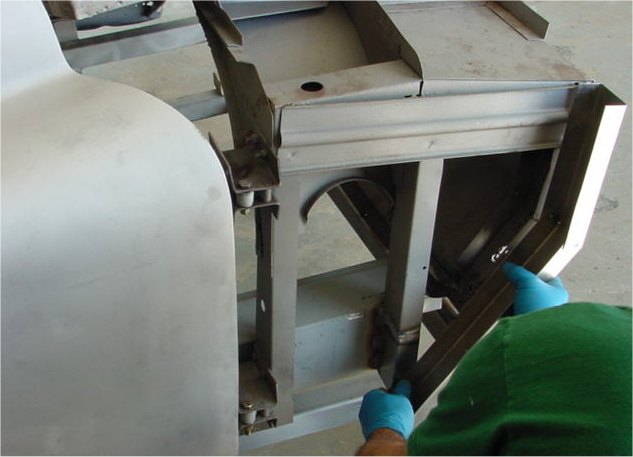
firewall panel |
RH B post assembly |
|
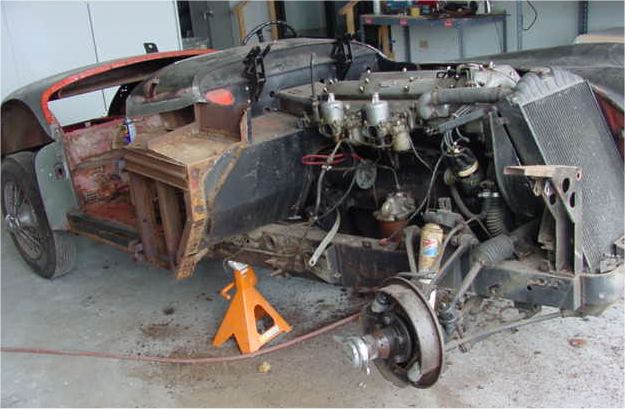
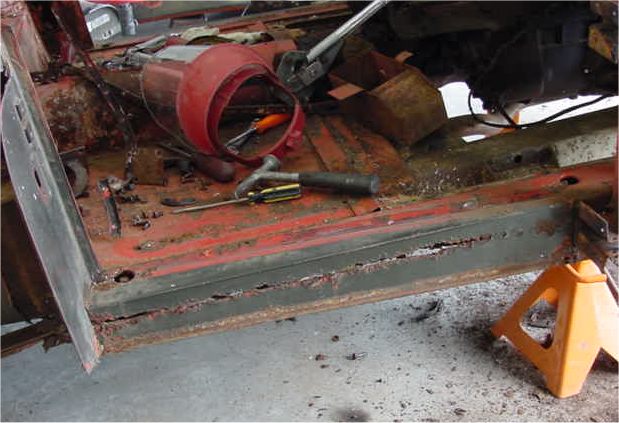
As you can see, we now have the body restoration well underway. Our starting point will be the new box section sill(s) that Lawrence made for you. He is also going to have to fabricate a new firewall and lots of other good stuff along the way!
 |
 |
|
|
|
 |
 |
|
|
|
 |
|
|
|
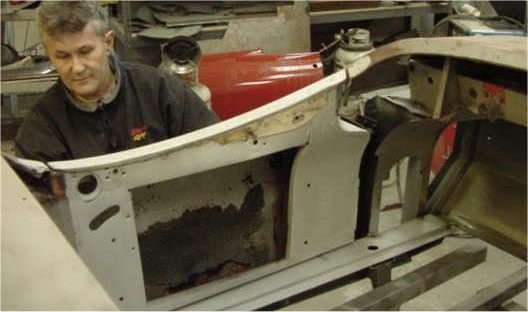
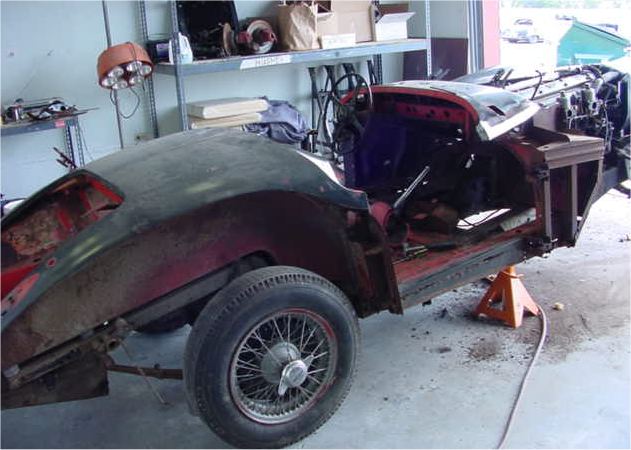
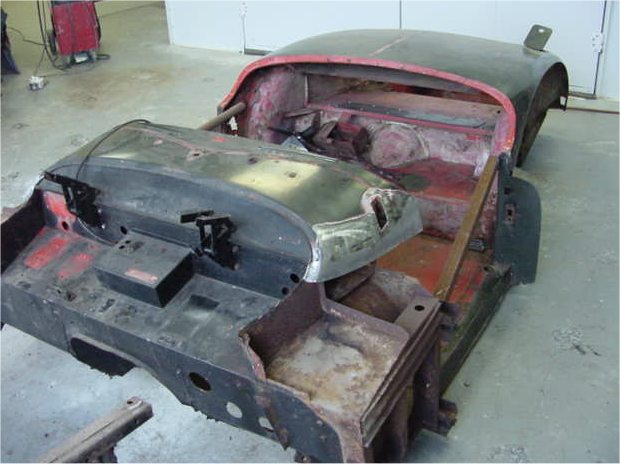
Lawrence has been beavering away on the body and chassis for you and I am pleased to report that we now have the body on a roll around jig and awaiting its turn at the bead blasters.
 |
 |
|
|
|
|
|
|
 |
 |
|
|
|
|
|
|
 |
 |
|
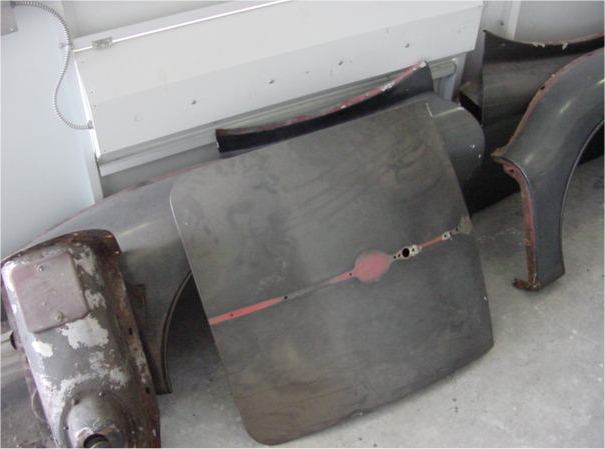
front wings are cut off |
|
|
|
|
 |
 |
|
|
|
|
|
|
 |
 |
|
|
|
|
|
|
 |
 |
|
|
purpose built jigs |
