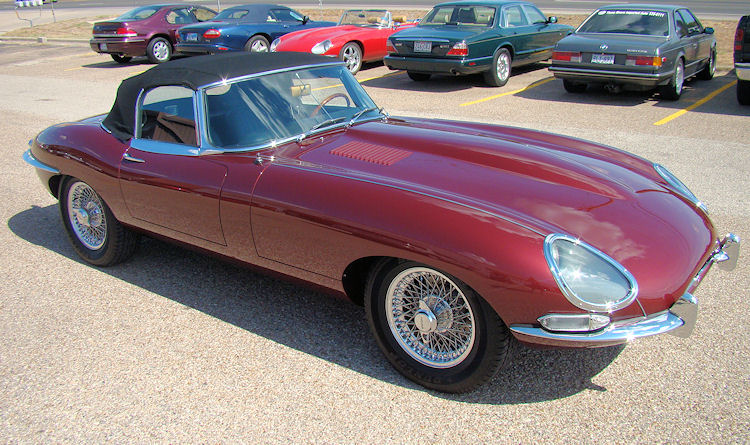
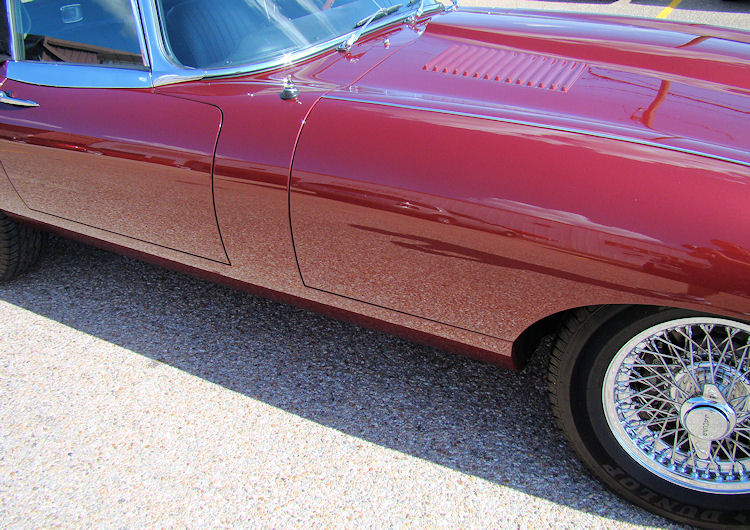
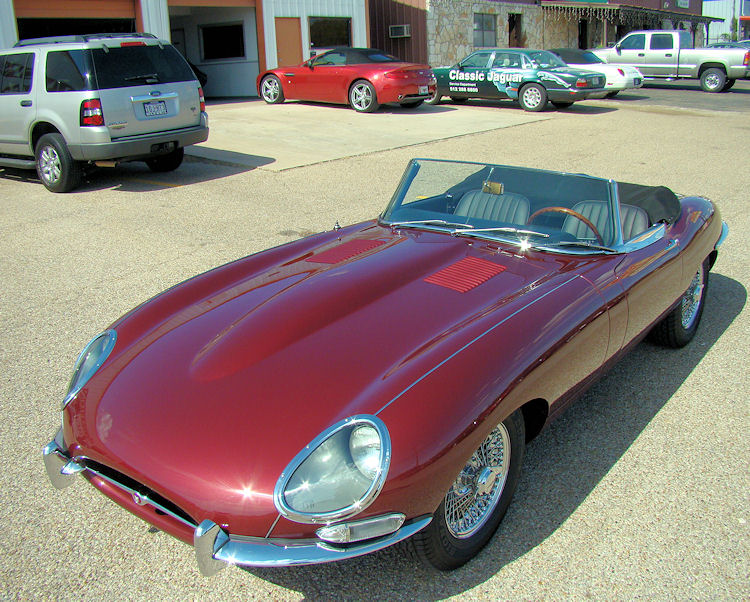
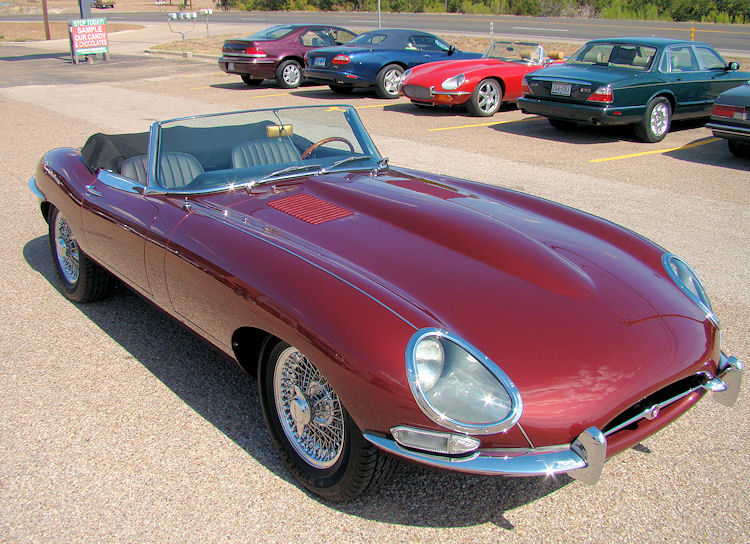
| 1967
E Type roadster (BD)
Total CJ restoration |
|
| 1967
E Type roadster (BD)
Total CJ restoration |
|
|
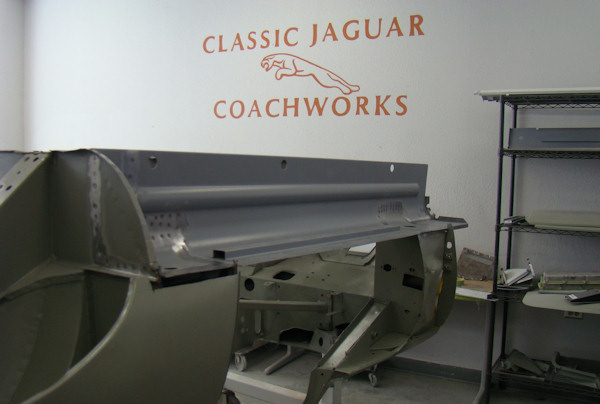
Update report - September 2, 2011
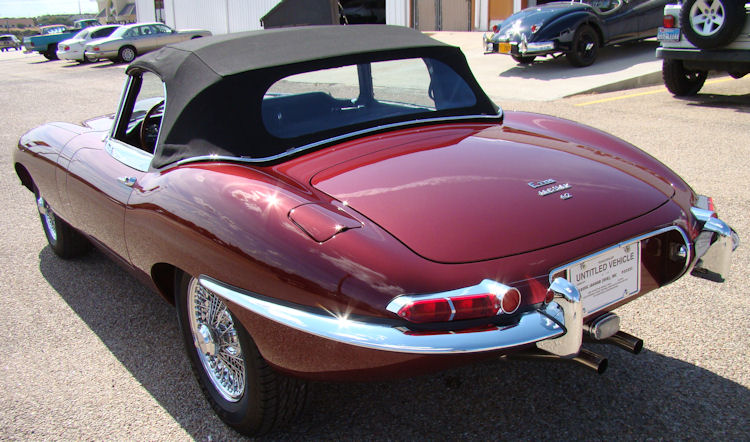
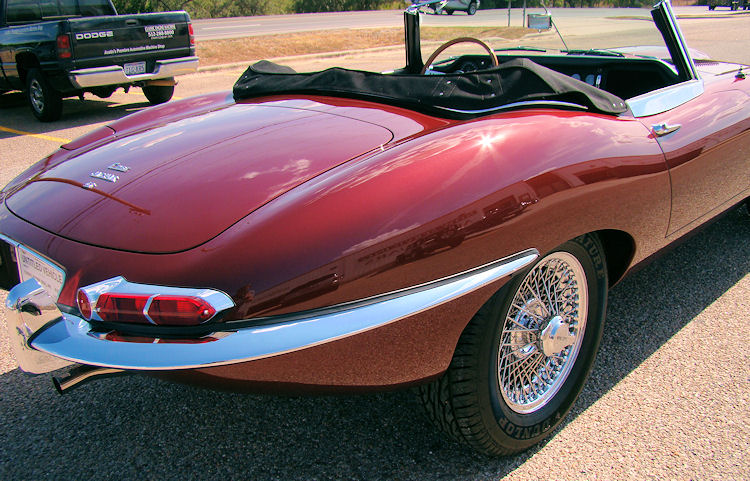
Another stunning E Type headed back home...

 |
 |
|
|
|
|
|
|
 |
 |
|
|
|
|
|
|
 |
 |
|
|
|
|
|
|
 |
 |
|
|
|
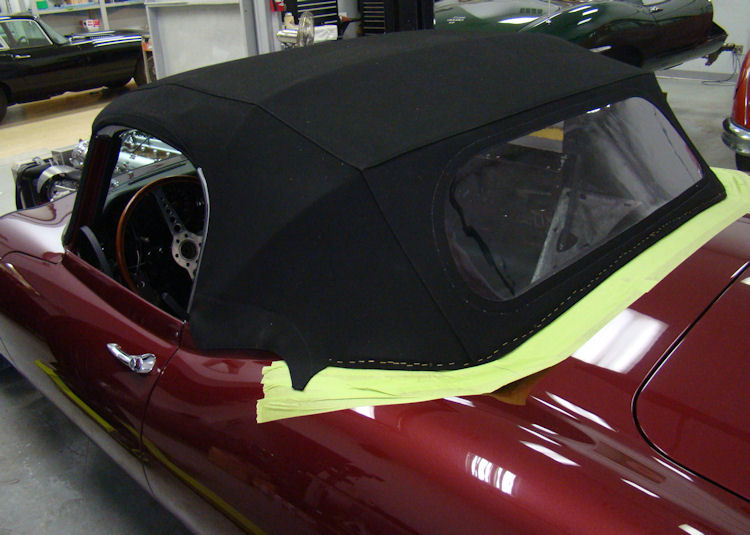
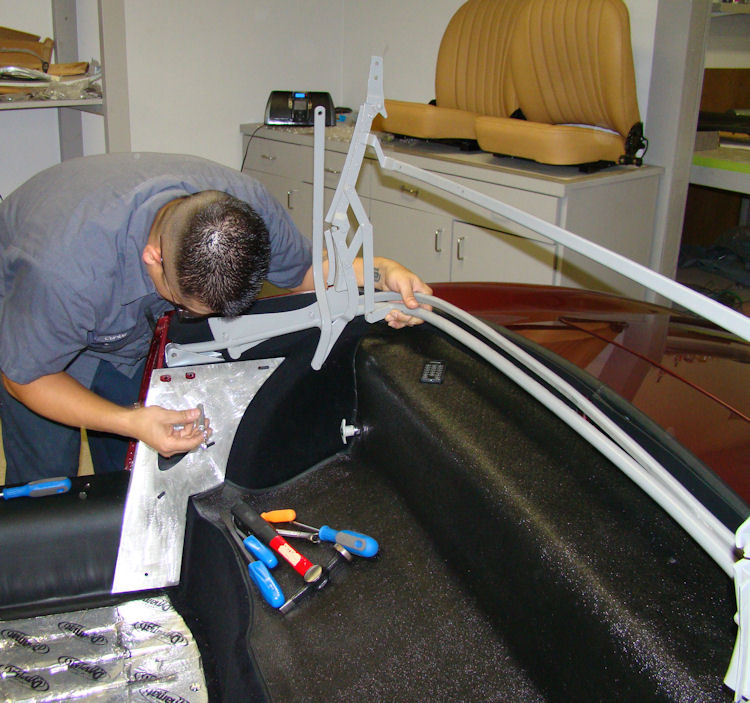
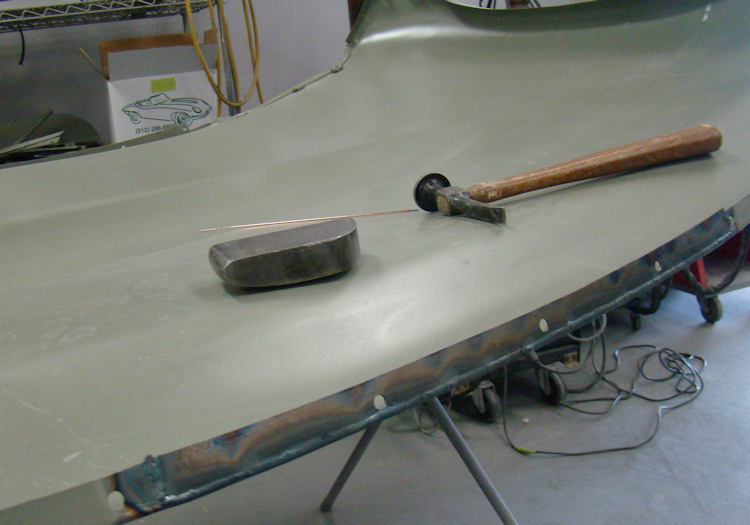
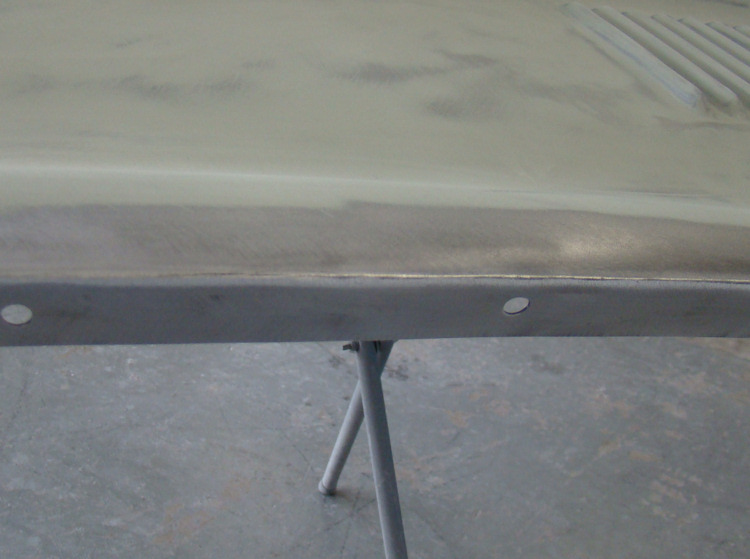
Installing the new convertible top...
 |
 |
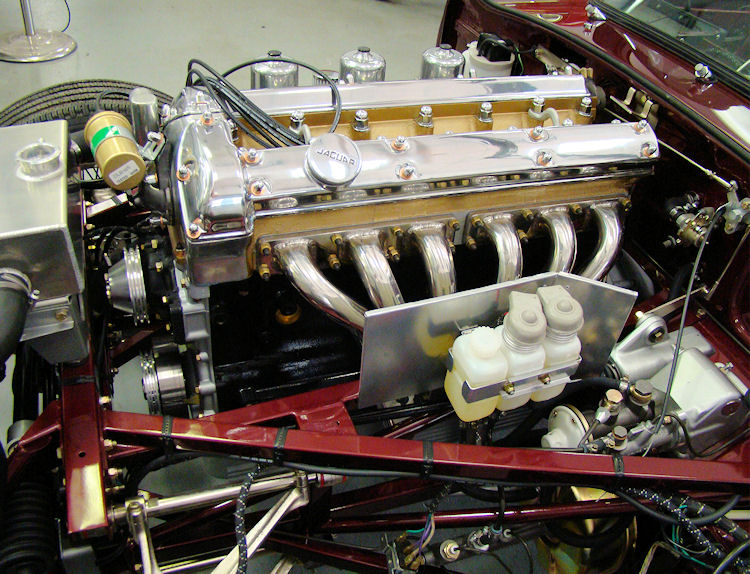
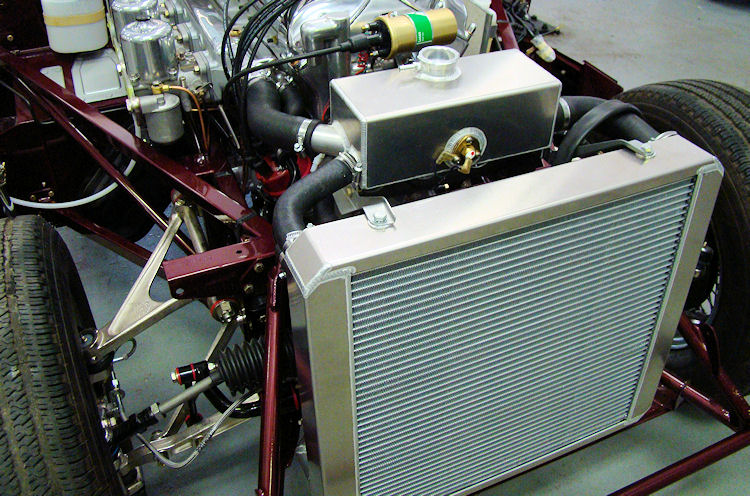
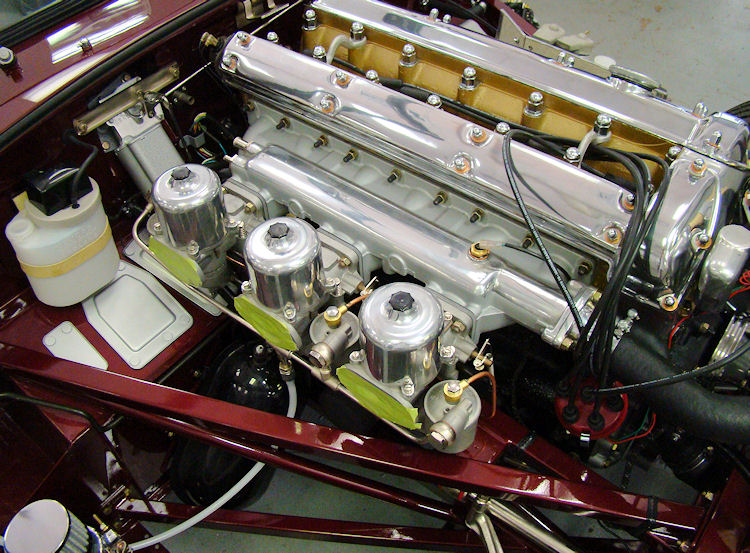
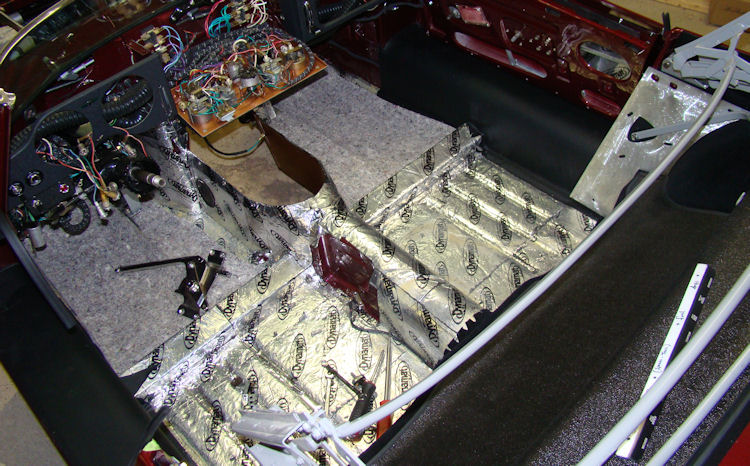
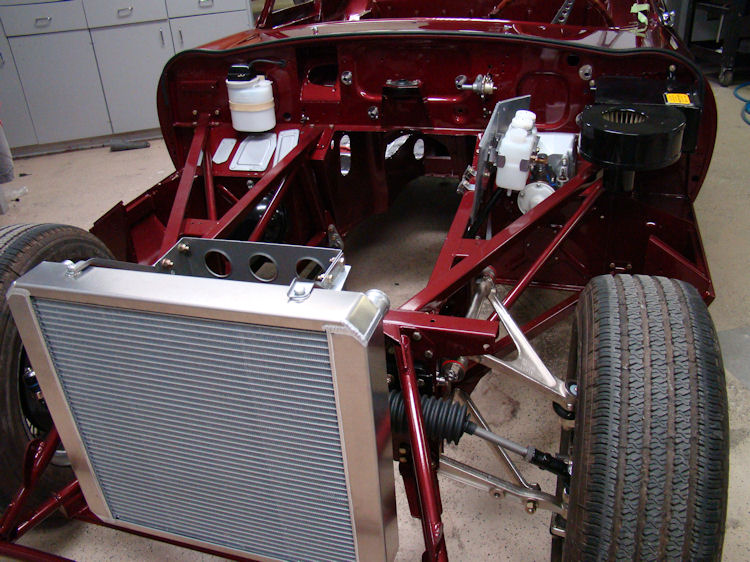
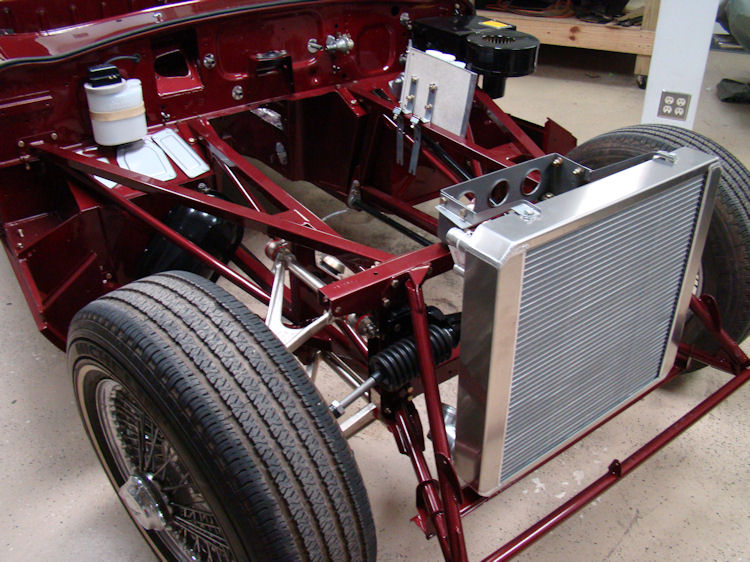
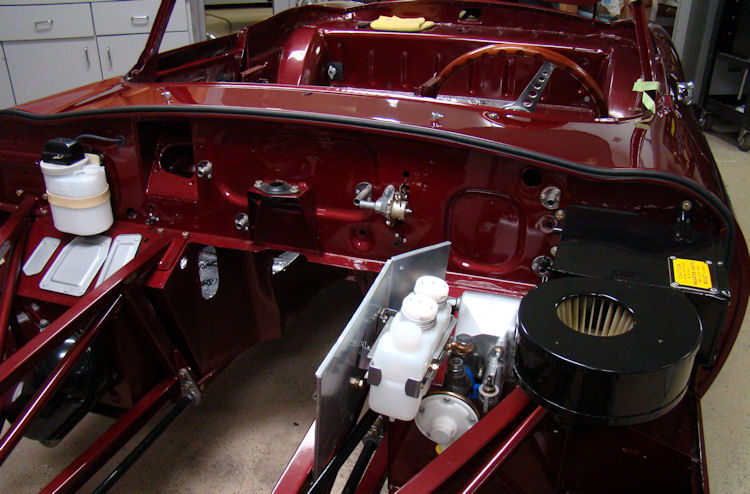
Engine and CJ5/600 five speed now installed, engine bay filling up rapidly...
 |
 |
 |
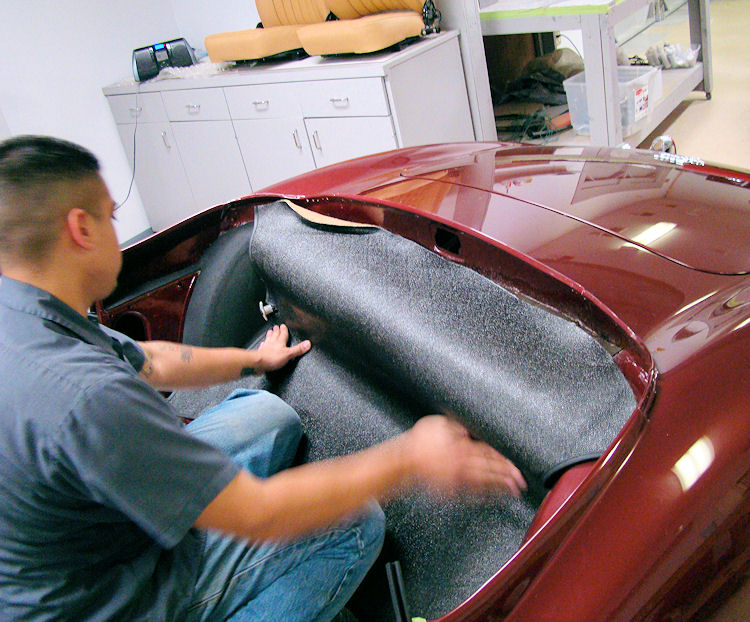
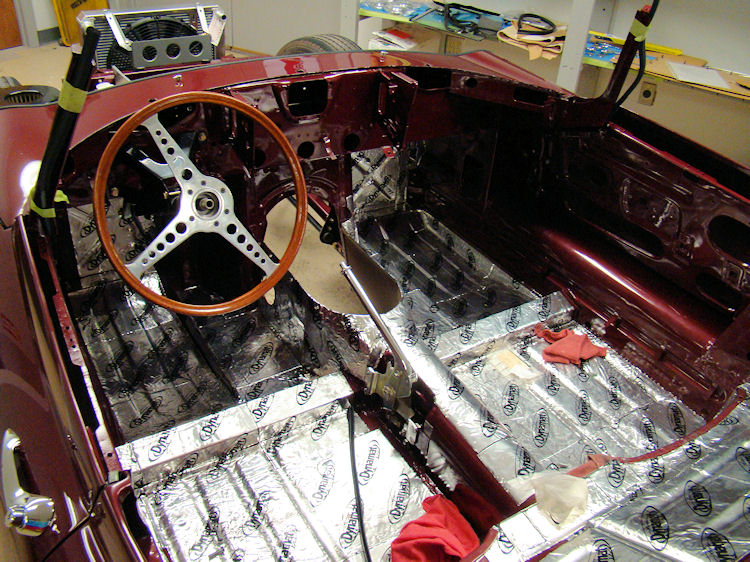
Interior installation continues, building a new CJ5/600 five speed...
 |
 |
 |
|
|
CNC machined |
|
 |
 |
 |
|
installation underway |
||
 |
 |
|
|
|
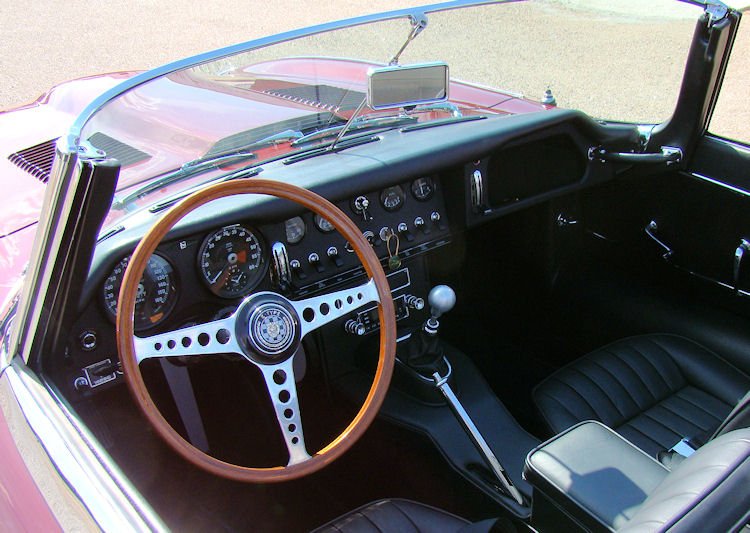
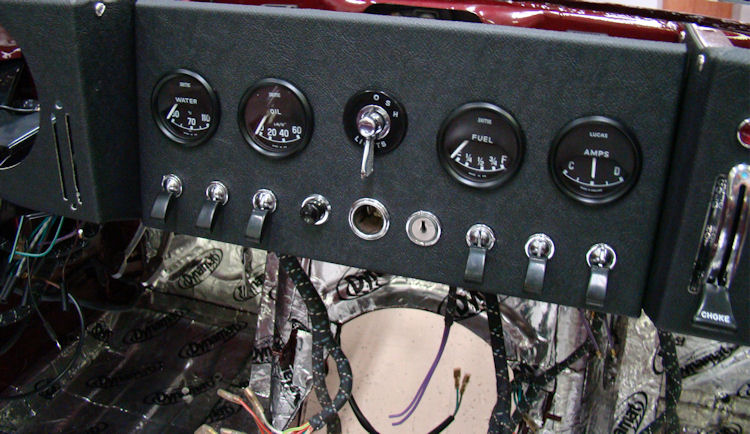
Gauges rebuilt, dash assembly underway...
 |
 |
 |
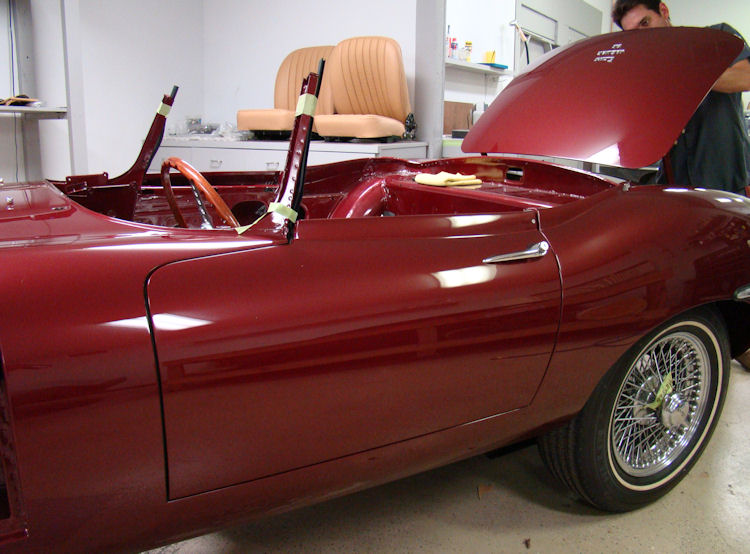
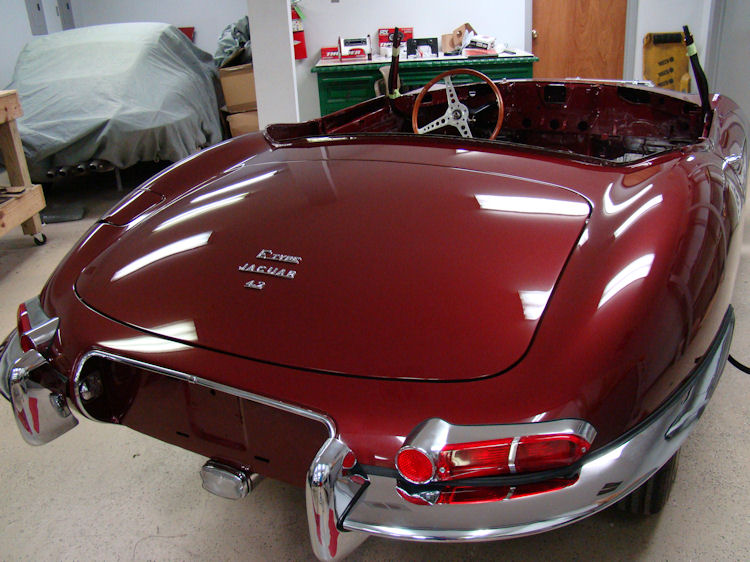
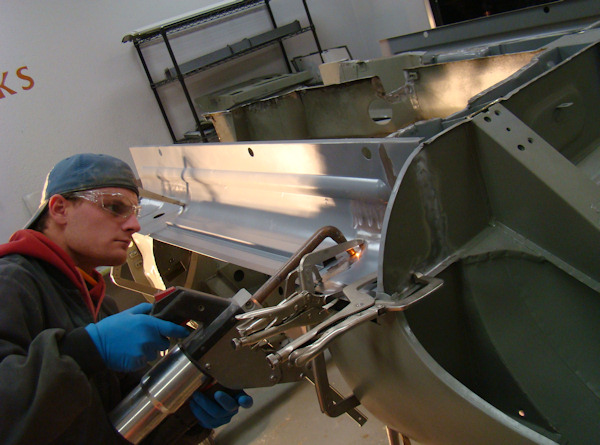
I am pleased to report that your car is now rolling and steering once again, and has already started to receive its lights, chrome an brightwork.
 |
 |
 |
|
|
||
 |
 |
 |
|
|
|
|
 |
 |
 |
|
|
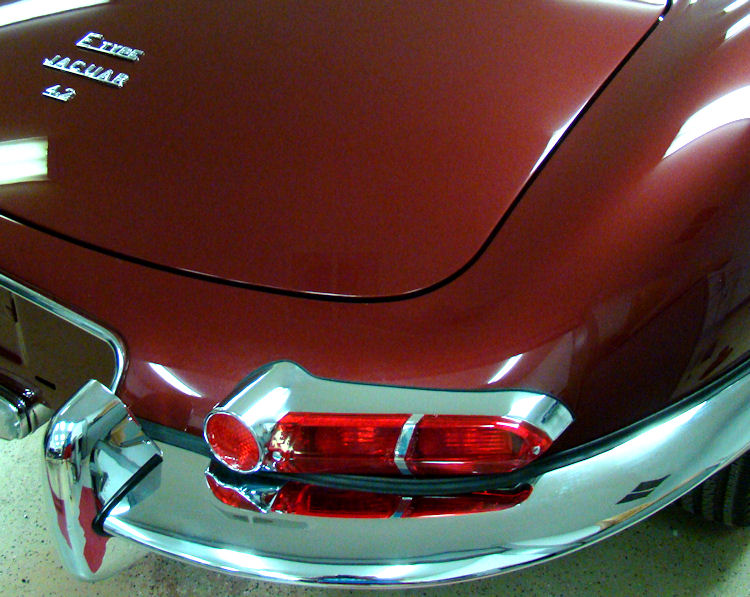
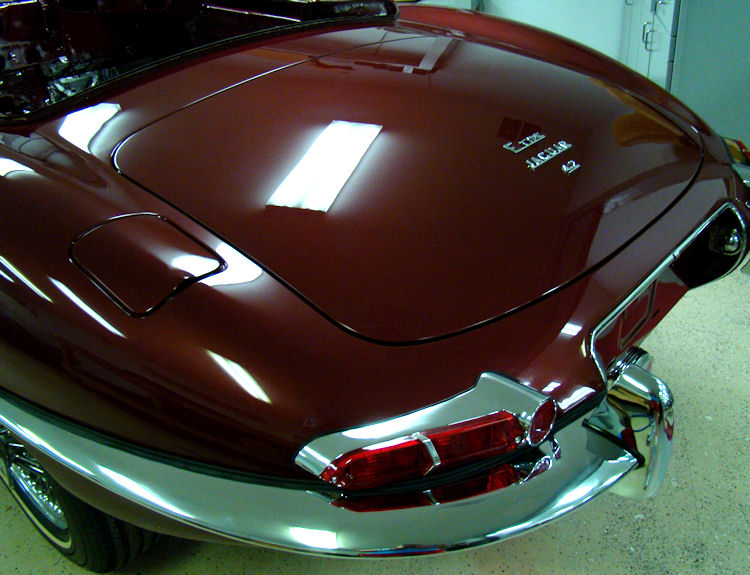
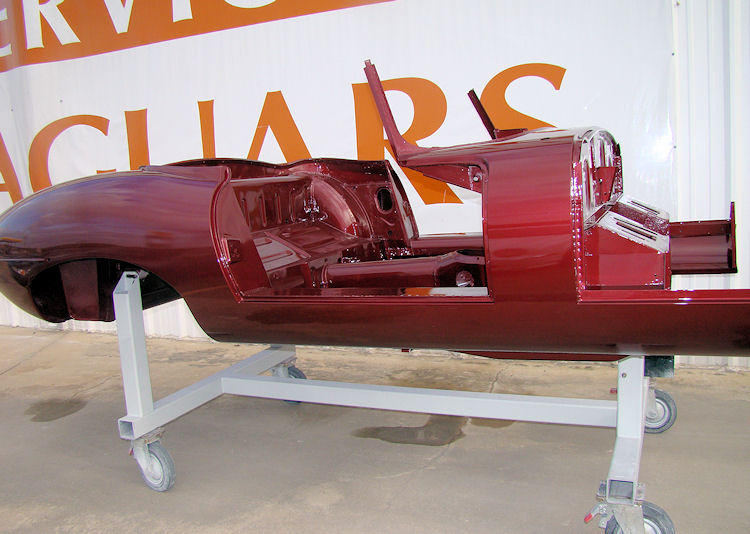
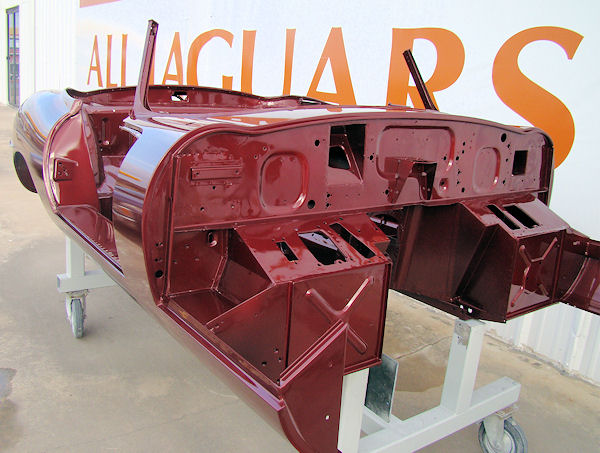
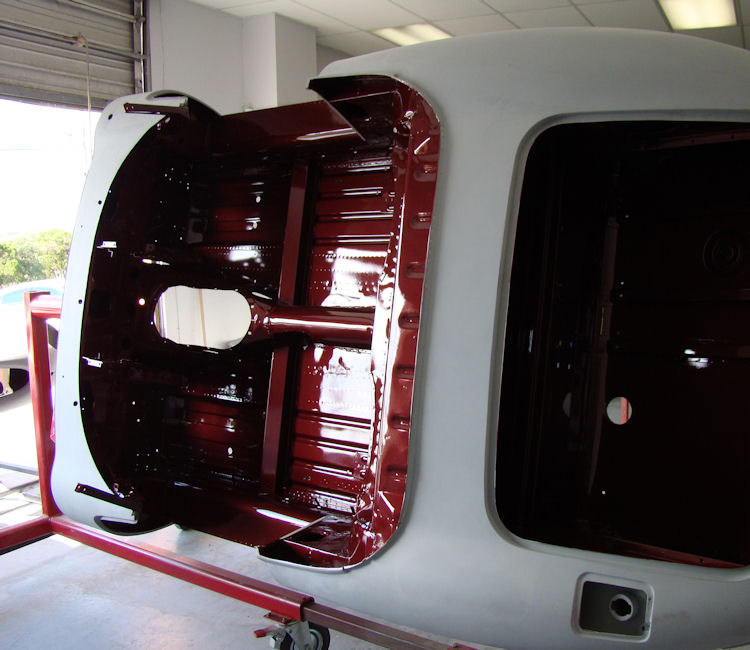
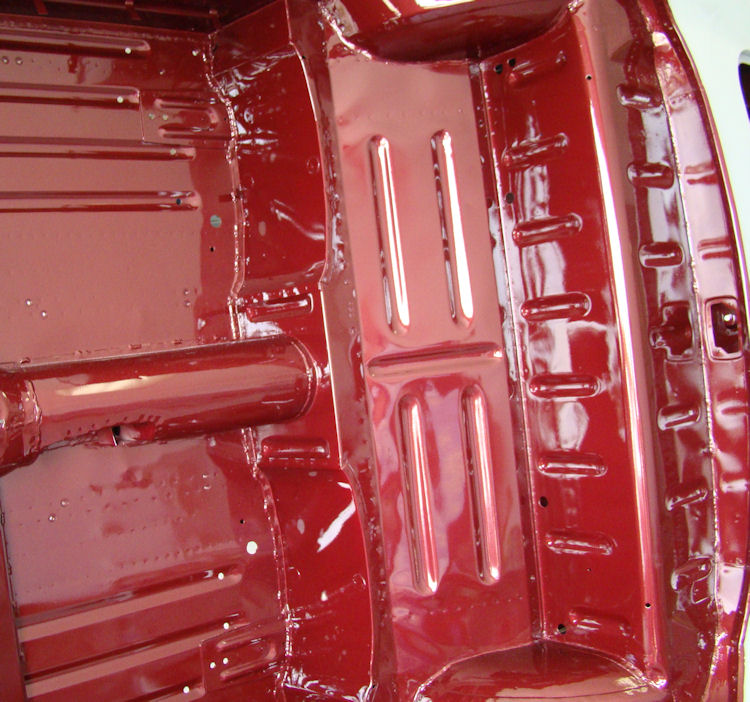
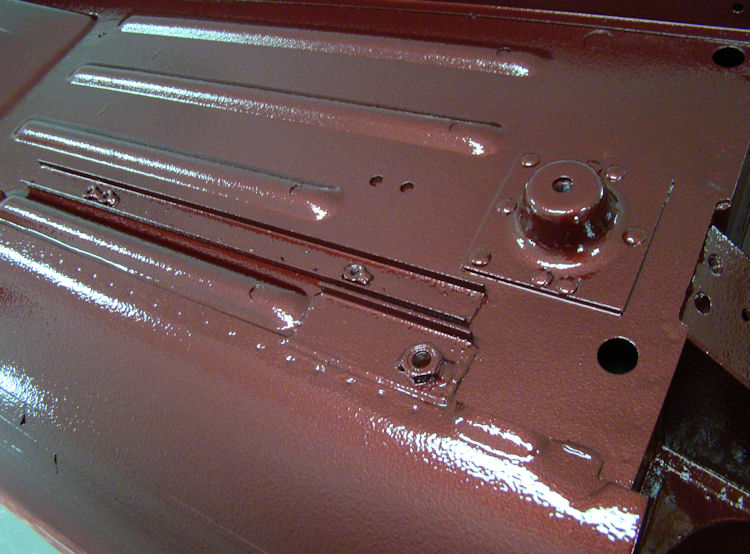
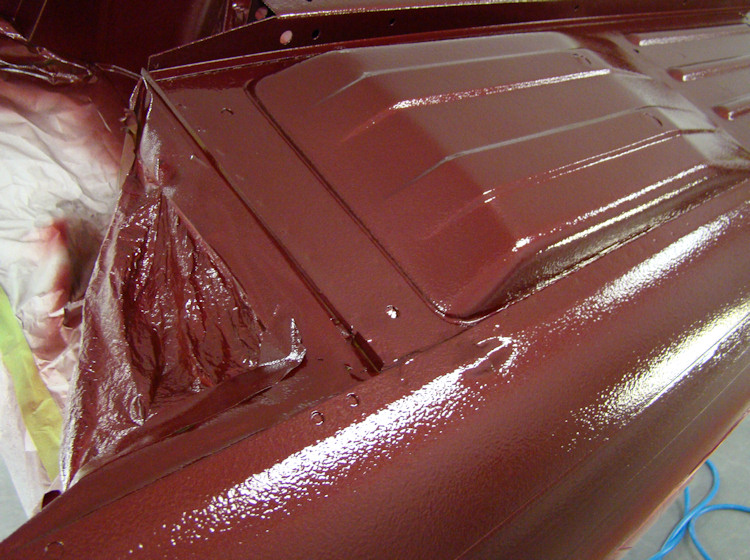
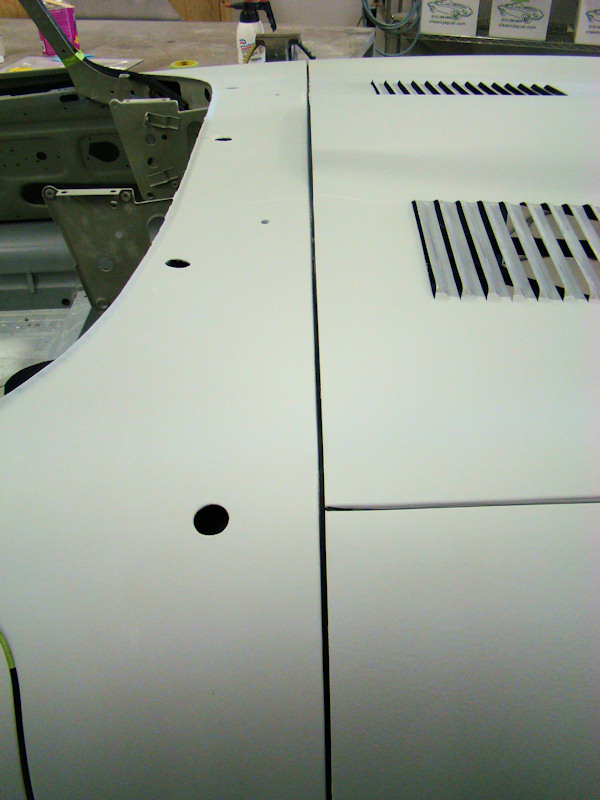
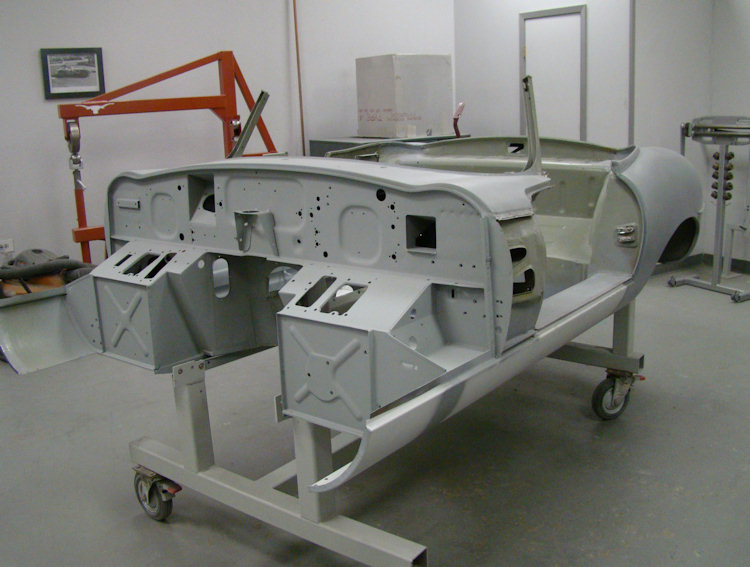
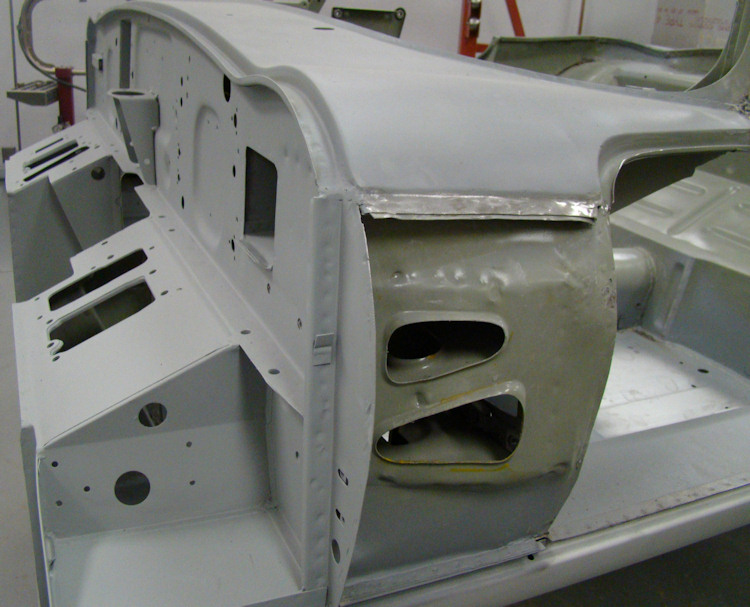
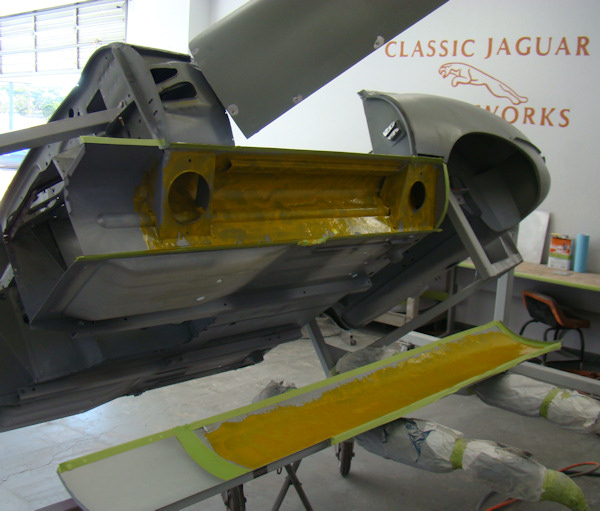
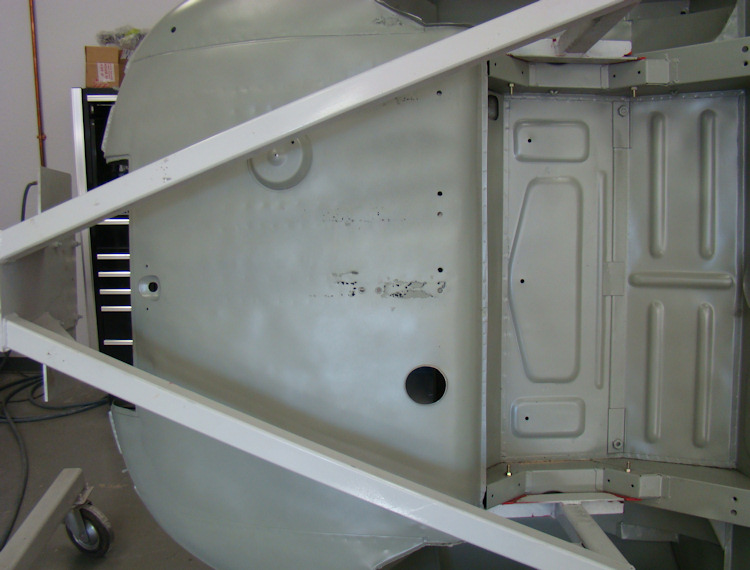
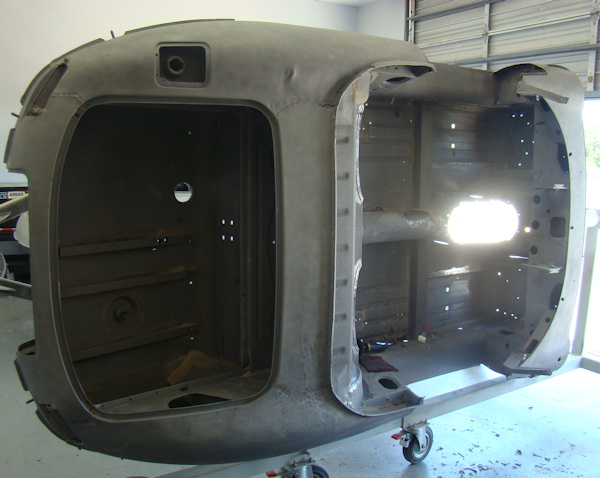
We have now finished all the paintwork and it is time to get the reassembly underway. The bodywork and the paintwork are absolutely spectacular.
 |
 |
 |
 |
 |
 |
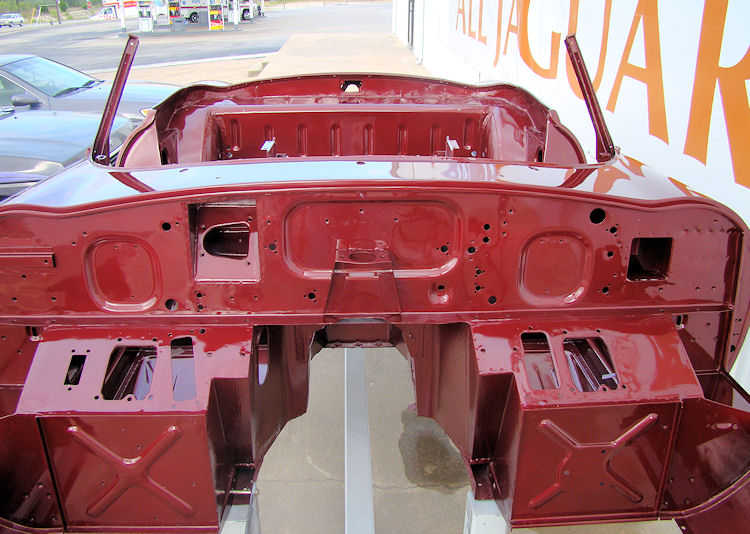
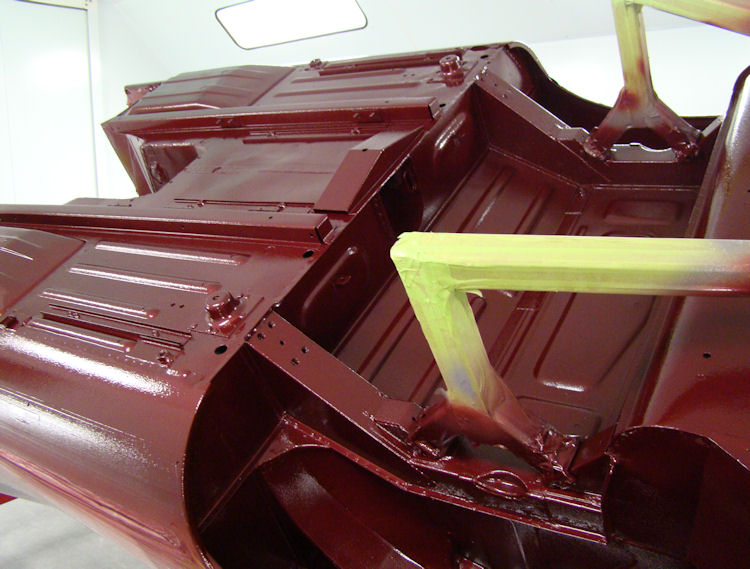
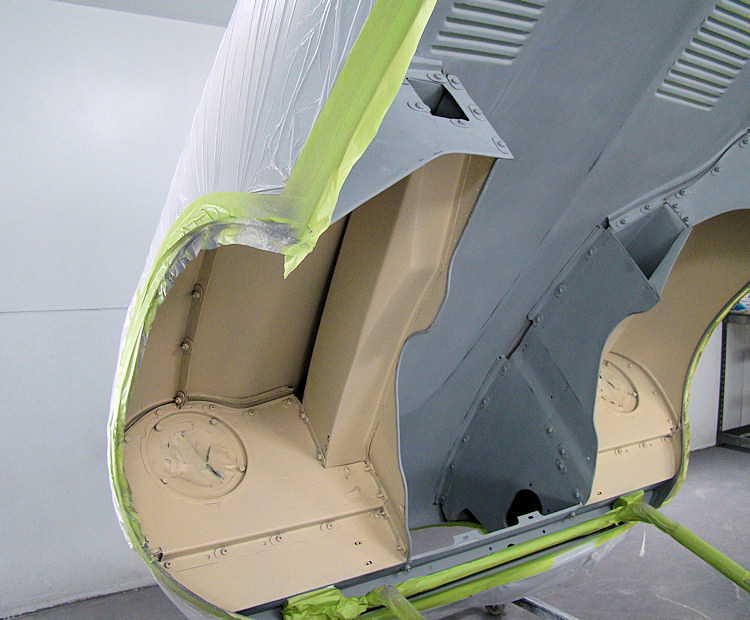
The cabin and boot compartment have now been painted...
 |
 |
 |
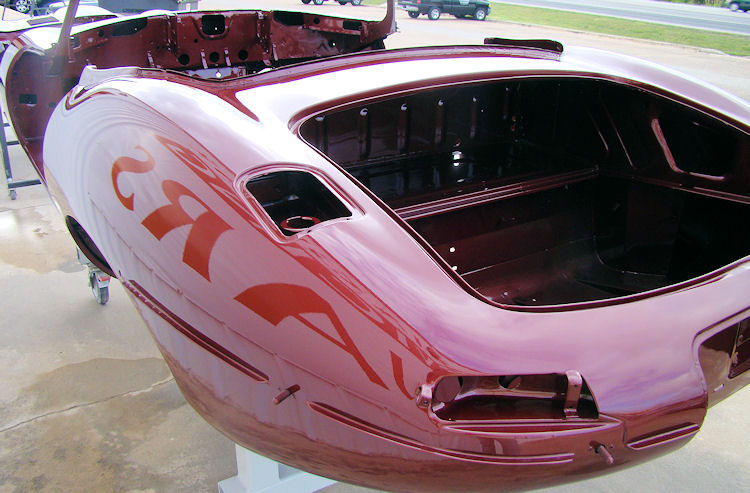
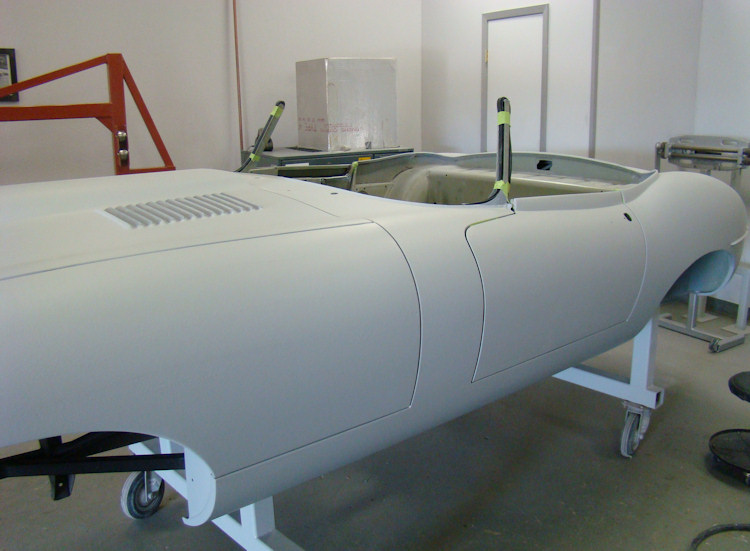
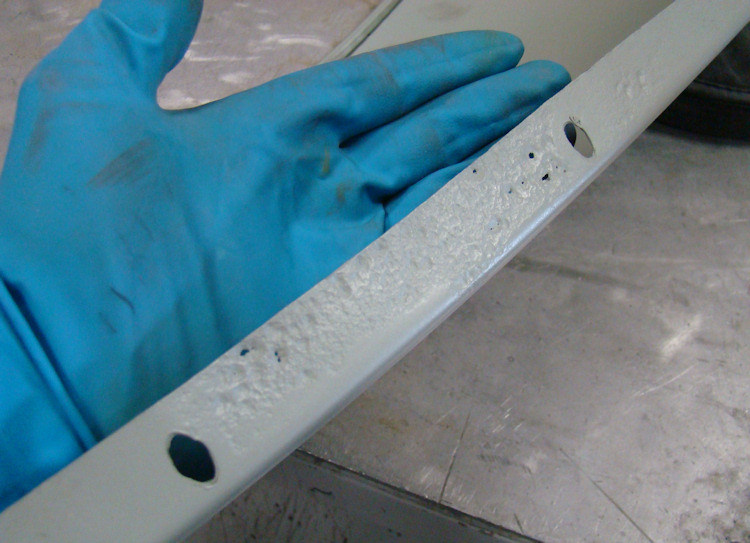
After countless hours of blocking and sanding, it is now time to apply the first of the Opalescent Maroon paint.
 |
 |
|
|
|
 |
 |
|
|
|
 |
 |
|
prior to painting |
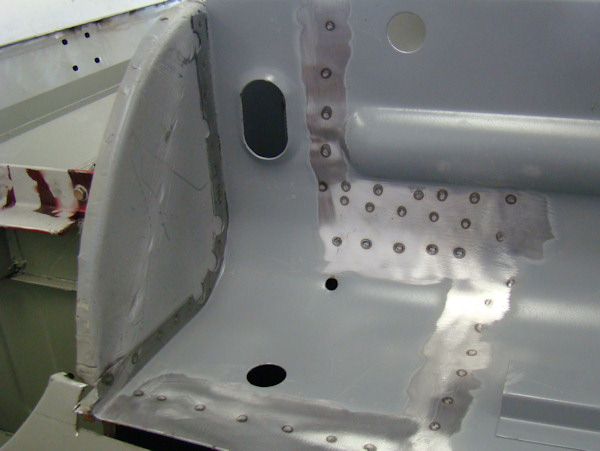
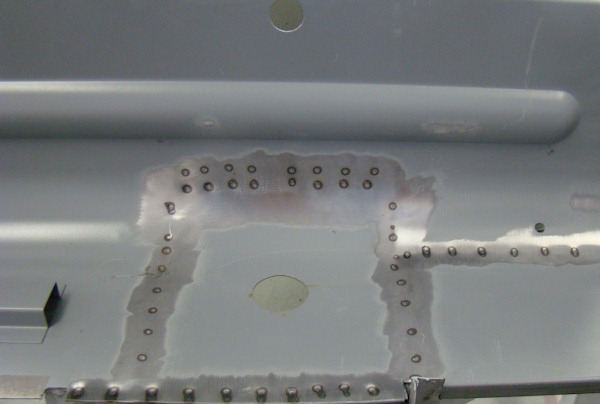
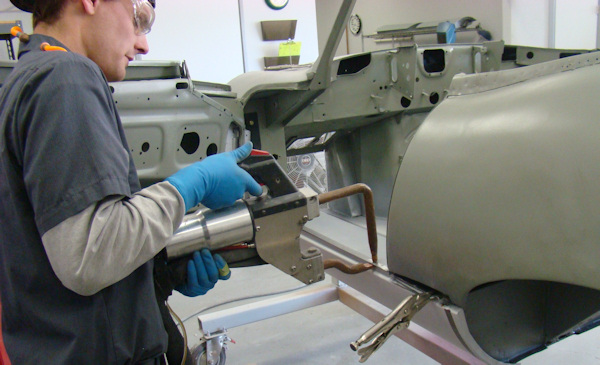
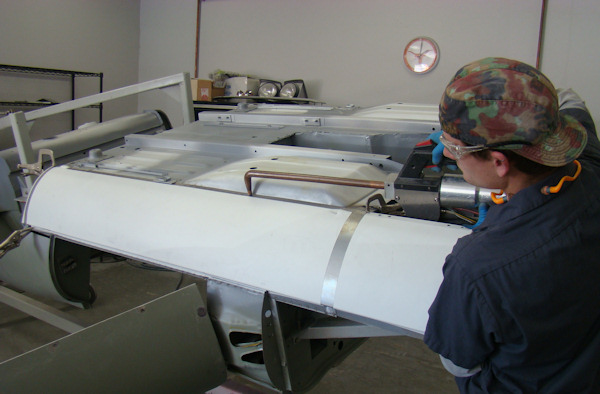
We have been busy in both the Coachworks and the engine machine shop, over the last few weeks. We have now completely finished all the panel replacement, sheet metal repairs, panel fit and filler work. The car is now in Slick Sand (sprayable Polyester) and over the next week or so will be blocked with 120 followed 180 grit paper. Once that has been completed, the car will be put into high build primer which will be sanded with 400 followed by 600 grit (wet) paper, at which point it will be ready for painting.
 |
 |
 |
|
now in Slick Sand |
installed for final blocking process |
|
 |
 |
 |
|
|
pressure plate |
|
 |
 |
 |
|
|
|
oversized thrust washers |
 |
 |
 |
|
|
|
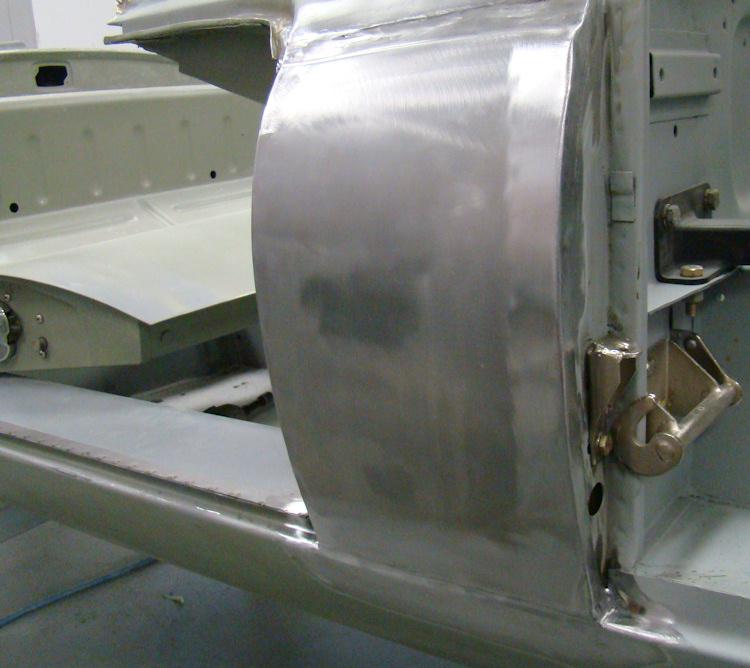
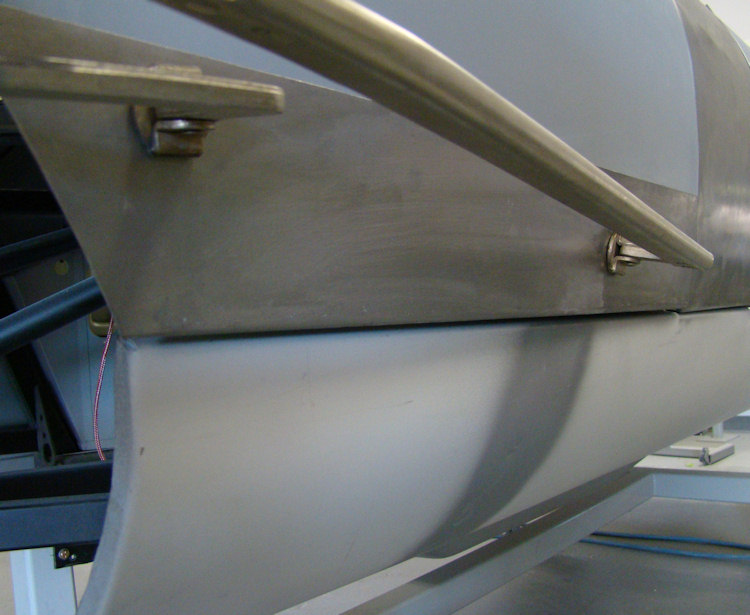
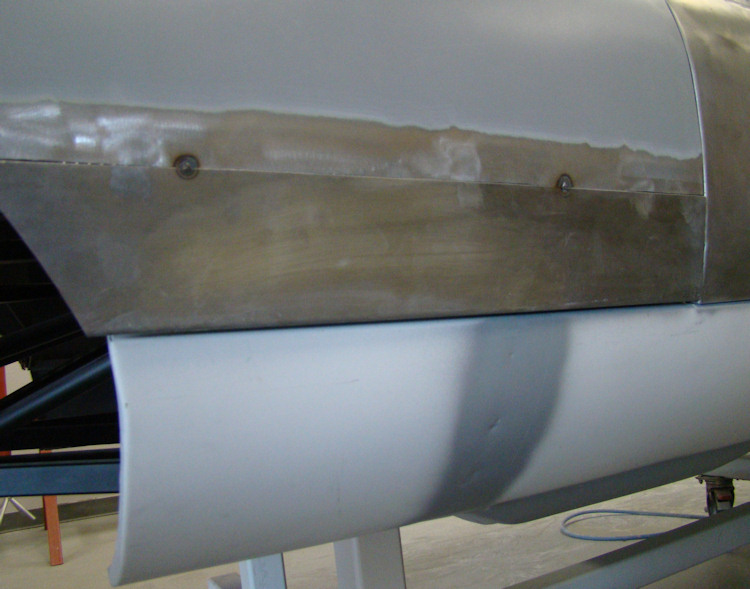
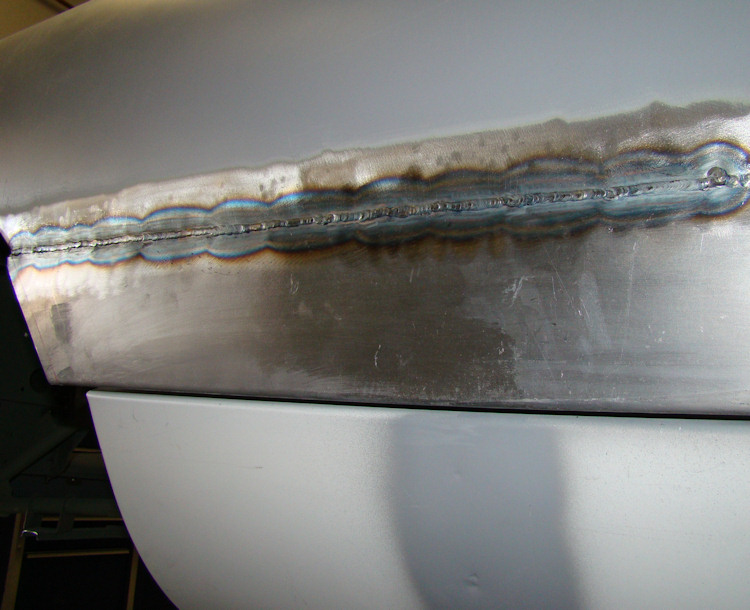
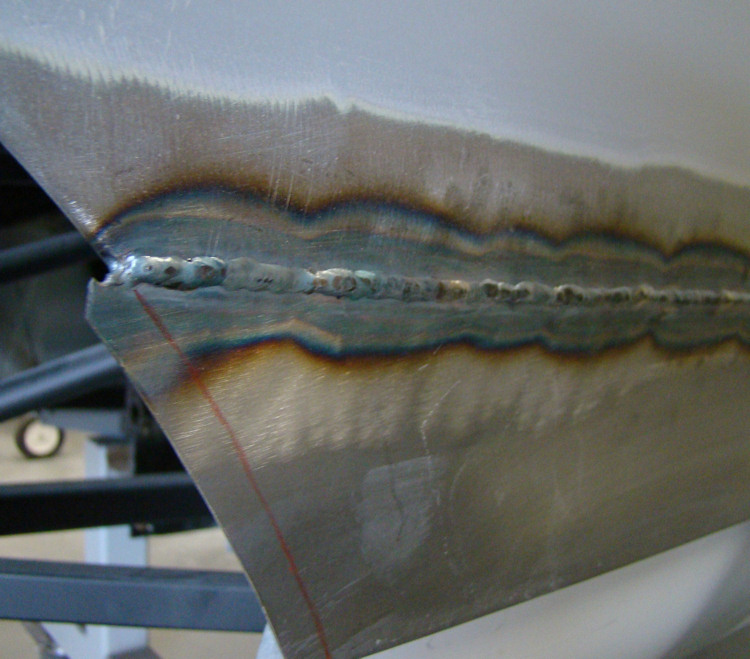
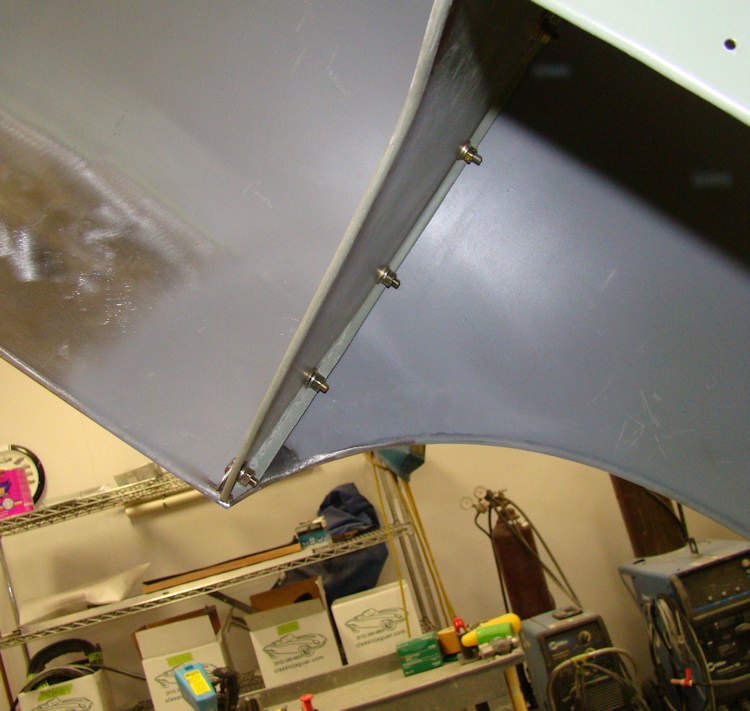
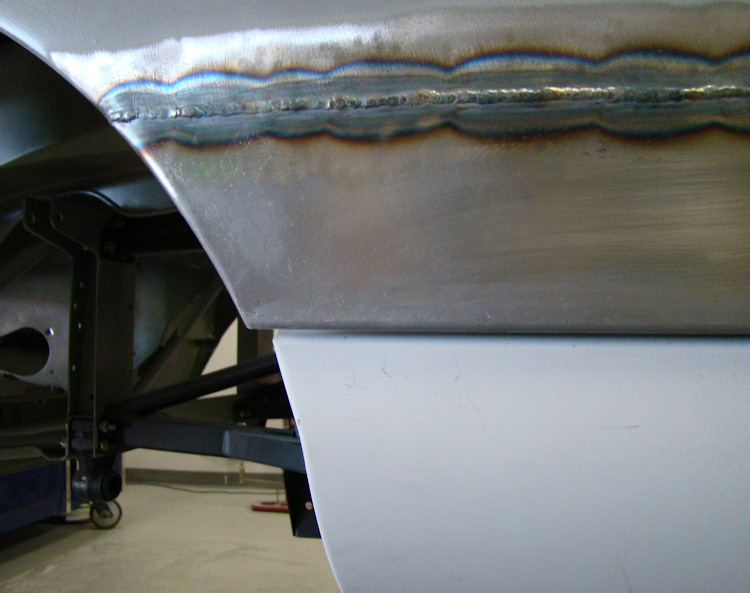
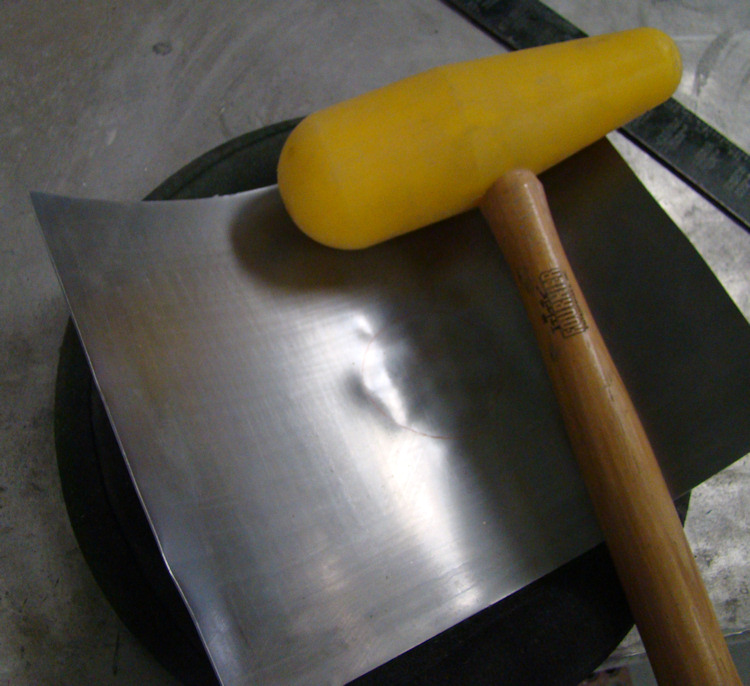
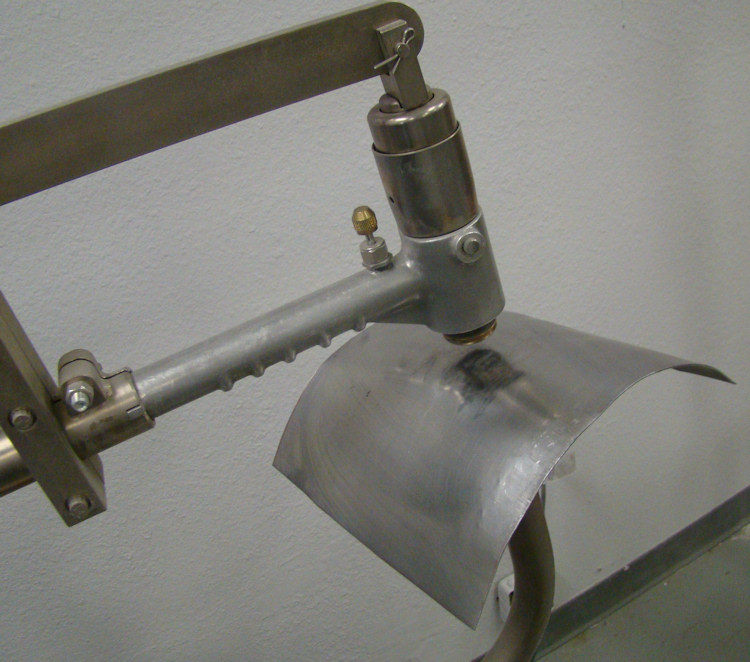
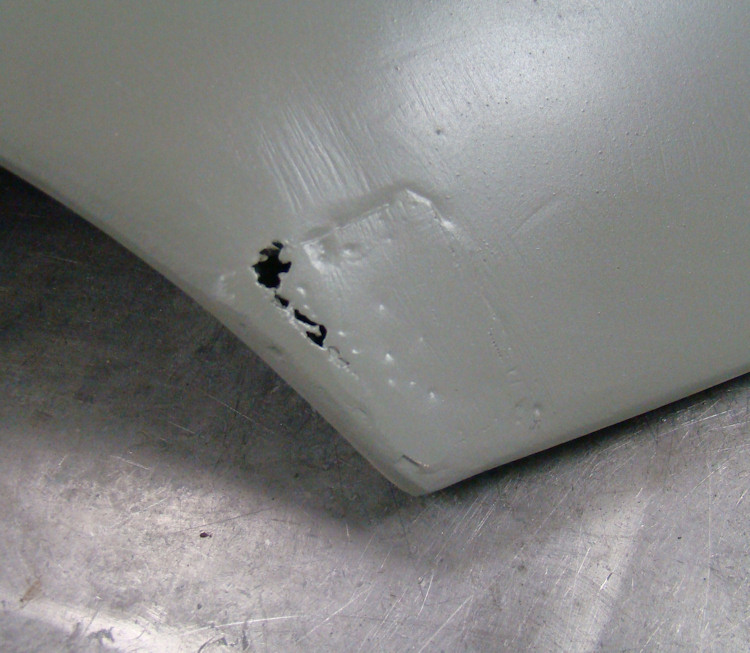
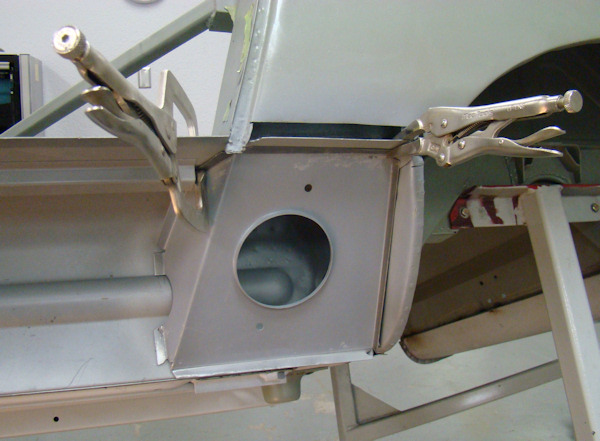
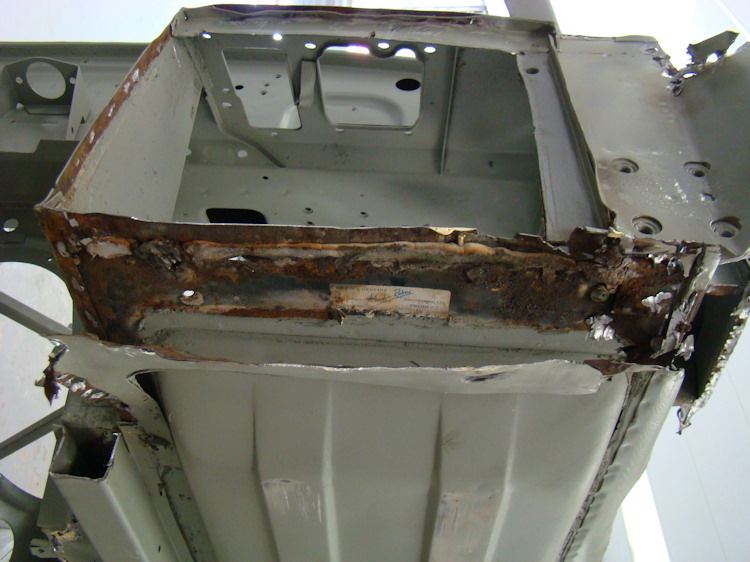
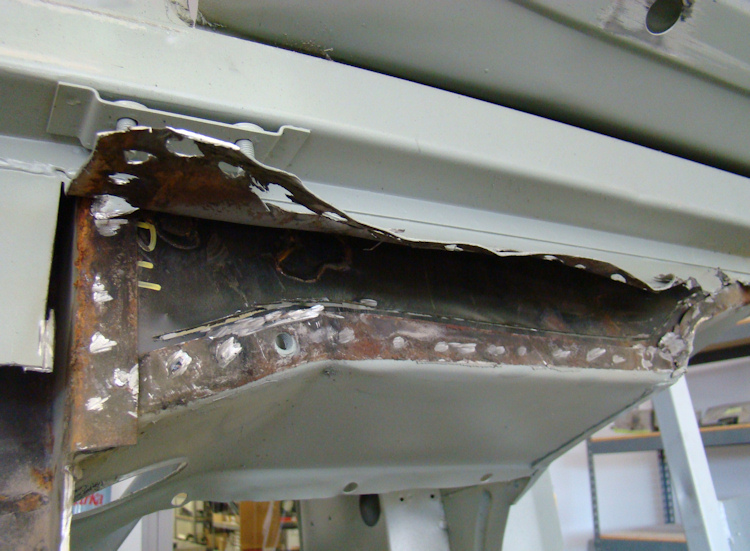
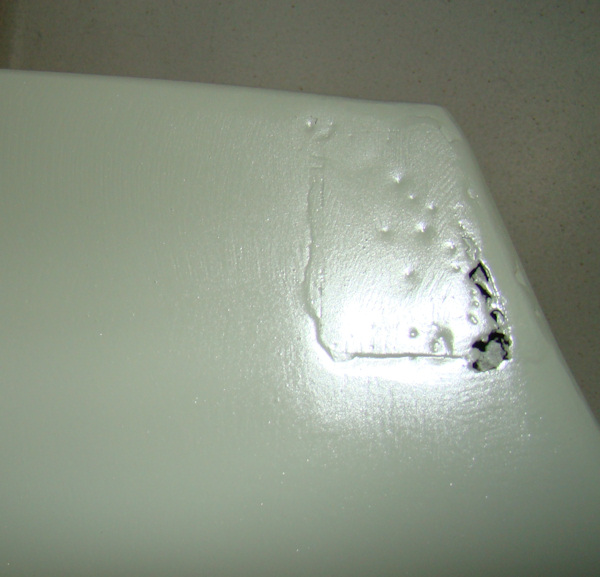
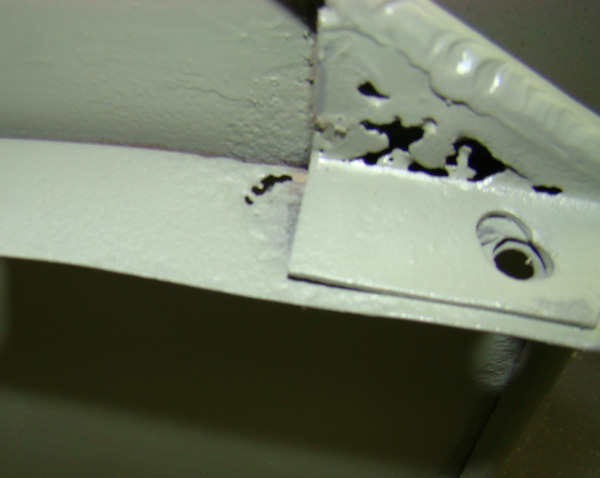
The following photos show Darrell repairing the lower part of your bonnet's left hand wing, which was badly corroded. It is a fairly tricky procedure due to the beading that runs around the wheel arch and along the bottom edge of the the front wings.
 |
 |
 |
|
|
behind lh cowl side panel |
into place |
|
|
|
|
 |
 |
 |
|
|
|
|
|
|
||
 |
 |
 |
|
|
|
|
|
|
||
 |
 |
 |
|
(see photo below) |
|
|
|
|
||
 |
 |
 |
|
|
|
of cowl side panel |
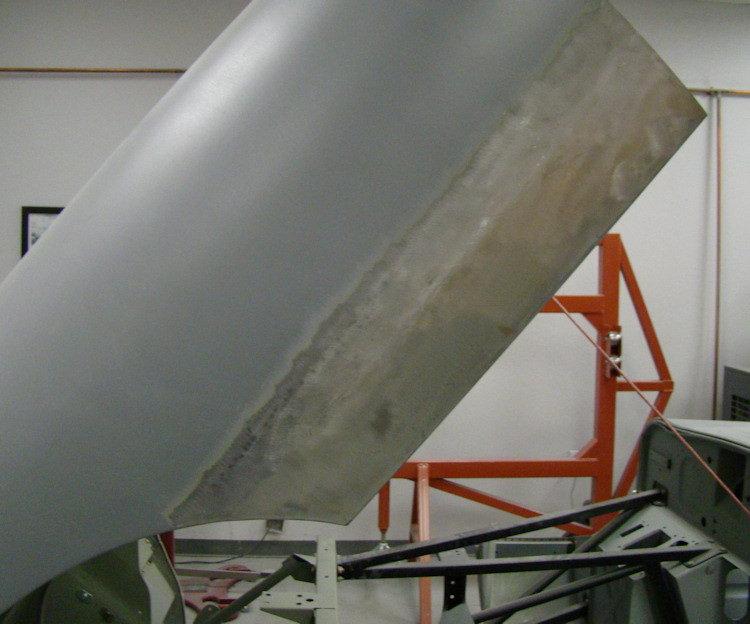
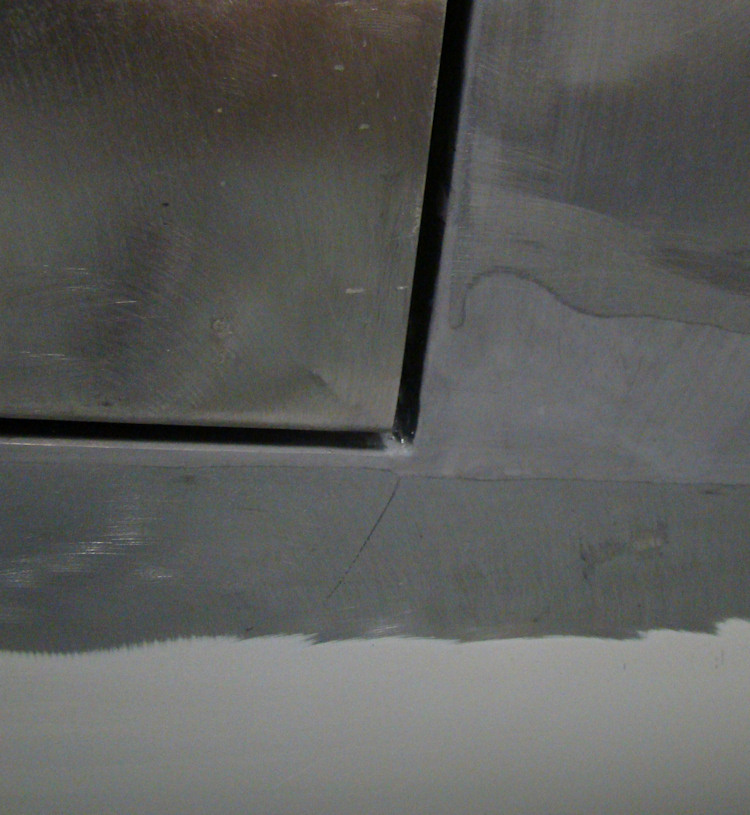
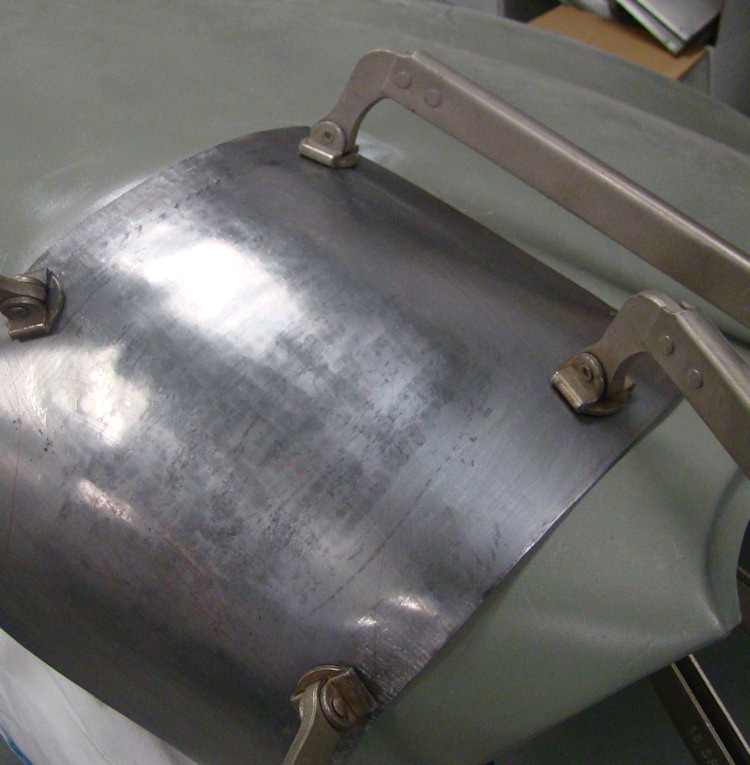
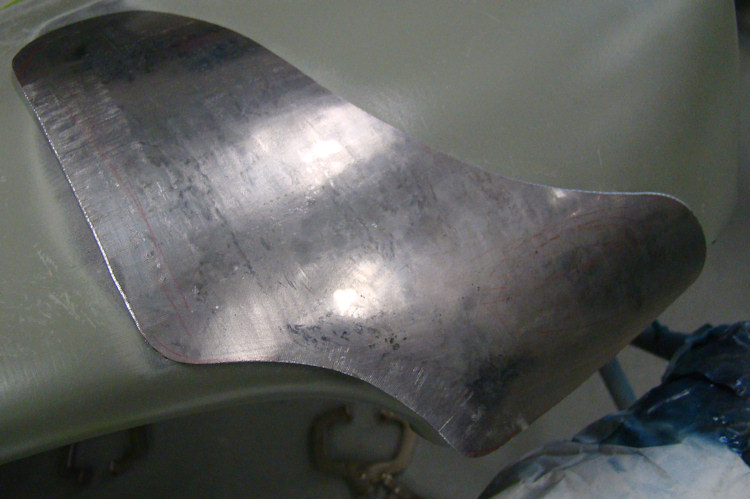
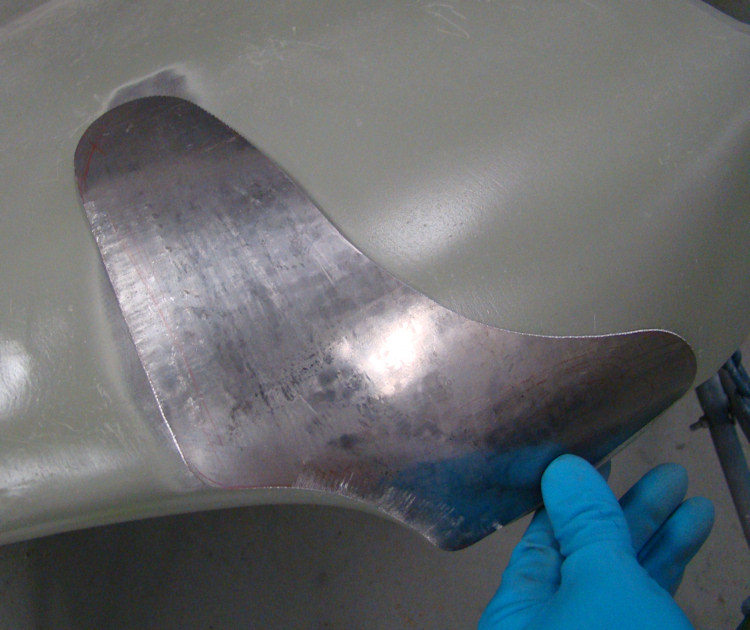
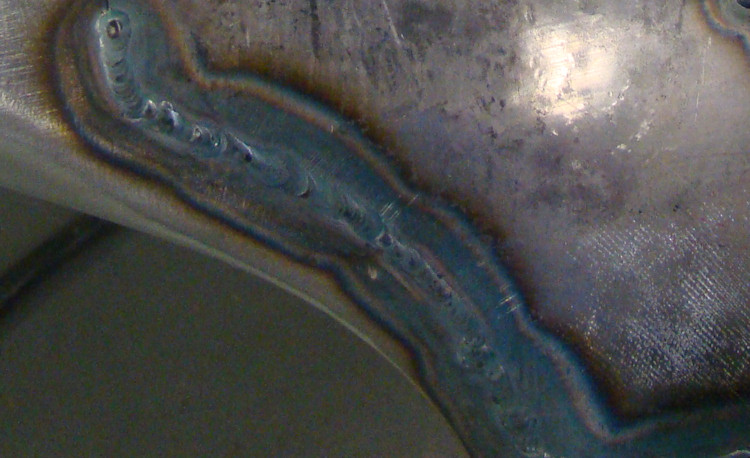
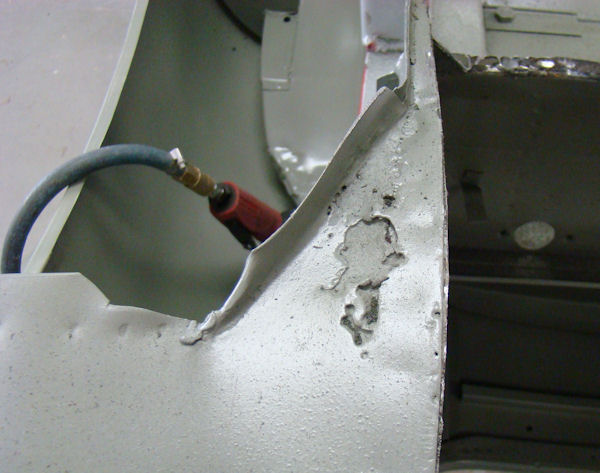
Repairing your corroded and accident damaged bonnet center section.
 |
 |
 |
|
are rusty |
and welded in place |
|
 |
 |
 |
|
of bonnet mouth |
||
|
|
|
|
 |
 |
 |
|
the entire shop! |
|
|
|
|
|
|
 |
 |
 |
|
|
|
|
|
|
|
|
 |
 |
|
|
|
|
|
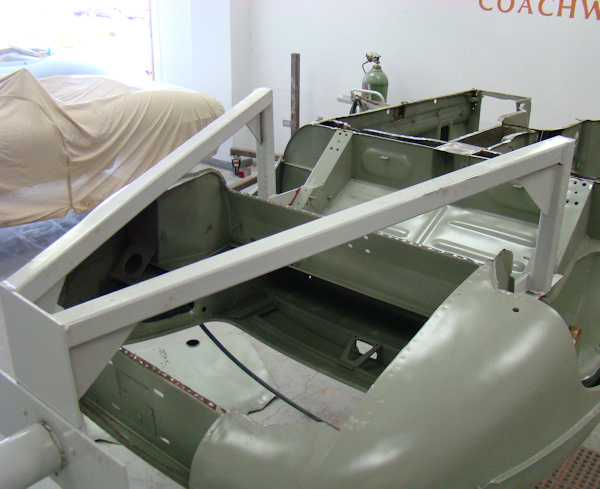
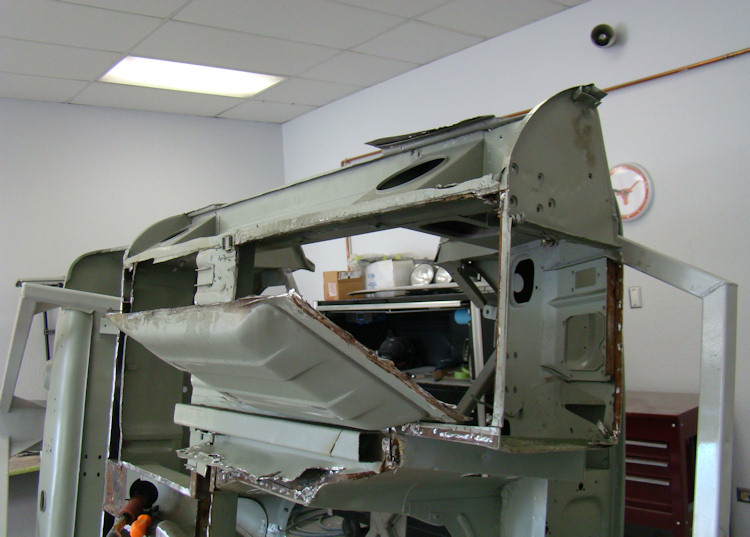
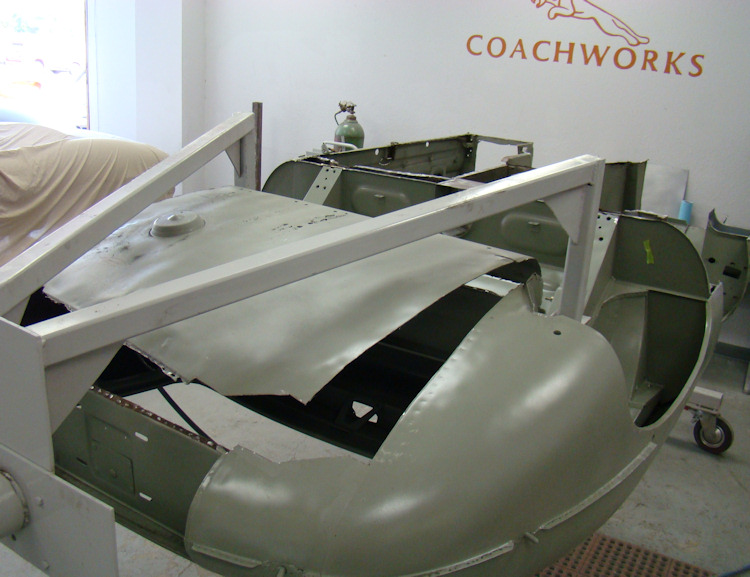
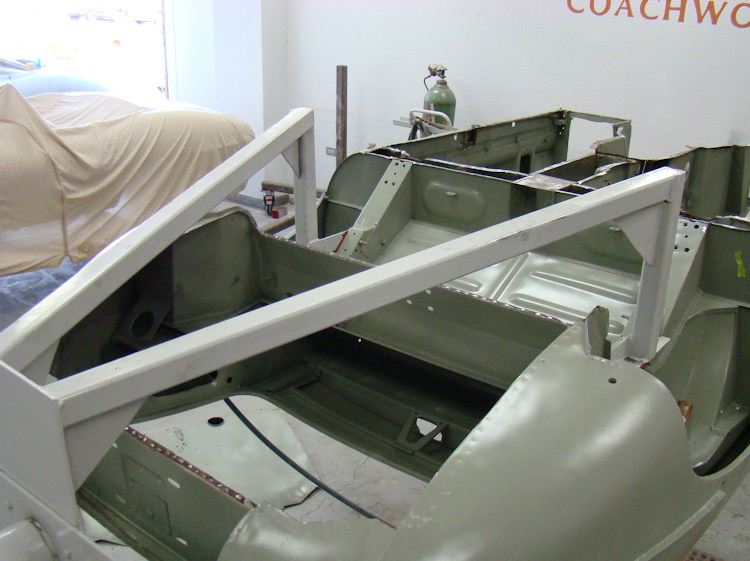
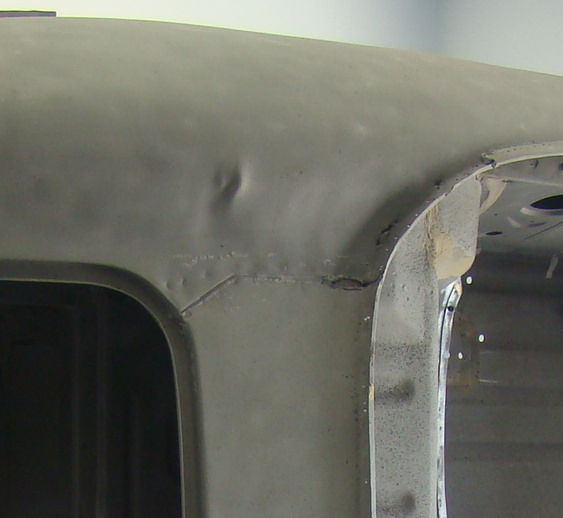
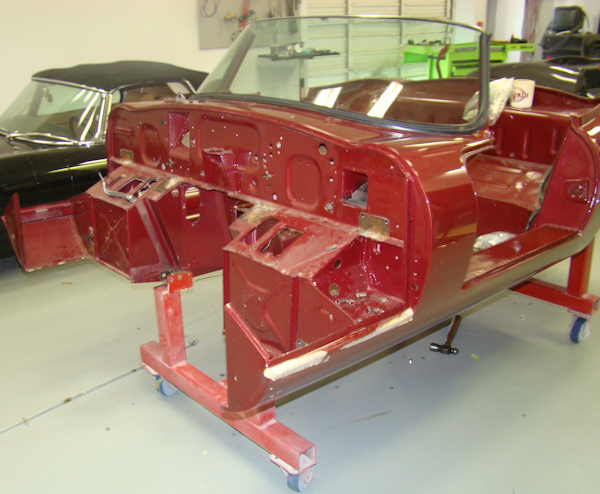
Your car has now been transferred to one of the frame jigs. The next task before us is to restore and fit your bonnet.
 |
 |
 |
|
without fitting bonnet |
of the bonnet fitting process |
|
 |
 |
 |
|
to be repaired |
||
 |
 |
 |
|
flange for dront wing |
section of front wing |
|
 |
||
|
edge of repair panel |
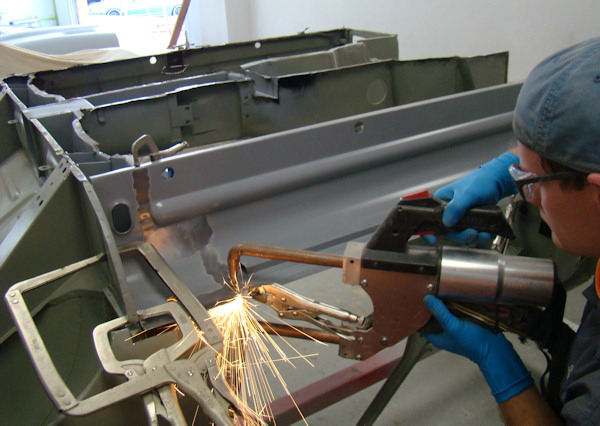
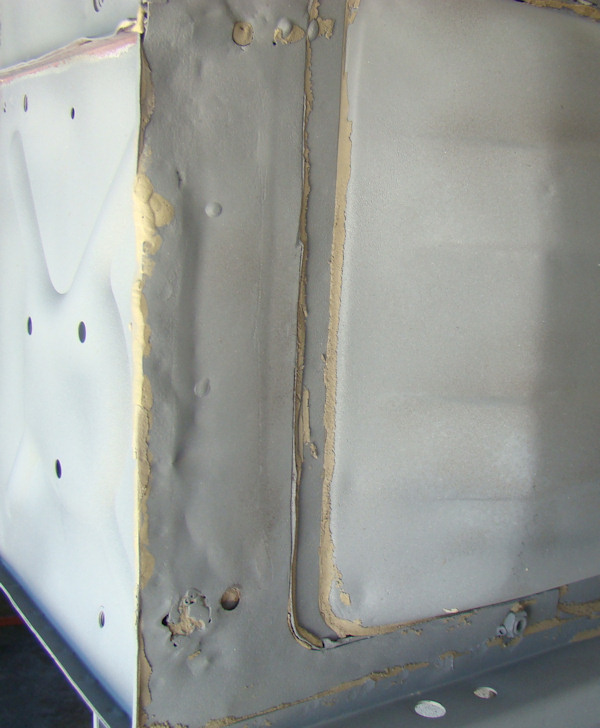
Lots of progress in the Coachworks since our last update. We have now installed the new inner sills, boot floor, main floors and outer sills.
 |
 |
 |
|
|
|
|
 |
 |
 |
|
sills into place |
||
 |
 |
 |
|
|
||
 |
 |
 |
|
|
||
 |
 |
 |
|
sill cavity |
|
|
 |
||
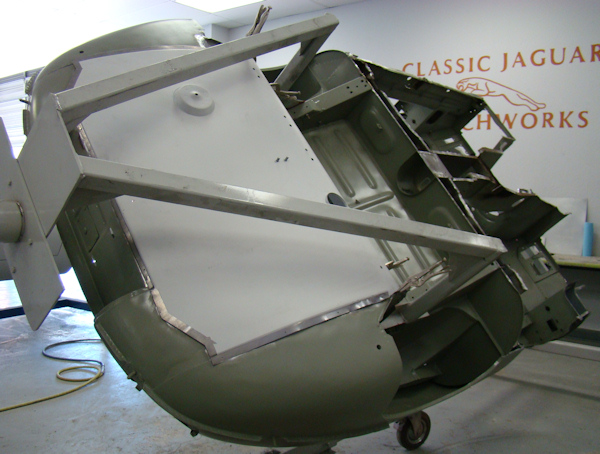
It is now time to get the restoration of your body underway. As Clint started cutting away the old floors, he discovered that replacement floors had been installed over the top of the rusted originals. In some of the photos below you can clearly see the labels on the aftermarket replacement floors...
 |
 |
 |
 |
 |
 |
 |
 |
 |
 |
 |
|
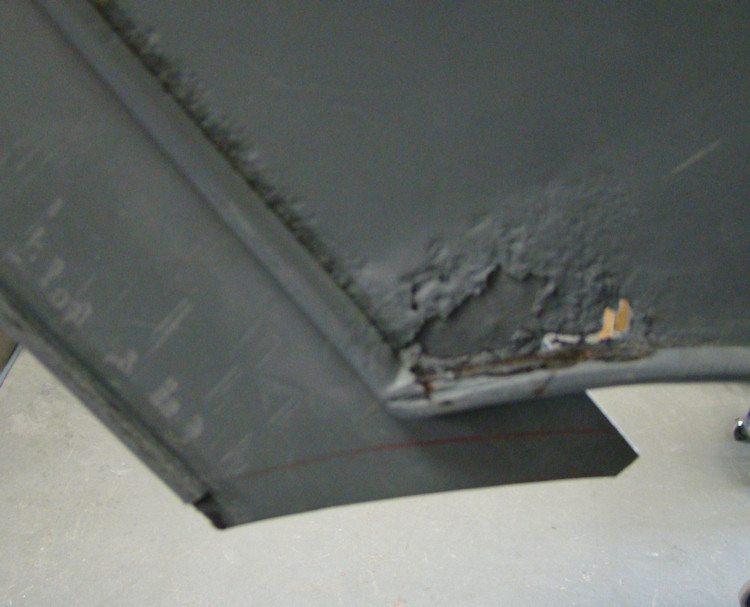
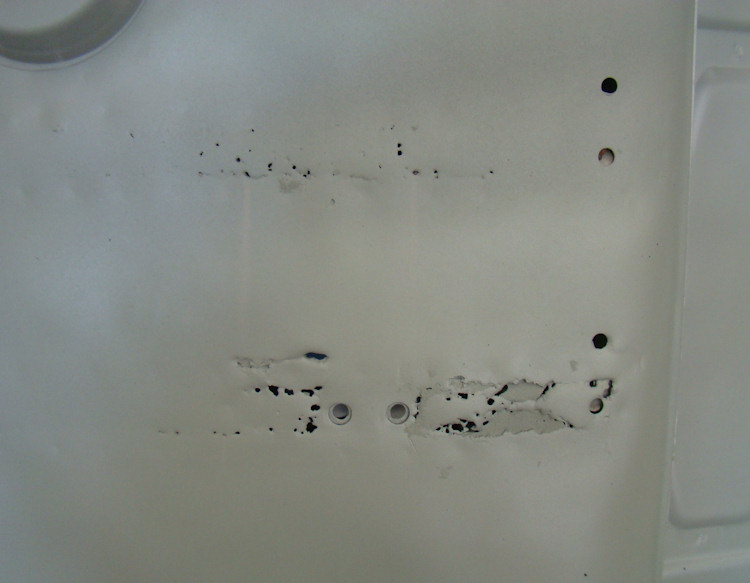
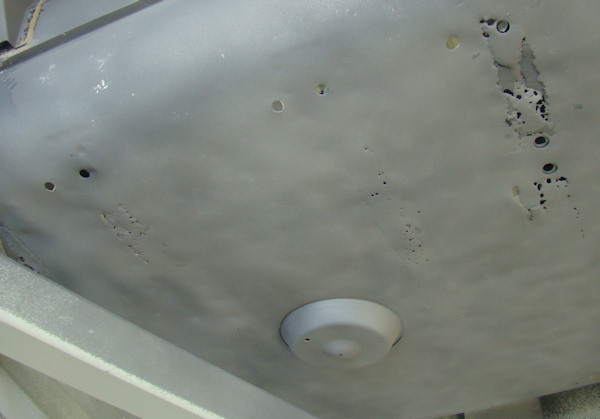
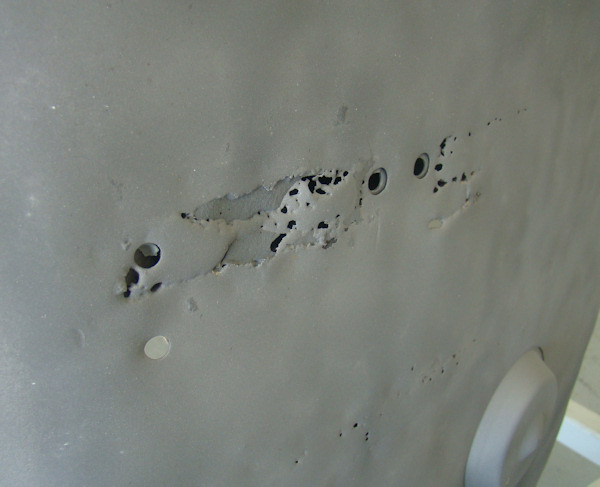
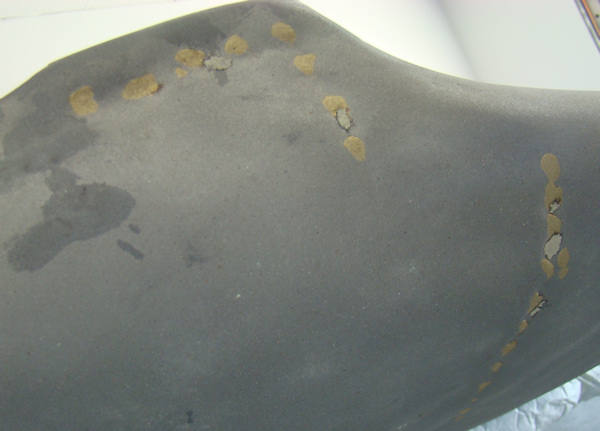
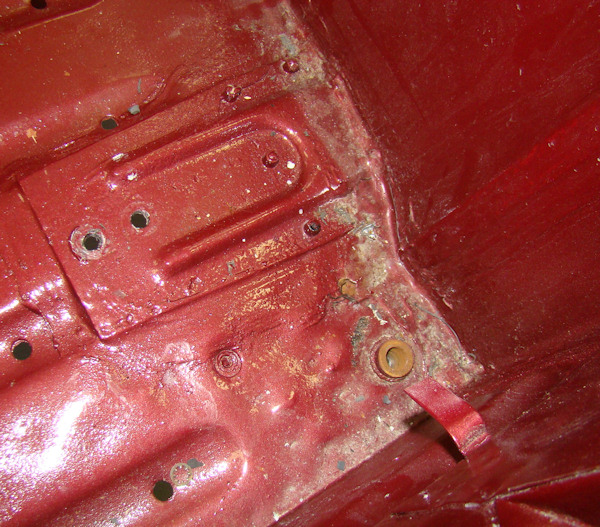
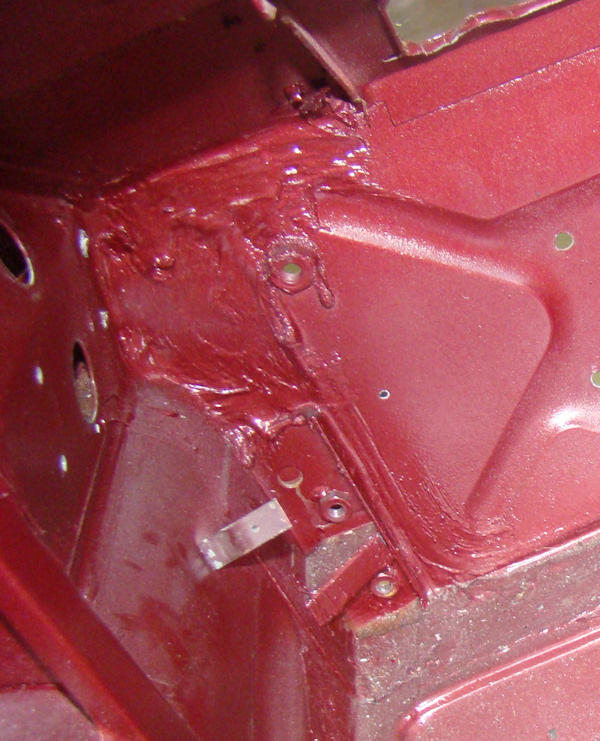
We now have your body back from the balsters and our suspicions have been confirmed. The car has some significant rust issues which had previously been covered up with masses of bondo. The photographs below tell the sad story.
 |
 |
 |
|
|
||
 |
 |
 |
|
|
|
was covered in bondo |
 |
 |
 |
|
|
|
|
 |
 |
 |
|
|
same kick panel |
with bondo |
 |
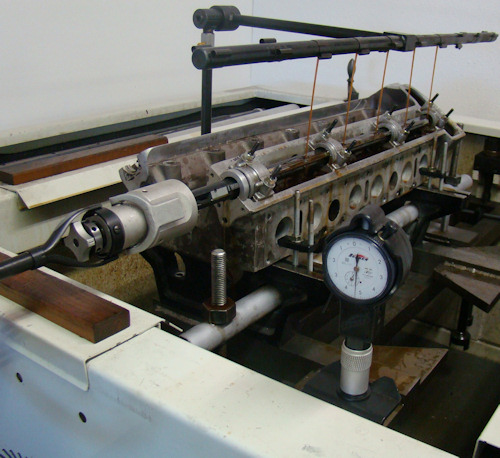
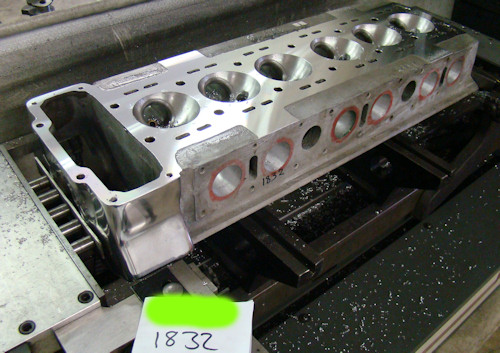
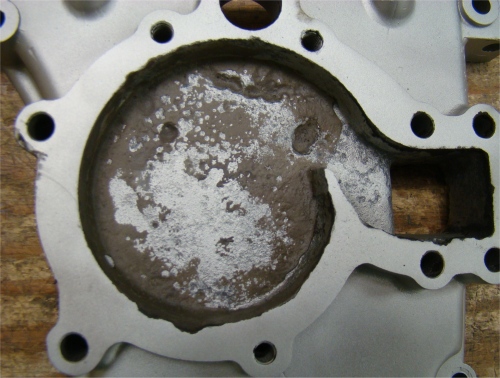
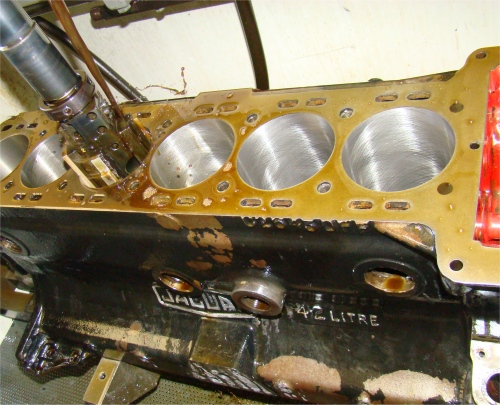
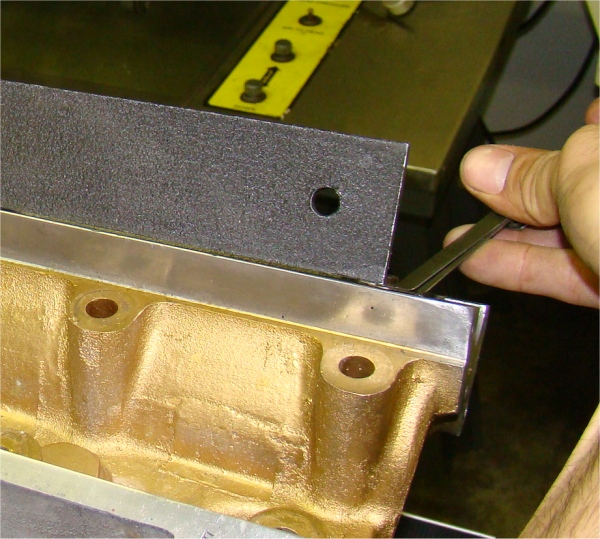
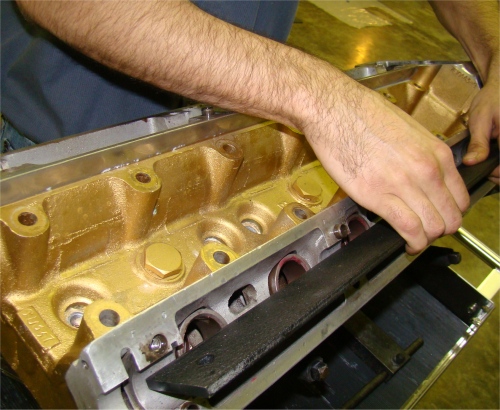
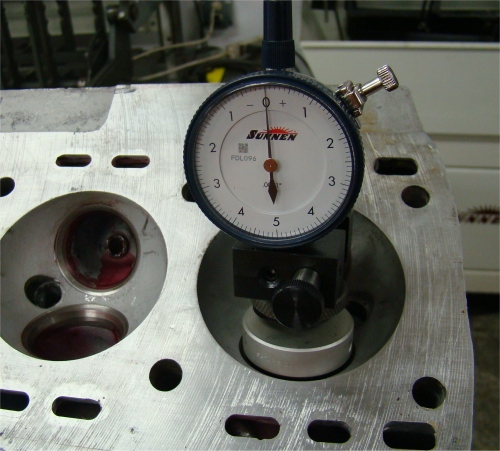
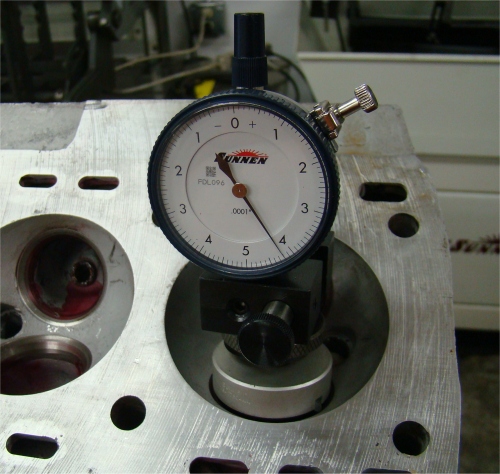
We now have your car fully disassembled and unfortunately, we can already see a number of issues with the body. At a minimum, this car really needs new floors as well as inner and outer sills. As always, we won't know the full story until after media blasting. The engine frames have been very crudely repaired and are not serviceable. On a more positive note, I am pleased to report that we were able to straighten your warped cylinder head and after align honing the camshaft caps, the head is as good as new.
 |
 |
 |
|
|
|
|
|
|
||
 |
 |
 |
|
|
|
|
|
|
||
 |
 |
 |
|
more clear after blasting |
holes in them |
|
 |
 |
 |
|
footwell |
|
after straightening |
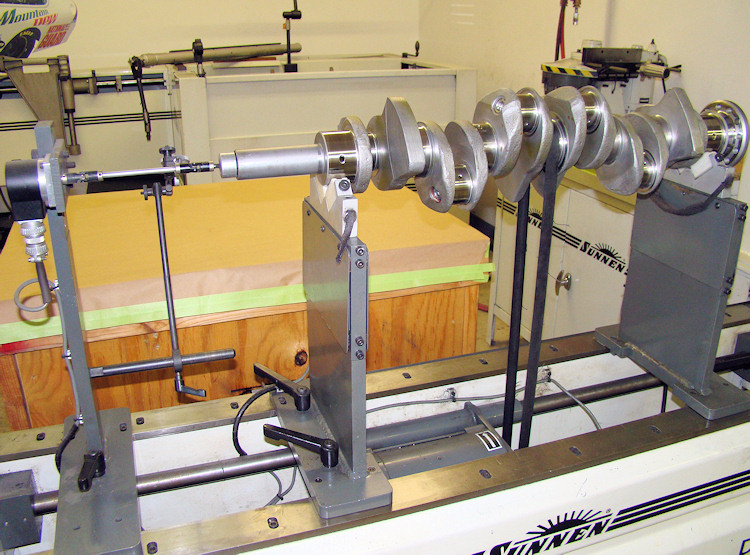
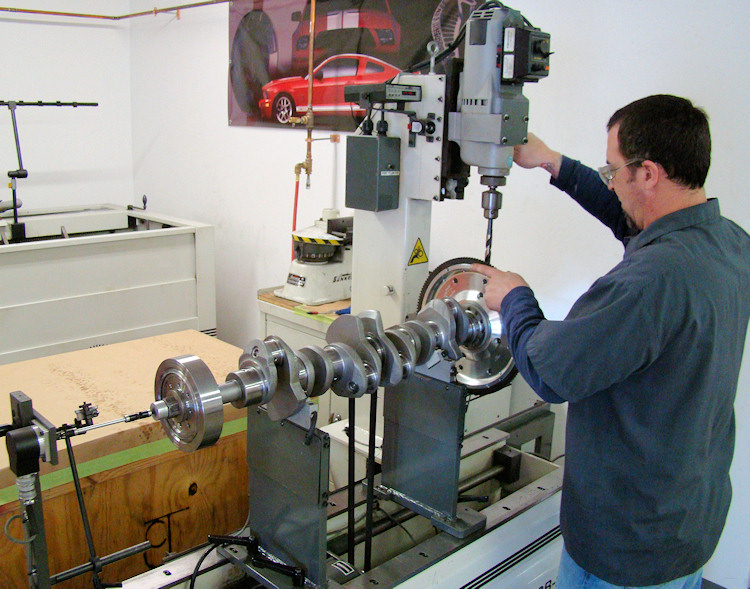
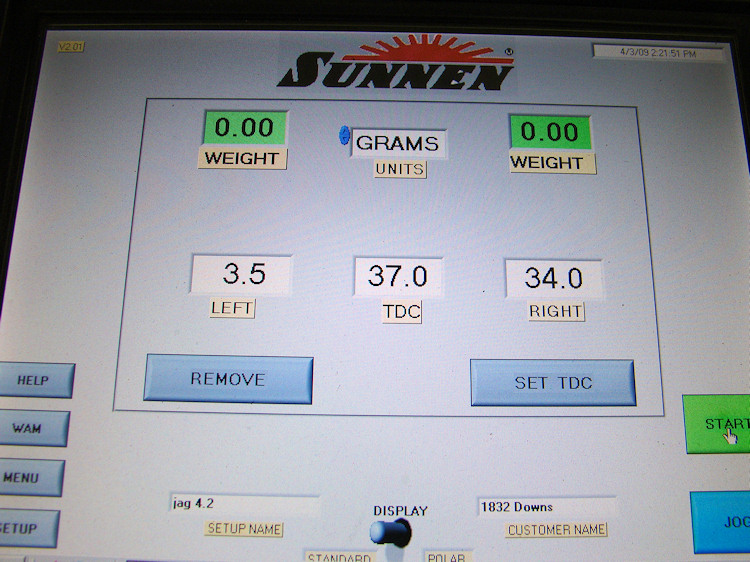
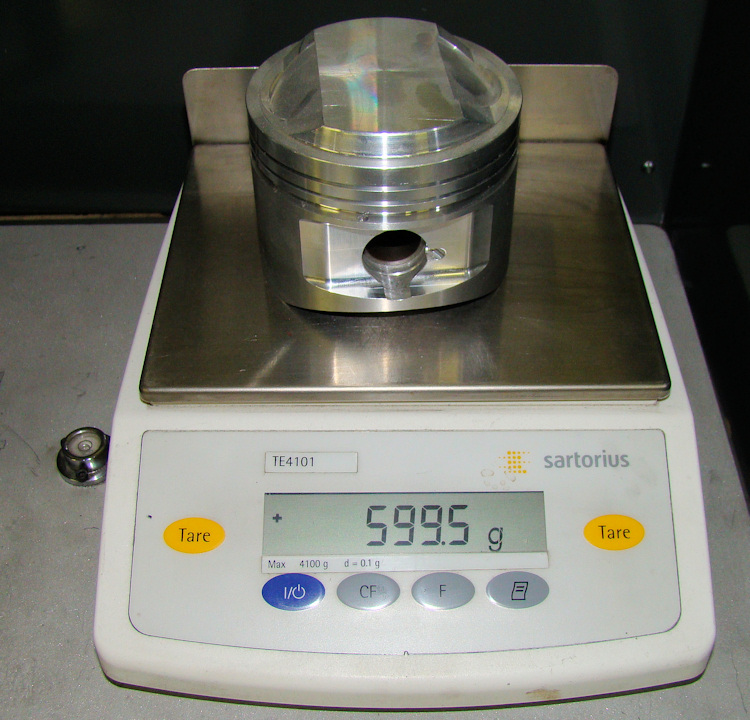
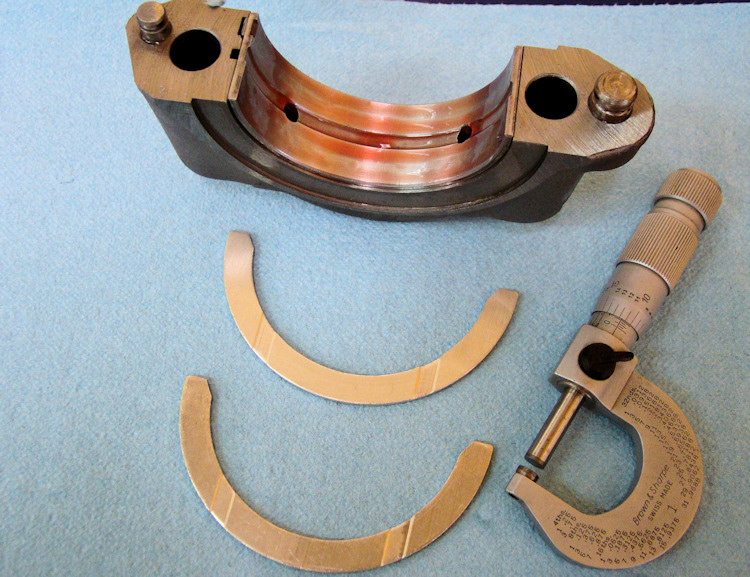
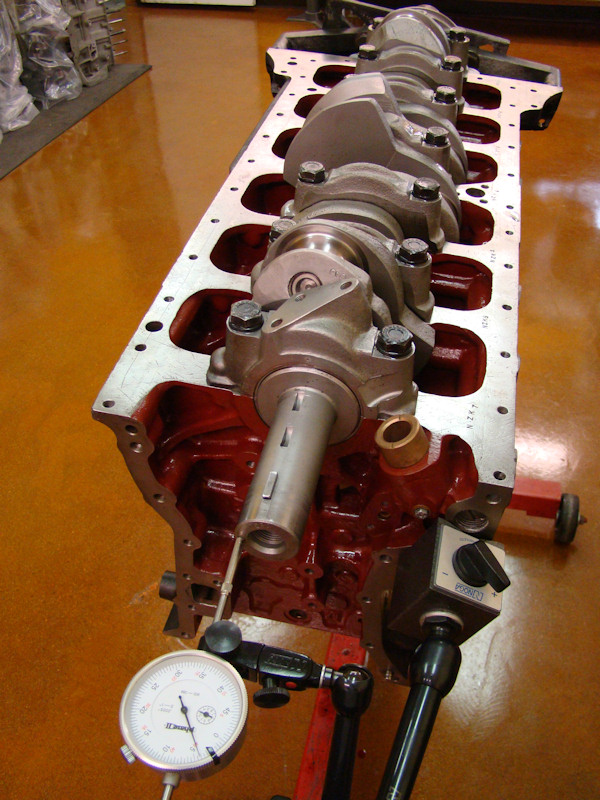
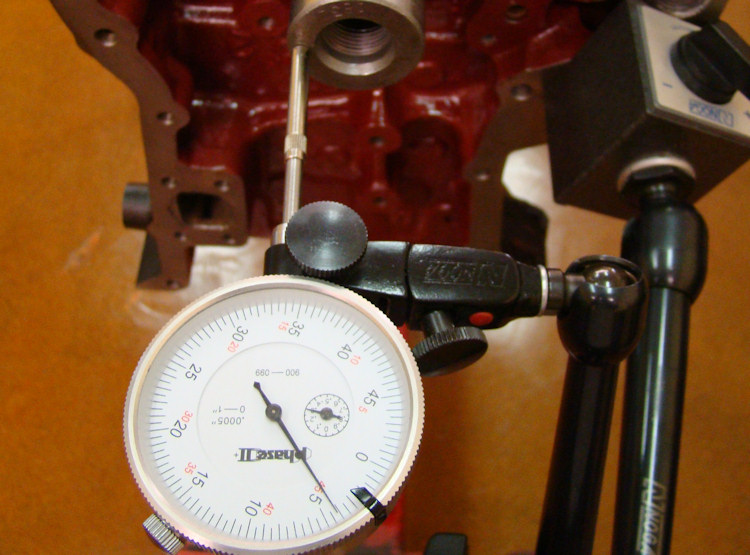
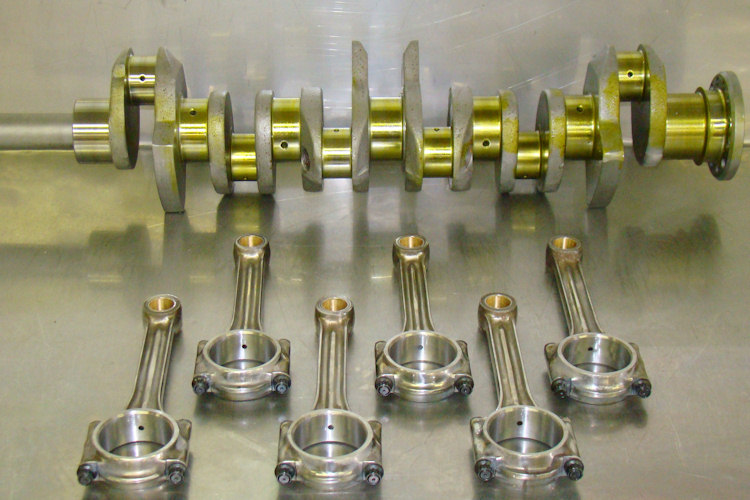
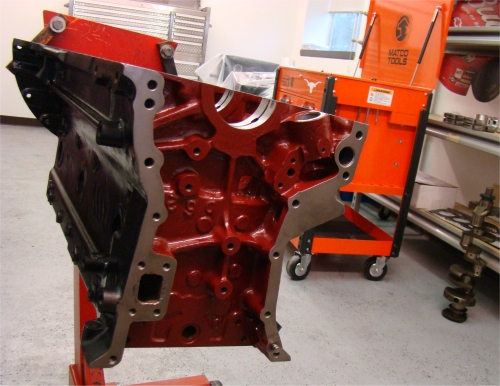
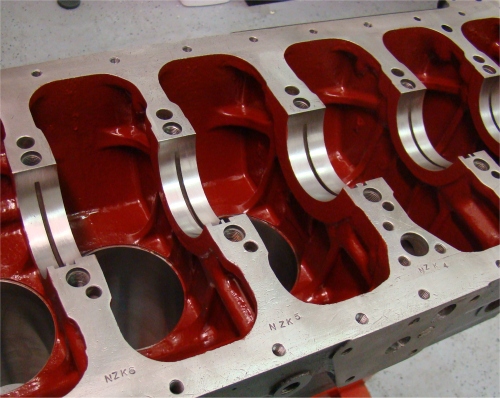
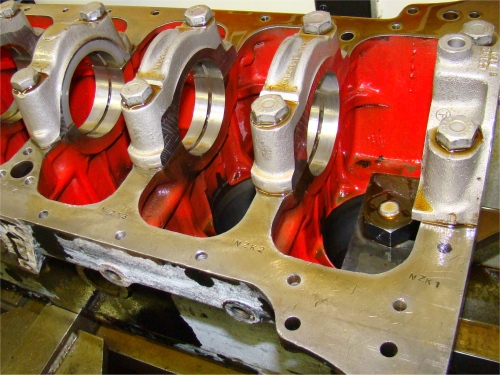
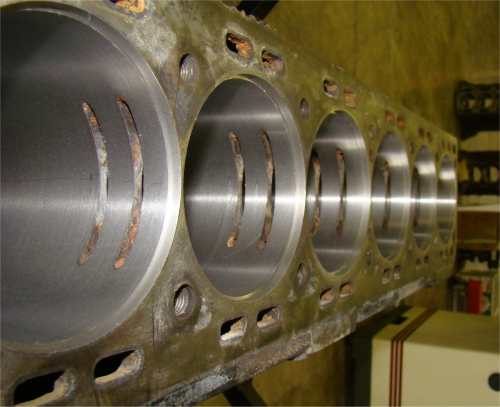
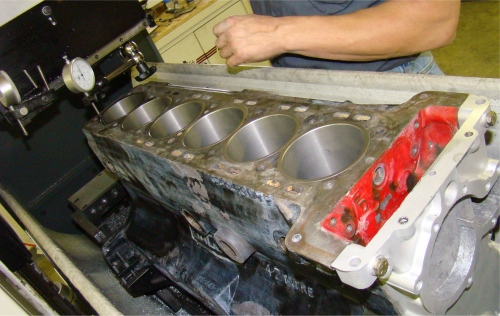
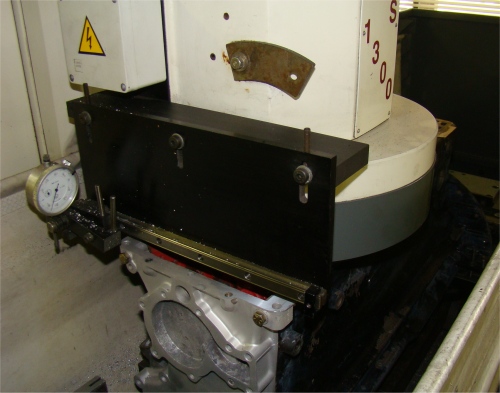
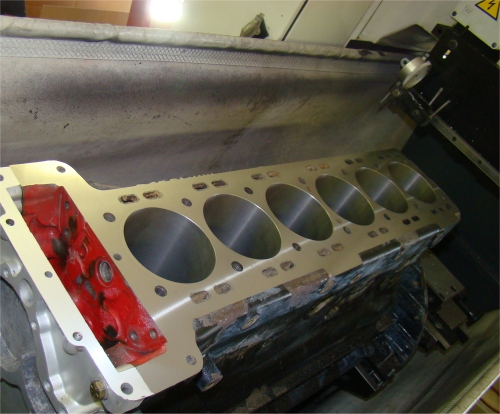
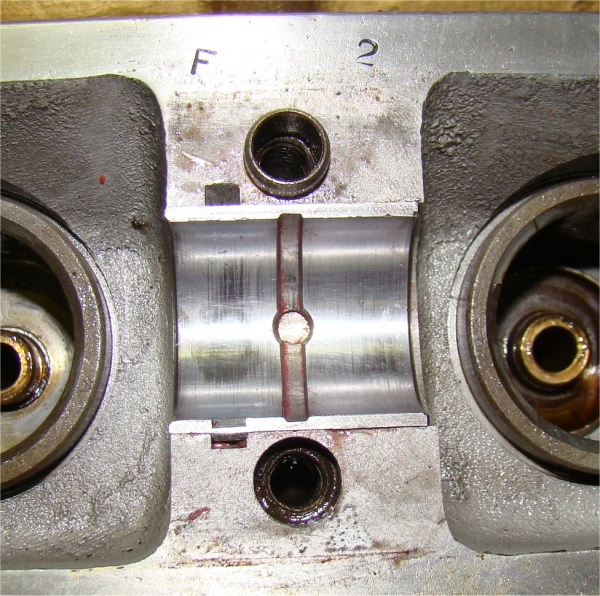
We have now align honed and resleeved your block, re-surfaced the deck and honed the cylinders to size ready for the new Venolia forged pistons.
 |
 |
 |
|
|
|
|
|
|
|
|
 |
 |
 |
|
|
top hat sleeves |
will be replaced |
|
|
|
|
 |
 |
 |
|
after re-sleeving |
|
machined with block |
|
|
|
|
 |
|
|
|
|
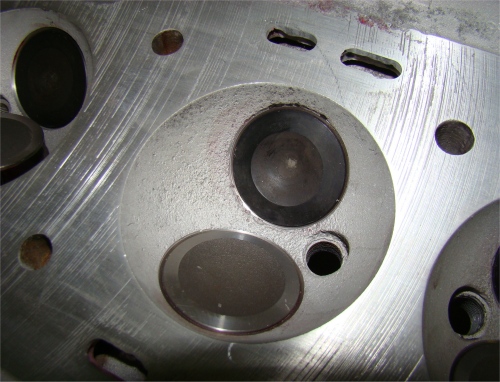
The following sequence of photographs demonstrate a number of problems with your cylinder head. As it is the original matching number head, we are going to do our best to save it, although it is very badly warped and has already had a lot of material removed from the deck surface. Hopefully we will be able to straighten it and still have enough material to work with to re-surface it.
 |
 |
 |
|
|
|
this is an engine that has never been run |
|
|
|
|
 |
 |
 |
|
|
previous valve job |
|
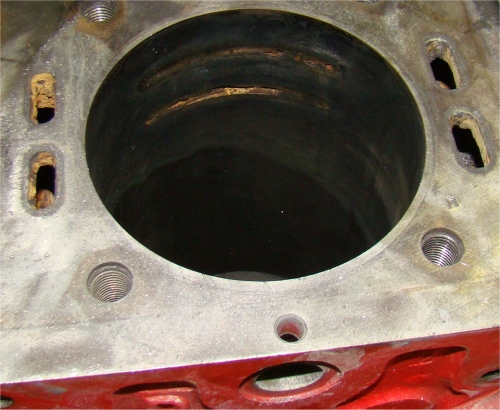
I am pleased to report that your car is safely inside the CJ workshop where we already have the rebuilding process underway. Unfortunately, as you suspected would be the case, the engine rebuild you had done elsewhere has a number of serious issues. The valve seats in the cylinder head have been machined incorrectly, at too great a depth, corrosion issues in the chambers were not addressed, and the re-surfacing job done on the cylinder head deck is about as bad as it could be.The block also appears to have had sleeves installed within sleeves, which is a totally unacceptable practice. The bottom line is that we already have a much needed full (Stage One) CJ engine rebuild underway.
I hope you enjoy watching the rebuild of your E Type on these pages over the next few months.
 |
 |
 |
|
inspect the quality of the previous rebuild |
valve job was not of good quality |
|
 |
 |
|
|
very badly |