Instructions
| IRS
Bronze Bushings
Instructions |
|
The following information should assist you (or your chosen professional repair facility) through the installation process.
If
you experience any difficulty, please contact our Tech Support Department
either by telephone on (512) 288 9752, fax at (512) 288 9216 or Email to:
techsupport@classicjaguar.com
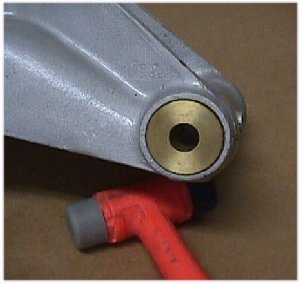
Check that there are no burrs on the inner surfaces of the hub carrier opening. If you find there are, they can be easily removed using a little fine grade sand paper. Due to inconsistencies in the casting process used during the manufacture of the hub carriers, some people will find that the bronze bushings can be inserted by hand while others may need tapping with a rubber faced mallet (see Figure 1).
Do not use a steel headed hammer to install your hub carrier bushings and always make sure that the bushing is aligned before you start to tap it into place. Failure to do so may cause the inner edge of the hub carrier opening to score the outer edge of the bronze bushing.
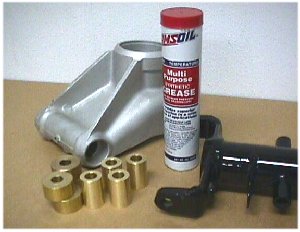
When installing Team CJ System Bronze carrier busings you do not re-use any of the seals or shims originally used at the factory.
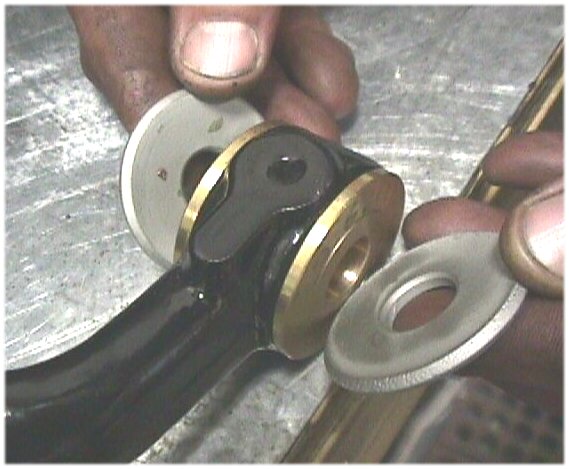
The smaller diameter bronze bushings in your kit have been designed to replace the original roller bearings, tubes and seals. As with the hub carrier bushings, make sure that there are no burrs on the inner edges of the wishbone ends. If the wishbones have been painted or powder coated, remove any trace of paint which may have adhered to the inner bearing surfaces.The bronze thrust washers supplied with your kit are designed to fit either side of the inner fulcrum bushings within the two original outer thrust washers which are retained. In fact you will see in Figure 2 that the bronze washers will slide over the protruding ends of the inner fulcrum bushings.
The combination of the new bronze thrust washers and the original outer thrust washers ensures that the wishbone remains centralized during suspension cycles.
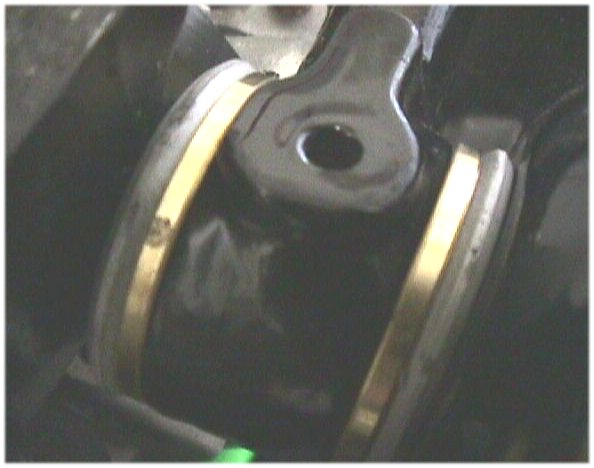
Figures 2 and 3 below show the installation of both the new System Bronze thrust washers and the original outer thrust washers that are retained.
 |
 |
|
|
|
Installation Tip: You might want to use a piece of electrical tape (or something similar) to hold the bushing and thrust washer assembly together while you install the wishbone to the cage assembly. The tape can easily be torn away once you have inserted the fulcrum shaft through the assembly (see below).
Now simply insert the fulcrum shaft through the cage, the wishbone ends, the thrust washers and the new bronze bushings and tighten down.
Important Note: If you are unclear about any of the above instructions, please do not hesitate to contact us for further information. We are here to help you through the installation process and will provide you with as much technical support as you need.
Maintenance Note: We recommend that you grease your Team CJ System Bronze bushings at 3,000 mile intervals.
Return to bronze bushing main page