Photographic Restoration Archive
June 1999 - October 2000
| 1961
OSL Roadster (875088)
Photographic Restoration Archive June 1999 - October 2000 |
|
|
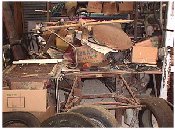
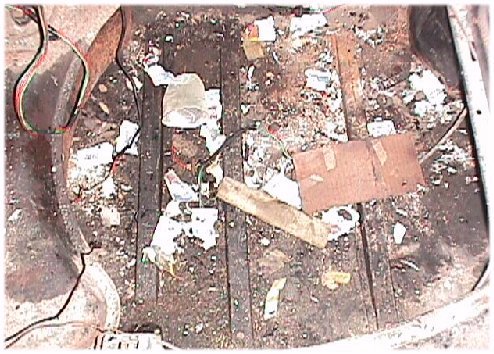
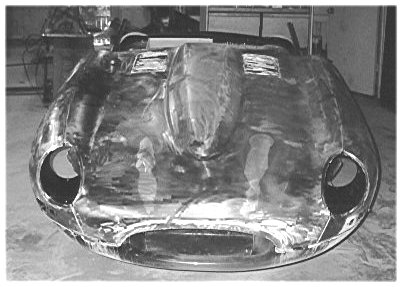
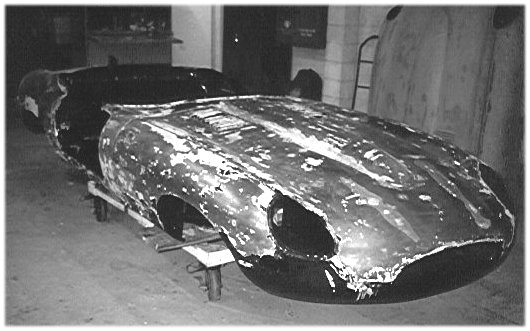
In the beginning...........Spring 1999
This is how we first found the car - the proverbial 'barn find' that was barely recognizable as an E Type! Not only was this an E Type, but it also turned out to be chassis number 875088 - the 87th roadster built. The following photographic record outlines the restoration at Classic Jaguar until the reborn car was delivered in October 2000.
 |
 |
 |
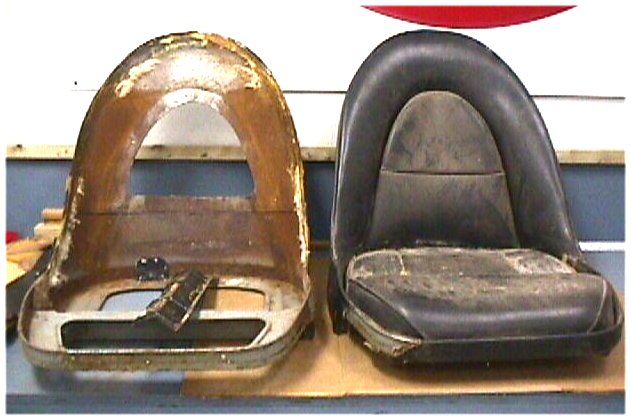
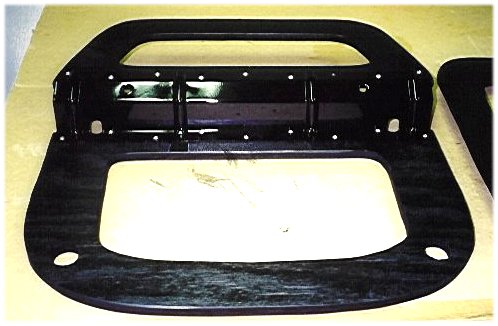
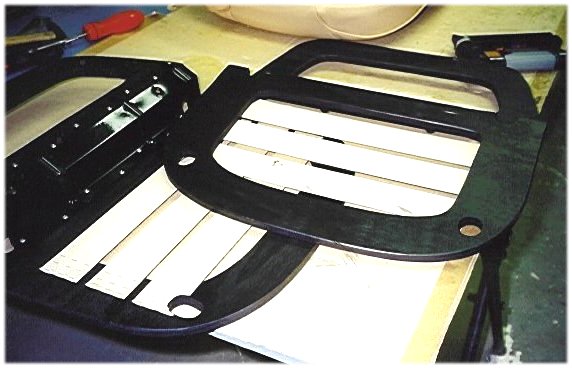
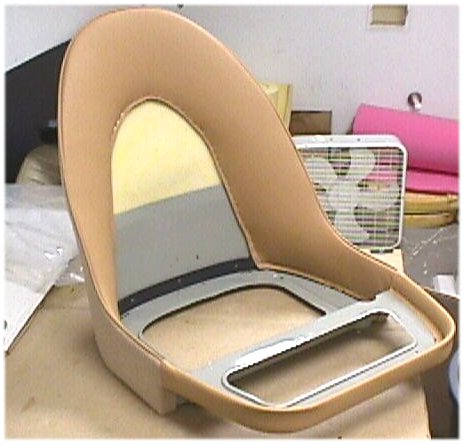
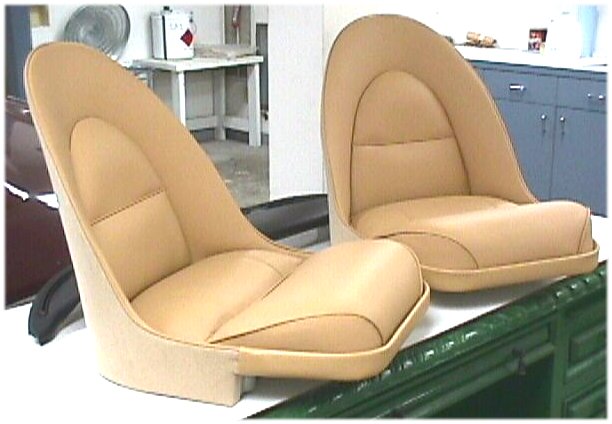
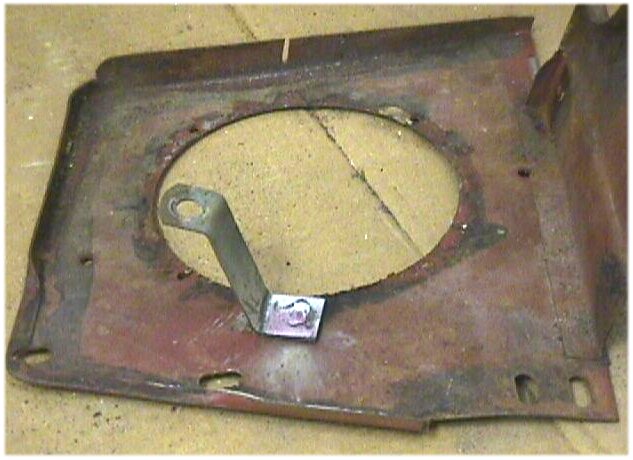
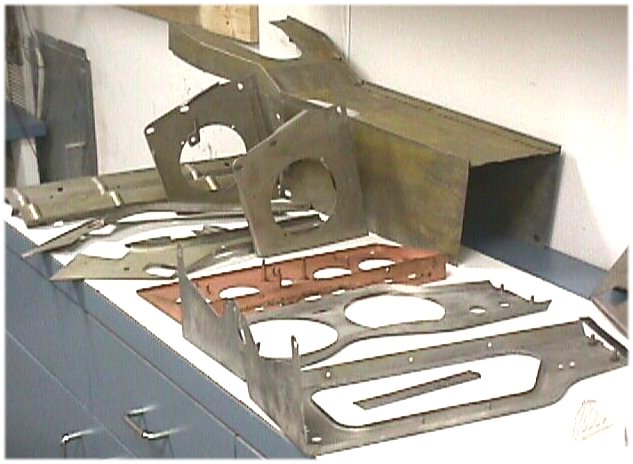
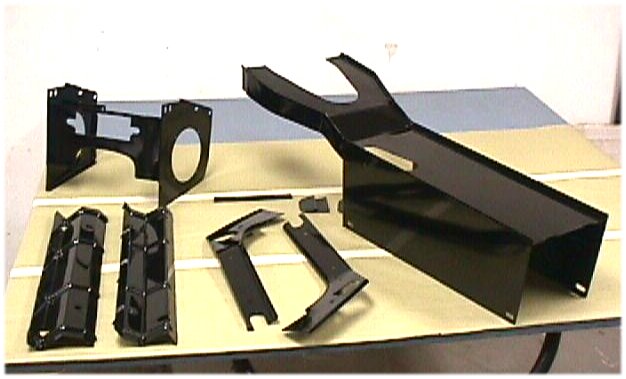
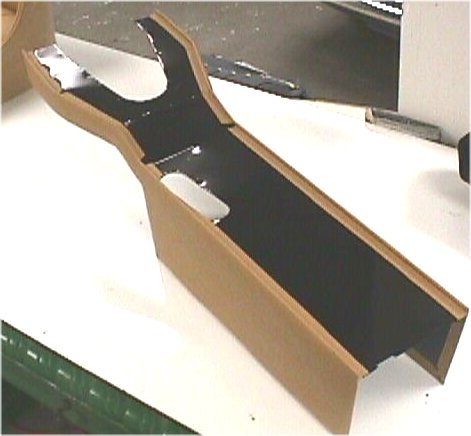
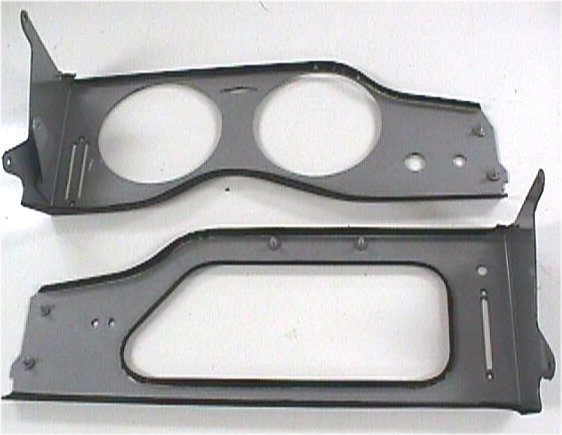
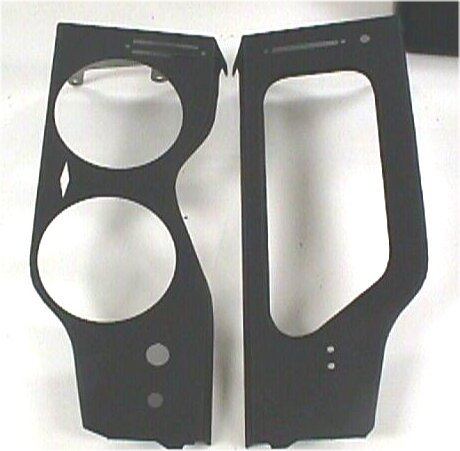
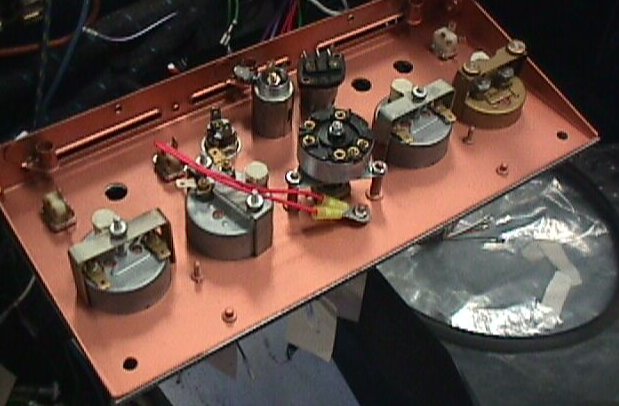
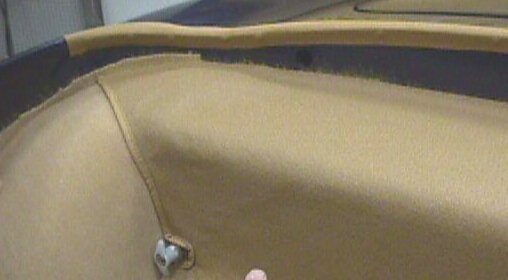
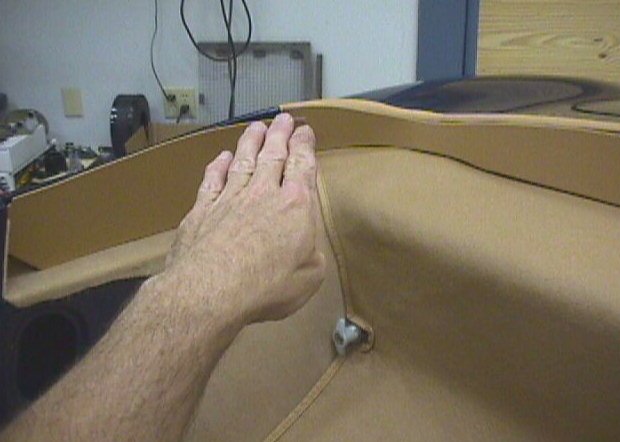
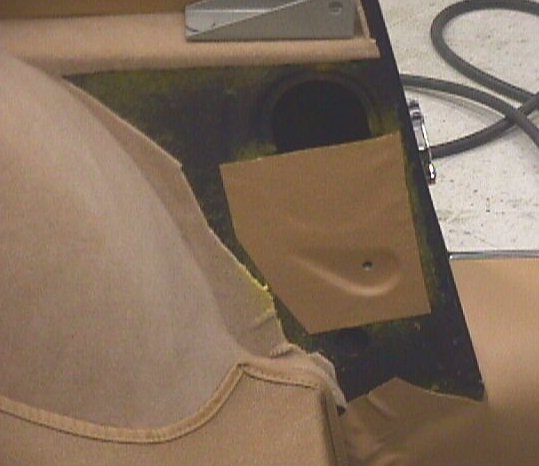
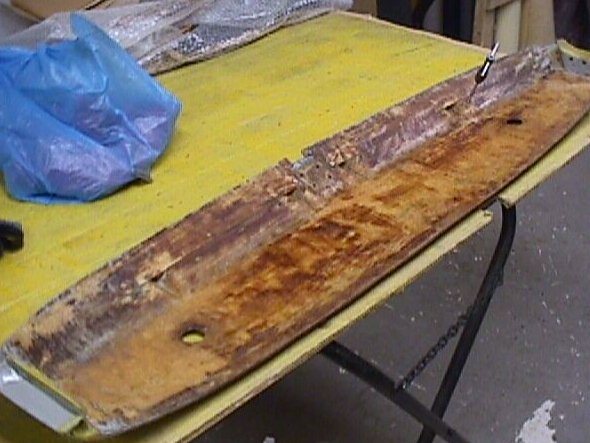
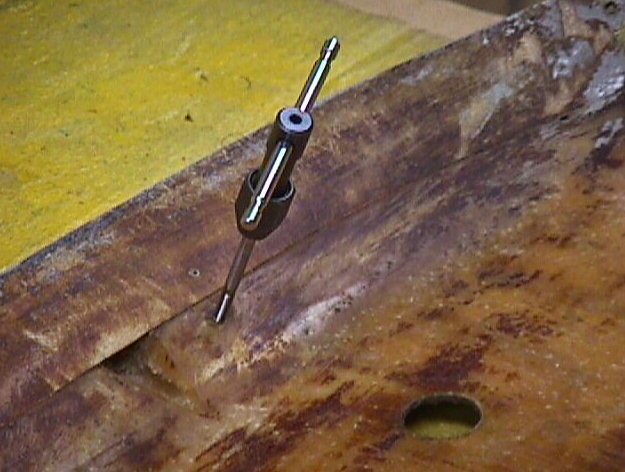
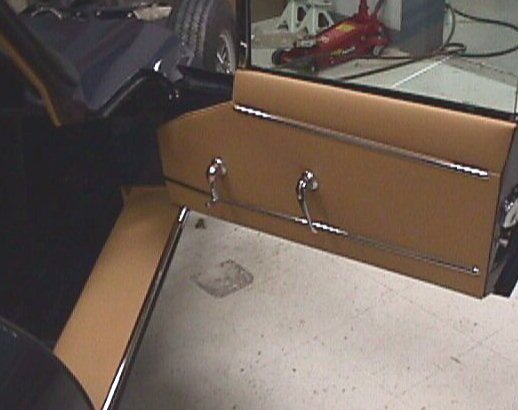
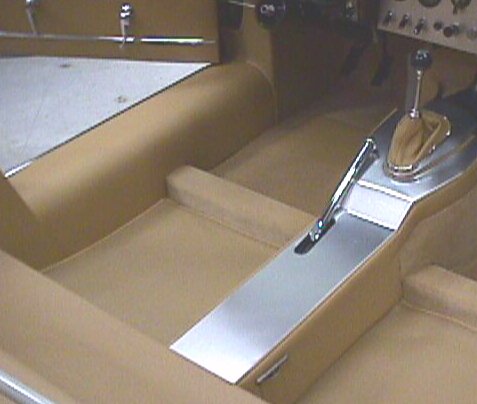
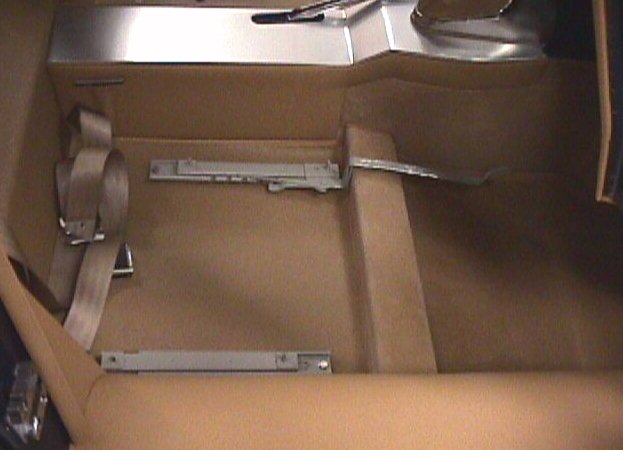
Report date - July 5th, 1999 The following photographs catalog the restoration of the seats and the various steel component parts of the interior. The reader will see the huge amount of work that goes into a truly concours seat refurbishment. At Classic Jaguar we also take a great deal of care to properly restore panels that might never be seen again. e.g. the radio and centre console panels, despite the fact that they will eventually trimmed, are bead blasted, acid washed, primed and painted as if they were to be on display within the finished car.
As the saying goes: If a job's worth doing, it's worth doing right!
Click on thumbnails to view larger images.
 |
 |
 |
 |
 |
 |
 |
 |
 |
 |
 |
 |
 |
 |
 |
 |
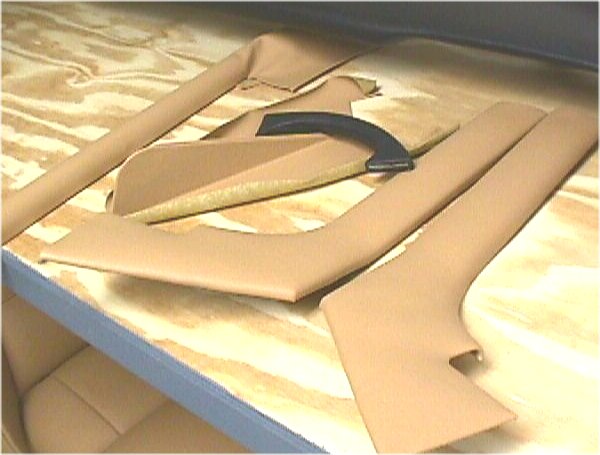
Report date - September 13, 1999
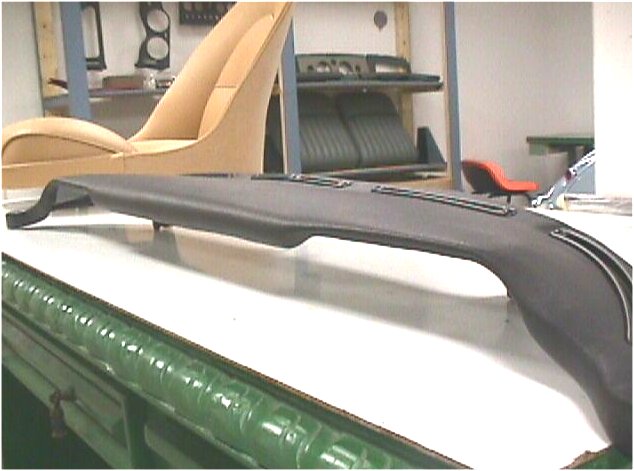
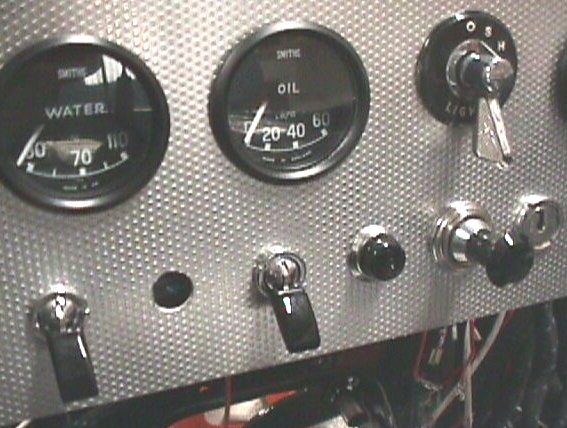
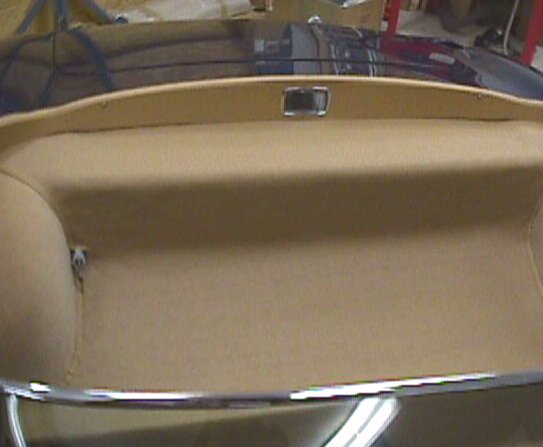
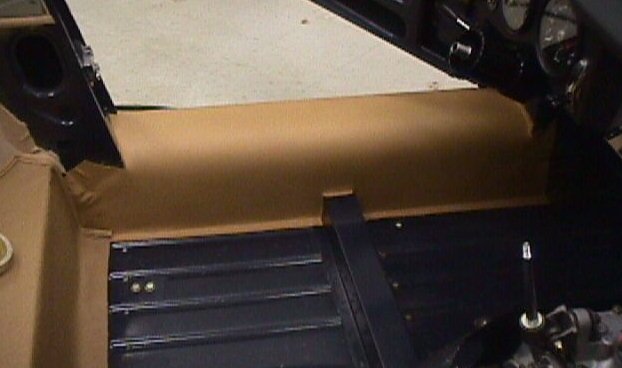
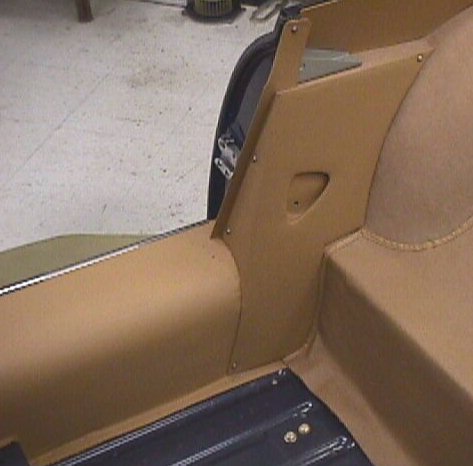
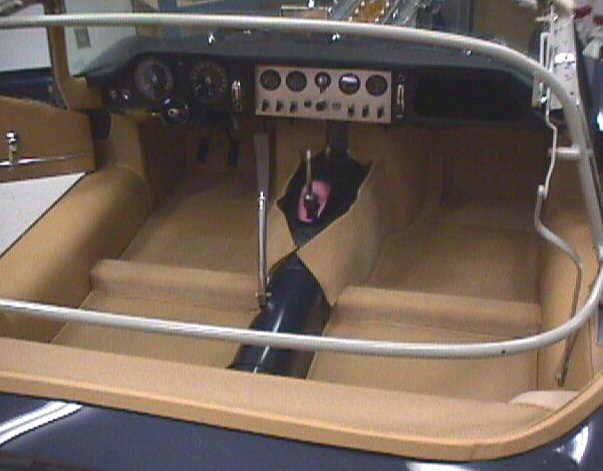
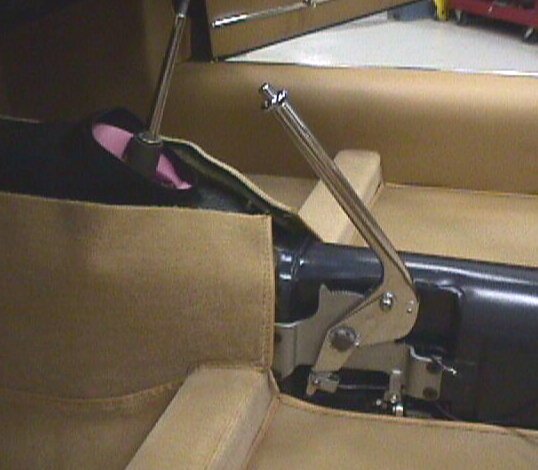
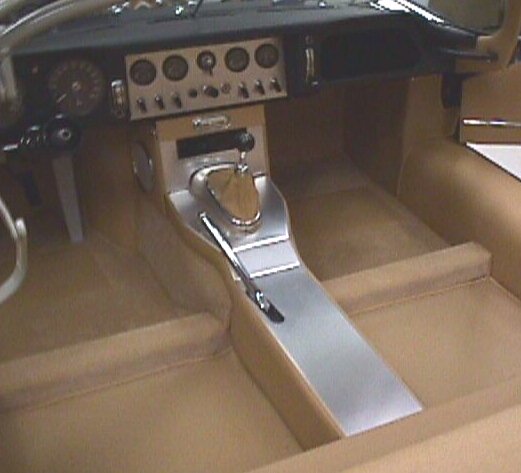
These photographs show the interior trim panels now that they have been trimmed out. Notice the 'flat top' dash panel. This style of dash pad was unique to the very early E Types, so we took the extra time required to recreate the panel to authentic specifications.
 |
 |
|
glove box |
|
 |
 |
 |
 |
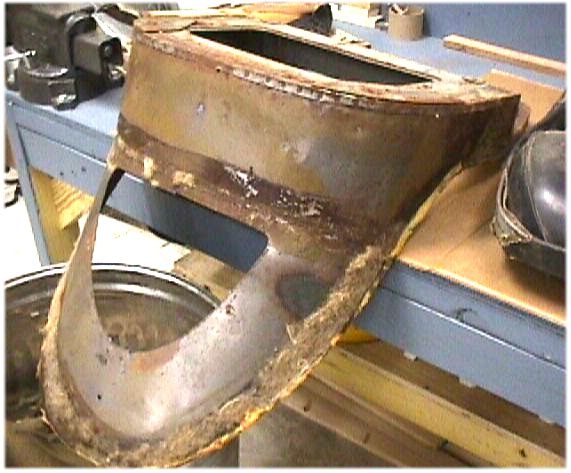
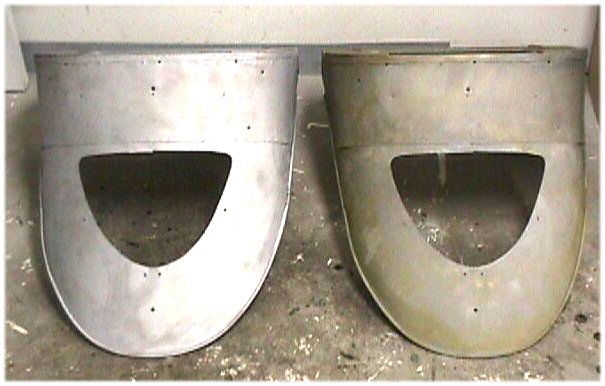
Report date - November 11, 1999
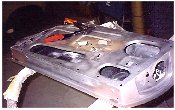
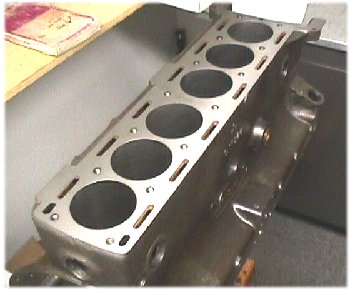
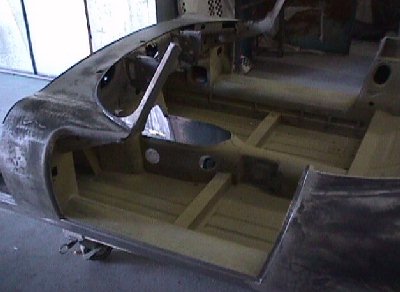
The following photographs show the new body shortly after it arrived from the Martin Robey works in the UK. We set about removing all of the primer and taking the shell down to bare metal. The blotchy surface you can see in some of the photographs is filler that was applied at the factory. We have decided to remove all of this material and apply our own materials.The panel fit is absolutely excellent, and Robey did a superb job of installing the proiginal style louvres (welded, as opposed to pressed). There a couple of early features that were not done, but we are correcting this at this time.
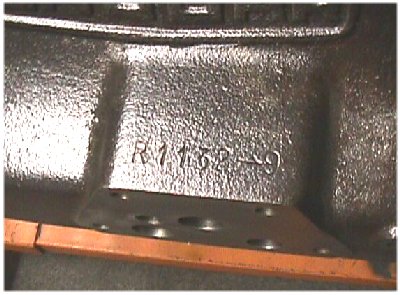
You will also notice photographs of the engine block that we now have back from the machine shop. Interestingly, and unusually, this engine has never been apart/rebuilt since it was assembled at the factory in 1961.
Click on thumbnails to view larger images.
 |
 |
 |
 |
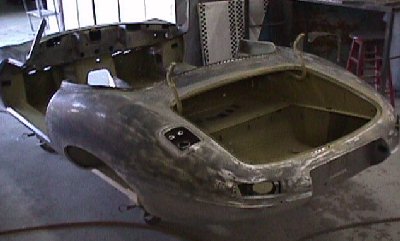
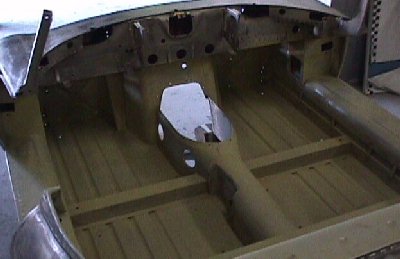
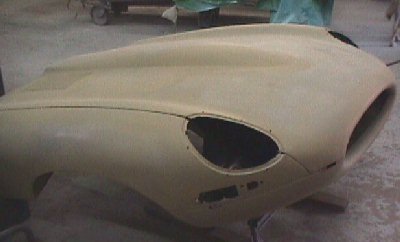
The following photographs show the body after all the factory primer and filler had been removed. Now that we have got down to shiny, bare metal, we can begin the long process of preparing the panels for paint.This is the stage where great care and skill will result in a stunning paint finish.
I will apply at least 40 hours a week to your car from this point forward. It will be painted and resting on its wheels before the end of the year.
Click on thumbnails to view larger images.
 |
 |
 |
 |
 |
 |
 |
 |
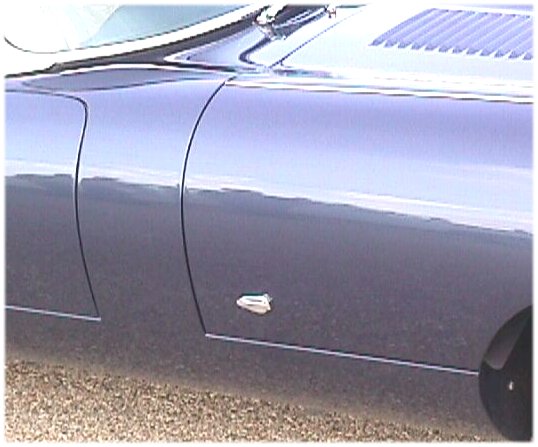
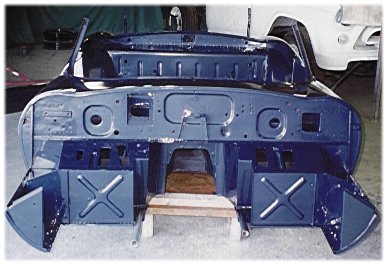
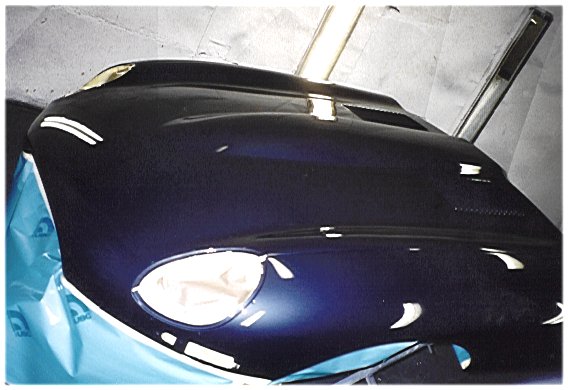
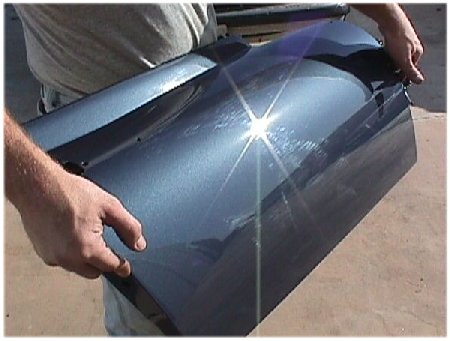
I am pleased to report that the body has now been painted. We are currently sanding and buffing all the various panels, and will be assembling the engine frames/reinstalling the doors etc next week.I am delighted with the paint finish - I think Jeff has done a truly stunning job. I also think the colour is gorgeous and will look fabulous with the biscuit interior that David has already done for your car.
I should be able to take better photographs next week as the car is being assembled. I took the shot of the door outside so you would get an idea of how the colour looks in the sunlight. Opalescent Dark Blue can look really dark in some lights, then comes alive when the sunlight hits it.
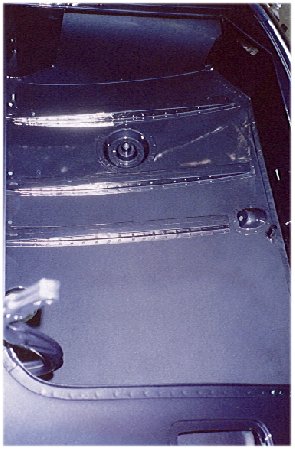
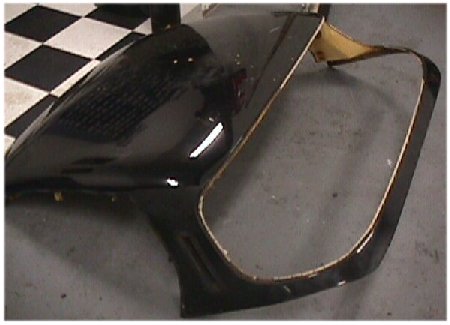
The photograph of the boot (trunk) floor is included to show you the rivet work that Jeff did in order to reproduce the original (very early) look.
I hope you like it!
 |
 |
 |
 |
Report date - February 1, 2000
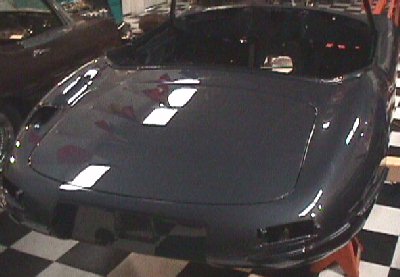
The following photographs show your painted E Type back in the main workshops at Classic Jaguar. We have refitted the doors, boot lid et, and have begun installing the engine and bonnet frames.As per our discussions, we will be using stainless steel hardware where ever possible/appropriate. I will put some photographic comparison shots of the standard and triple laced wire wheels up on this section in the next couple of days.
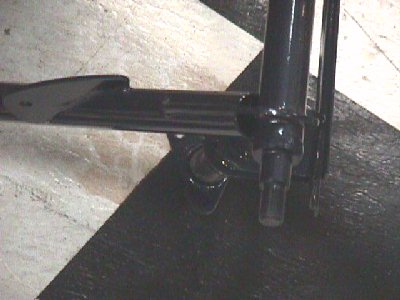
Photograph number 4 has been included to show you the modifications that we have done to the bonnet hinge frame so that it is identical to the original style of the early E Types. The first handful of cars had this type of male threaded attachment for the bonnet hinges. The small details are everything, in the restoration of these super early E Types.
The car really is beginning to look absolutely stunning!
 |
|
 |
 |
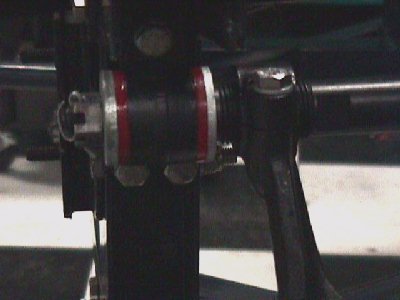
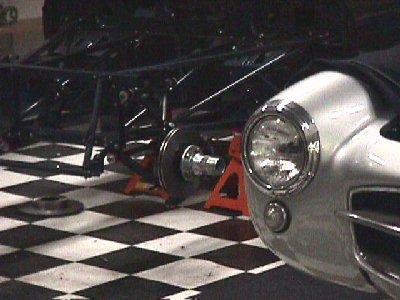
Report date - February 27, 2000
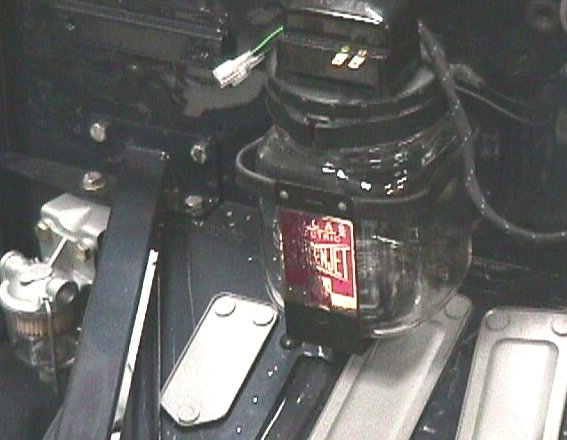
Over the last few days we have begun assembling the front suspension and steering components. By the end of the coming week we will have the front end finished, complete with uprated torsion bars, Team CJ shocks, polyurethane bushings and a vented Wilwood/Team CJ brake system.Unfortunately the photographs below did not come out very well, but I will be sure to take more pictures during the course of the week.
It is a pleasure to work on this particular E Type. It is fun to restore such an early car (the 87th built) and prepare it for high performance road use, rather than trailer queen status - must be the rebel in me!
 |
 |
|
|
|
 |
 |
|
|
|
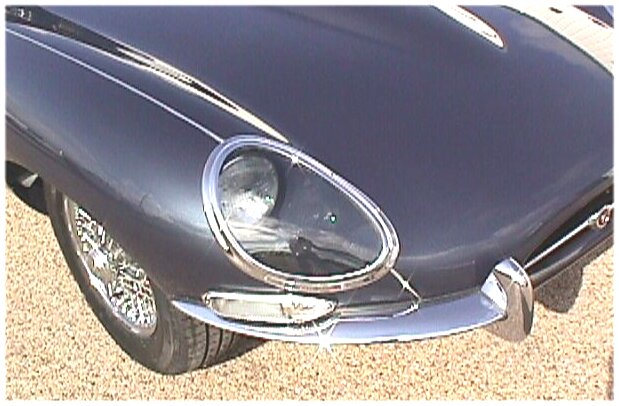
Report date - April 10, 2000
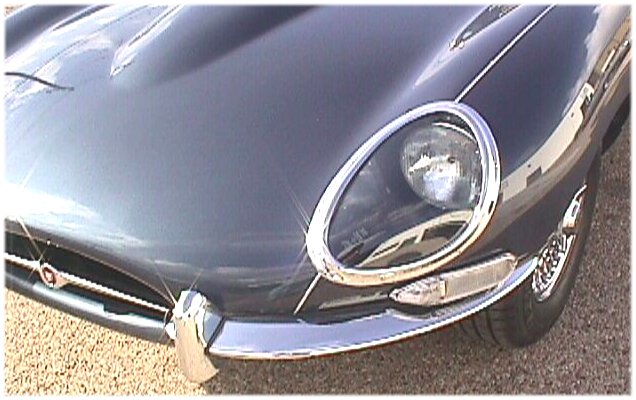
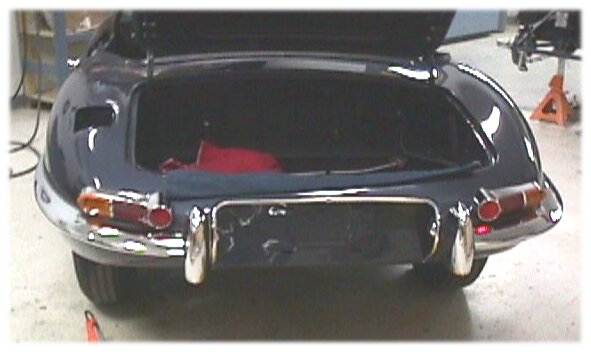
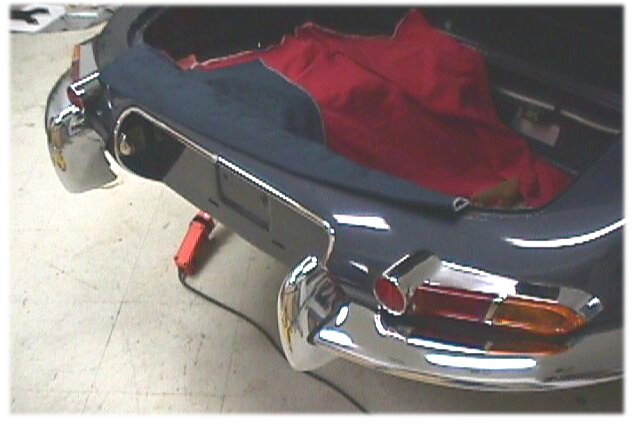
The following photographs show the reassembly process unfolding. A great deal of time is being spent making sure that bumpers, door chrome, lights and all other fittings fit perfectly - better than new, in fact. Two full days were spent trial fitting the rear bumpers alone!At the end of the day the extra effort spent now will be what will separate the finished car from merely run of the mill restorations. This car will be better than new in every respect.
Unfortunately I do not have a set of the original style triple laced wire wheels at the shop that I can photograph for you. This is something that we can deal with a little further down the road.
Best Regards,
Dan Mooney
 |
 |
 |
 |
 |
 |
Report date - April 22, 2000
Click on thumbnails to view much larger images.
 |
 |
 |
 |
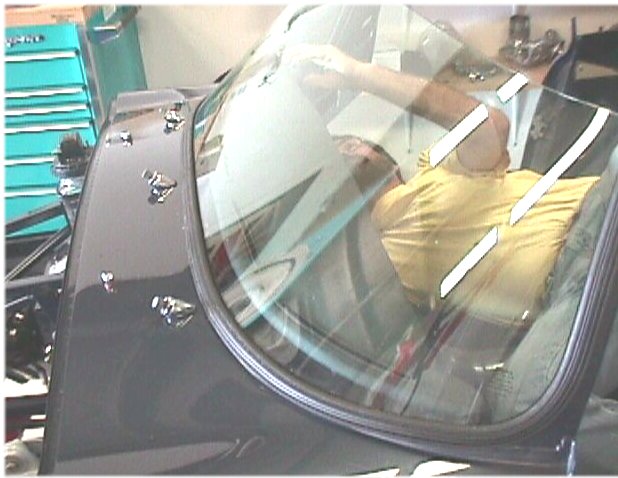
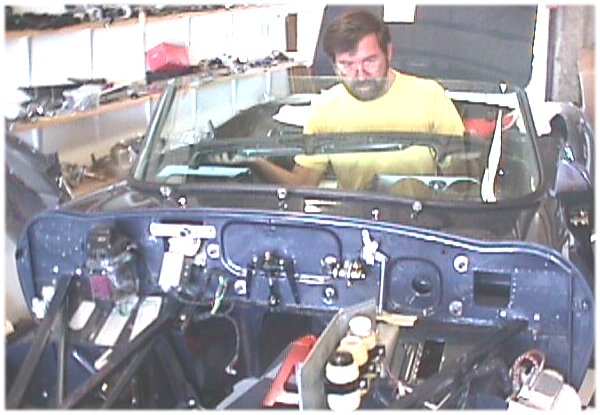
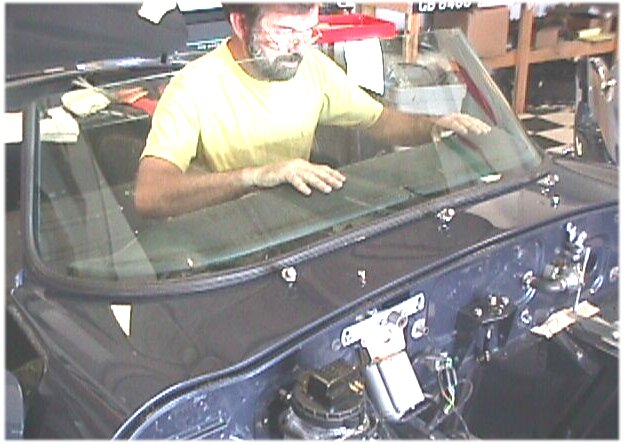
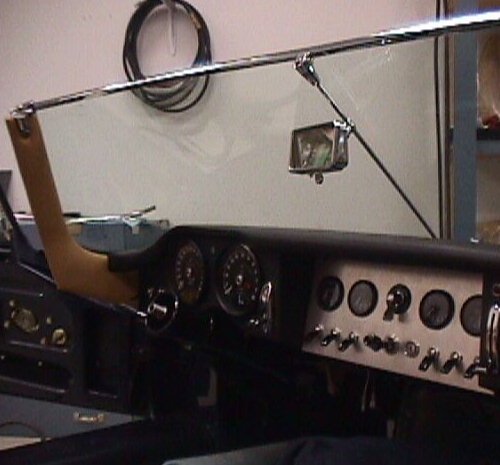
Here you can see Carey has installed the new Triplex screen and is in the process of installing the 'flat top' dash.Looking more and more like a car every day!
 |
 |
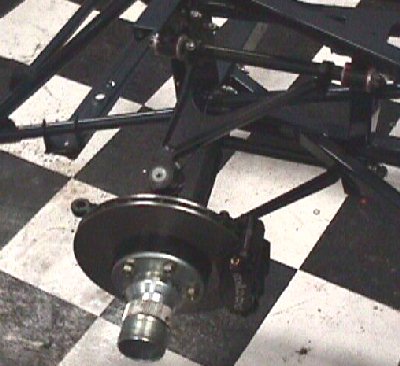
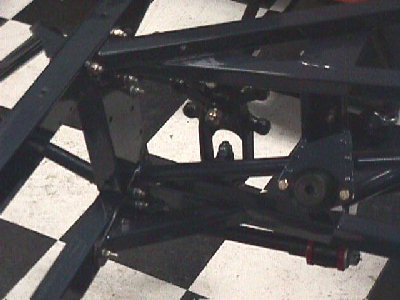
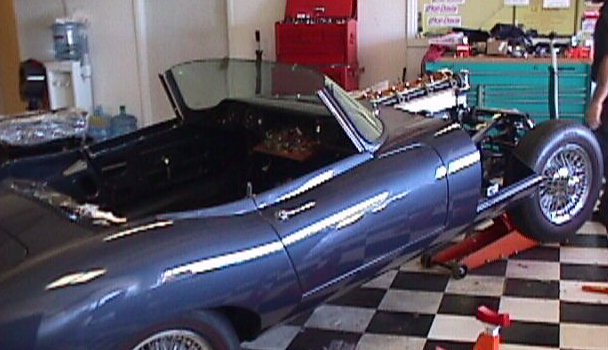
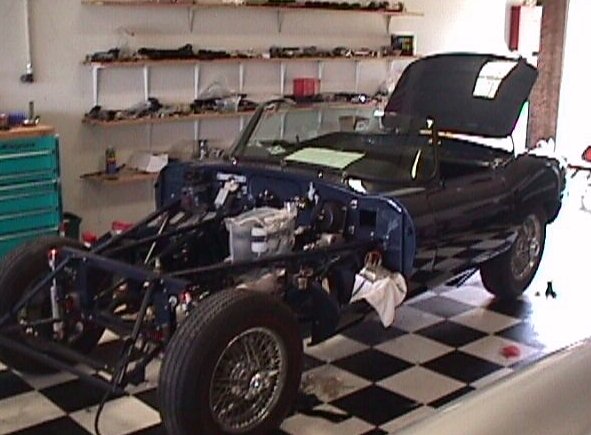
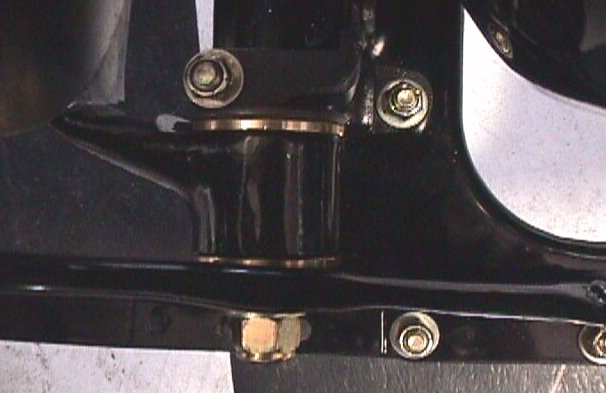
The following photographs show the car rolling on its wheels for the first time in over 20 years! We are only waiting on some gearbox parts before we can install the engine/transmission. We have received all the chrome plating back and will should be installing the bumpers, lights, window frames, etc in the next few days. We also hope to be installing the bonnet some time next week.Note the Team CJ bronze bushings and grade 8 hardware used during the rear suspension rebuild.
 |
 |
Report date - June 11, 2000
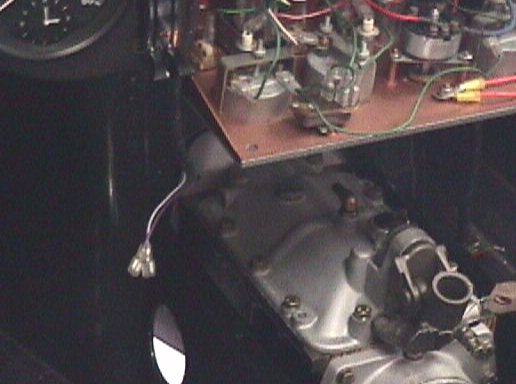
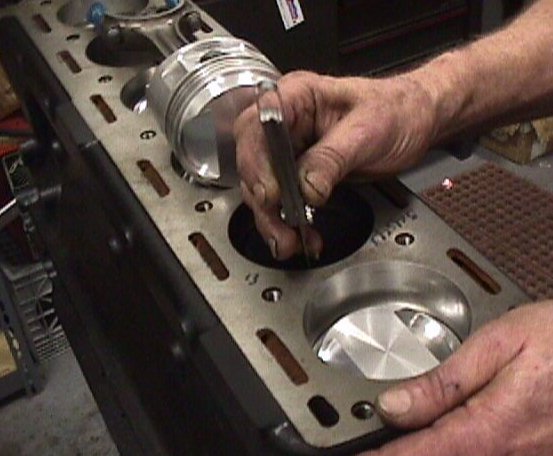
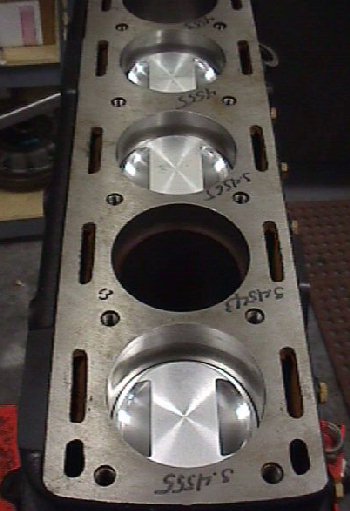
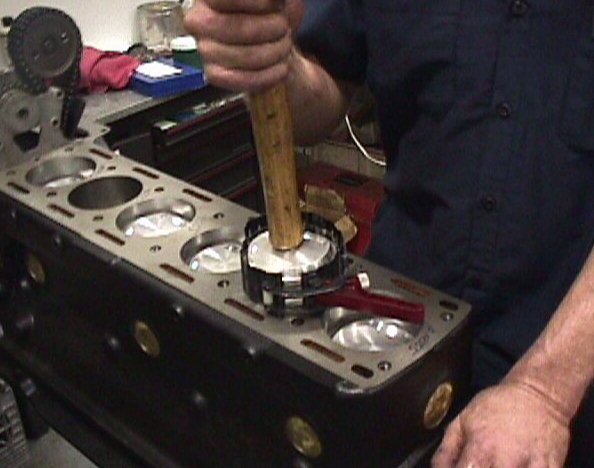
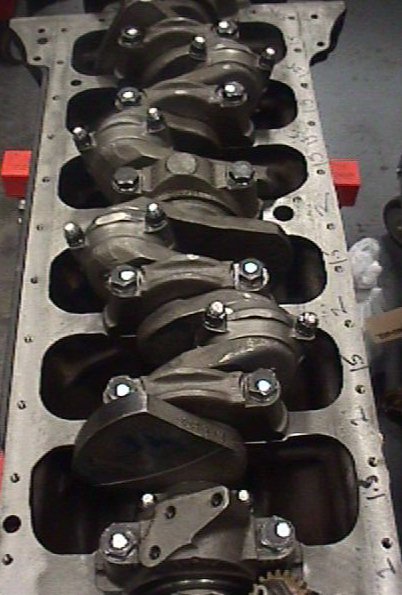
We thought you might be interested to see your engine being built and assembled. Here you can see Lee Merrified checking ring gaps and installing the 9:1 Venolia pistons in your engine. The cylinder head has already been set up and will be re-united with the block next week. If you look closely you will see Lee's notations/measurements written on the top and bottom surfaces of the block. Everything is checked and double checked before the engine is finally sealed up and installed in the car.We received the gearbox parts we were waiting for and the 4 speed synchro gearbox has has now been completely rebuilt. We are hoping to have the engine and gearbox in the car during the coming week. Not long to wait now!
Click on thumbnails to view larger images
 |
 |
 |
 |
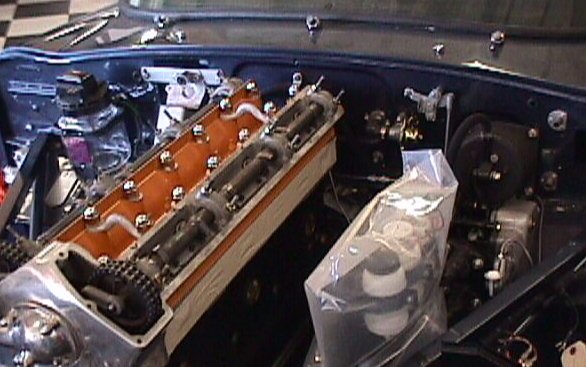
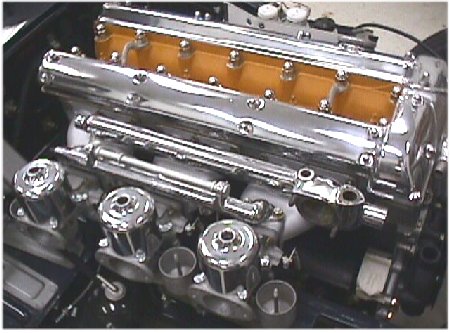
Here you can see the engine and gearbox being installed. Notice the high performance crankshaft balancer and the special 'pumpkin' colour used on the cylinder head. This colour was only found on the very earliest E Types.Next stage will be to install the carbs and exhaust and test run the engine. Once we are satisfied that everything is working perfectly in that regard, we will move the car through to the trim room and have all the interior trim/convertible top installed.
We expect to have the car completely finished this month!
|
|
|
|
after almost 20 years! |
|
|
|
|
|
|
|
|
|
|
|
Team CJ shocks installed |
|
Report date - July 10, 2000
 |
 |
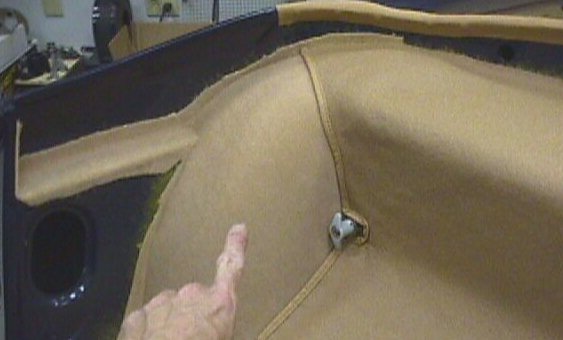
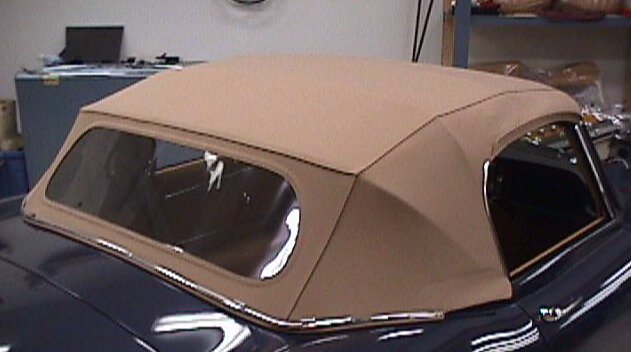
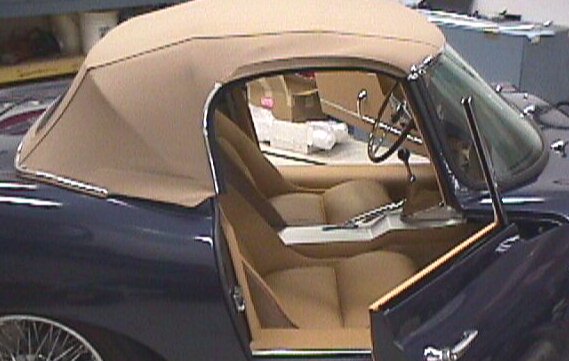
The following photographs show the installation of the interior and the restoration, trial fitting and installation of the convertible top frame. A great deal of care is taken assembling the top frame to ensure a good fit around the windscreen and the top of the door glass.As you can see, the car really is very, very close to completion now!
 |
 |
 |
 |
 |
 |
 |
 |
 |
 |
 |
 |
 |
 |
 |
 |
 |
 |
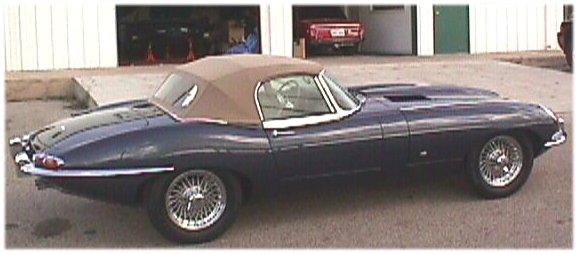
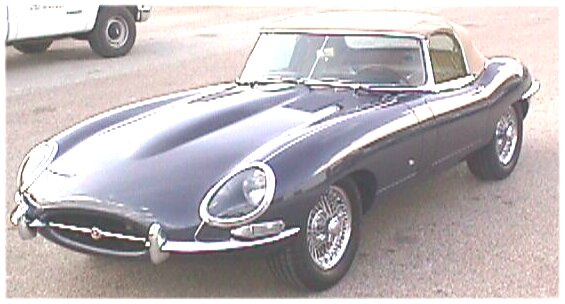
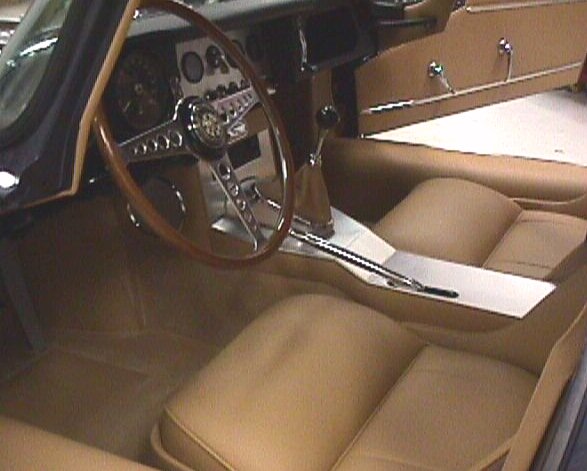
Report date - August 11, 2000
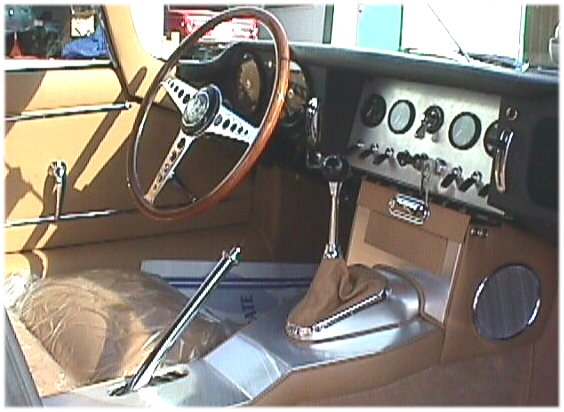
Convertible top installed, seats in place, restored steering wheel in position, carbs installed - we are almost ready for the maiden voyage!
 |
 |
 |
 |
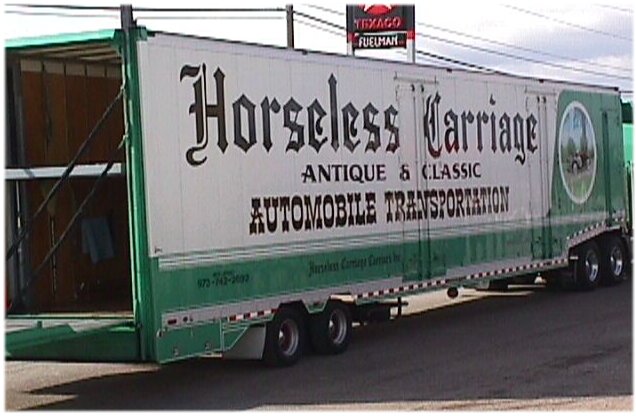
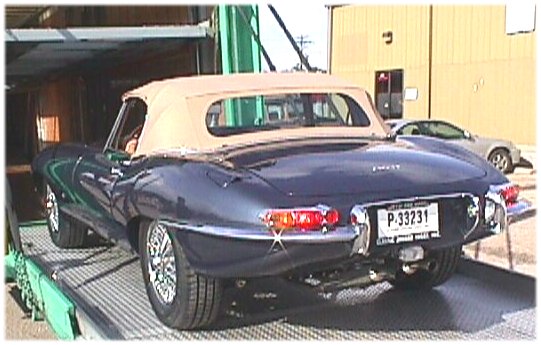
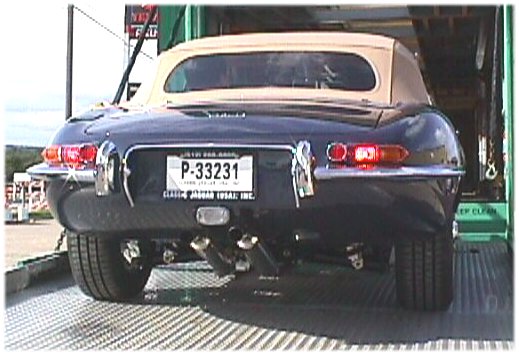
I am delighted to report that your car is now safely with Horseless Carriage and on its way North!I took the following photographs for you as we were loading the car up this morning. We hope you enjoy the car as much as we have enjoyed building it for you.
Thankyou and best regards, Dan Mooney and all at Team CJ