Full Stage One engine rebuild
| Job
# 1984 (DU) - Jaguar 4.2 E Type
Full Stage One engine rebuild |
|
Update report - February 24, 2012
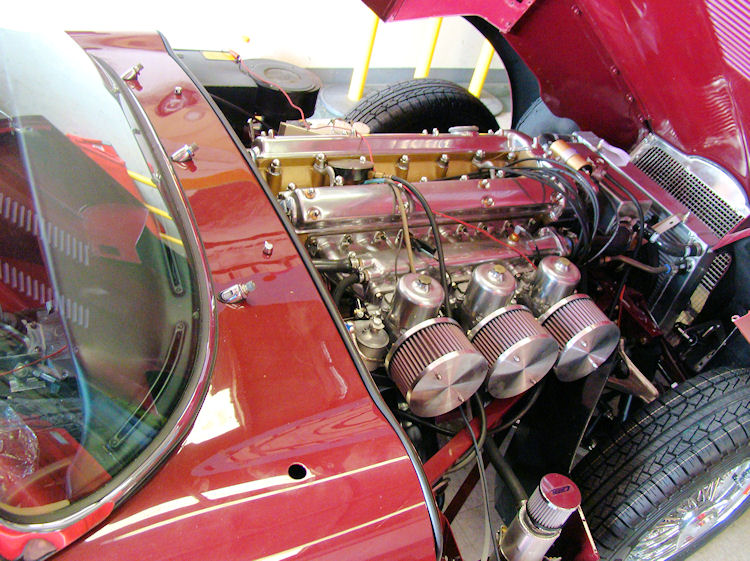
Yesterday afternoon we installed your rebuilt carbs and fired up the engine for the first time. All systems were functioning perfectly. Earlier today we ran the car through four break-in heat cycles on the dyno and dialed the carbs in. The car is idling smoothly and pulling strongly.Click on the photo below for a video clip of the car in action on the dyno.
Update report - February 23, 2012
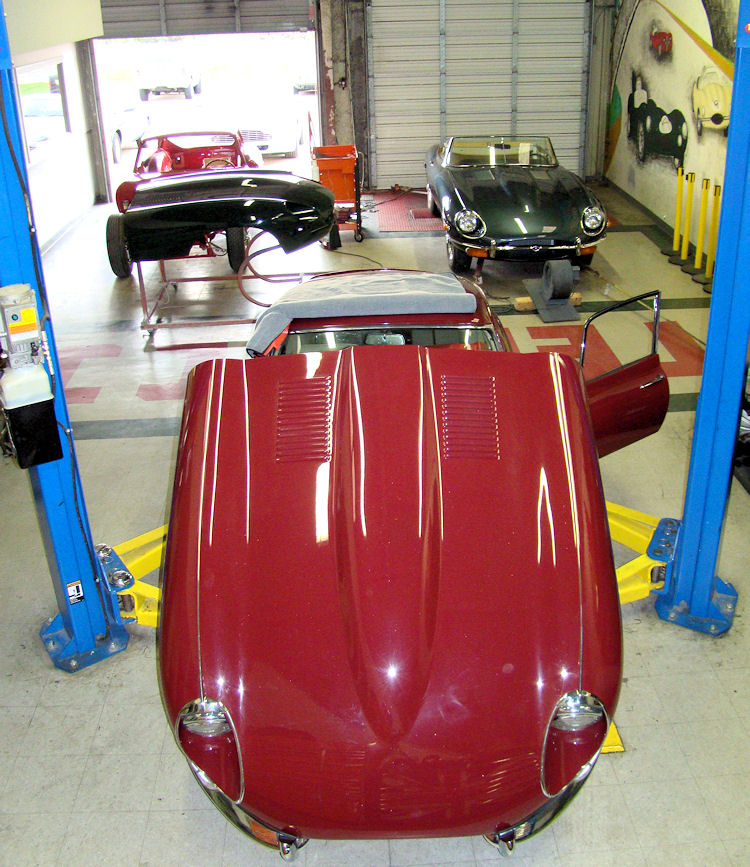
I am pleased to report that your car is now safely installed at Classic Jaguar. Congratulations on putting together a great looking car, Dave!Reported oil pressure problems...
After you were told by the shop in Santa Barbara that your freshly built Stage One CJ engine had no oil pressure, you will be pleased to hear that in fact she has excellent oil pressure. I can only assume that the Santa Barbara shop was using the (inoperative) gauge in the dash to determine the oil pressure, because as soon as we hooked up a mechanical gauge, we instantly had around 60 psi at cranking speed. Incidentally, the oil pressure gauge in the dash was not working because it had been wired backwards with the water temperature gauge. Total time invested so far - 10 minutes.
Onwards and upwards...
Next step is to install the carbs and fire the beast up!
 |
 |
|
|
|
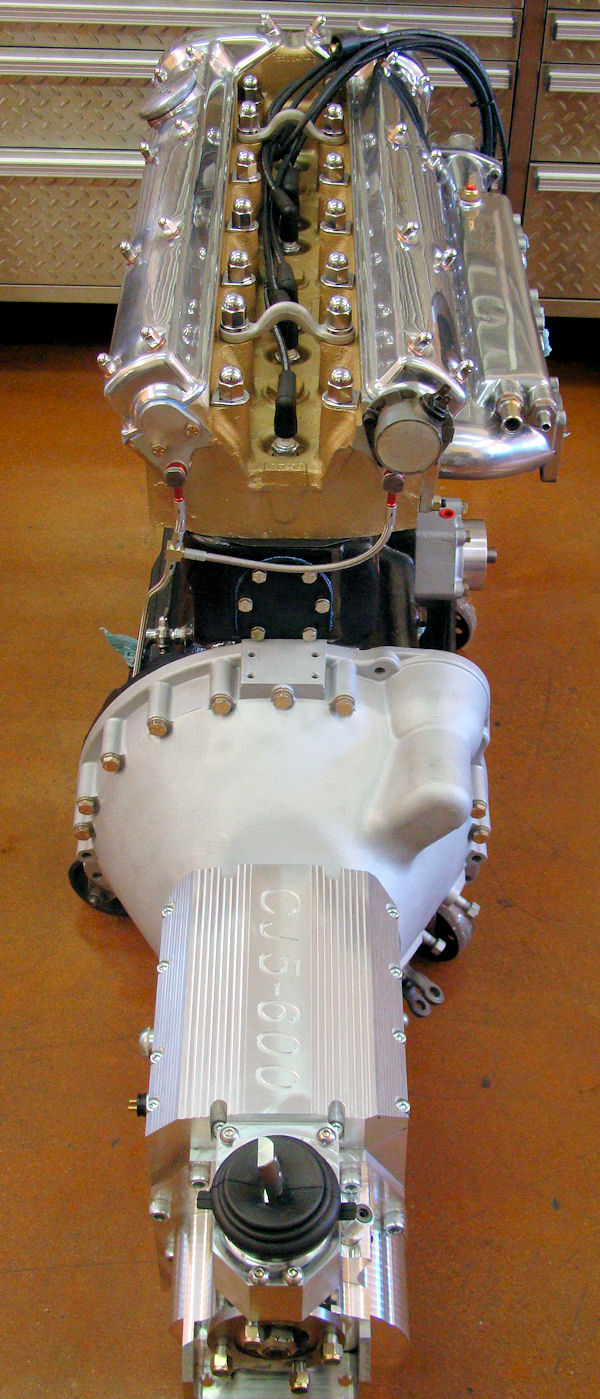
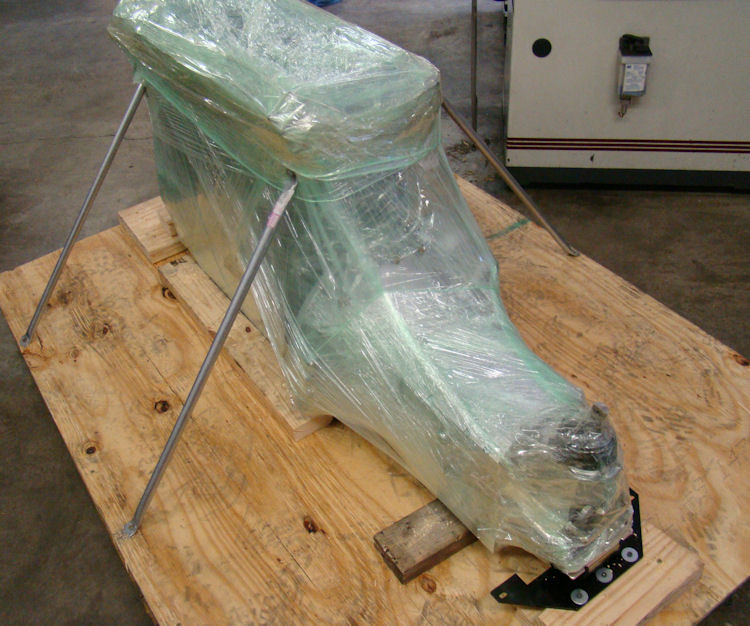
We now have your engine and CJ5/600 five speed wrapped and loaded onto a pallet. It should be with you in the next few days!
 |
 |
 |
 |
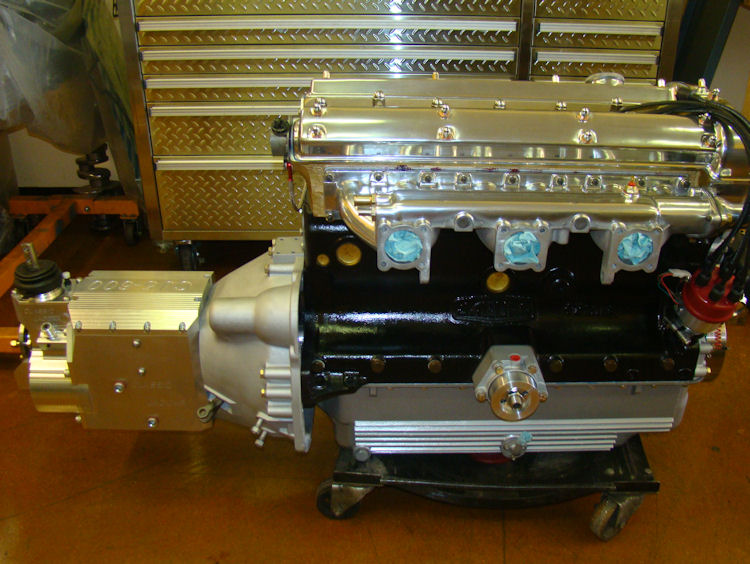
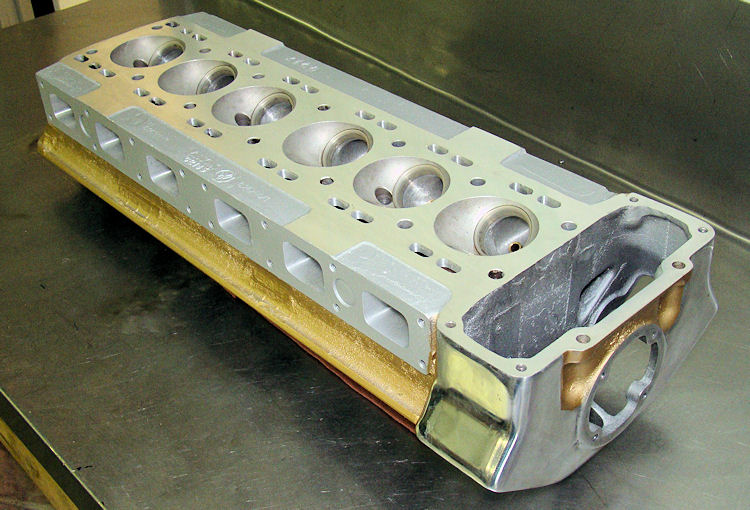
I am pleased to report that your engine rebuild has now been completed.

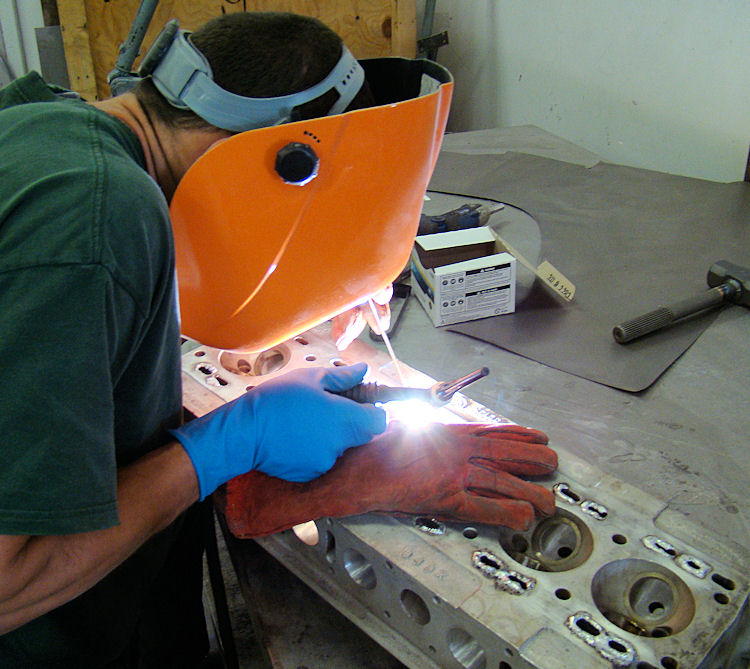
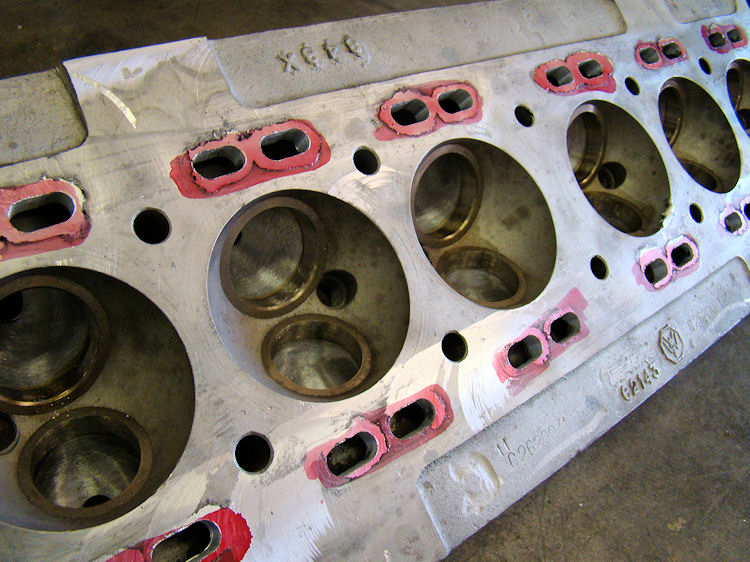
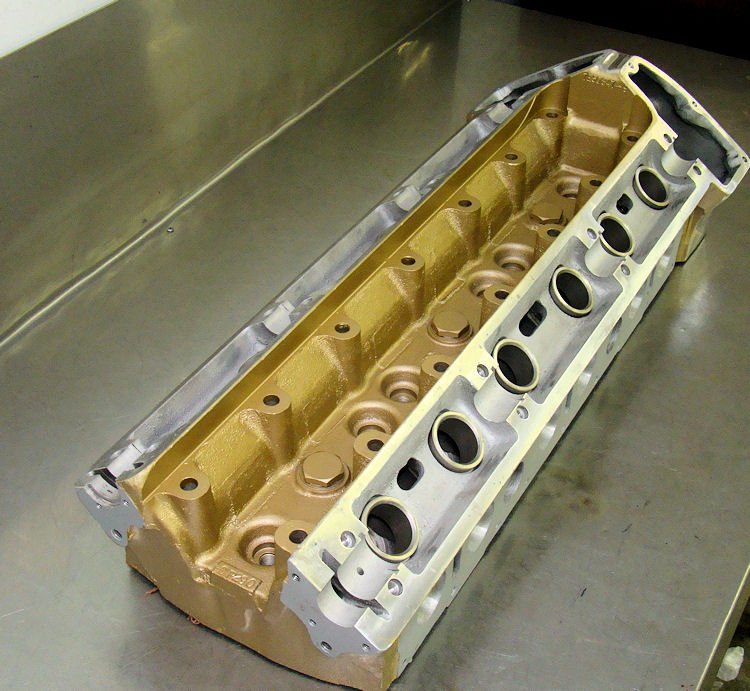
We have now completed the repairs and machine work to the cylinder head and should have your engine assembled and ready to ship in the next couple of days.
 |
 |
|
|
|
|
|
|
 |
 |
|
|
|
|
|
|
 |
 |
|
|
|
|
|
|
 |
|
|
|
|
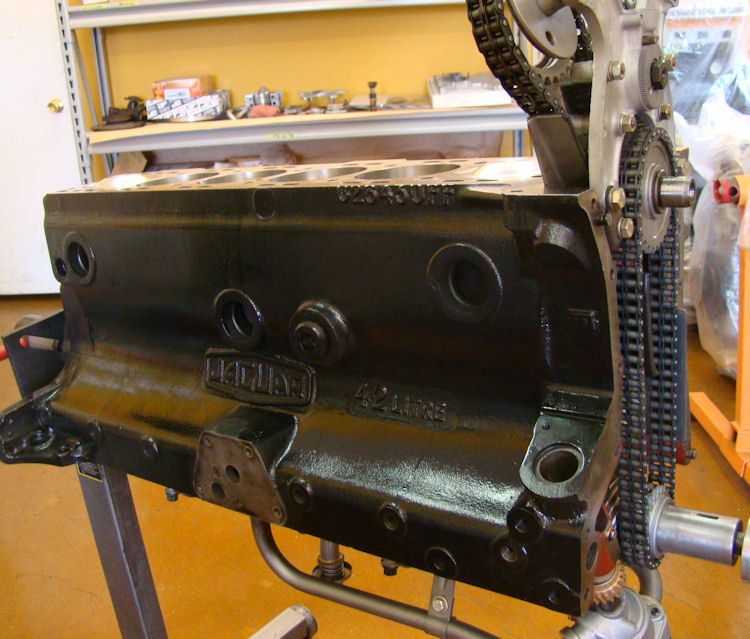
With the short block now completed, we are turning our attention to the cylinder head.
 |
 |
 |
 |
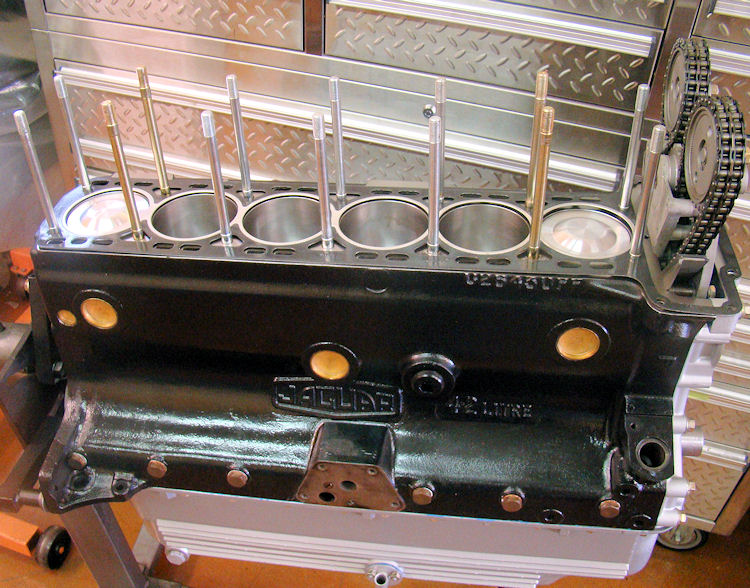
Short block assembly, continued...
 |
 |
 |
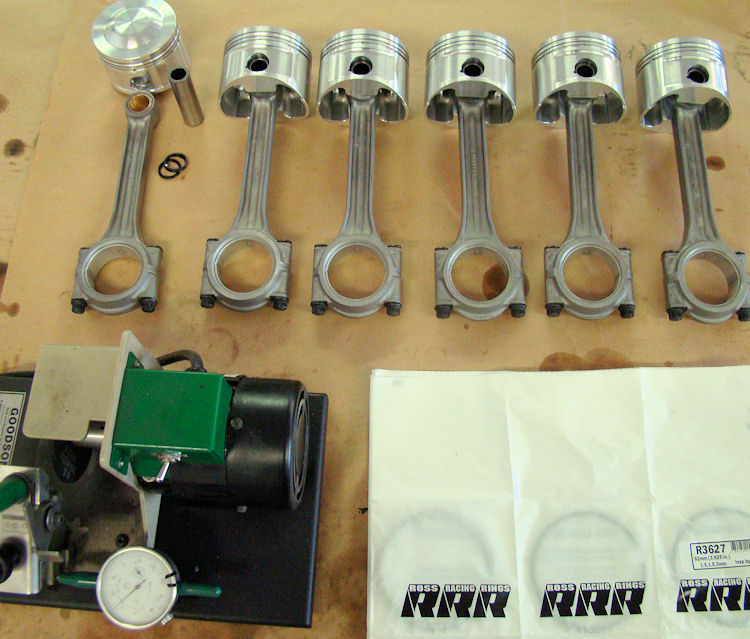
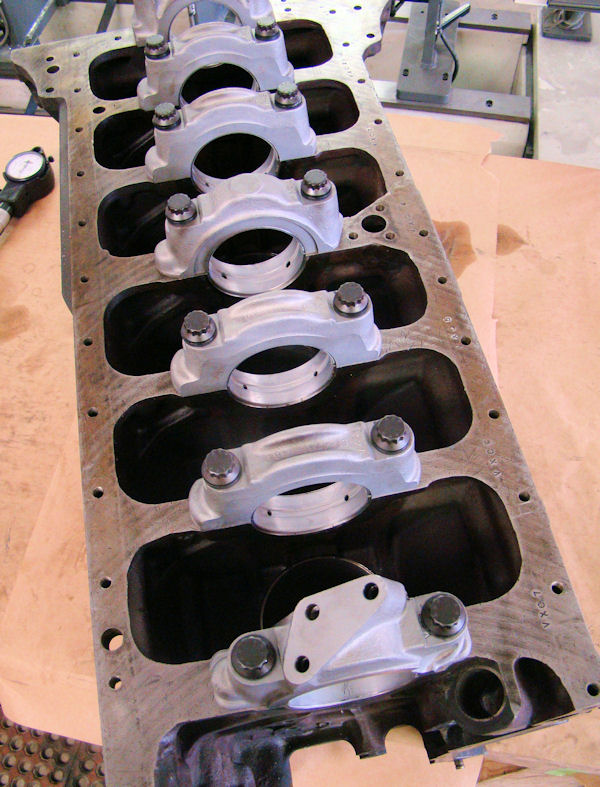
Time to start assembling the short block...
 |
 |
|
|
|
 |
 |
|
|
|
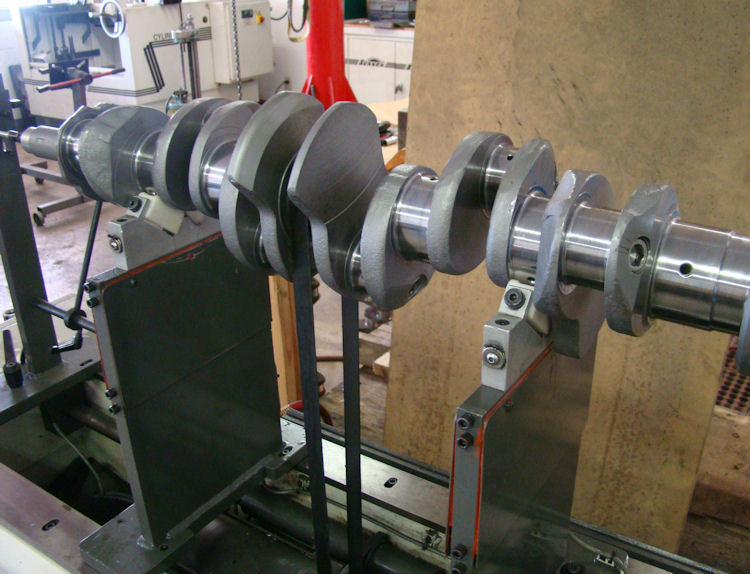
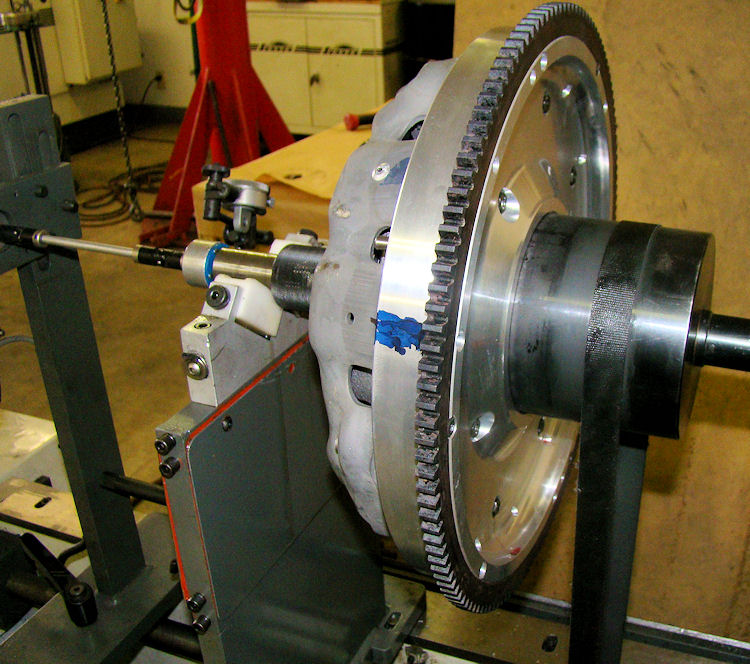
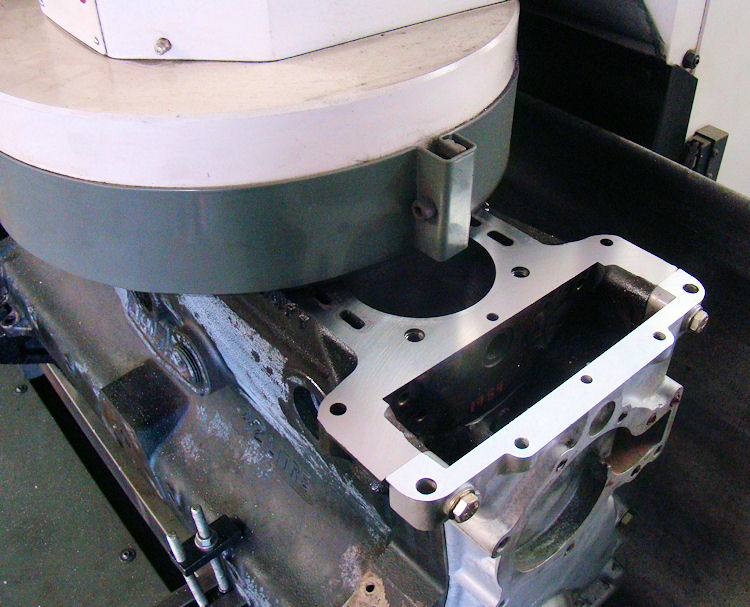
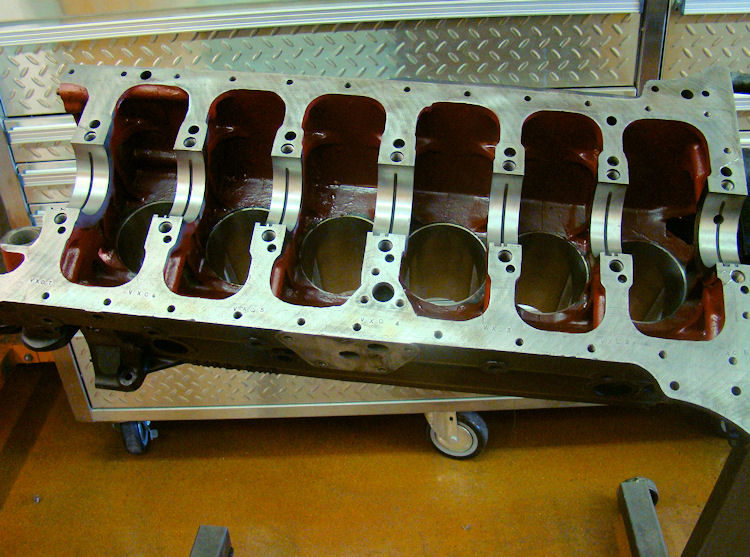
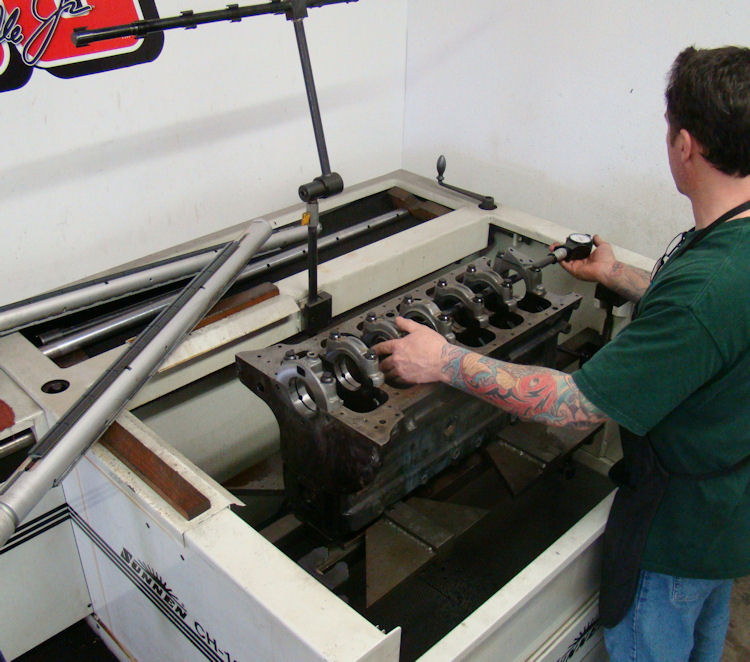
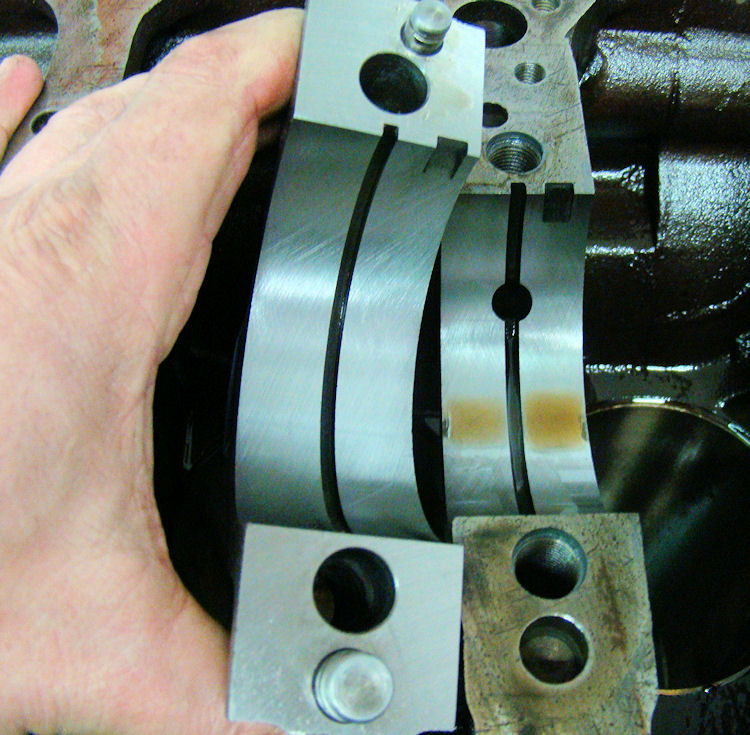
I am pleased to report that we have now completed the block machine work. The following sequence of photos show Kevin measuring bearing clearances, honing the cylinders and surfacing the deck of the block. Next we will use the measured bearing clearances to calculate requisite crank journal sizing.
 |
 |
|
|
|
|
|
|
 |
 |
|
|
|
|
|
|
 |
|
|
|
We have now completed an align hone and begun the cylinder honing process...
 |
 |
 |
|
|
|
|
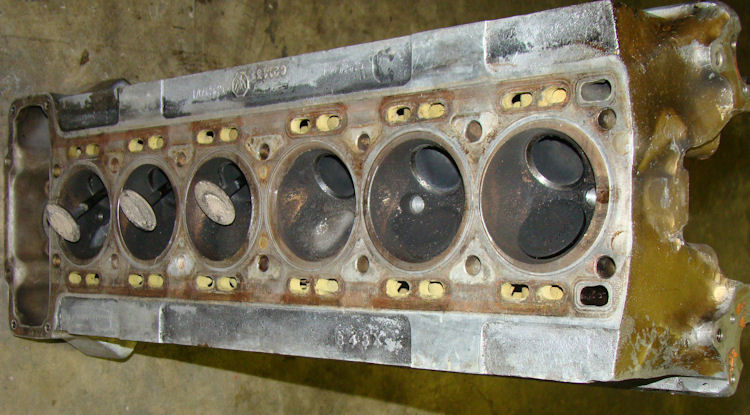
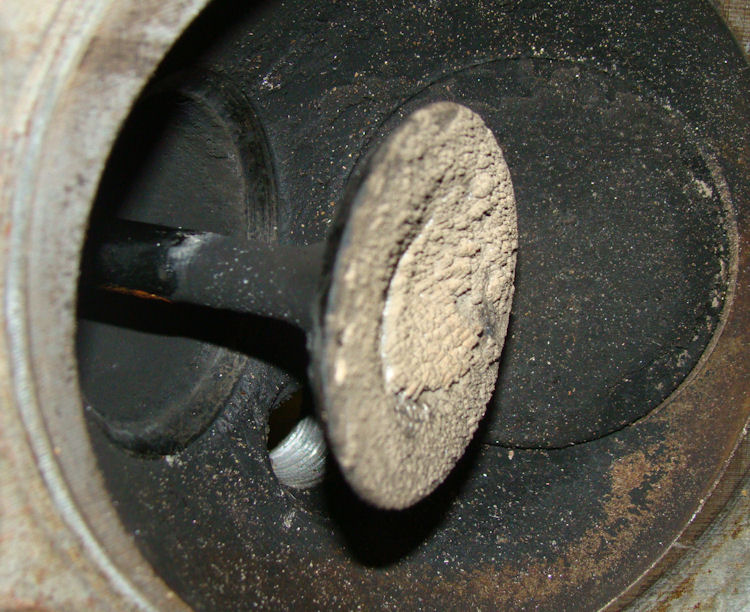
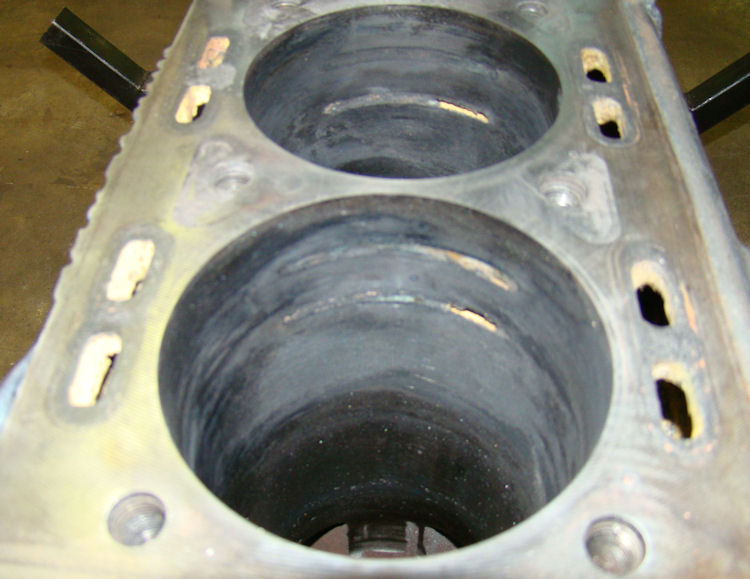
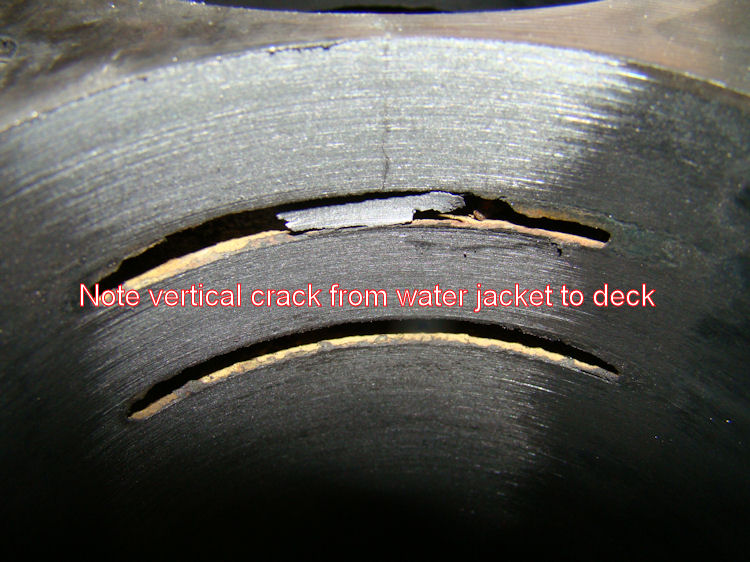
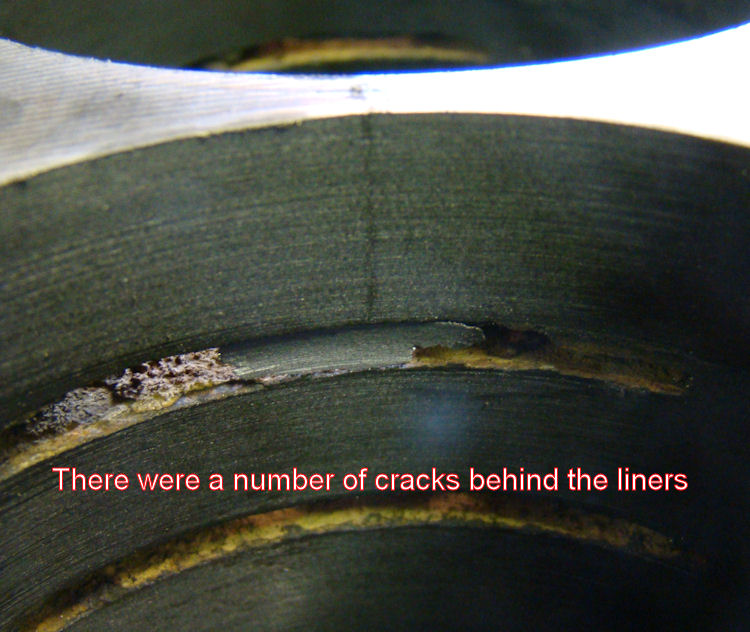
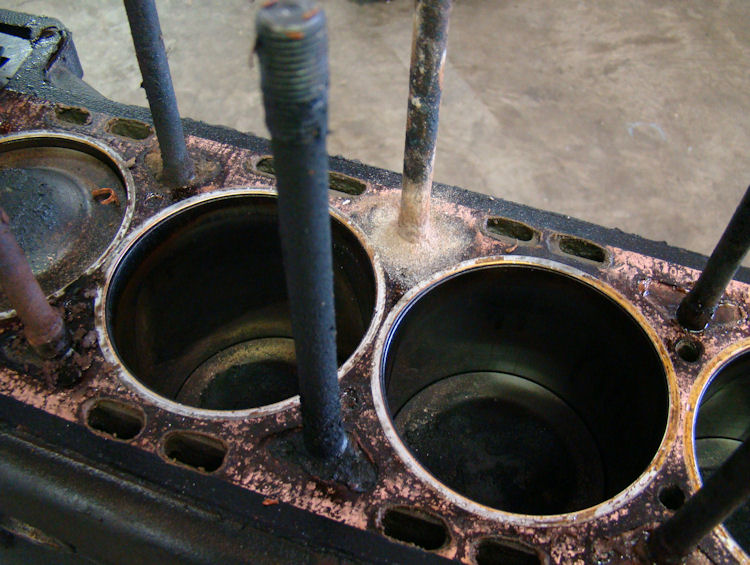
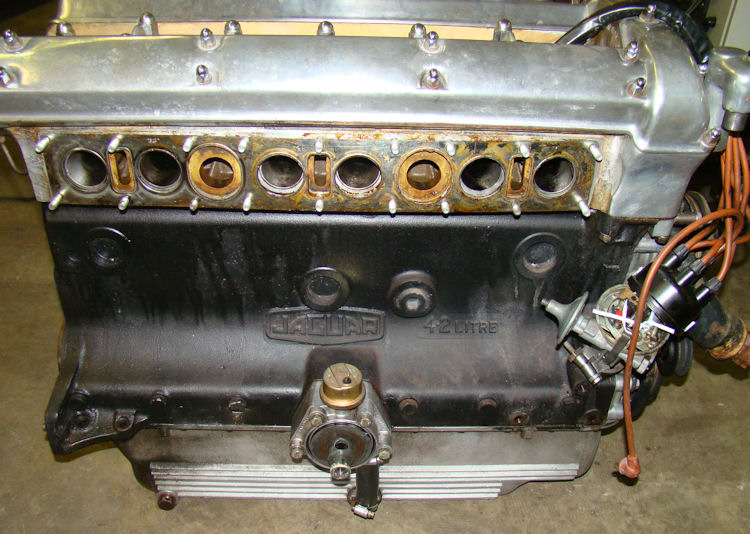
The water jackets behind the cylinder liners were completely blocked on this engine. There were also a number of minor cracks in the cylinder walls and between the sleeves on the deck surface. None of these cracks represent a signififcant problem and will be dealt with during the resleeving process.
 |
 |
|
|
|
|
|
|
 |
 |
|
|
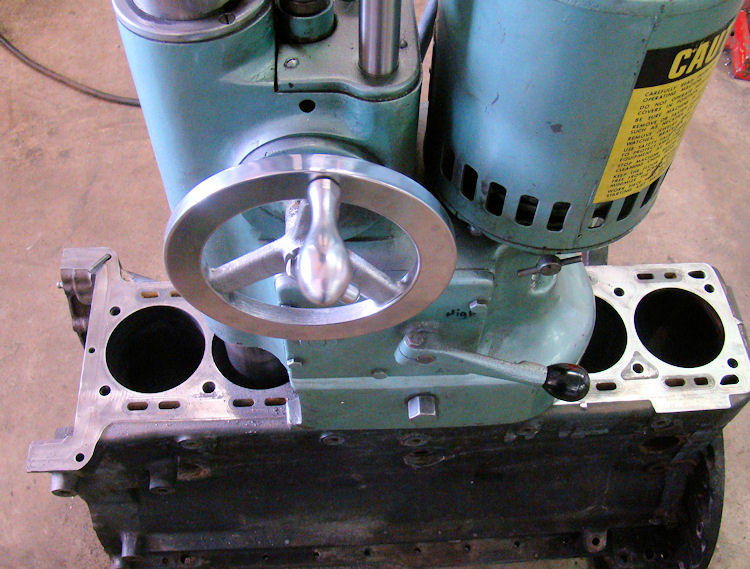
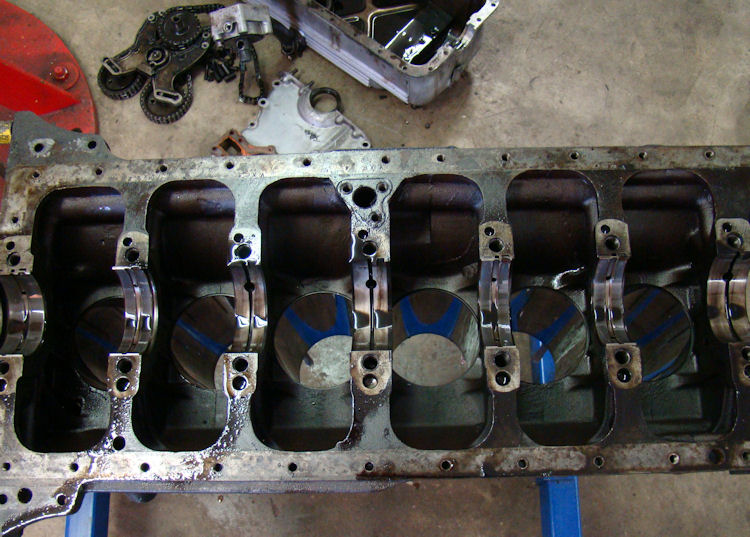
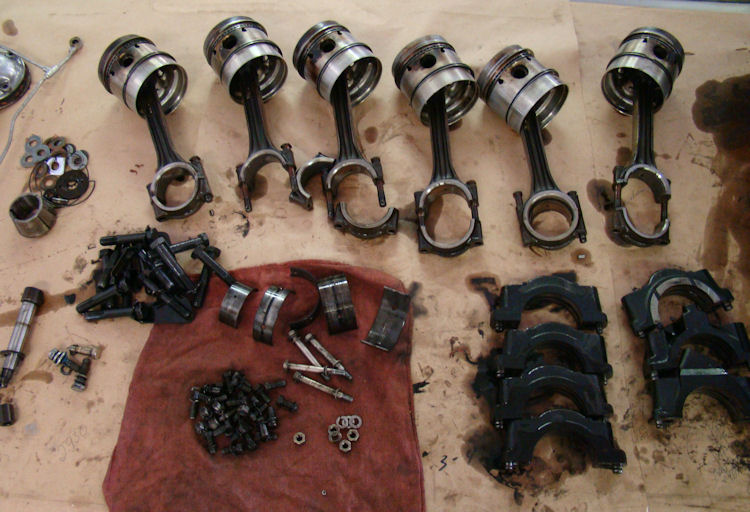
We now have your engine completely disassembled and the rebuild underway.
 |
 |
|
before they would part company with the block |
|
|
|
|
 |
 |
|
|
|
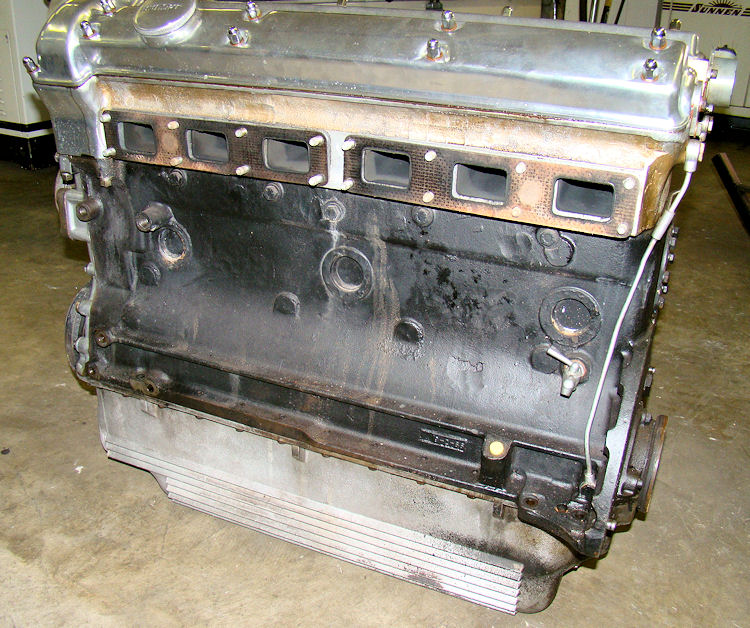
I am pleased to report that your engine has arrived safely at CJ and we will have the rebuild underway in the next few days.
 |
 |