Dodge Viper engine rebuild - Stage One
| Job
# 1878 (TS)
Dodge Viper engine rebuild - Stage One |
|
 |
|
CNC machined billet main caps for Dodge Viper |
Update report - August 7, 2009
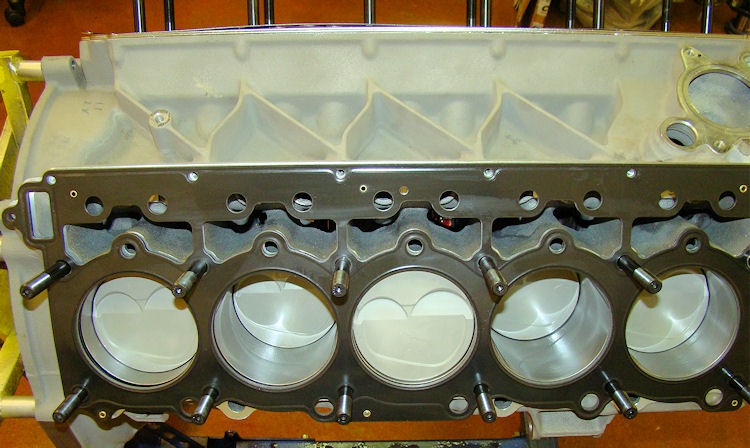
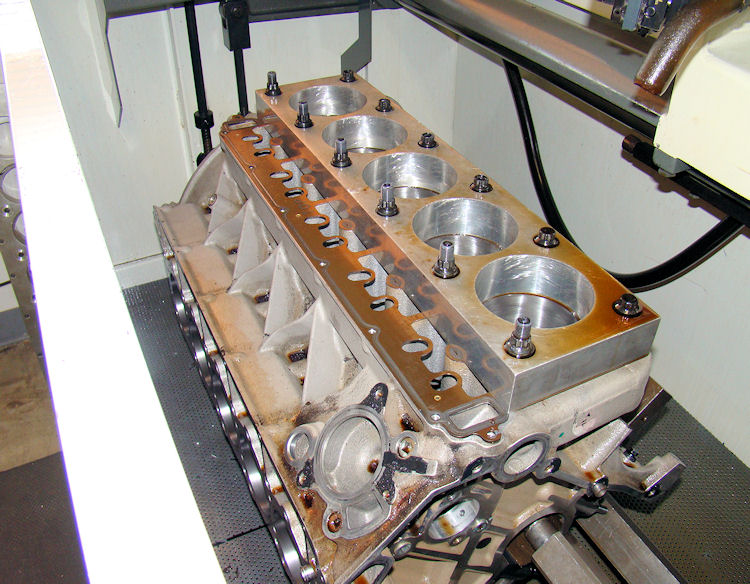
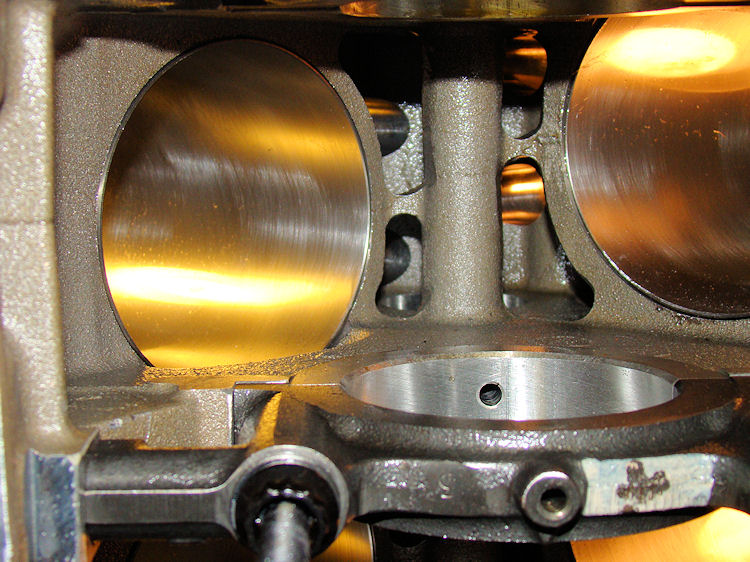
Assembling the long block. We expect to have your engine ready for collection later today.
 |
 |
 |
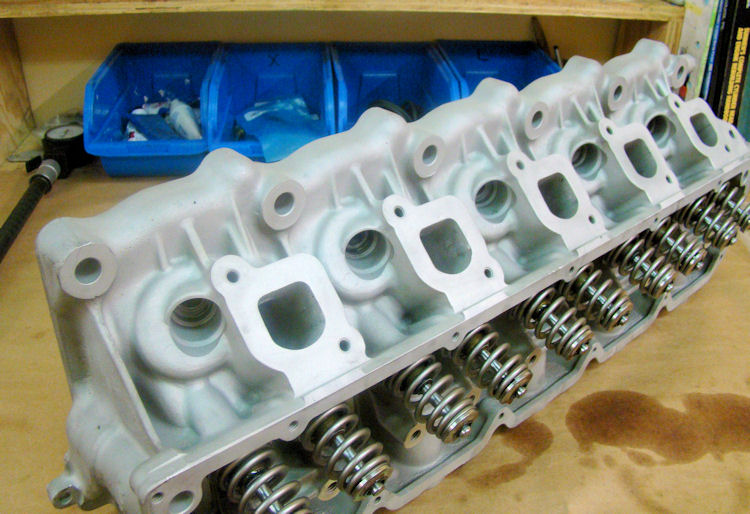
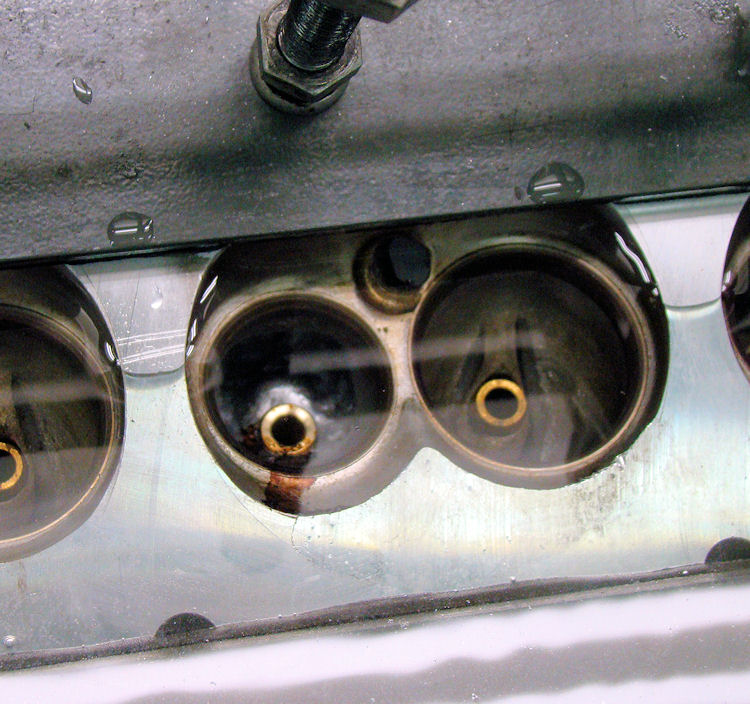
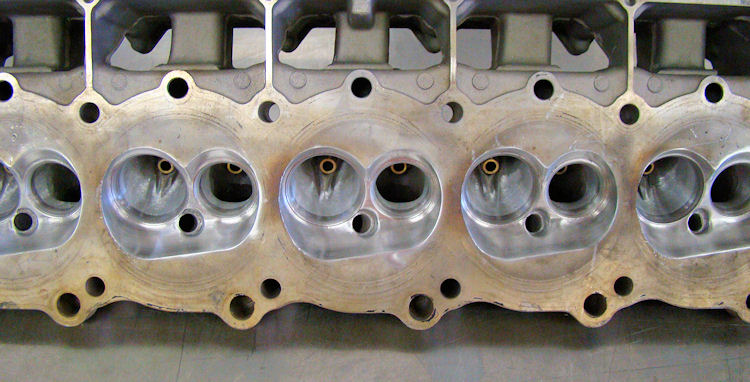
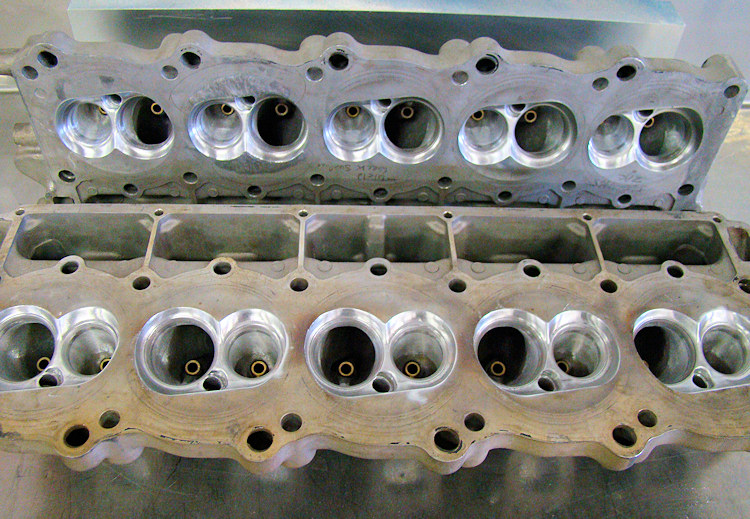
We have now assembled both cylinder heads...
 |
 |
|
|
|
|
|
|
 |
 |
|
|
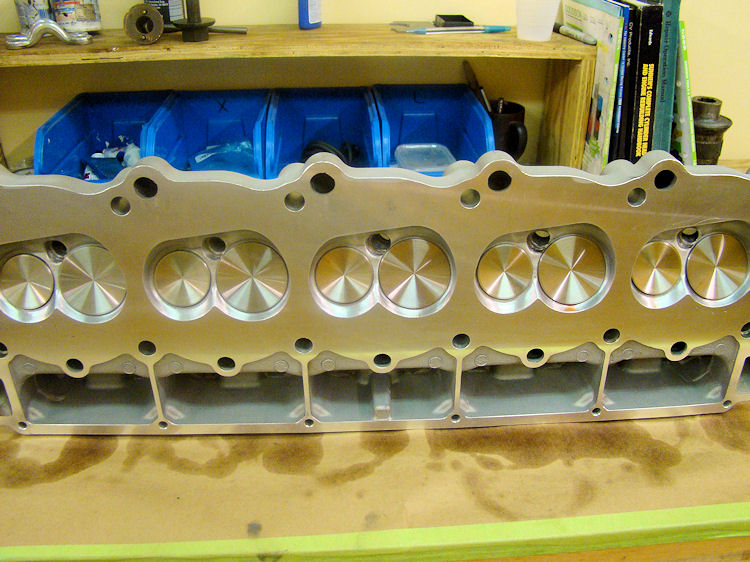
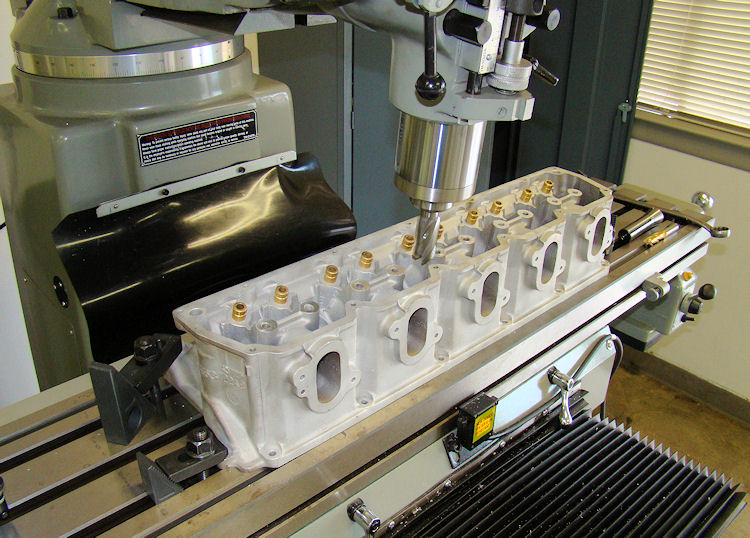
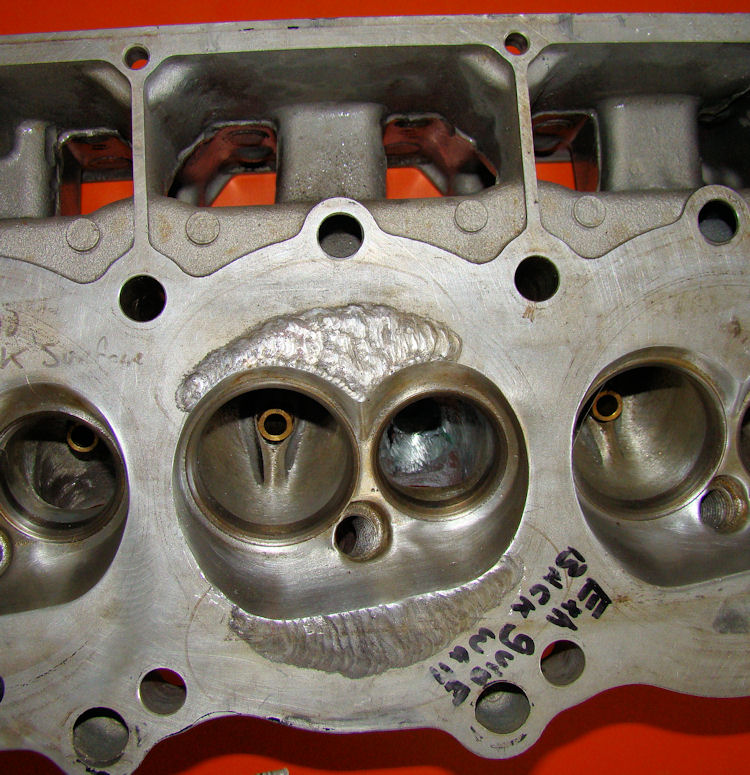
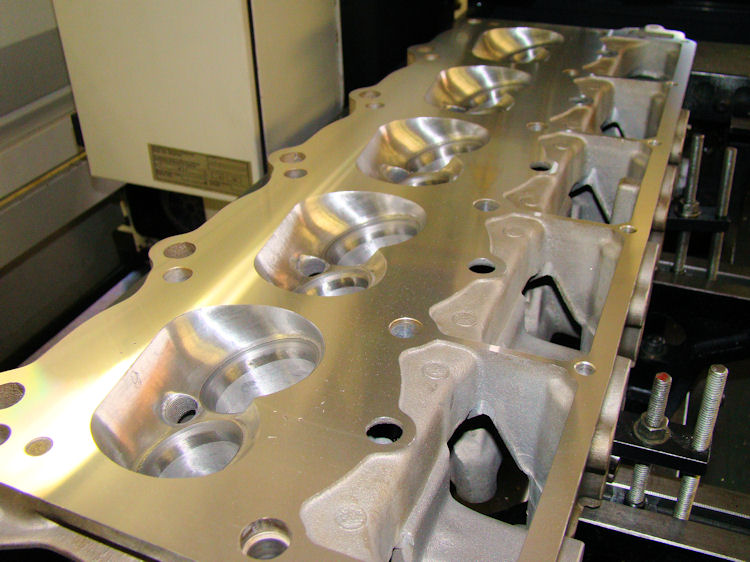
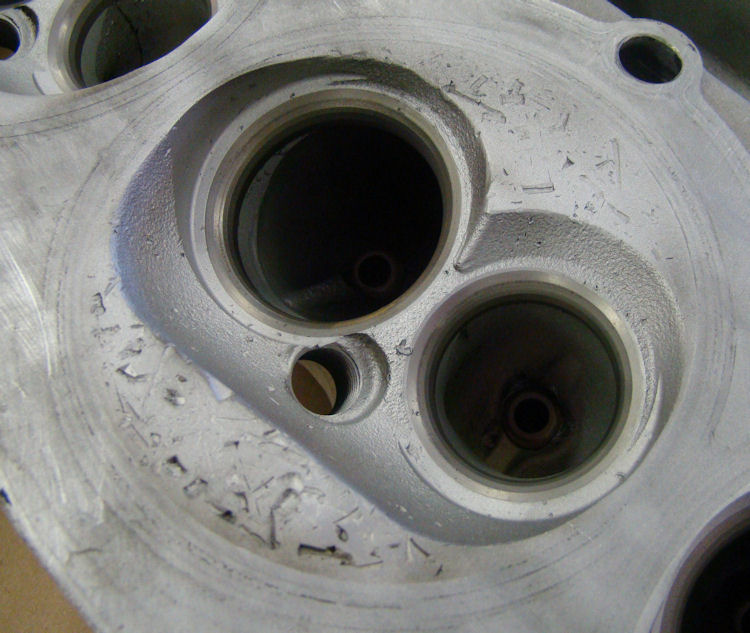
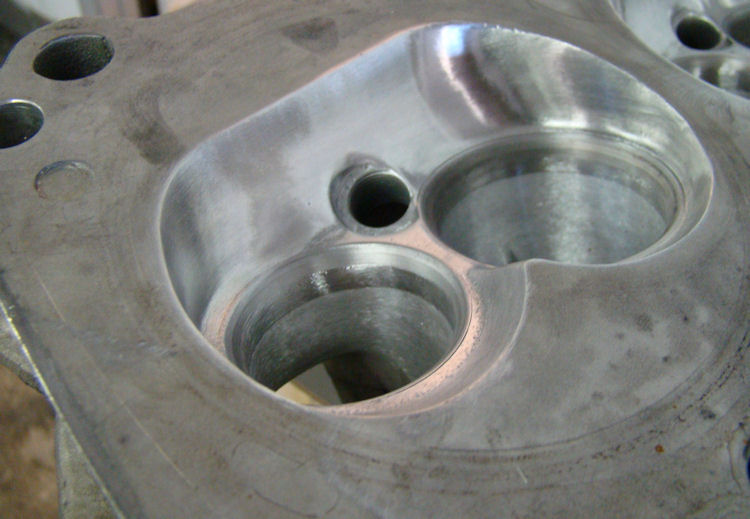
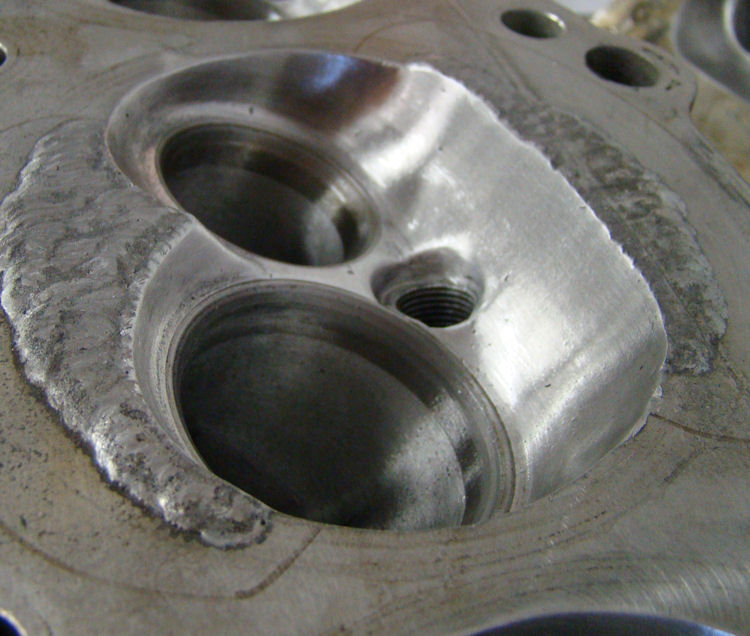
I am pleased to report that we have now completed all our machine work and the reassembly of your engine is underway. Repairing the crack in the leaking guide bore ended up being quite involved. We believe that the problem was caused by a fault in the casting and was not related to the engine failure and coincidental shrapnel damage in that particular combustion chamber. After a number of attempts to weld up the area, followed by an equal number of failed pressure tests, we decided to grind away virtually the entire guide boss and reconstruct the area with weld. We then cut a new guide bore on the mill and reshaped the boss area by hand. Thankfully, this repair worked and the head passed its final pressure test with flying colors!
 |
 |
 |
|
|
|
|
|
|
||
 |
 |
 |
|
|
|
|
|
|
||
 |
 |
 |
|
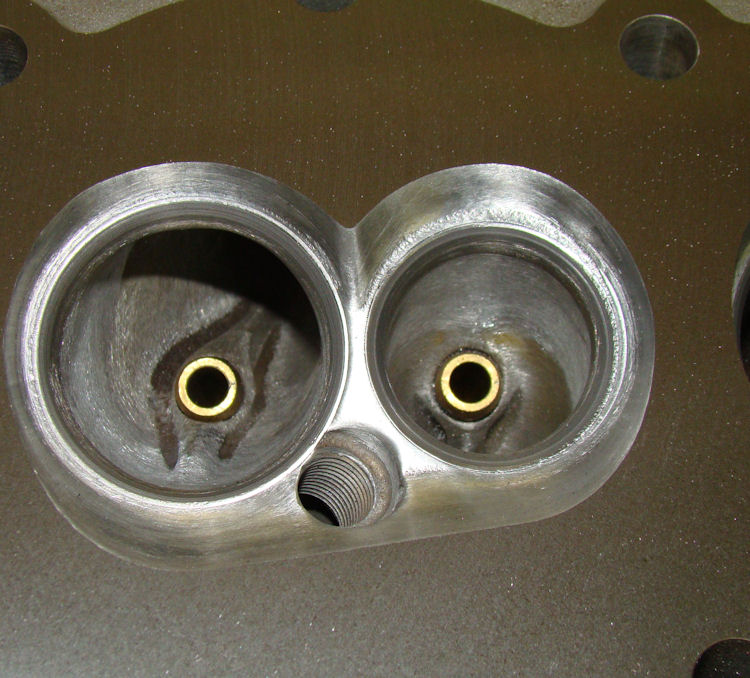
new (oversized) guide |
|
|
|
|
||
 |
 |
 |
|
|
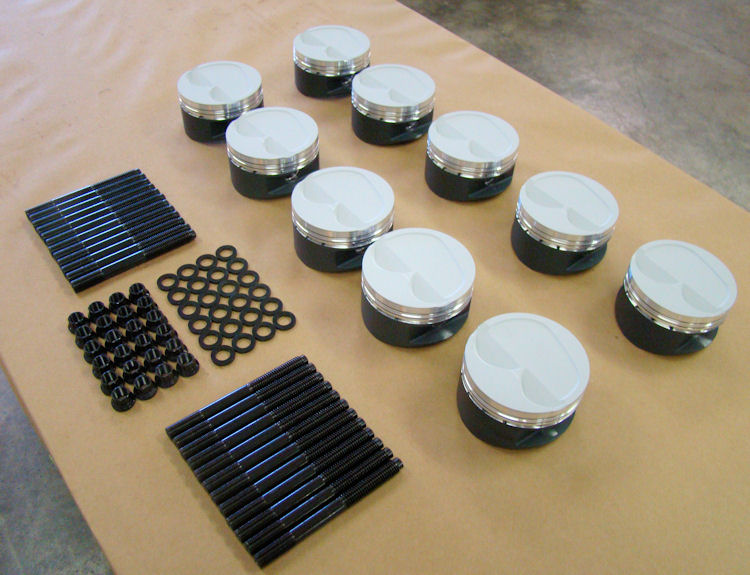
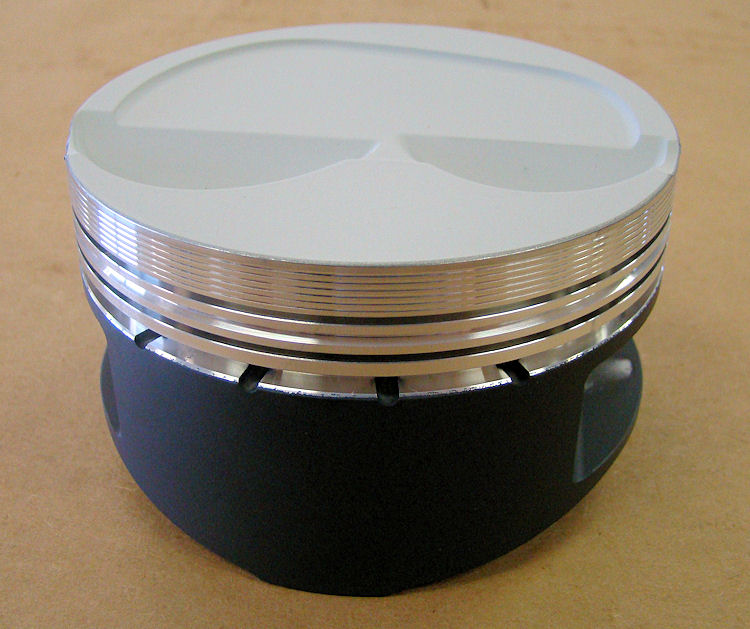
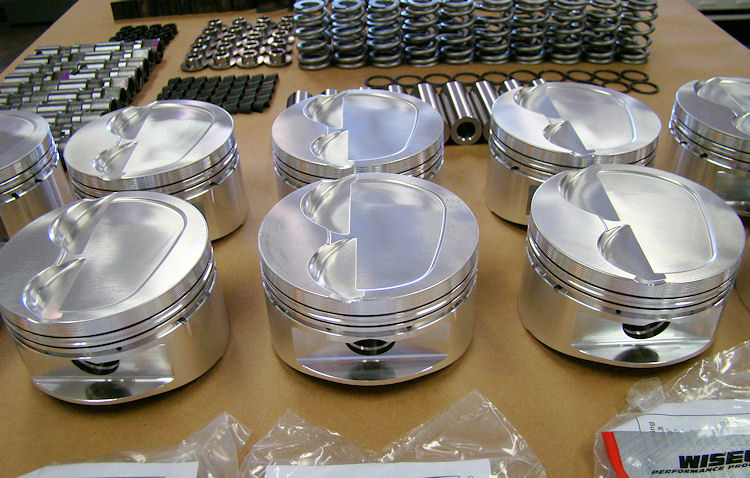
side coating |
We have now received the bulk of the parts we need to reassemble your engine. Unfortunately, however, the supplier of the pistons threw us a curve ball and neglected to apply the clearly specified ceramic top coating and Teflon side coating before shipping the pistons to us. Accordingly, the pistons have been returned with a request that they be turned back around on an urgent basis. I apologise for the delay this has caused, although it was obviously something completely out of our control.
 |
 |
 |
|
|
|
|
|
|
||
 |
 |
 |
|
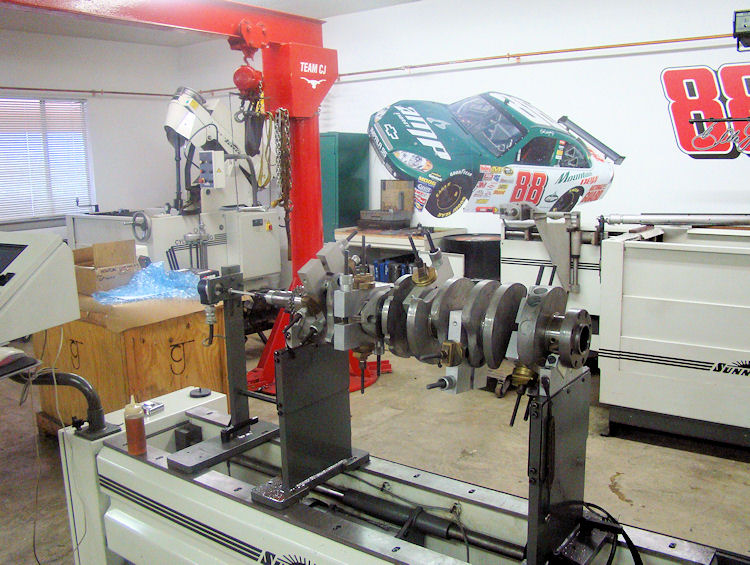
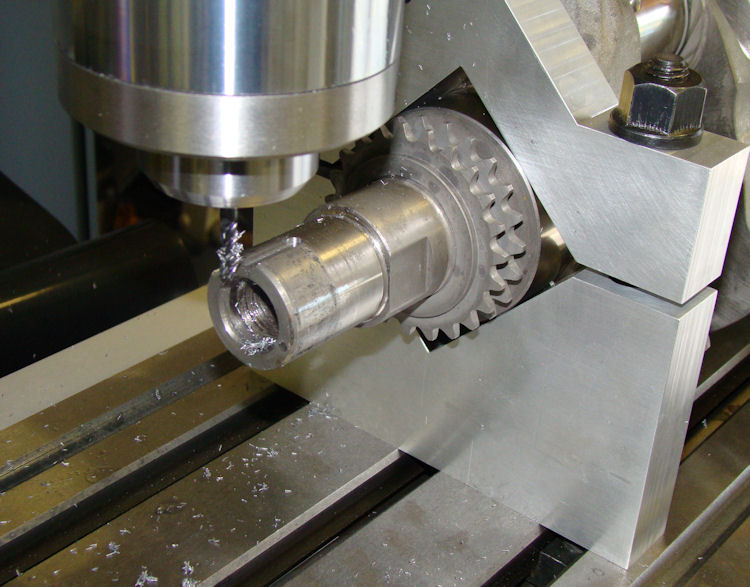
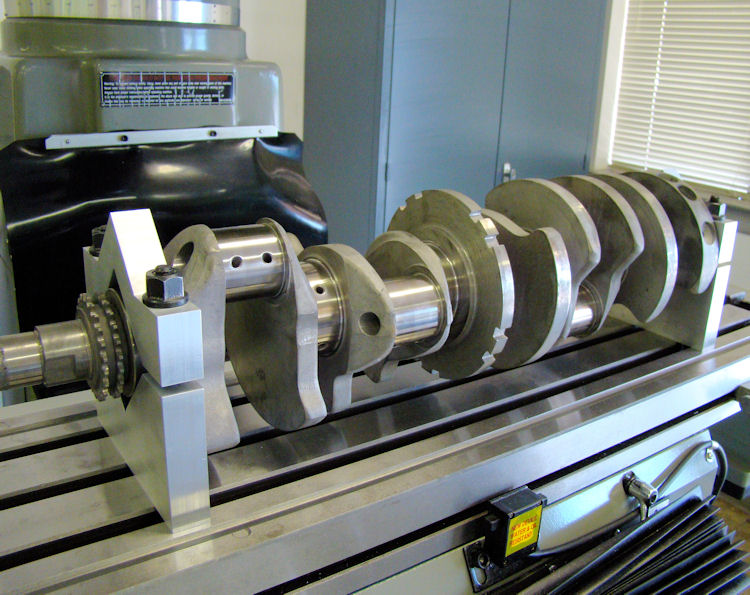
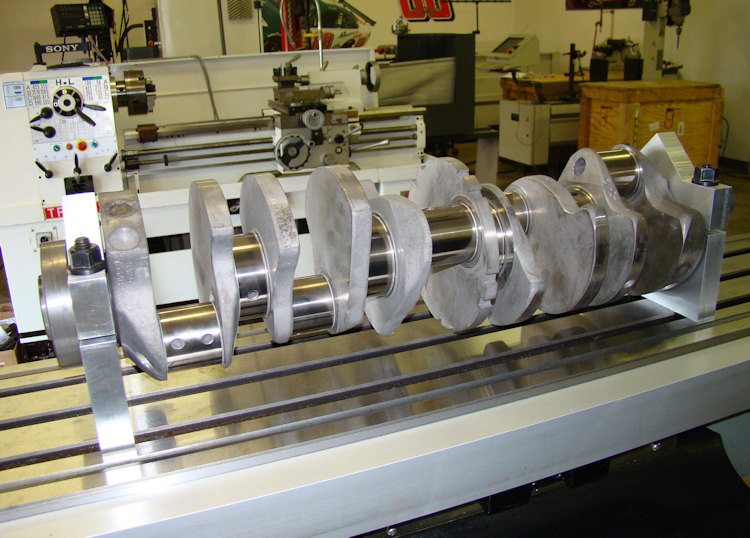
keyway for use with aftermarket dampner |
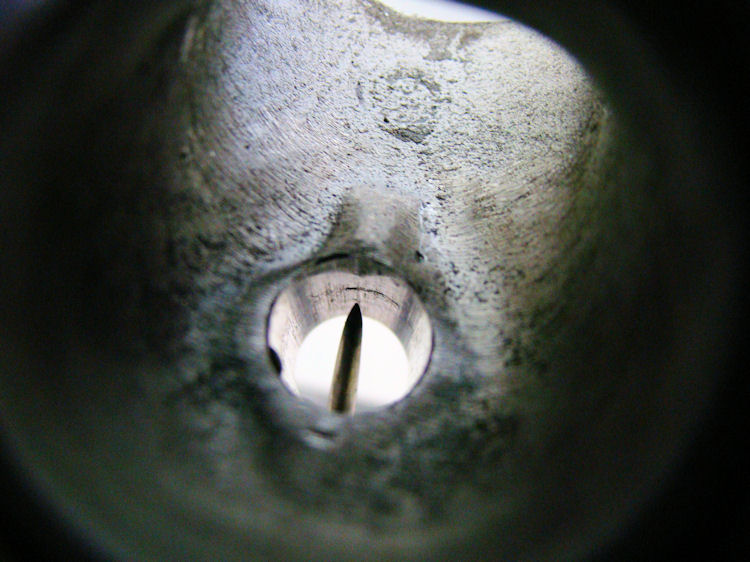
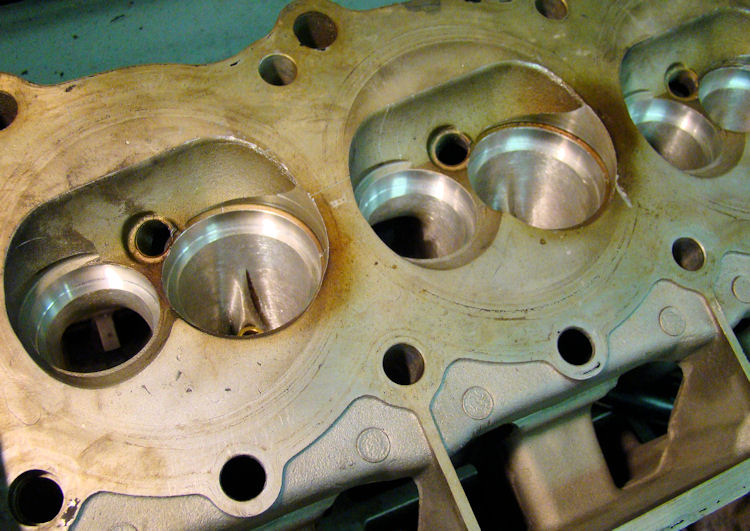
We now have this engine rebuild underway. We have already installed new bronze valve guides and custom valve seats and cut the valve job. One of the heads has been welded to repair shrapnel damage caused when one of the pistons came apart. When the valve job was completed we pressure tested both heads for a second time and found a leak between one guide bore and guide in the chamber which had been damaged by the exploding piston. This guide will have to be removed and a new guide installed once the leak has been investigated and remedied.The crankshaft has already been ground and nitrided and all short block parts have been ordered with delivery promised in approximately one week.
 |
 |
 |
|
exploding piston |
|
|
|
|
||
 |
 |
 |
|
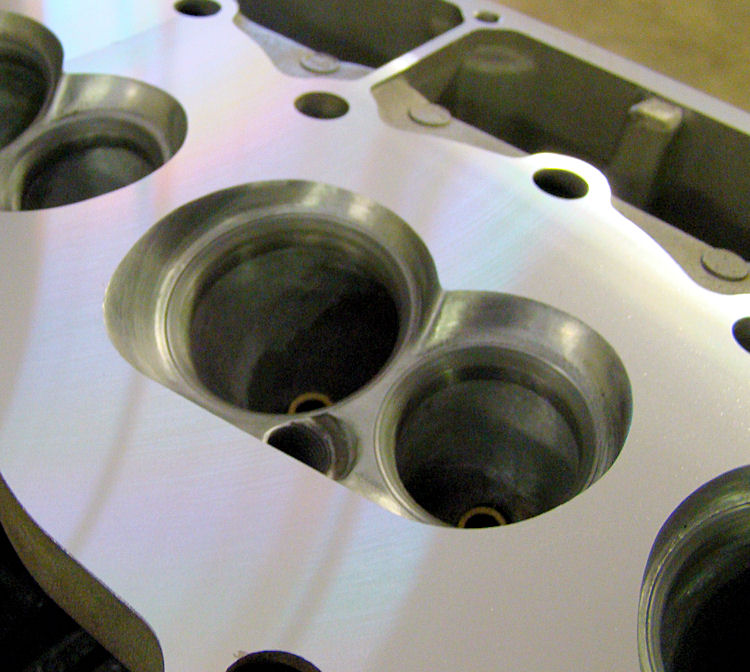
and valve job completed |
final assembly |
|
|
|
||
 |
 |
 |
|
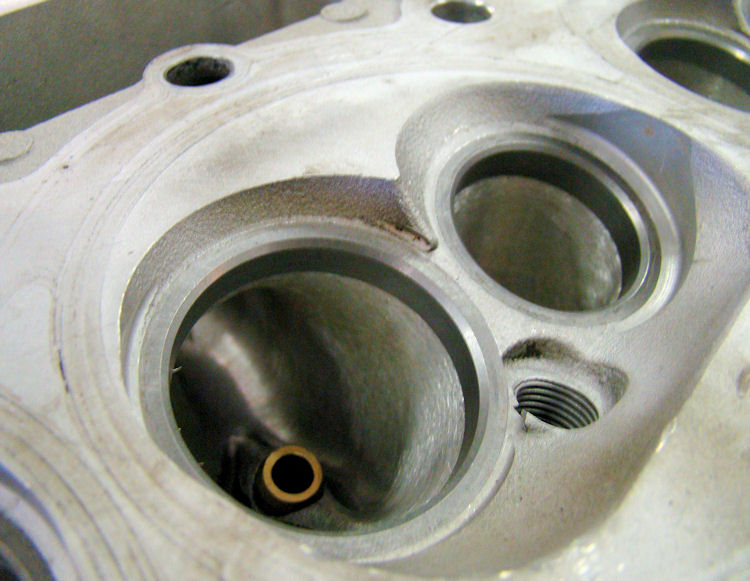
indicate leak between guide and guide bore |
|